
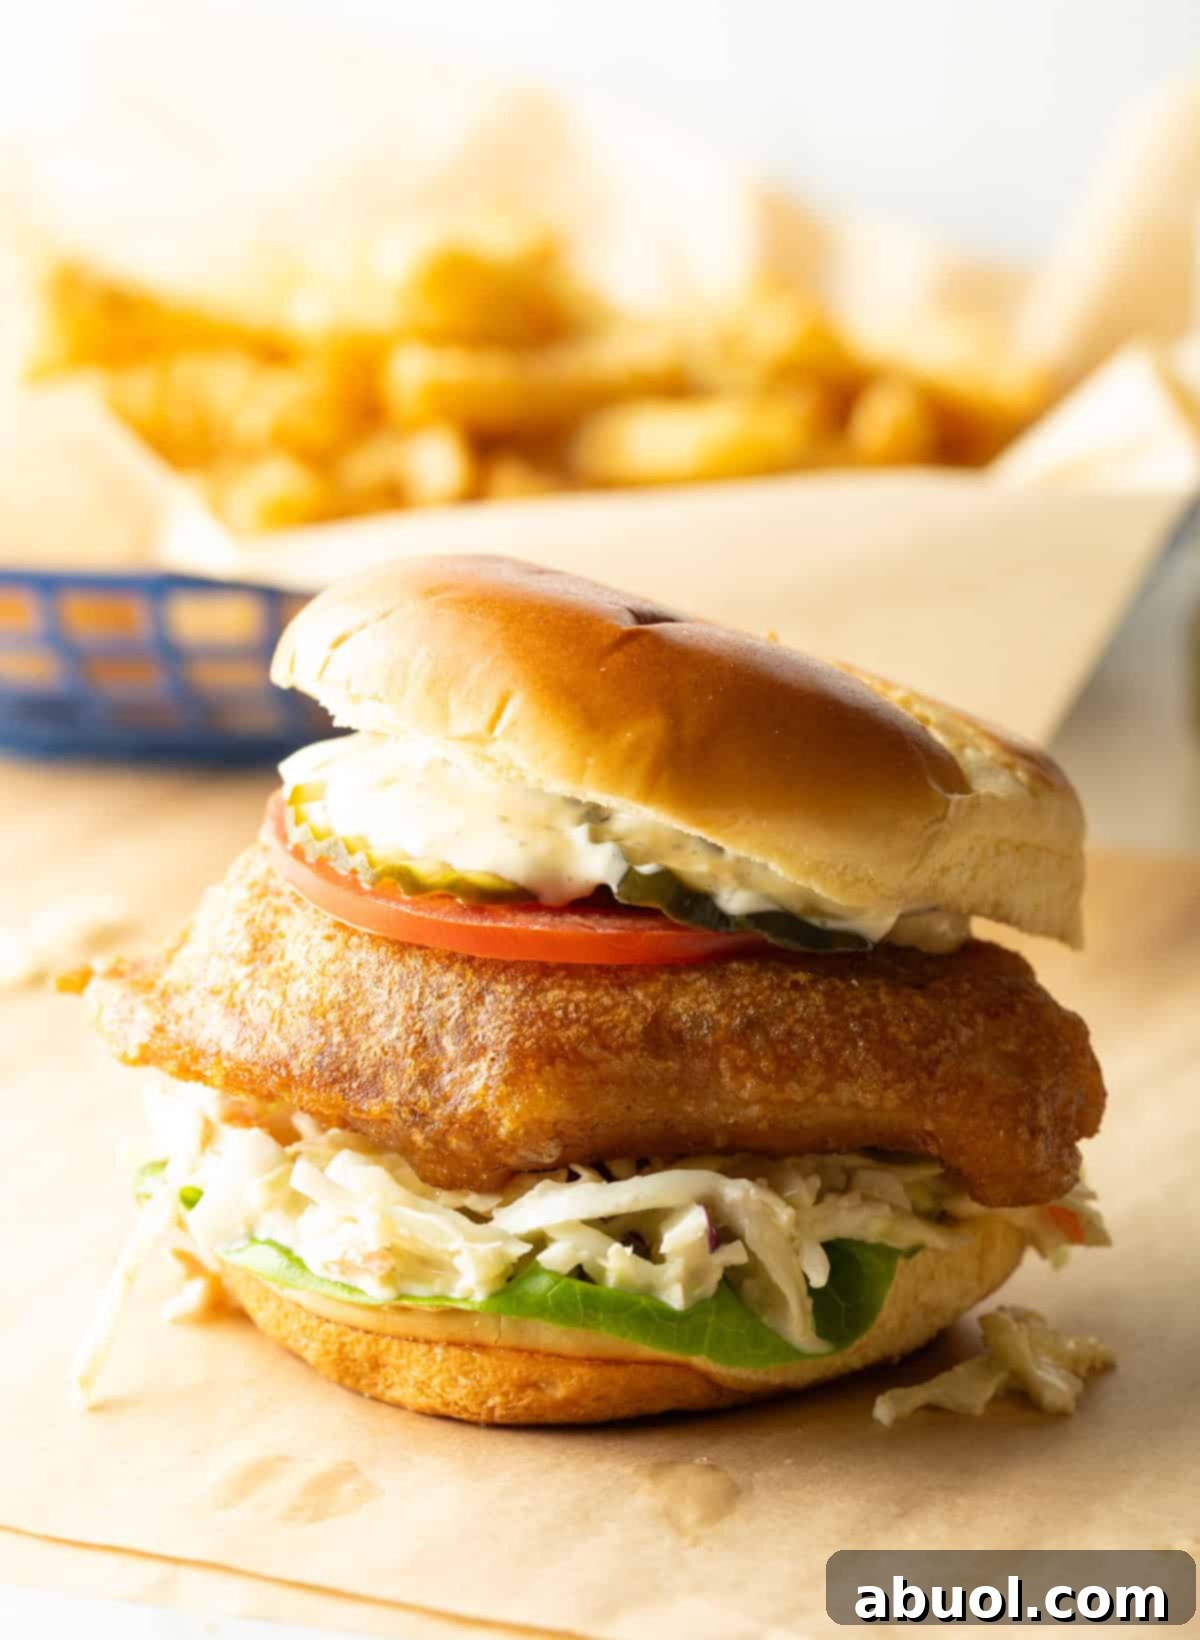
Tired of bland fast-food fish sandwiches? Discover the joy and simplicity of crafting the best homemade fish sandwiches right in your kitchen. This ultimate guide will walk you through making moist, flaky, and exceptionally crispy beer-battered white fish, perfectly complemented by a vibrant, crunchy coleslaw, a zesty tartar sauce, and all your favorite fresh toppings. Elevate your mealtime and create sandwiches that are not just better, but truly unforgettable!

Sommer’s Culinary Insights: Crafting the Ultimate Fish Sandwich
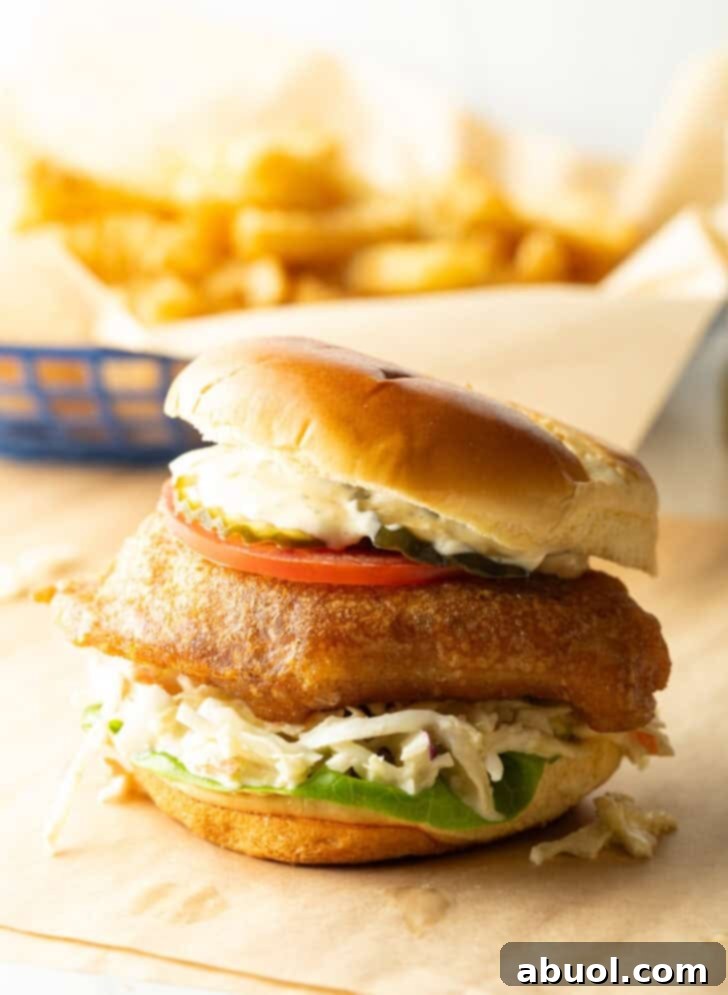
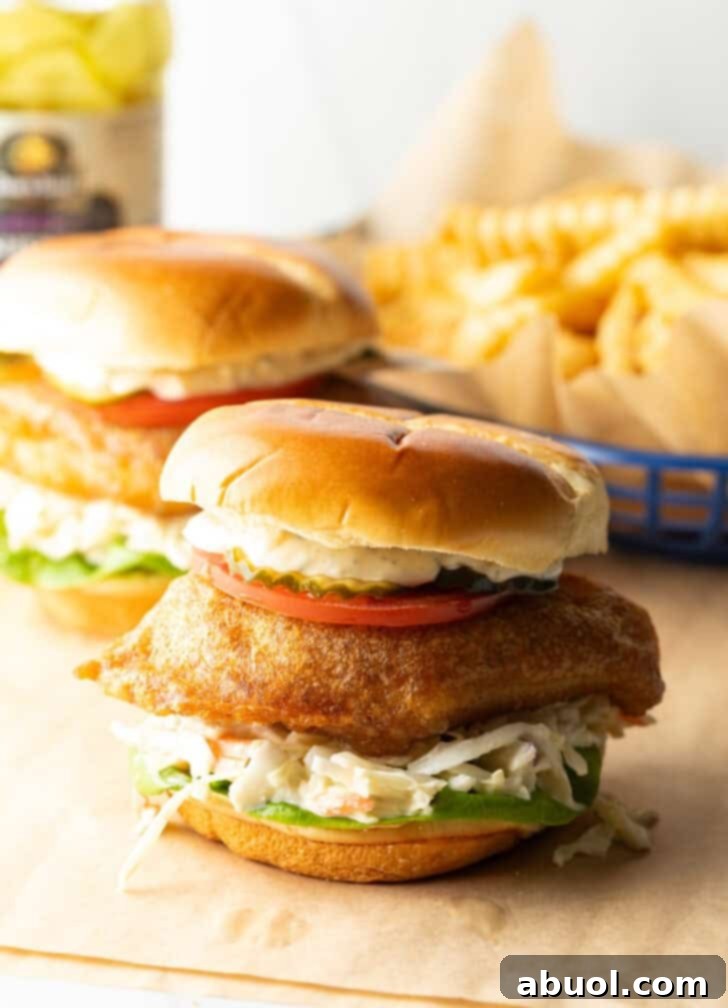
There’s an undeniable satisfaction that comes from biting into a truly exceptional fish sandwich. It’s that perfect symphony of textures and flavors: the light, incredibly crispy crunch of the beer-battered fish, the cool creaminess of the coleslaw, and the zesty tang of the tartar sauce, all nestled within a soft, toasted bun. If you’re anything like me, the mere thought of it sends your taste buds into a frenzy! You’re in luck, because today, we’re not just making a fried fish sandwich; we’re crafting the ultimate Beer Battered Fish Sandwich that will redefine your expectations.
Forget everything you thought you knew about making fish sandwiches at home. This recipe isn’t just about frying fish; it’s about mastering the art of a truly crave-worthy meal. We’ll explore the best ingredients, the secrets to an extra-crispy batter, and how to assemble a sandwich that stands tall and delivers on every single bite. Prepare to impress yourself and your family with this delightful culinary creation!
Why You’ll Fall in Love with This Homemade Fried Fish Sandwich Recipe
- Expert Tips for Perfection: Crafting a light and airy beer batter that clings perfectly to your fish and fries up golden brown and crunchy might seem daunting, but it’s surprisingly straightforward with the right techniques. I’ll share my tried-and-true tips and tricks to ensure your fish fillets are nothing short of crispy perfection, guaranteeing a restaurant-quality experience every time.
- Irresistible Fresh Toppings: A great fish sandwich is all about the layers of flavor and texture. We’ve included a super simple, yet incredibly flavorful recipe for creamy coleslaw that adds a refreshing crunch. Beyond that, fresh butter lettuce, ripe tomato slices, and tangy pickles provide a delightful contrast. For those who prefer classic simplicity, a generous dollop of our irresistible homemade tartar sauce with perfectly fried fish fillets on a soft bun is pure bliss.
- Surpassing the Drive-Thru: Once you taste the fresh, wholesome goodness of these homemade sandwiches, laden with crisp fish and vibrant toppings, you’ll wonder why you ever settled for fast-food versions. This recipe offers a superior flavor profile, a customizable experience, and the satisfaction of knowing exactly what goes into your meal. Get ready to bid farewell to the drive-thru and embrace a new era of delicious, home-cooked fish sandwiches!
- Healthier, Customizable Options: Making your own fish sandwiches means you’re in control. Choose leaner oils, adjust the amount of mayonnaise in your coleslaw, or even opt for whole-wheat buns. This flexibility allows you to tailor the sandwich to your dietary preferences without compromising on flavor or crispiness.
From selecting the absolute best type of white fish for frying to our secret to making the crispiest batter and our favorite imaginative toppings combinations, I’ll demystify the process. You’ll soon discover just how effortlessly you can create rave-worthy sandwiches that satisfy even the most intense cravings. Let’s dive in and transform simple ingredients into an extraordinary meal!
Essential Ingredients & Expert Tips for a Perfect Fry
The foundation of any outstanding dish lies in its ingredients. For these crispy fish sandwiches, quality and freshness are paramount. Here’s a breakdown of what you’ll need, along with some invaluable tips to ensure stellar results:
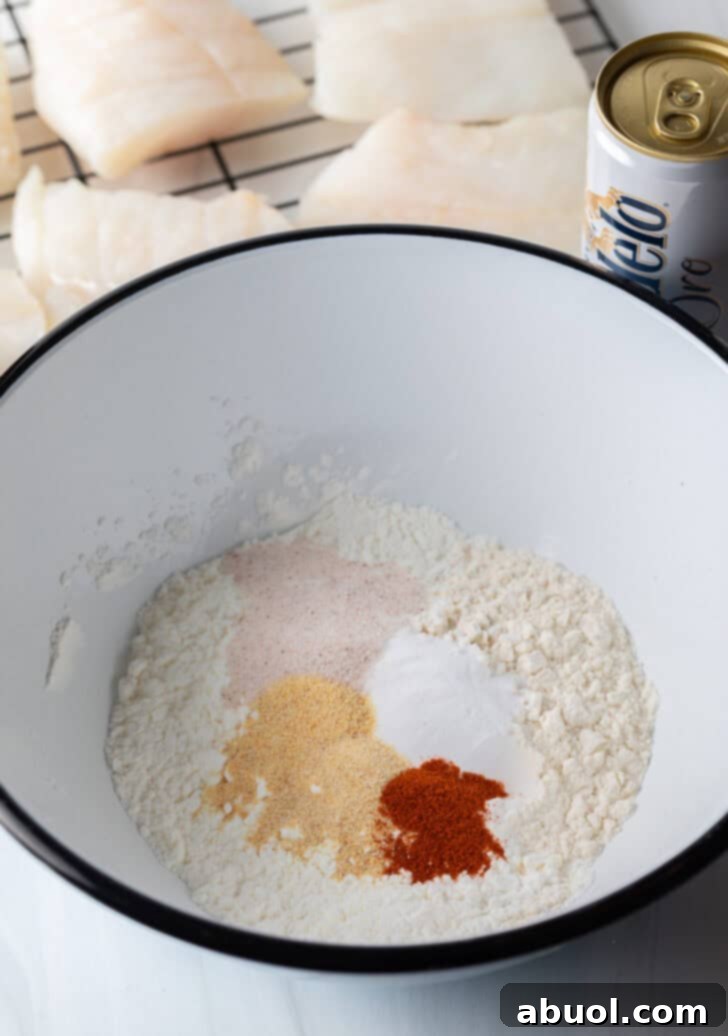
- Premium White Fish: The star of the show! It’s crucial to select the freshest, cleanest, and mildest white fish available. In my experience, grouper offers the best texture and flavor for fried fish sandwiches, holding up beautifully to the batter. However, other excellent choices include cod, halibut, tilapia, flounder, or haddock. Always pat your fish thoroughly dry with paper towels before battering; excess moisture is the enemy of crispiness!
- The Perfect Beer Batter: Our secret to an incredibly light and crispy coating. The dry base consists of cornstarch (for that extra crisp), all-purpose flour (for structure), baking powder (for lift and aeration), and a thoughtful blend of savory spices. When it comes to the liquid, a light, crisp beer like Corona or Modelo adds a unique depth of flavor and fantastic carbonation, which contributes significantly to the batter’s ethereal lightness.
- High-Quality Fry Oil: Achieving that golden, crispy exterior requires the right oil. Opt for a high-heat oil with a neutral flavor profile, such as canola oil, peanut oil, or vegetable oil. Maintaining the correct oil temperature is non-negotiable for perfectly cooked fish that’s crispy, not greasy. A good thermometer is your best friend here!
- Fresh & Creamy Coleslaw (Optional, but Highly Recommended): A homemade coleslaw brings a refreshing, tangy crunch that perfectly balances the richness of the fried fish. Our simple recipe calls for a bag of shredded cabbage mix, mayonnaise, a touch of honey for sweetness, rice vinegar for tang, and a few spices. Prepare it a few hours in advance to allow the flavors to meld beautifully.
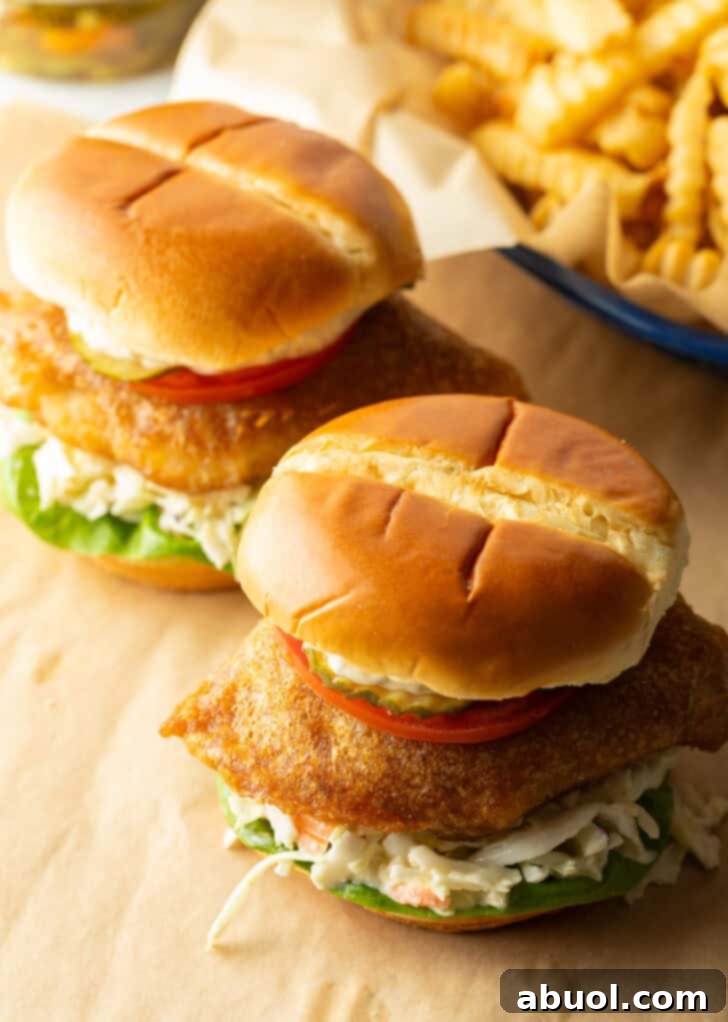
- Buns and Dynamic Toppings: A sturdy yet soft bun is essential. Toasted or steamed brioche hamburger buns offer a delightful richness and hold up well to the substantial fillings. Beyond the coleslaw, load up your sandwiches with crisp butter lettuce, juicy tomato slices, and briny pickles. Don’t forget a generous smear of our homemade tartar sauce, which truly brings all the flavors together. Feel free to customize with any other tasty toppings your heart desires!
Exciting Recipe Variations to Explore
This recipe is wonderfully versatile, allowing for easy modifications to suit different tastes and dietary needs. Don’t hesitate to experiment and make it your own!
- Gluten-Free Perfection: For those avoiding gluten, simply swap out the all-purpose flour in the beer batter for your favorite gluten-free all-purpose flour blend. Many excellent blends are available that perform beautifully in batters. Then, build your delightful sandwich using high-quality gluten-free brioche buns.
- Spice It Up: We include a hint of cayenne pepper in our batter for a subtle warmth. If you’re a fan of serious heat, feel free to amplify the spice! Consider adding an extra pinch (or two!) of cayenne pepper, a dash of hot sauce directly into the batter, or even a few slices of pickled jalapeños to your assembled sandwich for a fiery kick.
- Alcohol-Free Batter: If you prefer to avoid alcohol, club soda is an excellent substitute for beer in the batter. The carbonation from the club soda will still provide that desirable light and crispy texture without the alcoholic content. Keep in mind that the flavor profile will be slightly different, lacking the subtle malty notes that beer contributes, but it will still yield delicious results.
Mastering the Art of Crispy Fried Fish Sandwiches: A Step-by-Step Guide
Achieving perfectly crispy, golden-brown fried fish is simpler than you might think when you follow these clear steps and essential tips:
Pro Tips for Success: For optimal flavor and texture, prepare your coleslaw a few hours in advance. This allows the ingredients to meld and develop a richer taste. Keep it refrigerated until you’re ready to serve. However, avoid making it too far in advance (more than 3 days) to preserve the cabbage’s delightful crunch. Freshness is key for that satisfying snap!
For the complete Beer Battered Fried Fish Sandwich recipe, including detailed instructions, storage guidance, and a helpful video tutorial, please refer to the printable recipe card located at the bottom of this article.
Assembling the Ultimate Fish Sandwich: Layer by Layer
Once your perfectly battered and fried fish is ready, the final step is to construct a sandwich that’s as delightful to look at as it is to eat. Follow these simple steps for a masterfully built sandwich:
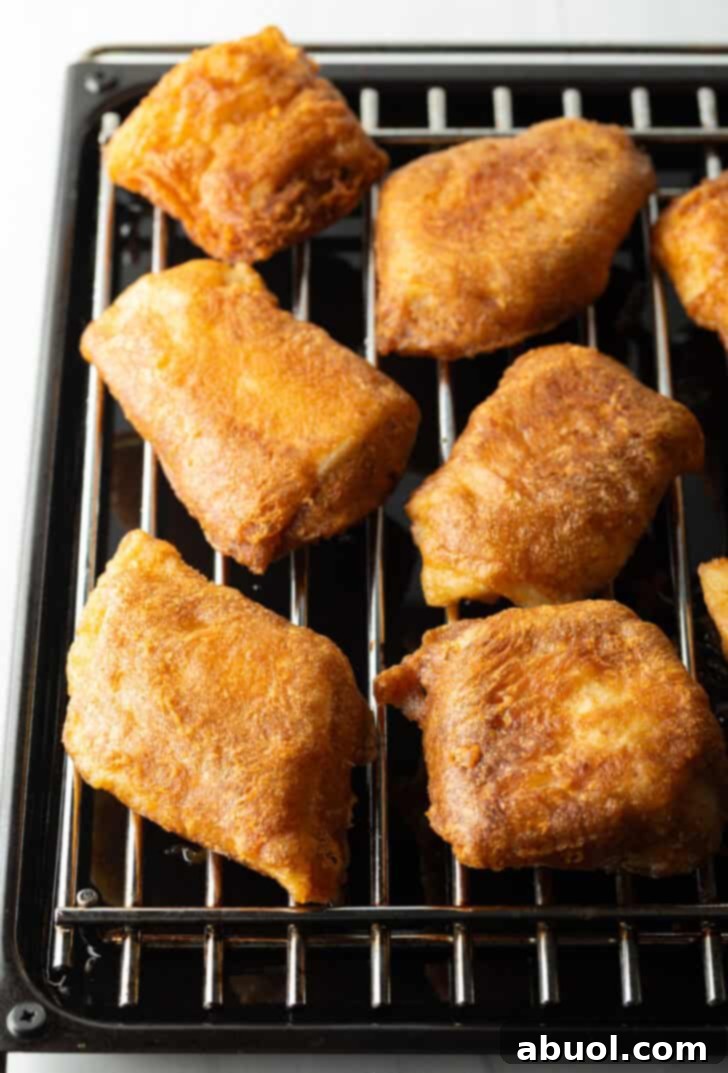
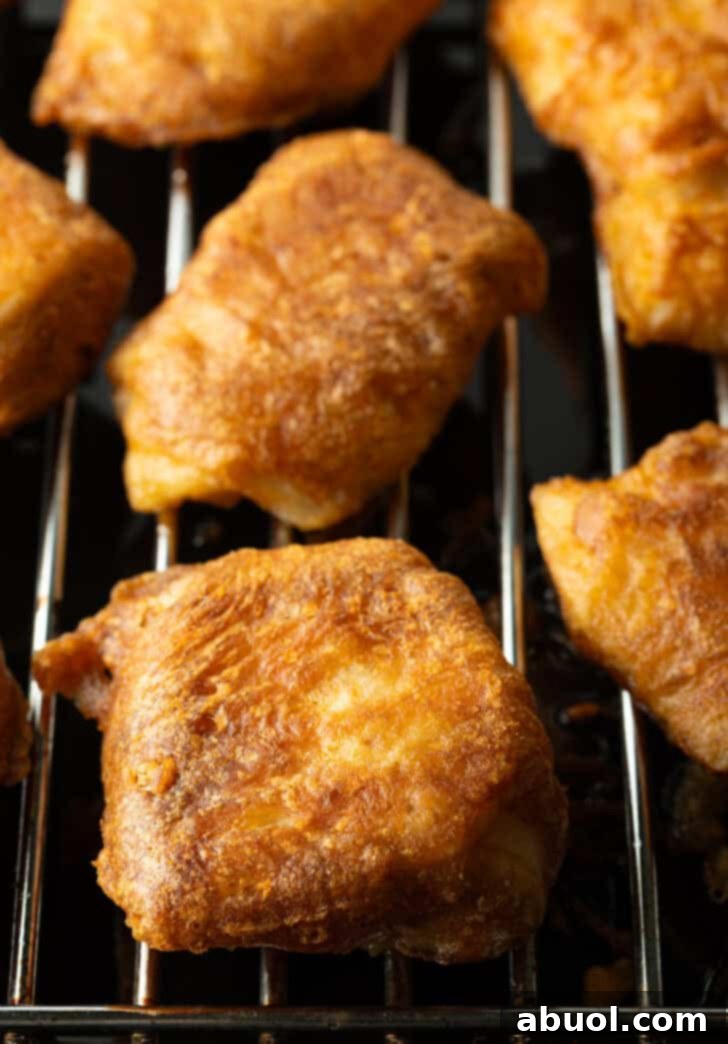
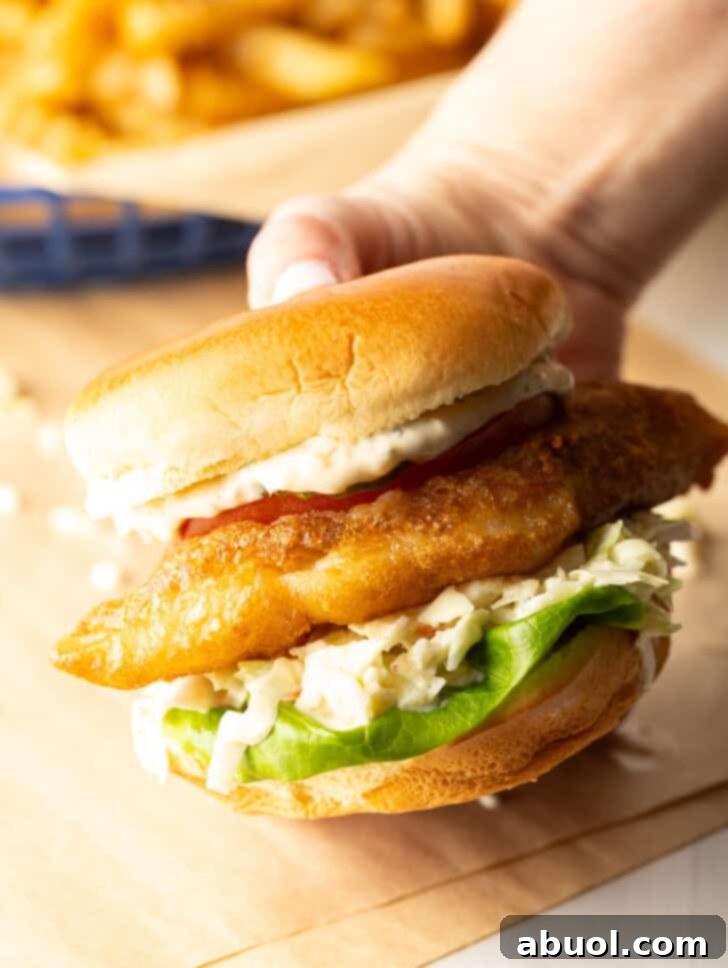
- Drain the Fish Thoroughly: After frying, immediately transfer the fish pieces to a wire rack set over a baking sheet. Allow them to sit for several minutes, or even longer, ensuring any excess oil drips off. This crucial step prevents soggy fish and promotes maximum crispiness. This is also the ideal time to lightly toast or steam your brioche buns to warm them through and give them a pleasant texture.
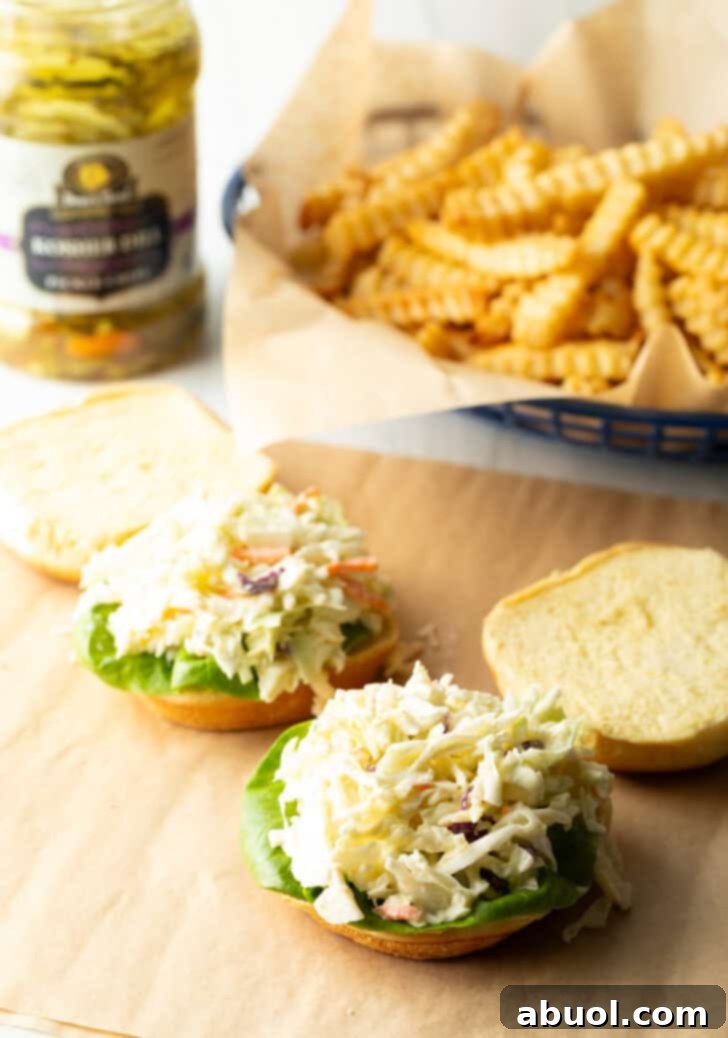
- Prevent Soggy Buns: To safeguard your buns from becoming damp, start by layering fresh butter lettuce leaves on the bottom half of each bun. The lettuce acts as a protective barrier, keeping moisture from the coleslaw and fish from seeping into the bread.
- Add the Crunchy Coleslaw: Next, generously scoop your homemade creamy coleslaw over the lettuce. This adds a fantastic cool, crunchy, and tangy element that perfectly contrasts the warm, crispy fish.
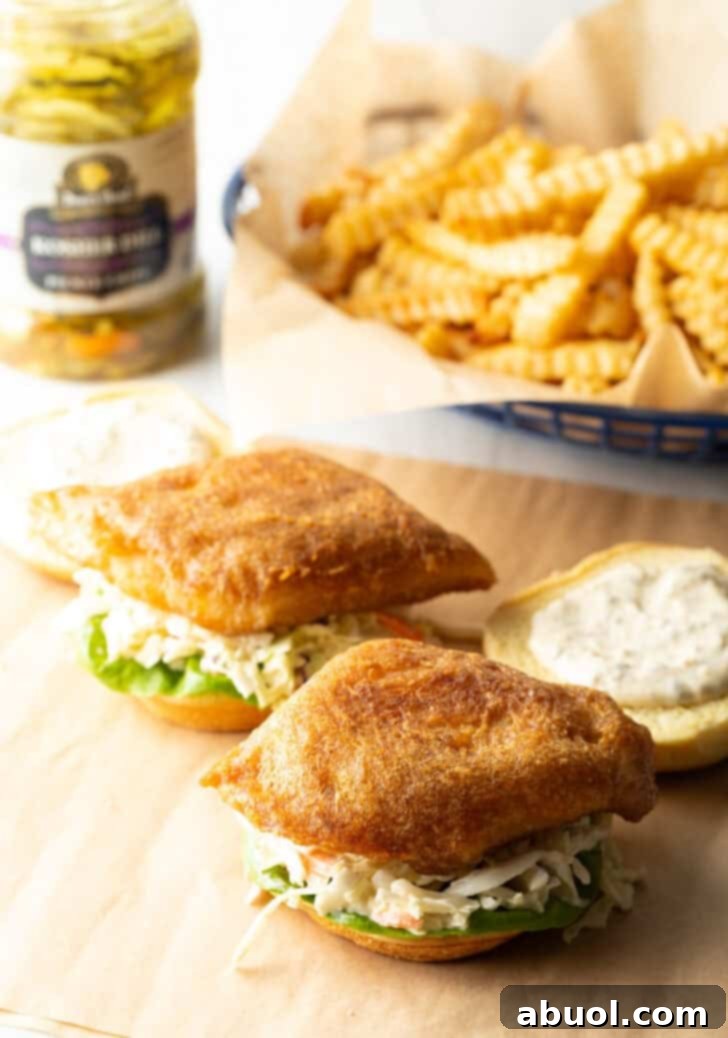
- Place the Star – Your Fried Fish: Carefully place one golden-brown fish fillet on top of the coleslaw. Its crisp texture and moist interior are the heart of your sandwich.
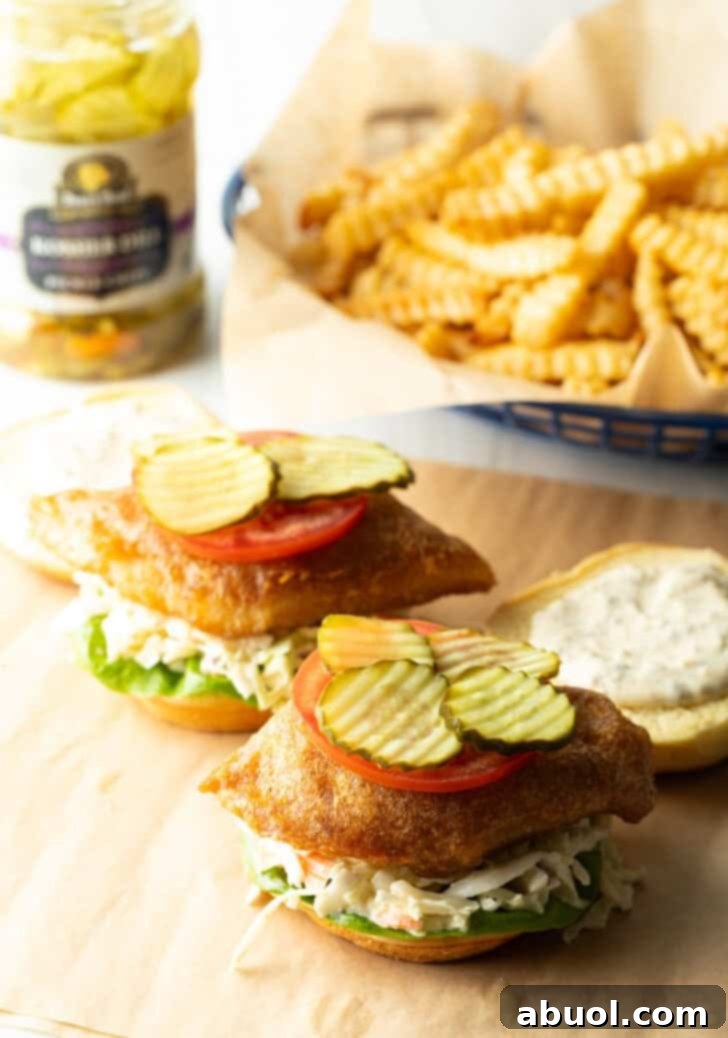
- Layer on Additional Toppings: Now, add any extra toppings you love, such as juicy tomato slices for freshness and briny pickle slices for an extra pop of tang. Red onion, avocado, or a sprinkle of fresh dill can also elevate the experience.
- Finish with Tartar Sauce: The grand finale! Liberally smear a generous amount of your delicious homemade tartar sauce onto the top bun. The creamy, zesty sauce brings all the components together, creating a harmonious flavor profile.
- Serve Immediately: Gently place the top bun onto your layered creation. Press down slightly to secure all the fillings. Serve your masterpiece immediately to enjoy the ultimate beer-battered fish sandwich while the fish is at its crispiest and warmest. Get ready for a truly amazing meal!
Storage & Reheating for Peak Flavor
While these sandwiches are best enjoyed fresh, you might have some delicious leftovers. Here’s how to store and reheat them to maintain as much of their original quality as possible:
- Storing Leftovers: The fried fish fillets are at their absolute best—crispy and warm—shortly after frying. If you do find yourself with extra, it’s crucial to store the components separately. Place the fried fish in an airtight container, and keep other toppings like coleslaw, lettuce, and tomatoes in separate containers. Refrigerate the fish for up to 1-2 days. The coleslaw will remain good for up to 3 days, but be aware that its signature crunch will gradually diminish over time.
- Reheating for Crispiness: To bring your leftover fish back to its golden, crispy glory, avoid the microwave at all costs—it will only lead to soggy fillets. The best methods for reheating are the air fryer or a conventional oven. Warm the fish in an air fryer at 350°F (175°C) for about 5-10 minutes, or bake them in a preheated 350°F (175°C) oven for a similar duration, until heated through and crisp.
Delightful Serving Suggestions
A phenomenal fish sandwich deserves equally fantastic accompaniments. When fried fish comes to mind, a classic pairing is, of course, a generous serving of chips, also known as French fries! You simply can’t go wrong with a basket of warm, perfectly seasoned fries.
Consider serving your sandwiches with:
- Crispy crinkle-cut fries
- Flavorful Cajun Fries, seasoned with a zesty blend
- Delicate Shoestring Fries for an elegant touch
- A side of fresh lemon wedges for a bright squeeze over your fish
- Additional bowls of tartar sauce for extra dipping pleasure!
For a complete meal, a crisp green salad or some homemade onion rings would also be fantastic additions. And don’t forget your favorite cold beverage to wash it all down!
Frequently Asked Questions About Fish Sandwiches
How do you ensure the batter sticks to the fish for a crispy coating?
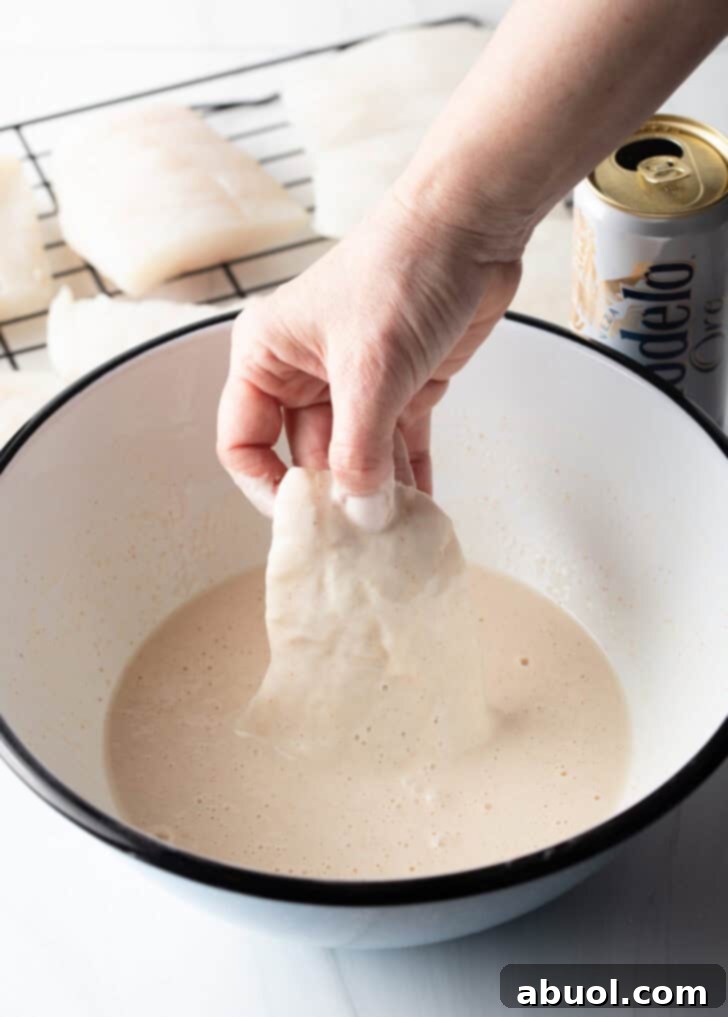
The key to a perfectly adhering, light, and crispy coating lies in using a liquid beer batter. Unlike dredging (which involves a wet ingredient followed by a dry coating), a well-made batter naturally clings to the fish. The most critical step is to ensure your fish fillets are *very dry* before dipping them into the batter. Pat them thoroughly with paper towels on both sides. This creates a clean, dry surface for the batter to adhere to, preventing it from sliding off during frying and ensuring an even, crisp crust.
Should a fish sandwich include cheese?
The inclusion of cheese on a fish sandwich is entirely a matter of personal preference! Many popular fast-food versions like McDonald’s Filet-O-Fish or Wendy’s Crispy Panko Fish Sandwich often feature a slice of American cheese, which melts nicely over the warm fish. If you enjoy that creamy, savory addition, feel free to add a slice of your favorite cheese (cheddar or Swiss would also be delicious) on top of the warm fish fillet before adding other toppings. However, many classic fried fish sandwiches, including those from Arby’s, Popeyes, and Burger King, typically do not include cheese, allowing the pure flavors of the fish and toppings to shine. It’s your sandwich, so customize it to your heart’s content!
What other exciting toppings can I add to these delicious sandwiches?
The beauty of a homemade fish sandwich is its customizability! Beyond the classic lettuce, tomato, pickles, and coleslaw, there’s a world of toppings to explore. Consider adding thinly sliced red onion for a sharp bite, creamy avocado slices for richness, delicate alfalfa sprouts for freshness, or a sprinkle of fresh dill or cilantro for herbaceous notes. A dollop of spicy mustard, a touch of sriracha mayo, or even some pickled red onions can also elevate the flavor profile. Don’t be afraid to get creative and find your perfect combination!
Discover More Delicious Sandwich & Seafood Recipes!
If you loved making these crispy fish sandwiches, you might also enjoy exploring these other fantastic recipes from our collection:
Crispy Beer Battered Fried Fish Sandwich Recipe

Print Recipe
5 stars (3 reviews) Leave a Review »
Prep Time: 30 minutes
Cook Time: 8 minutes
Total Time: 38 minutes
Skip the fast-food line and learn how easy it is to make the best fish sandwiches loaded with moist, flaky, and crispy beer-battered fried white fish, crunchy and creamy coleslaw, tangy tartar sauce, and any of your favorite sandwich toppings!
Servings: 6 – 8 sandwiches
Video Tutorial
Learn how to make the best fish sandwiches with this helpful video tutorial!
Ingredients
Unit System: US Customary – Metric
For the Beer Battered Fish:
- 2 pounds white fish (grouper, cod, halibut, tilapia, or similar)
- 2/3 cup cornstarch
- 2/3 cup all-purpose flour
- 2 teaspoons baking powder
- 1 ½ teaspoons salt
- ½ teaspoon garlic powder
- ½ teaspoon onion powder
- ¼ teaspoon cayenne pepper (or black pepper for less heat)
- 12 ounce light crisp beer (like Corona or Modelo)
- 32 ounces fry oil (canola, peanut, or vegetable oil)
For the Slaw (Optional):
- 1 pound shredded coleslaw cabbage mix
- ½ cup mayonnaise
- 2 tablespoons honey
- 1 ½ tablespoon rice vinegar
- ½ teaspoon garlic powder
- Salt and pepper to taste
For the Fish Sandwiches:
- 8 brioche hamburger buns
- ½ cup tartar sauce (try our homemade recipe!)
- Butter lettuce leaves
- Tomato slices
- Dill pickles slices
Instructions
- Prepare the Fish: Place the whole fish fillets on a cutting board and cut them into 6 to 8 uniform sections, slightly larger than your hamburger buns. Pat the fish very dry with paper towels on both sides. Let them rest for a few minutes while you prepare the batter and heat the oil. Ensuring they are thoroughly dry is key for crispy results.
- Make the Coleslaw (Optional): In a mixing bowl, combine the shredded cabbage mix, mayonnaise, honey, rice vinegar, and garlic powder. Add 1 teaspoon of salt and ½ teaspoon of black pepper. Mix well until all ingredients are smooth and thoroughly combined. Cover and refrigerate until ready to use. (Making this a few hours ahead allows flavors to meld beautifully.)
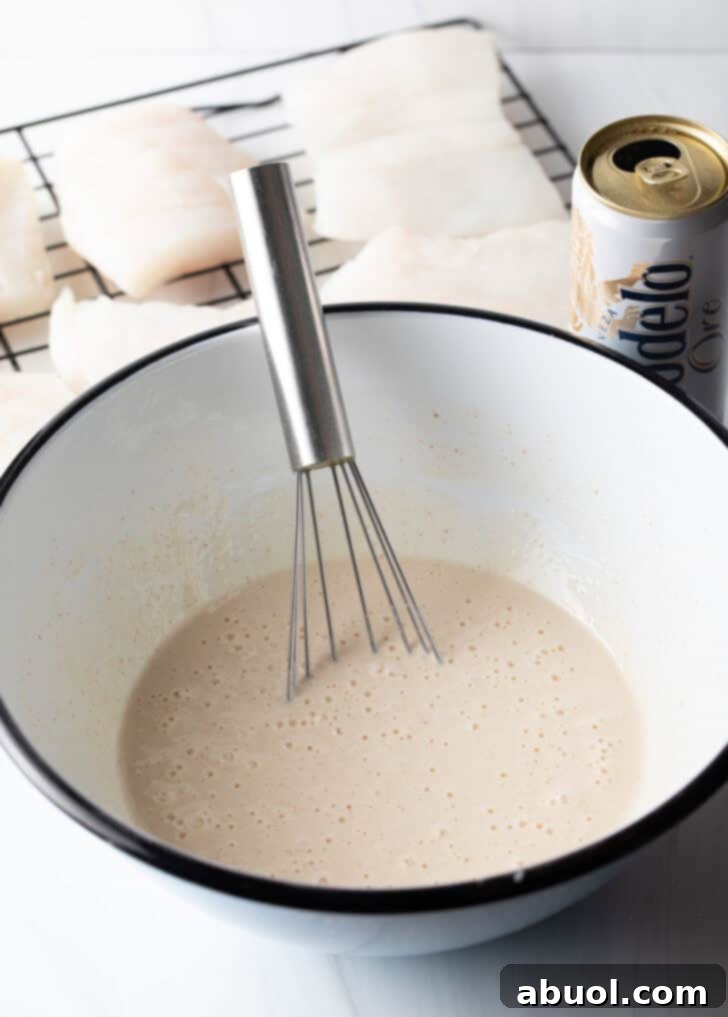
- Prepare the Beer Batter: In a separate large mixing bowl, whisk together the cornstarch, all-purpose flour, baking powder, salt, garlic powder, onion powder, and cayenne pepper until well combined. Gradually pour in ¾ cup of your chosen light beer. Whisk until the batter is smooth and free of lumps. Let the batter rest for several minutes while you begin heating the oil.
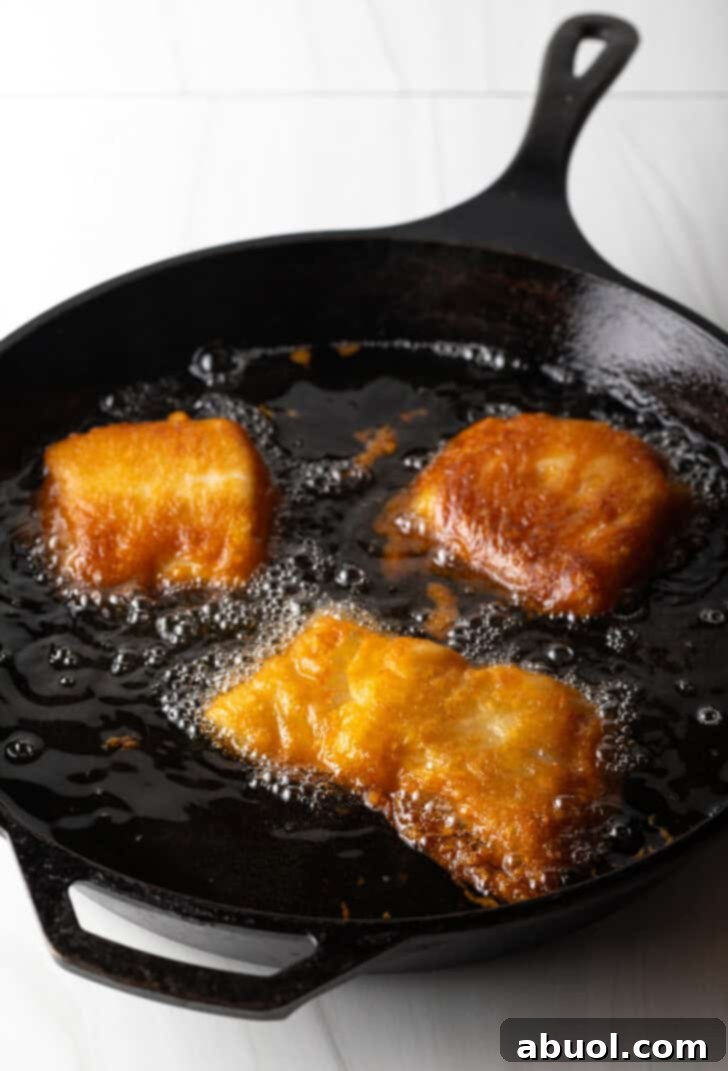
- Heat the Fry Oil: Place a large, deep cast-iron skillet or heavy-bottomed sauté pan over medium-high heat. Pour the fry oil into the pan, ensuring it’s deep enough to submerge the fish. Attach a cooking thermometer to the side of the skillet, making sure the tip is submerged in the oil without touching the bottom. Heat the oil to 375°F (190°C). Set a wire drying rack over a baking sheet near your frying station.
- Maintain Oil Temperature: Once the oil reaches 375°F, adjust the heat to maintain this temperature. It’s normal for the temperature to drop when you add the fish. The goal is to keep the oil between 350-360°F (175-182°C) during frying. This range ensures the batter cooks through and becomes crispy without absorbing too much oil.
- Check Batter Consistency: Before frying, check the consistency of your beer batter. It should be similar to a thick pancake batter. If it appears too thick, add an extra splash of beer, a tablespoon at a time, until the desired consistency is achieved.
- Fry the Fish: Working with one piece at a time, dip each fish fillet into the batter, ensuring it’s fully coated. Carefully and gently lay the battered fish into the hot fry oil. Avoid overcrowding the pan; fry in two batches if necessary to maintain oil temperature and ensure even cooking. Fry the fish fillets for approximately 3-4 minutes per side, or until golden brown and cooked through. Thinner fillets will require less time (around 3 minutes), while thicker pieces might need closer to 4 minutes per side.
- Flip and Drain: Use tongs to carefully flip the fish fillets, being cautious not to splash hot oil. Once cooked, transfer the golden-brown fish to the prepared wire rack over the baking sheet to drain excess oil. If desired, you can preheat your oven to 200°F (93°C) to keep the first batch warm while you fry the second. However, if you fry the second batch immediately after the first, this step may not be necessary.
- Assemble and Serve: It’s time to build your masterpieces! Open your brioche buns and spread a generous dollop of tartar sauce on the top half of each. On the bottom buns, layer fresh butter lettuce, followed by a scoop of your creamy coleslaw. Place a crispy fried fish fillet on top of the coleslaw, then add tomato slices and pickle slices. Finally, cover with the tartar-sauce-smeared top bun. Serve your ultimate fried fish sandwiches immediately and savor every delicious bite!
Notes
- Storing Leftovers: For optimal crispiness, consume the fried fish shortly after preparation. If you have leftovers, store the cooked fish in an airtight container separately from the other toppings. Keep refrigerated for up to 1-2 days. The coleslaw will keep well for up to 3 days, but its crunchiness will diminish over time.
- Reheating: To reheat leftover fish and restore its crisp texture, use an air fryer or conventional oven. Reheat in an air fryer at 350°F (175°C) for 5-10 minutes, or bake in a 350°F (175°C) oven for a similar duration, until hot and crispy. Avoid microwaving, as this will result in soggy fish.
Nutrition Information
Per Serving (1 sandwich):
- Calories: 996kcal
- Carbohydrates: 89g
- Protein: 46g
- Fat: 50g
- Saturated Fat: 19g
- Polyunsaturated Fat: 13g
- Monounsaturated Fat: 6g
- Trans Fat: 0.1g
- Cholesterol: 276mg
- Sodium: 1433mg
- Potassium: 778mg
- Fiber: 3g
- Sugar: 9g
- Vitamin A: 1112IU
- Vitamin C: 28mg
- Calcium: 186mg
- Iron: 3mg
Course: Lunch, Main, Main Course, Sandwiches
Cuisine: American
Author: Sommer Collier
Cook It? Love It? Rate It!
Help this recipe rank on Google by tapping 5 stars so other hungry people can find it. Thank you!