
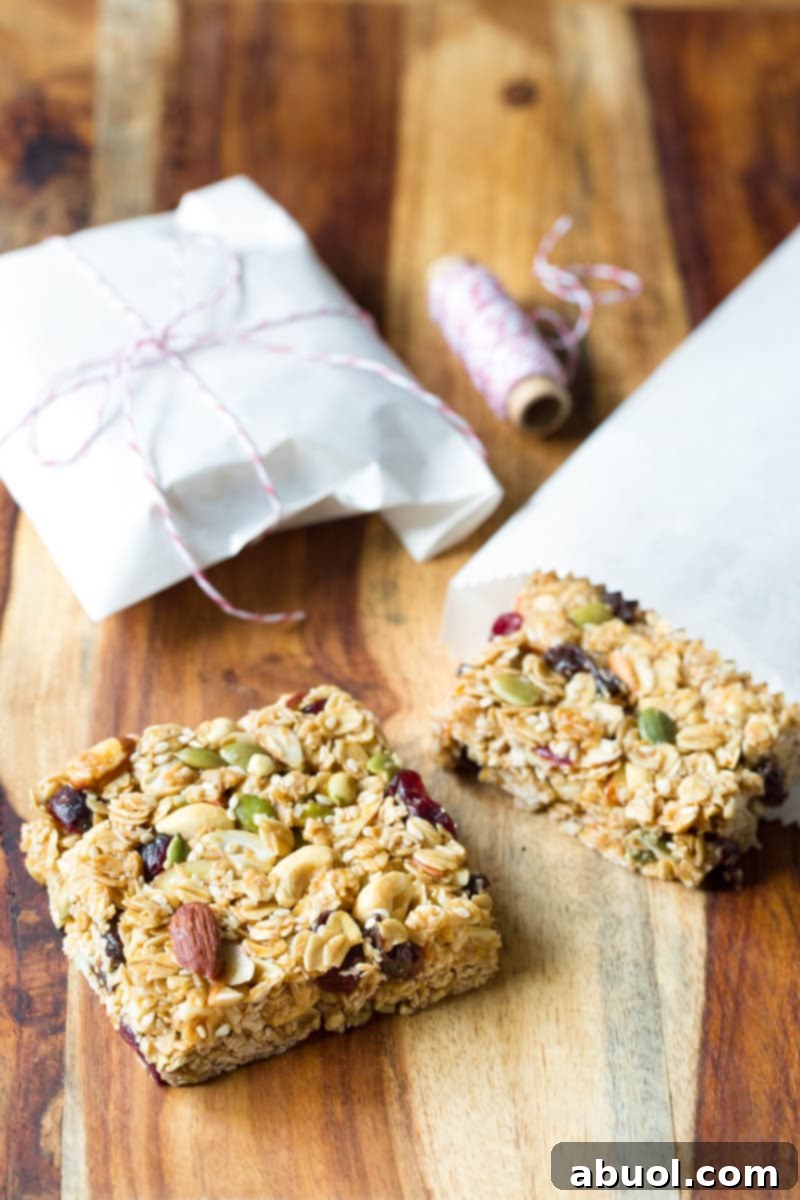
Whole Foods Copycat Homemade Granola Bars: Your Guide to Soft, Chewy, and Healthy Perfection
Discover the secret to making delicious, soft, and chewy granola bars right in your own kitchen – a perfect copycat of the beloved Whole Foods Granola Bars. This easy-to-follow recipe will not only save you money but also provide a healthy, irresistible snack that’s perfect for lunchboxes, quick breakfasts, or an energy boost any time of day. Say goodbye to expensive store-bought options and hello to customizable, wholesome goodness!
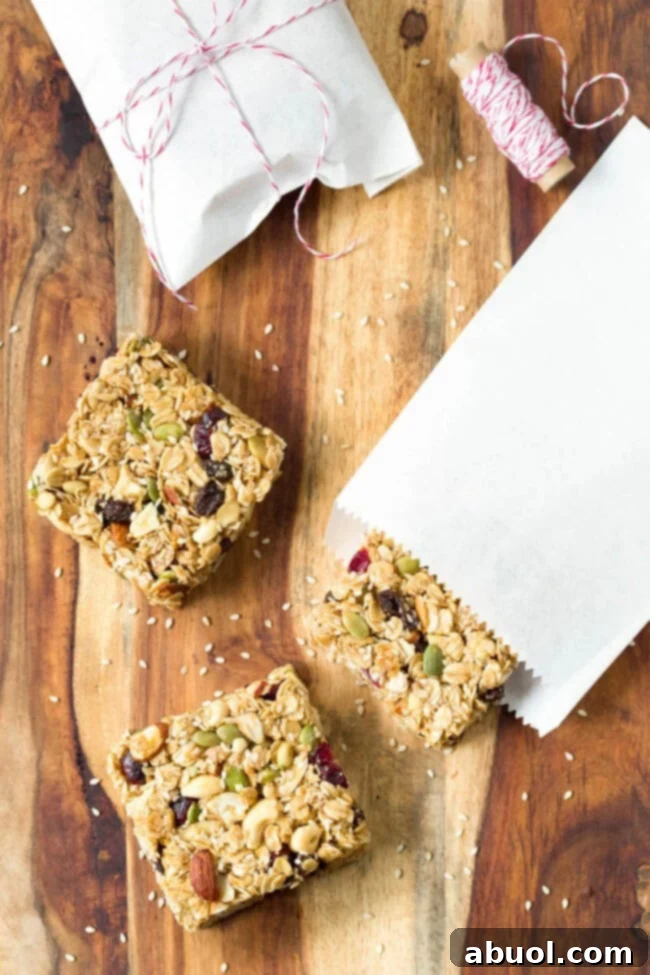
Why You’ll Fall in Love with This Homemade Granola Bar Recipe
For years, Whole Foods Market granola bars have captivated us with their perfectly moist, chewy texture and wholesome ingredients. But let’s be honest, those delectable chunks often come with a hefty price tag – sometimes $2.50 to $5.00 apiece! If you’re like us, you’ve probably indulged in more than a few spontaneous purchases at the checkout counter, unable to resist their alluring presence.
Imagine having an endless supply of these amazing homemade bars, tasting just like your favorite Whole Foods treat, but at a fraction of the cost. This copycat Whole Foods Granola Bar recipe isn’t just a money-saver; it’s a revelation for your taste buds and a staple in our household. These aren’t just any granola bars; they’re a genuinely healthy granola bar recipe, packed with nutrient-dense ingredients that you control. They’re soft, they’re chewy, and they’re utterly irresistible, making them an ideal lunchbox filler or a guilt-free snack for adults and kids alike.
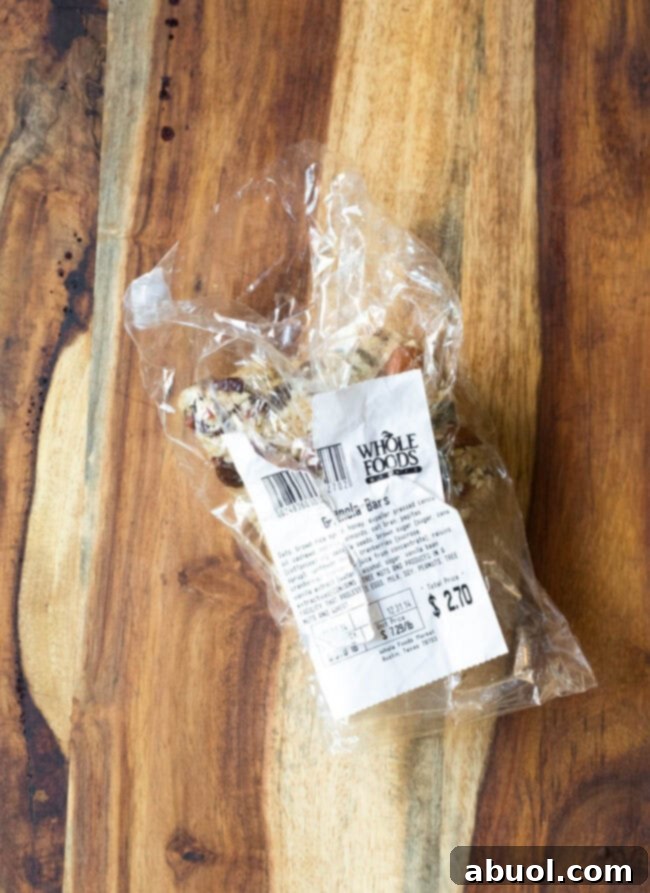
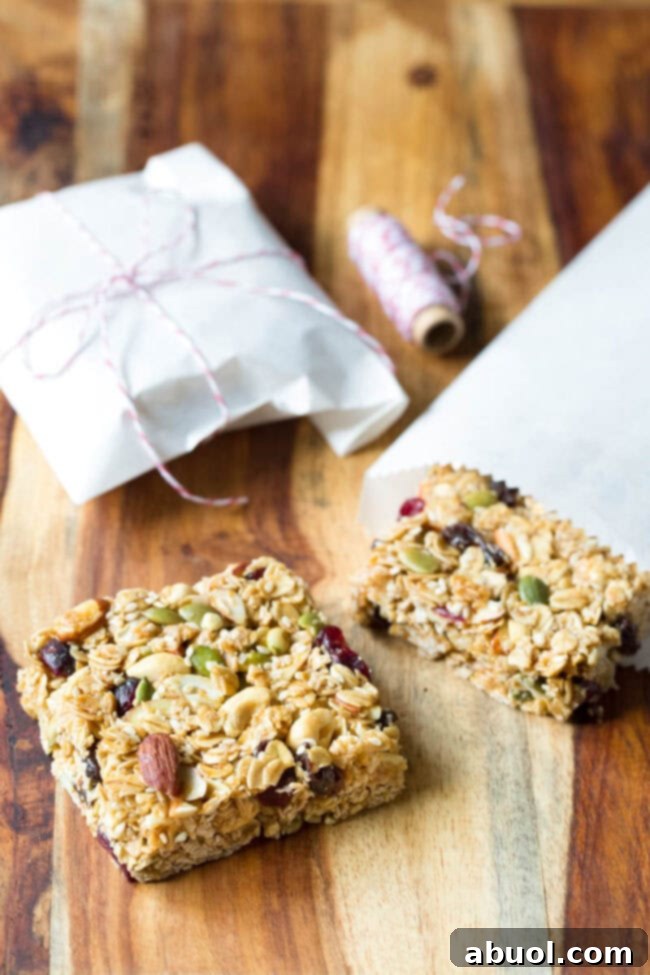
Today, we’re embarking on a journey to recreate that magic. We’re going to make a large batch of these wholesome treats for significantly less money. You’ll find that many of the essential ingredients are likely already lurking in your pantry or freezer. The first time I whipped up these delectable bars, the only item I needed to specifically purchase was brown rice syrup – a crucial component for achieving that ultra-moist and perfectly chewy texture. These copycat Whole Foods Homemade Granola Bars are generously packed with a delightful medley of nuts, seeds, dried fruit, and coconut, delivering a complex flavor and satisfying crunch in every bite.
Even if your pantry isn’t brimming with an existing collection of nuts, seeds, and dried fruit, you’ll still enjoy substantial savings by opting for bulk bins at your local grocery store. This approach allows you to buy precisely what you need, minimizing waste and maximizing cost-efficiency, all while crafting a superior, healthier snack compared to many store-bought alternatives.
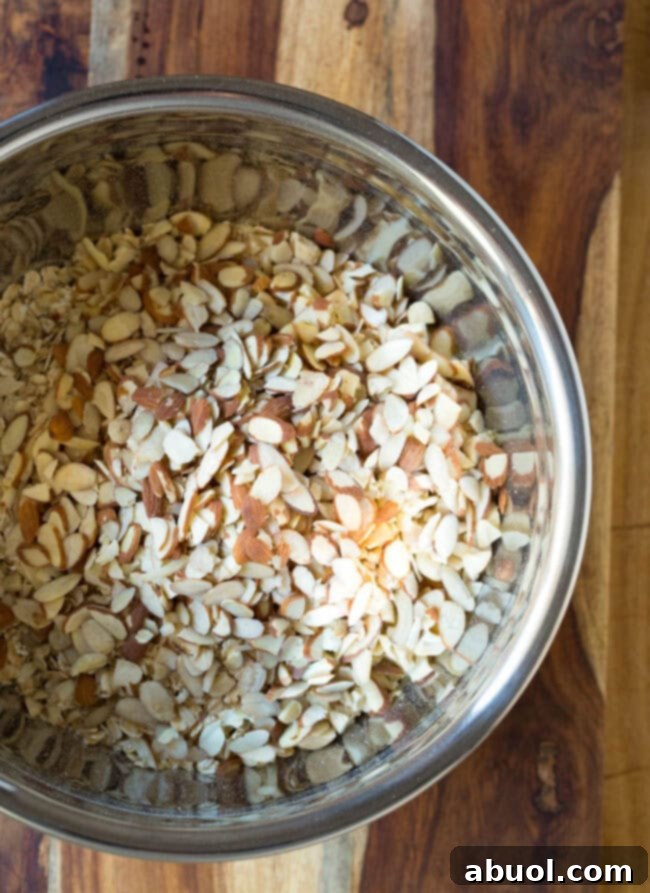
Essential Ingredients for Your Copycat Granola Bars
Crafting the perfect homemade granola bar begins with selecting quality ingredients. Here’s what you’ll need to create these healthy, chewy, and utterly delightful bars:
- Whole Oats: The foundation of our granola bars. You can use solely whole oats or a combination of whole oats and oat bran for a slightly finer texture. Oats provide essential fiber and a satisfying base.
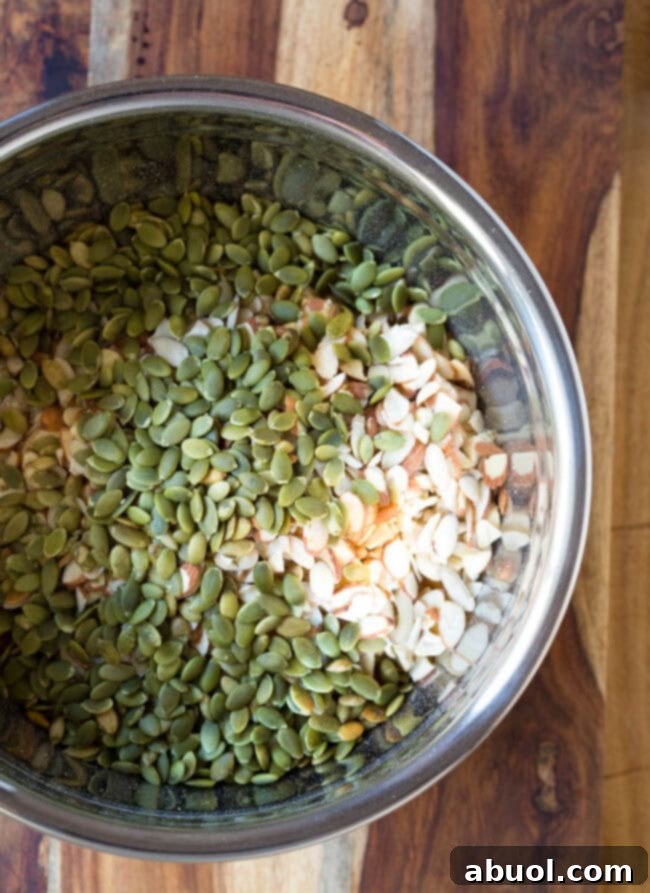
- Raw Almonds: Whether whole or sliced, almonds add a delightful crunch and healthy fats.
- Raw Cashews: Chopped cashews contribute a creamy texture and rich, buttery flavor.
- Raw Pepitas (Pumpkin Seeds): These vibrant green seeds offer a distinctive nutty taste and a boost of nutrients.
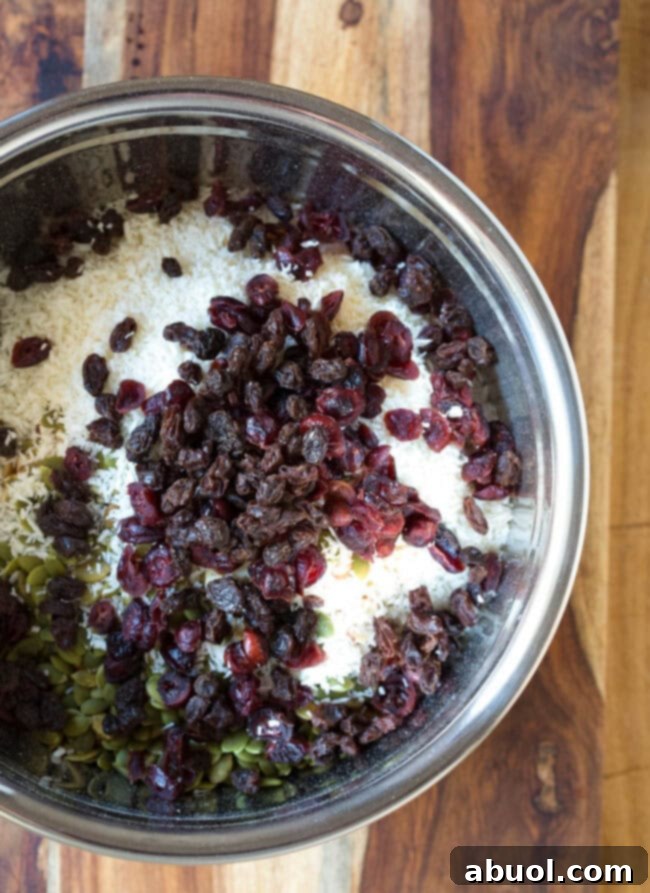
- Unsweetened Shredded Coconut: For a tropical hint and additional texture without excessive sweetness.
- Dried Cranberries: Bright, tart, and chewy, cranberries add a burst of flavor.
- Raisins: Classic dried fruit for natural sweetness and a soft chewiness.
- Sesame Seeds: Small but mighty, sesame seeds add a subtle nutty flavor and a nutritional punch.
- Brown Sugar: Provides depth of sweetness and contributes to the bars’ moist texture. Palm sugar can be used as a healthier alternative.
- Honey: A natural sweetener that also acts as a binder, helping to hold the bars together.
- Brown Rice Syrup: This is a key ingredient for achieving that signature chewy texture and superior binding capability, often outperforming other syrups.
- Coconut Oil: Adds richness and helps in solidifying the bars when chilled.
- Vanilla Extract: Enhances all the flavors with its warm, aromatic notes.
- Sea Salt: A pinch of sea salt balances the sweetness and brings out the full flavor profile of the nuts and fruits.
Step-by-Step Guide to Crafting Your Granola Bars
Preparation is Key
Before you begin, gather all your ingredients to ensure a smooth process. Line a large 13×18-inch rimmed baking sheet with wax paper. This crucial step prevents sticking and makes it much easier to remove and cut your finished bars. Set the prepared baking sheet aside.
Mixing the Dry Ingredients
- First, for a texture closer to the store-bought version and to aid in binding, take about 1 1/2 cups of your whole oats and place them in a food processor. Pulse until they are finely ground. This creates a finer base that helps the bars hold together more effectively.
- In a large mixing bowl, combine the ground oats, the remaining whole oats, raw almonds (whole or sliced), chopped raw cashews, raw pepitas, unsweetened shredded coconut, dried cranberries, raisins, and sesame seeds. Mix these dry ingredients thoroughly until everything is evenly distributed. This ensures every bite of your homemade granola bar is packed with flavor and texture.
Creating the Binding Syrup
- In a medium saucepot, combine the brown sugar, honey, brown rice syrup, and coconut oil. Place the pot over high heat.
- Bring the mixture to a roaring boil, stirring continuously. As soon as it reaches a strong boil, immediately remove the pot from the heat. This quick boil is essential for activating the binding properties of the syrups.
- Stir in the vanilla extract and sea salt until well combined. The vanilla adds a delightful aroma, and the salt balances the sweetness.
Combining and Pressing
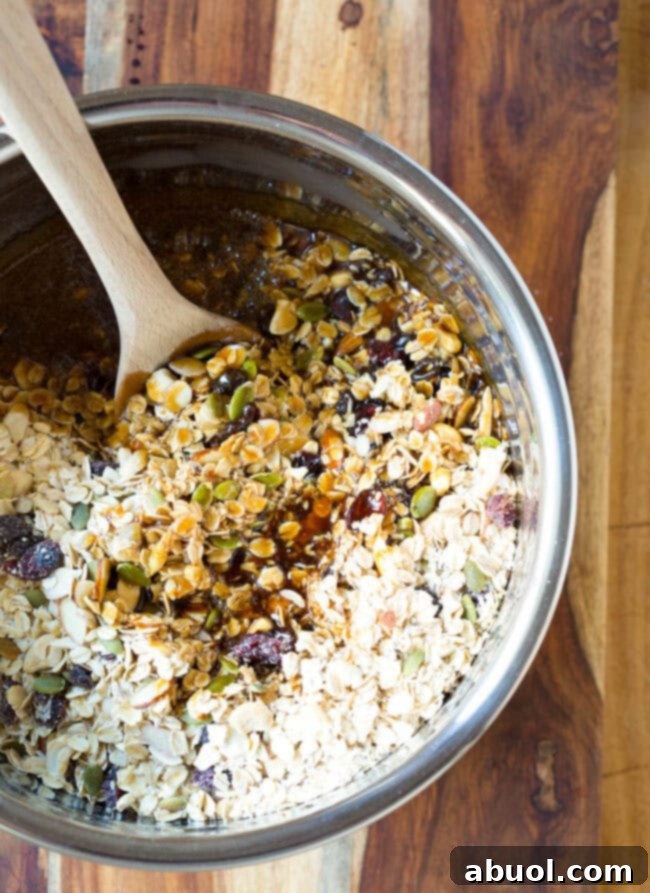
- Pour the hot syrup mixture directly over the dry ingredients in the large mixing bowl.
- Mix everything thoroughly with a sturdy spoon or spatula. Ensure all the dry ingredients are completely coated with the sticky syrup. This step is vital for the bars to bind properly and achieve their signature chewy texture.
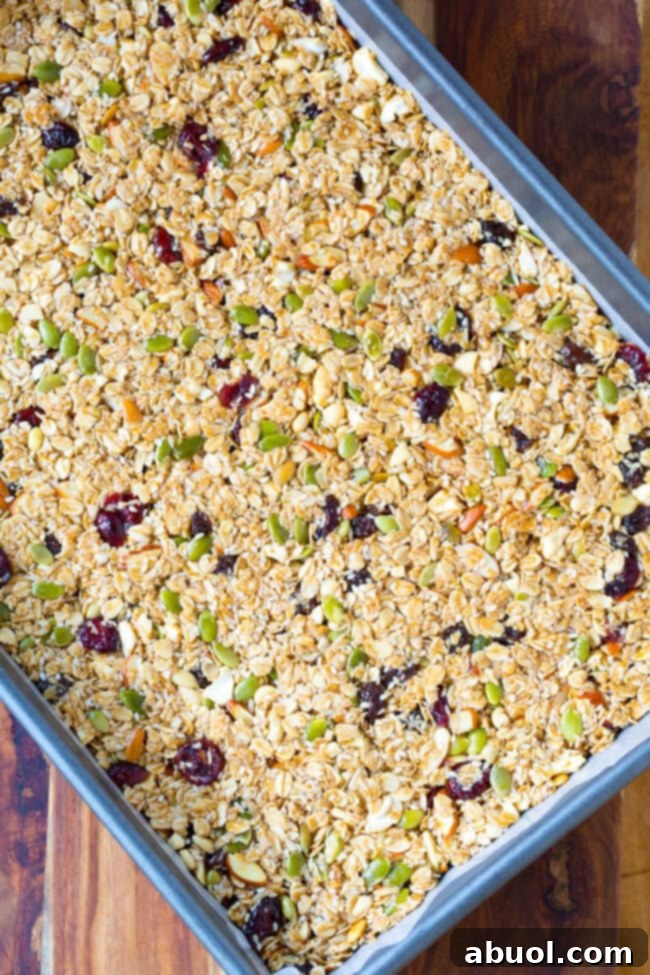
- Scoop the entire mixture out onto your prepared baking sheet. Spread it out evenly across the pan.
- To achieve that dense, compact texture characteristic of Whole Foods bars, place another sheet of wax paper over the mixture. Use your hands, a rolling pin, or a flat bottom of a glass to press down firmly and evenly on the mixture until it is flat and tightly packed. The harder you press, the better your bars will hold together.
Setting and Storing
- Refrigerate the pressed granola bar mixture for at least 2 hours. This chilling time is crucial for the bars to set completely and become firm enough to cut without crumbling.
- Once thoroughly chilled and firm, remove the slab from the refrigerator and peel off the top wax paper. Using a sharp knife, cut the large slab into individual squares or rectangles of your desired size.
- Wrap each homemade granola bar individually in parchment paper or plastic wrap, or store them collectively in an airtight container. Keep them in the refrigerator or a cool, dark place for up to 2 weeks. They will maintain their delicious texture and freshness.
Seriously, it’s that easy to make your own healthy, budget-friendly granola bars that rival your favorite store-bought options!
Pro Tips for Perfect Homemade Granola Bars
The Magic of Brown Rice Syrup
Brown rice syrup isn’t just another sweetener; it’s a critical ingredient in this homemade granola bar recipe. Its unique chemical structure provides an exceptional binding quality that helps hold the mixture together better than honey, maple syrup, or other “healthy” syrups. It also contributes significantly to the soft, chewy texture without being overly sweet, making it indispensable for achieving that authentic Whole Foods granola bar feel.
Customizing Your Granola Bar Texture
The original Whole Foods Granola Bars often have a slightly finer, more uniform texture than many rustic homemade versions. In this recipe, we suggest grinding part of the oats to help the mixture pack and hold together effectively while still retaining some satisfying chewiness. However, if you prefer an even finer texture, almost like a pressed cereal bar, you could grind *all* the oats before mixing them with the other ingredients. Conversely, if you enjoy a heartier, chunkier bar with more distinct oat pieces, you can reduce the amount of ground oats or skip grinding them altogether. Experiment to find your perfect bite!
Ingredient Substitutions and Additions
One of the greatest joys of making granola bars at home is the freedom to customize! My kids often beg for my copycat Whole Foods Granola Bars, and I never mind making them because they are such a time and money saver, not to mention a fantastic canvas for creativity. Here are some ideas:
- Nuts & Seeds: Feel free to swap or add sunflower seeds, peanuts, walnuts, pecans, flax seeds, or chia seeds for varied nutrients and crunch. Toasting your nuts and seeds lightly before adding them can also enhance their flavor.
- Dried Fruits: Beyond cranberries and raisins, consider chopped dried apricots, dates, figs, or even banana chips for different flavor profiles and textures.
- Sweeteners: While brown rice syrup is highly recommended for texture, you can experiment with proportions of honey and brown sugar, or even introduce a touch of maple syrup for a different flavor nuance. Just be aware that substituting brown rice syrup entirely might alter the binding and chewiness.
- Flavor Boosters: A dash of cinnamon, nutmeg, or a hint of almond extract can elevate the taste. For a decadent twist, stir in some mini chocolate chips or a drizzle of melted dark chocolate after the bars have set.
I even slip one of these homemade marvels into my purse when I head out to Whole Foods Market, so I’m not tempted to buy one at the counter. It’s a truly satisfying and smart snack solution!
Frequently Asked Questions About Homemade Granola Bars
How Long Do These Healthy Granola Bars Last?
When stored properly in an airtight container, these homemade granola bars maintain their freshness and delicious texture for 1 to 2 weeks. You can keep them at room temperature in a cool, dark pantry or in the refrigerator. Storing them in the fridge can slightly extend their shelf life and maintain their firm chewiness, especially in warmer climates.
What Other Variations Can I Make With This Dish?
The beauty of homemade granola bars lies in their versatility! You can easily customize the flavor and nutritional profile by incorporating various wholesome ingredients as mix-ins. Consider adding sunflower seeds, different types of chopped nuts like walnuts or pecans, banana chips for a tropical twist, a sprinkle of ground cinnamon for warmth, or even some mini chocolate chips for an indulgent treat. Chopped dried apricots or different kinds of unsweetened coconut can also introduce exciting new textures and flavors. Don’t be afraid to experiment with your favorite dried fruits and seeds!
Are Homemade Granola Bars Truly Healthier Than Store-Bought?
Absolutely! One of the primary advantages of making your own granola bars is complete control over the ingredients. Many commercially produced granola bars, even those marketed as “healthy,” can be surprisingly high in added sugars, unhealthy fats, and artificial ingredients. By making them at home, you can opt for natural sweeteners, healthy fats like coconut oil, and load them with fiber-rich whole oats, nuts, and dried fruits, avoiding any unwanted additives. This recipe focuses on wholesome, nourishing ingredients, making it a genuinely healthy snack choice.
Can I Make These Granola Bars Gluten-Free or Vegan?
Yes, with simple modifications! To make them gluten-free, ensure you use certified gluten-free oats. Oats are naturally gluten-free, but cross-contamination can occur during processing, so look for a specific “gluten-free” label. For a vegan version, you’ll need to substitute the honey with another liquid sweetener like maple syrup or agave nectar. While these alternatives will still work as binders, they might slightly alter the final texture, potentially making the bars a little less chewy than with brown rice syrup and honey. You might also want to ensure your brown sugar is vegan-certified, as some are processed with bone char.
Explore More Wholesome Snack Recipes
If you’re looking for more delicious and healthy bar recipes to add to your repertoire, check out these fantastic options:
- Peanut Butter Granola Bars by A Couple Cooks
- Paleo Bars with Nuts and Chocolate Drizzle
- Breakfast Oat Bar
- Keto Cereal Bars (Low Carb)
- Energy Oatmeal Bites
Don’t forget to share your homemade granola bar creations on Facebook, Instagram, and Pinterest!

Print Recipe
Leave a Review »
Whole Foods Homemade Granola Bars
Ingredients
- 4 cups whole oats, or 3 1/4 cups oats + 3/4 cup oat bran
- 3/4 cup raw almonds, whole or sliced
- 3/4 cup raw cashews, chopped
- 1/2 cup raw pepitas
- 2/3 cup unsweetened shredded coconut
- 1/2 cup dried cranberries
- 1/2 cup raisins
- 1/3 cup sesame seeds
- 1/2 cup brown sugar, or substitute palm sugar
- 1/4 cup honey
- 1/3 cup brown rice syrup
- 1/2 cup coconut oil
- 1 1/2 tablespoons vanilla extract
- 1/2 teaspoon sea salt
Instructions
- Pour 1 1/2 cups of whole oats into a food processor. Pulse until the oats are finely ground.
- In a large bowl, combine the finely ground oats, the remaining whole oats, nuts, seeds, coconut, and dried fruit. Mix well to ensure all dry ingredients are evenly distributed. Line a large 13×18-inch rimmed baking sheet with wax paper and set aside.
- In a saucepot, combine the brown sugar, honey, brown rice syrup, and coconut oil. Place over high heat and bring to a roaring boil, stirring continuously. As soon as it boils vigorously, remove from heat immediately. Stir in the vanilla extract and sea salt.
- Pour the hot syrup mixture over the dry ingredients in the large bowl. Mix thoroughly until all dry ingredients are completely coated. Scoop the mixture onto the prepared baking sheet and spread it out evenly. Place another sheet of wax paper over the mixture and press down firmly until flat and tightly packed.
- Refrigerate for at least 2 hours to allow the bars to set. Once firm, cut into squares. Wrap each bar well or store in an airtight container in the refrigerator or a cool, dark place for up to 2 weeks.
Notes
You can store these healthy snacks in an airtight container at room temperature or in the fridge for 1 to 2 weeks for optimal freshness.
Nutrition
Calories: 161 kcal
Carbohydrates: 19g
Protein: 3g
Fat: 9g
Saturated Fat: 4g
Sodium: 39mg
Potassium: 120mg
Fiber: 2g
Sugar: 9g
Vitamin C: 0.2mg
Calcium: 34mg
Iron: 1.1mg