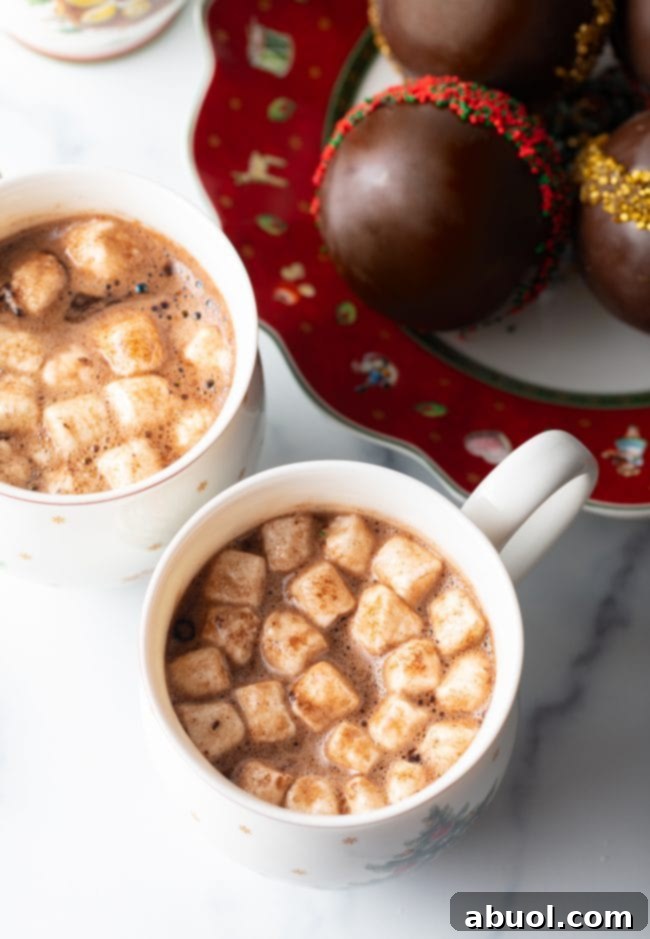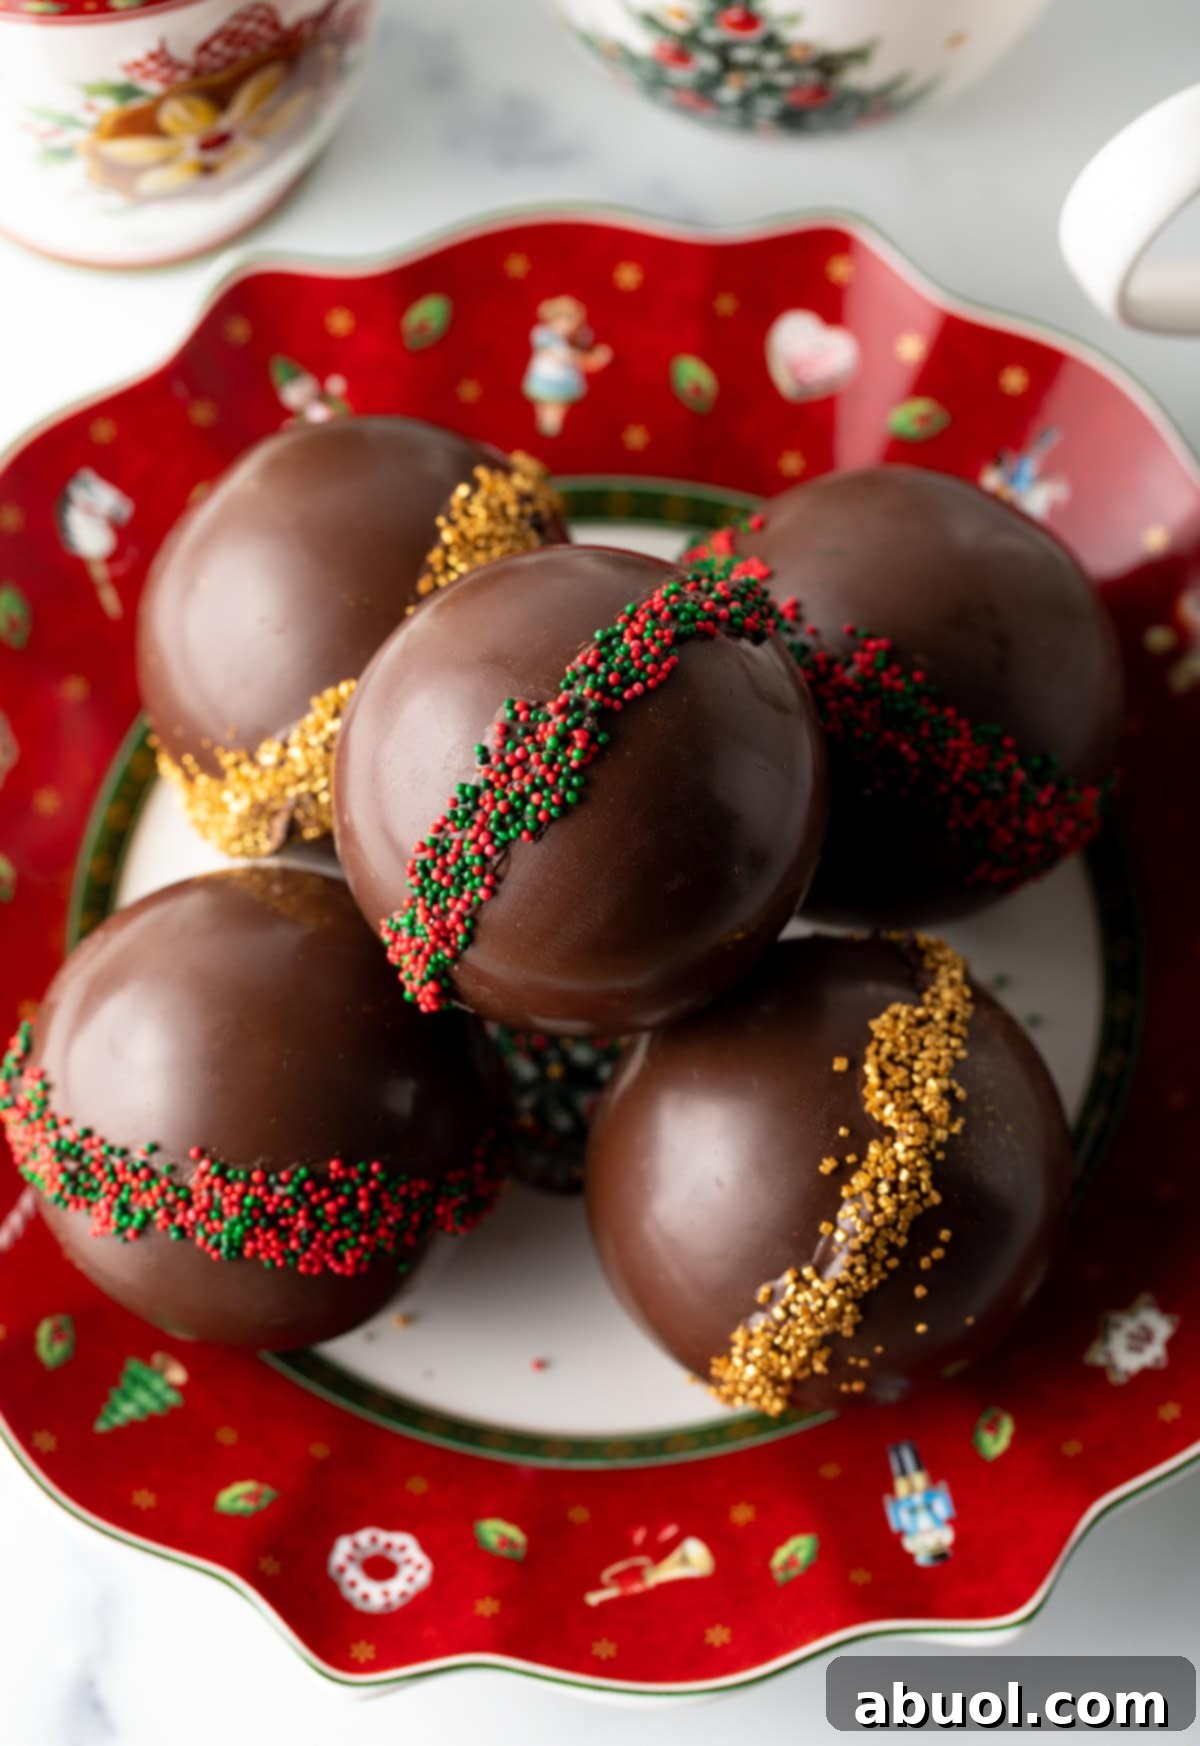
Delight in the magic of homemade Hot Chocolate Bombs! These charming chocolate spheres are not just delicious treats but also incredibly customizable gifts, perfect for sharing warmth and joy. Our simple recipe guides you through creating these festive delights, complete with fluffy mini marshmallows and vibrant sprinkles, ensuring every sip is a celebration. Plus, discover our secret touch of cinnamon and salt for an extra layer of irresistible winter flavor.
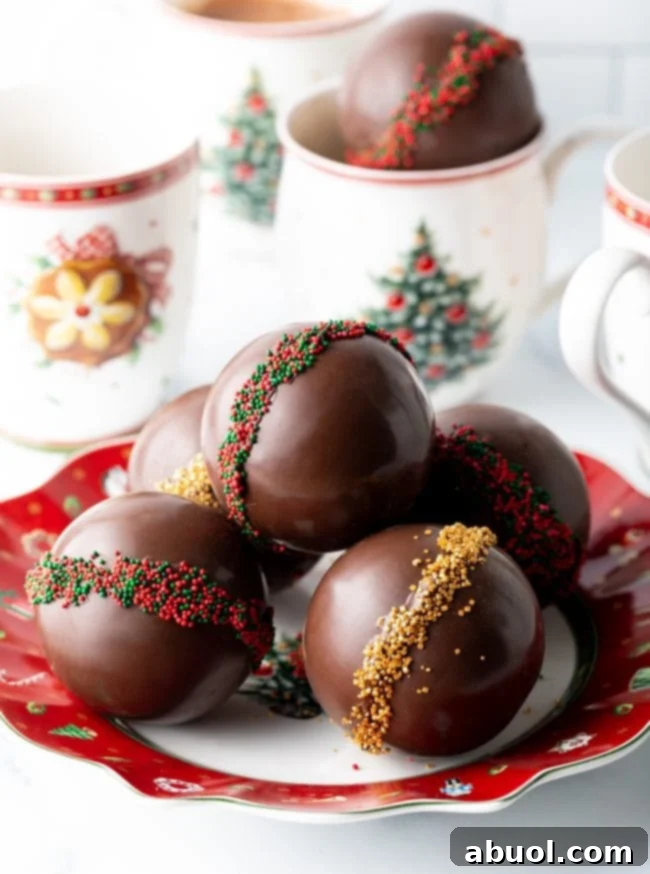
Unleash the Magic: The Ultimate Guide to Homemade Hot Chocolate Bombs
Have you been captivated by the viral sensation that is the hot chocolate bomb? You’re not alone! These ingenious chocolate creations have swept the culinary world, offering a delightful and interactive way to enjoy a classic cold-weather beverage. Far more than just a drink, a hot chocolate bomb is an experience – a moment of pure anticipation followed by a comforting indulgence. This year, elevate your hot cocoa game by crafting your own batch of these edible masterpieces.
Our comprehensive guide simplifies the process, transforming what might seem like a gourmet endeavor into an enjoyable and accessible kitchen project. Forget store-bought versions; homemade hot chocolate bombs allow for unparalleled customization and a truly superior taste. We’re not just making basic bombs; we’re adding a special blend of warm spices and a hint of salt to deepen the chocolate flavor, creating a rich, complex, and utterly satisfying drink that rivals even the finest drinking chocolate.
What Exactly Are Hot Chocolate Bombs?
At their core, hot chocolate bombs are hollow chocolate spheres filled with cocoa mix, mini marshmallows, and often other delightful surprises. The real magic happens when you place one into a mug and pour steaming hot milk over it. The chocolate shell melts away, dramatically releasing its contents, which then dissolve into the milk to create an instant, luxurious cup of hot chocolate. It’s a captivating show, loved by adults and children alike, that culminates in a perfectly blended, creamy, and flavorful beverage.
While the exact origin remains a sweet mystery, the concept has become a global favorite for its simplicity, charm, and the sheer joy it brings. They are a creative spin on traditional hot cocoa, turning a simple drink into an exciting event.
Why You’ll Fall in Love with Making Your Own Hot Chocolate Bombs
- An Interactive Delight: The melting spectacle is undeniably fun! Watching the chocolate shell gracefully dissolve, revealing a cascade of marshmallows and cocoa, is a treat for the eyes before it even touches your lips. It adds an element of wonder to every mug.
- The Perfect Personalized Gift: Hot chocolate bombs make exquisite, thoughtful presents for any occasion. From holiday stocking stuffers and hostess gifts to birthday treats and thank-you tokens, they are a universally cherished item. Their customizable nature allows you to tailor them to individual tastes and preferences, making each gift truly special.
- Endless Customization Possibilities: This is where your creativity can truly shine! Beyond the classic cocoa and marshmallows, you can experiment with an array of fillings and decorations. Think different chocolate types, spices, candies, and even adult-friendly additions. We’ll delve into exciting variations further down.
- Superior Homemade Flavor: When you make hot chocolate bombs at home, you control the quality of every ingredient. Using high-quality melting chocolate and a good cocoa mix, combined with our special blend of cinnamon and salt, results in a depth of flavor that store-bought options simply can’t match. It’s a decadent experience, almost like drinking a molten chocolate bar.
- A Joyful Family Activity: Crafting these bombs is a fantastic way to spend quality time with loved ones. It’s a hands-on project that’s easy enough for kids to help with (under supervision, of course!) and rewarding for everyone involved.
These glossy, beautifully crafted hot chocolate bombs don’t just look impressive; they deliver the ultimate cozy mug of hot chocolate, making them a staple for chilly evenings or festive gatherings.
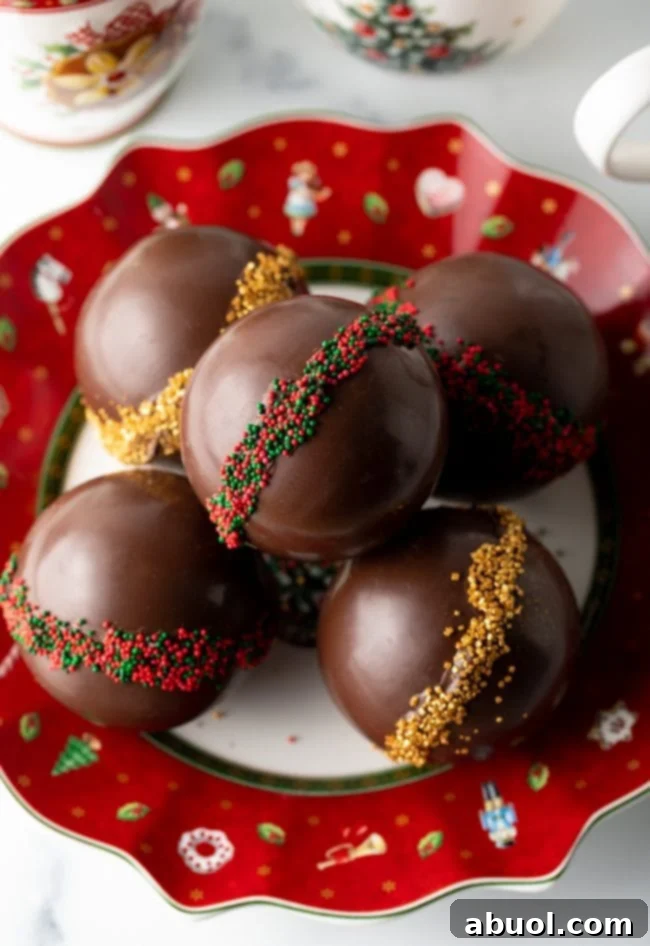
Essential Ingredients for Your Luscious Hot Chocolate Bombs
Creating sensational hot chocolate bombs starts with selecting the right ingredients. Quality matters here, especially for the chocolate, as it forms the very foundation of your treat. Here’s what you’ll need for our classic version, along with some insightful tips:
- Dark Melting Chocolate Wafers (Couverture): This is your primary component. Couverture chocolate is specifically formulated with a higher cocoa butter content, allowing it to melt smoothly, temper beautifully, and set with a gorgeous, shiny finish and a satisfying snap. While dark chocolate offers a rich, deep flavor, you can also use milk chocolate or white chocolate wafers for different flavor profiles. Avoid regular chocolate chips, as they contain stabilizers that prevent them from melting as smoothly or setting as glossy as couverture.
- Premium Powdered Cocoa Mix: Opt for a high-quality hot chocolate mix, not just plain unsweetened cocoa powder. The mix already contains sugar and often powdered milk, making it ideal for a quick, delicious drink when combined with the melted chocolate. Using plain cocoa powder would result in a less sweet and potentially gritty drink.
- Ground Cinnamon: A pinch of cinnamon elevates the classic chocolate flavor, adding a warm, aromatic note that is especially inviting during colder months. It creates a subtle complexity that makes your hot chocolate truly special.
- Fine Sea Salt: Just a tiny amount of salt is a game-changer. It doesn’t make the chocolate salty; rather, it enhances and deepens the natural chocolate flavor, balancing the sweetness and adding a sophisticated edge.
- Mini Marshmallows: These are a must-have! The mini size ensures they fit perfectly inside your bombs and float gracefully to the surface as the chocolate melts. While classic white marshmallows are traditional, feel free to experiment with flavored or colorful mini marshmallows.
- Festive Candy Sprinkles: Sprinkles are for decoration and add a delightful visual appeal. Choose colors and shapes that match the season or occasion – vibrant rainbow sprinkles for birthdays, red and green for Christmas, or pastel hues for spring celebrations.
Recommended Equipment:
- Silicone Sphere Molds: These are essential for shaping your chocolate shells. They come in various sizes; a standard 2.5-inch diameter is popular for individual servings. Silicone is ideal because it allows for easy removal of the hardened chocolate without breakage.
- Pastry Brush: Useful for painting thin, even layers of melted chocolate into the molds.
- Piping Bag (or Ziploc Bag with corner snipped): Great for neatly piping melted chocolate around the edges to seal your bombs.
Unleash Your Creativity: Hot Chocolate Bomb Variations & Dietary Swaps
One of the most exciting aspects of making hot chocolate bombs is the boundless opportunity for customization. Once you master the basic technique, you can truly make them your own. Here are some fantastic ideas to inspire your culinary creativity:
Flavor Boosts & Creative Fillings:
- Peppermint Perfection: Incorporate crushed peppermint baking chips or a few drops of food-grade peppermint extract into your chocolate mix. You can also add crushed candy canes to the filling or use them as a festive topping. This delivers a refreshing, classic holiday flavor.
- Caramel Dream: Stir in a spoonful of caramel baking chips or a drizzle of thick dulce de leche into the filling. The smoky sweetness of caramel pairs exquisitely with rich chocolate.
- Mocha Indulgence: For coffee lovers, add a teaspoon of instant espresso powder or fine instant coffee granules to your cocoa mix. This intensifies the chocolate flavor and creates a delicious mocha-like beverage.
- Mexican Hot Chocolate Kick: For a delightful warming spice, add a dash of cayenne pepper to your cocoa mix. The subtle heat provides a fantastic contrast to the sweet chocolate, reminiscent of traditional Mexican hot chocolate.
- Nutty Surprises: A teaspoon of finely chopped nuts like pecans or almonds can add a delightful crunch and nutty flavor.
- Cookies & Cream: Crush up some chocolate sandwich cookies (like Oreos) and add them to your filling for a textural delight.
- White Chocolate Bliss: Use white melting chocolate for the shells and fill with white chocolate cocoa mix, mini marshmallows, and perhaps some colorful sprinkles or even raspberry powder for a fruity twist.
- Boozy Bombs (for Adults): For an adult-only treat, you can add a small, concentrated amount of powdered liqueur flavorings to the cocoa mix, or serve them with a shot of Irish cream or Kahlúa on the side.
Dietary Adaptations:
- Vegan & Dairy-Free: It’s incredibly easy to make these plant-based. Simply choose your favorite high-quality dairy-free melting chocolate (many dark chocolates are naturally vegan, but always check labels for milk ingredients) and a certified vegan cocoa mix. When serving, use plant-based milk like oat, almond, or soy milk for a rich and creamy dairy-free hot chocolate.
- Gluten-Free: Most melting chocolates, cocoa mixes, and marshmallows are naturally gluten-free. However, if adding any special mix-ins like cookies, always verify they are certified gluten-free.
- Sugar-Free: For those monitoring sugar intake, opt for sugar-free melting chocolate and a sugar-free cocoa mix. Be mindful of any additional fillings to ensure they align with your dietary needs.
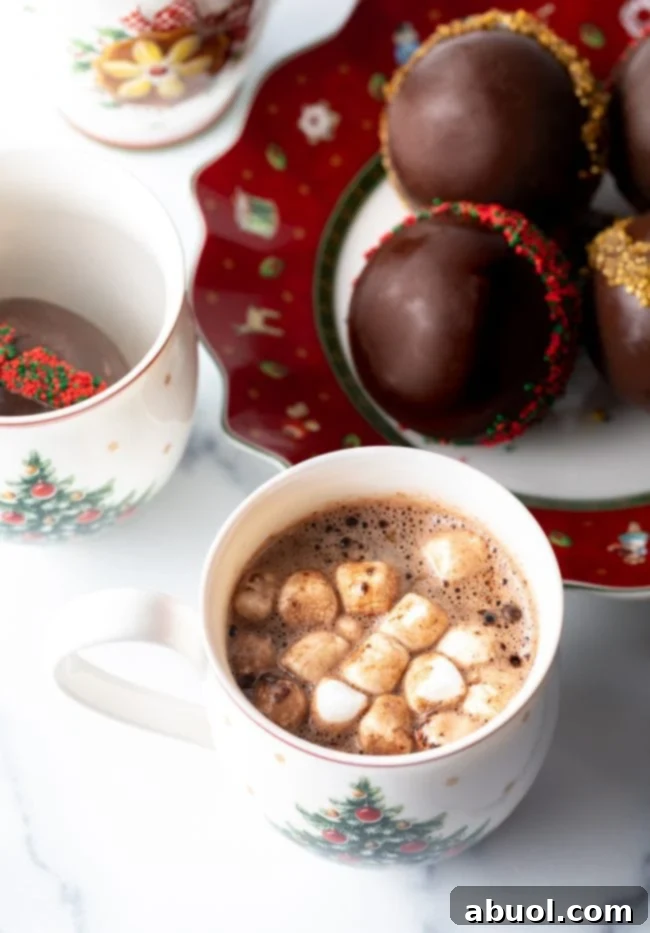
How To Master the Art of Making Hot Chocolate Bombs
Crafting these delightful hot chocolate bombs is a straightforward process, but a few key techniques will ensure a perfect result every time. Follow these detailed steps to create beautiful, delicious, and durable chocolate spheres:
The Hot Chocolate Bomb Recipe
Yields: 6 hot chocolate bombs
Prep time: 25 minutes
Chill time: 30 minutes
Total time: 55 minutes
Ingredients:
- 16 ounces dark melting chocolate wafers (couverture chocolate)
- 1 cup powdered cocoa mix
- 1 ½ teaspoon ground cinnamon
- 1 teaspoon fine sea salt
- 1 cup mini marshmallows
- 6 tablespoons candy sprinkles (for decoration)
Instructions:
- Prepare the Chocolate: Place the dark melting chocolate wafers in a microwave-safe bowl. Reserve one large handful (about ¼ cup) of chocolate wafers for later use. Microwave the rest in 30-second increments, stirring thoroughly after each interval, until the chocolate is mostly smooth with a few small lumps remaining. Add the reserved handful of chocolate pieces and stir continuously until they completely melt and the chocolate is perfectly smooth. This technique, known as “seeding” or basic tempering, helps the chocolate set with a beautiful shine and prevents blooming (a dull, streaky appearance).
- Form the Chocolate Shells: Using a clean pastry brush, paint an even layer of the melted chocolate into your silicone sphere molds. Be generous but avoid letting the chocolate pool thickly at the bottom. Ensure the chocolate extends up the sides to create a strong rim. Refrigerate the molds for 10-15 minutes until the chocolate shells are firm and easily removable. Once firm, apply a second layer of chocolate to reinforce the shells, especially around the rim. Aim for a thickness of approximately 1/8th inch to prevent breakage. Refrigerate again until fully hardened. If the shells feel too thin after two layers, add a third.
- Prepare the Filling Mixture: While your chocolate shells are chilling, in a small mixing bowl, combine the powdered cocoa mix, ground cinnamon, and fine sea salt. Whisk these ingredients together until well blended. This ensures an even distribution of flavor in every bomb.
- Carefully Remove Shells and Fill: Once the chocolate shells are completely hardened, gently flex the silicone molds and carefully pop out each half-sphere. Handle them by the edges to avoid leaving fingerprints on the glossy surface. You can temporarily place the half-spheres back into the inverted molds to stabilize them for filling. Into six of the half-spheres, scoop approximately 3 tablespoons of your prepared cocoa mix. On top of the cocoa mix, place 10-12 mini marshmallows.
- Seal the Hot Chocolate Bombs: Transfer the remaining melted chocolate into a piping bag (or a sturdy zip-top bag with a small corner snipped off). Heat a clean, dry plate in the microwave for 15-20 seconds until warm (not hot). This will be used to gently melt the edges of your chocolate spheres. Take an empty half-sphere and briefly press its rim onto the warm plate to slightly melt and smooth the edge. Immediately place this melted edge on top of one of the filled half-spheres, gently pressing to seal the two halves together, creating a full sphere. Alternatively, you can pipe a thin line of melted chocolate around the rim of a filled half-sphere and then place the other half on top.
- Decorate Your Bombs: While the chocolate seal is still slightly wet (or if it has dried, pipe a thin line of fresh chocolate around the seam), carefully roll the seam of the newly formed hot chocolate bomb into your chosen candy sprinkles, which you’ve spread on a shallow plate. This will adhere the sprinkles to the seam, adding a festive touch and helping to mask any imperfections in the seal. Repeat this process for all remaining bombs. Allow the decorated bombs to fully dry and set at room temperature for at least 30 minutes before packaging or storing.
Pro Tip for a Professional Finish:
Couverture chocolate is designed for its high sheen. To maintain this beautiful glossy exterior, minimize direct handling of the chocolate spheres. Consider wearing clean cotton or rubber gloves when assembling and decorating your bombs, or use silicone-wrapped tongs to gently hold them. This prevents fingerprints and preserves the shine.
Storage Secrets for Fresh & Flavorful Hot Chocolate Bombs
Proper storage ensures your homemade hot chocolate bombs remain fresh, visually appealing, and ready to impress. Follow these guidelines to keep them perfect for weeks:
- Optimal Storage Conditions: Store your completed hot chocolate bombs in an airtight container. A cool, dry pantry or cabinet is the ideal location. The key is to keep them at a consistent room temperature, away from direct sunlight or heat sources, which could cause the chocolate to melt or bloom.
- Avoid the Refrigerator: Generally, it’s best to avoid storing chocolate bombs in the refrigerator. The fluctuating humidity and cold temperatures can cause condensation to form on the chocolate, leading to “sugar bloom” (a white, chalky film) or “fat bloom” (streaky grey patches), which detracts from their glossy finish and smooth texture.
- Shelf Life: When stored correctly, hot chocolate bombs will maintain their quality and freshness for up to 2 months. This makes them an excellent make-ahead treat for holiday gifting or future enjoyment.
The Grand Reveal: How to Serve Your Magical Hot Chocolate Bombs
The moment of truth! Serving a hot chocolate bomb is an experience in itself, transforming a simple mug of milk into a captivating display of warmth and flavor. Here’s how to do it right:
- Choose Your Mug Wisely: Select a wide, sturdy mug that can comfortably accommodate the hot chocolate bomb and allow ample space for stirring once it melts.
- Heat the Milk (But Don’t Boil!): Pour at least 8 ounces (about 1 cup) of fresh milk into a saucepan or microwave-safe mug. Heat the milk until it is steaming hot but not boiling. Boiling milk can scald the chocolate and affect the flavor. Aim for a temperature around 180-190°F (82-88°C).
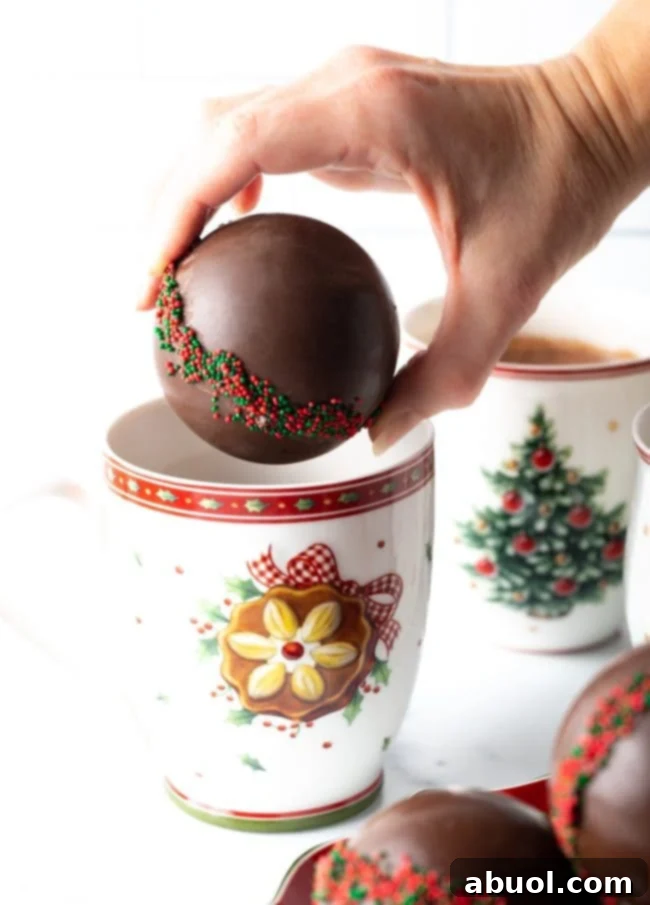
- The Descent: Gently lower one hot chocolate bomb into the bottom of your pre-warmed mug.
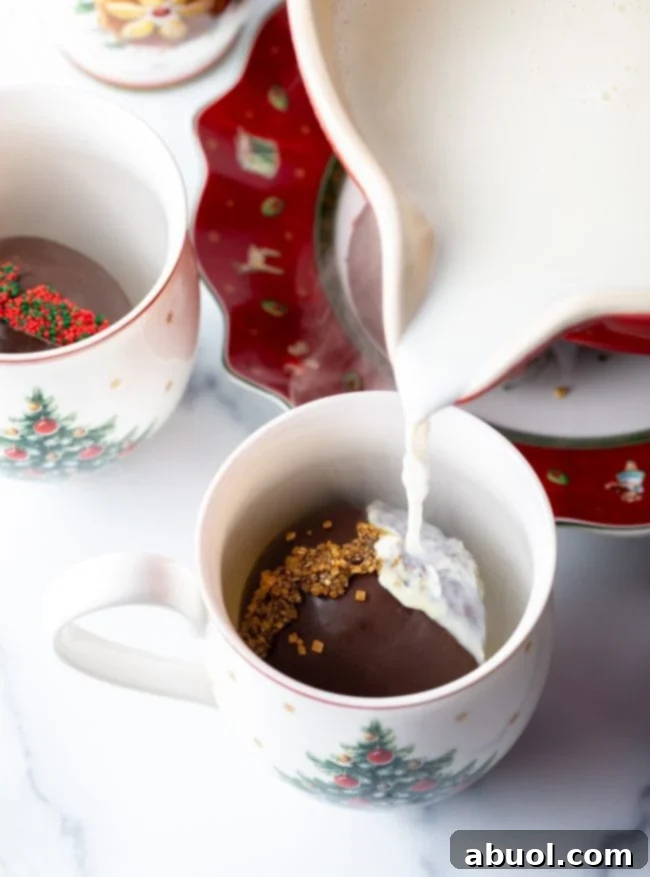
- The Pour: Slowly and steadily pour the steaming hot milk directly over the top of the cocoa bomb. Watch as the chocolate shell begins to soften and melt, gradually giving way to the treasures hidden within.
- The Melt & Reveal: Allow the hot chocolate bomb to sit undisturbed in the hot milk for about 30 seconds. This gives the chocolate time to fully melt and release the cocoa mix and marshmallows. The marshmallows will then magically bob up to the surface!
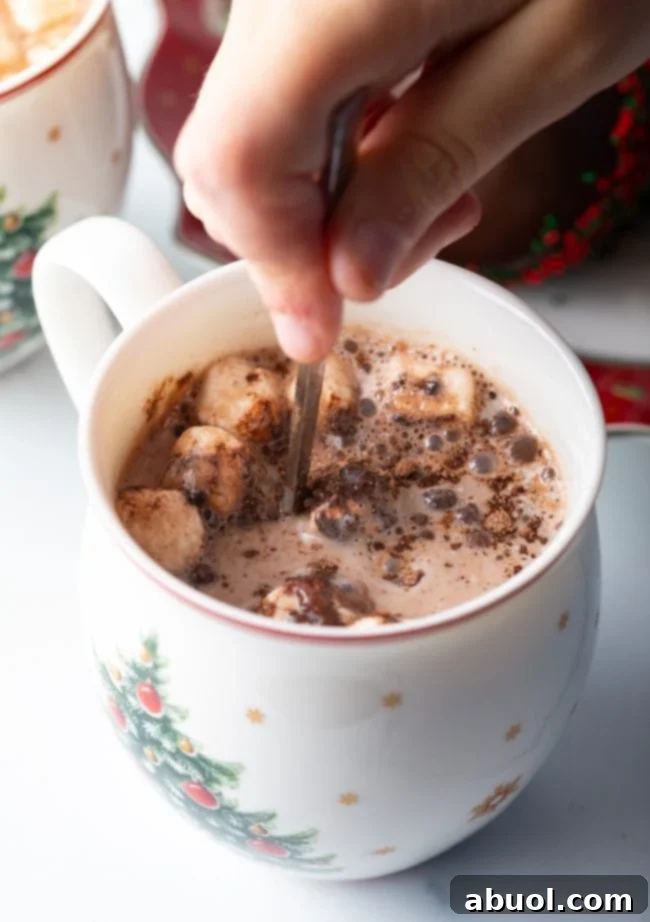
- Stir and Savor: Once the chocolate has mostly melted, use a spoon to stir the contents vigorously until the cocoa mix is fully dissolved and the drink is rich, creamy, and uniformly chocolatey. Take a moment to enjoy the sweet aroma before taking your first sip.
Frequently Asked Questions About Hot Chocolate Bombs
How do you package hot cocoa bombs for gifting?
Packaging hot chocolate bombs beautifully enhances their gift appeal. Individually wrap each bomb in small cellophane bags, securing them with a festive ribbon or twist tie. For an extra special touch, place one wrapped cocoa bomb inside a decorative mug with a personalized gift tag. You can also assemble a small gift box with several bombs, perhaps in different flavors, nestled in tissue paper.
What are the best molds to use for hot chocolate bombs?
Silicone sphere molds are by far the best choice for making hot chocolate bombs. Their flexible nature allows for easy demolding without cracking the delicate chocolate shells. They are readily available online and in most craft or kitchen supply stores. Molds with a diameter of 2 to 2.5 inches are perfect for a standard mug of hot chocolate.
My chocolate isn’t shiny, or it’s streaky. What went wrong?
A dull or streaky finish, known as “blooming,” often occurs if the chocolate wasn’t properly tempered or if it experienced significant temperature fluctuations during cooling. The “seeding” method described in our instructions helps to achieve a stable temper, resulting in a shiny, snap-able chocolate. Also, ensure you handle the hardened chocolate as little as possible and avoid storing it in the refrigerator, which can cause condensation and bloom.
My bombs are breaking when I remove them from the mold. How can I prevent this?
Breakage usually indicates that the chocolate shells are too thin or weren’t fully hardened. Ensure you paint at least two generous layers of chocolate into the molds, aiming for a consistent 1/8th-inch thickness. Allow sufficient chilling time in the refrigerator after each layer until the chocolate is completely firm. Gentle handling when demolding is also crucial.
Can I use regular chocolate chips instead of melting wafers?
While you can technically melt chocolate chips, they are not ideal for hot chocolate bombs. Chocolate chips contain stabilizers that prevent them from melting as smoothly and setting as hard or shiny as couverture chocolate wafers. Using wafers will give you a much better texture, gloss, and structural integrity for your bombs.
How long do hot chocolate bombs last?
When stored in an airtight container in a cool, dry place at room temperature, homemade hot chocolate bombs can last for up to 2 months. This makes them an excellent treat to prepare in advance for holiday gifting or to enjoy throughout the colder seasons.
Can I make hot chocolate bombs ahead of time?
Absolutely! Hot chocolate bombs are perfect for making ahead. Their long shelf life (up to 2 months when stored properly) makes them an ideal choice for holiday preparations, party favors, or simply to have on hand for a quick, comforting treat whenever the craving strikes.
Similar Recipes You Might Like