
The Ultimate Deep Fried Turkey Recipe: Crispy Skin, Juicy Meat, and Unforgettable Flavor for Your Thanksgiving Feast!
Why Deep Fry Turkey? Unlocking Unbeatable Flavor and Texture
For years, the idea of deep frying anything, let alone a whole turkey, filled me with a mixture of excitement and dread. While I’ve always appreciated the unparalleled crispness and rich flavor that deep-frying imparts – who doesn’t love a perfectly golden french fry? – the practicalities often deterred me. My apprehension stemmed from three main concerns:
- Safety First: The thought of splattering hot oil, causing minor burns, was a constant worry. The sheer volume of hot oil involved in turkey frying seemed to amplify this risk.
- The Mess Factor: Deep frying often results in a greasy aftermath, leaving stoves and countertops coated in a fine mist of oil, demanding extensive cleanup.
- Lingering Odors: The distinct aroma of fried food, while delicious initially, has a notorious habit of clinging to the air, permeating the house for days.
These challenges led me to generally avoid deep-frying in my kitchen. However, one culinary adventure consistently beckoned: the legendary deep-fried turkey. The promises of unbelievably crispy skin and exceptionally moist meat were simply too tempting to ignore, especially for a Thanksgiving centerpiece.
Embracing the Deep Fried Turkey Challenge
Despite my reservations, the allure of a perfectly deep-fried turkey remained strong. This year, I decided it was time to finally conquer my fear and embrace this beloved holiday tradition. My adventurous spirit found a perfect partner in a modern solution that addressed my practical concerns head-on, allowing me to finally experience the magic of deep-fried turkey from scratch, right in my own home.
Frying a Turkey Safely: A Modern Approach
When most people think of deep-frying turkey, their minds often drift to those viral videos of outdoor gas fryers erupting in flames. It’s easy to see why such images could deter anyone. I, too, have witnessed those dramatic (and frankly, not at all funny) clips. Yet, the persistent culinary enthusiast in me knew there had to be a safer, more controlled way to achieve that incredible deep-fried goodness.
My journey into deep-frying turkey involved a crucial decision: opting for an indoor electric turkey fryer. This choice was a game-changer, transforming a potentially hazardous endeavor into a surprisingly calm and manageable cooking experience. The key to successful and safe deep-frying lies in understanding the equipment and following proper protocols. An indoor electric fryer, unlike its outdoor gas counterpart, offers precise temperature control and enclosed cooking, significantly reducing the risks associated with open flames and uncontrolled oil temperatures.
My opportunity arrived when Masterbuilt, renowned for their quality smokers, grills, and fryers, sent me their Butterball Indoor Electric Turkey Fryer. The moment it arrived, a thrilling mix of excitement and apprehension washed over me. This was my chance to debunk the myths of dangerous turkey frying and prove that a succulent, crispy deep-fried turkey was achievable without turning my kitchen into a disaster zone.
This innovative appliance not only promised a safer frying experience but also tackled my prior concerns about mess and lingering odors. Its design, specifically for indoor use, means less splatter and better containment of oil vapors. The electric heating element provides consistent heat, crucial for perfectly cooked turkey and preventing the oil from overheating. This modern solution allowed me to confidently embark on a culinary experiment I had long desired, turning a once intimidating task into a joyful Thanksgiving preparation.
Essential Ingredients for the Perfect Deep Fried Turkey
Achieving a truly spectacular deep-fried turkey doesn’t require a complicated list of ingredients. The beauty of this recipe lies in its simplicity, focusing on quality components that enhance the turkey’s natural flavor and ensure a magnificent result. Here’s what you’ll need:
- Whole Turkey: The star of our show! Ensure your turkey is completely thawed before frying. A 10-14 pound turkey is ideal for most home fryers.
- Cooking Oil: You’ll need several gallons. Peanut oil is highly recommended due to its high smoke point, which means it can reach the necessary frying temperatures without breaking down or imparting off-flavors. Other high smoke point oils like canola or vegetable oil can also be used.
- Turkey Injecting Marinade: This is key to achieving that incredibly juicy, flavorful meat. You can opt for a high-quality store-bought marinade or create your own simple yet potent blend.
- Turkey Dry Rub Seasoning: A flavorful dry rub contributes to the crispy, seasoned skin. Again, a ready-made option works wonderfully, or you can mix your own custom blend.
Crafting Your Own Flavorful Blends
For those who love to customize, here are simple recipes for a vibrant dry rub and an aromatic injecting marinade:
For the Homemade Dry Rub Seasoning:
- 3 tablespoons lemon pepper seasoning: Adds a bright, zesty kick.
- 1 tablespoon poultry seasoning: A classic blend that complements turkey beautifully.
- 1 tablespoon salt: Essential for seasoning and bringing out flavors.
- 2 teaspoons garlic powder: Provides a foundational savory note.
- 2 teaspoons onion powder: Enhances the savory depth.
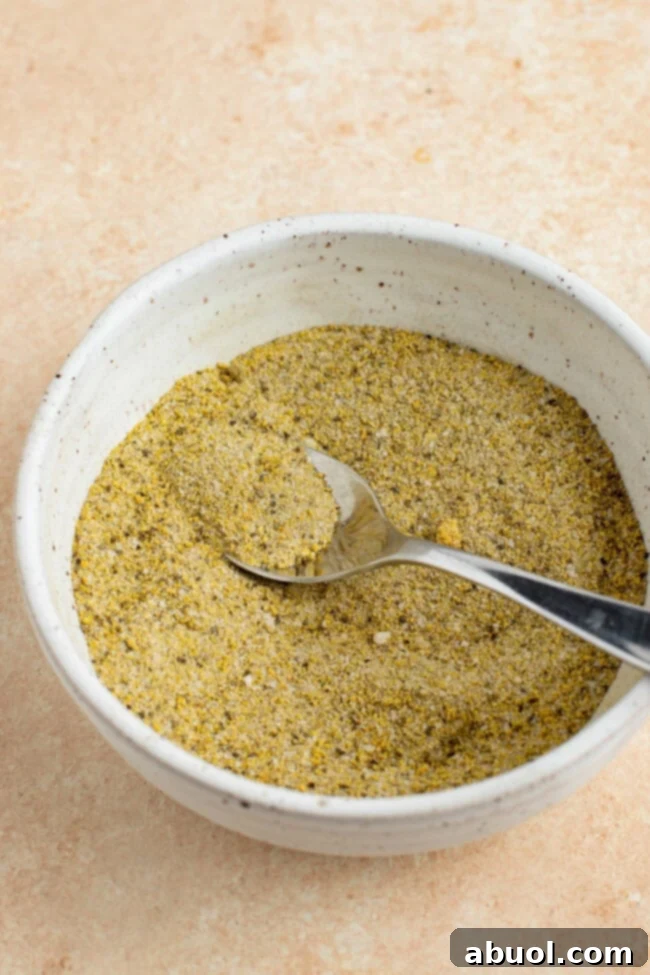
Combine these ingredients thoroughly in a small bowl until well mixed. This blend will create a delicious, crispy crust on your turkey.
For the Homemade Injecting Marinade:
- 1/2 cup canola oil: Serves as a carrier for the flavors and helps keep the meat moist.
- 1/4 cup water: Thins the marinade for easy injection.
- 1/4 cup lemon juice: Adds acidity, tenderness, and a refreshing tang.
- 2 tablespoons Dijon mustard: Contributes a subtle, piquant flavor that complements poultry.
- 1 tablespoon salt: Seasons the meat from within.
- 1 teaspoon poultry seasoning: Infuses classic turkey flavors throughout.
- 1 teaspoon garlic powder: Essential for deep, aromatic seasoning.
Whisk all marinade ingredients together in a measuring pitcher until thoroughly emulsified. This liquid gold will ensure every bite of your deep-fried turkey is incredibly moist and bursting with flavor.
How To Prepare and Deep Fry a Turkey: A Step-by-Step Guide
Preparing a deep-fried turkey might seem daunting, but with the right tools and clear instructions, it’s an incredibly rewarding process that yields spectacular results. Follow these steps for a perfectly crispy and juicy turkey.
- Thaw Your Turkey Completely: If frozen, allow ample time for your turkey to thaw in the refrigerator. A general rule is 24 hours for every 4 pounds. This is perhaps the most critical safety step – never deep-fry a partially frozen turkey!
- Prepare Your Fryer and Oil: Fill your deep fryer (preferably an indoor electric model for safety) halfway with a high smoke point oil like peanut oil. Preheat the oil to 375°F (190°C).
- Turkey Preparation – The Foundation of Flavor: Remove the giblets and neck from the turkey cavity. Discard any plastic leg holders or pop-up timers. Rinse the turkey thoroughly with warm water, inside and out. For extra assurance against ice crystals, you can soak it in warm water for no more than 30 minutes. The most crucial step here is to pat the turkey completely dry with paper towels, both externally and inside the cavity. Excess moisture can cause dangerous oil splattering.
- Mix Your Dry Rub: In a small bowl, combine all the ingredients for your dry rub seasoning. Mix them well to ensure an even distribution of flavor.
- Prepare Your Injecting Marinade: In a measuring pitcher, whisk together all the ingredients for the injecting marinade until well emulsified.
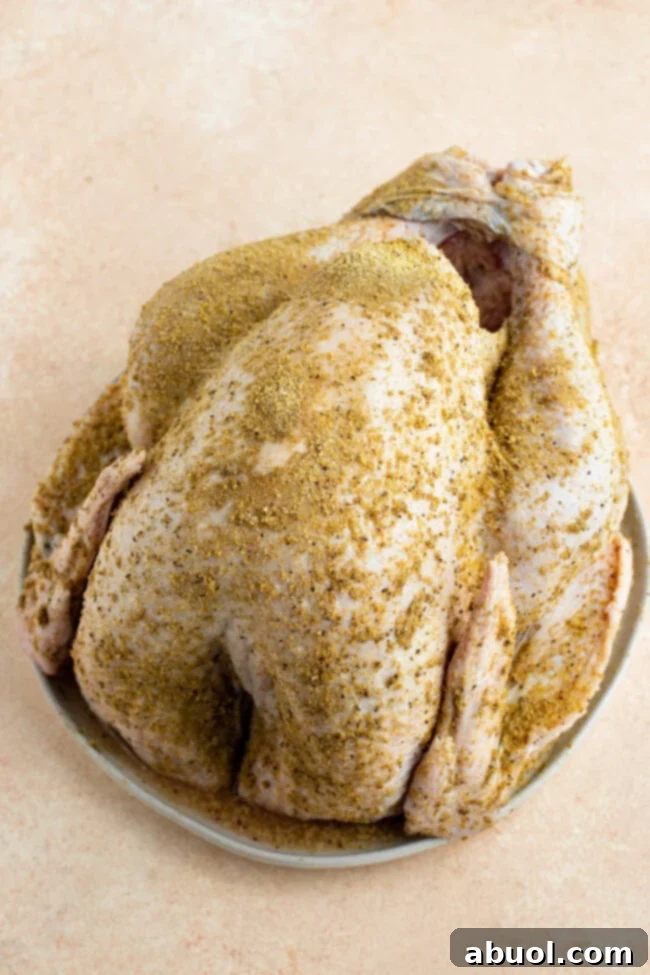
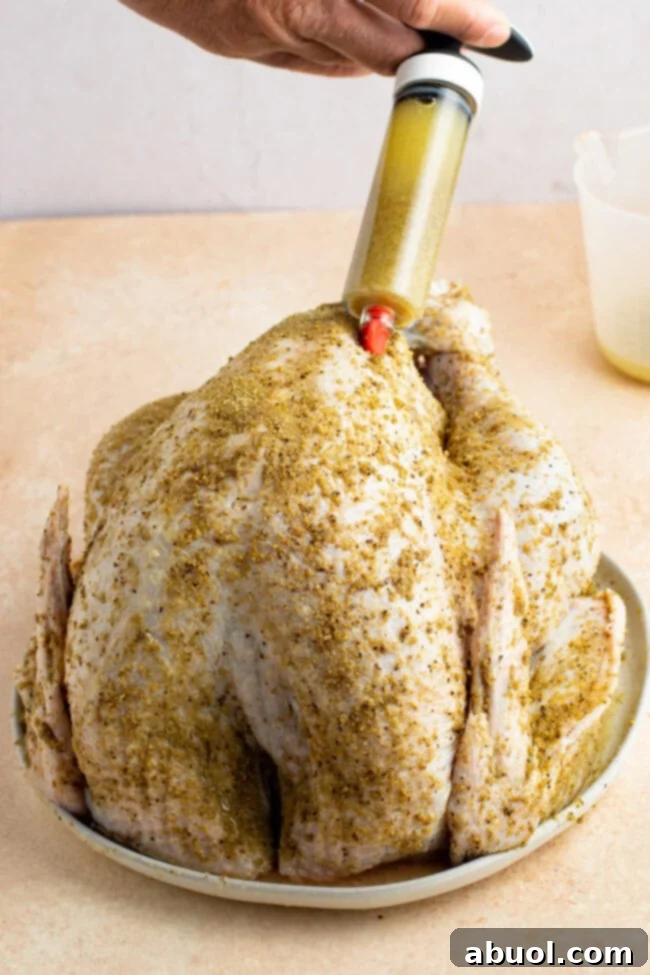
- Inject and Season: Using a marinade injection syringe, inject approximately 1/2 cup of marinade into each breast and 1/4 cup into each leg and thigh. Injecting from multiple angles ensures even distribution. After injecting, pat the turkey dry again (just in case!). Then, generously sprinkle your homemade dry rub seasoning over the entire turkey, making sure to coat the outside and inside the cavity.
- Ready for the Fryer: Carefully place the seasoned turkey, breast-side up, into the fryer basket.
- Slowly Lower into Hot Oil: This step requires caution. Slowly and steadily lower the basket with the turkey into the preheated hot oil. Take your time to prevent oil from splattering.
- Fry to Perfection: Close the fryer lid and set a timer. A good general guideline is 3 to 4 minutes per pound of turkey. For a 12-pound turkey, this would be approximately 36-48 minutes.
- Check for Doneness: Once the timer goes off, carefully lift the basket from the hot oil. Insert a meat thermometer into the thickest part of the breast and thigh, avoiding bones. The turkey is done when the internal temperature reads 165°F (74°C). If it’s not quite there, carefully lower it back into the oil for an additional 5 minutes, then recheck.
- Rest and Carve: Once the turkey reaches the minimum internal temperature of 165°F, remove it from the oil. Allow the turkey to rest and drain in the fryer basket for at least 10 minutes before transferring it to a carving board. This resting period allows the juices to redistribute, ensuring a tender and flavorful turkey. You can keep it in the basket to cool until ready to serve.
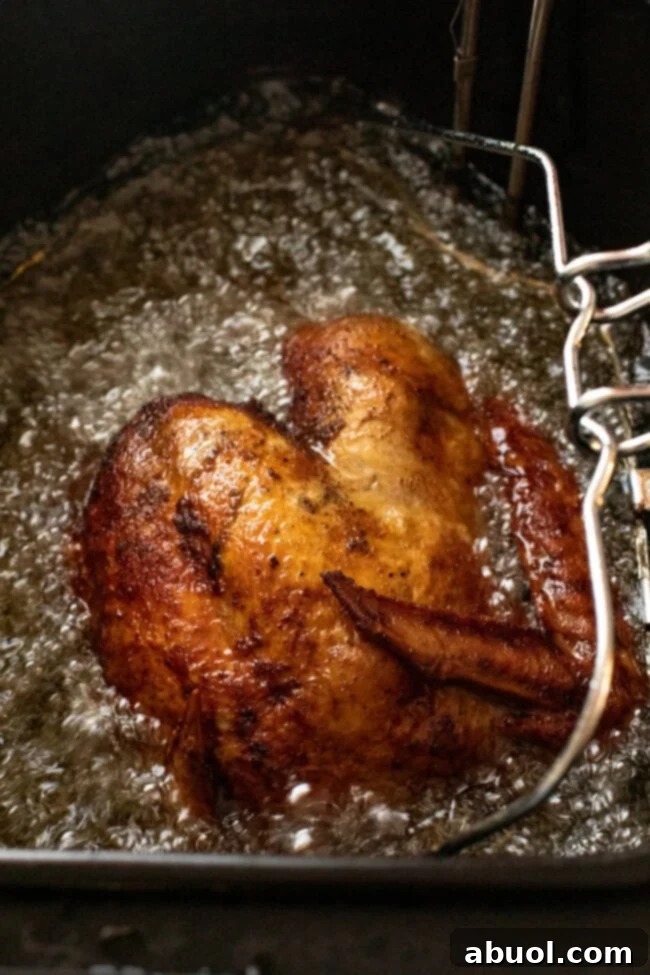
My first experience following these steps was surprisingly peaceful and successful! The turkey emerged from the fryer with a perfectly crispy, golden-brown skin and an incredibly moist, succulent interior – precisely what I had hoped for.
Expert Tips for a Flawless Deep Fried Turkey
To ensure your deep-fried turkey is nothing short of perfection, consider these additional tips:
- Oil Level Management: Before adding the turkey, do a dry run. Place the turkey in the empty fryer basket and then into the fryer. Fill with water until the turkey is just covered. Remove the turkey, and note the water level. This is the maximum oil level you should use to prevent overflow when the turkey is added. Mark it for future reference.
- Maintain Oil Temperature: While frying, periodically check the oil temperature with a reliable thermometer. The temperature will drop when the cold turkey is added, but it’s important to bring it back to 375°F and maintain it for even cooking and crispiness.
- No Twine Needed: Unlike oven roasting, you do not need to tie the wings or legs of the turkey with twine for deep-frying. The even heat circulation will cook it perfectly without binding.
- Consider a Smaller Turkey: For most home fryers, a turkey between 10-14 pounds is ideal. Larger turkeys might not fit or could cause the oil to overflow.
- Fire Safety: Always have a fire extinguisher (specifically a Class K or grease fire extinguisher) nearby and know how to use it. Never use water on a grease fire.
- Outdoor Frying Safety: If you are using an outdoor gas fryer (not recommended for beginners or indoors), ensure it’s on a flat, non-combustible surface far away from any structures, garages, or overhanging eaves. Never leave it unattended.
- Post-Frying Oil Disposal: Once the oil has completely cooled, you can filter it and reuse it for future frying (if stored properly in a cool, dark place) or dispose of it responsibly according to local regulations.
Ready to make the best deep fried turkey ever? See the full, detailed recipe card below!
Frequently Asked Questions About Deep Fried Turkey
Should I brine the turkey beforehand?
Brining a turkey is a fantastic way to ensure extra moisture and flavor, and I often recommend it for roasted turkeys. However, for this deep-fried turkey recipe, where we heavily rely on injecting marinade directly into the meat, brining becomes less critical. The marinade injection directly infuses the turkey with flavor and moisture, achieving similar tender and juicy results without the extra step of brining.
How do I know deep-fried turkey is done?
The safest and most reliable way to determine if your deep-fried turkey is cooked through is by using a meat thermometer. Insert the thermometer into the thickest part of the breast and thigh, ensuring it doesn’t touch any bones. The turkey is perfectly cooked when the internal temperature reaches 165°F (74°C). Once it hits this temperature, carefully remove it from the oil and let it rest for 10-15 minutes. This resting period is vital for the juices to redistribute, resulting in a more tender and flavorful turkey, while also allowing any excess oil to drain.
How long does deep-fried turkey stay fresh?
Properly stored deep-fried turkey meat can be kept in an airtight container in your refrigerator for 4 to 5 days. For reheating, gently warm the turkey in an oven preheated to 350°F (175°C) for about 10-15 minutes, or until heated through. Be careful not to overcook, as this can dry out the meat.
My Deep Fry Journey: A Resounding Success Story
The experience of making this Deep Fried Turkey Recipe, particularly with the Masterbuilt Butterball Indoor Electric Turkey Fryer, was truly transformative. All my previous fears and hesitations about deep-frying simply evaporated. The entire process was incredibly smooth and completely stress-free, proving that anyone can achieve a fantastic deep-fried turkey safely at home.
- Unmatched Safety: Being an electric fryer, I could confidently use it indoors without any fear of explosions or uncontrolled flames, a significant relief compared to traditional gas fryers.
- No More Splatter: The well-designed lid provided excellent protection, shielding both me and my kitchen counters from hot oil splatters, keeping cleanup minimal.
- Odor-Free Environment: A special vent in the lid allowed steam to escape while effectively containing oil odors. My house did not reek of fried oil for days, which was a huge bonus!
- Burn Protection: The inclusion of a lifting hook and the use of an oven mitt made lowering and lifting the turkey a safe and easy task, protecting me from any potential burns.
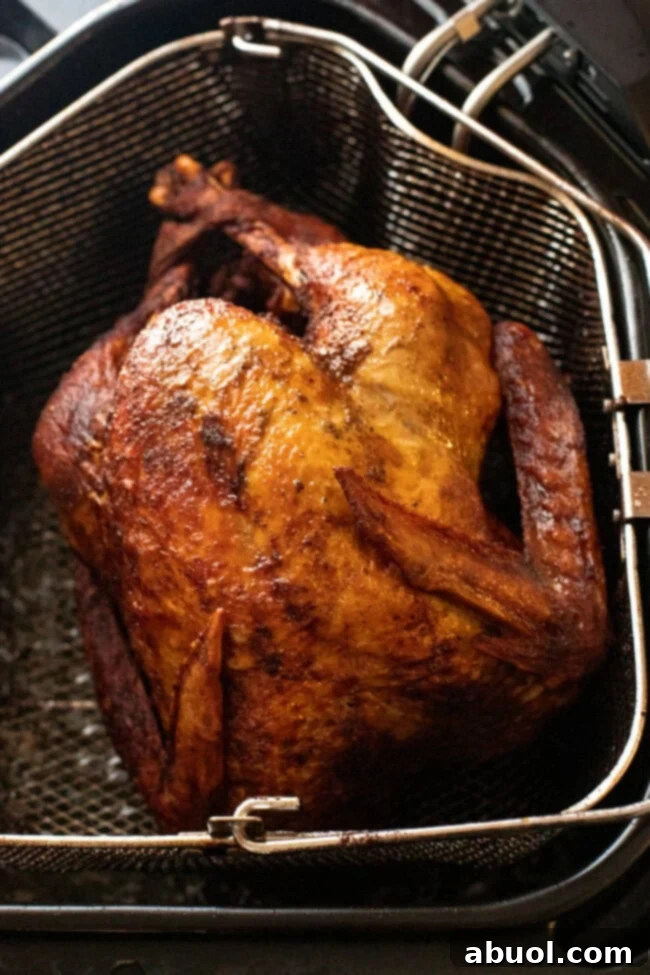
The Best Fried Turkey You’ll Ever Taste
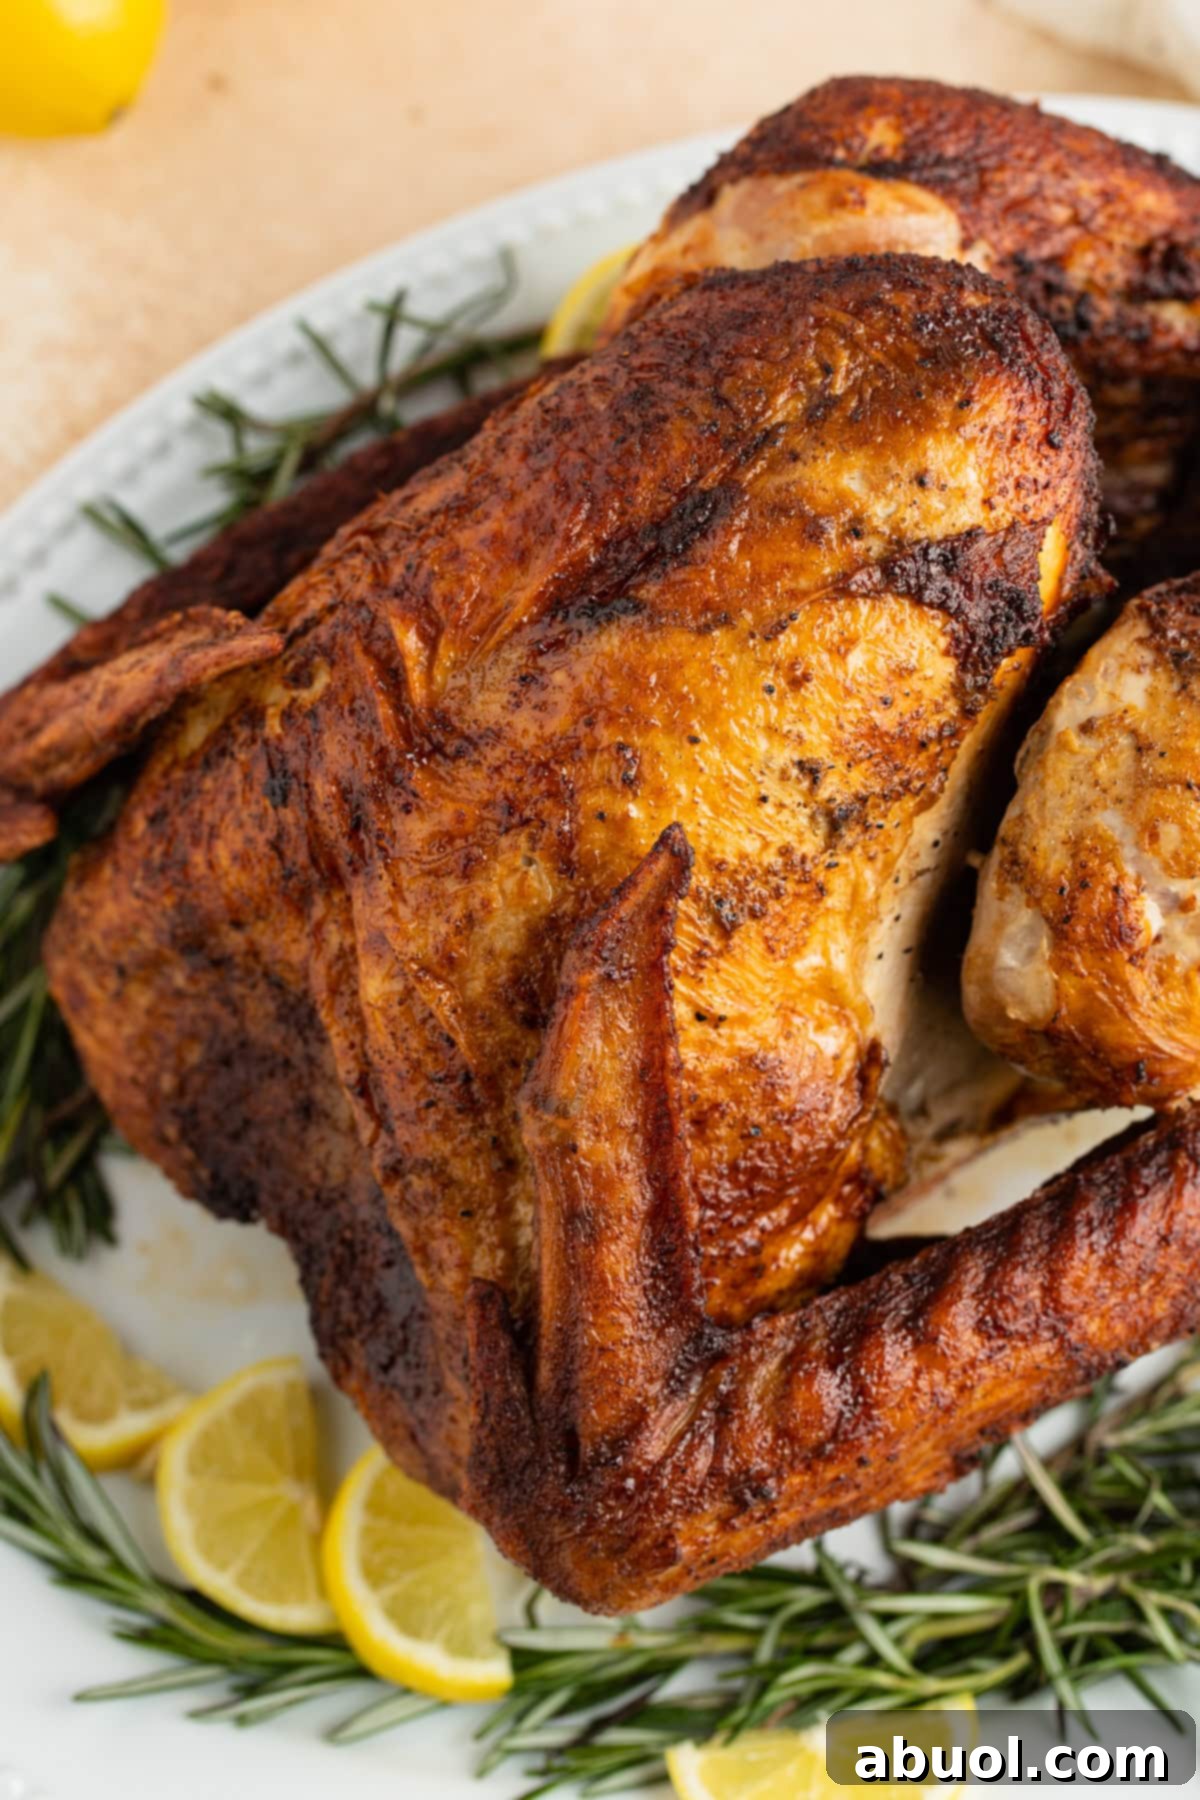
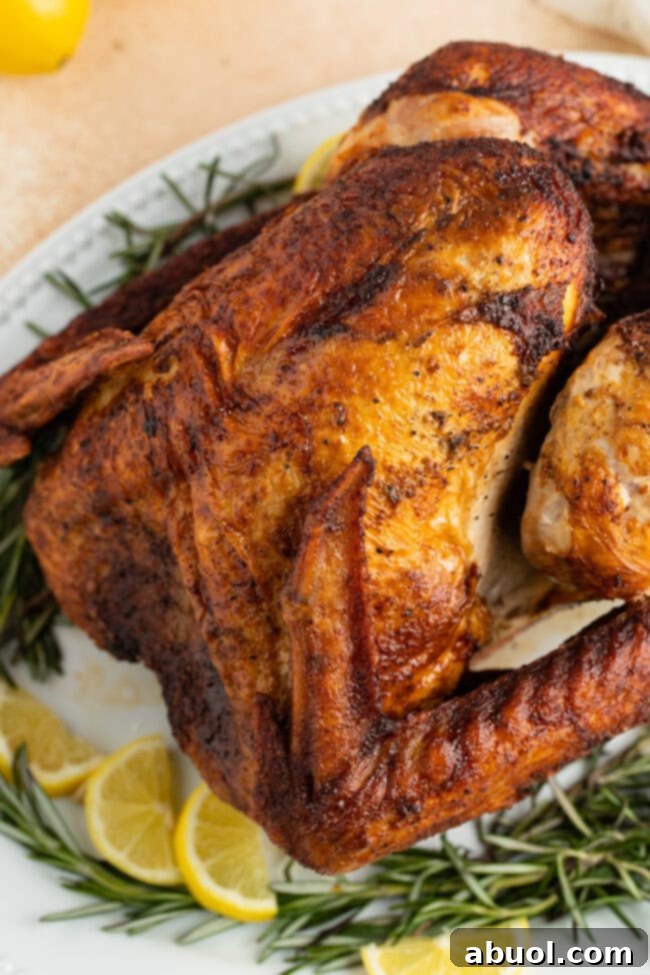
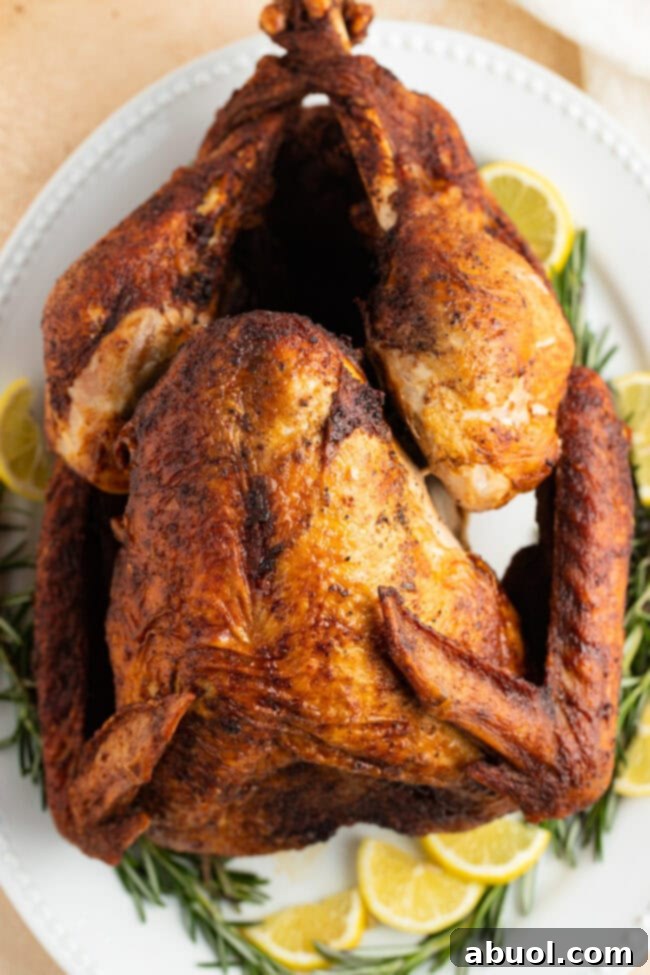
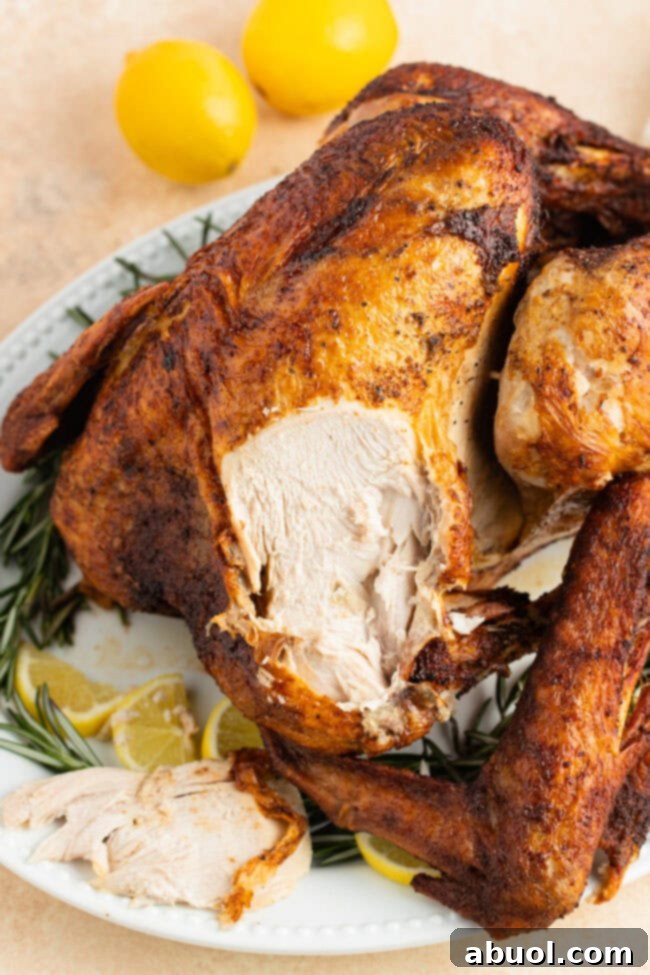
The outcome was nothing short of perfection. My turkey was cooked to an exquisite golden-brown, with an unbelievably crispy skin that was packed with flavor, yet never tasted burnt. The most impressive part was the meat itself – from breast to tail, it was ultra-tender and remarkably juicy. And the speed! This method cooked the turkey in less than half the time it would take in a conventional oven, making it an incredibly easy and efficient turkey recipe.
Beyond the delicious results, the Masterbuilt fryer proved to be incredibly user-friendly even during cleanup. After the oil cooled, a convenient spout made draining it a cinch, further simplifying the post-cooking process. This deep-frying method truly produces a turkey that is superior in both taste and texture, offering a fantastic alternative to traditional roasting.
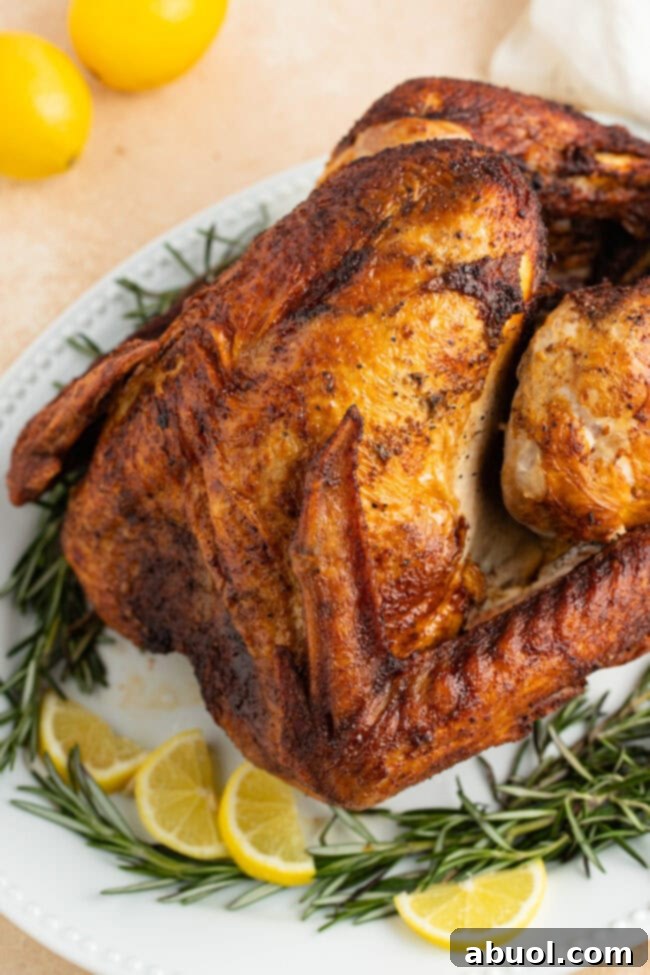
The Masterbuilt Fryer: A Kitchen Essential
If you’ve ever dreamt of serving a deep-fried turkey for Thanksgiving or any special occasion, I wholeheartedly recommend the Masterbuilt Butterball Indoor Electric Turkey Fryer. It’s an exceptional product that stands out for several reasons:
- Ease of Use: Simple controls and intuitive design make it accessible even for first-time deep fryers.
- Superior Safety: Designed with safety features that minimize risks, allowing for worry-free indoor use.
- Effortless Cleanup: Features like the draining spout make post-frying cleanup surprisingly easy.
- Versatility: Beyond frying, this appliance can also be used for boiling and steaming large quantities of food, making it a versatile addition to any kitchen.
You can easily find this amazing fryer online with quick-ship options on the Masterbuilt website and Amazon. It’s also available at major nationwide retailers:
- Home Depot
- Wal-Mart
- Costco
- Lowes
- Academy Sports & Outdoors
- Bass Pro
- Sears
- Target
The Masterbuilt Butterball Indoor Electric Turkey Fryer is a product I can confidently recommend to anyone looking to elevate their holiday cooking.
“Dadgum, That’s Good, Too!” – A Culinary Companion
Accompanying my Masterbuilt fryer, I also received a copy of John McLemore’s second cookbook, “Dadgum, That’s Good, Too!” This cookbook proved to be a treasure trove of recipes, extending far beyond just the basic fried turkey. It’s packed with an array of delightful dishes, many of which would be perfect for enhancing your Thanksgiving spread, including incredible side dishes and desserts.
Imagine serving Court Pear Pies, Smoked Sweet Potatoes, Bacon Wrapped Asparagus, Sweet Potato Fries with Maple Pecan Butter, Deep Fried Corn, Apple Fritters, Sweet Potato Fritters, or Fried Apple Pies. These are just a few examples of the tantalizing options found within its pages. John McLemore and his family have truly poured their passion into both their Masterbuilt products and the recipes within this charming cookbook. It’s more than just recipes; it’s filled with wonderful family photos, engaging stories, and inspiring culinary ideas that make it a joy to read and cook from. A big thank you to John for sharing his wonderful creations!
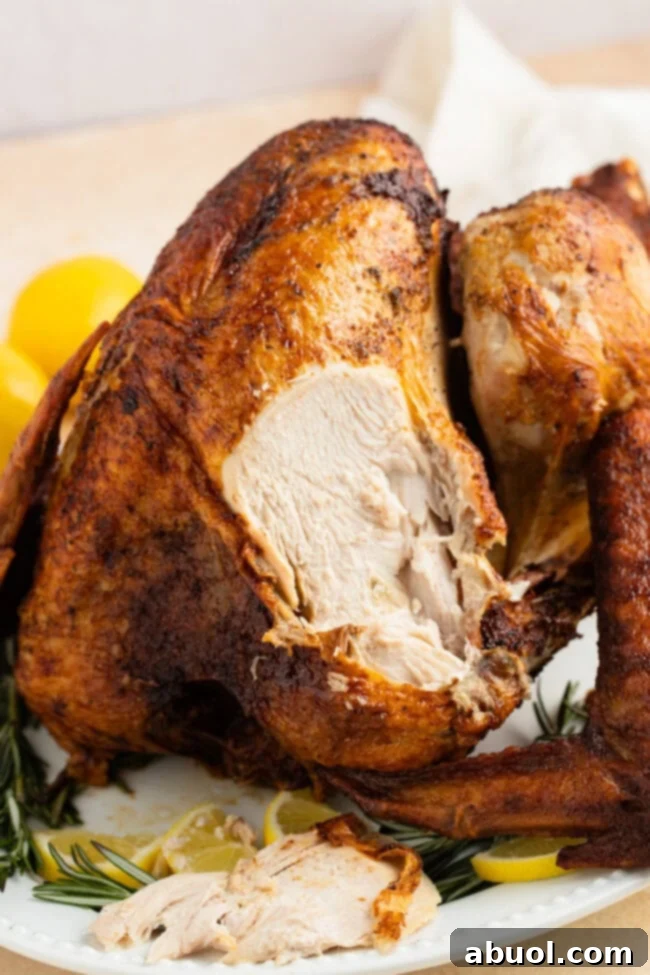
Explore Other Thanksgiving Day Meat Options
While deep-fried turkey offers an unparalleled experience, there are many other delicious main course options to consider for your Thanksgiving feast. Here are some fantastic alternatives or complements:
- Spatchcocked Smoked Turkey Recipe
- Asian Spiced Thanksgiving Turkey Recipe
- Cranberry Jalapeno Honey Baked Turkey Recipe
- Brown Sugar Ham (Baked Ham Glaze) Recipe
- Baked Ham with Honey Mustard and Apples Recipe
- Cornish Game Hen Recipe
Each of these recipes offers unique flavors and preparation methods, ensuring you can find the perfect main dish for your holiday table.

Deep Fried Turkey Recipe
Prep Time: 30 minutes
Cook Time: 45 minutes
Total Time: 1 hour 15 minutes
Servings: 12
How to Deep Fry a Turkey for crispy skin and incredibly juicy meat.
Ingredients
Main Ingredients
- 10-14 pound whole turkey, thawed completely
- 2 gallons frying oil (preferably peanut oil)
For the Dry Rub Seasoning
- 3 tablespoons lemon pepper seasoning
- 1 tablespoon poultry seasoning
- 1 tablespoon salt
- 2 teaspoons garlic powder
- 2 teaspoons onion powder
For the Injecting Marinade
- 1/2 cup canola oil
- 1/4 cup water
- 1/4 cup lemon juice
- 2 tablespoons dijon mustard
- 1 tablespoon salt
- 1 teaspoon poultry seasoning
- 1 teaspoon garlic powder
Instructions
- Thaw the turkey completely if frozen. Allow approximately 24 hours per 4 pounds for thawing in the refrigerator. Fill the deep fryer halfway with oil and heat to 375°F (190°C). Remove giblets and neck from the turkey. Discard plastic leg holder and pop-up timer, if present. Rinse the turkey thoroughly with warm water, or soak for up to 30 minutes to ensure the cavity is free of ice, then pat completely dry.
- In a small bowl, combine all ingredients for the dry rub seasoning and mix well.
- In a measuring pitcher, combine canola oil, water, lemon juice, Dijon mustard, salt, poultry seasoning, and garlic powder for the injecting marinade. Whisk well to emulsify the mixture.
- Pat the turkey completely dry, both on the outside and inside the cavity, using paper towels. Using a marinade injection syringe, inject 1/2 cup of the marinade into each breast and 1/4 cup into each leg and thigh.
- Sprinkle the turkey generously with the dry rub seasoning, ensuring the entire outer surface and inner cavity are coated.
- Carefully place the turkey, breast side up, into the fryer basket. Slowly lower the basket into the hot oil, taking extreme care to avoid splattering. Fry the turkey for 3 to 4 minutes per pound.
- Lift the basket slowly from the hot oil. Insert a meat thermometer into the thickest part of the breast; the turkey is done when it reads 165°F (74°C). If not yet done, carefully lower it back into the oil for an additional 5 minutes, then recheck. Once the turkey reaches the desired internal temperature (minimum 165°F), remove it from the oil.
- Allow the turkey to rest and drain in the fryer basket for 10 minutes before removing it for carving. The turkey can remain in the basket to cool until you are ready to serve.
Notes
In a hurry? You can purchase Butterball Garlic and Herb Turkey Injecting Marinade and Dry Rub Seasoning to save time on prep work.
Nutrition
Serving: 1 serving, Calories: 378kcal, Protein: 58g, Fat: 15g, Saturated Fat: 4g, Cholesterol: 193mg, Sodium: 301mg, Potassium: 601mg, Sugar: 1g, Vitamin A: 150IU, Calcium: 30mg, Iron: 2.3mg
Course: Main Course
Cuisine: American
Author: Sommer Collier
Disclosure: This post is sponsored by Masterbuilt. All opinions are my own.