
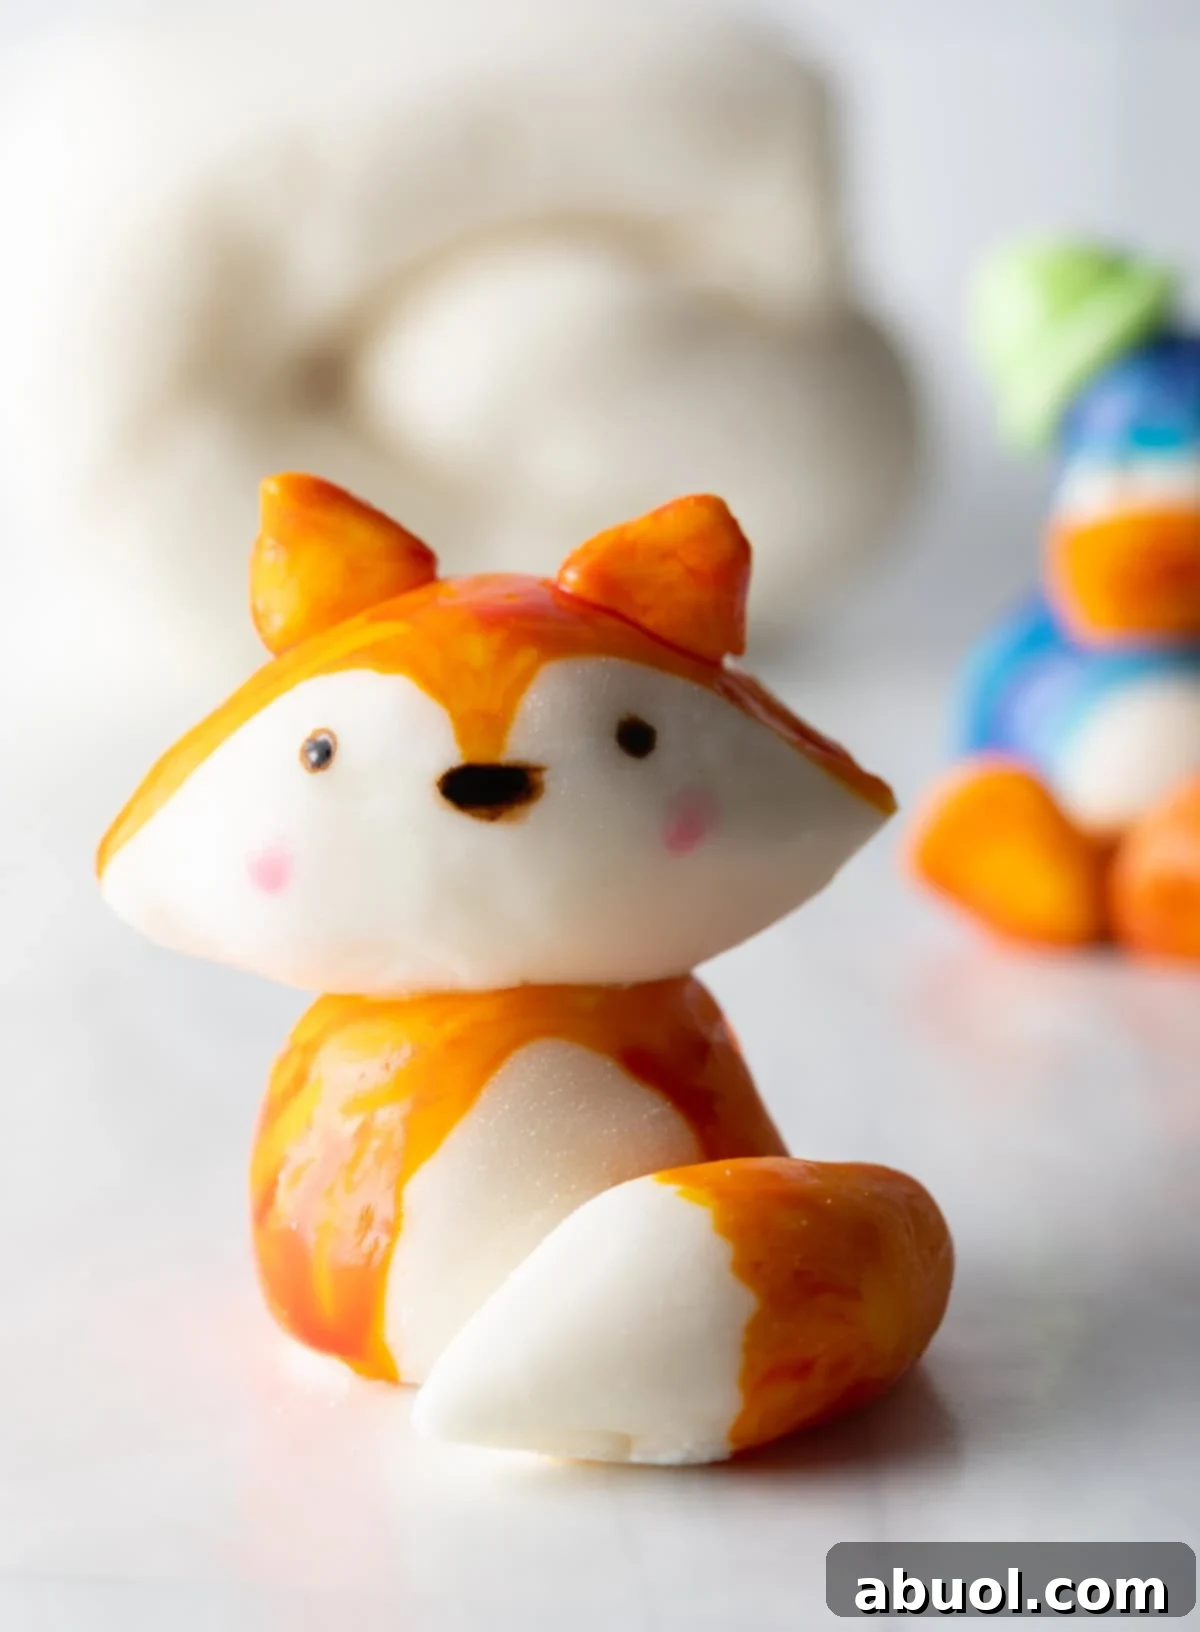
Unlock the secret to professional-looking cakes with this incredible homemade **Marshmallow Fondant Recipe**. Crafted with just a few simple ingredients, this recipe yields the softest, most pliable, and delightfully stretchy covering for all your favorite cakes and decorative elements. Far superior in taste and texture to most store-bought options, this easy-to-follow guide will undoubtedly impress your friends and family!
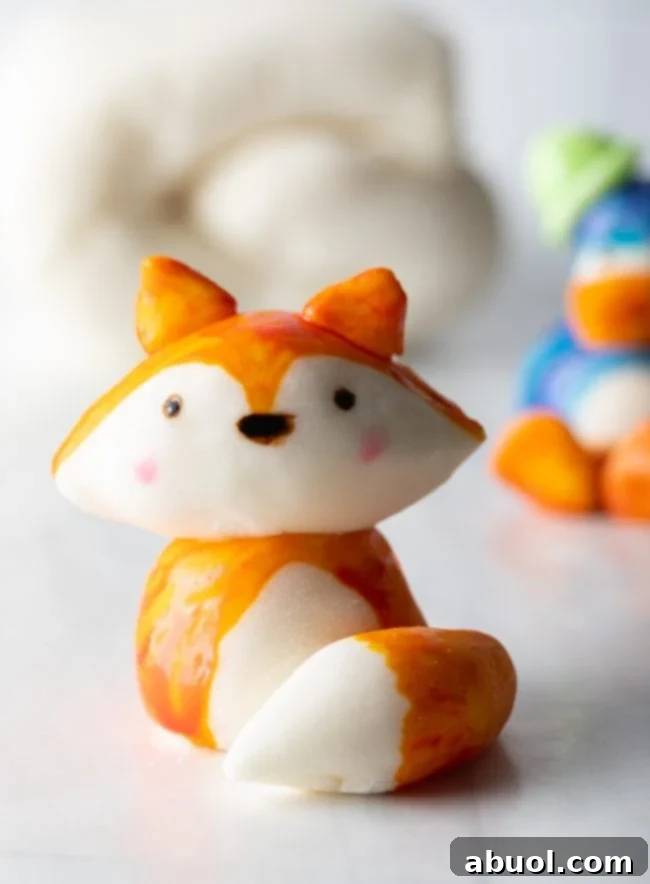

Sommer’s Recipe Insights: Mastering Homemade Fondant
For many home bakers, the thought of making fondant from scratch can be daunting. Visions of sticky messes and crumbly textures might dance in your head, pushing you towards expensive, often bland, store-bought alternatives. But what if I told you that crafting your own marshmallow fondant is not only incredibly straightforward but also a truly rewarding experience? This recipe is designed to demystify the process, taking your cake decorating skills to an entirely new level.
Not only is this homemade marshmallow fondant perfect for shaping intricate figurines and delicate decorations, but its taste is also far superior to most commercial options. Imagine covering a birthday cake with a smooth, sweet, and subtly flavored layer that everyone will actually enjoy eating! Whether you’re a seasoned baker preparing for a special occasion or simply looking for a fun kitchen project with the kids, this foolproof recipe delivers bakery-quality fondant right in your own home. Get ready to watch those little faces light up with delight!
Why Our Marshmallow Fondant Recipe is a Must-Try
There are countless reasons why this homemade fondant will become your go-to recipe:
- Significant Cost Savings: Fondant can be surprisingly expensive. A single pound of store-bought fondant can cost upwards of $8, while this recipe yields approximately 3 pounds for less than $5. That’s a huge saving, especially if you’re decorating large cakes or multiple batches of treats!
- Endless Customization Possibilities: Store-bought fondant often comes in a limited range of colors and flavors. With homemade fondant, the creative possibilities are boundless! You can easily incorporate your favorite colors, experiment with different extracts for unique flavor profiles, or even fold in edible glitter for that extra sparkle.
- Unrivaled Pliability and Stretch: The key to successful fondant work is its texture. This recipe consistently produces fondant that is exceptionally soft, smooth, and incredibly pliable. It stretches beautifully without tearing, making it a dream to roll out, drape over cakes, and sculpt into intricate shapes. Say goodbye to frustrating cracks and stiffness!
- Delicious Taste: Unlike the often bland or overly sweet taste of commercial fondants, our marshmallow-based recipe has a delightful, subtle sweetness and a wonderfully soft chew. It’s a fondant that people will actually enjoy eating, enhancing the overall experience of your beautifully decorated treats.
This easy marshmallow fondant recipe is truly an essential tool for any aspiring or experienced baker. It empowers you to elevate all your decorating skills, transforming ordinary cakes into extraordinary edible works of art.
Essential Ingredients for Your Perfect Fondant
Crafting flawless marshmallow fondant requires a handful of common pantry staples. Understanding the role of each ingredient will help you achieve the best results:
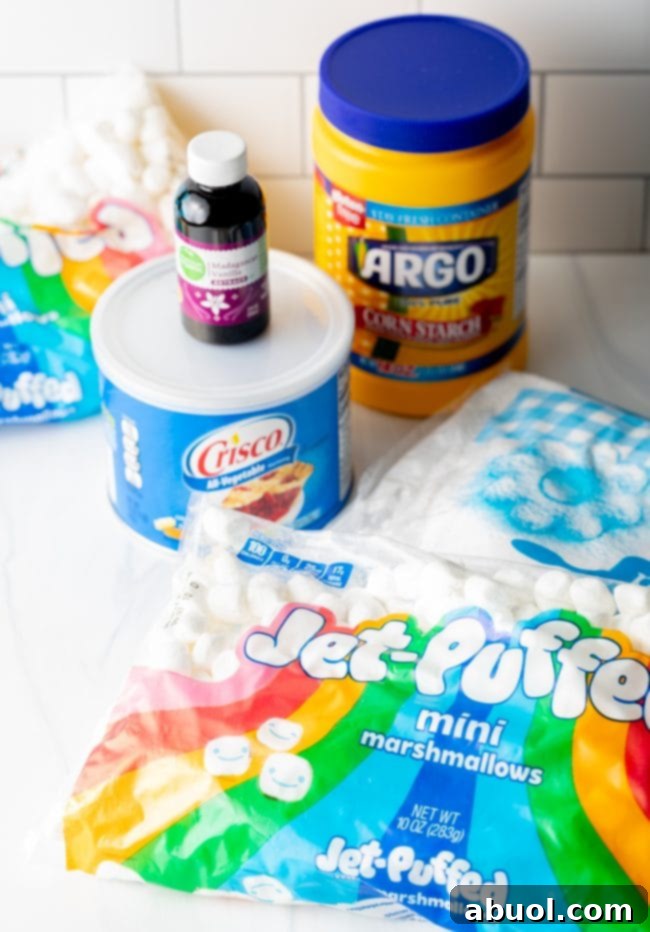
- Mini Marshmallows: The star of our recipe! Use standard white mini marshmallows for the cleanest color base. Avoid colored varieties as they can interfere with your desired final hue. The smaller size melts more evenly and quickly, ensuring a smooth foundation.
- Water: Cold water is best. It helps to loosen the marshmallows slightly during melting and contributes to the fondant’s overall pliability. You’ll add it in small increments to achieve the perfect consistency.
- Flavored Extract of Choice (Optional): While optional, a touch of extract significantly enhances the taste of your fondant, moving it beyond just sweet. Vanilla extract is a classic choice, but almond extract offers a sophisticated note, as used in this recipe. Other options include lemon, peppermint, or even a hint of rum extract for adult-themed cakes.
- Powdered Sugar (Confectioners’ Sugar): This provides the bulk and structure of the fondant. You’ll need a generous amount! Ensure it’s fresh and lump-free, sifting if necessary, to prevent a grainy texture. Don’t be shy with it; it’s what transforms the sticky marshmallow into a workable dough.
- Shortening: Crucial for preventing stickiness! Shortening acts as a lubricant, making the fondant easier to handle and preventing it from sticking to your hands, bowls, and work surface. It also contributes to the smooth, soft texture of the finished fondant. Vegetable shortening is widely available, but lard can also be used.
- Cornstarch: Your secret weapon for rolling! While some bakers use powdered sugar for rolling, cornstarch is highly recommended because it won’t be absorbed into the fondant, preventing a dry, cracked texture and avoiding unwanted clumps.
- Food Coloring: Unleash your creativity! Gel food colorings are preferred as they are highly concentrated and won’t thin out your fondant like liquid dyes can. Use whatever color(s) you like to match your cake’s theme.
Creative Fondant Variations and Customization Ideas
Once you’ve mastered the basic marshmallow fondant, a world of creative possibilities opens up! Here are some exciting variations to try:
- Decadent Chocolate Fondant: For a rich, chocolatey flavor, replace a portion of the powdered sugar (e.g., 1/2 to 1 cup) with unsweetened cocoa powder. You might need to adjust the amount of water slightly to maintain the correct consistency, as cocoa powder can absorb moisture. This variation is fantastic for chocolate cakes or elegant designs.
- Artistic Marbled Fondant: Achieve a stunning marbled effect by gently folding together at least two different colored fondants. Avoid over-kneading if you want distinct swirls rather than a uniform blend. This technique adds an instant touch of sophistication and visual interest to your cake decorations.
- Sparkling Glitter Fondant: For that extra “wow” factor, knead in your favorite edible glitter or dust. White or iridescent glitter can create a magical, shimmering finish perfect for fairy-tale themes or glamorous celebrations. Apply sparingly at first, then add more to achieve your desired level of sparkle.
- Natural Food Coloring Options: If you prefer to avoid artificial dyes, explore natural coloring agents. Turmeric powder can create beautiful yellows (use sparingly to avoid flavor transfer). Beetroot powder or a small amount of concentrated beet juice yields lovely reds and pinks. For vibrant blues or greens, spirulina powder is an excellent natural alternative.
- Flavor Extravaganza: Don’t limit yourself to vanilla or almond! Experiment with citrus extracts (lemon, orange, lime), coffee extract for a mocha theme, or even a touch of mint extract for seasonal treats. Always add extracts in small amounts and taste as you go to avoid overpowering the fondant.
Step-by-Step Guide: Crafting Your Own Delicious Marshmallow Fondant
The idea of making homemade marshmallow fondant might seem intimidating at first, and that’s perfectly understandable! However, I assure you that this recipe is incredibly simple and designed for success, even for beginners. You’ll be amazed at how quickly you’ll go from sticky marshmallows to perfectly pliable fondant, ready to transform your cakes and create the cutest decorative figurines. Get ready to unleash your inner cake artist!
For your convenience, find the complete and detailed Marshmallow Fondant recipe with precise measurements, comprehensive instructions, and essential storage tips in the printable recipe card section further down the page.
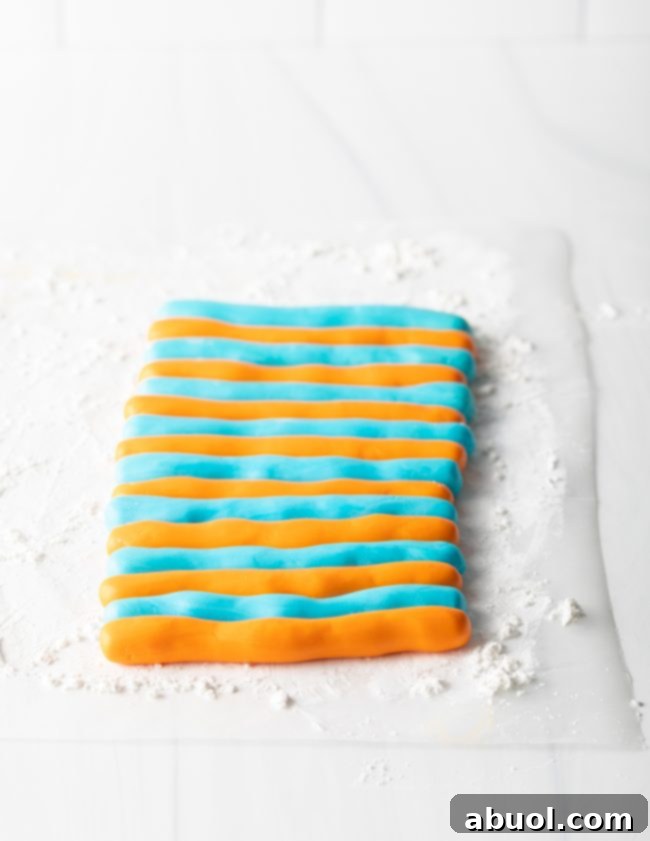
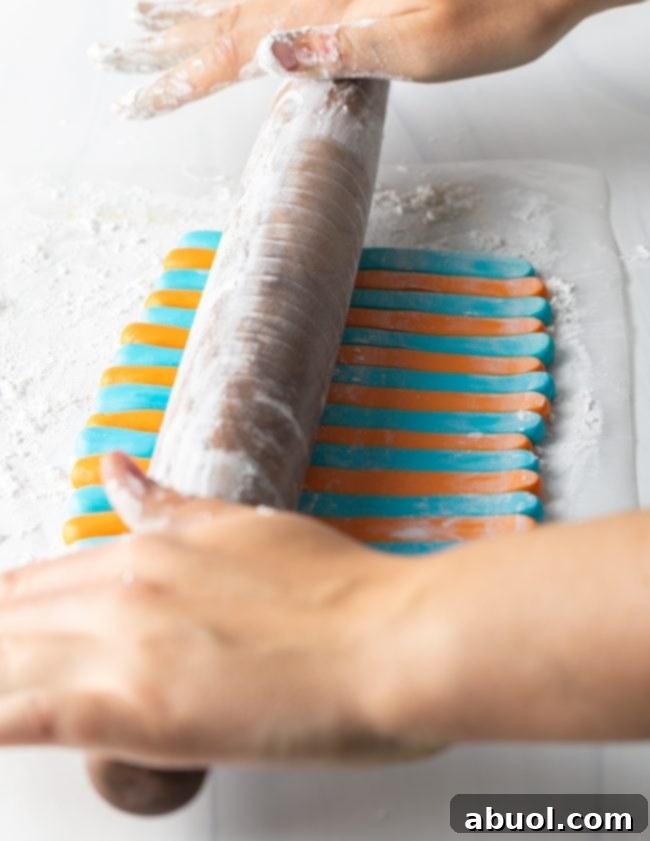

Pro Tips for Fondant Mastery
Achieving perfect homemade marshmallow fondant is easier than you think, especially with these insider tips:
- The Golden Rule: Grease, Grease, Grease! This is the single most important piece of advice for working with marshmallow fondant. Until it’s fully kneaded and smooth, it will be incredibly sticky. Thoroughly grease *everything* that will come into contact with the fondant: your microwave-safe bowl, mixer bowl, paddle attachment, spatula, your work surface, and most importantly, your hands. Don’t be shy; dip your hands into shortening frequently throughout the kneading process.
- Essential Equipment: To make fondant at home, you don’t need fancy tools. A large, microwave-safe bowl for melting the marshmallows and an electric stand mixer with a paddle attachment for mixing the initial stages are ideal. While a stand mixer is highly recommended for ease, you can certainly make this by hand (be prepared for a good arm workout!).
- Avoid Over-drying (and Under-drying): The perfect fondant is soft, pliable, and stretches without tearing. If your fondant feels stiff, starts to tear easily, or appears dry, incorporate small amounts of water (1/2 to 1 teaspoon at a time) and continue kneading until it regains its smooth elasticity. Conversely, if it’s excessively sticky, you might need a tiny bit more powdered sugar, kneaded in gradually. It’s a balance, and practice makes perfect!
- Patience with the Kneading: Don’t rush the kneading process. It’s crucial for developing the smooth, uniform texture of the fondant. Continue kneading until all the dry clumps of powdered sugar are fully incorporated and the fondant feels smooth and elastic.
- Resting is Best: While you *can* use the fondant immediately in a “cake emergency,” allowing it to rest overnight (or even for a few hours) significantly improves its texture, elasticity, and ease of handling. The sugars fully hydrate, making for a much smoother and less tear-prone fondant.
- Cornstarch is Your Friend: When rolling out your fondant, always dust your work surface and rolling pin with cornstarch, not additional powdered sugar. Powdered sugar can be absorbed, potentially drying out your fondant, while cornstarch provides a non-stick surface without altering the texture.
Storing Your Homemade Fondant for Future Creations
Proper storage is key to maintaining the freshness and pliability of your homemade marshmallow fondant, allowing you to prepare it in advance for upcoming baking projects:
- Storing Leftovers: Once your fondant is made, wrap it tightly in multiple layers of plastic wrap, ensuring no air can reach it. Then, place this wrapped ball into a large, airtight zip-top bag, pressing out as much air as possible before sealing. Store this at room temperature, away from direct sunlight or extreme heat, for up to 2 months. This method preserves its soft texture and prevents it from drying out.
- Important Note: Do Not Freeze Fondant! Freezing fondant can cause its texture to become grainy and crumbly upon thawing, making it difficult to work with. Stick to room temperature storage for the best results.
- Reactivating Stiff Fondant: If your fondant feels a bit stiff after storage, you can soften it slightly. Knead it gently with greased hands. If it’s still too firm, microwave it for 5-10 seconds at a time (no more!), then knead until pliable. Be careful not to overheat, or it will become too sticky.

Print Recipe
Leave a Review »
Marshmallow Fondant Recipe
20 minutes
3 minutes
23 minutes
This fabulous homemade marshmallow fondant recipe is made with a few simple ingredients and makes the softest and stretchiest covering for your favorite cake and decorations. This easy recipe tastes better than most fondants and will definitely impress your friends!
3 pounds
Ingredients
US Customary – Metric
- 16 ounces mini marshmallows
- 3-6 tablespoons water
- 1/2 teaspoon flavored extract of choice, optional (almond recommended)
- 2 pounds powdered sugar
- 2/3 cup shortening
- Cornstarch for rolling
Instructions
- Place the shortening in a small bowl. You’ll need to frequently dip into this throughout the entire process.
- Thoroughly grease a large microwave-safe bowl, your electric mixer bowl, the paddle attachment, and a spatula with shortening. This step is crucial to prevent excessive stickiness.
- Pour the mini marshmallows, 3 tablespoons of water, and your chosen flavored extract (if using) into the prepared microwave-safe bowl.
- Melt the marshmallows in the microwave. Heat in 30-second increments, stirring well with the greased spatula after each interval.
- Continue microwaving and stirring until the marshmallows are completely smooth and melted, which typically takes 2-3 minutes in total. Ensure there are no lumps remaining.
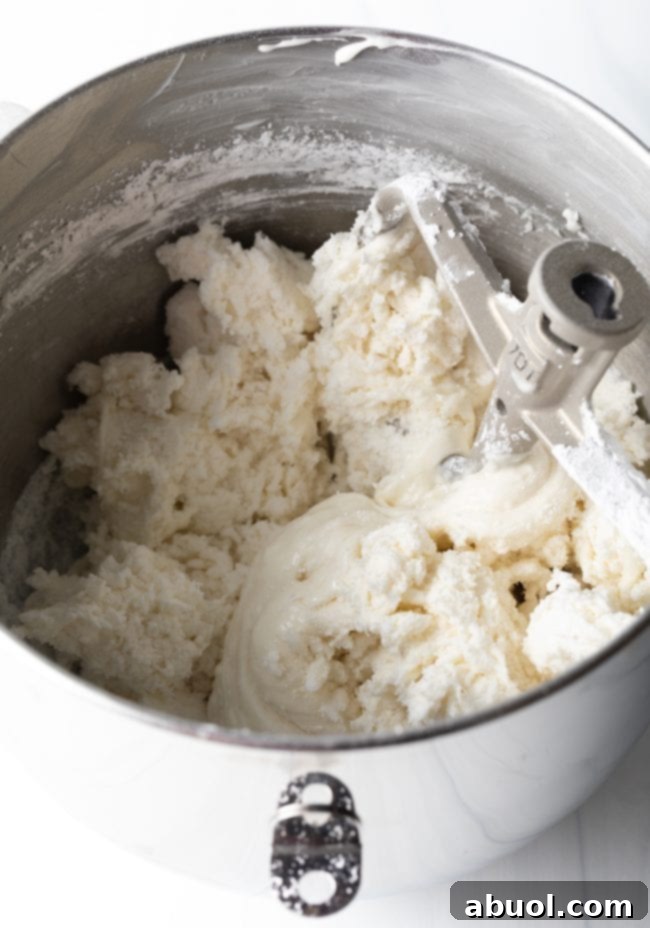
- Carefully pour the melted marshmallow mixture into the greased stand mixer bowl. Attach the greased paddle attachment. Begin mixing on low speed and gradually add the entire bag (2 pounds) of powdered sugar. Mix until the electric mixer starts to struggle and can no longer effectively incorporate the dry ingredients. You will notice plenty of dried clumps and unmixed sugar in the bowl at this stage.
- Generously grease a clean, durable work surface (like a countertop) and your hands with shortening. Dump the entire mixture from the mixer bowl onto the greased surface, including all the clumps. Begin kneading the mixture by hand. Re-grease your hands as often as needed to prevent sticking.
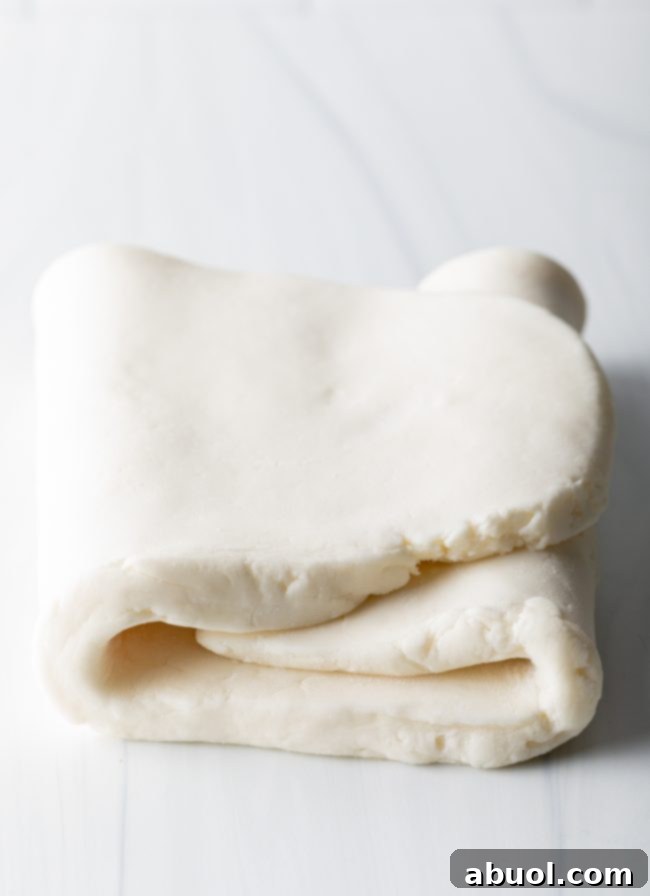
- Knead the mixture for several minutes. Initially, it will be lumpy and sticky, but as you continue to knead, it will come together into a smooth, cohesive ball. At this point, test its pliability: if it appears dry or rips when you gently pull it apart, add a little more water, 1 teaspoon at a time. Continue kneading vigorously after each addition until the fondant is soft, pliable, and can stretch a good distance before breaking. When adding water, it might seem like a mistake initially as it will get very sticky again, but keep kneading with greased hands; the water will absorb.
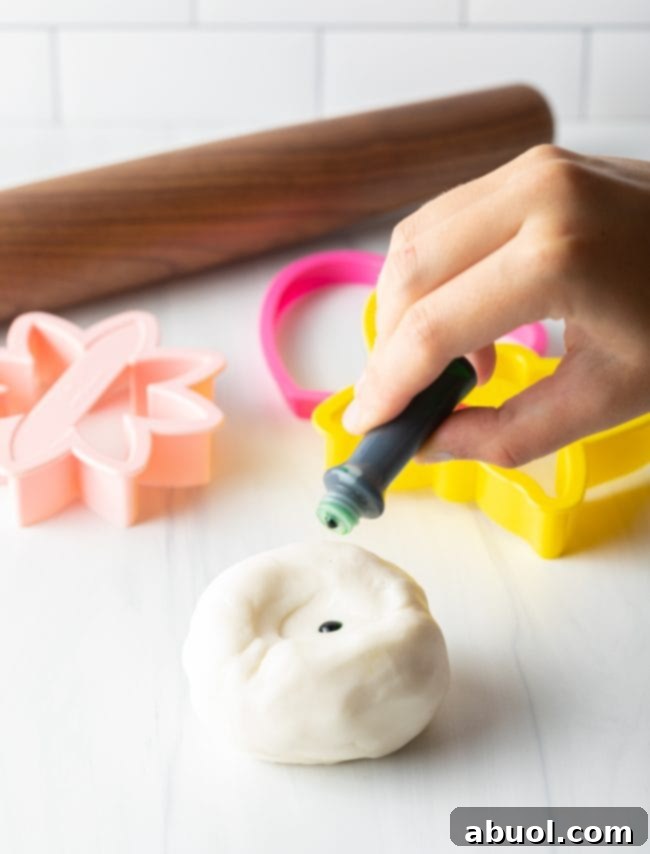
- Once the fondant reaches the desired consistency, lightly grease the entire ball of fondant with shortening. Wrap it tightly in plastic wrap, ensuring no air pockets. Then, place the wrapped ball into a large zip-top bag and squeeze out all the air before sealing. For the best texture and elasticity, allow it to rest overnight at room temperature. *While you can use it immediately in a “cake emergency,” waiting will yield superior results. It’s also best to color fondant right before using to ensure the vibrancy of the color. To color, drop a few drops of gel food coloring onto a piece of fondant and knead it in until the color is uniform.
- After the fondant has rested overnight, prepare your work surface for rolling. Lightly sprinkle a clean work surface and your hands with cornstarch. *Using cornstarch instead of powdered sugar is important here, as powdered sugar can introduce new clumps and dry out your perfectly smooth fondant. Cornstarch prevents sticking without altering the fondant’s texture.
- If you are rolling out the fondant to cover a cake, lightly rub cornstarch onto your rolling pin. Roll the fondant until it is just over 1/8-inch thick, ensuring it’s large enough to cover your cake with a slight overhang (measure your cake’s diameter and height, then double the height and add to the diameter for the required fondant circle size). Carefully drape the rolled fondant over your frosted cake and gently smooth any bumps or creases with your hands or a fondant smoother. Trim any excess fondant neatly around the bottom edge of the cake.
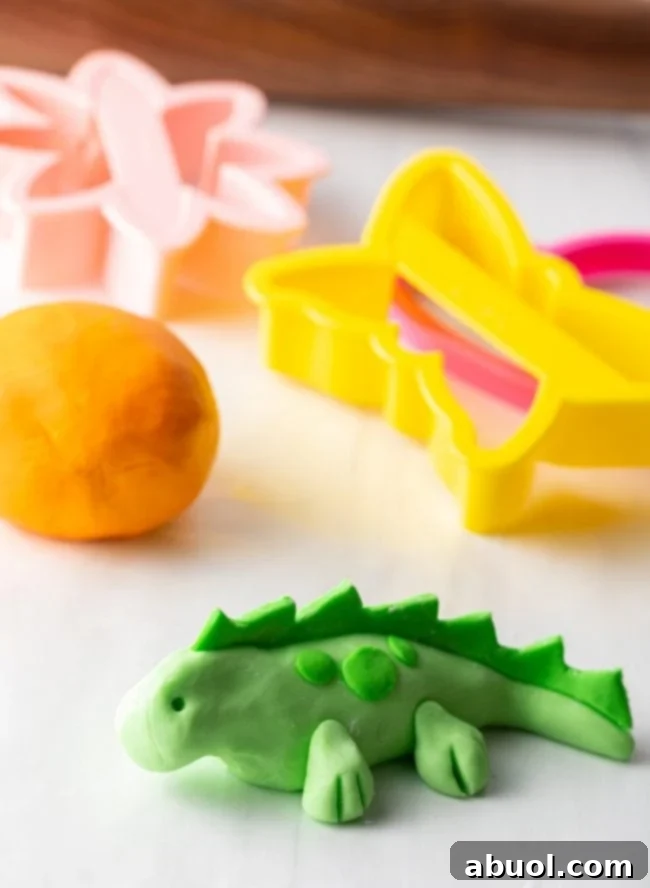
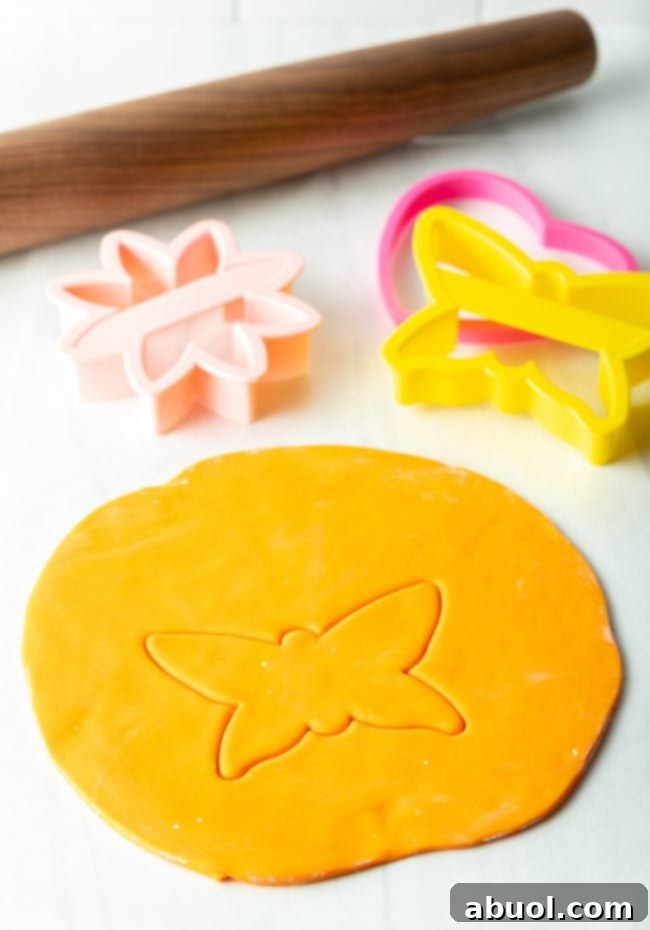
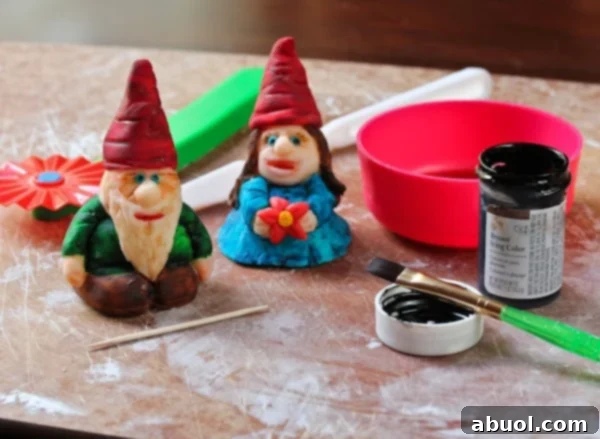
- If you’re using the fondant for molding figurines or cutting shapes, simply have fun! It handles just like play dough, allowing for endless creative possibilities. If wrapped and stored well as described in the storage notes, it will maintain its quality at room temperature for an extended period.
Nutrition Information
Calories: 344kcal,
Carbohydrates: 71g,
Protein: 1g,
Fat: 8g,
Saturated Fat: 2g,
Sodium: 22mg,
Fiber: 1g,
Sugar: 64g,
Calcium: 1mg,
Iron: 0.1mg
Dessert
American
Sommer Collier
Cook It? Love It? Rate It!
Help this recipe gain visibility on Google – simply tap 5 stars below so other hungry people can discover it. Thank you!
Frequently Asked Questions About Homemade Marshmallow Fondant
Your homemade marshmallow fondant will naturally be white. To achieve solid colors, cut the fondant into manageable chunks. Then, knead gel food coloring into each piece until the color is smooth and uniform. Gel food colorings are highly recommended as they are concentrated and won’t introduce excess moisture into your fondant, ensuring vibrant, saturated hues. Start with a few drops and add more gradually to reach your desired intensity.
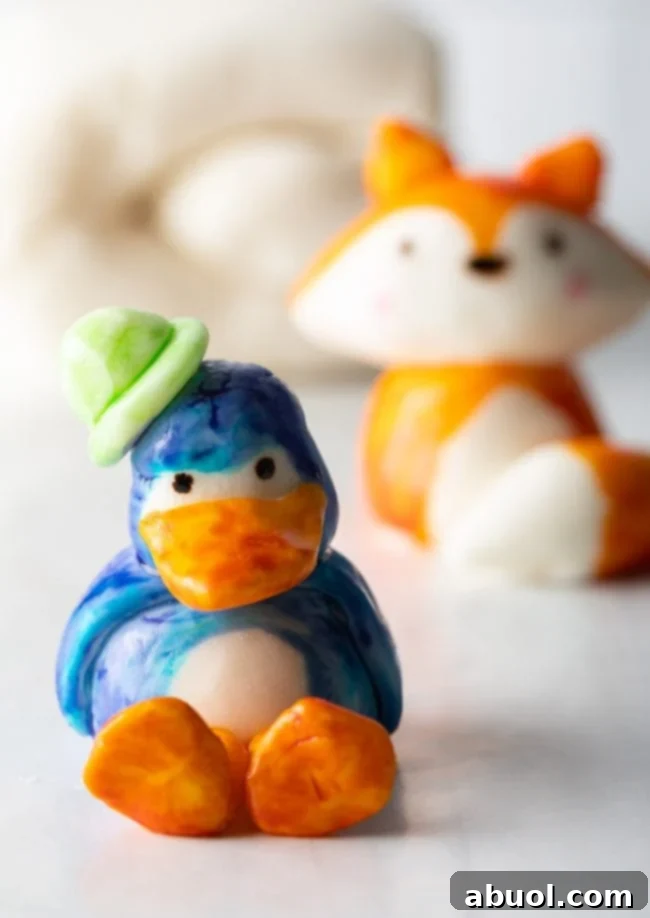
For a more artistic “watercolor” effect, you can make shapes with white fondant and then paint them with edible colors. To do this, mix a small amount of gel food coloring with a tiny bit of water (about 1 teaspoon at a time) until you create an edible paint with your desired darkness or saturation. Use clean food-safe paintbrushes to decorate your fondant shapes. Allow the painted fondant to dry thoroughly before moving or applying to a cake to prevent smudging.
While a stand mixer with a paddle attachment is highly recommended for its power and efficiency in handling the sticky, thick fondant mixture, you can certainly attempt to use a heavy-duty hand mixer. However, be aware that the mixture will become extremely stiff and dense as you incorporate the powdered sugar. A hand mixer might struggle, and you’ll likely need to finish most of the mixing and all of the kneading by hand. It’s quite a workout for your upper body, but it’s definitely achievable if you’re up for the challenge!
Generally, the air temperature shouldn’t drastically affect the success of your fondant. It might be slightly softer and more pliable in warmer temperatures and a little firmer in cooler climates, but these differences are usually minor and can be adjusted through kneading. However, humidity can play a more significant role. In very humid environments, fondant tends to become stickier. You might need to use a bit more powdered sugar during the initial mixing phase or more cornstarch when rolling to counteract the stickiness. Conversely, in very dry climates, fondant might dry out more quickly, so ensure it’s well-greased and wrapped promptly after kneading.
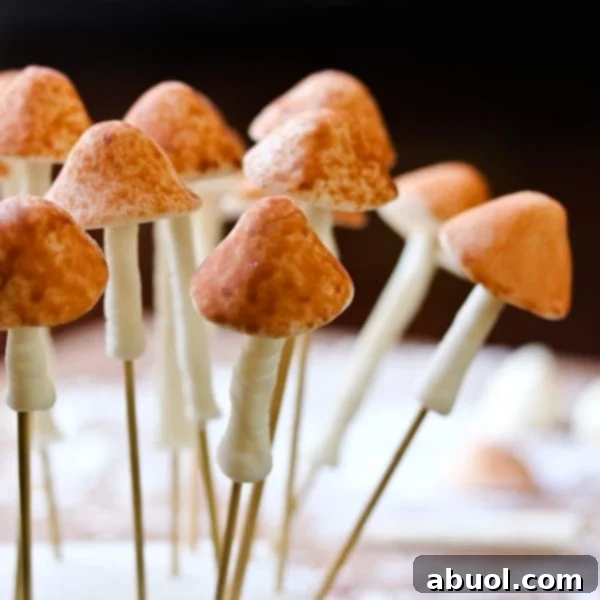
Your amazing homemade marshmallow fondant is incredibly versatile for various cake decorating needs! It’s primarily used to create a beautiful, smooth, and flawless layer over cakes, providing a clean canvas for further decoration. It’s also excellent for making flat decorations like cut-out shapes for cupcake toppers or cake borders, as well as for small, squatty shapes and figurines that aren’t top-heavy. It rolls out like a dream and molds just like play dough, making it perfect for creative endeavors.
However, it’s important to distinguish between fondant and gumpaste. If you’re looking to create standing elements like elaborate bows, large, delicate flowers with thin petals, or other intricate structures that need to dry very hard and hold their shape against gravity, you’ll need to use gumpaste. Gumpaste dries much harder and faster than fondant. Fondant remains softer and more flexible, which is ideal for covering cakes and making edible figures that you want to be soft enough to eat comfortably.
Enhance Your Baking Skills with These Related Recipes
If you loved making this easy homemade marshmallow fondant, you’ll surely enjoy exploring these other fantastic recipes to further expand your baking repertoire:
We hope this comprehensive guide has empowered you to create beautiful, delicious homemade marshmallow fondant. Experiment with colors, flavors, and shapes to bring your cake decorating visions to life. Happy baking!