
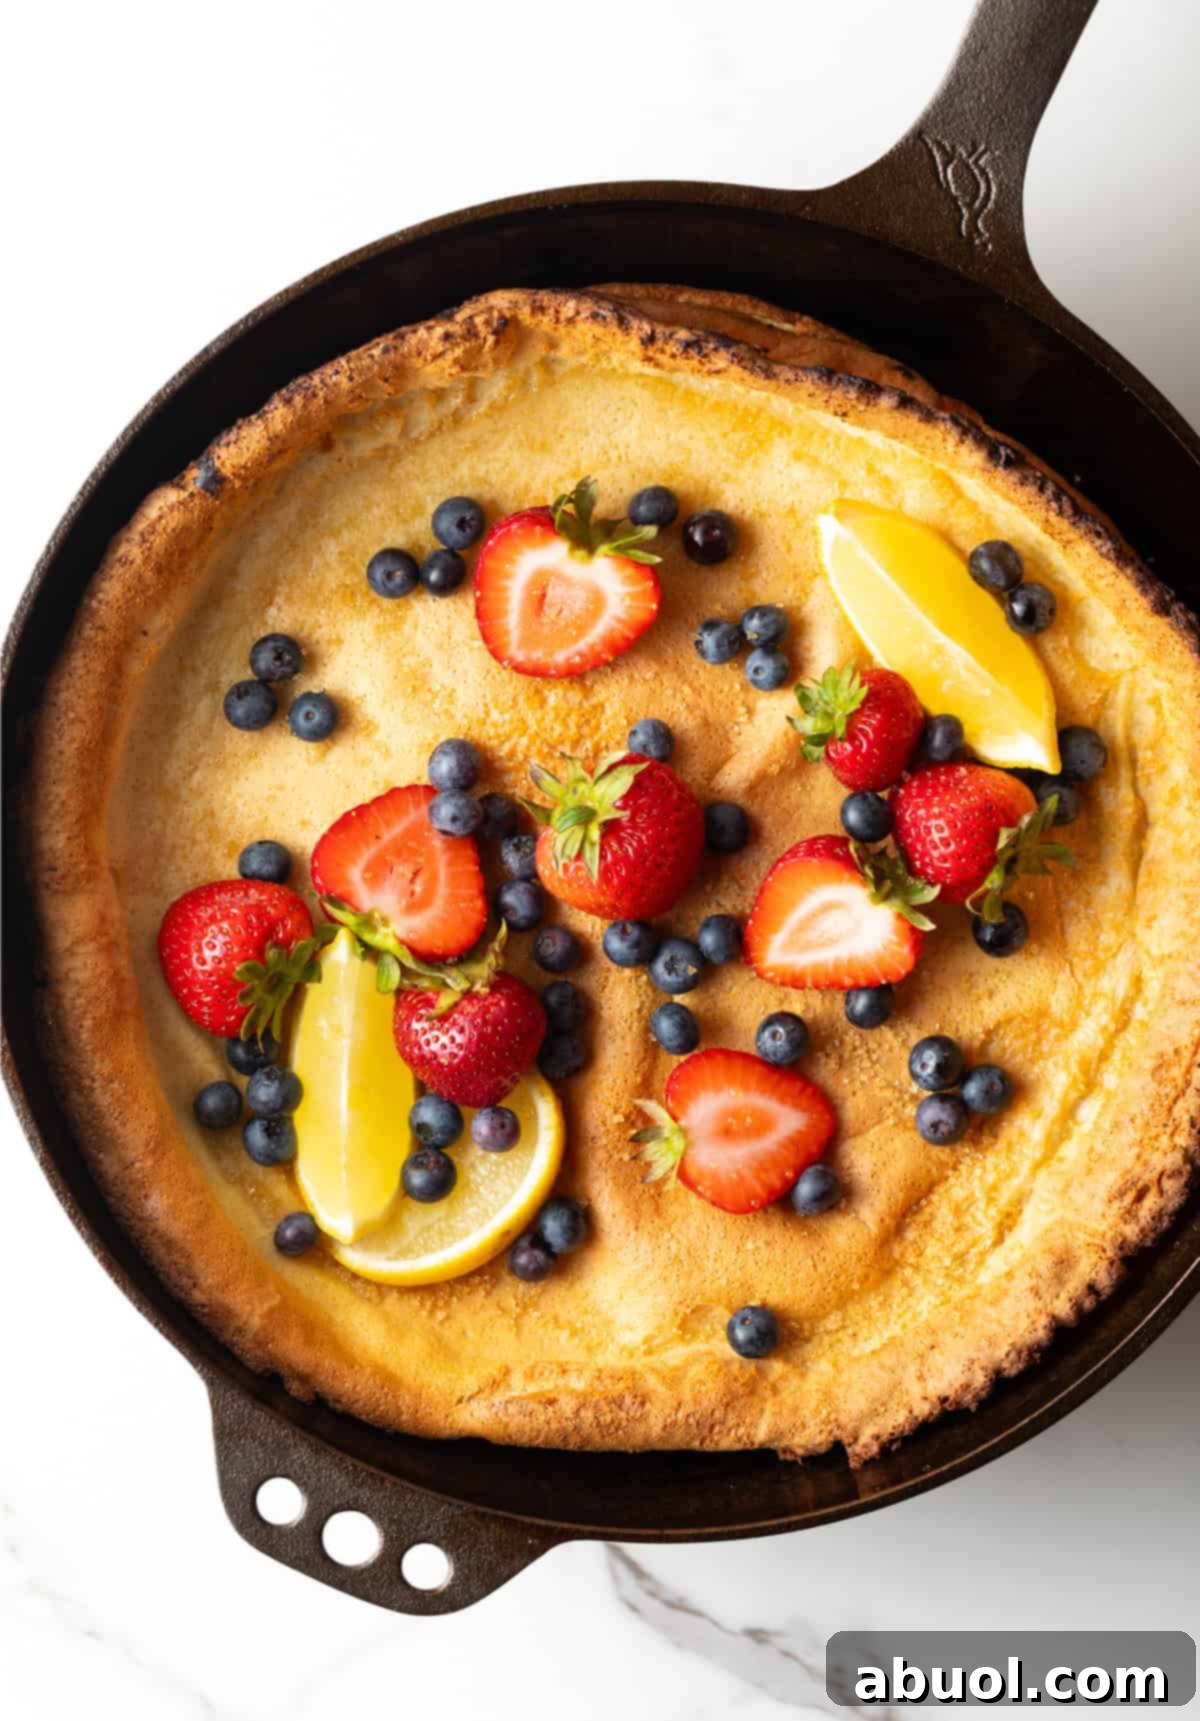
Welcome to your new favorite breakfast tradition: the irresistible Dutch Baby pancake. Forget your preconceived notions of flat, ordinary pancakes; this culinary marvel puffs up into a golden, cloud-like spectacle, delivering a truly unique breakfast experience. Crafted from just a handful of simple ingredients and infused with the rich essence of melted butter, this recipe has been a cherished family staple for years, consistently delivering a dish that feels incredibly special yet demands minimal effort. It’s perfect for adding a touch of magic to your mornings or impressing guests at brunch, effortlessly transforming everyday ingredients into an extraordinary treat.
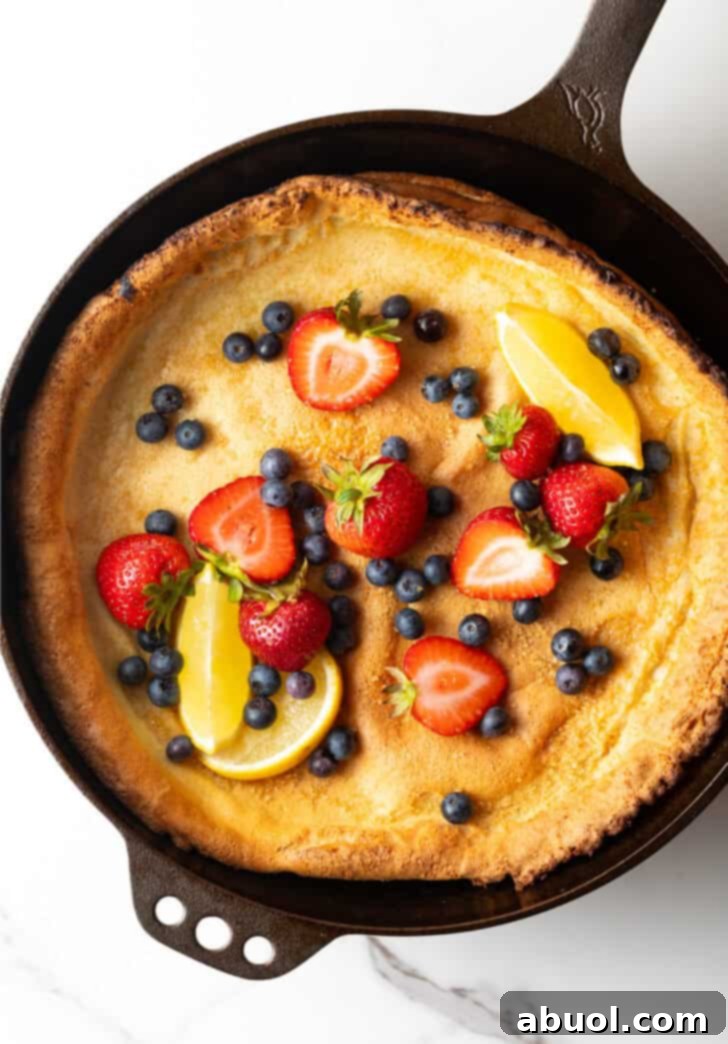
This remarkable oven-baked pancake holds a special place in our home, particularly as my children’s most beloved weekend breakfast. There’s something inherently uplifting about watching it majestically rise in the oven, transforming a simple batter into a culinary masterpiece. It shares the easy, hands-off appeal of other baked pancake recipes, making it an ideal choice for busy mornings or relaxed brunch gatherings with friends. What truly sets the Dutch Baby apart is its light, custard-like batter that spectacularly puffs up in the center, creating a bubbly, golden-brown pancake that is not only a feast for the taste buds but also an absolute delight to behold.

Why You’ll Love This Dutch Baby Recipe
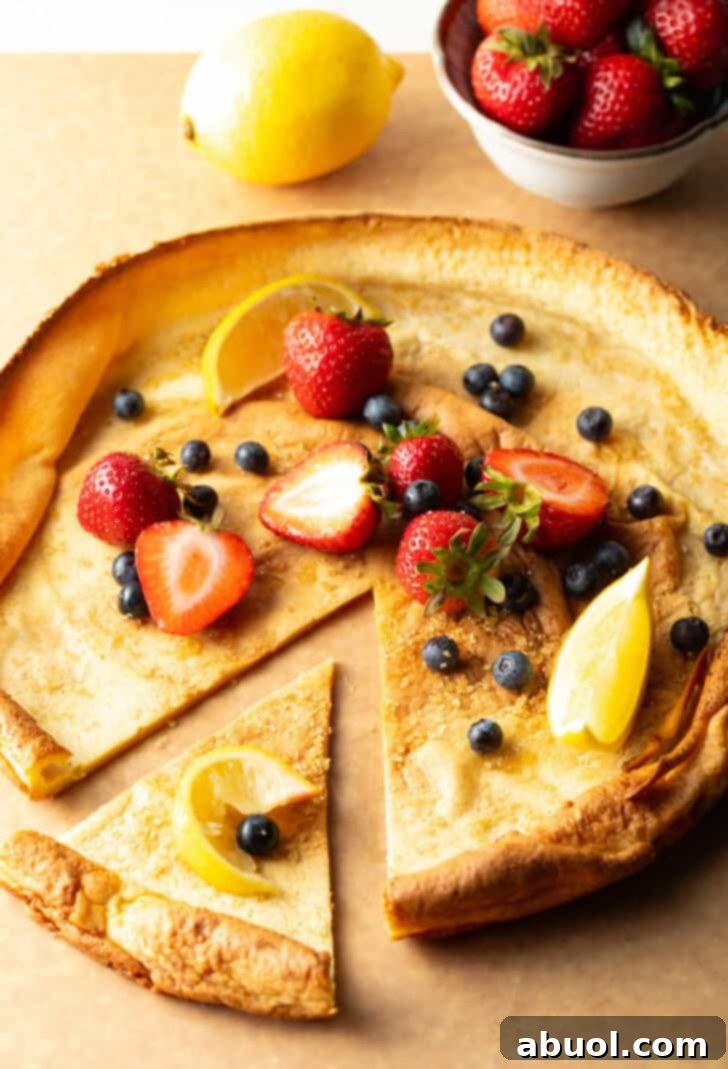
A Symphony of Visual and Textural Delights: The Dutch Baby’s theatrical rise in the oven, forming impressive bubbles and peaks, is truly captivating. While it gracefully deflates soon after emerging from the heat, it leaves behind a remarkable structure of sweet, buttery layers throughout the cast-iron pancake. These layers, alongside the contrasting crispy edges and soft, tender interior, make every bite a complex and utterly delicious experience. Even cooled, its rustic beauty and intricate texture remain wonderfully appealing.
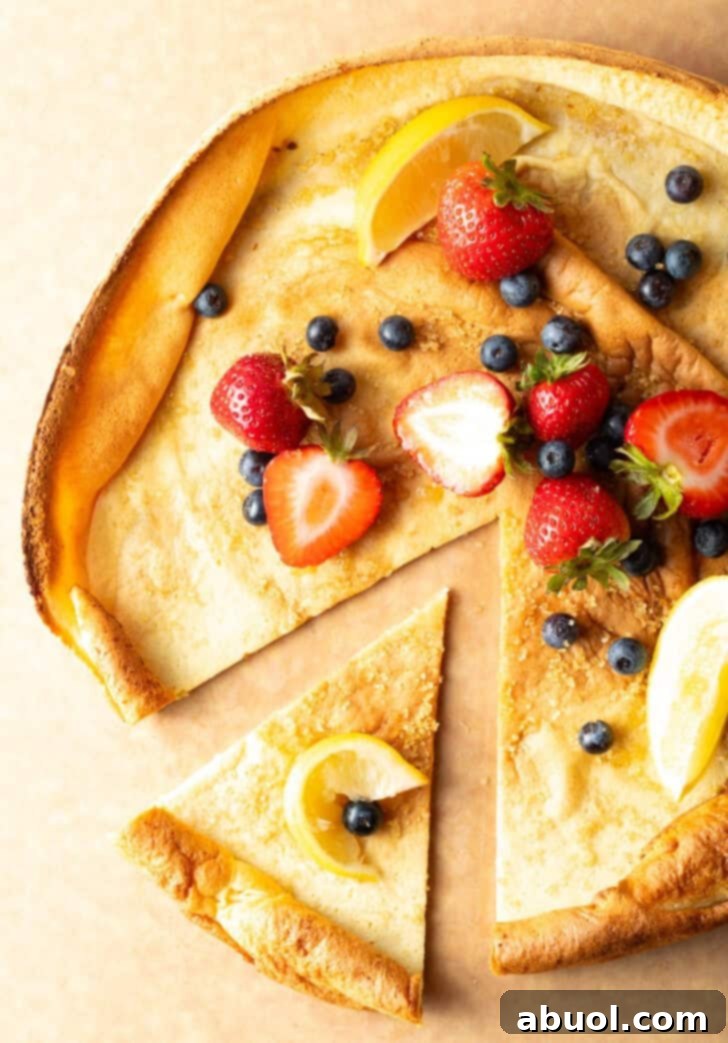
Perfect for Feeding a Crowd: This recipe is designed to impress and satisfy. By utilizing two cast-iron skillets simultaneously, you can effortlessly produce 16 generous slices, easily serving 4 to 8 hungry individuals. For larger gatherings or particularly ravenous appetites, the batter is simple enough to double, allowing you to quickly prepare a second batch the moment the first two stunning Dutch Babies are out of the oven. This scalability makes it a fantastic option for family brunches, holiday breakfasts, or any occasion where you need to feed many with ease and elegance.
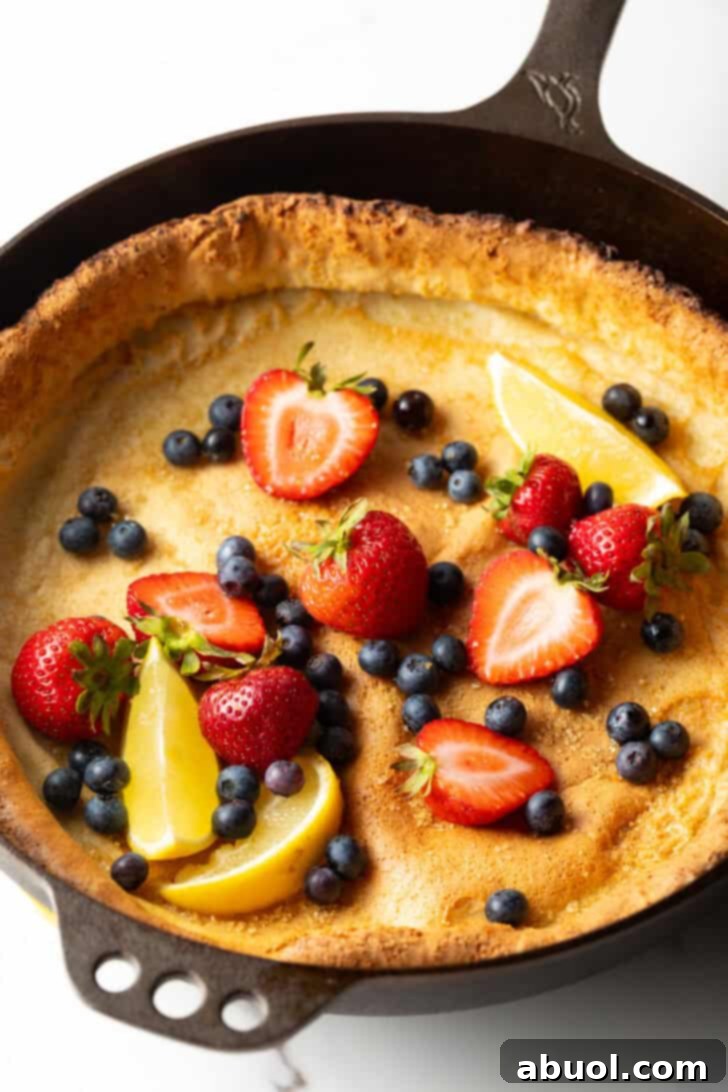
Endless Customization Possibilities: While Dutch Babies offer a unique sweet, custard-like flavor profile that distinguishes them from traditional pancakes, their versatility is boundless. Classically enjoyed with a simple dusting of powdered sugar and a squeeze of fresh lemon juice – a favorite among my own children – they also serve as a magnificent canvas for a wide array of toppings. Whether you prefer a bounty of fresh seasonal fruits, a drizzle of rich caramel sauce, a luxurious swirl of hot fudge, or even savory elements, the Dutch Baby can be tailored to perfectly suit any craving or occasion.
Key Ingredients for the Perfect Dutch Baby
Achieving that iconic golden puff and delicate texture relies on a few core ingredients. Here’s what you’ll need and some tips for selecting the best quality:
- All-Purpose Flour: The foundation of our pancake. Opt for a good quality all-purpose flour for the best structural integrity and flavor. While standard flour works well, a slightly higher protein content can contribute to a more robust puff.
- Granulated Sugar: Provides sweetness and helps with browning. You’ll also want a little extra for sprinkling on top after baking.
- Sea Salt: Balances the sweetness and enhances all the flavors. Fine sea salt is preferred as it dissolves easily. Brands like Celtic Sea Salt or Redmond Real Salt offer excellent mineral profiles.
- Pure Vanilla Extract: A crucial flavor enhancer. Invest in a high-quality pure vanilla extract (such as Morton & Bassett) for a noticeable difference in the overall aroma and taste of your Dutch Baby.
- Whole Milk: Essential for a rich flavor and the desired fluffy, tender texture. The higher fat content of whole milk contributes to a more luxurious custard-like consistency. If whole milk isn’t available, 2% milk can be used, though the result might be slightly less rich. Lactose-free options like Fairlife also work beautifully.
- Large Eggs: The leavening power of the eggs is what creates the dramatic puff! It is paramount that your eggs are at room temperature. This allows them to emulsify better with the other ingredients and creates a more cohesive batter that rises quickly and dramatically in the hot oven.
- Unsalted Butter: Used generously for both melting in the pan and enriching the batter. Unsalted butter gives you precise control over the salt content of your dish. High-quality cultured butters, like Vermont Creamery or Kerrygold, impart an exceptional richness and flavor.
How to Make a Flawless Dutch Baby Pancake
Creating this impressive breakfast is surprisingly straightforward. Below is a simplified guide; for detailed, step-by-step instructions, including exact measurements and a video tutorial, please refer to the complete recipe card at the end of this post.
For a fully detailed recipe, including precise measurements, comprehensive storage guidelines, and a helpful video tutorial, please scroll down to the printable recipe card located at the bottom of this page.
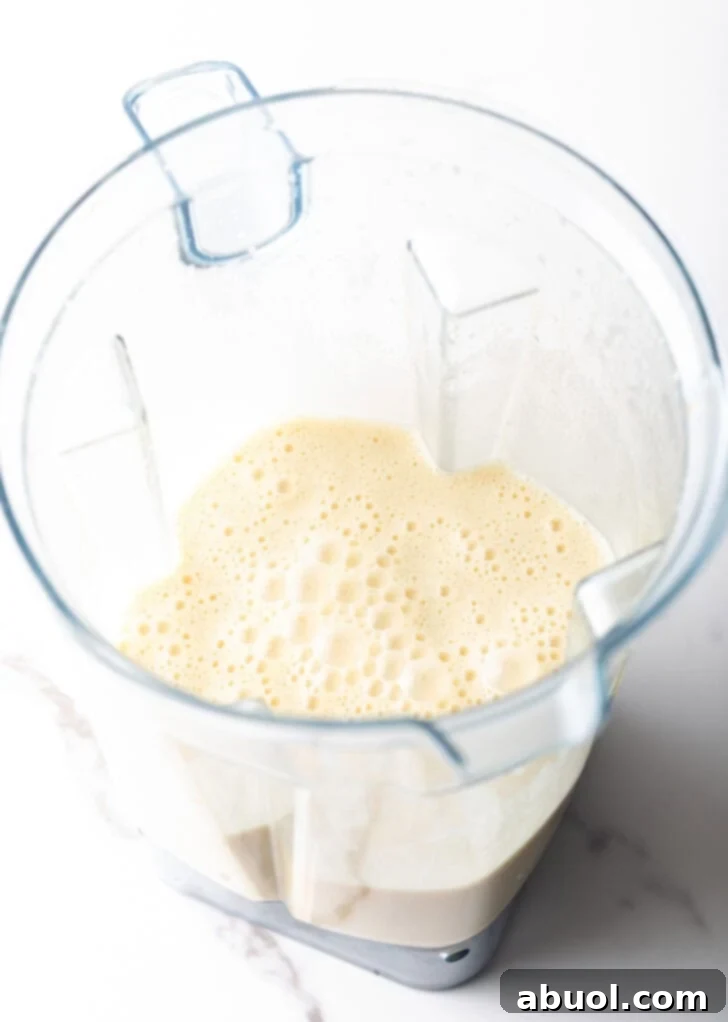
1. Prepare the Batter for Maximum Puff: Begin by setting your eggs and milk out at least 30 minutes before you start cooking, allowing them to gently warm to room temperature. This seemingly small step is critical for achieving the highest, most impressive puff. Once at room temperature, combine the eggs and milk in a blender and pulse a few times. Allow this mixture to rest while your oven preheats, giving it additional time to warm and the proteins to relax. This extra resting period helps ensure an even more spectacular rise. Before the final blend, add the dry ingredients (flour, sugar, salt) and vanilla extract, then blend until the batter is completely smooth and noticeably bubbly, indicating good aeration. Finally, incorporate 4 tablespoons of the melted butter into the batter, blending once more to combine.
2. Prepare the Skillets and Pour the Batter: Preheat your oven to a blazing 425°F (218°C) with two large (11-14 inch) cast-iron skillets placed inside. The intense heat of both the oven and the skillets is vital for the Dutch Baby’s dramatic expansion. Once the oven and pans are screaming hot, carefully remove the skillets. Add 2 tablespoons of butter to each hot skillet, letting it melt and sizzle across the bottom. Swirl the butter to coat the entire cooking surface. Immediately and swiftly pour an equal amount of the prepared batter into each scorching hot skillet. The batter should immediately start to sizzle and cook at the edges.
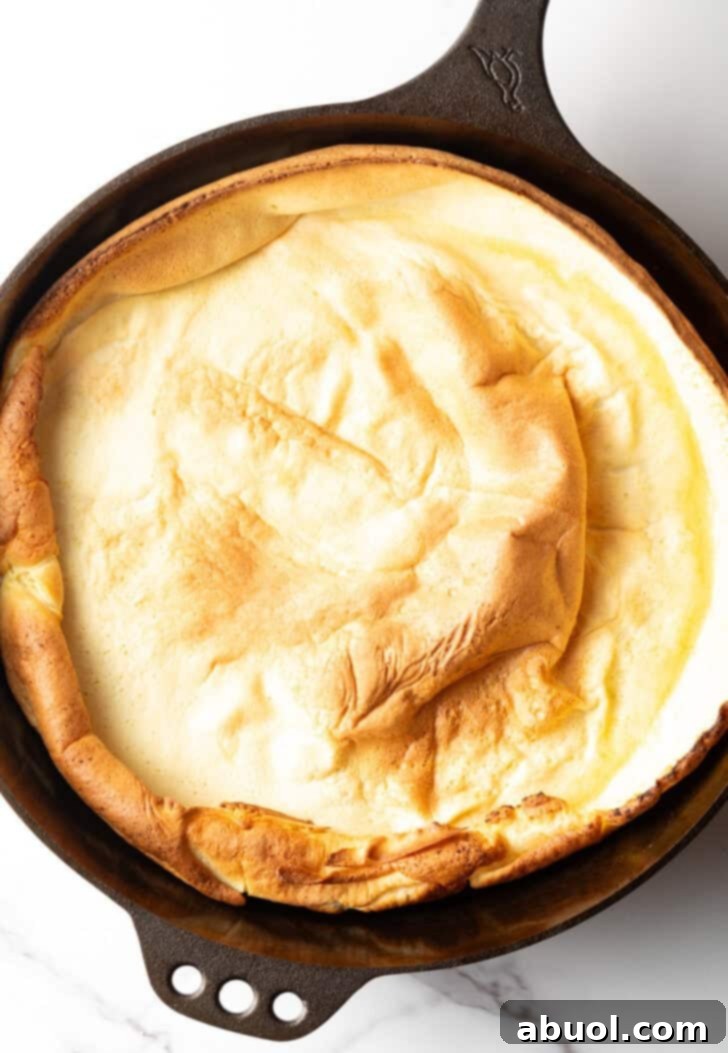
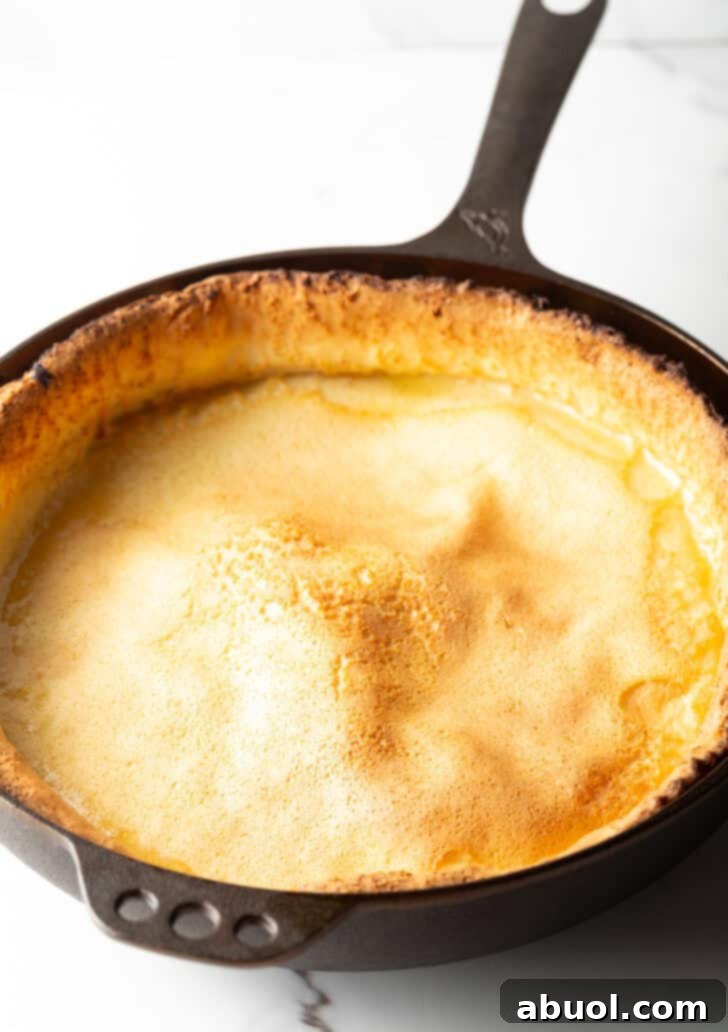
3. Bake to Golden Perfection: Quickly return the skillets to the oven and reduce the temperature to 375°F (190°C). Bake for 25-35 minutes, or until your Dutch Babies are gloriously puffed high above the pan and their edges are a deep, inviting golden-brown. Don’t shy away from allowing the edges to brown considerably; this caramelization contributes to a fantastic crispness and rich flavor on the bottom. Keep a close eye on them during the final minutes, as they can go from perfectly golden to overly dark quite quickly. The moment you remove the skillets from the oven, you’ll observe the impressive center begin to gently deflate. This is not a sign of failure but a completely normal and anticipated characteristic, creating those wonderful, tender layers within the pancake.
Expert Tips for Dutch Baby Success
To ensure your Dutch Babies turn out perfectly every time, keep these professional tips in mind:
- Skillet Selection is Key: This recipe is designed to yield two impressive 12-inch Dutch Babies. Therefore, having two cast-iron skillets of approximately this size is ideal. While a slight variation in size (e.g., 10-inch or 14-inch) is acceptable, remember to adjust the batter distribution accordingly. A larger pan will need a bit more batter to achieve the desired thickness and puff, ensuring even cooking across both. The even heat retention of cast iron is crucial for developing that signature golden crust.
- Don’t Skimp on Quantity: While it might seem like a lot of pancake to make at once, Dutch Babies are notoriously thin once deflated and are incredibly light and irresistible. They tend to disappear remarkably fast! For this reason, I strongly advise against halving the recipe. In fact, when the whole family is home and appetites are hearty, I often find myself needing to prepare a second batch. The ease of preparation makes it simple to whip up more if needed.
- Room Temperature Ingredients are Non-Negotiable: I cannot stress enough the importance of using room temperature eggs and milk. Cold ingredients can shock the hot pan and prevent the batter from rising to its full potential. Allowing them to warm up ensures the batter is cohesive, emulsified, and ready to perform its spectacular puff in the oven.
- Don’t Peek! Resist the urge to open the oven door during the baking process, especially in the first 20 minutes. Each time the door opens, precious heat escapes, which can cause the pancake to deflate prematurely and compromise its magnificent rise. Trust the process and your timer!
Storage and Reheating Notes
While Dutch Babies are truly at their peak when served fresh from the oven, golden and warm, it is possible to enjoy them later. Here’s how to handle any leftovers:
- Storing Leftovers: If you find yourself with any of these delicious fluffy oven wonders remaining, allow them to cool completely. Then, transfer them to an airtight container and store in the refrigerator. They will maintain their quality for up to 3 days. While they won’t have the same dramatic puff as fresh, their flavor remains delightful.
- Freezing for Later Enjoyment: Dutch Babies can be frozen for longer storage. To do so, wrap each individual slice tightly in plastic wrap, then place the wrapped pieces into a freezer bag or an additional airtight freezer-safe container. They can be safely frozen for 2-3 months. Freezing allows you to conveniently pull out one or two pieces at a time for a quick breakfast or snack. Be aware that the texture will change slightly; once thawed and reheated, they tend to be denser and a bit chewier compared to their freshly baked, light-as-a-cloud counterparts, but they still retain their excellent flavor.
- Reheating for Best Results: To gently warm your leftover Dutch Baby pancakes without drying them out, the microwave is your best friend. Heat them at half power in short bursts of 10-15 seconds until warmed through and soft. Alternatively, you can use a lower-heat air fryer to re-crisp the edges, which is a lovely touch. However, keep in mind that air frying can sometimes lead to a slightly drier center, impacting the delicate texture.
Serving Suggestions for Every Palate
The beauty of a Dutch Baby lies in its versatility. While my family adores the classic combination of fresh lemon zest and a sprinkling of sugar, feel free to unleash your creativity and “jazz things up” to your heart’s content. Here are some inspiring ideas:
- Classic & Simple: A light dusting of powdered sugar (or granulated sugar, as traditionally done) and a generous squeeze of fresh lemon juice provide a bright, zesty contrast to the rich pancake. You can also swap sugar for honey and add a dash of warm spices like cinnamon, pumpkin pie spice, or even a hint of ground coffee for an aromatic twist.
- Fresh Fruit Feast: Elevate your Dutch Baby with a vibrant array of seasonal fruits. Pile on fresh strawberries, raspberries, blackberries, and blueberries for a burst of color and natural sweetness. For a heartier fruit option, consider sliced peaches (a personal favorite!), delicately poached pears, or a warm serving of easy fried apples.
- Decadent Indulgences: For those moments when you crave something truly luxurious, load your cloud-like pancake with sinful toppings. A simple drizzle of sweetened condensed milk or pure maple syrup works wonders. Go a step further with a spoonful or two of homemade easy freezer jam, a dollop of silky whipped cream, a scattering of chocolate chips, or a generous pour of my rich homemade hot fudge sauce!
Frequently Asked Questions About Dutch Baby Pancakes
While the unparalleled heat retention and even cooking of cast iron skillets are crucial for achieving that signature golden crust and dramatic puff, making them my top recommendation, you can certainly use other oven-safe pans if cast iron isn’t available. Just ensure your alternative pan can withstand high oven temperatures and conduct heat efficiently for the best possible results.
Absolutely! A blender is fantastic for quickly warming the batter slightly and incorporating lots of air bubbles, which contribute to a higher rise. However, with a little extra effort, you can achieve similar results by hand. Simply combine all ingredients in a large bowl and whisk vigorously for 2 to 3 minutes. The goal is to create a smooth, well-aerated batter before pouring it into your preheated pans.
This is a common question, and usually, it comes down to temperature. The most frequent culprits are an oven that hasn’t fully reached its target temperature, or batter that is too cold when it hits the hot pan. Patience is key! Always ensure your oven is thoroughly preheated and your batter has had ample time to come to room temperature. Remember, even a flat Dutch Baby is still incredibly delicious and makes for a delightful breakfast!
Other Breakfast Recipes You Might Like
If you’ve enjoyed this fabulous free recipe, consider sharing it with friends and family! Your support helps us reach more hungry food enthusiasts. Thank you for spreading the word!

Print Recipe
Leave a Review »
Classic Dutch Baby Pancake Recipe
Video Tutorial
Ingredients
- 1 cup all-purpose flour
- 1/2 cup granulated sugar (+ extra for topping)
- 1 teaspoon fine sea salt
- 1 tablespoon pure vanilla extract
- 1 cup whole milk
- 4 large eggs
- 8 tablespoons unsalted butter, divided
Instructions
- Place the eggs and milk into a blender. Cover and pulse a couple of times to combine. Allow this egg mixture to sit and warm to room temperature while you preheat your oven. (Remember: room temperature eggs and milk are crucial for fluffy Dutch Babies.) Preheat your oven to 425 degrees F (218°C). Remove the upper rack if necessary and place two large 11 to 14-inch cast iron skillets in the oven to preheat thoroughly.
- Once the oven and skillets are piping hot, add the flour, sugar, salt, and vanilla extract to the blender with the egg mixture. Puree until the batter is completely smooth and bubbly. Then, add 4 tablespoons of the melted butter and puree again just until combined. Add the remaining 4 tablespoons of butter (2 tablespoons per skillet) into the preheated skillets in the oven and close the oven door to melt the butter.
- Open the oven door, and using an oven mitt, carefully swirl each skillet to fully coat the bottom and sides with the melted butter. Quickly and evenly pour the batter into each hot skillet, then immediately close the oven door. Reduce the oven temperature to 375 degrees F (190°C). Bake the Dutch Babies for 25-35 minutes, or until they are dramatically puffed and beautifully golden-brown around the edges.
- Using oven mitts, carefully remove the hot skillets from the oven. Gently transfer the Dutch Babies out of the skillets and onto a cutting board. They will begin to deflate quickly, which is completely normal and creates wonderful layers. Sprinkle generously with extra granulated sugar and cut into wedges. Serve each Dutch Baby immediately with a squeeze of fresh lemon juice or any of your desired optional toppings.
Notes
- Toppings: Get creative with your toppings! Classic choices include sugar and lemon wedges, fresh berries, or a mix of ground coffee and sweetened condensed milk. Also consider your favorite jam, warm fried apples, honey, or sliced peaches.
- Storing Leftovers: Dutch Babies are best enjoyed fresh, straight from the oven. However, if you have any leftovers, store them in an airtight container in the refrigerator for up to 3 days.
- Freezing: For longer storage, you can freeze individual pieces of Dutch Baby pancake. Wrap each piece tightly in plastic wrap, then place in a freezer-safe ziploc bag or an airtight container. Freeze for up to 2-3 months. Note that the texture will become denser and chewier after thawing compared to fresh. Thaw at room temperature for 20-30 minutes before reheating.
- Reheating: To reheat a Dutch Baby, gently warm it in the microwave using short 10-second bursts at 50% power. This method helps prevent it from drying out and keeps it soft.
Nutrition Information
Serving: 1 pc, Calories: 82kcal, Carbohydrates: 13g, Protein: 3g, Fat: 2g, Saturated Fat: 1g, Polyunsaturated Fat: 0.3g, Monounsaturated Fat: 1g, Trans Fat: 0.01g, Cholesterol: 48mg, Sodium: 169mg, Potassium: 50mg, Fiber: 0.2g, Sugar: 7g, Vitamin A: 92IU, Calcium: 27mg, Iron: 1mg
Cook It? Love It? Rate It!
Your feedback helps this recipe reach a wider audience on Google. Please take a moment to rate it so other hungry people can discover this delicious Dutch Baby. Thank you!