
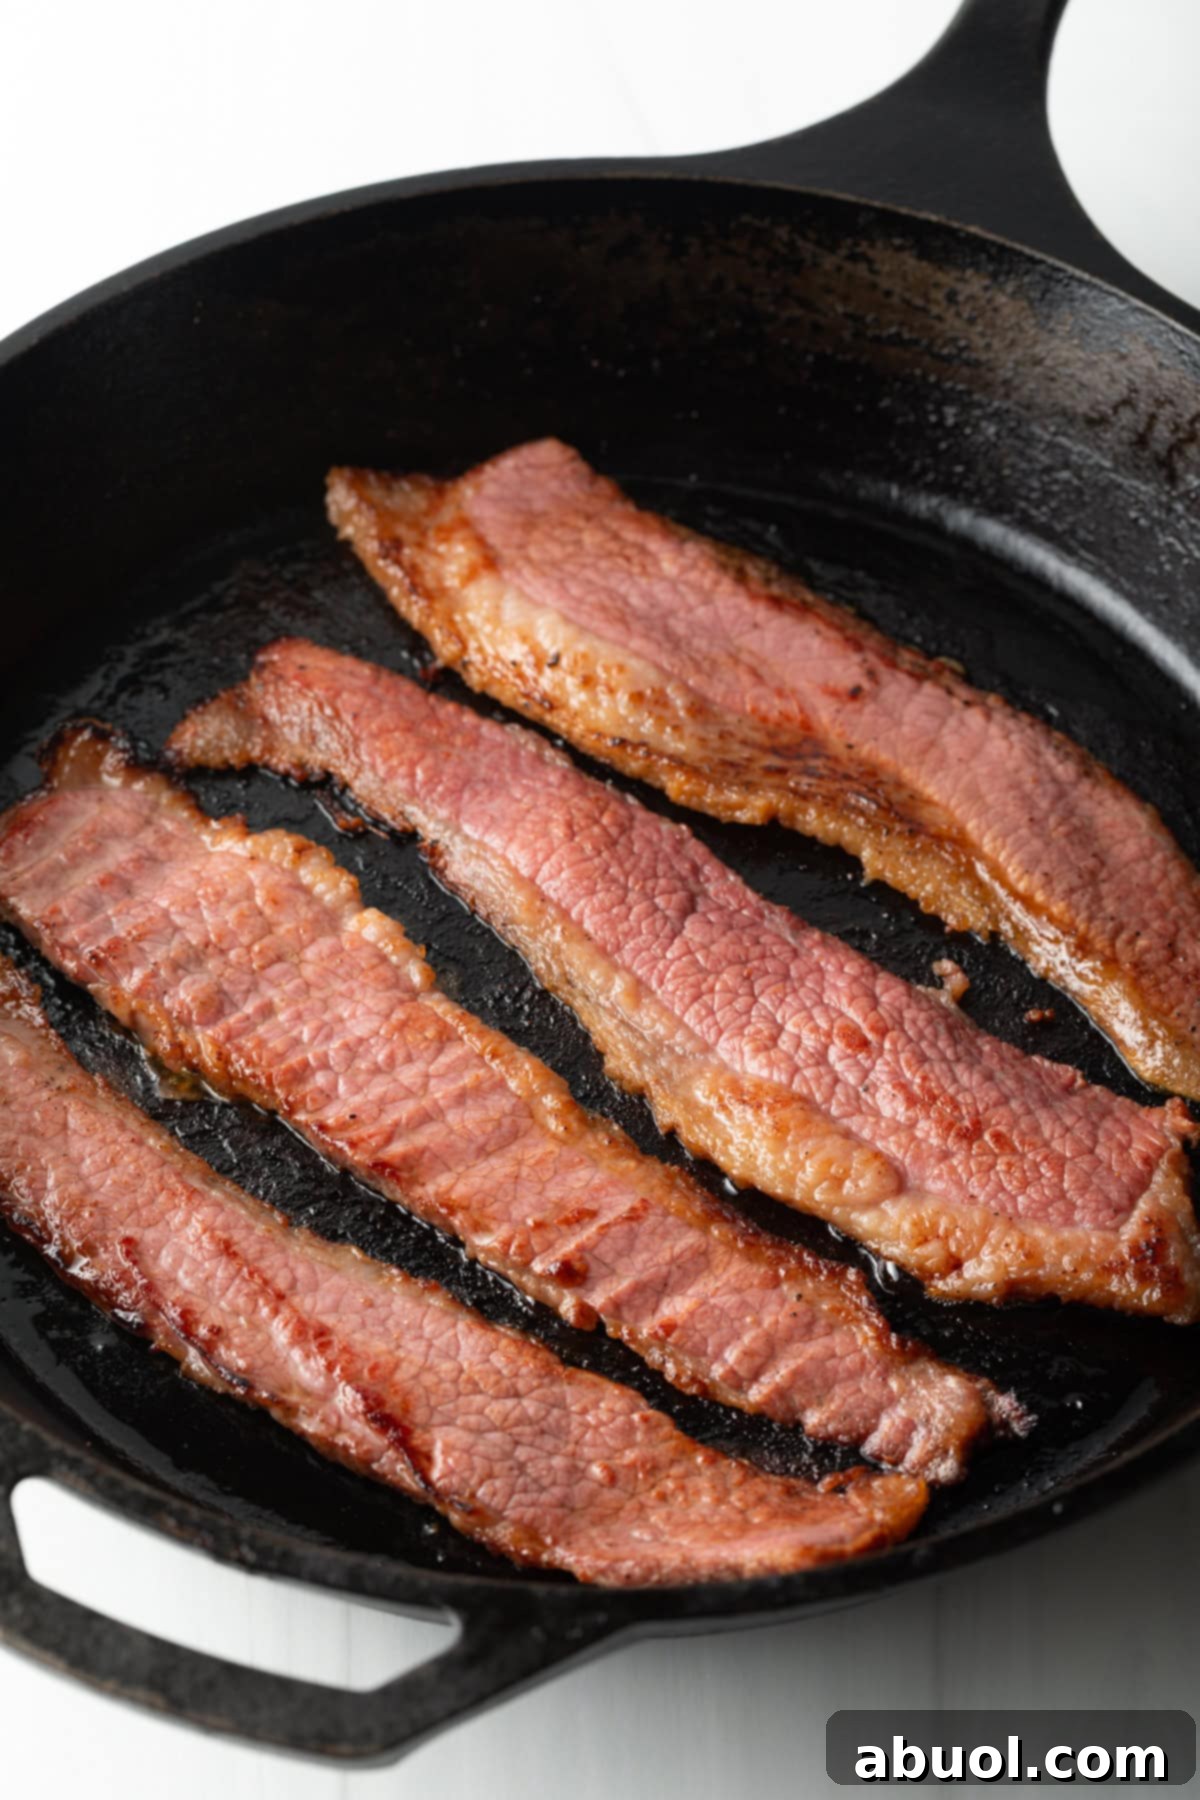
Discover how to create the most irresistibly crisp, chewy, meaty, and flavorful bacon right in your own kitchen with this comprehensive, step-by-step guide to homemade dry-aged beef bacon. Forget store-bought and embrace the rich, robust taste of expertly cured beef!
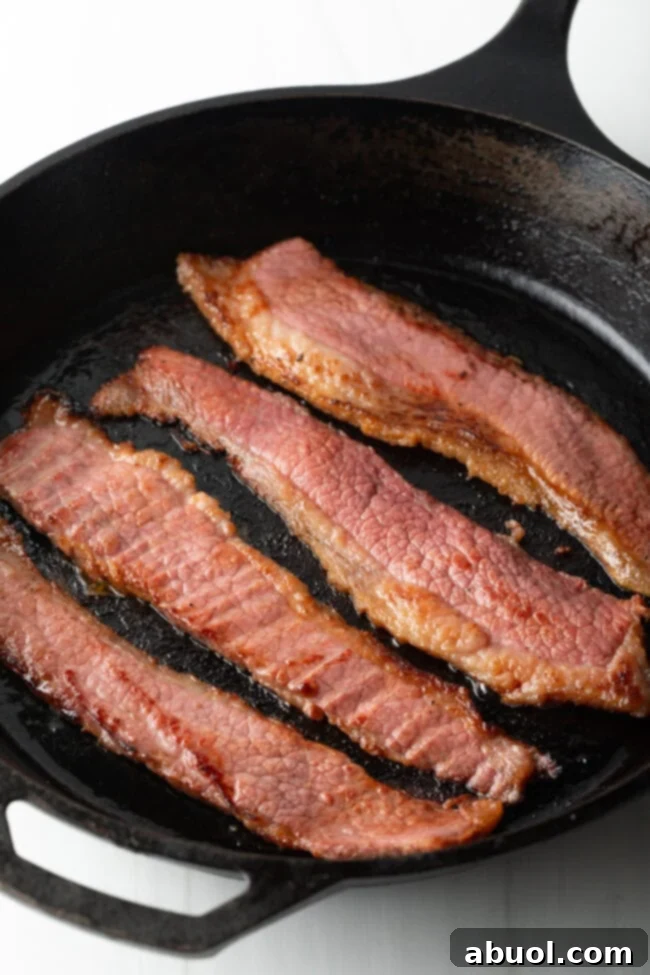
Why Homemade Beef Bacon Will Become Your New Favorite
Bacon holds a special place in the hearts (and on the plates) of food lovers worldwide. Its savory aroma and satisfying crunch are simply unmatched. However, not everyone consumes pork, and finding a delicious alternative that truly satisfies those bacon cravings can be a challenge. Enter this practically foolproof cured beef bacon recipe! It empowers you to transform humble cuts of fatty beef into utterly irresistible strips with an incredibly robust, beefy flavor profile that stands proudly alongside its pork counterpart. This isn’t just a substitute; it’s a culinary revelation.
The beauty of making beef bacon from scratch lies in its simplicity and the control it offers. The fundamental process is straightforward: first, you carefully cure the meat with a blend of salts and spices; next, you rinse off the excess cure and allow it to dry-age, intensifying its flavor and perfecting its texture. Finally, you slice it thinly and pan-fry or oven-bake it to golden, crispy perfection. The entire journey, from raw beef to sizzling bacon, is incredibly rewarding. While a smoker can add an extra layer of smoky depth after the dry-aging process, it’s entirely optional, proving that exceptional beef bacon is achievable even without specialized equipment.
While this versatile curing method can indeed be adapted for pork belly to produce classic pork bacon, we wholeheartedly encourage you to try beef bacon if you haven’t already. Its distinct meaty character and leaner profile offer a uniquely satisfying experience that’s sure to impress both yourself and your guests. Get ready to elevate your breakfast, brunch, and countless other dishes with this incredible homemade treat!
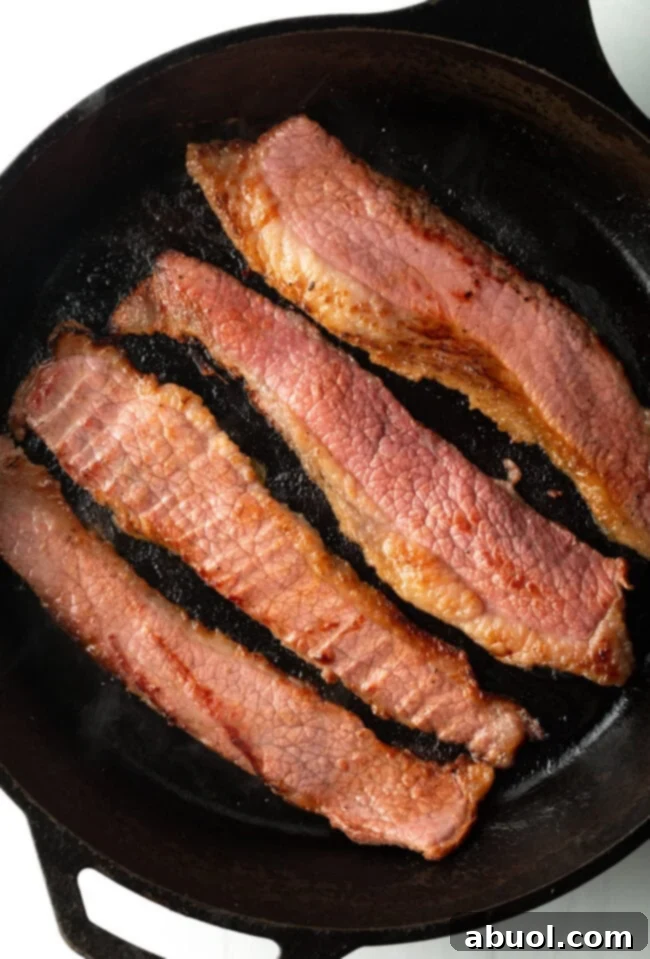
Essential Ingredients for Perfect Beef Bacon
Crafting exceptional beef bacon begins with selecting the right ingredients. Each component plays a vital role in developing the distinct flavor, texture, and safety of your homemade cure.
- Beef Navel: This cut is often referred to as the beef equivalent of pork belly due to its ideal fat-to-meat ratio, which is crucial for classic bacon texture. If beef navel is unavailable, a well-marbled brisket flat or short ribs (boneless, or deboned) can serve as excellent alternatives, offering rich flavor and ample fat for that desirable chewiness and crispiness. Look for cuts with good intramuscular fat.
- Granulated Sugar: Beyond just adding a touch of sweetness, sugar plays a key role in balancing the overall flavor of the cure. It counteracts the harshness of the salt and contributes to the beautiful caramelization that occurs when the bacon is cooked, enhancing its golden-brown finish.
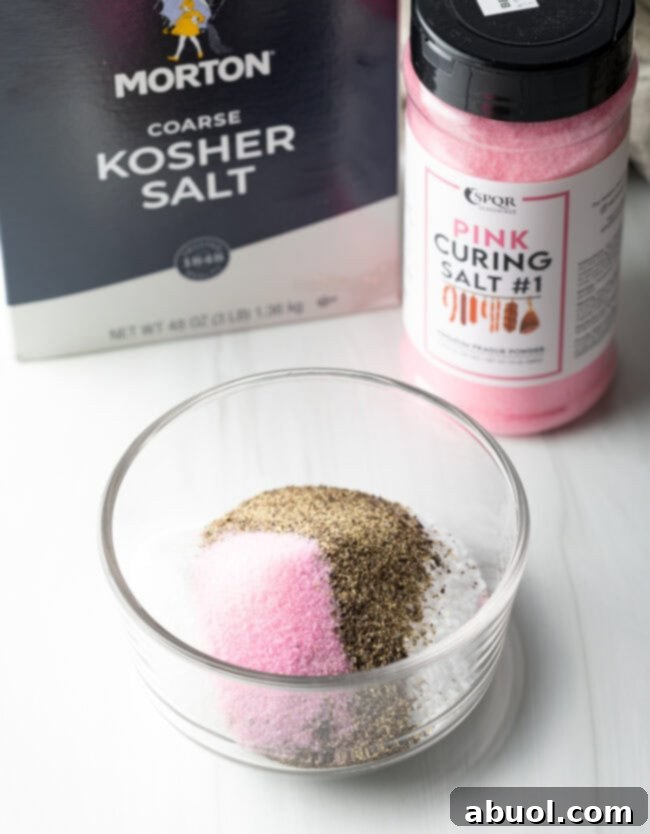
- Curing Spices: This essential trio forms the backbone of your beef bacon’s flavor and ensures its safe preparation.
- Kosher Salt: Provides the primary curing action, drawing out moisture and inhibiting bacterial growth. Its larger crystals adhere well to the meat surface, ensuring even distribution.
- Ground Black Pepper: Adds a classic, pungent spice note that complements the rich beef flavor, contributing to the traditional bacon taste.
- Pink Curing Salt (Prague Powder #1): This is a non-negotiable ingredient for safety. It contains sodium nitrite, which is vital for preventing the growth of harmful bacteria like Clostridium botulinum, imparting bacon’s characteristic pink color, and contributing to its unique cured flavor. It is crucial to use only the specified amount, as pink curing salt is a powerful preservative and should never be confused with regular table salt.
Mastering Homemade Beef Bacon: A Step-by-Step Guide
Creating your own beef bacon is a deeply satisfying process that yields exceptional results. Follow these detailed steps carefully to ensure a delicious and safe product.
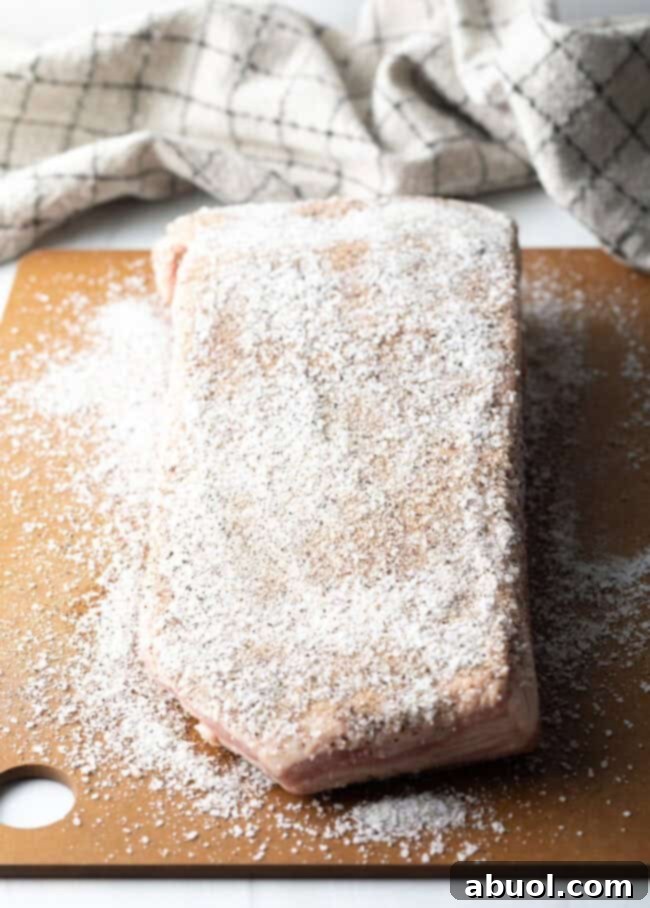
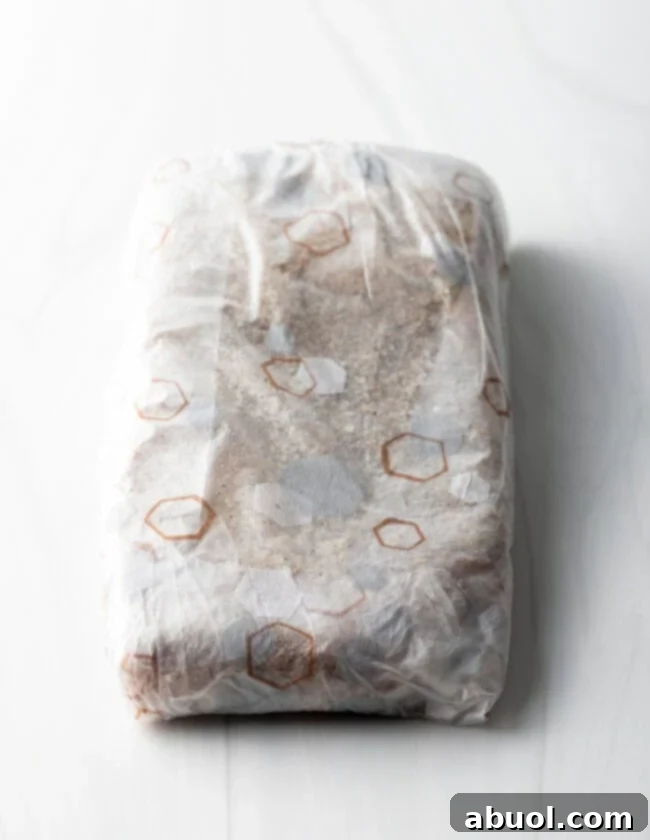
- Prepare the Cure and Begin Initial Curing: In a small, clean bowl, combine the granulated sugar, kosher salt, black pepper, and pink curing salt. Mix these ingredients thoroughly until evenly distributed. This is your dry cure. Place your chosen slab of beef (navel, brisket, or short ribs) on a clean cutting board. Generously rub the salt mixture over every surface of the beef, paying special attention to covering all sides and edges. Ensure the meat is completely coated with the curing mixture. Once coated, lay out a large piece of plastic wrap. Place the beef slab in the center of the plastic wrap, sprinkling any remaining curing salt over the top. Wrap the beef tightly, making sure no air pockets remain. This tight wrapping is essential for an effective and consistent cure. Refrigerate the wrapped beef for 4 to 5 days. During this time, the salts will penetrate the meat, drawing out moisture and beginning the transformation into bacon. Consistency in refrigeration temperature is key here.
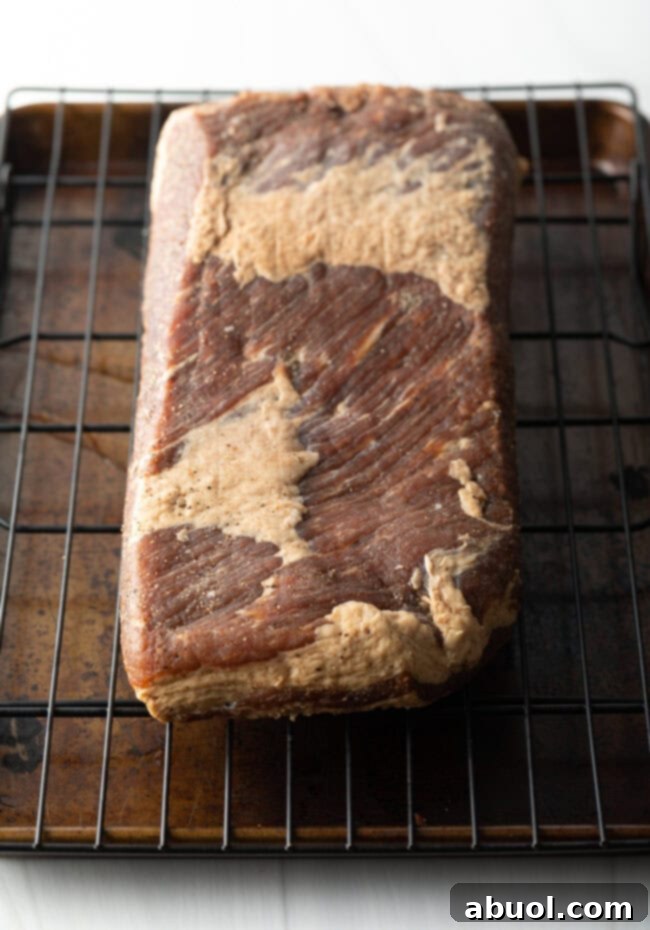
- Rinse and Dry-Age the Beef: After the initial curing period, carefully unwrap the beef slab. It might feel firmer and appear slightly darker. The next crucial step is to rinse it thoroughly under cold running water. You want to remove as much of the surface salt as possible to prevent the final product from being overly salty. Once rinsed, pat the beef completely dry with clean kitchen paper or paper towels. Place a wire rack on a rimmed baking sheet or in a baking dish. This setup ensures proper air circulation around the meat during dry aging. Position the rinsed and dried beef on the wire rack, leaving it uncovered. Return the beef to the refrigerator for another 1 to 2 days to allow it to dry age. During dry aging, the surface of the meat dries out, concentrating the flavors and firming up the texture, which is essential for that perfect bacon crispness. Good air circulation in the fridge is important for this stage.
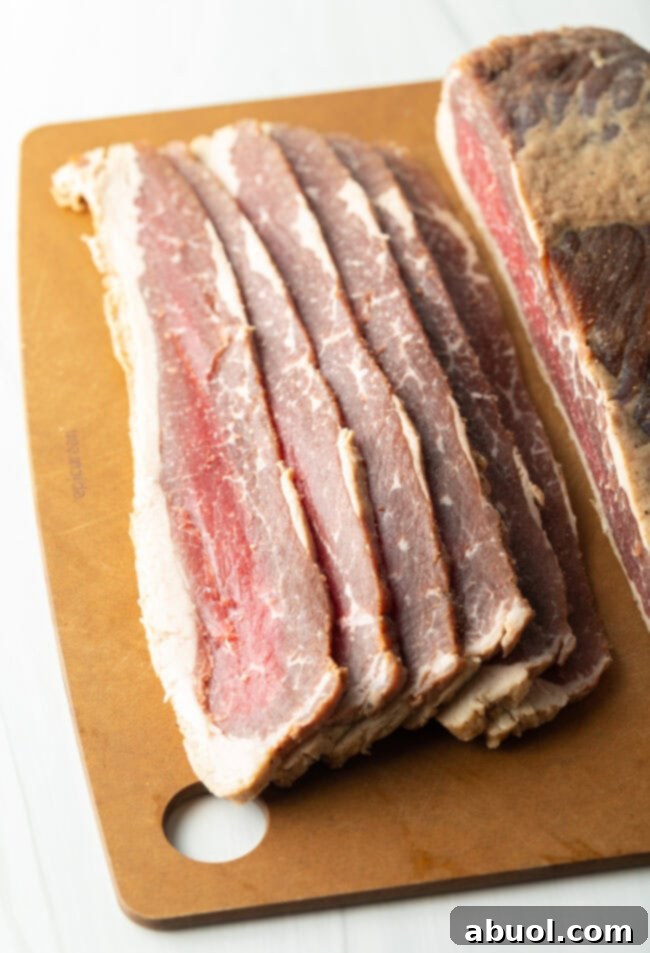
- Flash Freeze, Slice, and Store: Once the beef has successfully dry-aged and its surface feels dry to the touch, it’s time for slicing. To achieve those perfectly thin, uniform slices characteristic of bacon, place the entire slab of cured beef in the freezer for 30 to 60 minutes to flash freeze. You want the meat to be firm enough to hold its shape easily as you slice, but not completely frozen solid, which would make cutting difficult. Carefully slice the beef into thin strips, aiming for an even thickness. The thinner the slices, the crispier your bacon will be when cooked. After slicing, place your raw beef bacon strips into a Ziploc bag or vacuum seal them. Squeeze out as much air as possible before sealing to maintain freshness. Refrigerate the bacon until you’re ready to fry up some magic, or freeze for longer-term storage.
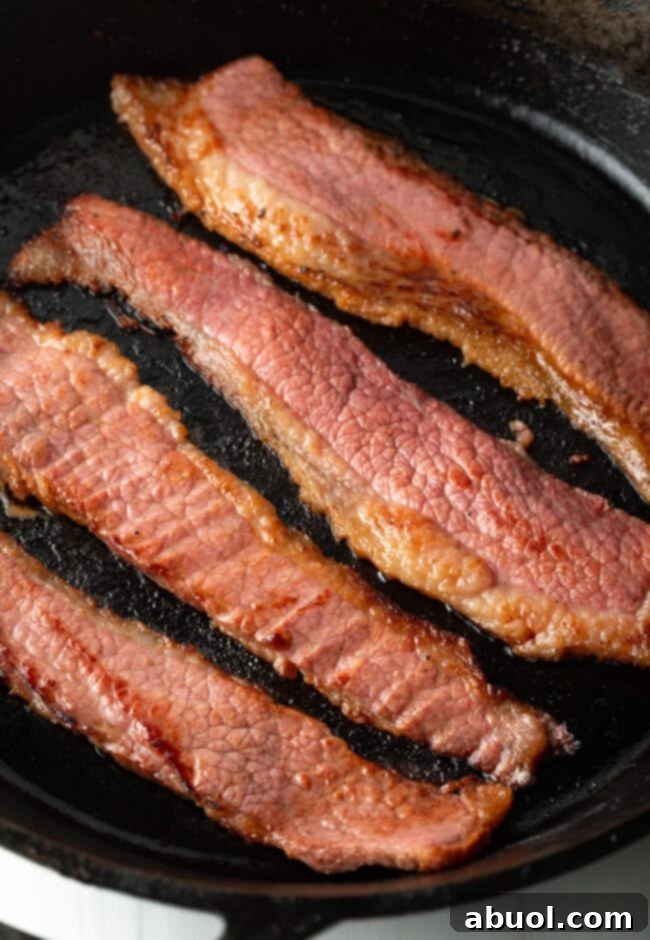
- Cook Your Homemade Beef Bacon to Perfection: When your cravings call, take out your beautifully sliced beef bacon. Heat a large skillet (cast iron works wonderfully) over medium heat. Arrange several strips of bacon in a single layer in the hot skillet, ensuring not to overcrowd the pan. Fry the bacon strips for approximately 3 to 4 minutes per side, or until they reach your desired level of crispiness and are perfectly golden brown. The fat will render and the edges will become delightfully crisp. Alternatively, for a slightly less oily and more uniformly cooked result, you can bake the beef bacon in the oven (see our recipe variations section for details). Serve immediately and savor the incredible flavor of your homemade creation!
Get the Complete (Printable) Homemade Beef Bacon Recipe + VIDEO Below. Enjoy!
Delicious Serving Suggestions for Beef Bacon
Once you’ve made your own homemade beef bacon, you’ll find endless ways to enjoy its rich, savory flavor. It’s not just for breakfast; beef bacon is incredibly versatile!
For classic morning meals, serve your crisp beefy bacon alongside other beloved breakfast and brunch favorites. Imagine fluffy scrambled eggs, perfectly fried sunny-side-up eggs, a stack of homemade pancakes drenched in maple syrup, golden French toast, or even add a savory crunch to a vibrant breakfast salad for a lighter, yet satisfying, start to your day.
Beyond breakfast, beef bacon is a fantastic pork-free alternative that elevates a wide array of recipes. Use its robust flavor to reinvent traditional dishes or add a unique twist to new creations. Try it to make a comforting Irish Bacon and Cabbage, where the beefy notes complement the tender cabbage beautifully. For a hearty dinner, incorporate it into Spicy Cowboy Bacon Burgers, adding a layer of smoky depth. It’s also excellent in Easy Alambre Tacos With Carne Asada, lending a savory complexity to the fillings. Don’t forget appetizers like Baked Brie With Jam, where the salty bacon perfectly contrasts with sweet jam and creamy cheese. Seriously, almost any dish that calls for a delightful pop of bacony goodness can be enhanced with this homemade beef version!
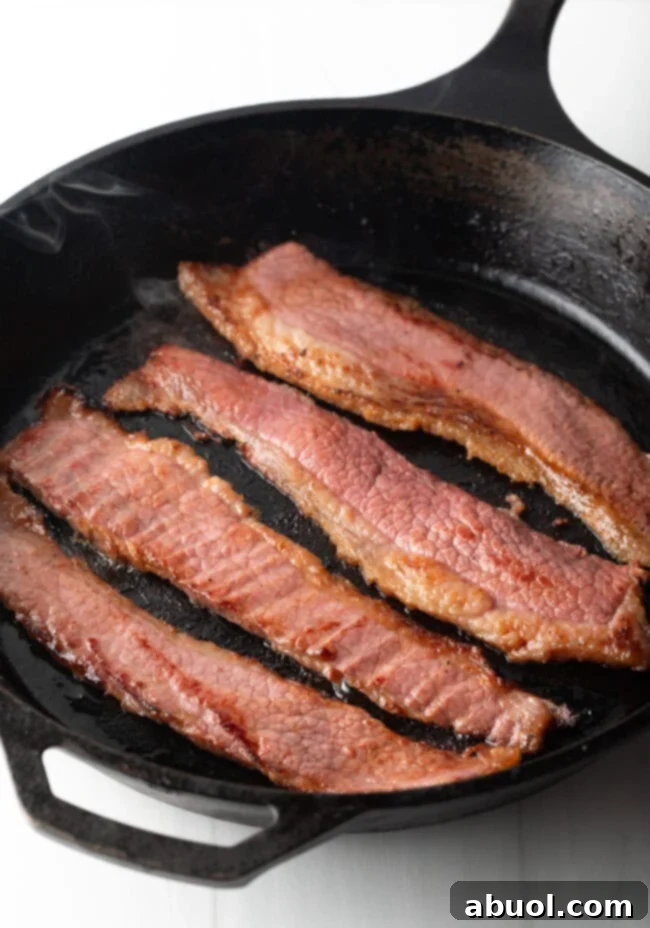
Exciting Beef Bacon Recipe Variations to Try
Once you’ve mastered the basic homemade beef bacon recipe, don’t hesitate to experiment with different flavor profiles and cooking methods to customize your experience. Here are some fantastic variations:
- Sweet & Savory Brown Sugar Bacon: For a delightful caramelization and an extra layer of sweetness, brush your uncooked beef bacon strips with a thin layer of brown sugar just before frying or baking. The sugar will melt and caramelize, creating a sticky, slightly crispy coating that pairs wonderfully with the savory beef.
- Spicy Kick with Cayenne Pepper: If you love a little heat, sprinkle a pinch of cayenne pepper onto your bacon strips while they’re sizzling in the skillet or baking in the oven. This adds a subtle, fiery hint that enhances the overall flavor without overwhelming the delicious beefiness.
- Explore Alternative Beef Cuts: While beef navel is ideal, don’t limit yourself! Experiment with other juicy cuts of beef like brisket (especially the fattier point cut) or even boneless short ribs. These cuts offer varying levels of meatiness and marbling, providing unique textures and flavors in your finished bacon.
- Healthier Oven-Baked Method: Instead of pan-frying, which can be a bit messy and oily, consider baking your beef bacon in the oven. This method results in a lighter, less oily, and often more uniformly crisp product. Simply preheat your oven to 400°F (200°C), arrange bacon strips on a wire rack set over a rimmed baking sheet, and bake for 15-20 minutes, flipping halfway, until desired crispness is achieved.
- Maple-Glazed Beef Bacon: For an even sweeter and more sophisticated flavor, brush the cooking bacon with a pure maple syrup during the last few minutes of cooking. The maple glaze will caramelize beautifully, creating a gourmet treat perfect for brunch or dessert pairings.
- Smoked Beef Bacon: If you have a smoker, consider adding a smoke step after the dry-aging process and before slicing. Smoke the cured beef at a low temperature (around 180-200°F / 82-93°C) for 2-4 hours, or until it reaches an internal temperature of 150°F (66°C). This infuses the bacon with an incredible smoky depth that is truly exceptional.
Frequently Asked Questions About Homemade Beef Bacon
Absolutely! You can customize your curing salts to create unique flavor profiles. For an added hint of spice and smoky depth, try mixing in some smoked paprika, ground Szechuan pepper for a citrusy, peppery kick, or an extra pinch of cayenne pepper if you love heat. Garlic powder, onion powder, or a touch of dried thyme can also add aromatic complexity to the cure.
Generally, yes. Beef bacon often boasts a higher protein content and tends to be leaner, meaning it contains less total fat and fewer calories per serving compared to traditional pork bacon. While both are delicious, beef bacon can be a more nutritionally balanced option for those mindful of their fat and calorie intake, especially if you start with a leaner cut of beef.
Many people prefer homemade beef bacon for several compelling reasons. Firstly, it offers a fantastic alternative for individuals who don’t eat pork for dietary, religious, or personal reasons. Secondly, beef bacon is typically leaner, which means when you crisp it up, you’ll notice significantly less shrinkage compared to pork bacon. Pork bacon, with its higher fat content, can shrink dramatically during cooking, leaving you with smaller pieces. With beef bacon, you get more meaty substance per slice, providing a satisfyingly robust flavor and texture experience that is hard to beat.
The texture of well-made beef bacon, when cooked to perfection, is remarkably similar to homemade pork bacon – offering a delightful slightly chewy yet crisp bite. While it shares that familiar bacony texture, the flavor profile is distinctly different. Leaner beef bacon will be less fatty and present a rich, deep, unmistakably beefy, and savory taste, rather than the more delicate, sometimes sweeter, flavor of pork bacon. It’s a delicious experience in its own right!
Proper storage is essential for extending the life of your homemade beef bacon:
- Uncooked Beef Bacon: Store sliced, uncooked beef bacon tightly wrapped in plastic wrap and placed inside a zipper bag or an airtight container in the refrigerator for up to 5-7 days. For longer storage, freeze the uncooked bacon for up to 1 month. For best quality when freezing, consider vacuum sealing the slices to prevent freezer burn.
- Cooked Beef Bacon: Leftover cooked bacon should be stored in an airtight container in the fridge and will keep well for up to 3 days.
The good news is you don’t need highly specialized equipment. Basic kitchen tools suffice: a small bowl for mixing the cure, a cutting board, plastic wrap, a baking sheet, a wire rack for dry aging, and a sharp knife for slicing. A vacuum sealer is beneficial for long-term storage but not strictly necessary for the curing process itself.
No, it is crucial not to skip or substitute pink curing salt (Prague Powder #1) with regular salt. Pink curing salt contains sodium nitrite, which is vital for food safety, primarily to prevent the growth of Clostridium botulinum, the bacteria that causes botulism. It also contributes to the characteristic flavor and pink color of cured meats. Always use the specified amount and handle it with care.
Looking for More Delicious Recipes? Be Sure to Also Try:
- Easy Gravlax Recipe (Cured Salmon)
- Top Round Roast
- Philly Cheesesteak Sliders
- Bone In Ribeye Steak
- Chopped Steak with Mushroom Gravy
- Baked Corned Beef and Cabbage in the Oven
- Best Smoked Beef Brisket
- Cuban Beef Picadillo
- How to Smoke Trout
- The Best Turkey Brine Recipe
- Texas Style Oven Brisket Recipe
Homemade Beef Bacon Recipe
Prep Time: 10 minutes
Cook Time: 8 minutes
Dry Aging: 7 days
Total Time: 7 days 18 minutes
An easy, step-by-step guide to making thick, crispy, chewy, meaty, and utterly delicious bacon with homemade dry-aged beef!
Servings: Approximately 35+ strips (pieces)
Video Tutorial
Watch our video guide for a visual walkthrough of the beef bacon making process:
(Video title: Beef Bacon, Description: The Best Beef Bacon Recipe – An easy step-by-step guide to make thick pieces of crisp, chewy, meaty and delicious bacon with homemade dry-aged beef!)
Ingredients
- 3.5 – 4 pounds beef navel (or well-marbled brisket or short ribs)
- ¼ cup granulated sugar
- ¼ cup kosher salt
- 2 tablespoons ground black pepper
- 1 teaspoon pink curing salt
Instructions
- Prepare the Cure and Begin Initial Curing: In a small bowl, thoroughly mix the granulated sugar, kosher salt, black pepper, and pink curing salt. Place the beef navel slab on a cutting board. Rub the salt mixture generously over all sides and edges of the beef. Lay out a large piece of plastic wrap, place the beef slab in its center, and sprinkle any remaining curing salt on top. Wrap the beef tightly in the plastic wrap, ensuring it’s completely sealed. Refrigerate for 4 to 5 days to cure the meat.
- Rinse and Dry-Age the Beef: After the curing period, unwrap the beef slab. Rinse it thoroughly under fresh, cold water to remove all excess salt from its surface. Pat the beef completely dry with paper towels. Place a wire rack on a rimmed baking sheet. Position the beef bacon on the rack, leaving it uncovered. Return it to the refrigerator for 1 to 2 days for the crucial dry-aging process, which develops flavor and texture.
- Flash Freeze, Slice, and Store: Once the beef has dry-aged and is firm to the touch, place it in the freezer for 30 to 60 minutes to flash freeze. This makes slicing much easier. The meat should be firm enough to cut easily but not frozen solid. Slice the bacon into thin, uniform strips. Place the sliced bacon strips in a Ziploc bag, remove as much air as possible, and seal. Refrigerate until you are ready to cook, or freeze for up to one month for longer storage.
- Cook Your Homemade Beef Bacon to Perfection: When ready to cook, heat a large skillet over medium heat. Lay several strips of bacon in the skillet, being careful not to overcrowd. Fry for 3 to 4 minutes per side, or until the bacon is perfectly golden brown and crispy to your liking. For an alternative, less oily result, you can use an oven baking method (refer to our Recipe Variations section for details).
Notes
Seasoning Variations: To add extra spice to your curing salts, consider mixing in smoked paprika, ground Szechuan pepper, or an additional pinch of cayenne pepper.
Storage for Uncooked Beef Bacon: Uncooked beef bacon will keep well in the fridge for up to 6-7 days. Keep the slices stacked and wrapped tightly together in plastic wrap, then place them inside a zipper bag or other sealed container.
Freezing Uncooked Bacon: You can freeze uncooked beef bacon for up to 1 month. For best results, use a vacuum sealer.
Storage for Cooked Bacon: Cooked beef bacon keeps well for up to 3 days in the fridge when stored in an airtight container.
Nutrition Facts
Serving: 1 piece
- Calories: 288kcal
- Carbohydrates: 2g
- Protein: 38g
- Fat: 13g
- Saturated Fat: 5g
- Polyunsaturated Fat: 0.4g
- Monounsaturated Fat: 6g
- Cholesterol: 112mg
- Sodium: 1018mg
- Potassium: 603mg
- Fiber: 0.1g
- Sugar: 1g
- Vitamin A: 2IU
- Calcium: 11mg
- Iron: 4mg
Course: Breakfast, Brunch, Lunch, Main, Main Course
Cuisine: American
Author: Sommer Collier
Cook It? Love It? Rate It!
Help this recipe rank on Google – consider leaving a 5-star rating so other hungry people can find it. Thank you!