
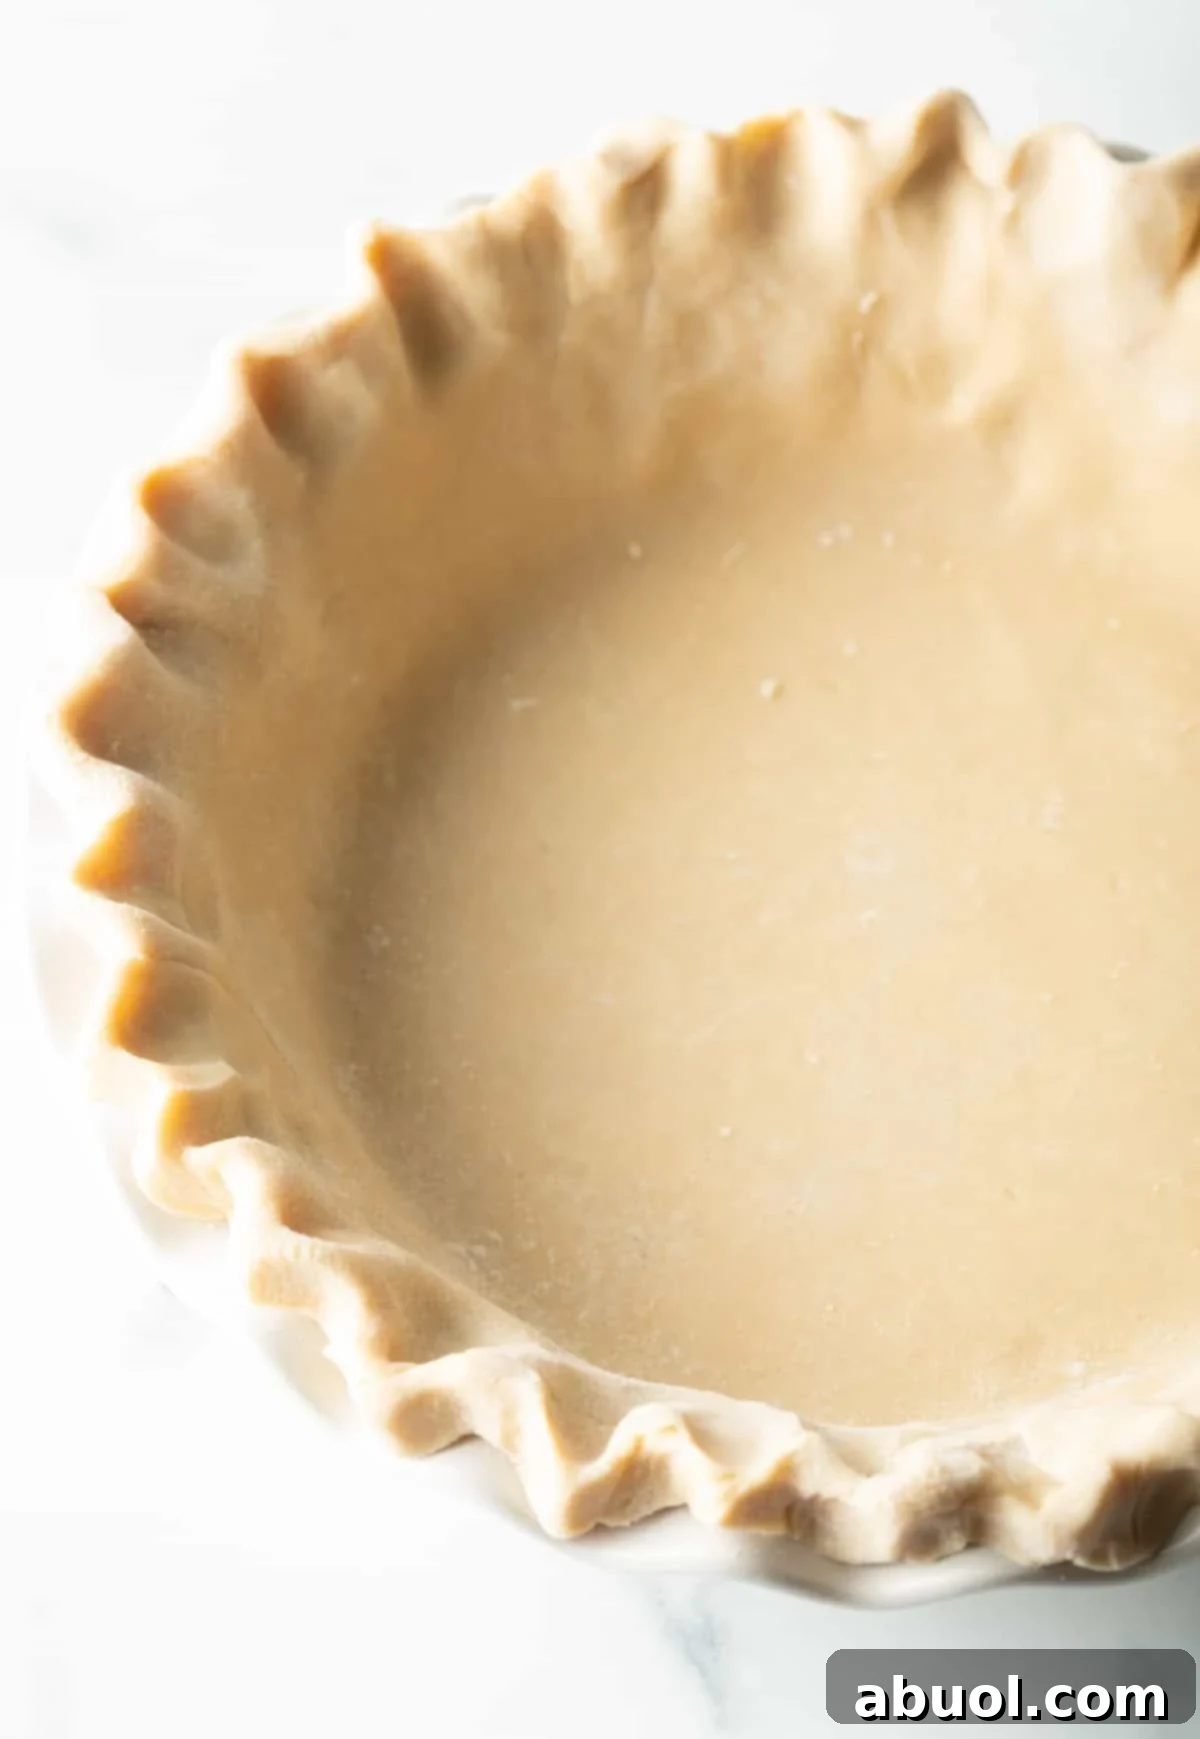
Unlock the secret to an unbelievably flaky, impossibly buttery pie crust made effortlessly from scratch. This comprehensive, step-by-step recipe reveals all our top tips, including a special “secret ingredient,” ensuring you create the best homemade pie dough every single time. Prepare to impress everyone with your sweet and savory pies!
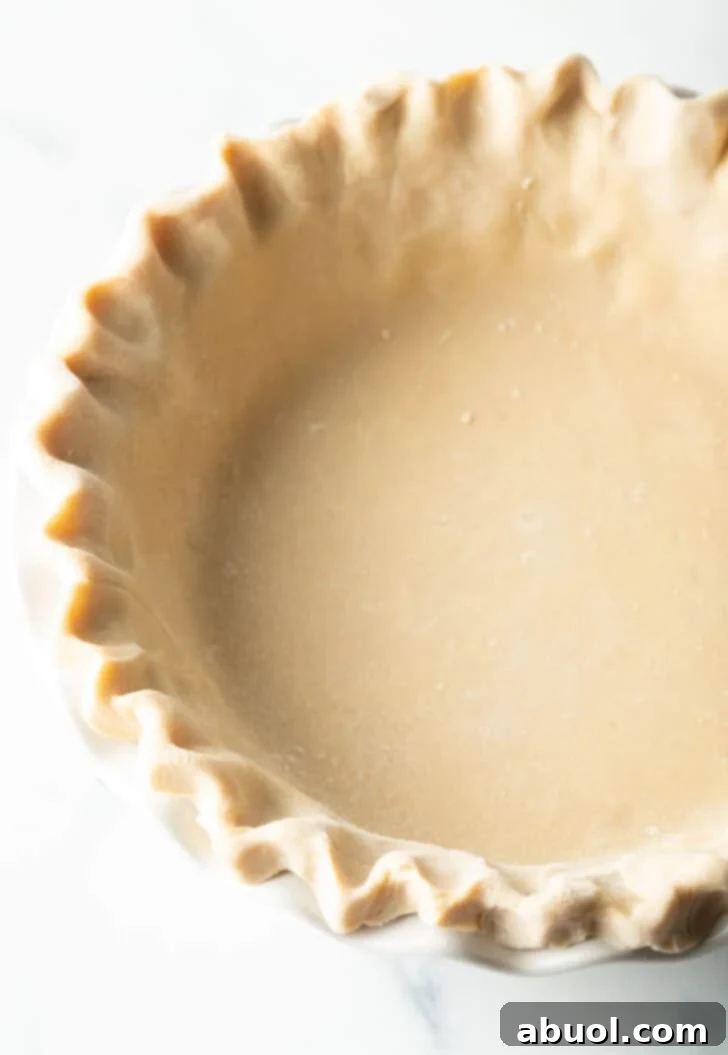
Mastering Homemade Pie Crust: Easier Than You Think!
For many home bakers, the thought of making pie crust from scratch can be daunting. Visions of tough, crumbly, or soggy dough often deter even the most enthusiastic cooks. But what if we told you that crafting a truly flaky, tender, and buttery pie crust is not only achievable but surprisingly straightforward? With the right techniques and a few clever tips, you can banish store-bought crusts forever and elevate your pies to an entirely new level.
This ultimate guide will walk you through everything you need to know to create a show-stopping pie crust that will become your go-to recipe. We’ll dive into the essential ingredients, demystify the mixing process (especially with the help of a food processor!), and share expert advice for achieving that coveted delicate, layered texture. Get ready to discover your new favorite way to make pie!

A Message from Sommer: The Joys of Homemade Baking
While I often lean on quick and easy recipes for my busy weeknights, there’s a special joy in dedicating a little extra time to baking when the occasion allows. Baking from scratch, especially something as fundamental as pie crust, isn’t just about the end result; it’s about the process of putting a little extra love and care into your creations. This recipe is designed to simplify that process, making it accessible to everyone, even those new to baking.
Why This Will Be Your Go-To Pie Crust Recipe
- The Secret to Unrivaled Flakiness: A Hint of Booze! Our absolute game-changer for the best pie crust recipe is the addition of a couple of tablespoons of alcohol, such as amaretto, rum, brandy, or cognac. This magical ingredient not only enhances the flavor profile but also contributes significantly to an amazingly flaky, tender texture. Don’t worry, the alcohol bakes out, leaving behind only incredible flavor and crispness, without any boozy taste!
- Effortless Preparation with a Food Processor: Say goodbye to the tedious task of cutting in cold butter by hand with a pastry cutter. This recipe champions the food processor, transforming the dough-making process into a practically effortless affair. It’s quick, clean, and ensures perfect, consistent texture every single time, even for beginners.
- Convenient Make-Ahead & Freeze Option: This generous recipe yields two pie crusts. This means you can easily prepare a double-crust pie (like a classic fruit pie with a top and bottom crust) or, even better, use one crust now and freeze the other for future baking adventures. Having a ready-to-go pie dough disc in your freezer is a true kitchen superpower, saving you time when unexpected cravings strike!
It’s time to shed any intimidation about baking from scratch. Follow this guide to create a remarkably tender pie crust with beautifully flaky layers that will undoubtedly impress anyone who takes a bite!
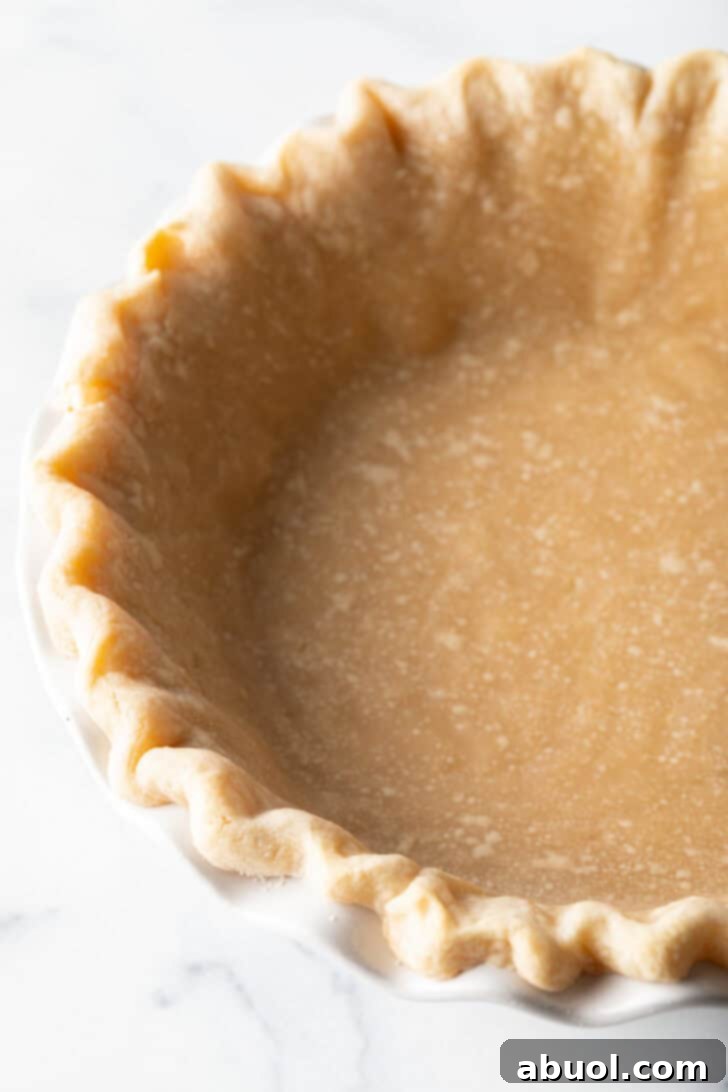
Essential Ingredients for Your Flaky Pie Crust
Creating an exceptional pie crust starts with high-quality, simple ingredients. Here’s a breakdown of what you’ll need and why each component is crucial for achieving that perfect texture and flavor:
- All-Purpose Flour: The fundamental structure of your crust. Use a good quality unbleached all-purpose flour. While some recipes suggest pastry flour for ultimate tenderness, regular all-purpose flour works beautifully when handled correctly, providing a good balance of strength and delicate texture.
- Salt: A non-negotiable ingredient! Salt isn’t just for savory dishes; it balances the flavors, enhances the richness of the butter, and prevents the crust from tasting bland. A pinch truly makes a significant difference in the overall taste of your pie.
- Granulated Sugar: A small amount of sugar in the crust contributes to several key aspects: it aids in browning, imparts a subtle sweetness that complements both sweet and savory fillings, and helps tenderize the dough.
- Unsalted Butter: The cornerstone of flavor and flakiness. It’s imperative that your butter is super cold, ideally cut into ½-inch cubes and even frozen for a few minutes before use. Cold butter creates steam in the oven, which expands and separates the dough into those coveted flaky layers, resulting in a light and airy texture.
- Shortening (e.g., Crisco): While butter delivers incredible flavor, shortening contributes to an incredibly tender and flaky crust with superior structure and pliability. It has a higher fat content and melting point than butter, resulting in a dough that’s easier to handle, less prone to shrinking, and crisps beautifully. Using a blend of butter and shortening gives you the best of both worlds: rich flavor from butter, and optimal flakiness and workability from shortening. Ensure it’s also super cold and cut into cubes.
- The “Secret Ingredient” – Alcohol (Amaretto, Rum, Brandy, or Cognac): This is where a touch of culinary genius comes into play! A couple of tablespoons of your chosen spirit contribute to tenderness by inhibiting gluten development in the dough. More importantly, the alcohol evaporates completely during baking, leaving behind no boozy taste, but rather a subtle depth of flavor and an unparalleled crispness and flakiness that water simply cannot achieve. If you prefer to omit alcohol for any reason, simply substitute it with an equal amount of additional cold milk or ice water.
- Cold Milk (Whole or 2%): Use just enough cold milk (or ice water) to bring the dough together. The cold liquid is crucial as it helps keep the butter and shortening solid, preventing premature melting and ensuring that gluten does not develop too much. This minimizes the risk of a tough crust.
A Quick Note on Blind Baking: If your specific pie recipe calls for a “double blind bake” (meaning fully baking the crust before adding a no-bake filling, like a cream pie), you’ll also need pie weights (ceramic or metal beads) or a substantial amount of dried beans or rice to prevent the crust from puffing up and shrinking during baking. These weights ensure an even, flat bottom.
Step-by-Step: Crafting Your Perfect Homemade Pie Crust
Follow these detailed instructions to create two flawless pie crusts using your food processor. The key to success lies in working quickly and keeping all ingredients thoroughly chilled!
Preparation & Mixing the Dough:
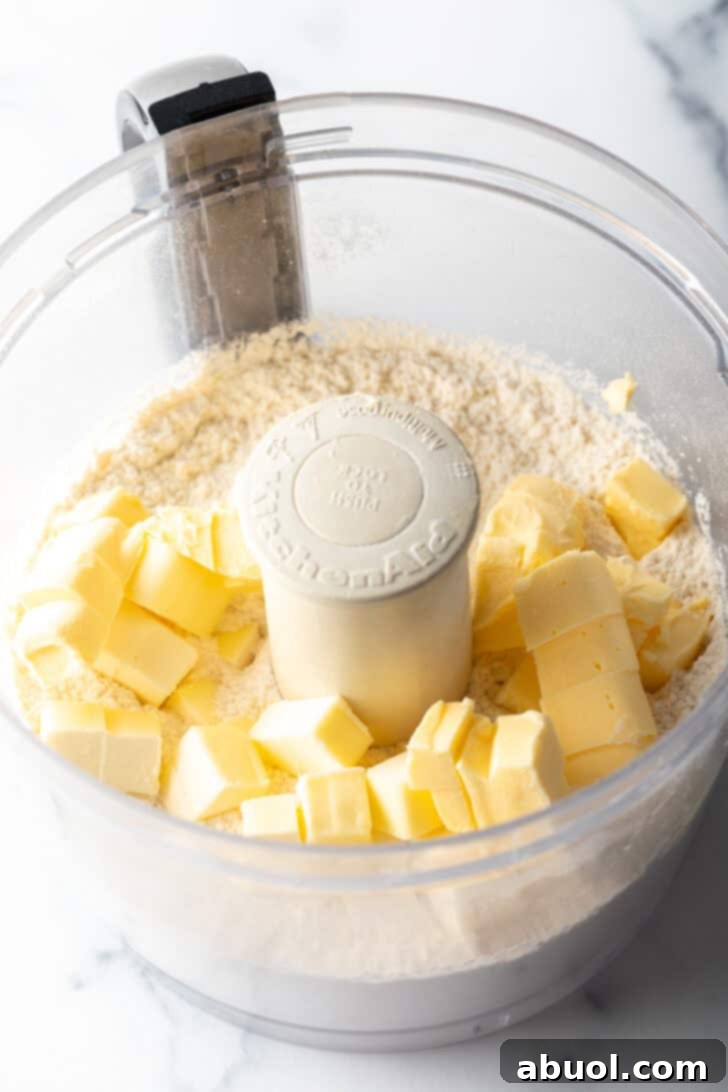
- Combine Dry Ingredients: In the bowl of a food processor fitted with a steel blade, combine the all-purpose flour, salt, and granulated sugar. Pulse a few times (about 5-10 seconds) to ensure they are thoroughly mixed.
- Incorporate Cold Fats: Add the very cold, cubed unsalted butter and shortening to the dry ingredients. Pulse in short bursts (1-second pulses) about 10-15 times. The mixture should resemble coarse meal with some distinct pea-sized pieces of butter and shortening still visible. These pockets of solid fat are absolutely crucial for creating those desirable flaky layers!
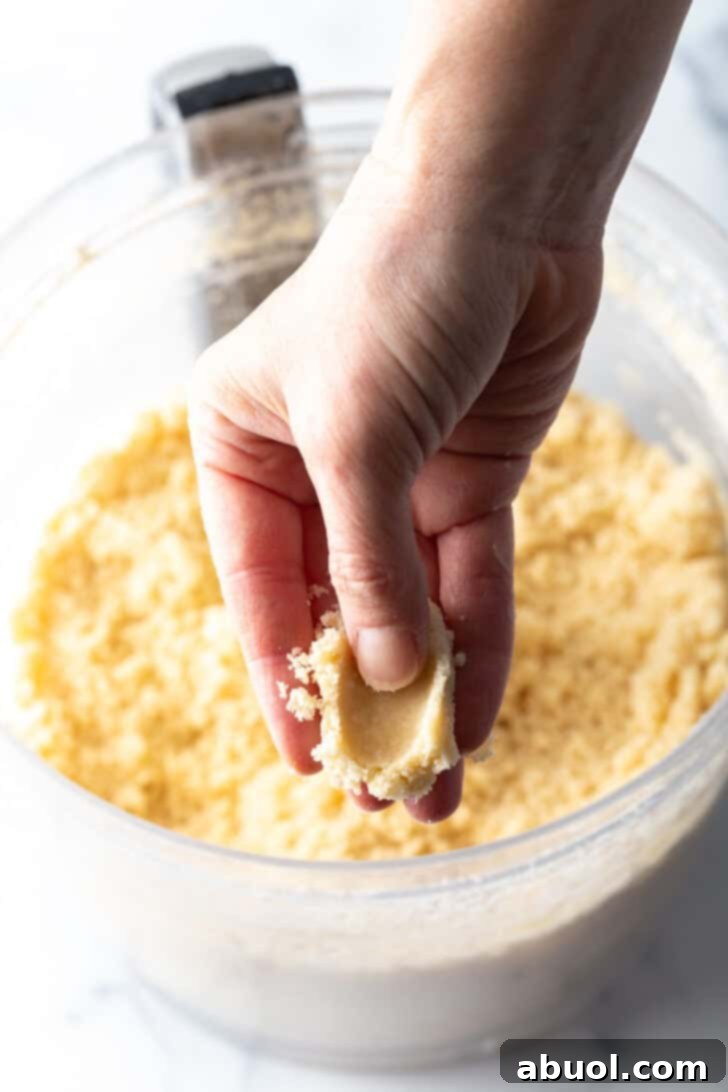
- Add Liquid & Form Dough: Pour in the amaretto (or other chosen alcohol) and 1 tablespoon of cold milk. Pulse a few more times. The dough should begin to come together and clump when pressed between your fingers. If it still appears too dry or crumbly, add another 1-2 tablespoons of cold milk, one tablespoon at a time, pulsing briefly after each addition until the dough just barely forms a cohesive ball. Be extremely careful not to overmix at this stage; overworking develops gluten and leads to a tough, inelastic crust.
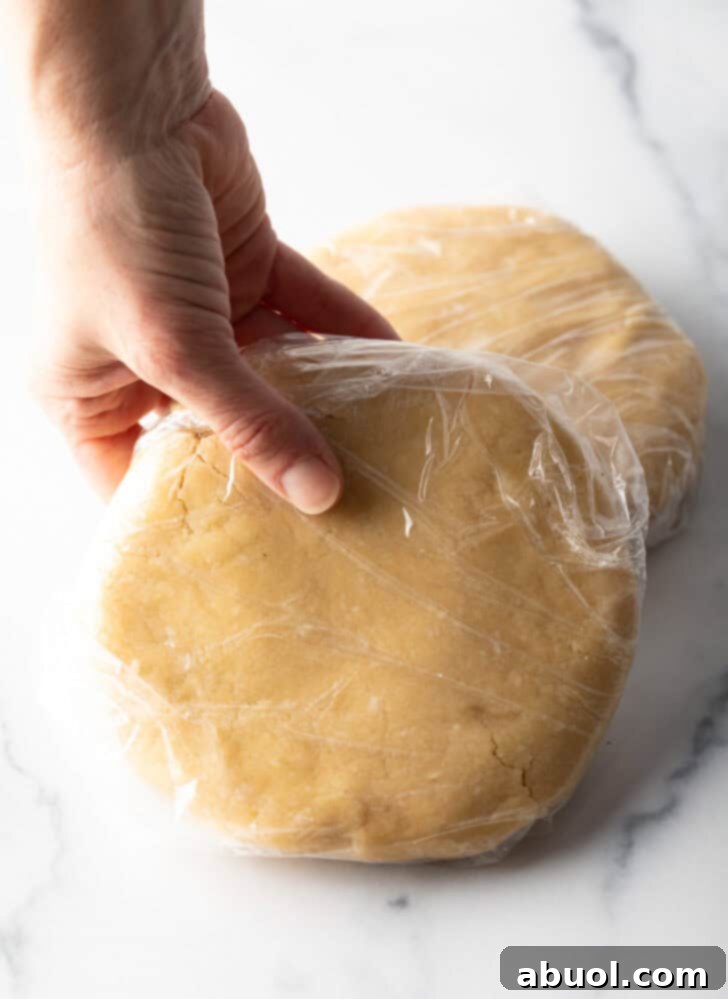
- Shape and Chill: Carefully transfer the dough mixture from the food processor onto a clean piece of plastic wrap. Gently gather the dough and divide it into two equal pieces. Flatten each piece into a disk, about 1 inch thick. Wrap each disk tightly in plastic wrap and refrigerate for at least 30 minutes. Chilling is a vital step; it allows the gluten to relax (preventing shrinkage) and solidifies the fats, making the dough much easier to roll and ensuring maximum flakiness upon baking.
Rolling and Fitting the Pie Crust:
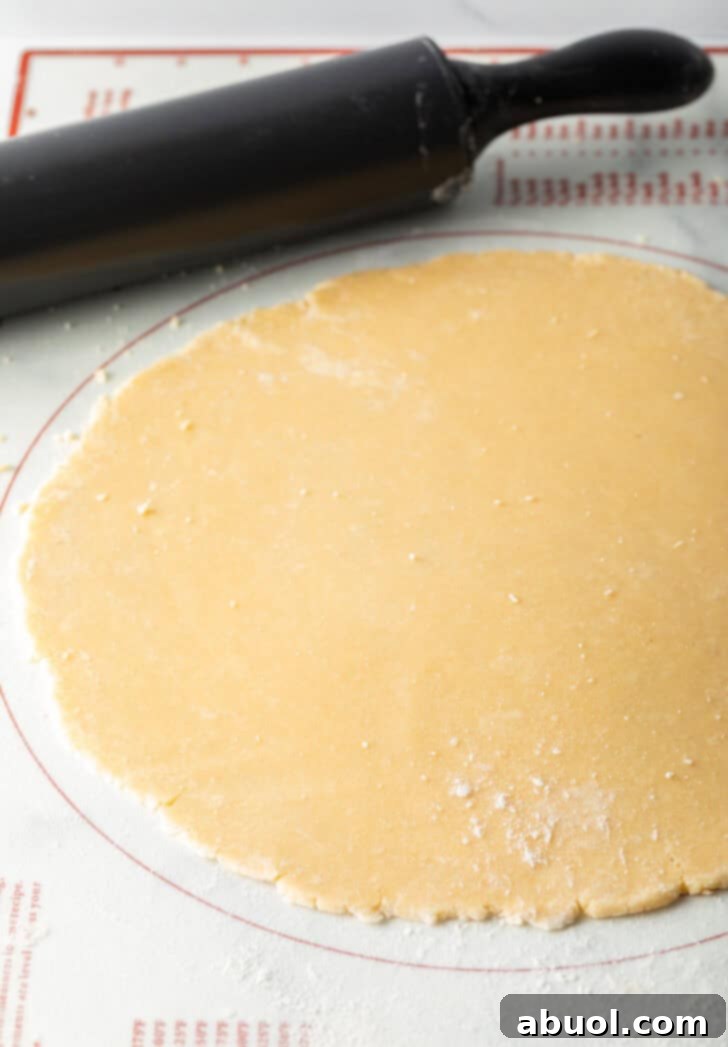
- Prepare to Roll: Once thoroughly chilled, remove one dough disk from the refrigerator. Lightly flour your work surface (or use a nonstick pastry mat or a large piece of parchment paper for easy transfer). Gently roll the dough from the center outwards, rotating it frequently and lifting it occasionally to prevent sticking. Aim for an even circle about 12-13 inches in diameter and approximately 1/8 inch thick. If the dough starts to stick, lightly flour your rolling pin and surface.
- Transfer to Pie Pan: Carefully transfer the rolled-out dough into a standard 9-inch pie plate. The easiest way to do this is to gently roll the dough around your rolling pin and then carefully unroll it over the pie plate. Alternatively, fold it in half, then in quarters, place it in the center of the pie plate, and gently unfold.
- Fit the Crust: Gently press the dough down into the pan, making sure it adheres completely to the bottom and sides without stretching it. Stretching the dough will create tension, causing it to shrink dramatically during baking. Trim any excess dough, leaving about a 1-inch overhang around the rim.
- Crimp the Edges: Fold the overhanging dough under itself, creating a neat, reinforced edge around the rim of the pie plate. Crimp the edges decoratively using your fingers, a fork, or a dedicated pastry crimper for a beautiful finish.
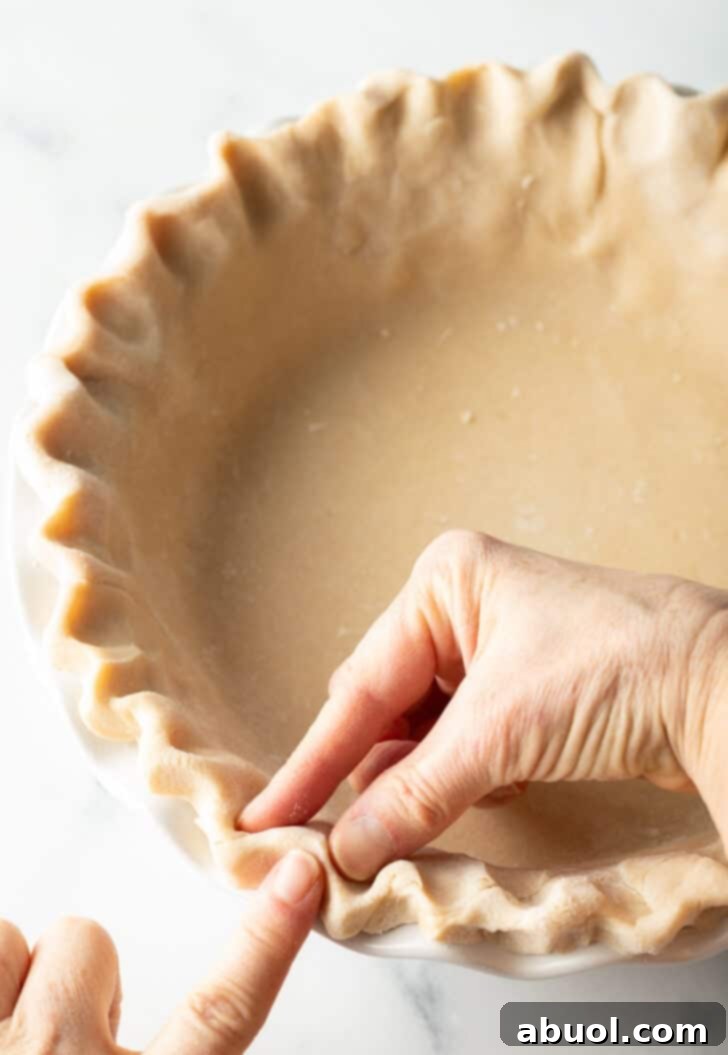
Blind Baking vs. Par-Baking Your Pie Crust:
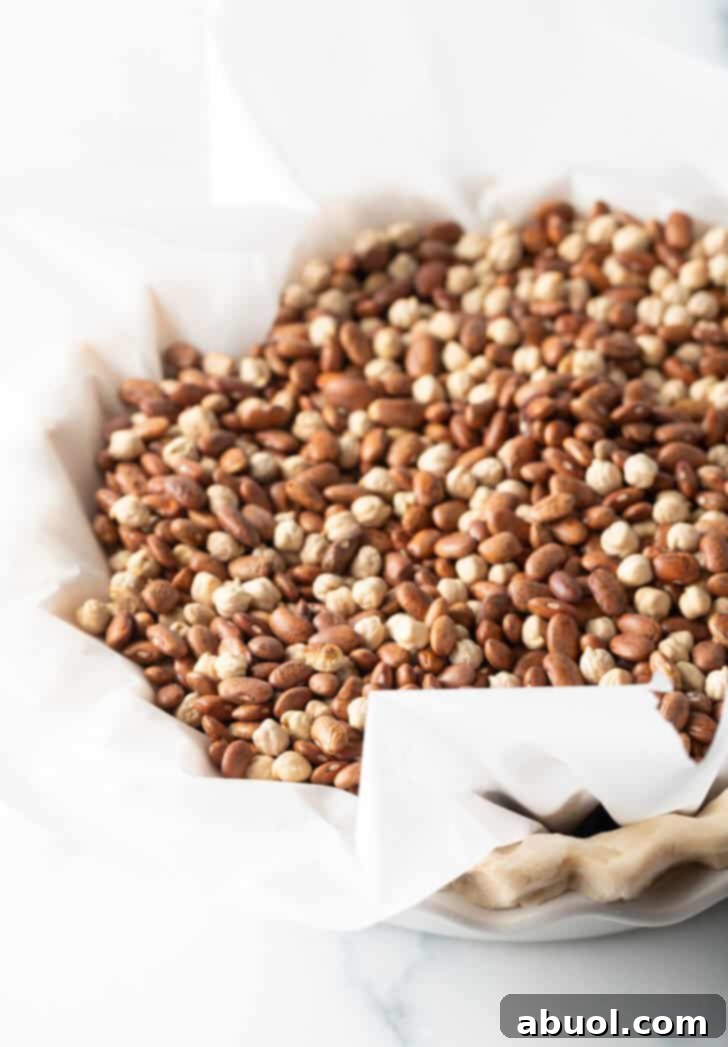
Understanding whether to blind bake or par-bake is essential for perfect pie results, depending on your filling:
- Blind Baking (Fully Baked Crust): This technique is used when your pie filling is no-bake (like cream pies or puddings) or when the filling doesn’t require further baking.
- Preheat your oven to 375°F (190°C).
- Line the crimped pie crust with a piece of parchment paper, pressing it gently against the bottom and sides of the dough.
- Fill the crust completely with pie weights (ceramic beads designed for baking) or a generous amount of dried beans or rice. These weights prevent the crust from bubbling up and shrinking dramatically during baking.
- Bake for 18-20 minutes, or until the edges of the crust are lightly golden. Carefully remove the parchment paper and weights.
- Continue baking for another 5-10 minutes, or until the bottom of the crust is golden brown and appears dry. Let the crust cool completely on a wire rack before adding your no-bake filling.
- Par-Baking (Partially Baked Crust): Most fruit-filled and savory pie recipes call for a partially baked crust. This crucial step prevents a “soggy bottom” by giving the crust a head start and drying it out before the moist filling is added.
- Follow steps 1-3 for blind baking.
- Bake for 15-18 minutes. At this point, the crust should be set and appear opaque but not yet fully golden brown.
- Carefully remove the parchment paper and weights. You do not need to continue baking the crust alone until golden.
- Add your chosen filling to the par-baked crust and continue baking as directed in your specific pie recipe.
The complete, printable Easy Pie Crust recipe, including detailed instructions, precise ingredient measurements, practical storage tips, and a helpful video tutorial, is provided in the dedicated recipe card section at the very end of this post!
Achieving Pie Perfection: Advanced Tips for a Flaky Crust
Beyond the basic steps, these expert tips will ensure your homemade pie crust is consistently flaky, tender, and a joy to work with every time:
- The Golden Rule: Keep Everything COLD! This fundamental principle cannot be stressed enough. Cold butter and shortening are absolutely essential because they create steam during baking, which pushes apart the layers of dough, resulting in that coveted flaky texture. Warm fats simply melt into the flour too quickly, leading to a tough, dense, and unappealing crust. Therefore, chill your butter and shortening thoroughly (even freeze them briefly!), use ice-cold liquid, and if your kitchen is particularly warm, consider chilling your mixing bowl and food processor blade for a few minutes before starting. If at any point the dough feels too soft or warm while you’re rolling it out, don’t hesitate to pop it back into the fridge for 10-15 minutes to firm up again.
- Don’t Overmix – Embrace the Lumps: When processing the dough in your food processor or mixing by hand with a pastry blender, resist the urge to create a perfectly uniform, smooth mixture. It’s absolutely crucial to leave some visible pea-sized (or even slightly larger) pieces of cold butter and shortening throughout the dough. These small, distinct clumps are your secret weapon for creating those beautiful, separated, and distinct flaky layers in the final baked crust. Overmixing, on the other hand, develops too much gluten, which makes the crust tough and chewy, rather than tender and flaky. Pulse just enough until the ingredients come together and hold when squeezed, and stop there.
- Choose Your Rolling Surface Wisely: Rolling the dough on a piece of wax paper, parchment paper, or a dedicated nonstick silicone pastry mat makes transferring the delicate rolled dough to the pie pan much, much easier. This prevents the dough from sticking to your countertop and significantly reduces the risk of tearing or stretching the dough as you move it. Lightly flouring your chosen surface is still recommended to ensure smooth rolling.
- Press, Don’t Stretch, into the Pan: When fitting the rolled-out dough into the pie plate, take your time and be gentle. It’s important to meticulously push the crust down into every curve and crevice of the pan. Ensure it is completely touching every surface of the pie plate. Critically, avoid stretching the dough to make it fit, as this tension will cause it to shrink dramatically from the edges during baking, resulting in a smaller, misshapen, and potentially tough crust.
- Patience is a Virtue: Chill Before Baking: After you’ve shaped and decoratively crimped your pie crust in the pan, it’s highly beneficial to give it one last chill in the refrigerator for at least 15-30 minutes (or even longer) before baking. This final chill helps the dough maintain its intricate shape, further prevents shrinking, and most importantly, ensures the fats remain solidly cold for maximum flakiness when they hit the hot oven.
- Location, Location, Location: Use the Lowest Oven Rack: For a perfectly crisp and well-baked bottom crust, especially when baking a filled pie with a wet or juicy filling (such as most fruit pies), always position your pies on the lowest oven rack. This strategic placement ensures the crust is closer to the direct heat source, promoting thorough baking and preventing the dreaded soggy bottom, which is a common pie problem.
- Protect the Edges: Foil is Your Friend: If you notice the delicate edges of your pie crust are browning too quickly or starting to get too dark before the rest of the pie is cooked through, don’t panic! Simply loosely cover them with strips of aluminum foil. This clever trick shields the delicate edges from direct heat, allowing the center of the pie to catch up and cook completely without burning the crust.
- Ventilation is Key: For double-crust pies (pies with both a bottom and a top crust), it is absolutely essential to cut several vents into the top crust before placing the pie in the oven. These openings allow steam generated by the cooking filling to escape, preventing the crust from puffing up excessively and ensuring an evenly baked and beautifully structured pie.
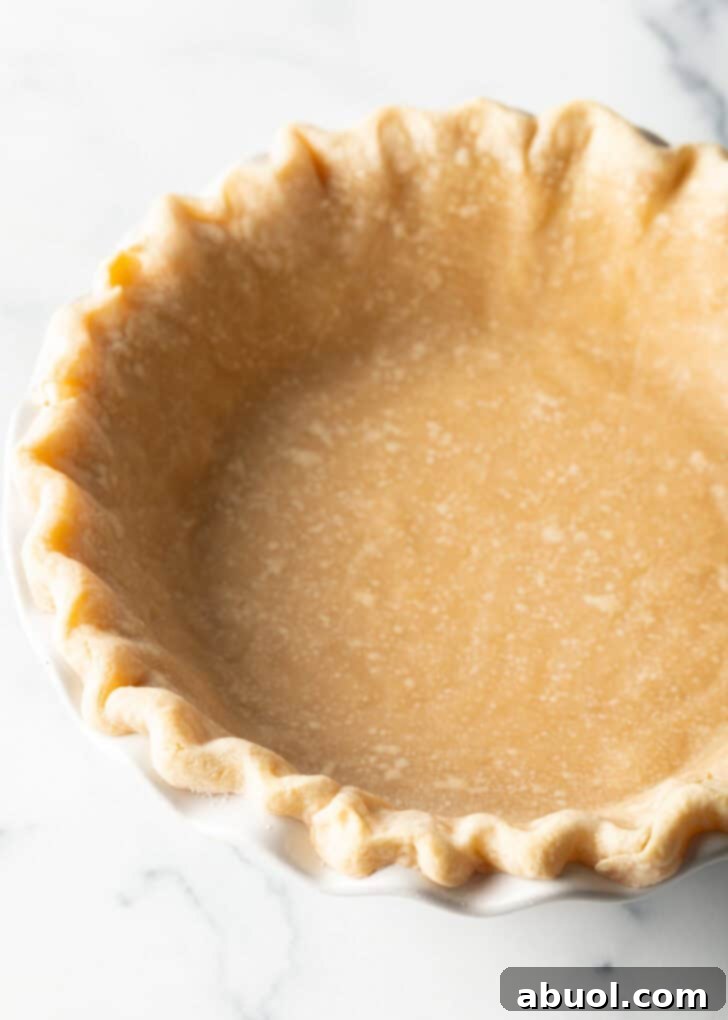
Creative Ways to Use Your Amazing Homemade Pie Crust
Now that you’ve mastered the art of homemade pie crust, the possibilities are endless! This versatile dough is the perfect foundation for an incredible array of sweet and savory dishes. Here are some inspiring ideas, grouped by type, to get your culinary creativity flowing:
Indulgent Cream Pies (Requires Blind-Baked Crust):
A fully blind-baked pie crust is the ideal crisp and sturdy base for fluffy, luscious, and often no-bake cream pies. The delicate shell perfectly complements the smooth, rich fillings, creating a delightful textural contrast. Dive into these delightful recipes:
- Strawberry Cream Pie: A fresh and vibrant dessert bursting with seasonal berry flavor, perfect for spring and summer gatherings.
- Banana Cream Pie: A timeless classic comfort dessert, featuring layers of fresh bananas and creamy, rich pudding.
- Lemon Cream Pie: Tangy, sweet, and wonderfully refreshing, offering a zesty bright flavor.
- Fluffy Pumpkin Cream Pie: A lighter, airy take on the traditional fall favorite, with all the beloved spices.
- Coconut Cream Pie: Transport yourself to a tropical paradise with this creamy, dreamy dessert packed with coconut flavor.
- Cinnamon Pie with Whipped Cream: A unique and warmly spiced option, perfect for cooler evenings or holiday tables.
- French Silk Pie: Rich, decadent chocolate perfection, a true indulgence for any chocolate lover.
Classic Baked Pies (Often Requires Par-Baked or Raw Crust):
Whether it’s a bubbling fruit pie or a rich custardy bake, your homemade crust will provide the perfect crisp texture and rich flavor. Many of these recipes will also show you how to master a beautiful lattice topping with your homemade pie dough, adding an extra touch of elegance:
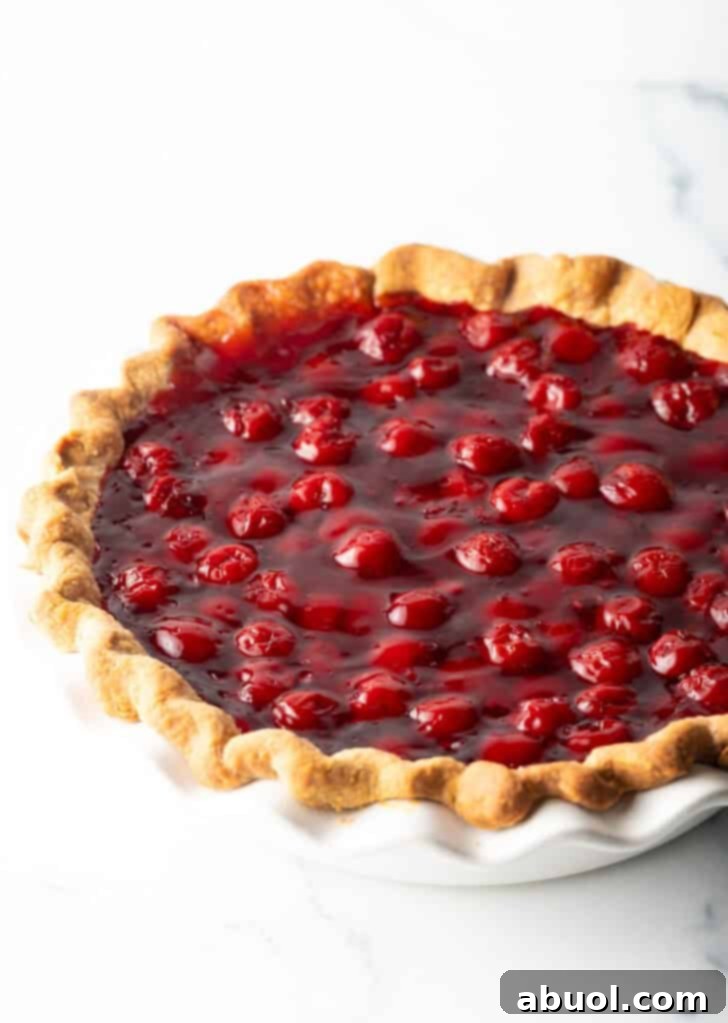
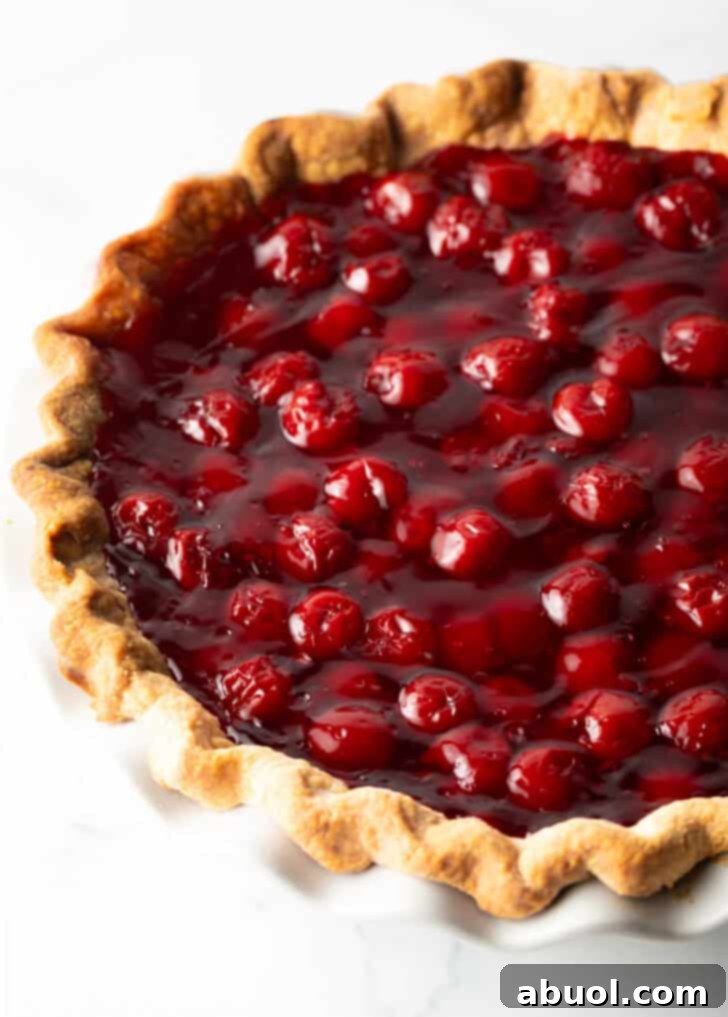
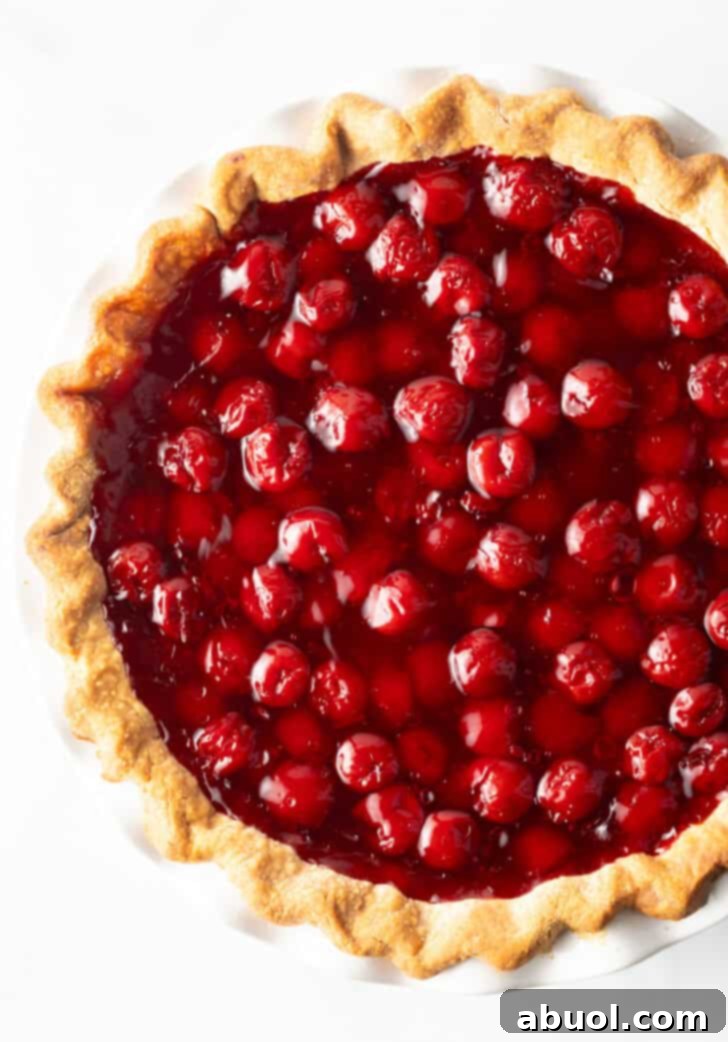
- Cherry Pie: (The delicious filling featured in our photos!) A timeless favorite bursting with sweet-tart fruity flavor.
- Fluffernutter Pie: A fun, sweet, and nostalgic treat for those who love peanut butter and marshmallow.
- Fresh Peach Pie: Celebrate the bounty of summer with sweet, juicy peaches enveloped in a flaky crust.
- Mango Pie: A delightful tropical twist on a classic, offering exotic flavors.
- Apple Raspberry Pie: A wonderful combination of tart raspberries and sweet apples, creating a harmonious flavor profile.
- Libby’s Pumpkin Pie: The quintessential holiday pie, made even better and more impressive with a homemade crust.
- Southern Sweet Potato Pie: A comforting, spiced dessert deeply rooted in Southern culinary tradition.
- Dutch Apple Pie: Featuring a delightful streusel crumble topping over tender, spiced apples, a crowd-pleaser.
Hearty Savory Pies & Tarts:
Don’t limit yourself to desserts! Your versatile homemade pie dough makes an excellent, sturdy, and flavorful foundation for savory dishes that are perfect for weeknight dinners, special brunches, or even a picnic:
- Vegetarian Pot Pie: A comforting and satisfying meat-free option, packed with vegetables and a creamy sauce.
- Skillet Turkey Pot Pie (or Chicken Pot Pie!): The ultimate in cozy, hearty meals, perfect for using up leftover poultry in a delicious way.
- Tomato Galette: A rustic and elegant savory tart showcasing fresh, ripe tomatoes and herbs, a fantastic summer dish.
Frequently Asked Questions About Homemade Pie Crust
- Is pie crust better with butter or shortening?
- For the absolute best pie crust, a thoughtful combination of both butter and shortening is highly recommended. Butter provides unparalleled rich flavor and contributes significantly to the desirable flakiness. Shortening, with its higher melting point and pure fat content, lends superior tenderness and makes the dough more pliable and easier to handle. It also helps the crust hold its shape better during baking, reducing shrinkage. While an all-butter crust offers wonderful flavor, it can be more challenging to work with and more prone to slumping. Using both gives you the perfect balance of flavor, flakiness, and workability.
- What is the secret to a truly good pie crust?
- The primary secrets to a no-fail, wonderfully flaky, and tender pie crust are two-fold: **using super cold ingredients and minimal handling of the dough.** Ensure your butter and shortening are thoroughly chilled (even frozen briefly) and always use ice-cold liquid. When mixing, pulse just enough for the dough to barely come together, intentionally leaving visible pea-sized pieces of fat. Overworking the dough develops gluten, which quickly leads to a tough, chewy crust. Following these two crucial tips will practically guarantee a crust with plenty of buttery, delicate, and distinct flaky layers every single time!
- Do I have to prebake pie crust?
- It depends entirely on the type of pie you’re making.
- Raw with filling: Some pies, particularly those with drier fillings or very long baking times (like certain apple pies), can be baked with an unbaked crust and filling simultaneously.
- Partially baked (par-baked): Most fruit pies, custard pies, and many savory pies greatly benefit from par-baking the crust first. This crucial step gives the crust a head start, preventing a “soggy bottom” from the moist filling and ensuring it cooks through completely.
- Fully baked (blind baked): For no-bake cream pies, pudding pies, or pies with fillings that cook very quickly, the crust needs to be fully baked with pie weights beforehand. Otherwise, the crust would remain raw and unappetizing while the filling is perfectly set. Always check your specific pie recipe for guidance.
- Should you prick pie crust with a fork?
- No, when you are using pie weights or dried beans for blind baking or par-baking, there is generally no need to prick the bottom of the crust with a fork. The weights effectively prevent the dough from bubbling up and creating air pockets during baking. Pricking is usually only necessary for unfilled pie shells that are baked without weights, but this method can sometimes lead to a tougher crust if not done carefully.
- How long will homemade pie dough last in the fridge?
- Properly wrapped in multiple layers of plastic wrap to prevent it from drying out, homemade pie dough will keep beautifully and remain fresh in the refrigerator for up to 4-5 days. This makes it an excellent component for make-ahead baking projects, allowing you to prepare ahead of time.
- How long will homemade pie dough last in the freezer?
- Homemade pie dough is fantastic for freezing, making it an ideal make-ahead option! To freeze, wrap each dough disk tightly in multiple layers of plastic wrap, then place it inside a freezer-safe bag or airtight container to protect it from freezer burn. It will keep well in the freezer for up to 3 months. To use, simply thaw the frozen dough overnight in the refrigerator before rolling it out as usual. Avoid thawing at room temperature, as this can make the butter too warm.
Easy Homemade Flaky Pie Crust Recipe
This foolproof recipe guides you through creating a perfectly flaky, tender, and buttery pie crust from scratch using a food processor. It’s the ultimate base for any sweet or savory pie you can imagine!
Prep Time: 10 minutes
Cook Time: 20 minutes (for blind baking)
Chilling Time: 30 minutes (minimum)
Total Time: Approximately 1 hour (including chill time)
Yields: 2 single pie crusts
Author: Sommer Collier
Cuisine: American
Course: Dessert (versatile for savory dishes as well!)
Video Tutorial: A detailed video demonstration of this recipe is available above or on our website.

Ingredients:
- 3 cups all-purpose flour
- 1 teaspoon salt
- 2 tablespoons granulated sugar
- 12 tablespoons (1 ½ sticks) unsalted butter, very cold and cut into ½-inch cubes
- 6 tablespoons vegetable shortening (like Crisco), very cold and cut into ½-inch cubes
- 2 tablespoons amaretto (or rum, brandy, cognac – see notes for alcohol-free alternative)
- 2-3 tablespoons cold milk (whole or 2%) or ice water, as needed
Instructions:
- Prepare Dry Ingredients: In the bowl of a food processor, combine the flour, salt, and sugar. Pulse 3-4 times to mix thoroughly.
- Incorporate Fats: Add the cold butter cubes and cold shortening cubes to the food processor. Pulse in short bursts (about 10-15 times) until the mixture resembles coarse crumbs with some pea-sized pieces of fat remaining. Do not overmix; visible fat pieces are key for flakiness.
- Add Liquid: Pour in the amaretto (or other alcohol) and 1 tablespoon of cold milk. Pulse a few more times until the dough just begins to clump together. If the dough still appears very dry and crumbly, add another 1-2 tablespoons of cold milk, one tablespoon at a time, pulsing briefly after each addition until the dough forms a ball when pressed together.
- Chill the Dough: Transfer the dough onto a piece of plastic wrap. Divide it into two equal portions and flatten each into a disk about 1 inch thick. Wrap each disk tightly in plastic wrap and refrigerate for at least 30 minutes (or up to 4-5 days). This chilling period is crucial for relaxing the gluten and firming the fats.
If Blind Baking with Pie Weights (for no-bake fillings or partially baked crusts):
- Preheat Oven: Preheat your oven to 375°F (190°C).
- Roll the Dough: On a lightly floured surface (or parchment paper/silicone mat), roll one chilled dough disk into a large, even circle, about 12-13 inches in diameter and approximately 1/8 inch thick.
- Fit into Pan: Carefully transfer the rolled dough into a 9-inch pie pan. Gently press it into the bottom and sides, ensuring there are no air gaps and avoiding stretching the dough. Trim excess dough, leaving about a 1-inch overhang.
- Crimp Edges: Fold the overhanging dough under itself, then crimp the edges decoratively using your fingers or a fork.
- Blind Bake: Line the crimped crust with a piece of parchment paper and fill it completely with ceramic pie weights or dried beans. Bake for 18-20 minutes.
- Finish Baking (for fully blind-baked): Carefully remove the parchment paper and weights. Continue to bake for another 5-10 minutes, or until the bottom of the crust is golden brown and appears dry. Let cool completely on a wire rack before filling. (For par-baking, simply remove weights and fill after step 9, then continue baking with filling as per your pie recipe).
Recipe Notes:
- Alcohol-Free Option: If you prefer to omit alcohol, simply substitute the 2 tablespoons of amaretto (or other spirit) with an additional 2 tablespoons of cold milk or ice water.
- Refrigerator Storage: Unused dough disks, wrapped tightly in plastic wrap, will keep beautifully in the fridge for up to 4-5 days.
- Freezing Instructions: To freeze, wrap the dough disks tightly in multiple layers of plastic wrap and store in a freezer-safe bag for up to 3 months. Thaw overnight in the refrigerator before using; avoid thawing at room temperature.
Nutrition Information (Approximate per serving, based on 2 servings for 1 crust):
- Serving: 1 (half of one crust)
- Calories: 144 kcal
- Carbohydrates: 13g
- Protein: 2g
- Fat: 9g
- Saturated Fat: 4g
- Cholesterol: 15mg
- Sodium: 99mg
- Potassium: 20mg
- Fiber: 1g
- Sugar: 2g
- Vitamin A: 175IU
- Calcium: 5mg
- Iron: 0.7mg