
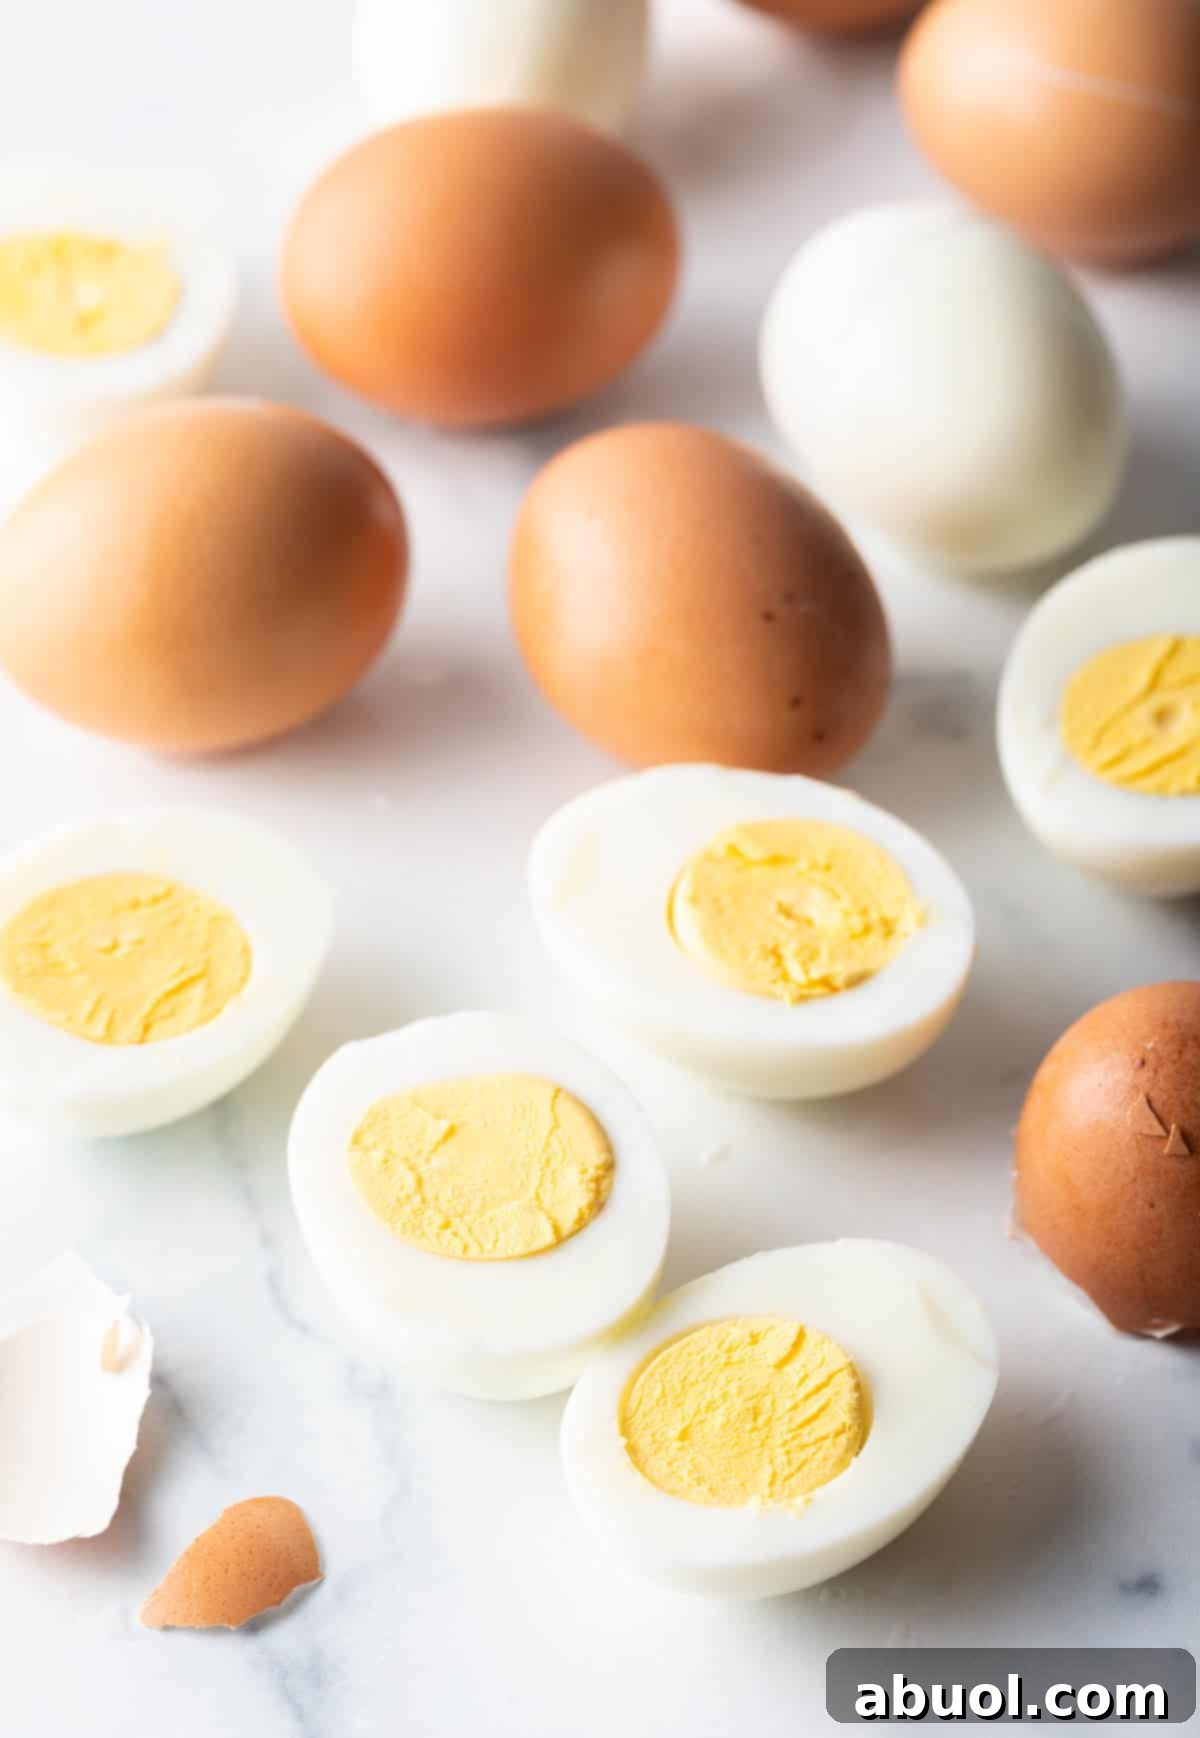
Mastering Perfect Hard Boiled Eggs: Easy to Peel, Silky Yolks Every Time
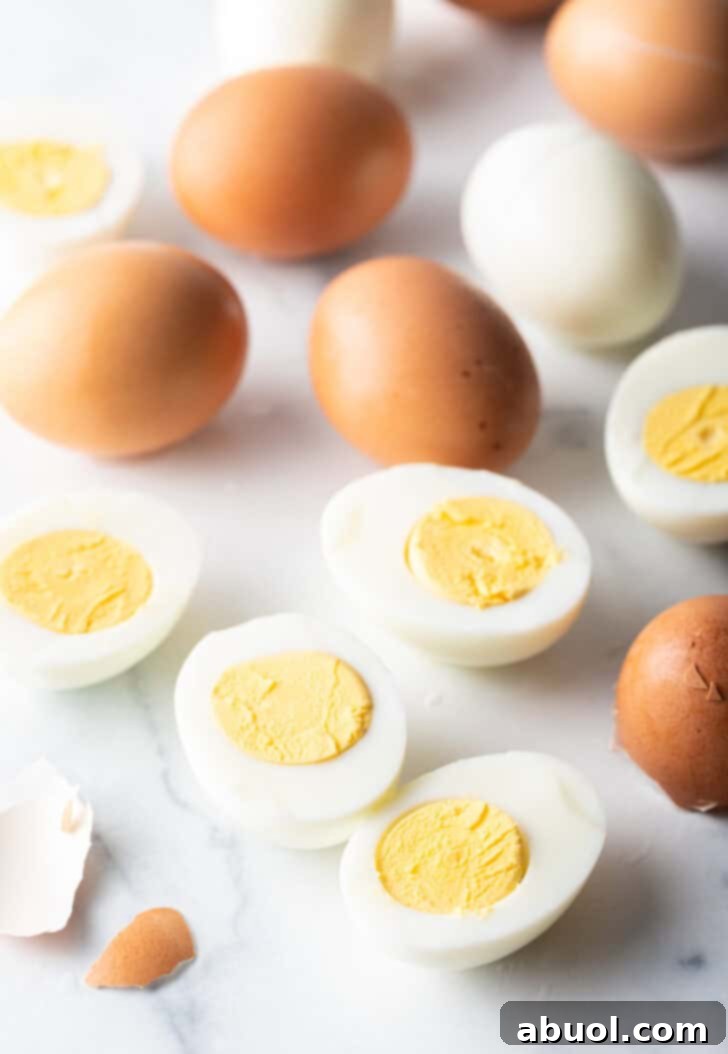
Why You’ll Love This Foolproof Hard Boiled Eggs Recipe
Hard boiled eggs are a foundational kitchen skill, a true culinary essential for home cooks of all experience levels. After countless experiments and refining our technique over many years, we are excited to share our definitive method for achieving Perfect Hard Boiled Eggs. This isn’t just about cooking eggs; it’s about mastering the art of eggs that are consistently simple to peel and boast that ideal firm, yet silky, yolk texture without any unsightly gray rings. This recipe is designed to take the guesswork out of what many consider a tricky process, ensuring flawless results every single time.

A Word From the Kitchen: Our Journey to Perfect Hard Boiled Eggs
Our comprehensive guide walks you through the entire hard-boiling process, covering everything from selecting the right eggs to the most effective peeling strategies. We’ve gathered the best tips to prepare you before you even begin, alongside expert tricks for peeling that will make the shell virtually slide off. Follow these straightforward steps, and you are practically guaranteed to achieve eggs with a beautifully firm and tender yellow yolk – completely free from the dreaded greenish-gray ring that often signals overcooking. These versatile hard-boiled eggs are not only delicious in vibrant salads but also serve as a perfect healthy snack, a quick grab-and-go breakfast, or a protein-rich addition to countless savory dishes. Boil a batch of a dozen today and enjoy their scrumptious and nutritious protein boost throughout your busy week!
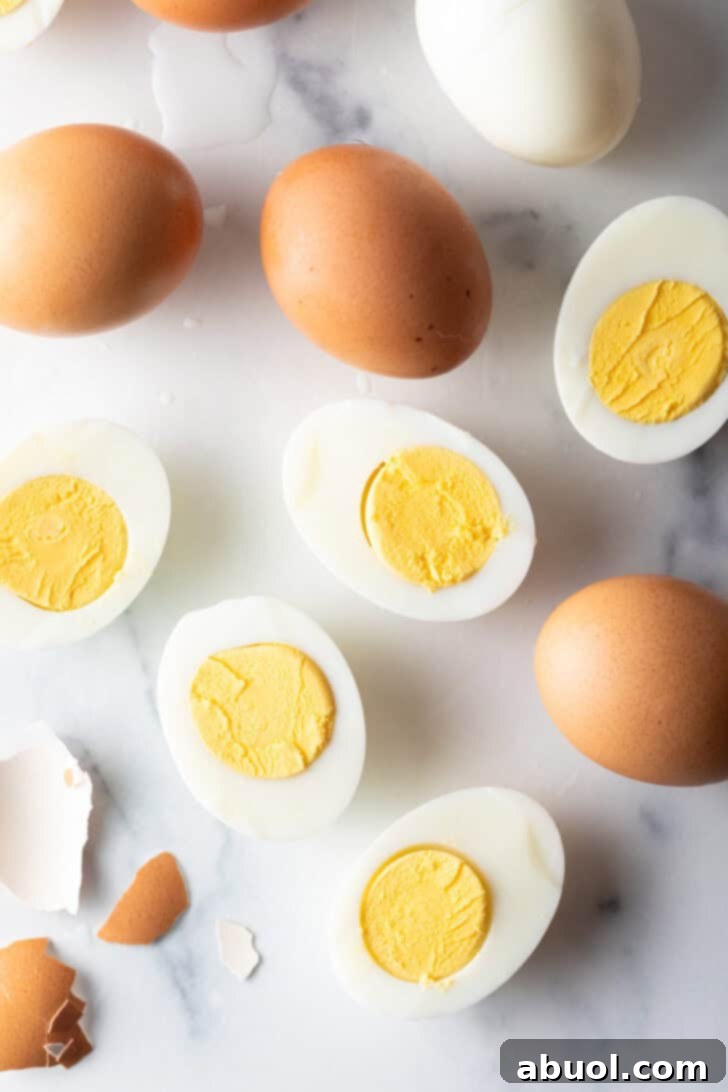
Pro Tips Before You Start: Ensuring Flawless Hard Boiled Eggs
Achieving perfectly cooked and effortlessly peelable hard-boiled eggs isn’t just luck; it involves a few simple, yet crucial, preparatory steps. By incorporating these clever tricks before you begin hard-boiling your eggs, you can virtually guarantee excellent results every time. These foundational tips address common frustrations like stubbornly sticky shells and discolored yolks.
- Opt for Older Eggs: This is perhaps the most impactful tip for easy peeling. As eggs age, their pH level changes, causing the albumen (egg white) to shrink slightly and become less adherent to the inner membrane of the shell. This subtle change allows for a cleaner separation once cooked, making peeling significantly easier. Fresh eggs, while wonderful for frying or scrambling, are notorious for being difficult to peel when hard-boiled.
- Introduce an Acidic Ingredient to the Water: Adding a small splash of distilled white vinegar or a squeeze of lemon juice to your boiling water can make a noticeable difference. The acid works to slightly soften the eggshell and can also help in the coagulation of egg whites if an egg cracks during cooking, preventing too much of the egg from escaping into the water. This promotes a smoother, more intact egg once peeled.
- Prepare Your Ice Bath in Advance: This step is non-negotiable for ideal hard-boiled eggs. Have a large bowl filled with ice and cold water ready and waiting before your eggs finish cooking. The immediate plunge into an ice bath is critical for two reasons: it halts the cooking process, preventing overcooked, rubbery whites and green-ringed yolks, and it helps the egg whites contract, pulling away from the shell membrane and making peeling incredibly simple.
- Gently Crack Then Shock: Once your eggs have finished their cooking time and before you place them in the ice bath, gently tap each egg to create a few hairline cracks around the shell. Doing this while the eggs are still warm and then immediately submerging them in the ice water allows a small amount of cold water to seep in between the shell and the cooked egg white. This tiny layer of water acts as a natural lubricant, further aiding in the effortless removal of the shell.
- Embrace the Ice Shock: We cannot stress this enough – definitely shock your eggs in ice water. As mentioned, this critical step immediately stops the residual cooking, preserving that perfect firm yet tender yolk without the undesirable gray-green ring. More importantly for peeling, the rapid cooling causes the egg white to contract rapidly, effectively detaching it from the shell membrane. This creates a small air pocket that makes the shell almost “pop” off.
- Rinse and Dry for Perfection: After peeling, take a moment to rinse your eggs under cold running water. This ensures that any tiny fragments of eggshell that might still be clinging to the surface are washed away, leaving you with a perfectly smooth, clean egg. Once rinsed, gently pat the eggs dry with a clean, lint-free paper towel or dishcloth to prepare them for storage or immediate use.
Essential Ingredients and Equipment for Hard Boiling Eggs
Crafting perfect hard-boiled eggs requires only a handful of basic ingredients and common kitchen equipment. Quality ingredients and appropriate tools set the stage for success, ensuring your eggs turn out just right every time.
- Eggs: The star of our recipe! We recommend using large eggs. For the easiest peeling results, it’s best to use eggs that are a bit older, perhaps a week or two past their purchase date, as discussed in our tips above. Bringing them to room temperature before boiling can also help prevent cracking, though starting them in cold water (as per our method) significantly mitigates this risk.
- Vinegar: Distilled white vinegar is ideal, but apple cider vinegar or lemon juice can also work. You only need a tablespoon or two. Its acidic properties assist in slightly weakening the eggshell and aid in the coagulation of egg whites if a shell happens to crack during cooking, keeping the egg mostly contained.
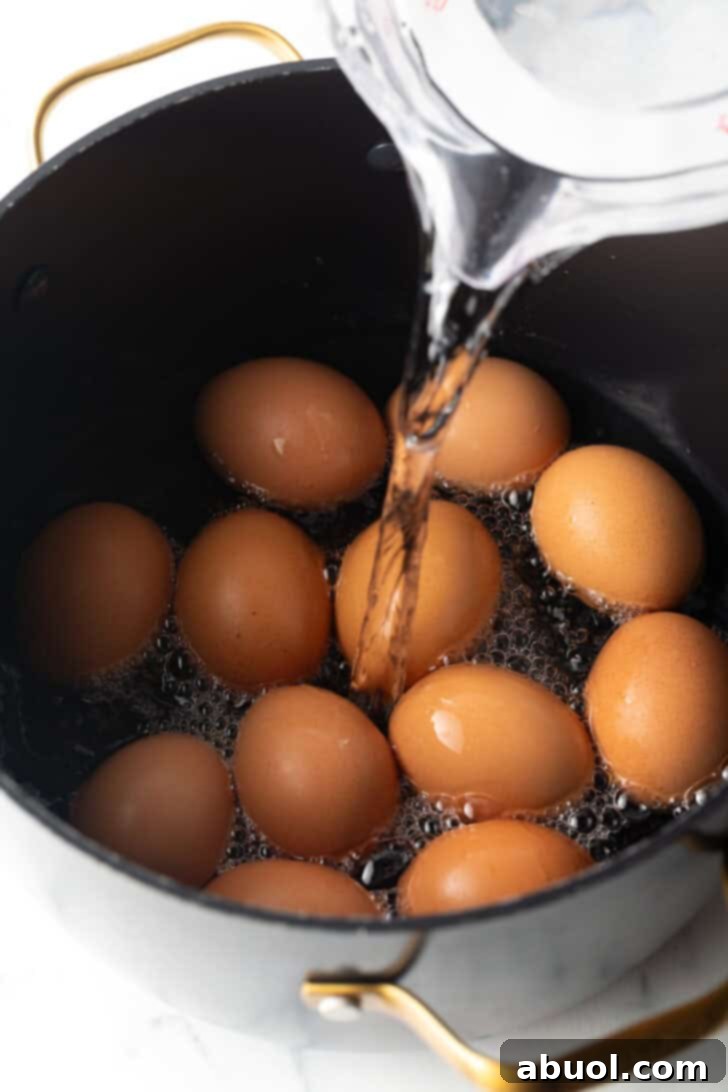
- Water: Sufficient cold tap water to fully submerge your eggs by at least one inch. Starting with cold water and gradually heating the eggs is key to even cooking and preventing cracks.
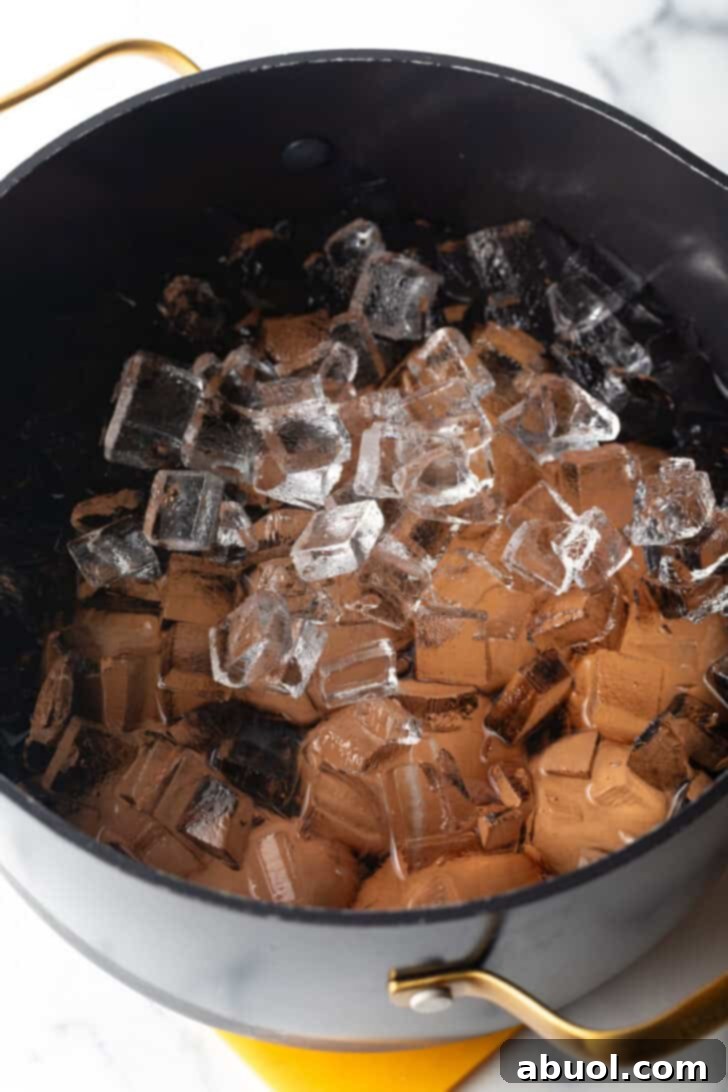
- Ice: A generous amount of ice is crucial for the immediate ice bath. Small ice cubes are preferable as they cool the water rapidly and efficiently, stopping the cooking process dead in its tracks.
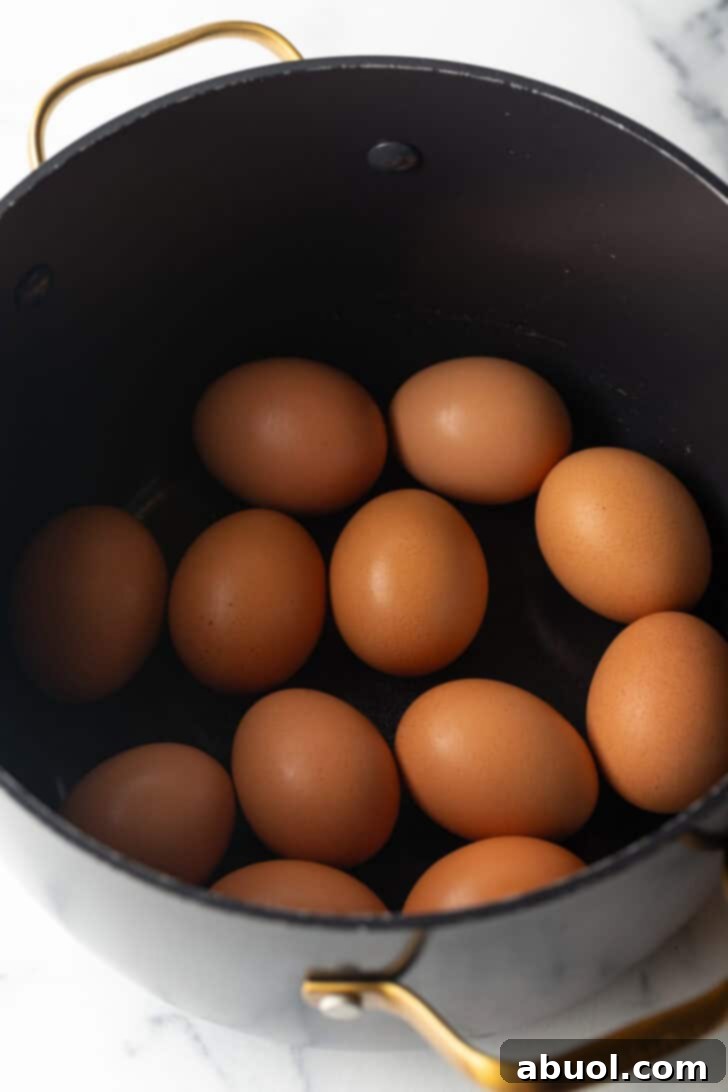
As for equipment, you’ll need a large, deep cooking pot or saucepan. The key here is to ensure the eggs can sit in a single layer at the bottom of the pot without overcrowding. While they can touch each other (and this can actually help prevent them from bouncing around too much), the pan should not be overcrowded. Overcrowding leads to uneven cooking and can increase the likelihood of cracking as eggs jostle against each other. A pot with a lid is also helpful for the resting phase after boiling.
Step-By-Step Guide: How to Achieve Perfectly Hard Boiled Eggs
Follow these precise instructions to prepare hard-boiled eggs with ease, ensuring perfect texture and simple peeling every time. Remember, the timing is key to your preferred yolk consistency!
Determining the Perfect Hard Boil Time
The cooking duration dictates the final texture of your egg yolk, allowing you to customize your hard-boiled eggs to your preference. Achieving that ideal firm, yet creamy, yolk is all about precise timing after the water comes to a boil.
- For Soft-Boiled (Jammy/Custard-Like) Yolks: If your preference leans towards a beautifully soft, jammy, or custard-like interior that is cooked but still slightly tender and runny in the center, stop the cooking process promptly at 9-10 minutes after the water begins to boil. This yields a delightful texture perfect for toast or salads where a richer yolk is desired.
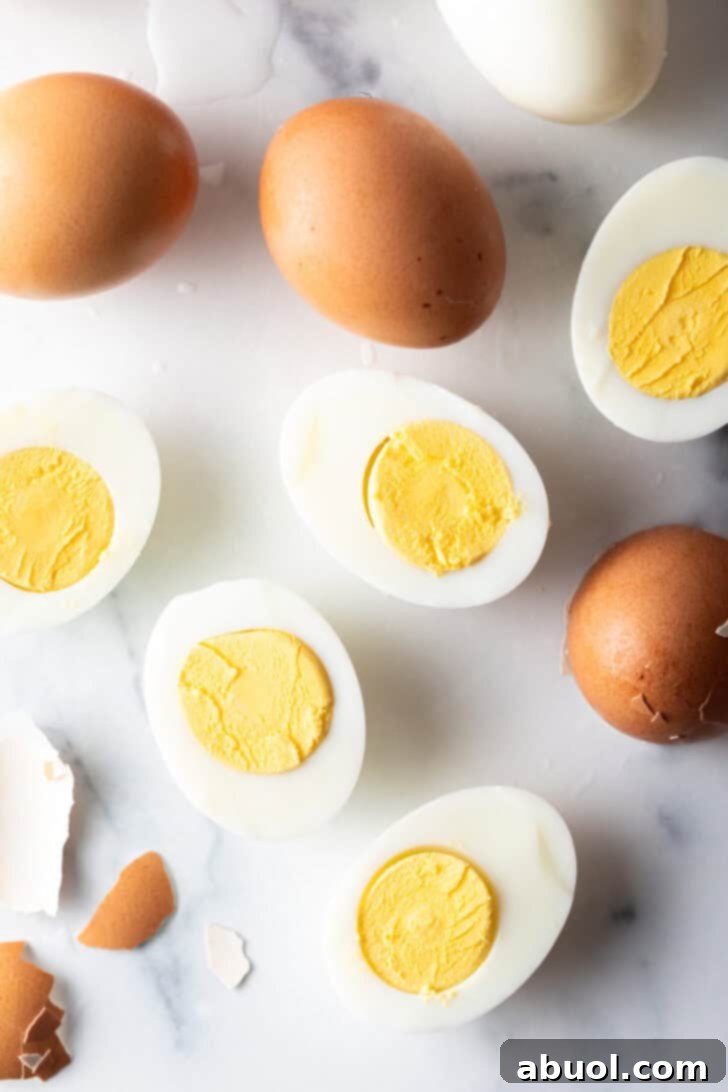
- For Fully Cooked and Firm Yolks: For hard-boiled eggs that are fully cooked through, with a uniformly firm and yellow yolk from edge to center, boil in the saucepan for precisely 12 minutes after the water reaches a rolling boil. This is the classic hard-boiled egg consistency, ideal for chopping, mashing, or slicing.
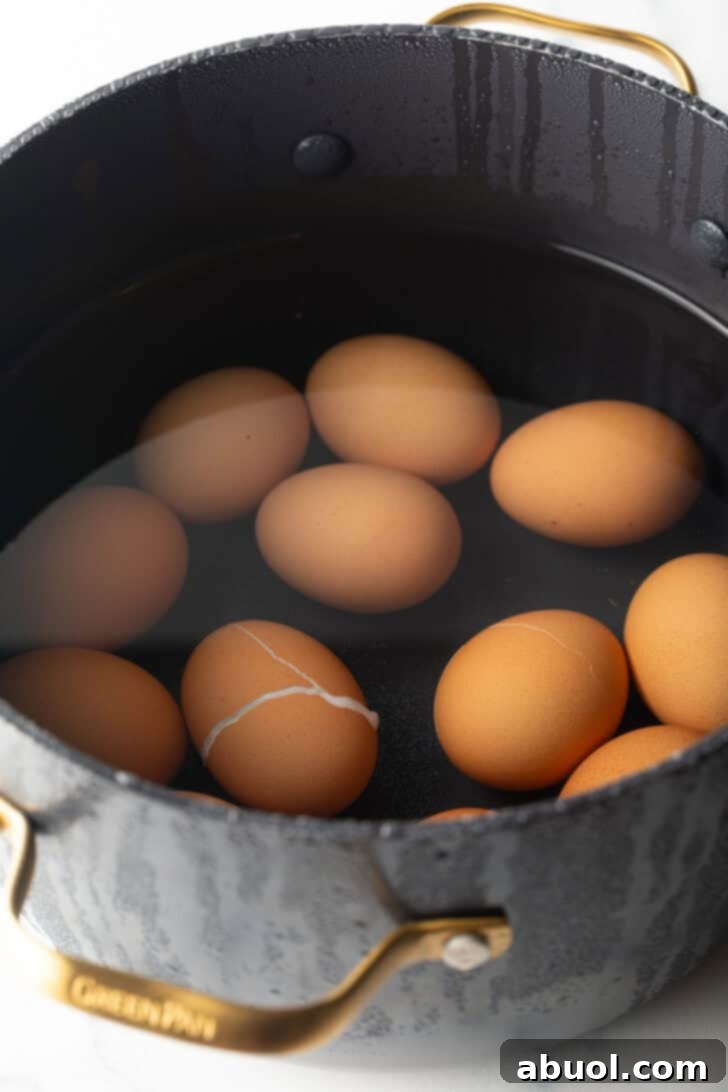
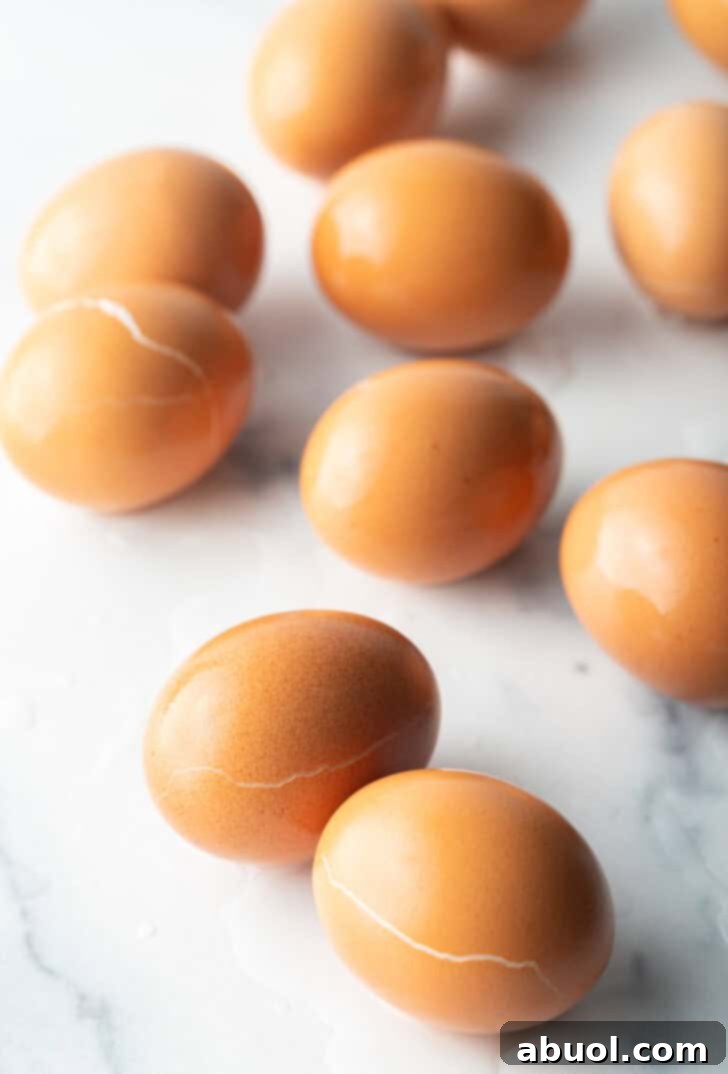
Pro Tip: Avoid Overcooking! It is absolutely crucial not to boil your eggs longer than the recommended times. Overcooked yolks are easily identifiable by the unfortunate grayish-green ring that often forms around the perimeter. While this discoloration is perfectly safe to consume, it’s generally considered unappetizing and indicates a rubbery, dry texture. Stick to the suggested times for vibrant, appealing yolks. Additionally, don’t worry if some of your eggs develop small cracks while cooking. The eggs cracking is actually a beneficial occurrence, as it allows a bit of water to penetrate, paradoxically making them even easier to peel later on!
Unlocking the Secret to Effortless Hard Boiled Egg Peeling
The frustration of a hard-boiled egg stubbornly clinging to its shell is a common kitchen woe. However, with a few expert techniques, you can ensure your eggs peel cleanly and beautifully every single time, preserving that pristine egg white underneath. These tips are the culmination of years of testing and refinement.
- Precision in Cooking Time: While it might seem counterintuitive, slightly undercooking (or rather, cooking just right) your hard-boiled eggs contributes to easier peeling. Take the pot off the heat as soon as the water just begins to reach a rapid boil, then immediately start your timer. Do not wait for a vigorous, rolling boil before timing, as this can lead to overcooked eggs where the whites adhere more fiercely to the shell, and excessive bubbling can cause premature cracking.
- Swift Cooling with an Ice Bath: The rapid temperature change provided by an immediate ice bath is paramount. This “shocking” process not only halts the cooking instantly, preventing the dreaded gray-green yolk, but it also causes the egg white to contract quickly. This contraction pulls the egg white away from the inner membrane of the shell, creating a small gap that significantly eases the peeling process. Skipping the ice bath will almost certainly result in more difficult-to-peel eggs.
- Strategic Cracking in Water: After the eggs have been in the ice bath for a few minutes and are cool enough to handle, gently tap the uncracked eggs on the bottom of the pot to create fine cracks all over the surface. Allowing the eggs to continue cooling in this cracked state lets some of that cold water seep in between the shell and the egg white. This thin layer of water acts as an additional barrier and lubricant, effectively pushing the shell away from the firm whites, making it practically slide off.
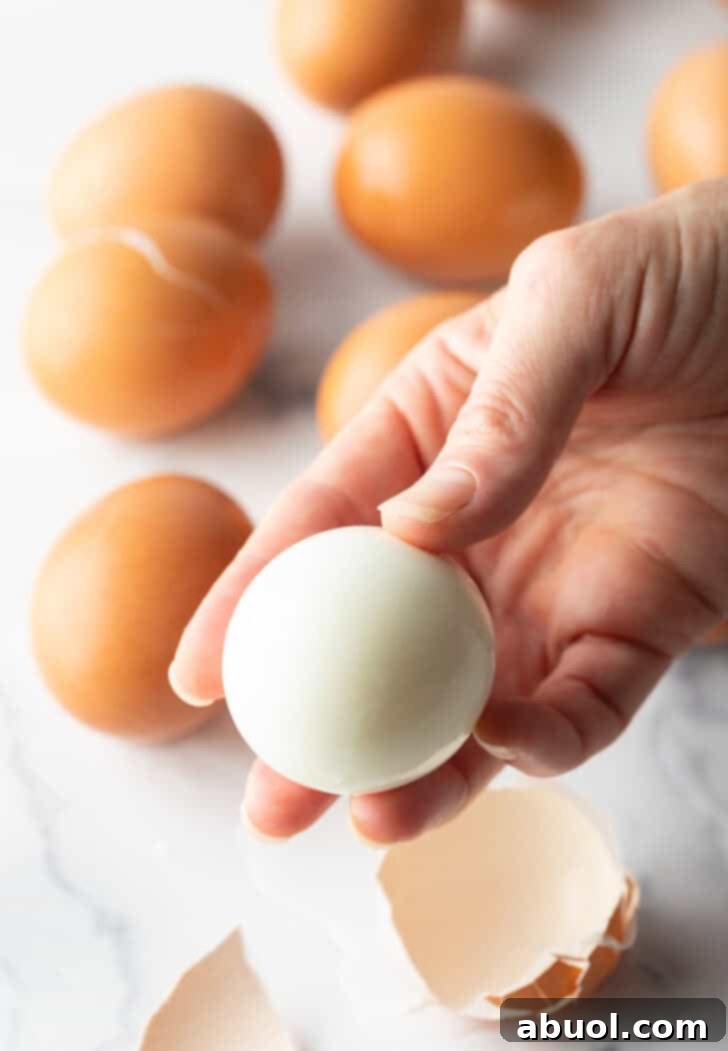
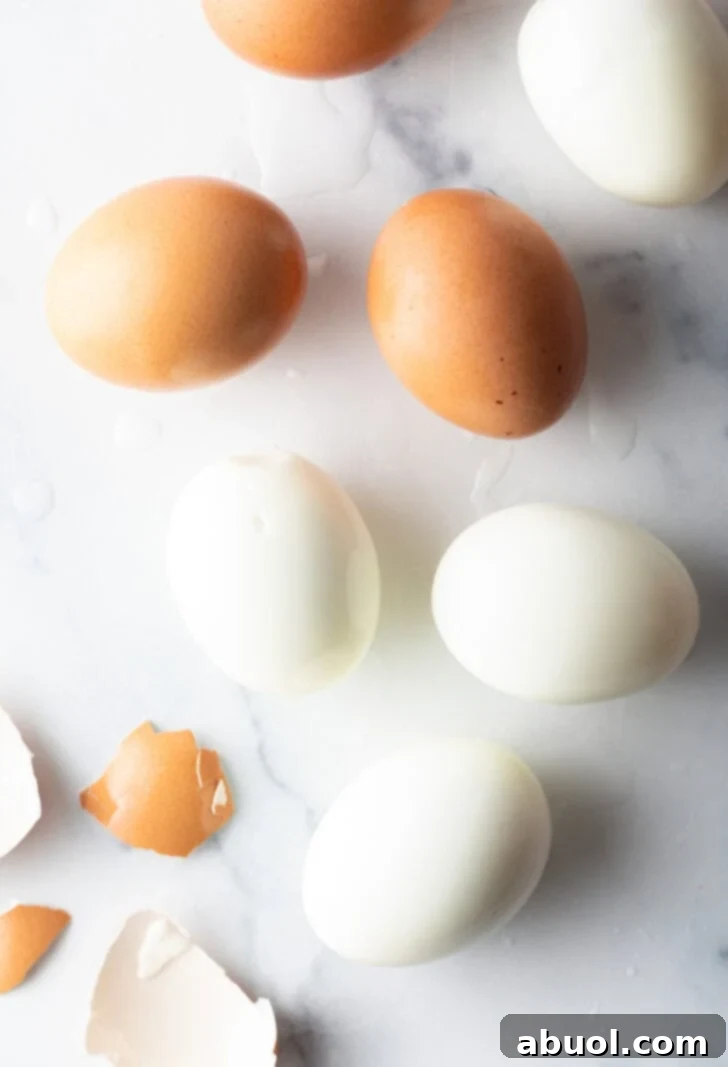
- Gentle Rolling Technique: Once ready to peel, remove an egg from the ice water and place it sideways on a clean countertop or sturdy surface. Using the palm of your hand, apply gentle, even pressure and roll the egg back and forth a few times. The goal is to create a network of small, fine cracks across the entire shell, not to crush the egg. This technique breaks the shell into many small pieces, which makes it easier to remove large sections at once.
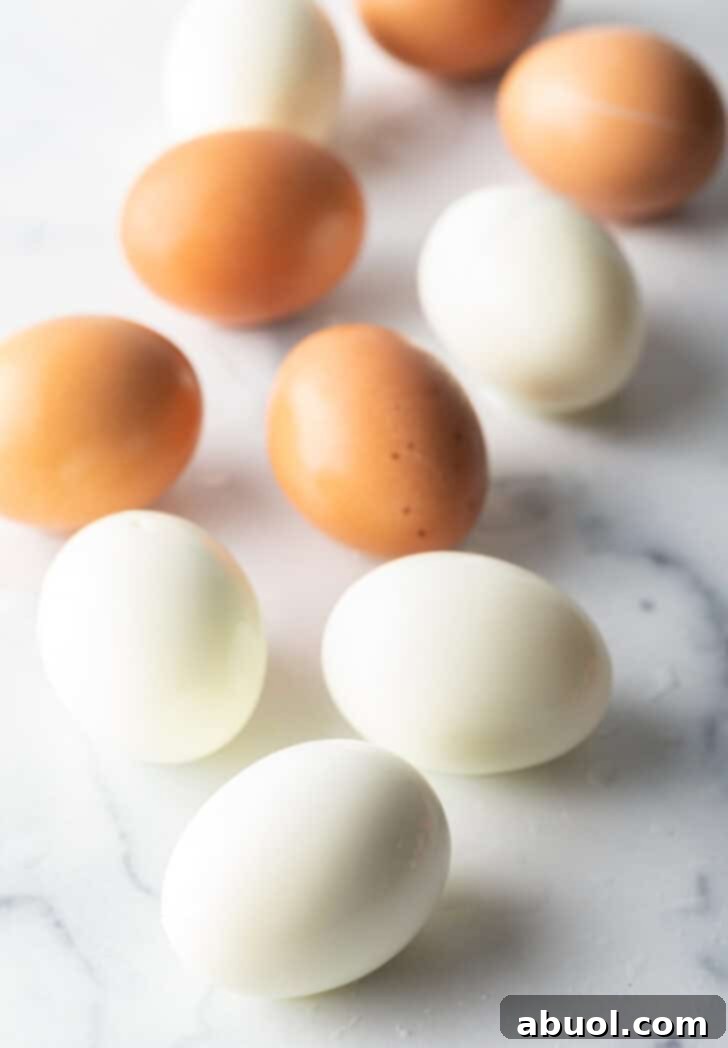
- Peel with a Lifting Motion: When you begin peeling, identify an area where the shell is most easily removed, often where a crack is prominent. Try to get the tips of your thumbs and fingers underneath the shell and the inner membrane. Instead of rubbing the shell away or using your nails to chip at it, use a gentle lifting and pulling motion, working your way around the egg. If you can get under the membrane along with the shell, it will often come off in larger pieces, preventing you from accidentally digging into and removing chunks of the precious egg white.
Creative Culinary Uses for Your Perfect Hard Boiled Eggs
Perfectly hard-boiled eggs are an incredibly versatile ingredient, offering a delicious and protein-packed boost to virtually any meal. Their convenience and nutritional value make them a staple in many kitchens. But beyond just eating them plain, there are so many exciting ways to incorporate them into your cooking! Where do we even begin?
Let’s start with the most important meal of the day: breakfast. Hard boiled eggs are truly brilliant to have on hand for a quick, healthy breakfast. Enjoy them by themselves for an instant protein hit, slice them and serve atop a creamy Avocado Toast for a satisfying start, or even include them in a fresh Breakfast Salad (yes, it’s a thing, and it’s absolutely delicious!).
Moving on to lunchtime, picnics, and potlucks, hard-boiled eggs are the star of many classic cold and creamy salad recipes. Their firm texture and rich flavor perfectly complement a variety of ingredients:
- Deviled Egg Potato Salad: A fantastic twist on two classics.
- Creamy Deviled Egg Pasta Salad: Combines pasta with the flavors of deviled eggs for a delightful side.
- Best Potato Salad Recipe Ever (Seriously): Elevated with the addition of perfectly cooked eggs.
- And, of course, the ever-popular egg salad for quintessential egg salad sandwiches!
Speaking of deviled eggs, this recipe serves as the perfect foundation for making all sorts of creative deviled egg variations. Get adventurous with these delicious twists:
- Avocado Deviled Eggs with Bacon and Pomegranate: A gourmet take with fresh flavors.
- Deviled Eggs with Capers AKA Angel Eggs: A sophisticated and tangy version.
- Pimento Cheese Deviled Eggs: A Southern-inspired, cheesy delight.
Firm and tender hard-boiled eggs are also fabulous for adding essential protein and texture on top of crunchy, cold, and refreshing salads and grain bowls. They make a simple meal much more substantial and satisfying:
- Summer Cobb Salad: A vibrant salad that always benefits from hard-boiled egg slices.
- Guatemalan Fiambre Salad: A unique and hearty salad that often features sliced eggs.
- Superfood Fajita Bowls: Add a protein boost to your healthy bowl.
- Protein Power Bowls: An obvious choice for enhancing any protein-packed bowl.
Beyond salads, hard-boiled eggs are also a delightful addition for adding extra protein and richness to warm savory dishes, especially popular in ramen noodles. Their jammy or firm yolks contribute incredible flavor and texture. Here are a few of our favorites:
- Spicy Shrimp Ramen: A flavorful bowl with a kick.
- Spicy Vegan Ramen: Yes, even vegan ramen can benefit from a plant-based egg alternative, or a perfectly hard-boiled egg if not strictly vegan.
- Spicy Kimchi Ramen Bowl: The savory tang of kimchi pairs wonderfully with eggs.
- Chicken Katsu Ramen: A hearty and comforting meal.
- Slow Cooker Chicken Ramen Noodles: Effortless and delicious.
And let’s not forget other flavorful dishes where hard-boiled eggs truly shine, adding a touch of elegance or a boost of sustenance:
- Chilaquiles with Marinated Skirt Steak: Sliced eggs add richness and garnish.
- Chicken Congee (Jook Rice Porridge): A comforting Asian rice porridge traditionally topped with egg.
If you’re looking for a SUPER fun, delicious, and exciting way to transform hard-boiled eggs, you absolutely must try this Spicy Beet Pickled Eggs recipe! They’re not only visually stunning but also burst with unique flavor.
Frequently Asked Questions About Hard Boiled Eggs
Should you boil water before putting eggs in?
No, for the most consistent results and to prevent cracking, you should always start with cold water when making perfect hard-boiled eggs. Placing eggs directly into already boiling water can cause the sudden temperature change to crack the shells and can also lead to overcooking the whites before the yolks are perfectly set. Beginning with cold water allows the eggs to heat up gradually with the water, promoting even cooking and significantly reducing the chances of cracks or the dreaded green ring around the yolk.
How long do hard boiled eggs last in the fridge?
Hard-boiled eggs, when stored properly, can last for a good amount of time in your refrigerator. The best way to store them is in an airtight container. This not only keeps them fresh but also prevents any potential odors from transferring to other foods in your fridge. If stored well in their shells, they will typically keep for up to a week in the refrigerator. If you’ve already peeled them, it’s best to consume them within 3-5 days for optimal freshness and texture.
Is it better to store hard boiled eggs peeled or unpeeled?
Both methods are acceptable, but there are slight differences. Eggs stored with their shells on tend to retain moisture better and are generally protected from absorbing odors from other foods in the refrigerator. Because of this, they will typically keep fresh for a few days longer (up to a week). Peeled hard-boiled eggs, while more convenient for immediate use, are best stored in an airtight container with a damp paper towel to help maintain moisture and should be eaten within 3-5 days. The shell acts as a natural barrier, extending their shelf life slightly.
Can I use this recipe to make eggs for Easter?
Absolutely! This is a fantastic hard-boiled egg recipe for preparing eggs for dyeing, especially for Easter celebrations. The techniques outlined here will ensure you have strong, perfectly cooked eggs that are ready for decorating.
However, if your intention is to dye the eggs after boiling, it’s important that you DO NOT intentionally crack them in the water as suggested for easy peeling. Keep the shells intact throughout the cooking and cooling process. Also, be sure to let the eggs cool completely and dry them thoroughly before proceeding with any dyeing activities to ensure the colors adhere evenly and vibrantly.
Looking for More Egg-cellent Recipes? Be Sure to Try:
If you’ve enjoyed mastering hard-boiled eggs, you’ll love exploring these other fantastic egg-centric recipes. Expand your egg repertoire with these delicious and diverse options:
- How to Scramble Perfect Fluffy Eggs
- How to Make Ramen Eggs (Ajitsuke Tamago)
- Easy Egg Bites Recipe
- How to Make Over Easy Eggs
- Easy Eggs Benedict Casserole
- Egg White Frittata with Spinach and Peppers
- Vietnamese Egg Coffee
- Homemade Egg Drop Soup
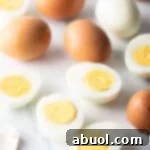
Perfect Hard Boiled Eggs (Easy Peel!)
Learn step-by-step the best way to hard boil eggs so they’re easy to peel and have perfect, firm and silky yolks every time!
Recipe Details
- Prep Time: 10 minutes
- Cook Time: 10-12 minutes
- Chill Time: 25-30 minutes (ice bath)
- Total Time: Approximately 45 minutes
- Servings: 12 eggs
Ingredients
- 12 large eggs
- 1 tablespoon white vinegar or lemon juice
- Cold water (enough to cover eggs by 1 inch)
- Ice (for ice bath)
Instructions
- Place the eggs in a medium to large saucepan, ensuring they are in a single layer. Cover the eggs with cold water until the water level is about 1 inch above the top of the eggs. Pour in 1 tablespoon of vinegar or lemon juice.
- Place the pot over high heat. Bring the water to a rolling boil. The moment the water begins boiling vigorously, set a timer for 9-12 minutes.
- If you desire soft-boiled eggs with a jammy, custard-like interior, stop the cooking at 9-10 minutes.
- For fully cooked, firm hard-boiled eggs, boil for the full 12 minutes.
- As soon as the timer goes off, remove the pot from the heat immediately. Quickly add a generous amount of ice directly to the pot to rapidly cool the water and stop the cooking process. You may need to dump out some hot water first to make room for the ice. Allow the eggs to cool in this ice bath for at least 25-30 minutes before proceeding to peel. This rapid chilling is crucial for preventing a gray-green ring around the yolk and making the eggs easy to peel.
- Once the water is cool enough to comfortably handle, gently tap any uncracked eggs on the bottom of the pot or on a hard surface to create small cracks all over the shell. This allows cold water to seep in between the shell and the egg white, further aiding in easy peeling.
- Remove the eggs from the ice water. Gently tap each egg on a hard surface again to ensure a network of fine cracks covers the shell. Find an obvious opening in the shell, then use your thumbs and fingers to gently peel off larger sections, working under the membrane.
- After all the eggs are peeled, rinse them under cold water to remove any lingering shell debris.
- Serve the eggs immediately, or transfer them to an airtight container and store in the refrigerator until ready to use. Hard-boiled eggs stored properly will keep for up to one week.
Nutrition Information (Per 1 egg serving)
Calories: 63kcal, Carbohydrates: 0.3g, Protein: 6g, Fat: 4g, Saturated Fat: 1g, Polyunsaturated Fat: 1g, Monounsaturated Fat: 2g, Trans Fat: 0.02g, Cholesterol: 164mg, Sodium: 63mg, Potassium: 61mg, Sugar: 0.2g, Vitamin A: 238IU, Calcium: 25mg, Iron: 1mg
Recipe Tags
Course: Appetizer, Breakfast, How To, Salad, Side Dish, Snack
Cuisine: American
Author: Sommer Collier