
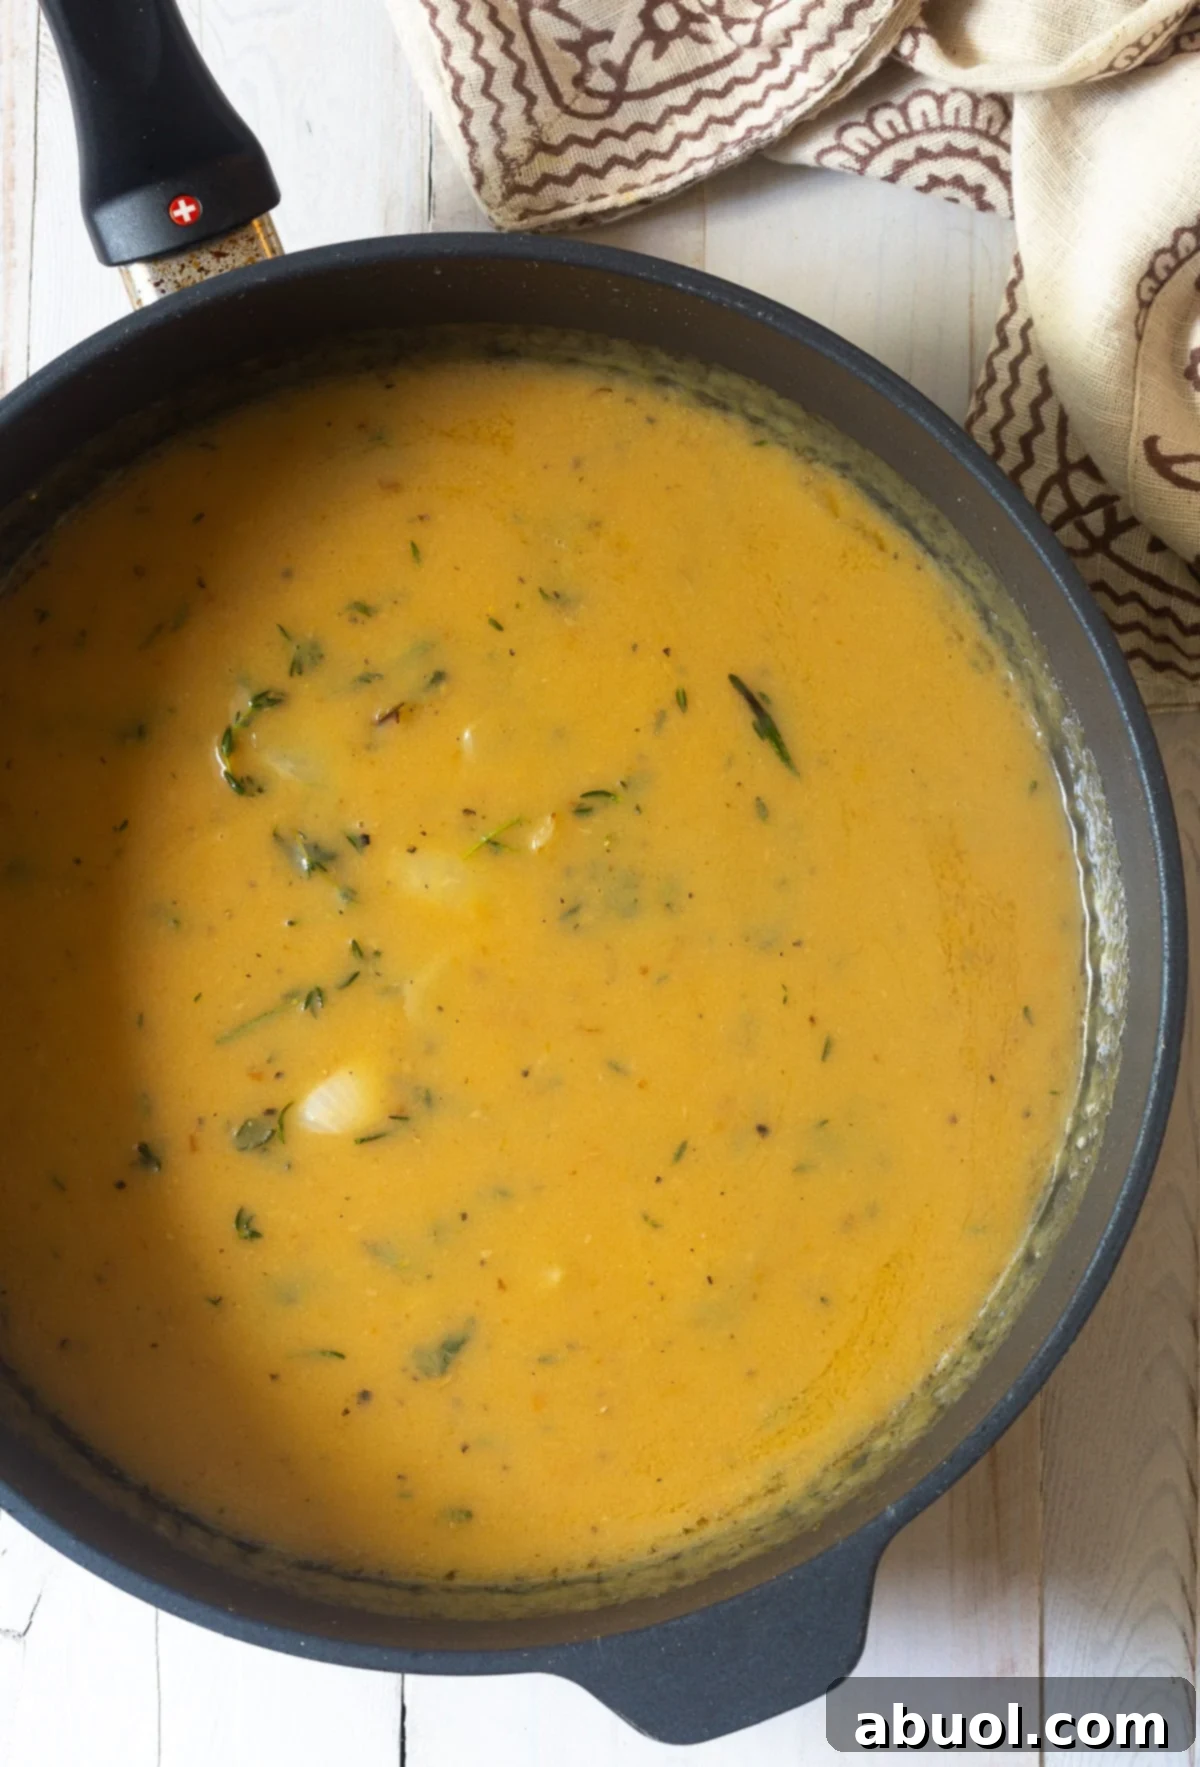
Discover the Secret to the Best Turkey Gravy You’ll Ever Make! – This comprehensive guide unveils the easiest, most foolproof method for crafting a rich, flavorful homemade turkey gravy, perfect for your holiday feasts. Get ready to elevate your Thanksgiving table with a truly unforgettable condiment.
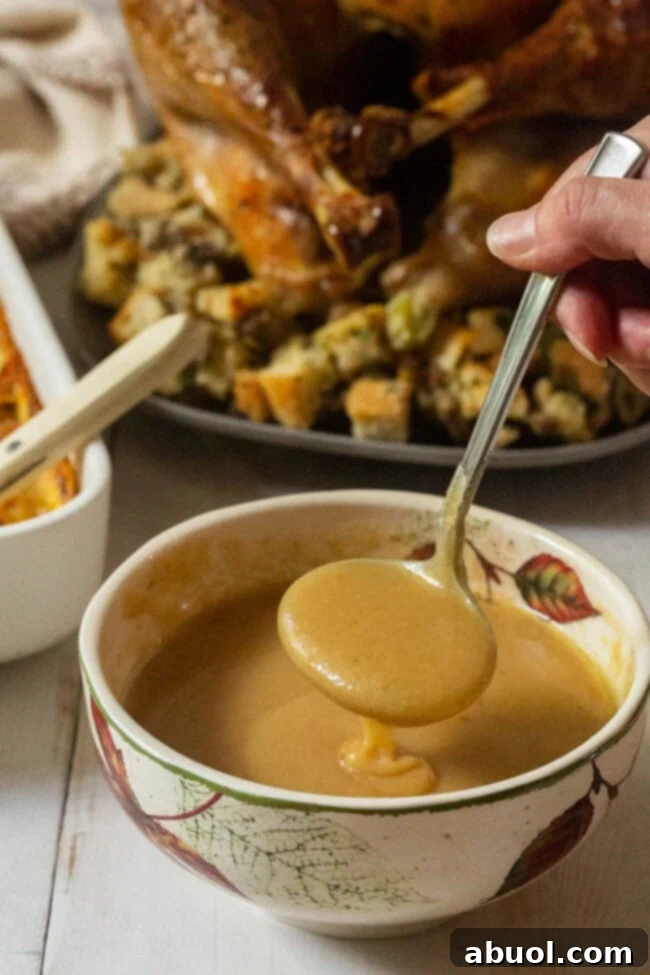
Why This Homemade Turkey Gravy Recipe is a Must-Try
As the holiday season approaches, particularly Thanksgiving, the air fills with excitement, anticipation, and often, a flurry of culinary questions. Among the most frequent inquiries we receive year after year, one consistently stands out: “How do I make the *best* turkey gravy?” It seems this seemingly simple condiment can strike fear into the hearts of even seasoned home cooks. But why does a dish so fundamental to a memorable holiday meal cause such apprehension?
For many, this trepidation stems from a bygone era of American cooking when convenience often overshadowed scratch-made quality. Generations grew up with Thanksgiving side dishes emerging from boxes, cans, and gravy being concocted from powdered packets. Many adults recall these dinners, complete with gelatinous cranberry sauce cylinders and stuffing rehydrated from pouches of dried herbs and onions. While these shortcuts offered ease, they often sacrificed the depth of flavor and comforting essence that truly define a traditional Thanksgiving spread.
Fortunately, culinary trends have brought us full circle. There’s a renewed appreciation for homemade goodness, a desire to understand what goes into our food, and the satisfaction that comes from creating something from scratch. In this culinary renaissance, making homemade gravy using authentic turkey drippings has become a cherished goal for many. It’s often perceived as the final frontier in reclaiming the true spirit of a traditional Thanksgiving dinner, transforming a basic sauce into a star component of the meal.
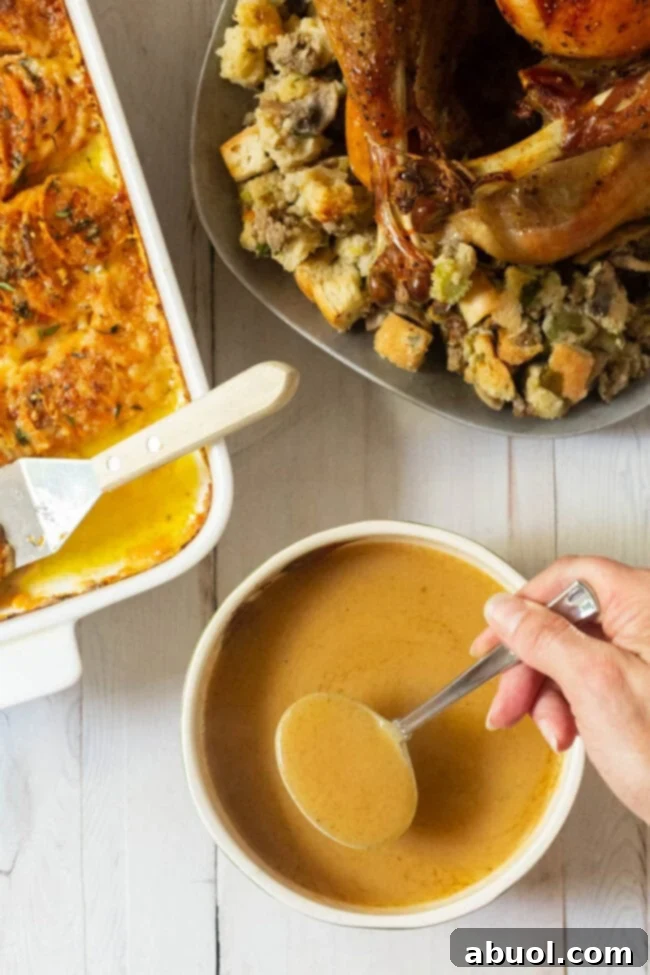

Sommer’s Expert Tips for Achieving Perfect Turkey Gravy from Scratch
Creating an exceptional turkey gravy starts with understanding its foundations. The absolute best turkey gravy is undeniably made using the rich, flavorful pan drippings collected from your beautifully roasted turkey. These drippings are a concentrated essence of turkey flavor, offering a depth that simply cannot be replicated by broth alone. However, relying solely on drippings can result in a gravy that’s either too fatty, too salty, or too scarce.
This is where turkey broth (or even high-quality chicken broth) becomes your invaluable ally. You’ll need to supplement your drippings with broth to achieve the ideal volume and consistency, while also balancing the flavors. During the holiday season, good quality turkey broth is readily available in most supermarkets. For an even deeper, homemade flavor, consider roasting a small turkey or turkey pieces a few days before Thanksgiving. You can use the meat for other delicious recipes and reserve the bones to simmer down into a rich, savory turkey broth. This extra step ensures you have the foundational ingredients for the most incredible homemade turkey gravy your family has ever tasted, making your holiday meal truly stand out.
Essential Ingredients for Your Homemade Turkey Gravy
Crafting the perfect turkey gravy requires just a handful of simple yet potent ingredients. Each plays a crucial role in developing the rich flavor and luxurious texture that makes homemade gravy so irresistible. Here’s what you’ll need to gather:
- Turkey Pan Drippings: These are the golden liquid gold left in your roasting pan after cooking your turkey. They are packed with roasted turkey flavor and some fat, which is essential for our roux. You might also include optional turkey giblets (neck, heart, gizzard) if you have them, which can be simmered in the broth for added depth before the drippings are incorporated.
- Low-Sodium Turkey or Chicken Broth: This is used to thin the gravy to the right consistency and control the overall saltiness. Using low-sodium broth gives you full control over seasoning. Chicken stock or broth can be used interchangeably if turkey broth is unavailable.
- All-Purpose Flour: The thickening agent for our roux, providing that smooth, velvety texture. It combines with the fat from the drippings to create the base of our gravy.
- Chopped Onions: Aromatic vegetables add a foundational layer of savory flavor. As they cook in the roux, they release their sweetness and integrate beautifully into the gravy.
- Fresh Chopped Herbs (Sage, Thyme, Rosemary): These classic Thanksgiving herbs infuse the gravy with an aromatic complexity that complements the turkey perfectly. Using fresh herbs makes a significant difference in flavor compared to dried ones.
- Salt and Freshly Ground Black Pepper: Essential for seasoning and bringing out all the wonderful flavors. Always taste and adjust as you go, especially since drippings can vary greatly in salt content.
With these ingredients at the ready, you’re well on your way to making the best turkey gravy from scratch!
Step-by-Step Guide: How to Make the Best Turkey Gravy with Drippings
Making homemade turkey gravy might seem daunting, but with these clear, easy-to-follow steps, you’ll achieve a perfect, luscious gravy every time. Our foolproof method leverages the rich flavors of your turkey drippings for an unparalleled taste.
-
Collect and Prepare Your Turkey Drippings:
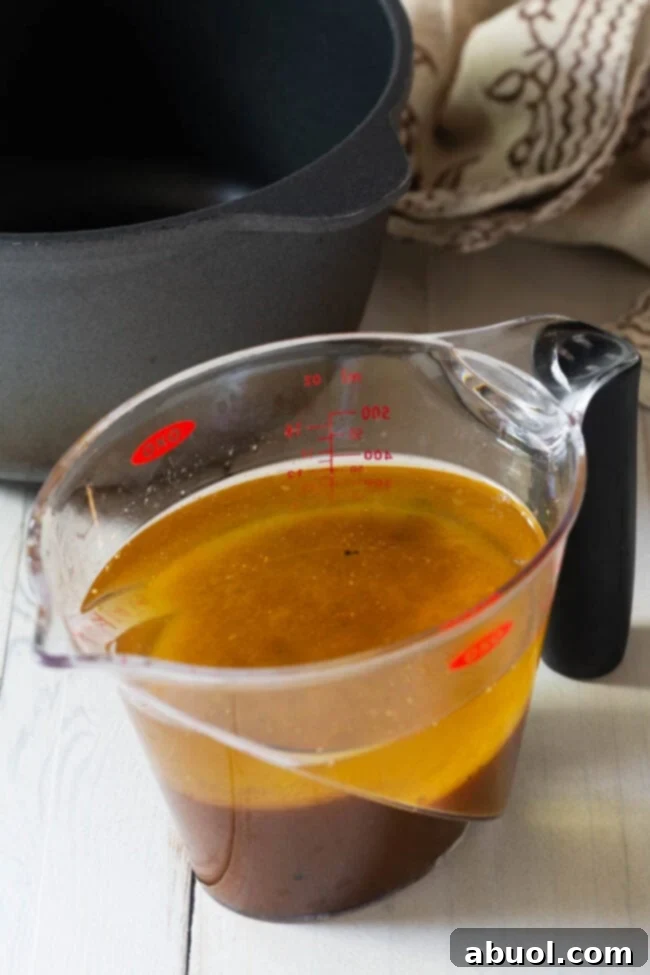
After your magnificent turkey has finished roasting, carefully remove it from the pan and transfer it to a carving board to rest. What remains in the roasting pan is liquid gold – the precious pan drippings. The amount will vary significantly, ranging from one cup to several, depending on the turkey’s size and how it was prepared. Some cooks enhance drippings by adding water, wine, or vegetables to the pan during roasting; others stuff the turkey with fresh herbs and onions. While these are excellent methods for adding flavor, you can still get wonderful drippings even from a dry roasting pan. Carefully pour the drippings into a fat separator or a heatproof container and allow the fat to rise to the top. This separation is key to controlling the richness of your gravy. Important: If you brined your turkey, your drippings will be considerably salty. Always taste them before proceeding to avoid over-seasoning your gravy. You may need to adjust the amount of drippings and broth accordingly.
-
Craft the Perfect Roux (Thickening Base):
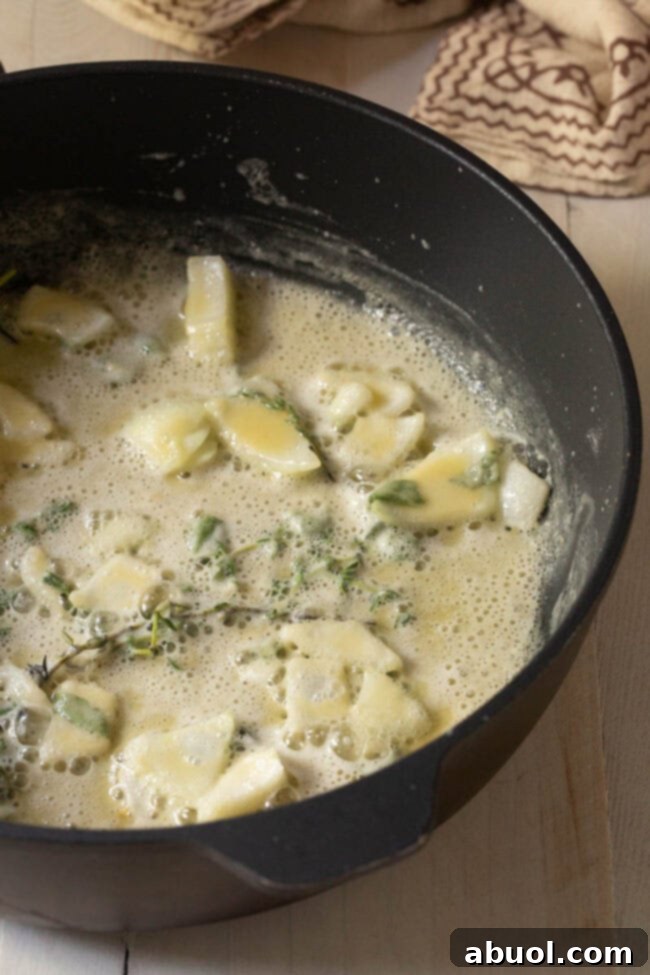
Instead of adding butter or oil, we’ll use the flavorful fat directly from your turkey drippings to build the roux. Skim about 1/4 cup of the turkey fat from your collected drippings and transfer it to a large saucepan or skillet. Place the pan over medium to medium-high heat. Once the fat is shimmering, gradually whisk in 5 tablespoons of all-purpose flour. Continue whisking constantly for 2-3 minutes, allowing the flour to cook out and create a smooth paste. During this stage, I recommend adding your chopped onion and fresh herbs (sage, thyme, rosemary) to the roux. As they gently sauté with the flour and fat, they’ll release their aromatic oils, deeply infusing the base of your gravy and boosting its overall flavor. Cook until the roux is a light golden brown and the onions are softened, ensuring no raw flour taste remains.
-
Measure and Balance Your Liquids:
For a perfect consistency, you’ll need a total of 4 cups of combined pan drippings and broth. This step requires a bit of culinary intuition, as drippings vary in fat-to-liquid ratio and flavor intensity. Begin by pouring your skimmed pan drippings into a liquid measuring cup. Taste the drippings: if they are very salty (common with brined turkeys), use less drippings (e.g., 1 cup) and compensate with more low-sodium turkey or chicken broth. If the drippings are excessively fatty, skim off a little more fat before measuring. Ideally, you want flavorful drippings with some fat, but not *all* fat. Once you’ve added your desired amount of drippings, fill the remainder of the 4-cup measure with low-sodium turkey or chicken broth, minimizing the broth if your drippings are particularly flavorful. This balance ensures a rich taste without being overly greasy or salty.
-
Achieve Silky Smoothness Through Whisking:
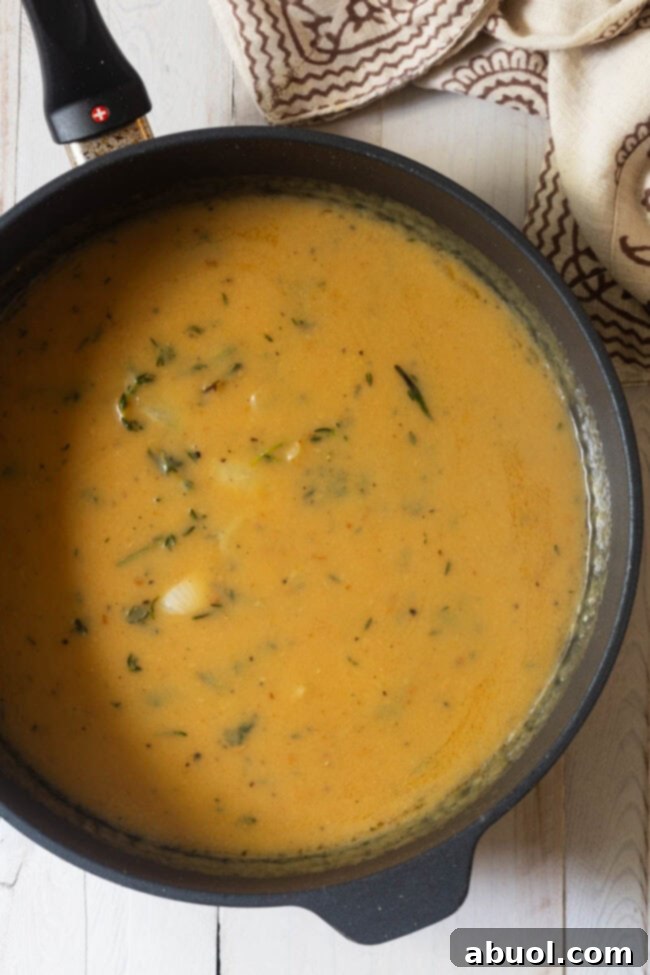
With your roux cooked and your liquids measured, it’s time to bring it all together. Slowly pour the combined drippings and broth mixture into the saucepan with your roux while continuously whisking vigorously. This constant motion is critical to prevent lumps and create a perfectly silky-smooth gravy. As the liquid heats and integrates with the flour in the roux, the gravy will begin to thicken. Reduce the heat to a gentle simmer and continue to whisk occasionally, allowing the gravy to cook until it reaches your desired consistency. I prefer a gravy that is thick enough to beautifully coat the back of a spoon, but the exact thickness is entirely up to your preference.
-
Adjust Consistency Before Serving:
Gravy, like many sauces, tends to thicken considerably as it cools. To ensure your homemade turkey gravy is perfect when it hits the table, it’s a wise idea to reserve an extra 1/4 to 1/2 cup of turkey or chicken broth. Just before serving, gently rewarm the gravy (if it has cooled) and whisk in a little of the reserved broth, a tablespoon at a time, until it reaches your ideal pourable consistency. This trick guarantees a smooth, luscious gravy that isn’t too dense.
-
Strain for an Extra-Smooth Finish:
For the ultimate refined gravy, a final straining step is highly recommended. When you are ready to serve your magnificent Thanksgiving meal, pour the gravy through a fine-mesh sieve or strainer into your gravy boat or serving vessel. This process will catch any small clumps of flour, cooked herbs, or onion bits, leaving you with an exquisitely smooth, professional-quality gravy that will impress everyone at the table. Serve immediately and enjoy the fruits of your labor!
Get the Full (Printable) Homemade Turkey Gravy Recipe & Expert Video Tips Below. Enjoy!
Frequently Asked Questions About Homemade Turkey Gravy
We understand that making gravy can sometimes raise a few questions. Here are detailed answers to the most common queries we receive, helping you master your homemade turkey gravy.
The secret to the absolute best turkey gravy lies in combining flavorful pan drippings from a roasted turkey with a well-made roux and fresh aromatics. Following our detailed recipe above, which emphasizes balancing the drippings with low-sodium broth and incorporating fresh herbs like sage, thyme, and rosemary, will guide you to a rich, deeply flavored, and silky-smooth gravy that truly stands out. The key is to taste and adjust seasoning throughout the process.
Making gravy from drippings involves a few crucial steps. First, you collect the drippings from your roasted turkey and separate the fat. Then, you use a portion of this fat to create a roux with flour, cooking it until golden. The liquid (remaining drippings combined with broth) is then whisked into the roux and simmered until thickened to your desired consistency. Our recipe specifically focuses on maximizing the flavor from these drippings, ensuring your gravy is incredibly savory and authentic.
Absolutely! While drippings provide unparalleled depth, you can still make a delicious turkey gravy without them. Simply substitute the pan drippings entirely with good quality low-sodium turkey or chicken broth. For added flavor, you can sauté a tablespoon or two of butter or olive oil with finely minced onions and herbs before whisking in the flour for your roux. While the flavor profile will be slightly different, it will still yield a wonderfully comforting and thick gravy.
To be completely honest, gravy made without pan drippings will not have the same intense, roasted turkey flavor. The drippings are concentrated essence from the turkey, bringing a richness that broth alone can’t fully replicate. However, a gravy made with high-quality broth, fresh herbs, and aromatics will still be incredibly good and a far superior option to instant gravies. It’s a perfectly decent and tasty alternative, especially when you’re roasting a turkey breast that produces fewer drippings or when you need a quick gravy solution.
Yes, making turkey gravy ahead of time is a fantastic way to reduce stress on Thanksgiving Day. Simply prepare the gravy according to the recipe, let it cool completely, and then store it in an airtight container in the refrigerator for up to 3-4 days. When you’re ready to serve, gently reheat the gravy over low heat on the stovetop, whisking frequently. It will likely thicken significantly in the fridge, so have some extra turkey or chicken broth on hand to whisk in gradually until it reaches your desired pourable consistency.
Yes, turkey gravy freezes beautifully! This is excellent for holiday leftovers or preparing even further in advance. Allow the gravy to cool completely, then portion it into small, freezer-safe, airtight containers or heavy-duty freezer bags. Freezing in smaller portions allows you to thaw only what you need. Frozen gravy can be kept for up to 4-6 months. To reheat, thaw overnight in the refrigerator, then gently warm on the stovetop, whisking in additional broth as needed to loosen.
Making gluten-free turkey gravy is straightforward. The best substitute for all-purpose wheat flour when creating a roux for gravy is rice flour or a gluten-free all-purpose flour blend. Simply substitute it in the exact same proportion as the wheat flour. The resulting gravy will be just as thick and silky. Crucially, for a truly gluten-free recipe, ensure that the turkey or chicken broth you use does not contain any hidden gluten-containing ingredients. Always check labels carefully.
Yes, this homemade turkey gravy recipe can easily be dairy-free. The fat used for the roux comes directly from the turkey drippings. As long as you don’t rub your turkey with butter before roasting, and your store-bought broth doesn’t contain dairy (always double-check the label), your pan drippings and therefore your gravy will be entirely dairy-free. This recipe naturally lends itself to a dairy-free preparation.
While vegan gravy isn’t technically “turkey” gravy, you can certainly adapt this recipe’s method for a delicious plant-based alternative. Substitute the turkey drippings and broth with 4+ cups of rich vegan vegetable broth (mushroom broth is highly recommended for a deep, umami flavor!). For the roux, use 1/4 cup of vegan butter or olive oil instead of turkey fat. Follow the same steps for making the roux, adding onions and herbs, then whisking in the vegetable broth and simmering. You’ll achieve a fantastic, savory vegan gravy perfect for any plant-based meal.
Traditional Thanksgiving Recipes to Complete Your Feast
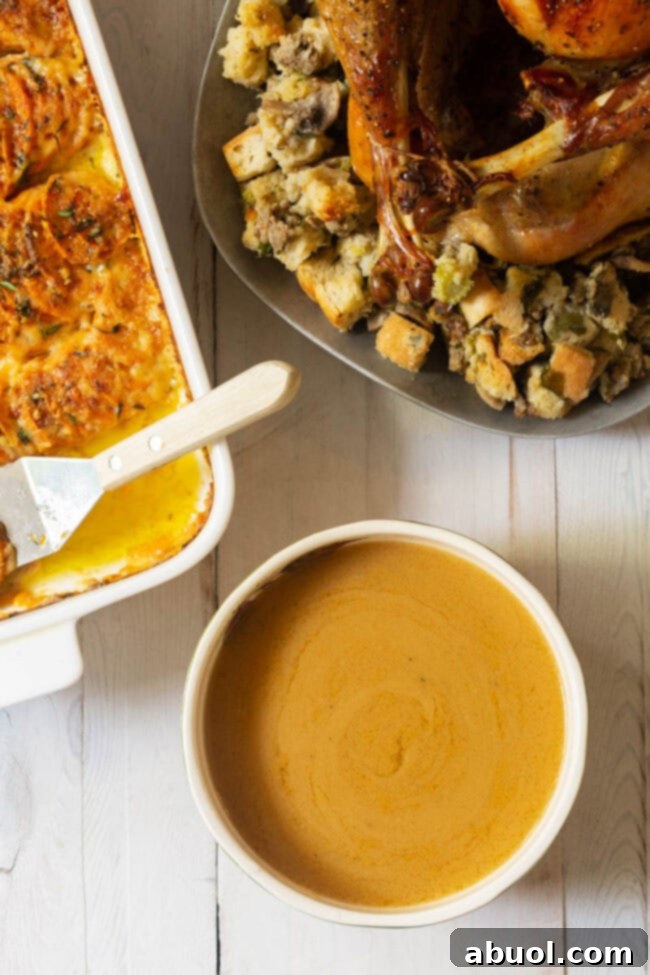
No Thanksgiving feast is complete without a delicious spread of classic side dishes and desserts. Pair your incredible homemade turkey gravy with these beloved recipes for an unforgettable holiday meal:
- Best Turkey Brine: The secret to a juicy, flavorful turkey.
- Brown Sugar Baked Ham: A delightful alternative or addition to turkey.
- Sausage Mushroom Thanksgiving Stuffing with Celery: A savory and hearty classic.
- Southern Sweet Potato Casserole: A sweet and decadent side.
- The Best Mashed Potatoes Ever: The perfect vehicle for your delicious gravy.
- Cornbread Muffins: A rustic and comforting bread option.
- Southern Creamed Spinach: A rich and creamy green side.
- Famous Corn Pudding: A sweet and savory delight.
- Pumpkin Slab Pie: A fantastic dessert for a crowd.
- Buttermilk Drop Biscuits: Fluffy, tender biscuits perfect for soaking up gravy.
Printable Recipe: The Best Homemade Turkey Gravy
Print Recipe
Leave a Review »
How To Make Turkey Gravy
Prep Time: 5 minutes
Cook Time: 10 minutes
Total Time: 15 minutes
Servings: 12
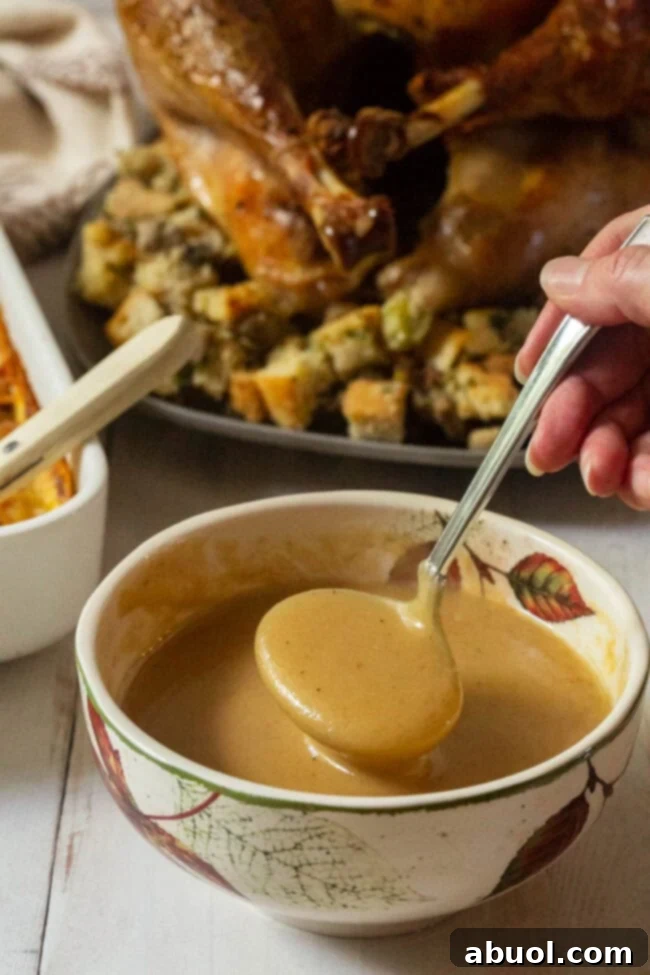
This is the easiest and most delicious homemade turkey gravy you’ll ever taste! A completely foolproof recipe perfect for Thanksgiving, using rich pan drippings for ultimate flavor.
Video Guide
Watch our step-by-step video to visually guide you through making the perfect turkey gravy. (Note: Original video content would be embedded here if JavaScript was permitted.)
Ingredients
- 1-3 cups turkey pan drippings (and optional turkey giblets)
- 1 1/2-3 1/2 cups low-sodium turkey broth or chicken broth/stock
- 5 tablespoons all-purpose flour
- 1/4 cup chopped onions
- 3 tablespoons fresh chopped herbs (sage, thyme, rosemary)
- Salt and freshly ground black pepper, to taste
Instructions
- Prepare Drippings: After roasting your turkey, collect the pan drippings. The quantity will vary. If your turkey was brined, the drippings will be salty, so taste them carefully. Skim 1/4 cup of turkey fat from the drippings for your roux. Ensure you have 4 cups of combined drippings and low-sodium broth ready. Adjust the ratio based on the saltiness and fat content of your drippings (less drippings/more broth if very salty or fatty).
- Make Roux: In a large sauté pan over medium heat, add the 1/4 cup skimmed turkey fat. Whisk in the 5 tablespoons of all-purpose flour to create a roux. Add the chopped onion and fresh herbs, cooking until the onions soften and the roux turns a light golden brown, about 2-3 minutes.
- Combine Liquids: Gradually pour the measured 4 cups of combined turkey drippings and broth into the roux, whisking vigorously and continuously to ensure a smooth, lump-free mixture.
- Simmer and Thicken: Bring the gravy to a gentle simmer, stirring occasionally. Let it cook for 5-7 minutes, or until it reaches your desired thickness. Gravy will thicken more as it cools.
- Season and Adjust: Taste the gravy and season with salt and freshly ground black pepper as needed. Remember, it will thicken further upon cooling. If it becomes too thick, have extra broth on hand.
- Serve Smooth: Before serving, rewarm if necessary. Whisk in 1/4-1/2 cup of additional broth if the gravy is too thick. For an extra smooth finish, pass the gravy through a fine-mesh sieve into a gravy boat to remove any herbs, onions, or small clumps. Serve immediately and enjoy!
Nutrition Information
- Serving: 0.5 cup
- Calories: 173 kcal
- Carbohydrates: 3g
- Protein: 1g
- Fat: 17g
- Saturated Fat: 5g
- Cholesterol: 17mg
- Sodium: 12mg
- Potassium: 47mg
- Fiber: 0g
- Sugar: 0g
- Vitamin A: 85 IU
- Vitamin C: 1.6mg
- Calcium: 3mg
- Iron: 0.3mg
Recipe Details
Course: Condiment
Cuisine: American
Author: Sommer Collier
Cook It? Love It? Rate It! Your feedback helps other home cooks find this amazing recipe. Please TAP 5 STARS and leave a review. Thank you!