
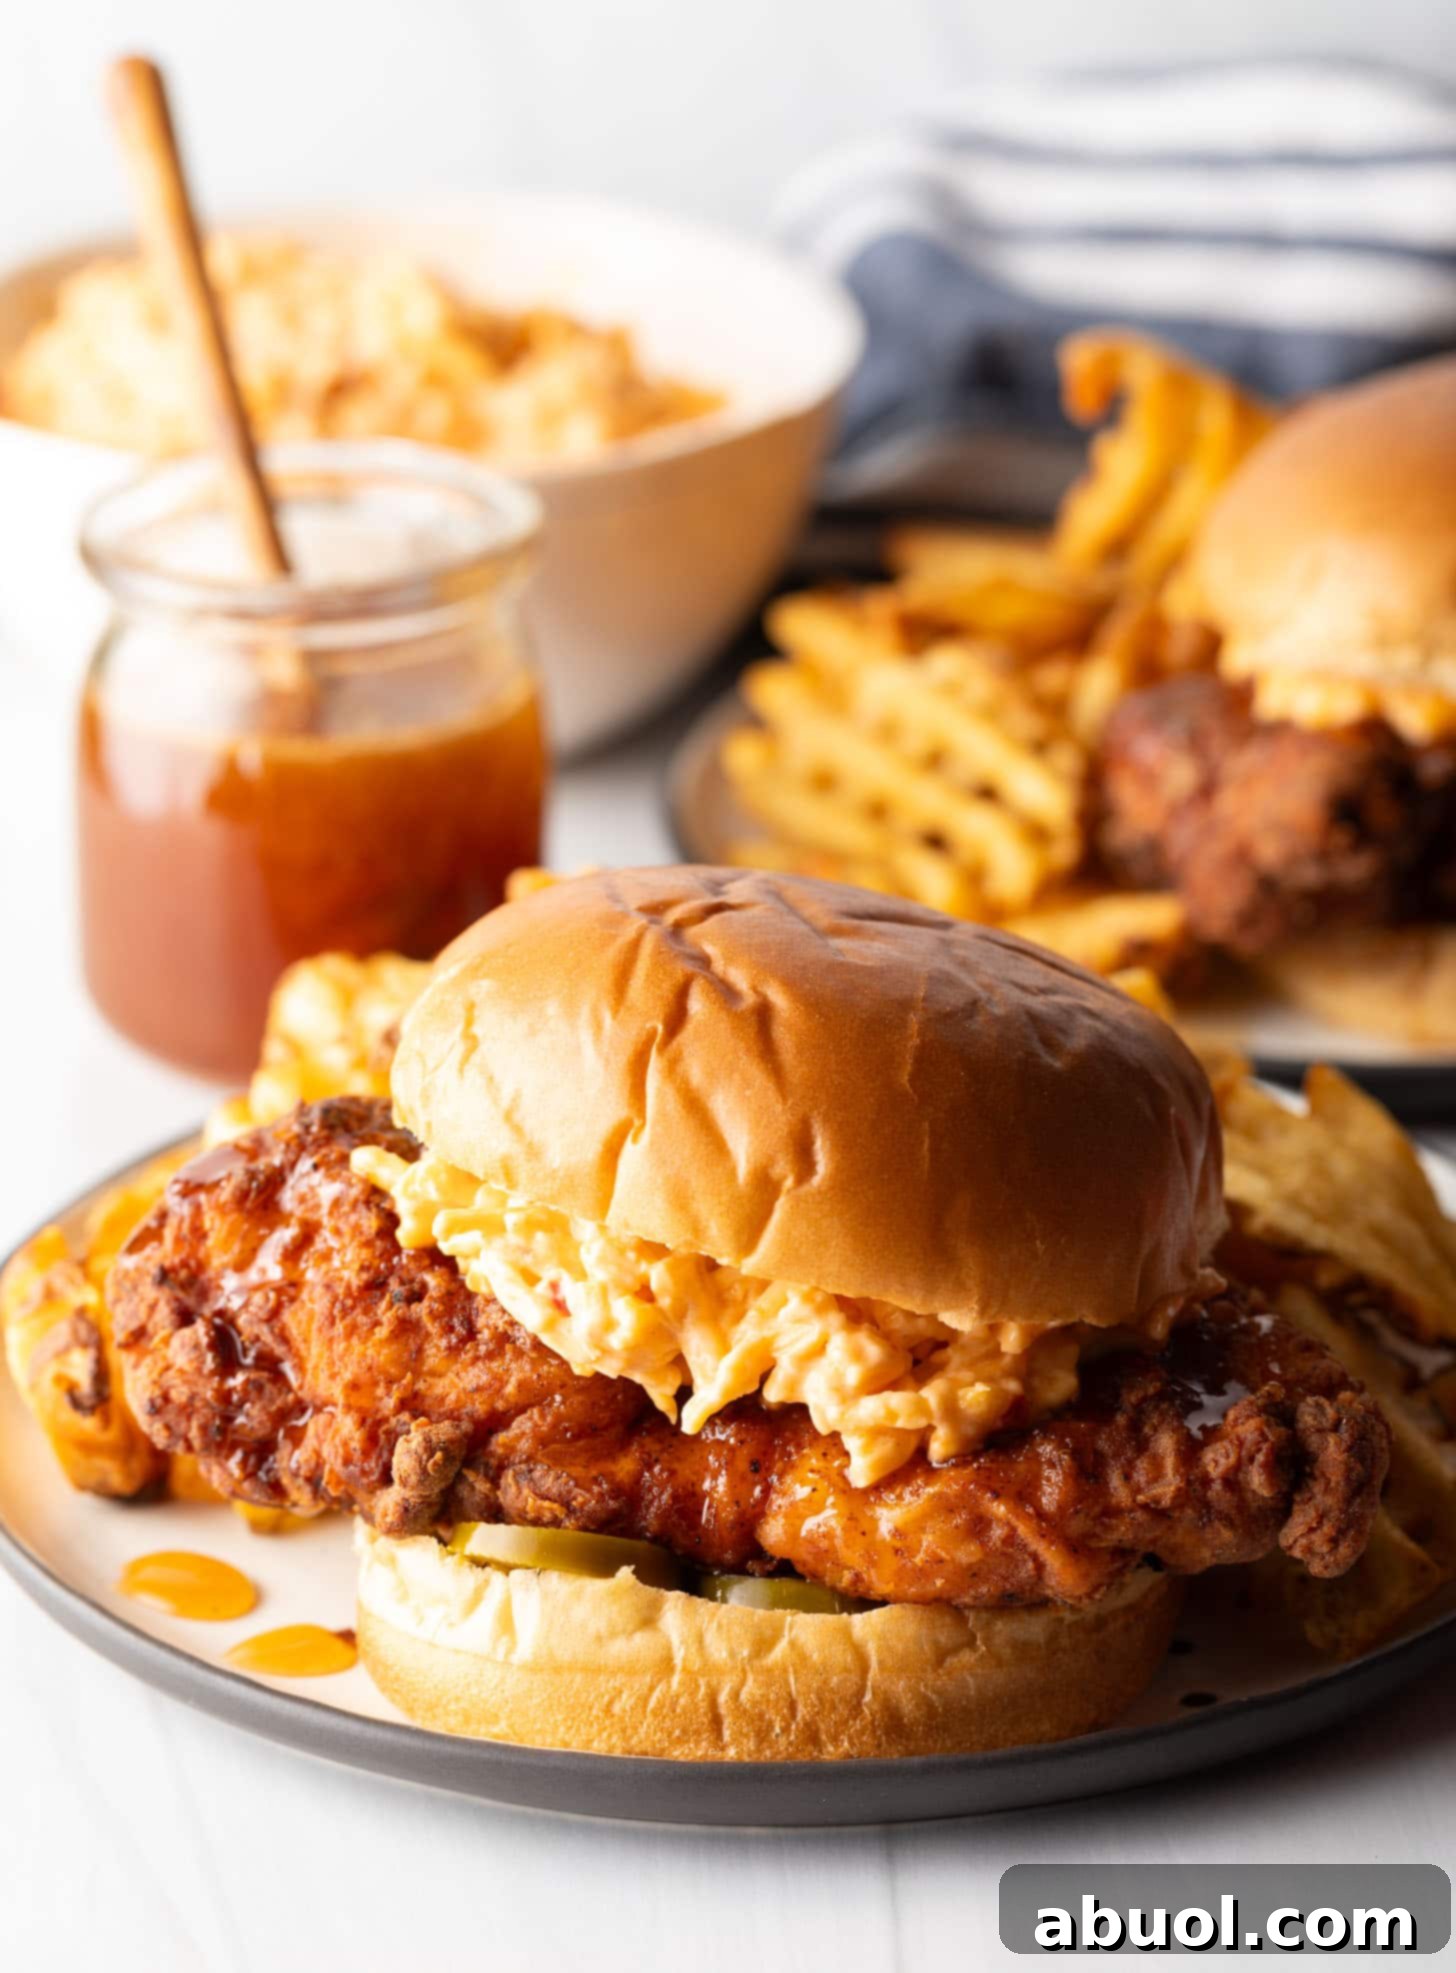
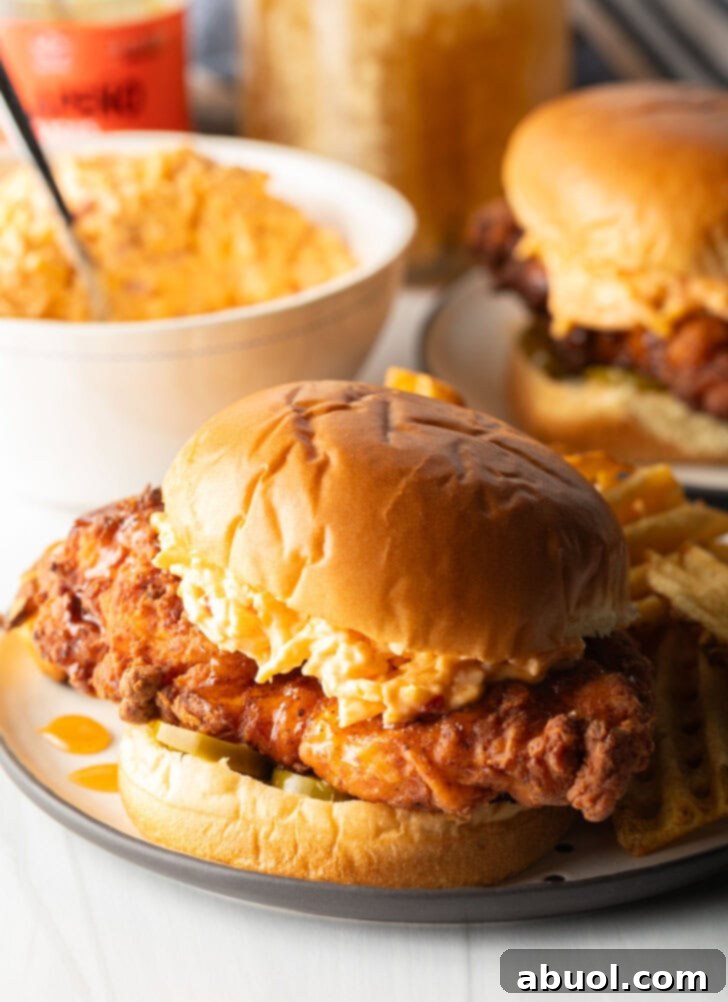
Experience the irresistible taste of the limited-time sensation at home with this incredible Chick-fil-A copycat Honey Pepper Pimento Chicken Sandwich recipe. Boasting a perfectly crispy fried chicken breast, a generous layer of zesty pickled jalapeños, and a creamy scoop of pimento cheese, all nestled in a soft, golden bun and drizzled with sweet honey, this sandwich is a culinary masterpiece. Recreate your favorite restaurant delight and savor every bite of this harmonious blend of sweet, spicy, and savory flavors, anytime you crave it.
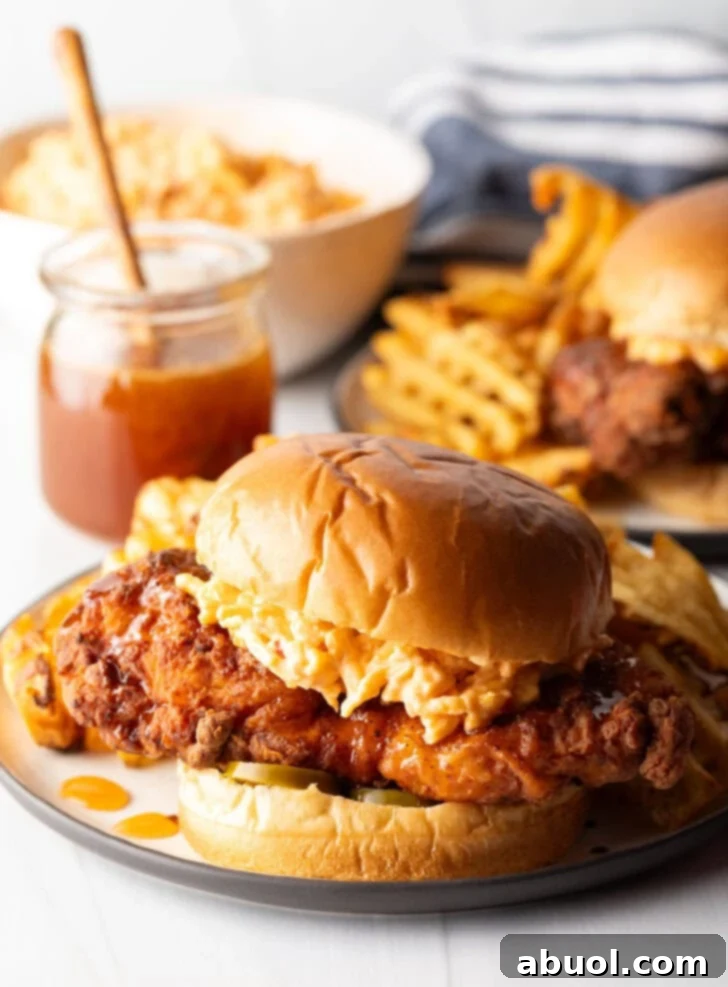
Unlocking the Secret: Your Guide to the Ultimate Homemade Honey Pepper Pimento Chicken Sandwich
There’s a certain magic to the Chick-fil-A Honey Pepper Pimento Chicken Sandwich. It’s a symphony of flavors – the satisfying crunch of perfectly fried chicken, the creamy tang of pimento cheese, the sweet kick of honey, and the vibrant heat of pickled jalapeños. However, this beloved menu item often appears as a limited-time offering, leaving fans eagerly awaiting its return. The good news? You don’t have to wait! This comprehensive guide empowers you to recreate this iconic sandwich in your own kitchen, delivering an experience that rivals the original, complete with that signature crispy, juicy chicken and an explosion of taste.
Imagine biting into a warm, soft bun, giving way to an impeccably seasoned and fried chicken cutlet, layered with rich pimento cheese, a hint of honey, and bright, spicy jalapeños. This copycat recipe isn’t just about replicating a sandwich; it’s about mastering the techniques that make Chick-fil-A’s chicken so legendary, allowing you to enjoy this extraordinary flavor profile on demand. Say goodbye to the disappointment of “not available” and hello to a homemade version that might just become your new favorite!
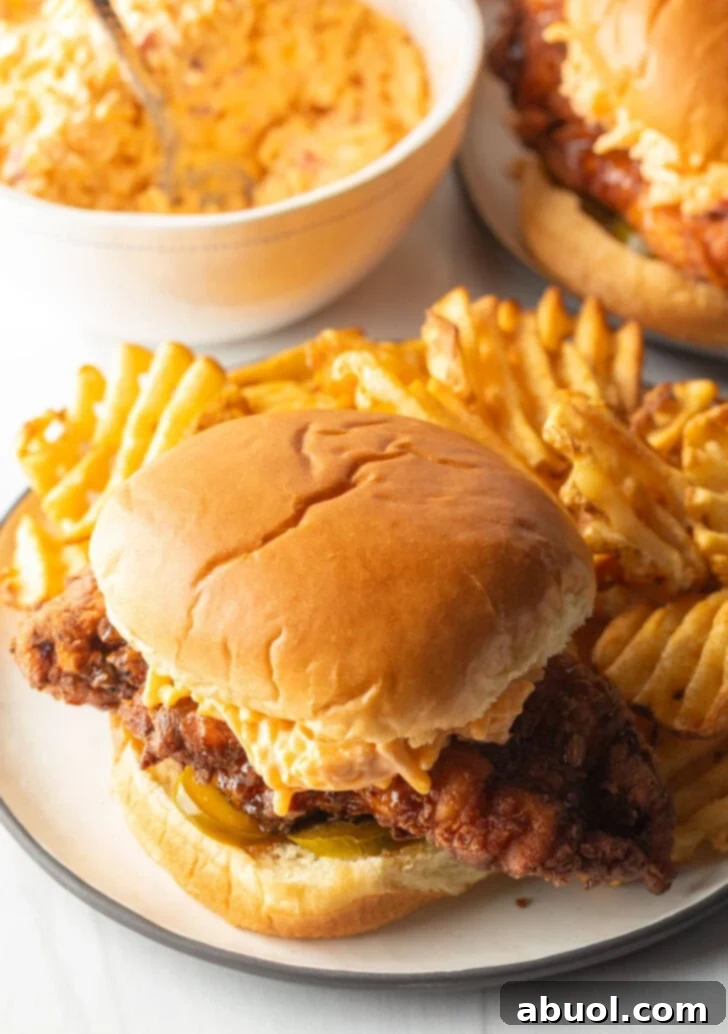
Why This Homemade Version Shines: Beyond the Limited-Time Offering
Crafting your own Honey Pepper Pimento Chicken Sandwich at home offers a multitude of benefits beyond merely satisfying a craving for a limited-time item. Firstly, you gain complete control over the quality of ingredients, ensuring freshness and flavor that truly stands out. Secondly, this recipe serves as a versatile foundation. Once you master the technique for the golden, crispy, and juicy chicken breast, you unlock the ability to create a variety of classic Chick-fil-A sandwiches, from the original with just pickles to a deluxe version with lettuce, tomato, and cheese.
So, what exactly is the secret to replicating that iconic crunch and irresistibly tender meat that defines Chick-fil-A’s chicken, from their beloved nuggets to their classic sandwiches? The magic lies in a few crucial steps: deeply brining the chicken breast in dill pickle juice to tenderize and infuse flavor, perfecting the breading process, ensuring you don’t over-fry, and, perhaps most importantly, allowing the chicken to completely dry before assembly. This meticulous approach ensures the breading adheres beautifully and achieves that coveted crispness. We’ll guide you through each step, ensuring your homemade version is nothing short of spectacular.
A quick, yet vital note before we dive into the cooking process: resist the urge to rush! While patience may not always be a virtue in the kitchen, allowing the breaded chicken to rest on a drying rack significantly improves the texture of the breading, contributing to that desired, long-lasting crisp. This small step makes a monumental difference in the final outcome of your copycat Chick-fil-A Honey Pepper Pimento Chicken Sandwich.
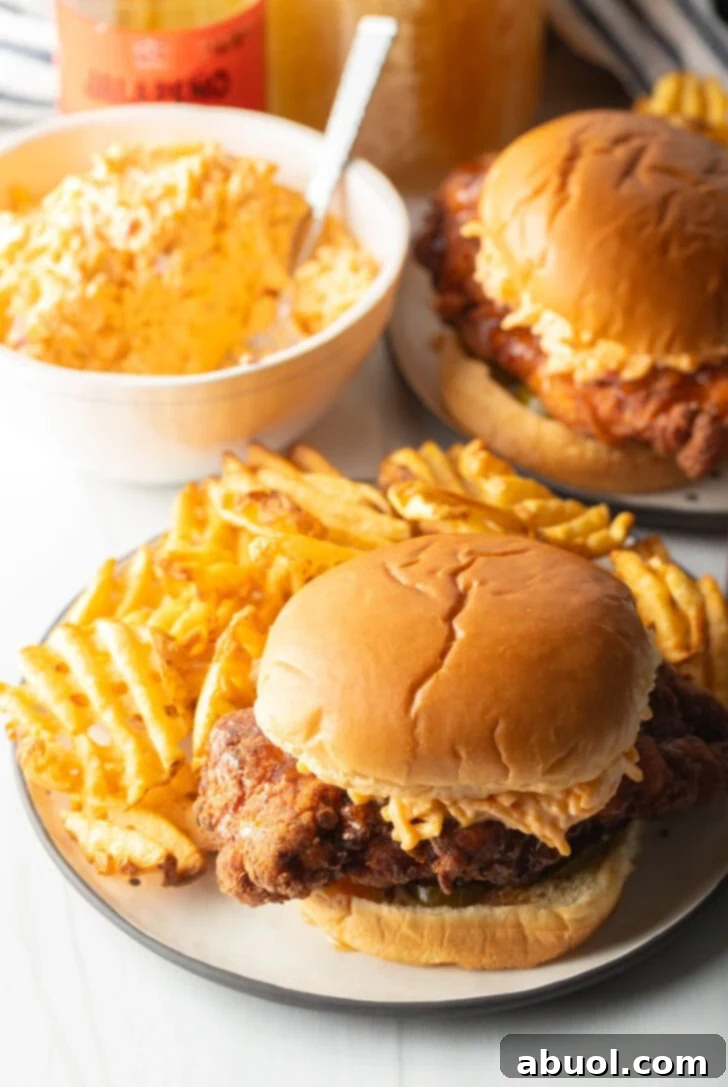
Essential Ingredients for Your Chick-fil-A Experience
The success of your homemade Chick-fil-A Honey Pepper Pimento Chicken Sandwich hinges on selecting the right ingredients. Each component plays a vital role in building the complex and delightful flavor profile we all adore. Here’s what you’ll need to gather:
For the Perfect Crispy Chicken Cutlets –
- Skinless Chicken Breasts: We recommend small, boneless, skinless chicken breasts. If they are thick, gently pound them thin to ensure even cooking and a uniform size, creating perfect cutlets for your sandwiches.
- Dill Pickle Juice: This is the legendary “secret ingredient” that tenderizes the chicken and infuses it with a subtle, tangy flavor, mimicking the unique taste of Chick-fil-A’s poultry.
- Granulated Sugar: A touch of sugar in the brine helps to balance the acidity of the pickle juice, creating a more robust and complex flavor foundation for the chicken.
- All-Purpose Flour and Cornstarch: The dynamic duo for breading. Together, they create a light yet substantial coating that fries up incredibly crisp and golden brown, holding its texture beautifully.
- Signature Spices: A blend of paprika, garlic powder, black pepper, and salt provides a savory, aromatic seasoning to the breading, enhancing the overall flavor of the fried chicken.
- Milk and Eggs: These form the essential binder, ensuring the seasoned flour mixture adheres perfectly to the chicken breasts for a consistent, satisfying crunch with every bite.
- Peanut Oil: Known for its high smoke point and neutral flavor, peanut oil is ideal for frying, ensuring your chicken achieves a desirable golden-brown color and crispy texture without imparting unwanted tastes.
Crafting Your Honey Pepper Pimento Sandwich –
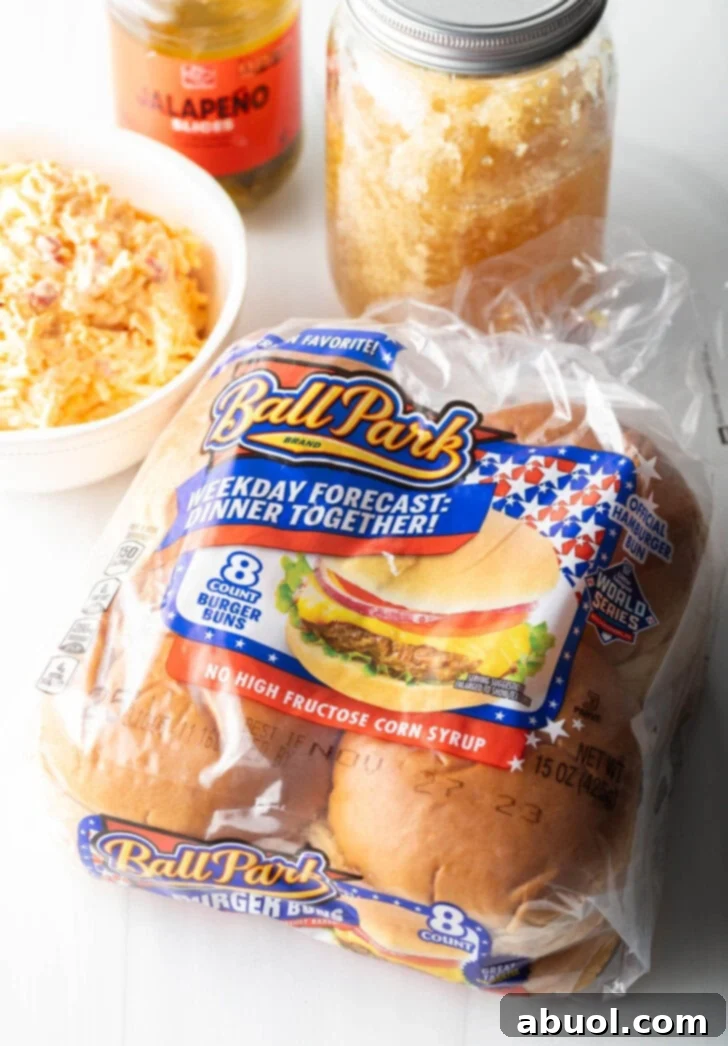
- Hamburger Buns: Opt for soft, buttery buns. Classic white burger buns offer a nostalgic touch, while brioche buns lend a subtle sweetness that perfectly complements the rich fillings. Toasting them lightly can add another layer of texture.
- Pimento Cheese: The creamy, tangy star of the sandwich. You can use your favorite store-bought brand for convenience, or elevate your sandwich with our phenomenal homemade creamy pimento cheese recipe – it truly is the best!
- Pickled Jalapeños: These offer a crucial spicy, tangy kick that cuts through the richness of the cheese and chicken. Store-bought are fine, but consider making our homemade quick pickled jalapeños for an extra burst of fresh flavor.
- Honey: A drizzle of honey adds a delightful sweetness that contrasts beautifully with the spice of the jalapeños and the savory chicken. For those who love an extra fiery element, a drizzle of hot honey takes this sandwich to the next level.
Step-by-Step: Frying Your Copycat Chick-fil-A Chicken to Perfection
Achieving that signature Chick-fil-A crispy texture and tender, juicy interior for your chicken is key to an authentic copycat sandwich. Follow these steps meticulously, and you’ll be rewarded with sensational results.
Step 1: The Flavor-Infusing Brine
Begin by preparing your chicken breasts. If using whole breasts, slice each one horizontally through the middle to create two thinner cutlets. This technique ensures all eight pieces are uniform in size, allowing them to cook evenly and thoroughly. Next, gently warm the dill pickle juice in a microwave-safe bowl until it’s comfortably hot to the touch, but not boiling. Stir in the granulated sugar until it completely dissolves. This warm brine helps the flavors penetrate the chicken more effectively. Submerge the chicken cutlets in this prepared brine, ensuring they are fully covered. Allow them to soak for a minimum of 30 minutes, or for maximum flavor and tenderness, brine them overnight in the refrigerator. This brining step is crucial for achieving that characteristic Chick-fil-A taste and incredible juiciness.
Step 2: Preparing the Crispy Breading
While your chicken is brining and absorbing all those wonderful flavors, prepare your dry breading mixture. In a medium-sized bowl, combine the all-purpose flour, cornstarch, paprika, garlic powder, black pepper, and salt. Whisk these ingredients together thoroughly to ensure all the spices are evenly distributed. Once the chicken has finished brining, remove each cutlet from the pickle juice and drain off any excess liquid. This next step is critical: thoroughly pat each chicken breast cutlet dry with paper towels. Achieving a truly dry surface is essential for the breading to adhere properly and create that tight, crispy crust during frying. Do not skip this step!
Step 3: Achieving the Ideal Double Dredge
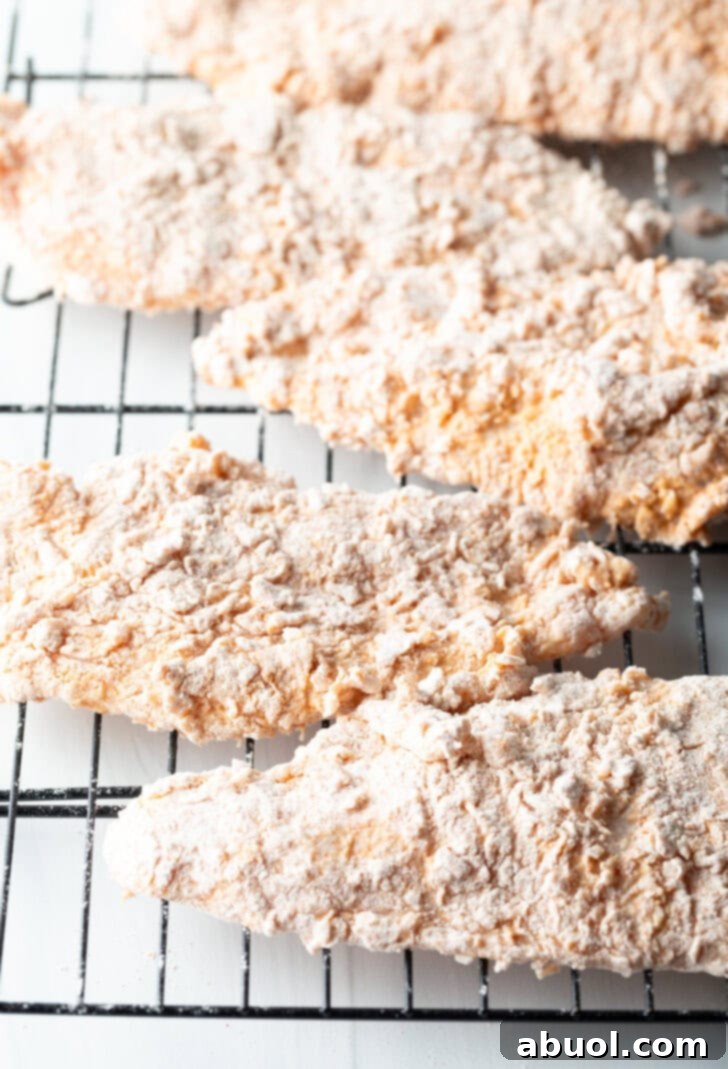
Prepare a drying or cooling rack near your workstation. Begin the first dredge by taking each chicken cutlet and coating it thoroughly in the prepared flour mixture. Gently shake off any excess flour, aiming for a very thin, even coating. Place the floured chicken pieces onto the drying rack. Complete this step for all chicken cutlets before moving on to the wet dredge.
In a separate bowl, whisk together the milk and eggs to create your egg wash. This serves as the binder for the second layer of breading. Now, here’s a technique for extra crispiness: pour about two tablespoons of this egg wash into your remaining dry flour mixture. Use your fingers to work the liquid into the flour, creating small “pebbles” or clumps. These little clumps will adhere to the chicken and fry up into wonderfully crunchy bits. Next, dunk each floured chicken cutlet into the egg wash, ensuring it’s fully coated, then immediately dip it back into the “pebble” flour mixture. Once again, shake off any excess flour, ensuring the coating is well-adhered but not overly thick. Return the double-dredged chicken to the drying rack. Allow all the chicken pieces to rest on the rack for at least 15-20 minutes. This resting period is vital, as it allows the breading to hydrate and bond to the chicken, preventing it from separating during frying and ensuring that signature crispy texture.
Mastering this technique is key to that authentic Chick-fil-A crisp! Take your time, and enjoy the process of creating this legendary sandwich.
Step 4: Frying to Golden Perfection
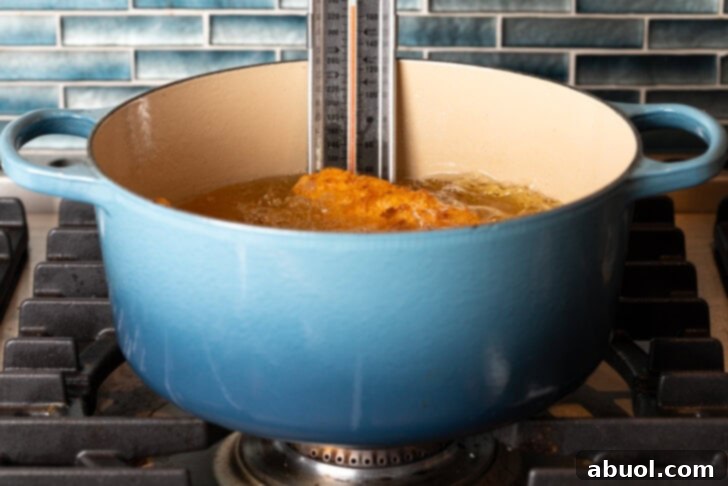
With all your chicken perfectly double-dredged and rested, it’s time for the final, exciting step: frying. Pour the peanut oil into a large, heavy-bottomed saucepot or Dutch oven, ensuring there’s enough oil for the chicken to be submerged. Attach a clip-on thermometer to the side of the pot – precise temperature control is paramount for perfect fried chicken. Heat the oil over medium to medium-high heat until it reaches a consistent temperature of 350 degrees Fahrenheit (175 degrees Celsius).
Once the oil is at the correct temperature, carefully lower three chicken pieces into the hot oil. Avoid overcrowding the pot, as this will drop the oil temperature and lead to soggy chicken. Stir the chicken gently once to prevent sticking and ensure even cooking. Fry for approximately 4-5 minutes, flipping the chicken once after about 3 minutes, until it turns a beautiful golden brown and is cooked through. Keep a close eye on your thermometer; if the oil temperature dips below 345 degrees Fahrenheit (173 degrees Celsius), the cooking time may need to be extended to 5-6 minutes, but be cautious not to let the breading get too dark. Adjust your heat as needed to maintain that ideal 350-degree Fahrenheit mark.
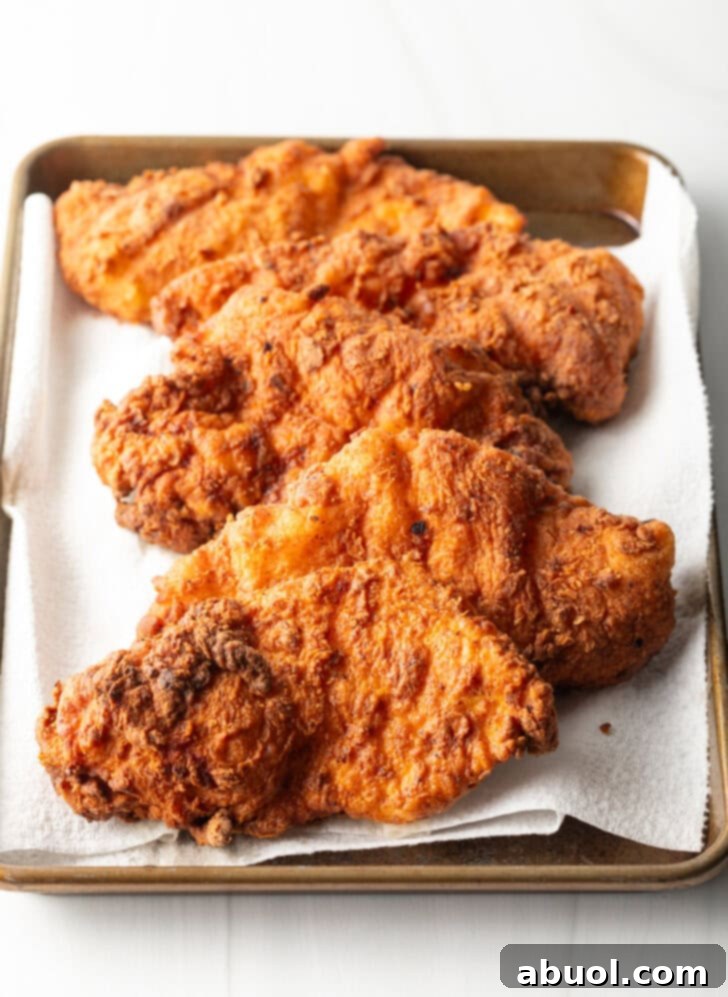
Using a spider skimmer or tongs, carefully remove the cooked chicken cutlets from the oil. Place them on a plate lined with paper towels to drain any excess oil. This allows the chicken to cool slightly and remain crispy. It is absolutely crucial to allow the fried chicken breasts to cool and completely dry for a few minutes before you begin assembling your sandwiches. This ensures the breading retains its crispness and doesn’t get soggy when it comes into contact with the other ingredients. While the first batch drains, allow the oil temperature to recover and rise back to 350 degrees Fahrenheit before repeating the frying process with the remaining chicken pieces, typically two more batches. If you’re preparing multiple batches and want to keep earlier pieces warm, you can transfer the fried chicken to a baking sheet and hold it in a 200-degree Fahrenheit (93 degrees Celsius) oven until all pieces are ready.
Assembling Your Legendary Honey Pepper Pimento Chicken Sandwich
Once all your chicken cutlets are fried to crispy perfection and have had a moment to cool slightly, it’s time for the grand assembly. This is where all the delightful components come together to create that unforgettable Honey Pepper Pimento Chicken Sandwich experience.
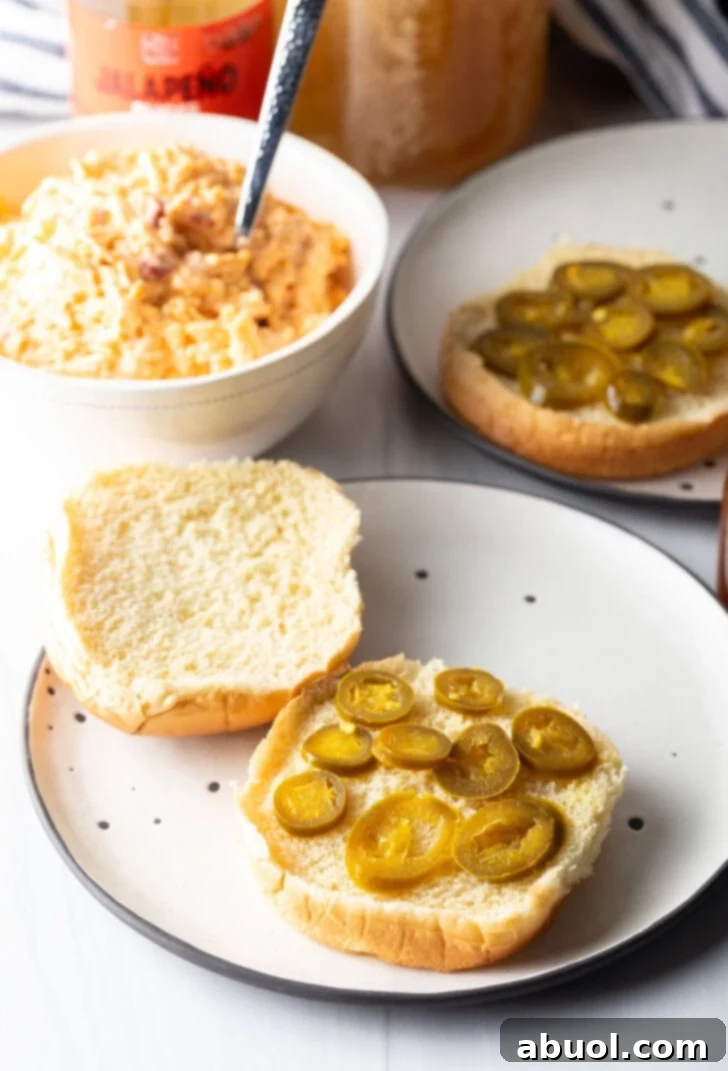
Begin by gently opening your soft hamburger buns. Take the bottom half of each bun and generously cover it with a layer of zesty pickled jalapeños. Arrange the slices evenly to ensure a spicy kick in every bite.
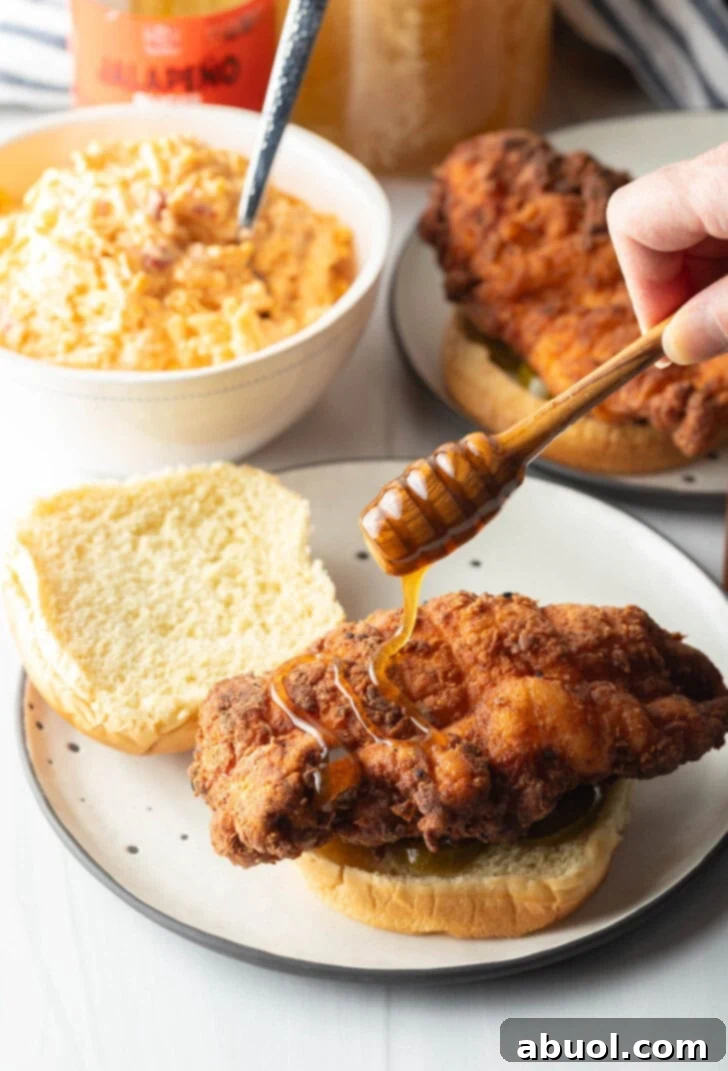
Next, carefully place one of your crispy fried chicken cutlets directly on top of the jalapeño layer. The chicken should sit snugly on the bun, forming the heart of your sandwich. Now for the sweet and spicy element: generously drizzle honey (or hot honey, if you prefer an extra kick) over each chicken breast. The sweet honey will beautifully complement the savory chicken and the tangy jalapeños.
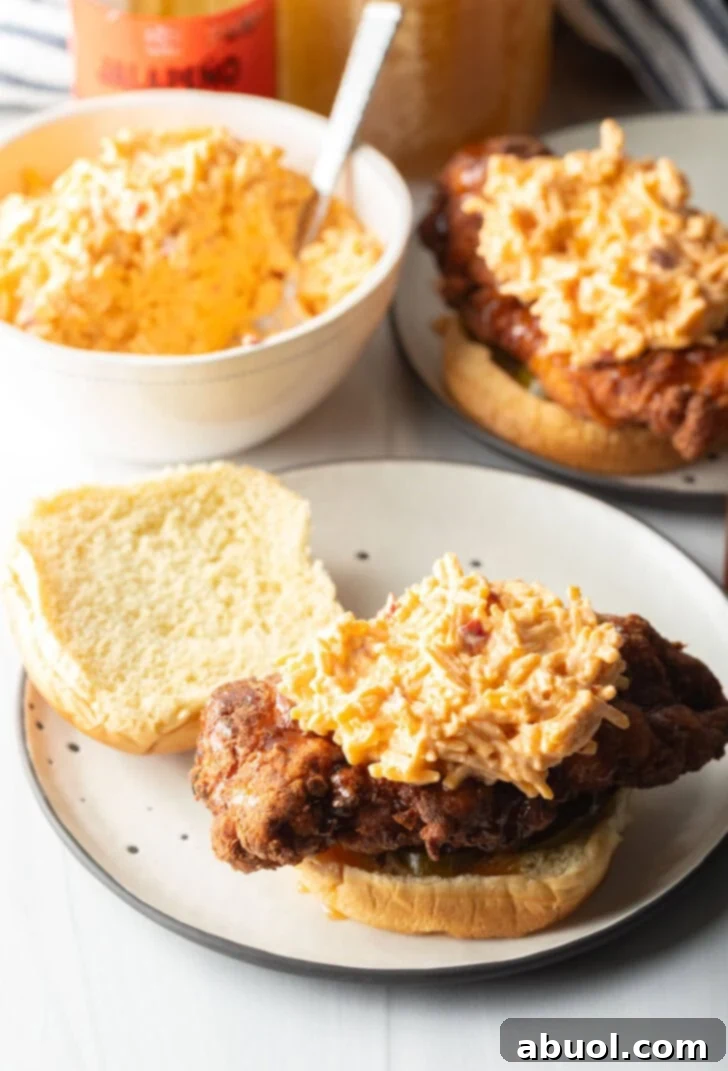
Finally, crown your chicken with a generous scoop of creamy pimento cheese. Approximately ¼ cup per sandwich is ideal, ensuring a rich, cheesy layer that adds both texture and incredible flavor to the sandwich. Spread it gently to cover the chicken.
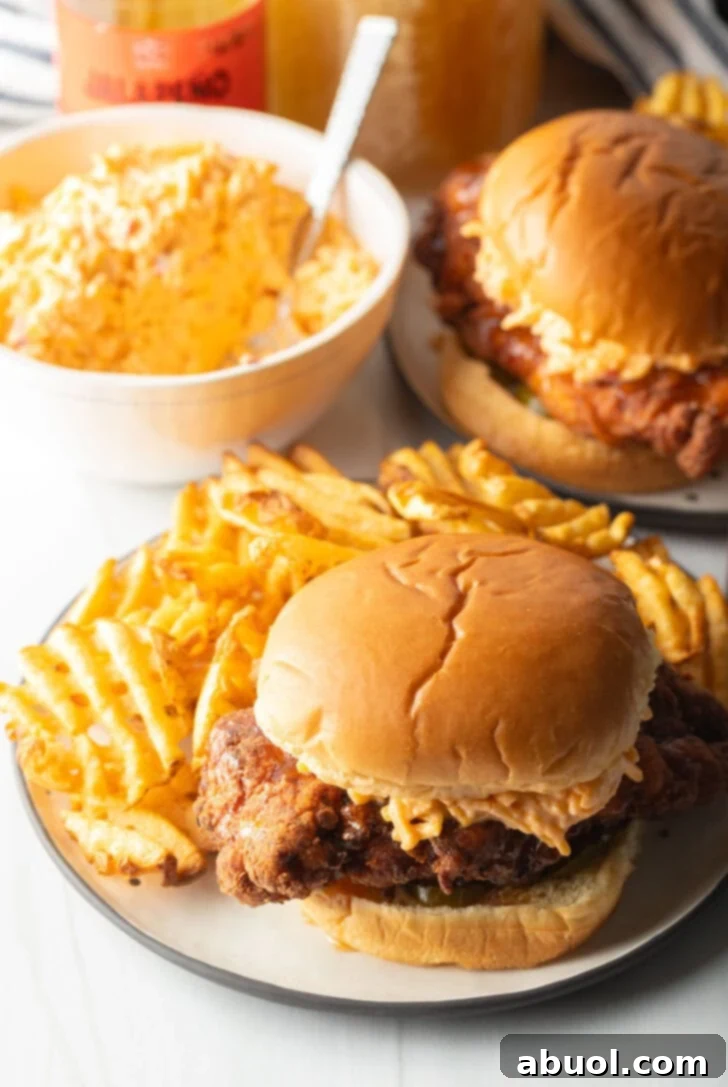
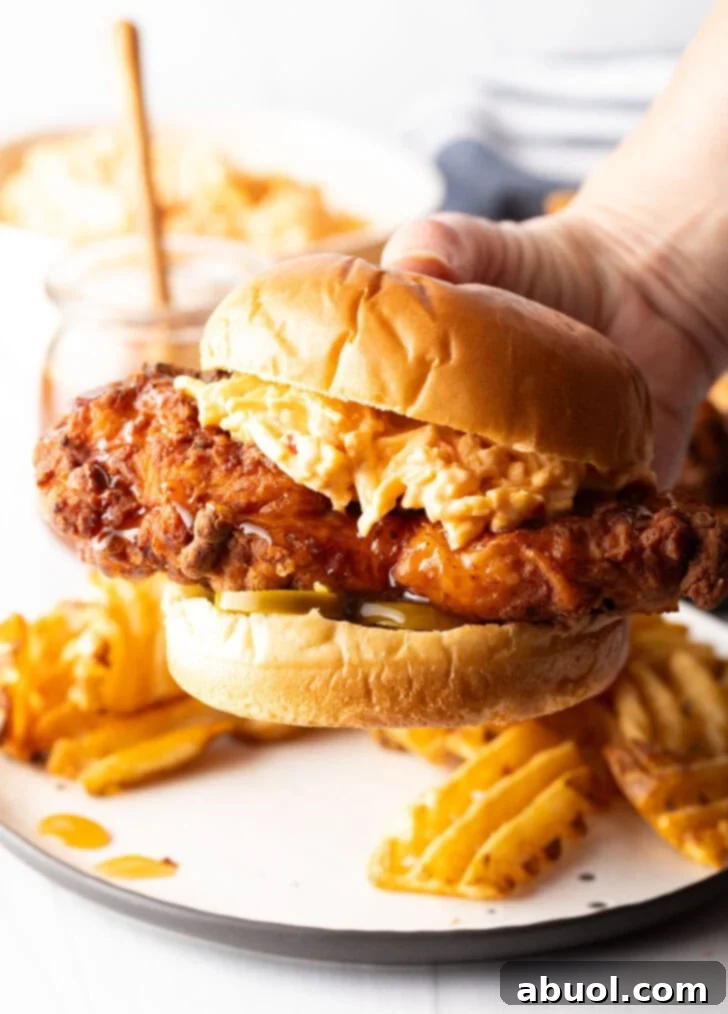
Complete your culinary creation by adding the top bun. Gently press down to secure all the layers. Serve your homemade Honey Pepper Pimento Chicken Sandwich warm and prepare for an utterly satisfying and flavorful experience!
Creative Variations for Your Signature Sandwich
While the classic Honey Pepper Pimento Chicken Sandwich is a masterpiece on its own, this recipe offers a fantastic canvas for culinary creativity. Don’t hesitate to experiment and customize to your heart’s content!
- Expedited Fried Chicken: While the brining process is highly recommended for achieving optimal tenderness and flavor, especially for that authentic Chick-fil-A taste, it’s not strictly mandatory if you’re short on time. You technically can make delicious fried chicken without it, though the chicken might be slightly less tender. If you must skip this step, ensure your chicken breasts are pounded thin and pat dry thoroughly for best results.
- Gluten-Free Delight: Adapting this recipe for a gluten-free diet is remarkably simple. Just swap out the all-purpose flour for your preferred gluten-free all-purpose flour blend (look for one that’s suitable for frying). Additionally, choose gluten-free hamburger buns to complete your delicious and dietary-friendly Chick-fil-A sandwich.
- Mild & Sweet Option: If you or your guests aren’t fond of spicy food, simply omit the pickled jalapeños. The sandwich will still offer a wonderful balance of savory chicken, creamy pimento cheese, and sweet honey, resulting in a milder yet equally delicious experience.
- Alternative Chicken Preparations: The versatility of this sandwich allows for different chicken styles. Instead of classic fried breasts, consider using crispy oven-baked chicken cutlets for a lighter option. You can also utilize frozen and then baked or air-fried chicken for ultimate convenience. For an even healthier twist, use grilled chicken without breading, offering a different texture and flavor profile.
- Recreate Other Chick-fil-A Classics: This crispy chicken recipe is your ticket to making a variety of Chick-fil-A’s original sandwiches. For the classic Chick-fil-A sandwich, simply add dill pickle slices to your chicken and bun. Elevate it to a deluxe with fresh lettuce, juicy tomatoes, and your choice of cheese (melty sharp cheddar is fantastic). If you crave heat beyond the jalapeños, incorporate a pinch of cayenne pepper into your breading mixture to create a sensational spicy deluxe sandwich.
Perfect Pairings: What to Serve with Your Honey Pepper Pimento Chicken Sandwich
To truly complete your Chick-fil-A copycat experience, pair your Honey Pepper Pimento Chicken Sandwich with sides and drinks that complement its rich flavors and textures. Elevate your meal from good to unforgettable with these perfect accompaniments:
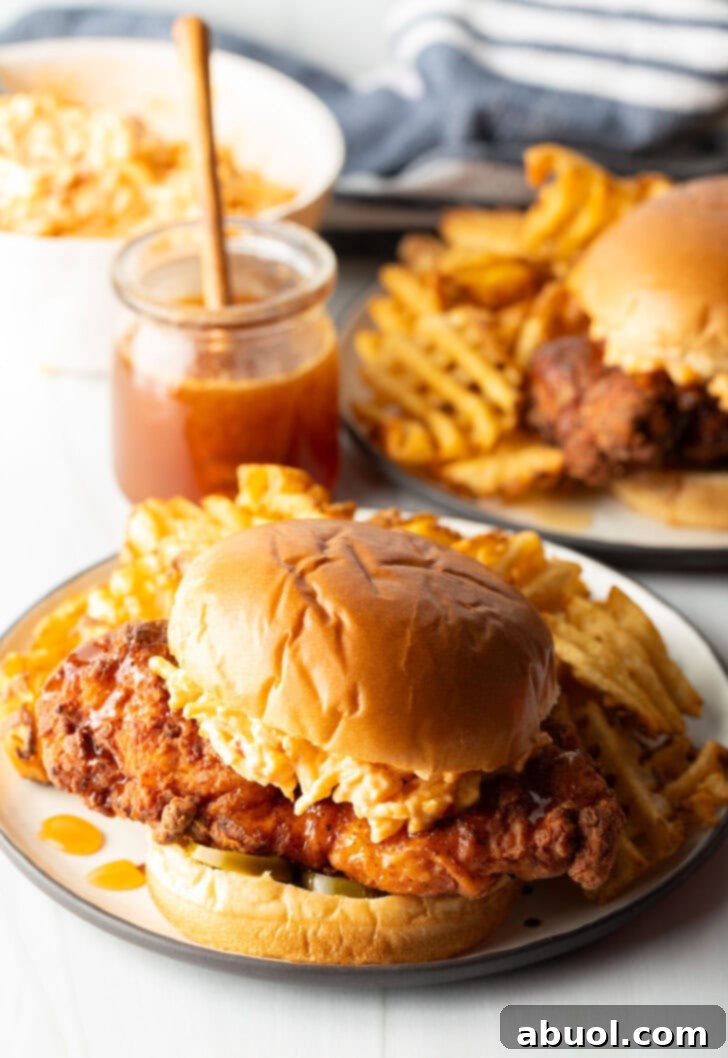
The quintessential companion for any Chick-fil-A sandwich is, without a doubt, a pile of crispy and utterly satisfying waffle fries. For a quick and effortless dinner, simply heat a bag of frozen waffle fries in your oven or air fryer until they reach golden-brown perfection and are deliciously crispy on the outside, fluffy on the inside. A sprinkle of sea salt after cooking will make them irresistible.
For a refreshing counterpoint to the richness of the sandwich, consider our delightful carrot raisin salad recipe! While it’s not an exact replica of the carrot and raisin salad Chick-fil-A once offered, it captures that lovely balance of cool, creamy, and crunchy goodness that is so reminiscent of the original. Its sweet and tangy notes provide a palate cleanser between bites of your savory sandwich.
To make it a truly memorable and authentic meal, don’t forget a little something sweet to sip on the side. Everyone loves a Chick-fil-A inspired beverage! Whip up a homemade Frosted Lemonade, a creamy, tangy, and sweet frozen treat, or indulge in a luscious Peach Shake. These sweet drinks provide a perfect ending to a perfectly crafted meal, balancing the spicy and savory notes of your exceptional sandwich.
Frequently Asked Questions (FAQ) About Your Honey Pepper Pimento Chicken Sandwich
What is the secret behind Chick-fil-A’s uniquely tender and flavorful chicken?
The widely accepted “secret” to Chick-fil-A’s exceptional chicken lies in its preparation. The chicken is believed to be soaked in a dill pickle-based brine before being breaded and fried. This brine acts as a powerful tenderizer, ensuring the chicken remains incredibly moist and juicy on the inside, while also infusing it with a distinct, subtle tangy flavor that sets it apart from other fried chicken.
Why does the breading sometimes separate from the chicken after frying?
Breading separation is a common issue that can be easily avoided. The primary reason it occurs is insufficient drying of the chicken after brining. For the breading to cling tightly to the chicken and form a perfect crust when fried in hot oil, the surface of the chicken must be completely dry. After you remove the chicken from the brine, thoroughly pat each chicken breast cutlet dry with several layers of paper towels until there is no visible moisture. This crucial step ensures the breading adheres properly and stays intact throughout the frying process, yielding a consistently crispy result.
Can I prepare components of this recipe ahead of time?
Absolutely! Many elements of the Honey Pepper Pimento Chicken Sandwich can be prepared in advance to streamline your meal prep. You can make the pimento cheese up to a few days ahead and store it in an airtight container in the refrigerator. The pickled jalapeños can also be prepared in advance. The fried chicken breasts themselves keep very well in an airtight container in the refrigerator for up to 4 days. When you’re ready to enjoy them, simply reheat the chicken in an oven or an air fryer until it is warm throughout and regains its delightful crispness on the outside. For the best experience, however, wait to assemble the complete sandwiches until just before serving to maintain the freshness and texture of all components.
Discover More Mouth-Watering Sandwich Creations
If you’ve enjoyed mastering the art of the Honey Pepper Pimento Chicken Sandwich, you’re likely a connoisseur of satisfying handheld meals. Explore these other fantastic sandwich recipes that are sure to delight your palate and add variety to your culinary repertoire:
- Classic Patty Melt Recipe: A diner favorite featuring a juicy beef patty, caramelized onions, and melted cheese between slices of griddled rye bread.
- Pimento Grilled Cheese with Fried Green Tomatoes: An elevated take on grilled cheese, combining rich pimento cheese with tangy fried green tomatoes for a southern comfort delight.
- Authentic New Orleans Muffuletta Sandwich: A hearty Italian sandwich layered with various cured meats, cheeses, and a distinctive olive salad on a round, crusty bread.
- How to Make Big Mac Sauce: Master the secret sauce that makes the famous burger so irresistible, perfect for homemade burgers or dipping.
- Philly Cheesesteak Sliders: All the iconic flavors of a Philly cheesesteak packed into miniature, shareable slider buns, ideal for parties or a quick bite.
- Easy Sesame Chicken Burgers: A flavorful alternative to traditional beef, these chicken burgers are infused with sesame and Asian-inspired seasonings.
- Savory Pan Con Pollo: A delicious Latin American chicken sandwich, often featuring shredded chicken in a flavorful sauce, served on a toasted roll.

Print Recipe
Leave a Review »
Honey Pepper Pimento Chicken Sandwich Recipe
Prep Time: 1 hour
Cook Time: 15 minutes
Total Time: 1 hour 15 minutes
This Chick-fil-A copycat chicken sandwich recipe features a crispy fried chicken breast and spicy jalapenos piled onto a soft burger bun, drizzled with honey, and topped with a scoop of pimento cheese.
Servings: 8 sandwiches
Video
Watch the step-by-step video guide for this recipe here: Honey Pepper Pimento Chicken Sandwich Video
Ingredients
For the Chick-fil-A Chicken –
- 4 small boneless skinless chicken breasts or 8 thin cutlets
- 1 cup dill pickle juice
- 2 tablespoons granulated sugar
- 2 cups all-purpose flour
- ¼ cup cornstarch
- 1 tablespoon paprika
- 1 tablespoon garlic powder
- 1 tablespoon black pepper
- 2 teaspoons salt
- 1 cup milk
- 2 large eggs
- 1 quart peanut oil
For the Pimento Chicken Sandwiches –
- 8 hamburger buns
- 2 cups pimento cheese (store-bought or homemade)
- ½ cup pickled jalapeños (drained)
- 8 teaspoons honey (regular or hot honey)
Instructions
- Brine: Cut each chicken breast into two thin cutlets, totaling 8 pieces. In a microwave-safe bowl, warm the pickle juice until hot to the touch. Stir in the sugar until dissolved. Add chicken cutlets and soak for at least 30 minutes, or overnight in the refrigerator.
- Prep the Breading: While chicken brines, mix flour, cornstarch, paprika, garlic powder, black pepper, and salt in a medium bowl. Drain chicken, then thoroughly pat each cutlet dry with paper towels to ensure breading adhesion.
- Dredge the Chicken: Set out a drying rack. Dredge chicken cutlets in the flour mixture, shaking off excess for a thin coating. Lay on the rack. In a separate bowl, beat milk and eggs. Pour 2 tablespoons of egg wash into the remaining flour mix and work into small pebbles with fingers. Dunk chicken in egg wash, then dip back into the “pebble” flour mixture. Shake off excess and lay back on the drying rack. Let rest for 15-20 minutes.
- Fry the Chicken: Pour peanut oil into a large saucepot, enough to submerge chicken. Heat to 350°F (175°C) with a clip-on thermometer.
- Gently place 3 chicken pieces into the hot oil. Stir once and fry for 4-5 minutes until golden brown, flipping once after 3 minutes. Adjust heat to maintain 350°F.
- Use a spider skimmer to remove chicken, placing on a paper towel-lined plate to drain and cool. Allow oil temperature to return to 350°F before frying remaining chicken in two more batches.
- Keep fried chicken warm in a 200°F (93°C) oven if desired, until all pieces are cooked.
- Build the Sandwiches: Once chicken cutlets are cooked and slightly cooled, open hamburger buns. Layer bottom buns with pickled jalapeños.
- Place a fried chicken cutlet on top. Drizzle honey over each chicken breast.
- Top each with approximately ¼ cup of pimento cheese. Add the top bun and serve warm.
Notes
The fried chicken breasts will keep well in the fridge for up to 4 days in an airtight container. Reheat them in the oven or air fryer until warm throughout and crispy again on the outside for best results.
Nutrition
Serving: 1 sandwich, Calories: 580kcal, Carbohydrates: 71g, Protein: 22g, Fat: 20g, Saturated Fat: 7g, Polyunsaturated Fat: 1g, Monounsaturated Fat: 1g, Trans Fat: 0.01g, Cholesterol: 113mg, Sodium: 2088mg, Potassium: 418mg, Fiber: 3g, Sugar: 19g, Vitamin A: 1243IU, Vitamin C: 6mg, Calcium: 339mg, Iron: 4mg
Course: Lunch, Main, Main Course, Sandwiches
Cuisine: American
Author: Sommer Collier
Cook It? Love It? Rate It!
Help this recipe rank on Google – TAP 5 STARS so other hungry people can find it. Thank you!