
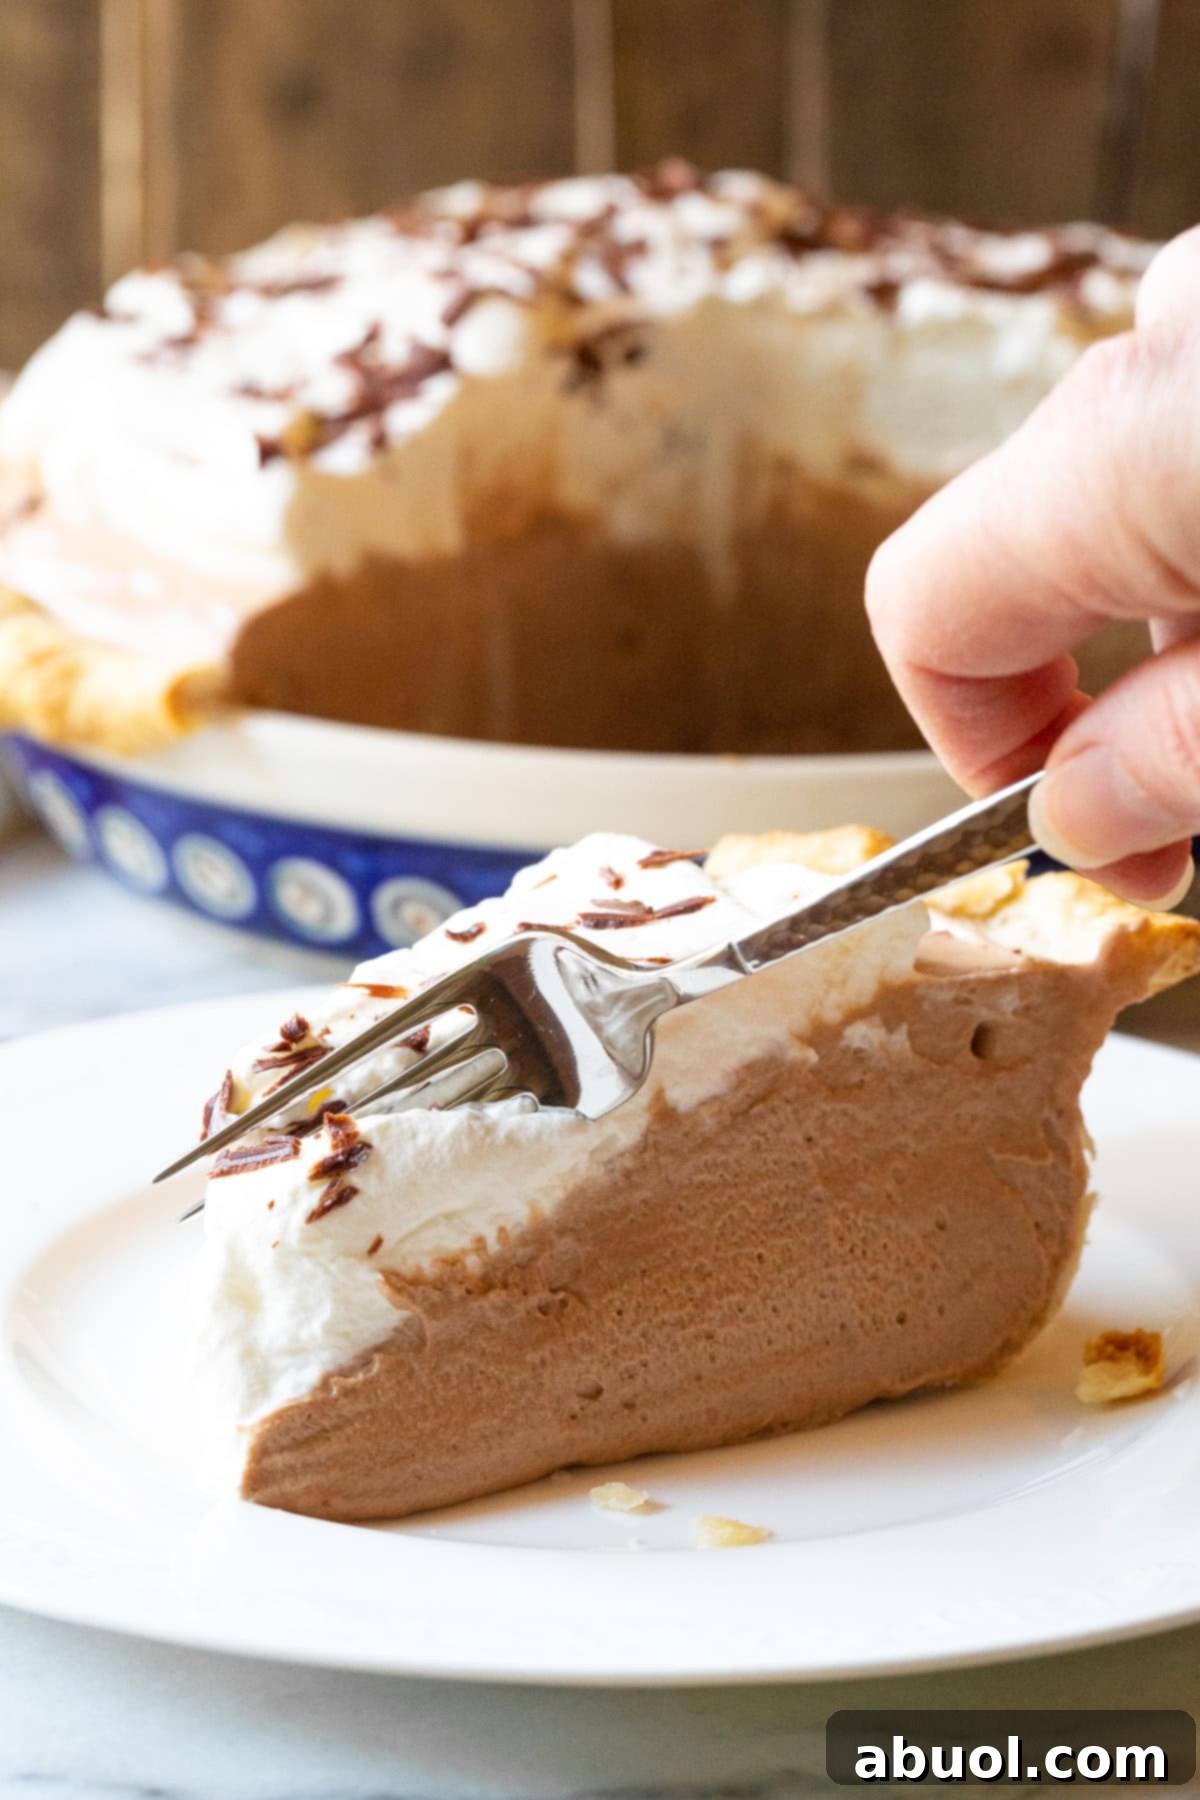
The Ultimate French Chocolate Silk Pie: Silky, Fluffy & Irresistible
Prepare to be enchanted by the Ultimate French Chocolate Silk Pie. This isn’t just any pie; it’s an exquisite blend of rich chocolate and ethereal lightness, whipped up with a unique secret ingredient that guarantees a super silky, divinely fluffy texture. Perfect for any celebration or simply to satisfy a deep chocolate craving, this recipe is designed to be both easy to follow and utterly unforgettable. Get ready to bake a pie that will earn you endless compliments!
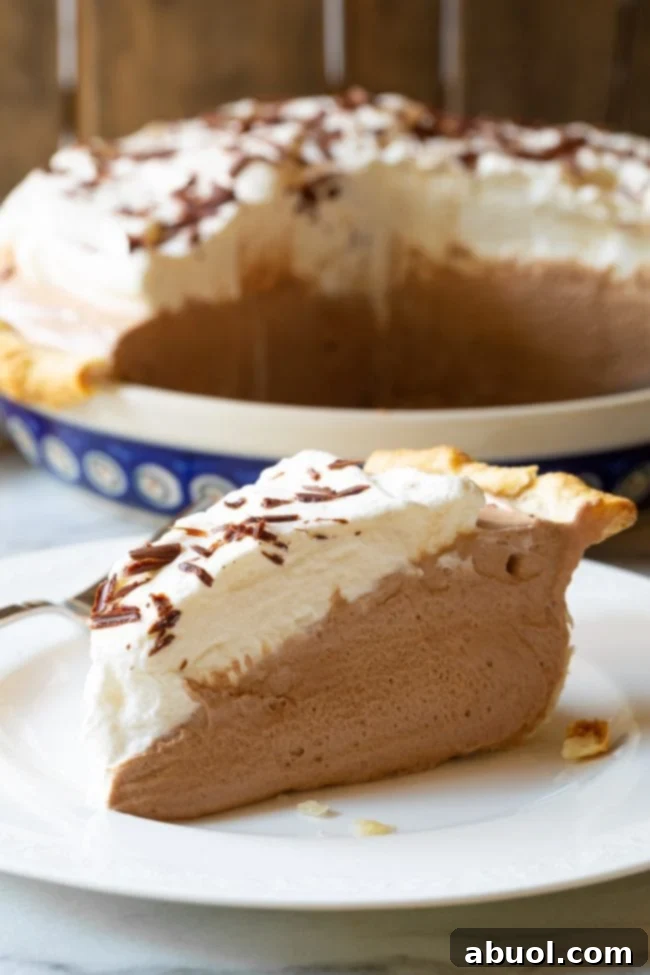
Why This French Silk Pie is a Culinary Dream
Let’s talk about the magic of French Silk Pie. For me, this dessert holds a special, almost sacred place in my heart, rooted deeply in childhood memories. Growing up, I was convinced my mother was the most incredible cook in the entire world. Every meal she prepared was a masterpiece, a testament to her culinary artistry. Yet, there was one particular dessert where another contender stole the spotlight: pies.
That coveted award for the best pies I’d ever tasted belonged to a charming cafe and pie pantry known as Tippin’s. Originating from the Kansas City area, Tippin’s crafted an unparalleled collection of pies. While the Tulsa location, where I spent my formative years, might be gone, their legendary pies can still be found in various spots across the Midwest. Their reputation for excellence was, and remains, well-deserved.
Every holiday season, I would devise elaborate, albeit transparent, schemes to persuade my family that we simply *must* order our pies from Tippin’s instead of baking them at home. These were silly, hopeful attempts, and to my delight (and sometimes dismay), they occasionally succeeded, gifting us with slices of pure bliss.
My Enduring Love Affair with Tippin’s French Chocolate Silk Pie
Once I reached driving age, I found a more effective strategy. I’d eagerly volunteer to pick up pies, ostensibly to “save time.” I always harbored a secret hope that my mother never quite caught on to my ulterior motives. Of all the utterly drool-worthy creations at Tippin’s, their French Silk Pie was, without question, my ultimate first choice. It ignited a lifelong love affair with this particular chocolate delight.
To this day, whenever I spot French Silk Pie on a menu, I am compelled to order it. It’s an automatic reflex, a necessary ritual to see how it stacks up against the benchmark of my childhood memories. Over the years, I’ve experimented with countless classic French Silk Pie recipes at home. Many were good, even delicious, but none possessed that unparalleled, ethereal quality that defined my first love from Tippin’s. They were always a step short, a whisper less perfect.
That is, until now. The quest for the ultimate French Chocolate Silk Pie has finally reached its triumphant conclusion with this remarkable recipe.
The Secret to My Silky, Fluffy French Silk Pie
My journey to recreate the magic of Tippin’s pie led me back to the kitchen, experimenting once more with French Silk Pie. Most traditional recipes follow a similar path: vigorously beating melted chocolate, butter, and sugar with eggs. The extensive beating of the eggs into the chocolate mixture is what typically creates that elegantly silky texture, resulting in a rich, decadent chocolate mousse-like filling. However, I consistently found that these classic renditions, while delicious, always turned out slightly too dense for my preference. They lacked the airy, cloud-like quality I remembered.
Driven by a desire for a lighter, more ethereal texture, I decided to depart from the conventional. My audacious twist involved incorporating a portion of the freshly whipped cream, initially intended solely for the topping, directly into the chocolate filling itself. After the main filling was thoroughly beaten with the eggs, I gently folded in about a third of the prepared whipped cream.
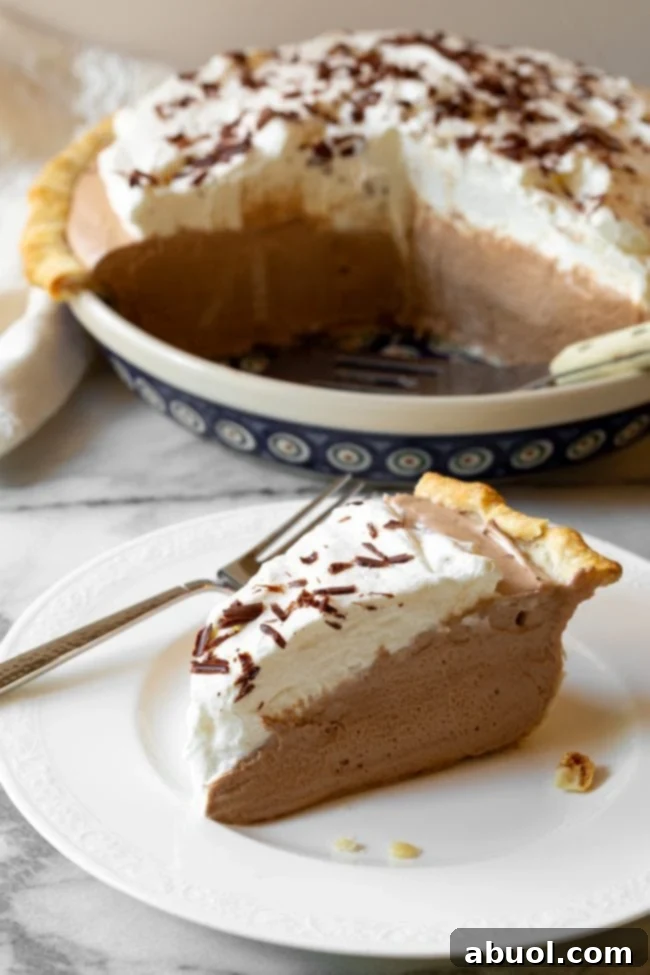
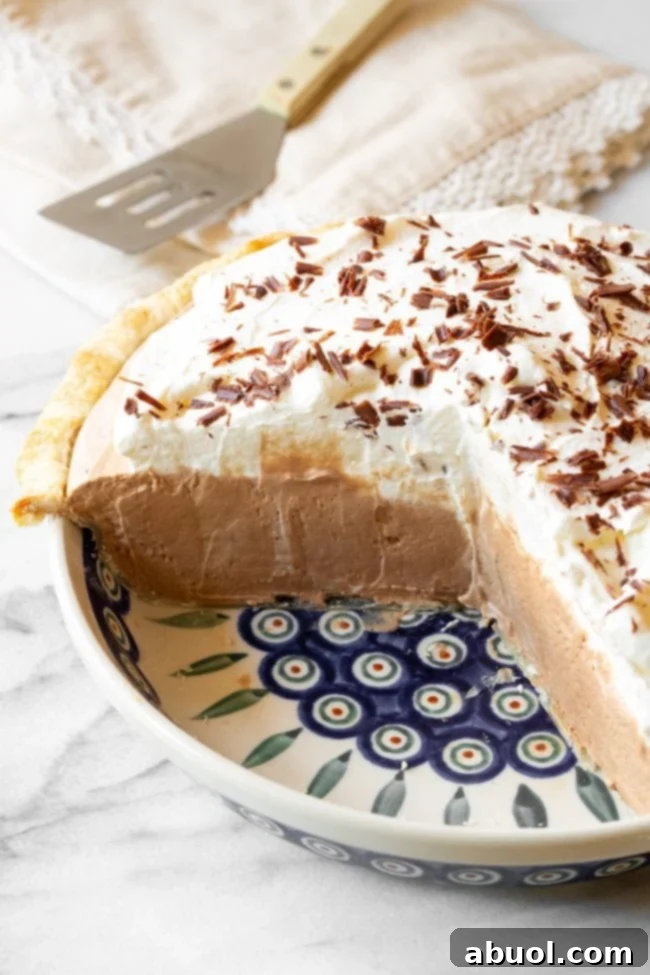
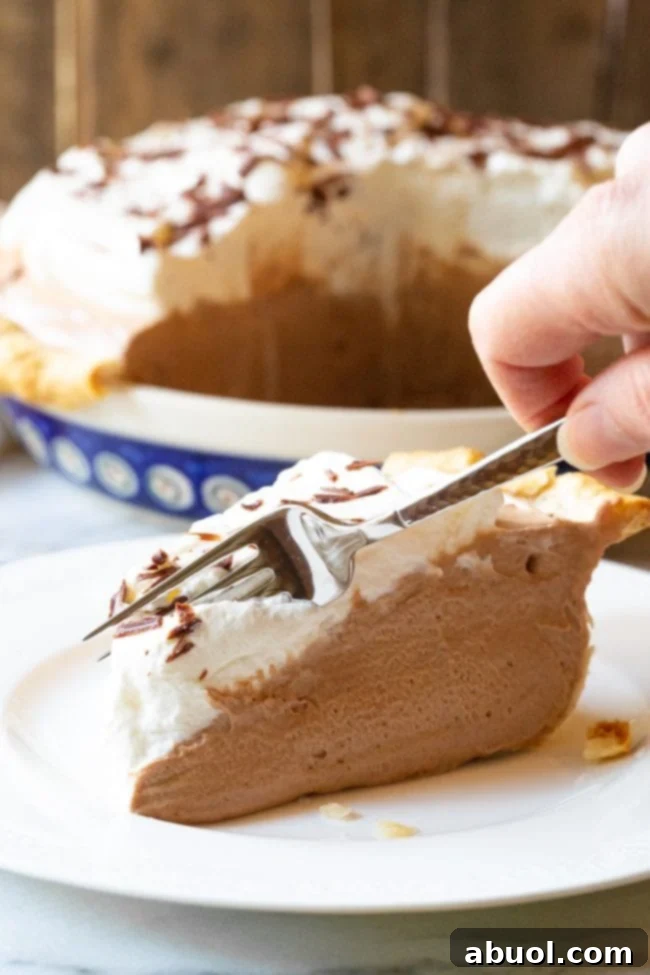
The result was nothing short of miraculous. It was a moment of culinary revelation! Sparks flew, metaphorical confetti rained down, and cymbals clashed in my mind. With this single, simple alteration, I had achieved a French Chocolate Cream Pie that wasn’t just comparable to my cherished childhood memory—it was, dare I say, potentially even better. This was the exact texture I had been tirelessly searching for: not merely silky and intensely chocolatey, but also incredibly super fluffy. It was like biting into pillowy chocolate clouds of pure ecstasy.
Perfection, finally found.
How to Craft Your French Chocolate Silk Pie: A Step-by-Step Guide
Essential Ingredients for Your Masterpiece
Creating this magnificent pie begins with gathering the finest ingredients. Quality truly makes a difference in the final taste and texture of your French Chocolate Silk Pie.
- Unbaked Pie Crust: You can opt for a convenient store-bought crust or elevate your pie with a homemade version. A good crust provides the perfect foundation for our silky filling.
- Bittersweet Chocolate: 6 ounces of high-quality bittersweet chocolate are essential for that deep, rich chocolate flavor. Have a little extra on hand for elegant chocolate shavings to garnish. Semi-sweet chocolate can also be used for a slightly sweeter profile.
- Heavy Cream: Approximately 2 1/2 cups will be needed, both for the filling’s secret ingredient and the luxurious topping. Ensure it’s very cold for optimal whipping.
- Unsalted Butter: 1 cup (2 sticks) softened unsalted butter contributes to the pie’s creamy richness and smooth consistency. Make sure it’s at room temperature for easy beating.
- Granulated Sugar: 1 cup, divided, provides the perfect sweetness balance.
- Vanilla Extract: 1 1/2 teaspoons of pure vanilla extract enhances the chocolate flavor and adds a warm aromatic note.
- Salt: 1/2 teaspoon of salt balances the sweetness and deepens the chocolate’s complexity.
- Large Pasteurized Eggs: 4 large pasteurized eggs are crucial for achieving the signature silky texture. Using pasteurized eggs significantly reduces any health concerns associated with raw eggs.
Baking the Perfect Pie Crust
A flawless pie crust is the unsung hero of any great pie. Here’s how to prepare yours:
- Preheat your oven: Set it to 375 degrees F (190 degrees C).
- Prepare the crust: Carefully place your chosen pie dough (store-bought or homemade) into a 9-inch pie pan. Gently crimp the edges to create a decorative finish and prevent shrinkage.
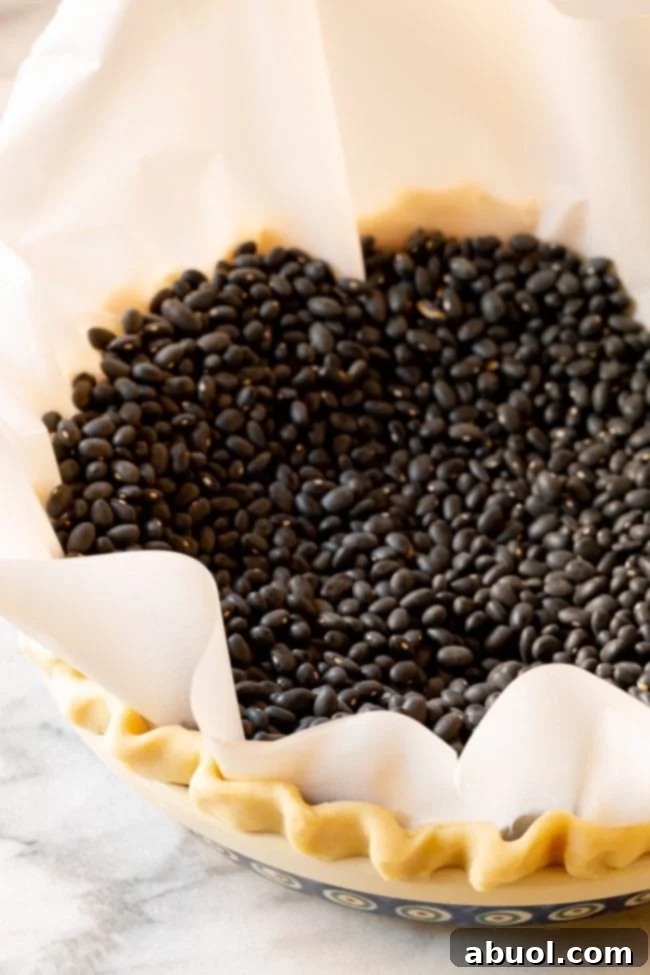
- Blind bake the crust: This step is vital for a crisp crust that won’t become soggy. Place a piece of parchment paper over the pie crust, then fill the parchment with dried beans or ceramic pie weights. These weights prevent the crust from puffing up and losing its shape.
- Bake and cool: Bake for 15-20 minutes, or until the edges are beautifully golden brown. Once baked, carefully lift the parchment paper with the weights out of the pie crust. Allow the crust to cool completely on a wire rack before adding the filling. This prevents the warm crust from melting the delicate chocolate filling.
Crafting the Irresistible Chocolate Silk Pie Filling
This is where the magic truly happens, transforming simple ingredients into a rich, silky, and fluffy chocolate dream.
- Melt the chocolate: While your pie crust cools, melt the 6 ounces of bittersweet chocolate in a double boiler. Be sure to use a gentle heat to prevent scorching. As soon as the chocolate is fully melted and smooth, remove it from the heat immediately and set it aside to cool to room temperature. It’s crucial that the chocolate is not warm when added to the butter mixture, as this can affect the texture.
- Whip the heavy cream: In the clean bowl of an electric mixer fitted with a whip attachment, combine the very cold heavy cream with 1/4 cup of granulated sugar. Whip on high speed until the cream forms firm, stiff peaks. This means when you lift the whisk, the peaks hold their shape without drooping. Transfer the whipped cream to another bowl and refrigerate it until you are ready to use it. Keeping it cold will help it maintain its structure.
- Cream butter and sugar: Using the same mixing bowl (no need to wash it yet!) and a paddle attachment, beat the softened unsalted butter and the remaining 3/4 cup of granulated sugar on high speed. Continue beating for at least 3 minutes, or until the mixture is visibly light and fluffy. This creaming process incorporates air, contributing to the pie’s light texture.
- Combine with chocolate and flavorings: Reduce the mixer speed to low. Slowly add the cooled melted chocolate to the butter mixture, allowing it to fully incorporate. Follow this with the vanilla extract and salt. Scrape down the sides of the mixing bowl with a spatula to ensure all ingredients are well combined, then beat again on low until the mixture is smooth and uniform.
- Incorporate the eggs for ultimate silkiness: Increase the mixer speed to high. This is a critical step for the signature silky texture. Add the pasteurized eggs one at a time. After adding each egg, let the mixer beat it thoroughly into the mixture for at least 3 minutes before adding the next egg. This prolonged beating incorporates a significant amount of air and emulsifies the eggs, creating that luxurious, smooth, and incredibly silky consistency. After all four eggs have been added and beaten for a total of 12 minutes on high, turn the mixer off.
- Fold in the secret ingredient: Here’s the unique twist! Gently fold 1/3 of the refrigerated whipped cream into the chocolate mixture using a spatula. Use a light touch, folding until just smooth and no streaks of whipped cream remain. Be careful not to deflate the mixture, as the goal is to maintain that newly achieved fluffiness. This step is what makes this French Silk Pie uniquely light and ethereal.
The Grand Finale: Assembling and Chilling Your French Silk Pie
With the filling perfectly prepared, it’s time to bring your French Chocolate Silk Pie to life and let it chill to perfection.
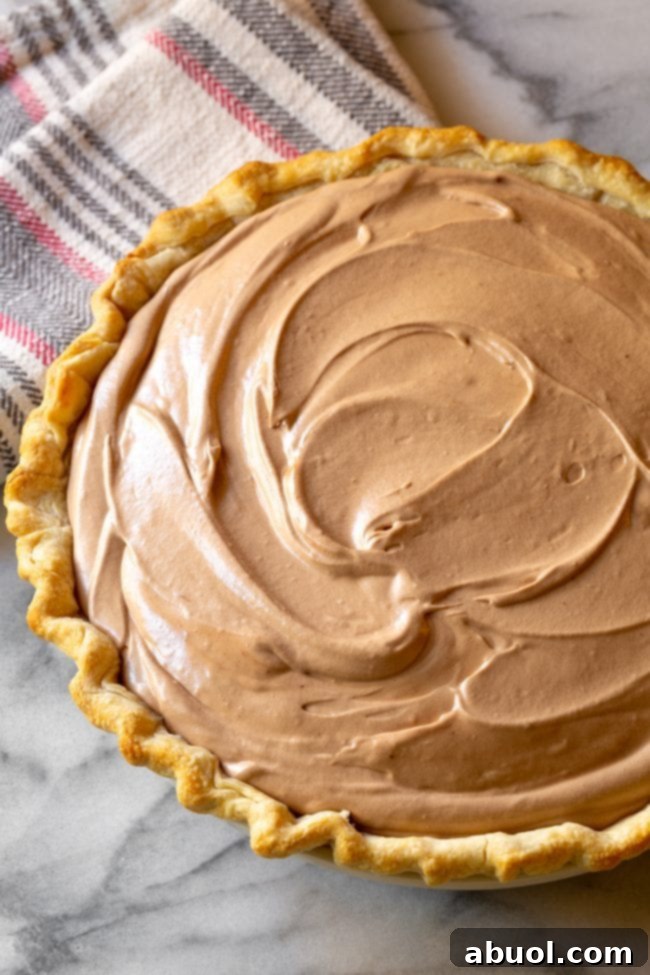
Carefully scoop the incredibly fluffy chocolate mixture into your completely cooled, blind-baked pie crust. Smooth the top with a spatula to create an even surface.
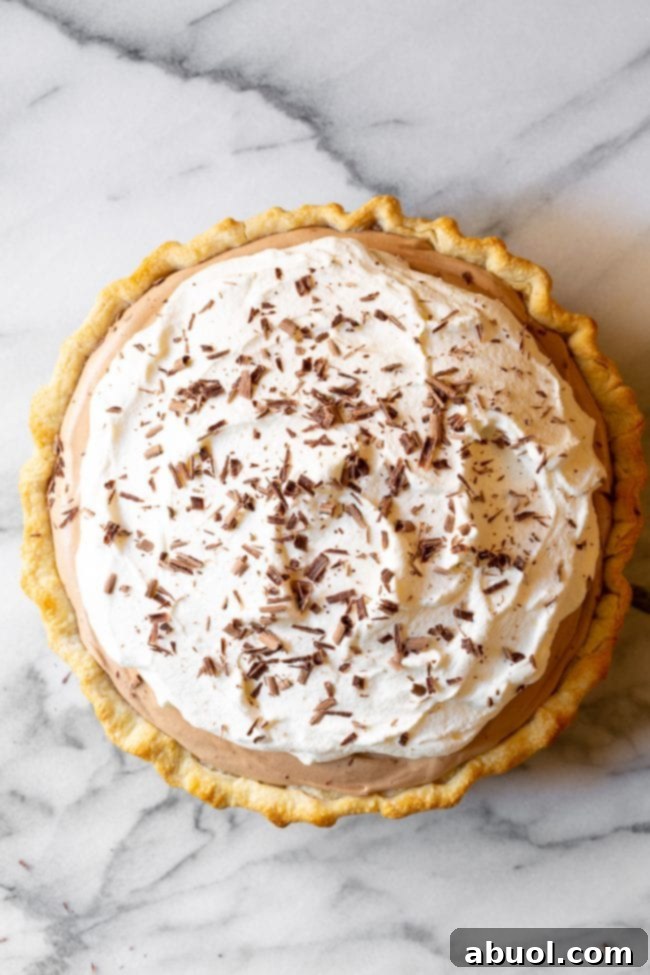
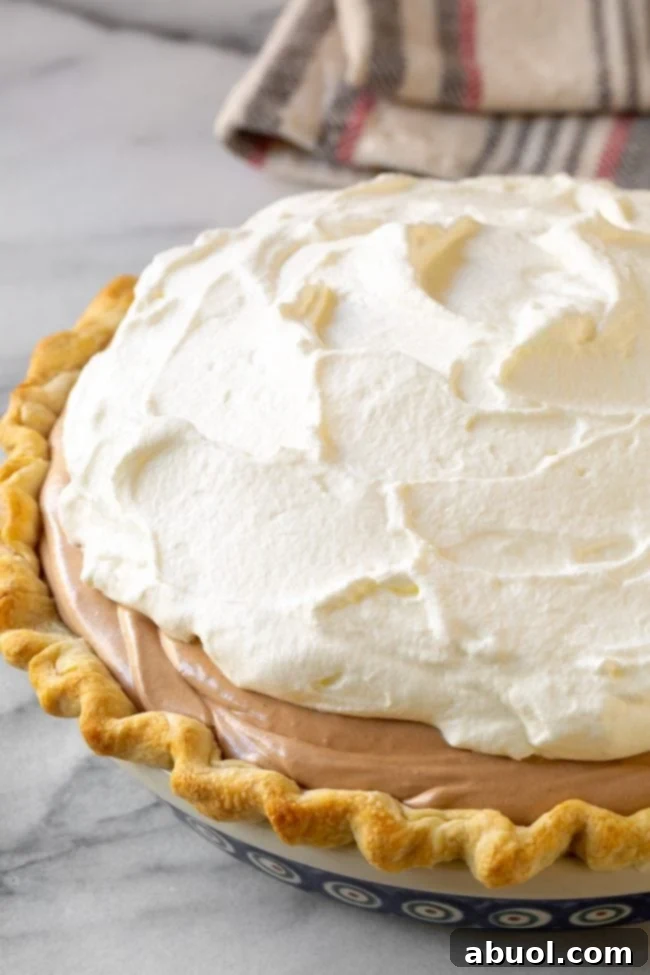
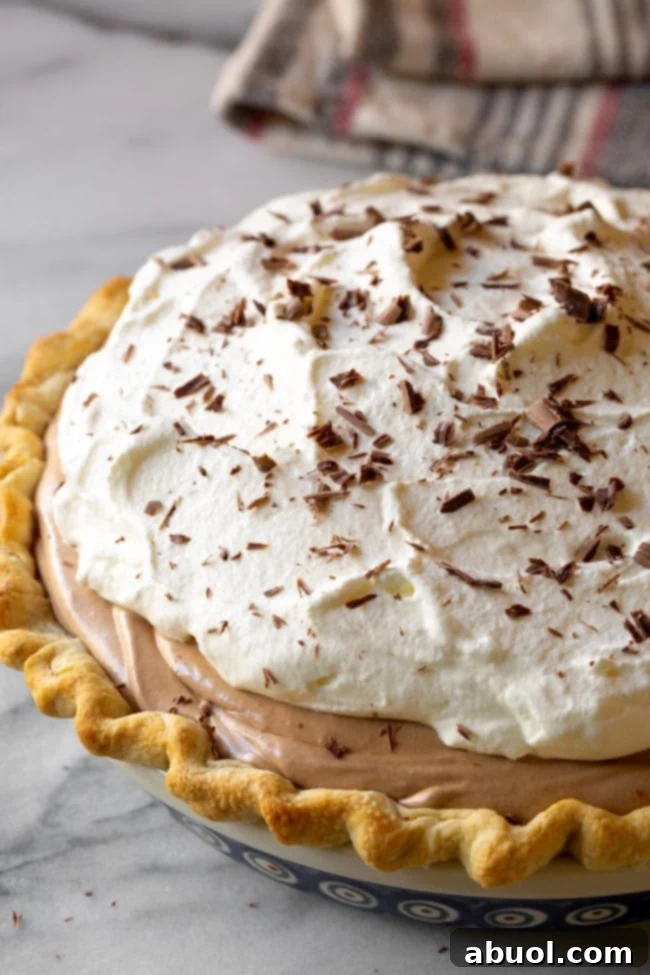
Next, lavishly top the pie with the remaining whipped cream, creating soft peaks or elegant swirls. For a truly professional and visually stunning finish, garnish the top with delicate chocolate curls. These can be easily made by running a vegetable peeler along the edge of a bar of chocolate. The curls add both beauty and an extra touch of chocolatey goodness.
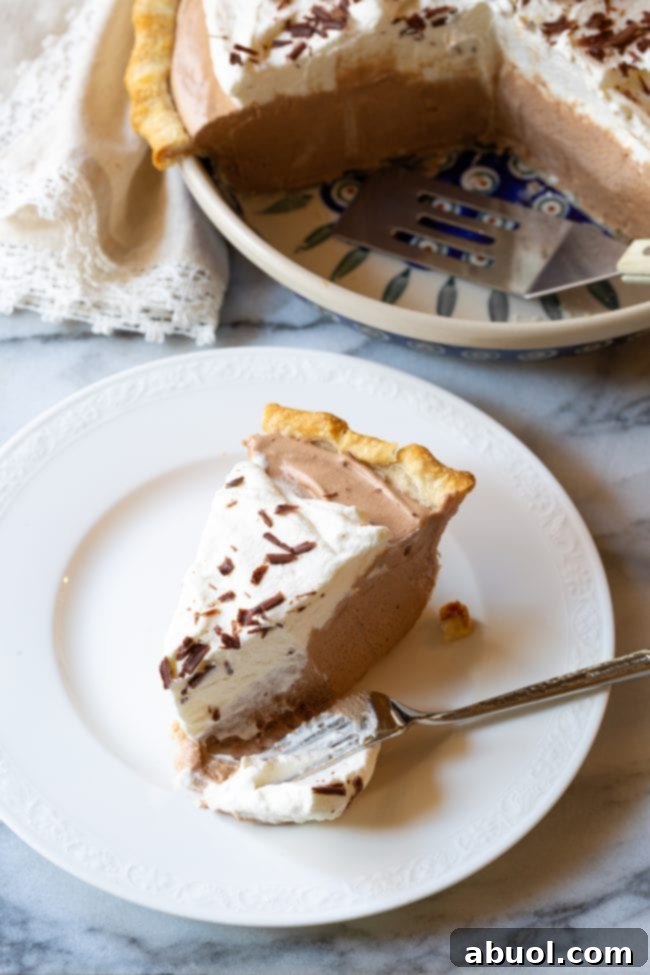
Finally, and perhaps most importantly, chill the pie for at least 3 hours. This extended chilling time is essential for the chocolate filling to set properly, ensuring it’s firm enough to slice cleanly and maintain its rich, velvety texture. Patience is a virtue when it comes to French Silk Pie – the waiting is worth it!
Discover the full, printable recipe details below for the Best French Chocolate Silk Pie. Enjoy every decadent bite!
Addressing the Raw Egg Concern: Safety and Alternatives
A common question when it comes to French Silk Pie is about the use of raw eggs. It’s true that raw eggs are integral to achieving the pie’s signature, unparalleled silky texture. This characteristic smoothness comes directly from the emulsification and aeration provided by the eggs.
However, with proper precautions, the risk of salmonella from raw eggs is extremely low. Always ensure you wash the eggs thoroughly with warm, soapy water before cracking them. Furthermore, using pasteurized eggs (which have been gently heated to kill bacteria without cooking them) is highly recommended and significantly enhances food safety. Raw eggs are, in fact, common ingredients in many beloved culinary preparations, including frothy cocktails, classic Caesar dressing, homemade eggnog, and rich aioli. For most people, consuming properly handled raw eggs poses minimal concern.
But if you remain genuinely concerned, or prefer to avoid raw eggs altogether, there’s a delicious alternative! You can create a “chocolate ganache” pie filling. To do this, simply melt high-quality chocolate, allow it to cool to room temperature, and then beat it into very cold heavy cream until it thickens to a rich, spreadable consistency. This filling will have a luxurious, truffle-like texture and will melt exquisitely in your mouth. While it won’t replicate the exact silky lightness of a traditional French Silk Pie, it offers its own unique richness and elegance. A good starting ratio would be equal parts chocolate and heavy cream—perhaps 8-10 ounces of each, depending on the depth of your pie pan. This method provides a fantastic option for those who are skittish about raw eggs, ensuring everyone can enjoy a decadent chocolate pie.
Expert Tips for Your Best Chocolate Silk Pie Yet
To ensure your French Chocolate Silk Pie turns out absolutely perfect every time, keep these expert tips in mind:
- Achieving the ideal thickness: If you find your filling isn’t setting quite as firm as you’d like, there are a couple of common culprits. First, ensure you’ve beaten the butter-sugar-chocolate-egg mixture for the full recommended time. The extensive beating is crucial for the proper emulsification and aeration that creates the desired texture. Second, ensure the pie has been chilled for long enough. Sometimes, an extra hour or two in the refrigerator can make all the difference, especially if your kitchen is warm.
- Mastering the mixing time: The beating process for the filling is precise. Remember, it’s 3 minutes per egg, multiplied by 4 eggs, totaling 12 minutes for the eggs alone. Add to that the initial 3 minutes for creaming the butter and sugar, and you’re looking at approximately 15 minutes of dedicated mixing time for the filling. This might seem lengthy, but it’s essential for developing that super silky texture.
- An adventurous flavor twist: One of my adventurous readers once shared a delightful accident: they mistakenly used almond extract instead of vanilla! To their surprise, they absolutely LOVED the result. This subtle nutty note pairs wonderfully with chocolate. If you’re feeling experimental, give it a try and perhaps top your pie with some toasted almonds or even Almond Roca shavings for an extra layer of flavor and crunch.
- Simplify with a store-bought crust: While a homemade crust adds a special touch, don’t hesitate to use a store-bought pie crust for convenience. It’s a fantastic shortcut that allows you to focus on mastering the decadent filling, making this delicious dessert accessible even on busy days.
Delicious Recipe Variations for Every Occasion
French Chocolate Mousse Pie, with its rich flavor and elegant presentation, is a fabulous choice to serve as an alternative dessert for special holidays and celebrations. Think Thanksgiving, Christmas, Easter, Mother’s Day, or any festive gathering where a show-stopping dessert is desired. Its versatility also allows for wonderful variations:
- Alternative Crusts: Beyond a traditional pastry crust, try an Oreo crust for a double chocolate indulgence or a Graham Cracker Crust for a hint of honeyed sweetness. These no-bake crusts can simplify your preparation further.
- Creative Toppings: While chocolate shavings are classic, consider sprinkling mini chocolate chips over the whipped cream for added texture, or toasted coconut flakes for an unexpected tropical twist that complements the rich chocolate beautifully.
- Flavored Whipped Cream: Elevate your whipped cream topping by infusing it with different extracts. A hint of rum extract adds sophistication, coffee extract deepens the chocolate notes, and coconut extract can transport your taste buds to an island paradise.
Frequently Asked Questions About French Silk Pie
Can I use a pre-made whipped topping instead of fresh whipped cream?
While you certainly can use a pre-made whipped topping for convenience, I highly recommend making fresh whipped cream. The flavor and texture of homemade whipped cream are far superior, and it allows you to control the ingredients precisely. This transparency is particularly helpful when serving desserts to friends or family with food allergies or dietary restrictions, as you know exactly what goes into your recipe.
Can I make this dessert ahead of time?
Absolutely! This French Chocolate Silk Pie is an excellent make-ahead dessert. You can prepare and assemble the entire pie a day or two before your event, storing it in the refrigerator. This fluffy French Silk Pie has become my new favorite cream pie variation, surpassing even my huge love for coconut, banana, and lemon cream pies. It truly “takes the cake,” so to speak, making entertaining effortless.
Does this pie freeze well?
Yes, it does! French Silk Pie freezes beautifully, making it perfect for preparing far in advance or saving leftovers. To freeze, wrap your chocolate pie tightly in several layers of plastic wrap, then an additional layer of aluminum foil. It can be stored in the freezer for up to 3 months. When you’re ready to indulge, simply transfer the frozen pie to the refrigerator and allow it to thaw slowly for about 24 hours before serving.
How long does French Silk Pie last in the fridge?
Once prepared, your French Chocolate Silk Pie will stay fresh and delicious in the refrigerator for up to a week. For best results, cover it loosely with plastic wrap or aluminum foil to protect it from absorbing odors and drying out.
Can I use another style of sweetener or sugar alternative?
You can use any granulated sugar alternative that is measured in a 1-to-1 ratio with traditional sugar. Be mindful that some artificial sweeteners might alter the texture slightly, but for general sweetness, a direct substitute should work.
Could I add fruit or nuts directly to the pie filling?
While you can certainly add fruit or nuts to complement the pie, I would strongly suggest sprinkling them on top as a garnish rather than mixing them into the filling. French Silk Pie is renowned for its incredibly smooth, uninterrupted texture. Incorporating solid additions into the filling would significantly change this defining quality, and it would be a shame to compromise its signature silkiness.
Discover More Irresistible Pie Recipes to Try
If you’ve fallen in love with the art of pie making, or simply enjoy a delicious slice of dessert, explore these other fantastic pie recipes that are sure to delight:
- Bourbon Derby Pie with Salted Caramel Whipped Cream
- Apple Pie Cream Cheese Wontons
- Cinnamon Pie Recipe
- Cherry Pie Filling
- Mini Apple Pies
- Fresh Blueberry Pie with Almond Crust Recipe
- Grapefruit Cream Pie Recipe
- The Fluffiest Fluffernutter Pie Recipe
- Easy No-Bake Key Lime Pie (Lime IceBox Pie Recipe)
- No Bake Lemon Icebox Pie Recipe
- Blueberry Pie Homemade Ice Cream Recipe
- Fluffy No-Bake Chocolate Banoffee Pie
- Caramel Pecan Pie Cheesecake from Lauren’s Latest
Below, you’ll find the complete recipe card with all the details you need to make this incredible French Chocolate Silk Pie, including nutrition information.

Print Recipe
French Chocolate Silk Pie Recipe
Cook Time: 15 minutes
Total Time: 45 minutes
The Best French Silk Pie Recipe: An easy chocolate silk pie whipped up with a secret ingredient, to make it super silky light. Enjoy!
Ingredients
- 1 unbaked pie crust, store-bought or homemade
- 6 ounces bittersweet chocolate + extra for shavings (or semi-sweet chocolate)
- 2 1/2 cups heavy cream
- 1 cup unsalted butter, softened (2 sticks)
- 1 cup granulated sugar, divided
- 1 1/2 teaspoons vanilla extract
- 1/2 teaspoon salt
- 4 large pasteurized eggs
Instructions
- Preheat the oven to 375 degrees F. Place the pie crust in a large 9-inch pie pan. Crimp the edges. Then place a piece of parchment paper over the pie crust and fill the parchment with dried beans or ceramic pie weights. Bake for 15-20 minutes until the edges are golden. Lift the parchment with the weights out of the pie crust, and allow the crust to cool completely.
- Meanwhile, melt 6 ounces of chocolate in a double boiler. The moment the chocolate is melted remove from heat and cool to room temperature.
- Place the heavy cream in the bowl of an electric mixer with 1/4 cup sugar. Using a whip attachment, whip on high until the cream is whipped into firm peaks. Move the whipped cream into another bowl and refrigerate until ready to use.
- Using the same mixing bowl and a paddle attachment, beat the butter and 3/4 cup sugar on high until light and fluffy, at least 3 minutes. Turn on low and slowly add the cooled chocolate to the butter mixture, followed by the vanilla and salt. Scrape the mixing bowl and beat again until smooth.
- Turn the mixer on high. One at a time, add an egg and let the mixer beat the egg for at least 3 minutes, before adding the next egg. This ensures a super silky texture. After 12 minutes of beating on high, turn the mixer off. Gently fold 1/3 of the whipped cream into the mixture using a spatula. Fold until smooth.
- Scoop the chocolate mixture into the cooled pie crust. Top with the remaining whipped cream. Then shave chocolate over the top with a veggie peeler. Chill for at least 3 hours, until the chocolate filling is firm.
Nutrition
Calories: 649kcal
Carbohydrates: 39g
Protein: 6g
Fat: 53g
Saturated Fat: 31g
Cholesterol: 197mg
Sodium: 238mg
Potassium: 187mg
Fiber: 2g
Sugar: 26g
Vitamin A: 1545IU
Vitamin C: 0.3mg
Calcium: 68mg
Iron: 1.8mg
Cuisine: American, French