
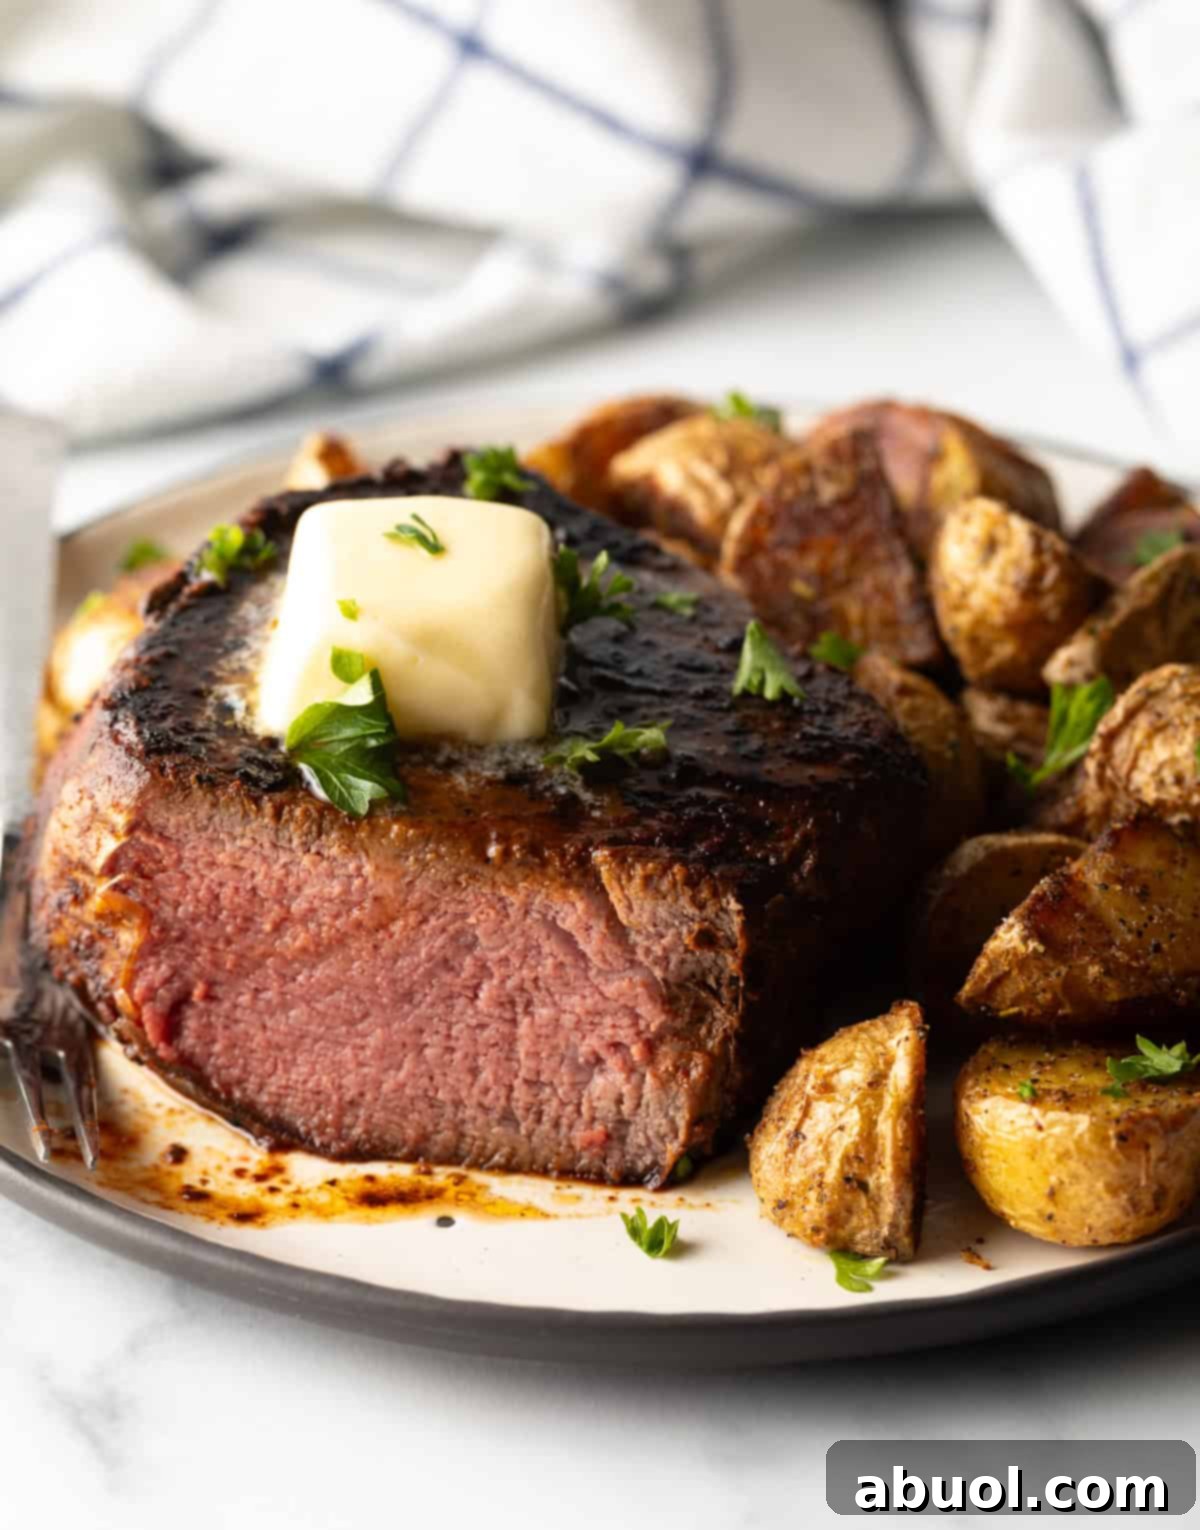
Master the Perfect Reverse Sear Steak: Juicy & Tender Every Time
Unlock the culinary secret to achieving restaurant-quality steak in your own kitchen! This comprehensive guide reveals the easy steps and expert tips to reverse sear any beautiful cut of beef—be it a Filet Mignon, a robust Ribeye, a classic New York Strip, or a magnificent Porterhouse—ensuring it’s incredibly juicy, melt-in-your-mouth tender, and boasting a perfectly caramelized crust. Get ready to impress with steakhouse excellence right at home!
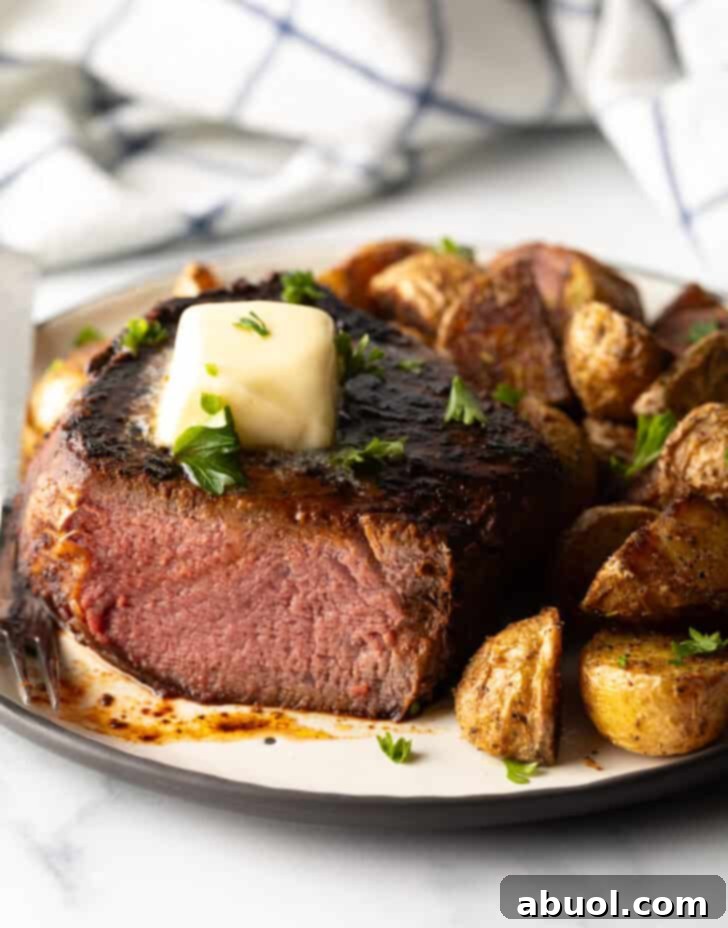
Why the Reverse Sear Method is Our Go-To for Steaks
The reverse sear method has revolutionized how we cook steak, transforming it from a tricky endeavor into a consistently perfect culinary experience. It’s hands down one of the easiest and most effective techniques for preparing any steak variety, from a delicate filet mignon to a hearty ribeye. What makes it so superior? This method allows you to gently and precisely bring the steak’s interior to the exact desired temperature, ensuring uniform doneness from edge to edge. Following this slow cook, a quick, intense sear creates an incredibly flavorful, crispy crust, delivering a steak that rivals any high-end steakhouse. Say goodbye to gray bands and unevenly cooked meat; reverse searing guarantees a perfectly pink, juicy center every single time.

Understanding the Reverse Sear Technique
What is Reverse Sear?
Traditionally, cooking a steak involves searing it first at high heat to “lock in juices” (a common misconception, as searing primarily develops flavor and crust), then transferring it to a lower heat oven or grill to finish cooking the interior. While effective, this method demands constant vigilance; even a slight overcook can push your steak past its optimal doneness, resulting in a less-than-perfect interior with a noticeable gray band beneath the crust.
Reverse searing, as its name suggests, flips this traditional process on its head. You begin by slowly cooking the steak at a very low temperature. This gentle heat gradually raises the internal temperature, allowing for unparalleled precision in achieving your desired doneness—be it rare, medium-rare, or medium—with remarkable consistency throughout the entire cut. Once the interior reaches just shy of its target temperature, you then finish with a rapid, high-heat sear. This final step is crucial for developing an exquisite, deeply caramelized, and crispy crust, creating a beautiful contrast in texture and an explosion of robust, beefy flavor. The result is an evenly cooked, tender interior paired with an irresistibly crisp exterior, all without the risk of overcooking.
This technique shares a similar philosophy with sous vide cooking, aiming for precise internal temperature control. However, unlike sous vide, reverse searing requires no specialized equipment like vacuum bags or water baths. All you need is your trusty oven (or grill/smoker) for the slow cook, and a screaming hot cast-iron skillet or grill for the final sear. It’s a sophisticated method made accessible for every home cook!
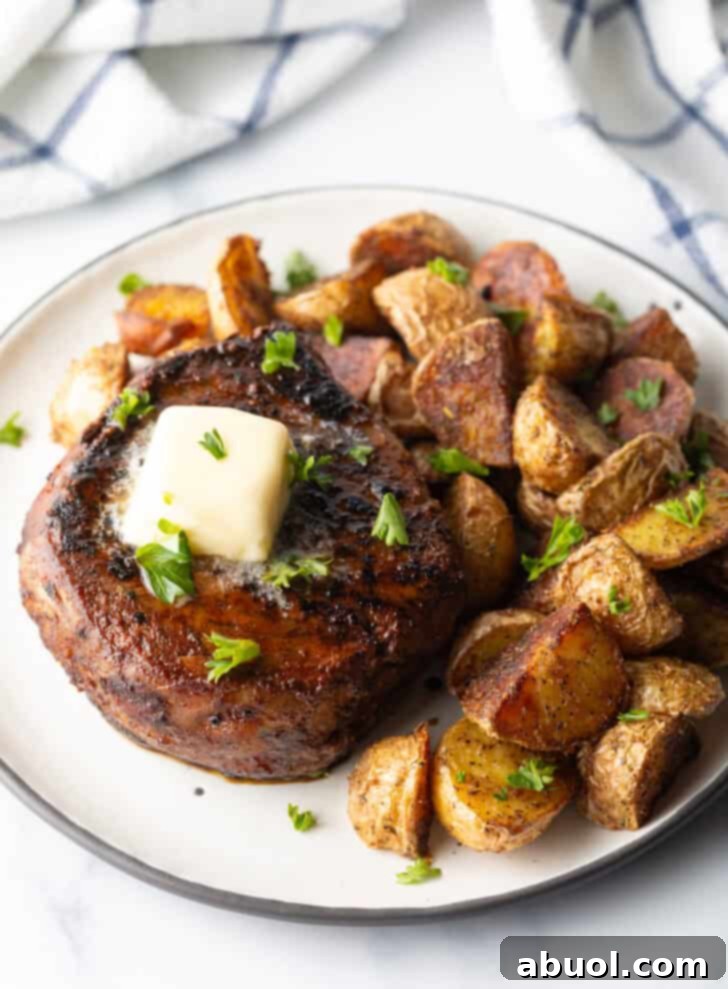
Best Steak Cuts for Reverse Searing
The reverse sear method truly shines with thicker cuts of meat, as the slower cooking process allows the heat to penetrate evenly without overcooking the exterior. For optimal results, always choose steaks that are at least 1 to 1 ½ inches thick. This technique is also exceptionally well-suited for extra-thick steaks, ensuring they cook through perfectly. Elevate your next meal by trying this fabulous method with any of these premium beef cuts:
- Filet Mignon: Known for its exceptional tenderness and mild flavor, the filet benefits immensely from reverse searing, preventing it from drying out while achieving a beautiful crust.
- Ribeye Steaks: Marbled with ample fat, ribeyes are a flavor powerhouse. Reverse searing gently renders this fat, resulting in an incredibly juicy and flavorful steak with a magnificent crust.
- New York Strip Steak: Offering a great balance of tenderness and chew, the strip steak develops a fantastic crust and maintains its succulence with this method.
- Porterhouse or T-Bone: These cuts feature both a tender filet and a flavorful strip. Reverse searing ensures both sections cook perfectly without compromising either side.
- Sirloin: While generally leaner, a very thick sirloin can be successfully reverse seared to enhance tenderness and develop a great crust.
Beyond the cut, proper seasoning is paramount. We adore our homemade Steak Seasoning Blend, which adds layers of flavor. Alternatively, a generous application of kosher salt and freshly ground black pepper is a timeless choice if you prefer a simpler approach. To finish, a rich pat of unsalted butter melts over the hot steak, adding an extra dimension of richness and sheen.
You’ll also need a quality high-heat cooking oil for the searing phase. Oils with high smoke points prevent burning and off-flavors. Excellent choices include avocado oil, canola oil, or even a good quality extra virgin olive oil if you ensure your pan is not smoking excessively.
Elevate Your Steak: Delicious Topping Ideas
Once your perfectly reverse-seared steak is off the pan and rested, it’s ready for an optional, yet highly recommended, flourish of garnishes that can take your meal from great to gourmet:
- Fresh Chopped Parsley: A sprinkle of fresh parsley adds a vibrant pop of color and a subtle herbaceous note.
- Unsalted Butter: A melting pat of butter is a classic choice, enhancing richness and moisture as it pools around the sliced meat.
- Compound Butter: Infuse butter with garlic, herbs, or other seasonings for an instant flavor boost that melts beautifully over the hot steak.
- Cowboy Butter: A rich, spicy, and garlicky butter that’s fantastic both as a topping and a dipping sauce.
- Explore even more FANTASTIC Best Steak Toppings options, like quick pickled vegetables for a zesty contrast, or caramelized onions for a sweet, savory bite!
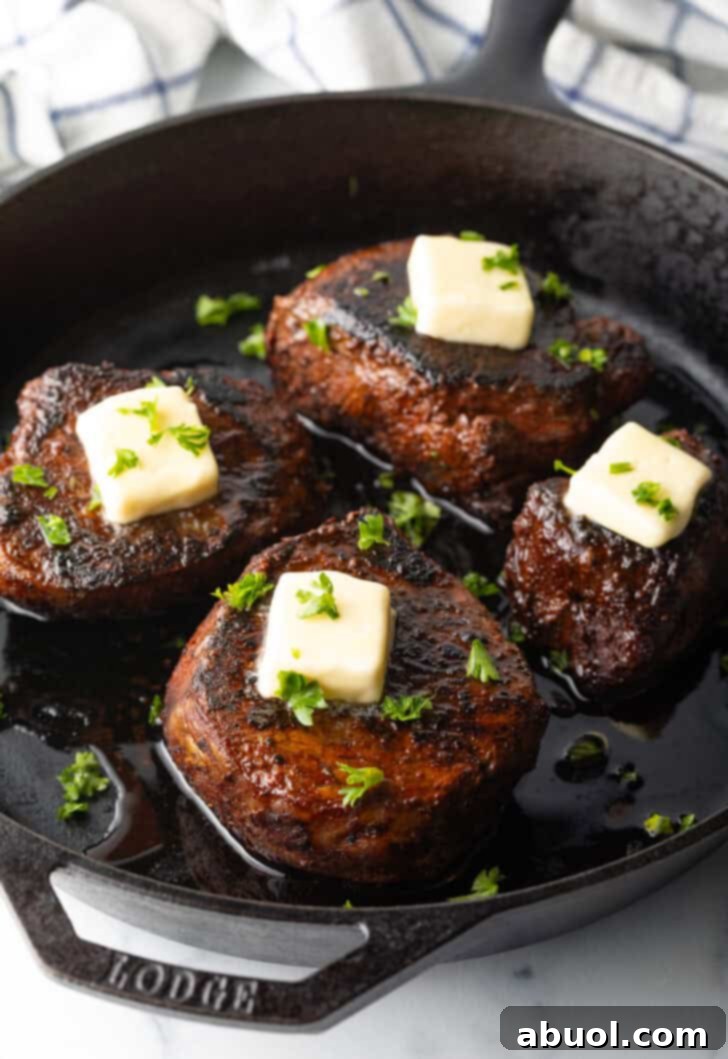
How to Achieve the Perfect Reverse Sear Steak
As the name implies, we are intentionally reversing the traditional cooking sequence for thick steaks. This method ensures maximum control over internal temperature and a superior crust. Your steaks will begin their journey in the low-heat environment of an oven or smoker, and finish with a rapid sear on the stovetop, ideally in a cast-iron skillet.
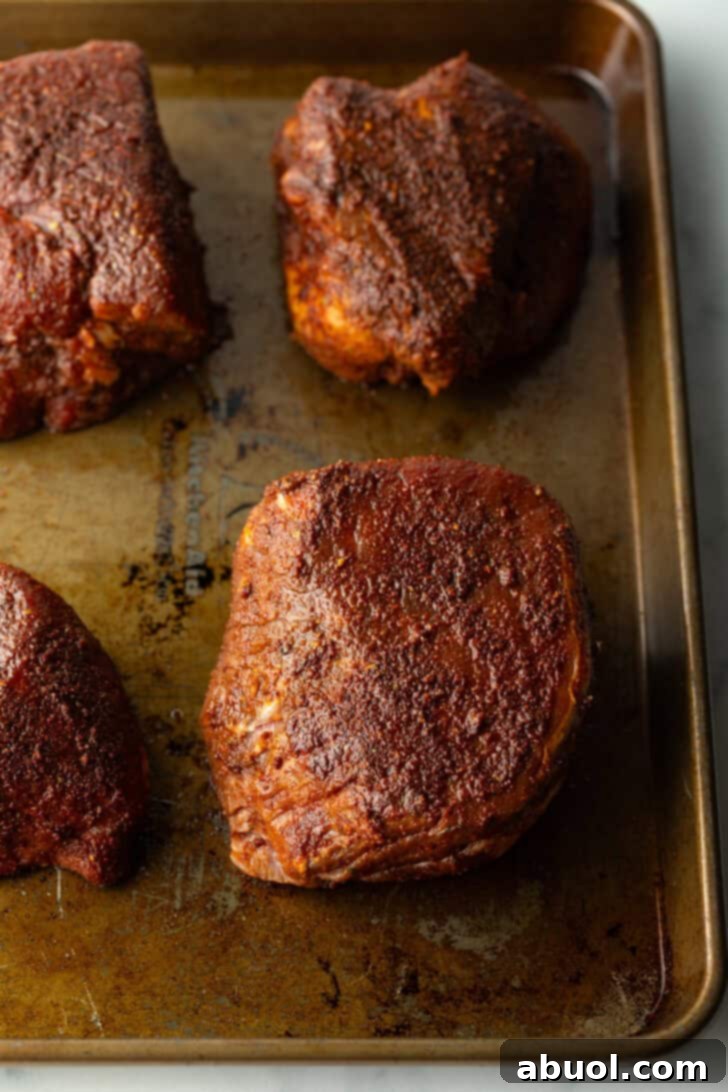
- Prepare and Slow Cook: To start, preheat your oven to a low 190°F (88°C). While the oven preheats, it’s crucial to thoroughly pat your steaks dry with paper towels. This step is vital for achieving a beautiful crust later on. Season the meat generously on all sides with your chosen steak seasoning, ensuring an even coating. Place the seasoned steaks on a wire rack set over a rimmed baking sheet. This setup allows for optimal airflow, ensuring even cooking. Carefully place the baking sheet in the preheated oven. For a medium-rare steak (our recommendation for peak flavor and tenderness), cook for approximately 55 minutes to 1 hour, or until the internal temperature reaches about 115-120°F (46-49°C) if using a thermometer.
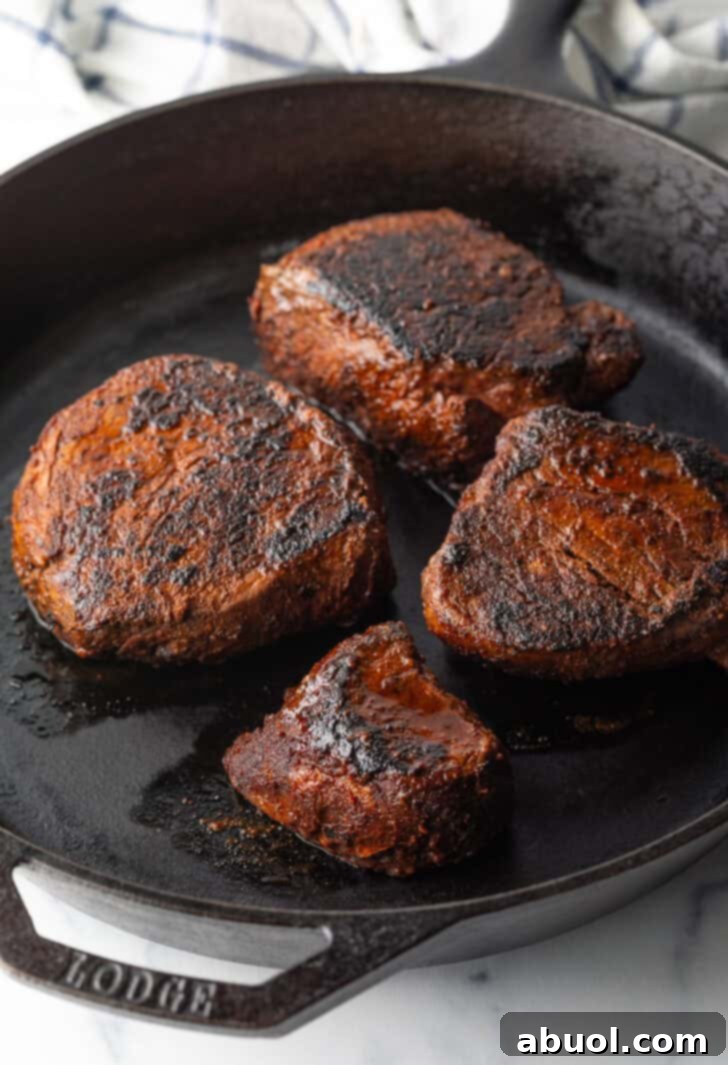
- High-Heat Sear: As the steaks approach their target internal temperature, you’ll prepare for the searing phase. Preheat a heavy cast-iron pan over high heat for at least 5-7 minutes, aiming for a surface temperature of 450-500°F (232-260°C). Alternatively, preheat a gas grill to high heat. Add a high-smoke point cooking oil (like avocado or canola) to the screaming hot pan, just enough to coat the bottom. Carefully place the steaks in the hot pan (or on the grill). Sear for precisely 1 minute per side to create that irresistible caramelized crust through the Maillard reaction. Resist the urge to move or shift the steaks during this minute; letting them sit undisturbed is key to forming a dark, even crust.
- Adjust for Thickness: If you are working with exceptionally thick steaks, those over 2 inches, you may need to sear them for 1.5 to 2 minutes per side to achieve the desired crust. Monitor carefully to prevent burning.
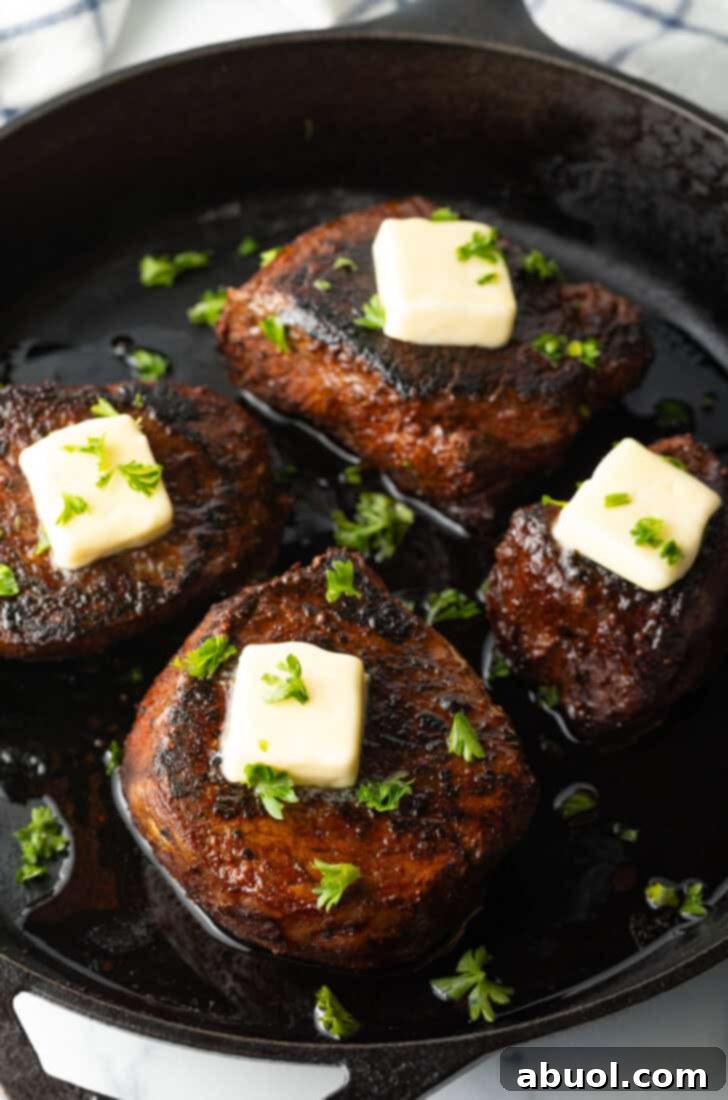
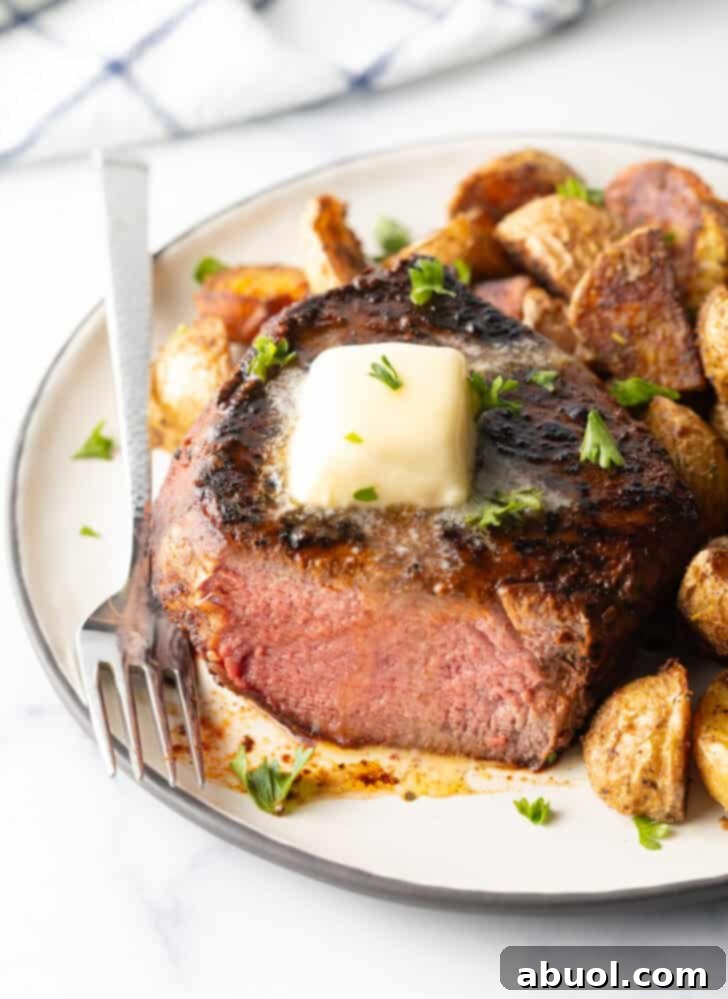
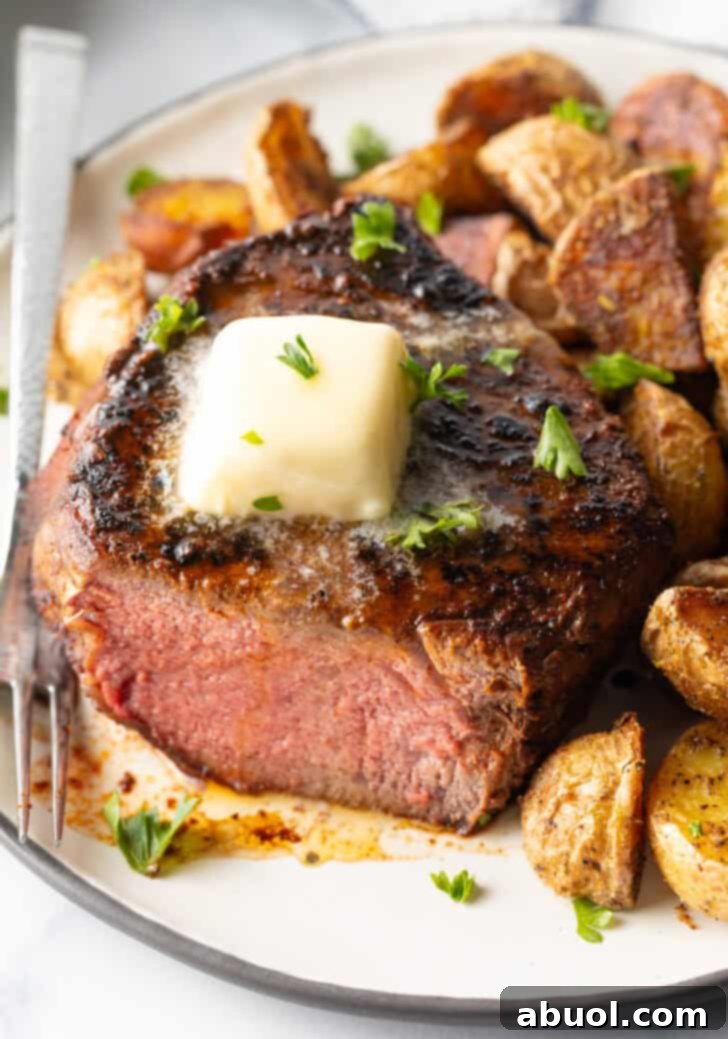
- Rest and Serve: Once your ribeye, filet, or other cut of beef has reached the perfect internal temperature and boasts a stunning crust, remove it from the heat. Top each perfectly cooked steak with a generous pat of butter. This not only adds flavor but also helps create a beautiful sheen. Allow the steak to rest undisturbed for at least 5 to 10 minutes before slicing. Resting is a critical step that allows the juices to redistribute throughout the meat, resulting in an incredibly juicy and tender final product.
Pro Tip: For an added layer of smoky flavor, you can also perform the initial low-heat cooking phase in an electric smoker or a low-heat grill! Set your smoker or grill to 190°F (88°C) and cook your steaks for the same duration as you would in the oven. This infuses the meat with a delicious smoky essence before the final sear. Always use a reliable meat thermometer for precision!
Your Guide to Perfect Steak Doneness
Knowing your preferred level of doneness is key to a truly enjoyable steak. A reliable instant-read meat thermometer is your best friend here. Insert it into the thickest part of the steak, away from any bone, to get an accurate reading. Here are the common internal temperatures and their corresponding levels of doneness:
- Rare: 120-125°F (49-52°C) – Features a cool, bright red center. The meat is very tender and juicy.
- Medium Rare: 130-135°F (54-57°C) – Displays a warmer, still deep pink center. This is often considered the ideal level of doneness by many chefs and steak enthusiasts for its perfect balance of flavor, tenderness, and juiciness!
- Medium: 140-145°F (60-63°C) – Presents a warm, thin line of pink in the center. The meat is firmer but still very tender.
- Medium Well: 150-155°F (66-68°C) – Shows a mostly brown center with only a hint of pink. The steak becomes firmer and loses some moisture.
- Well Done: 160°F (71°C) and above – The steak is cooked through with no pink, firm texture. While not typically recommended for premium cuts, some prefer this doneness.
Expert Tips for the Best Reverse Sear Steak
Achieving a flawless reverse-seared steak is simple with these additional professional tips:
- Bring Steaks to Room Temperature: Before cooking, remove your steaks from the refrigerator and let them sit at room temperature for about 20-30 minutes. This allows the meat to relax and ensures more even heat distribution during cooking, leading to a consistently tender result. Cold steaks will cook unevenly, with the exterior potentially overcooking before the center reaches its target temperature.
- Season Liberally: Don’t be shy with your seasoning! Apply a generous amount of salt, pepper, and any other desired spices to all surfaces of the steak. Really rub the seasoning into the meat; this helps create a flavorful crust and enhances the overall taste.
- Master with a Meat Thermometer: While a timed method can work well, especially once you’re familiar with your oven and specific cuts, using an accurate internal temperature method with a meat thermometer is the most reliable way to guarantee perfect doneness every single time. It takes the guesswork out of cooking and is highly recommended for beginners and for precision.
- How to Use a Meat Thermometer: Insert a probe thermometer into the thickest part of one of your steaks, avoiding any bone. Monitor the temperature as it slowly rises. For a perfect medium-rare, remove the steaks from the oven when they reach around 115-120°F (46-49°C). Remember, the searing process will continue to raise the internal temperature by a few more degrees, bringing it up to the ideal 130-135°F (54-57°C).
- Ensure Good Ventilation: When it’s time to sear, turn on your kitchen vent fan to its highest setting or open nearby windows. Searing steaks at such high temperatures, especially fatty cuts, can produce a significant amount of smoke. Proper ventilation prevents smoke alarms from triggering and keeps your kitchen air clear.
- The Importance of Resting: Once seared, resist the urge to cut into your reverse-sear filet mignon or ribeye immediately. Transfer the steaks to a cutting board and allow them to rest for at least 5 to 10 minutes. This crucial step allows the meat’s juices, which have migrated to the center during cooking, to redistribute evenly throughout the entire steak. The result is a much juicier and more flavorful bite.
- Slice Against the Grain: When you’re ready to serve, always slice your steaks against the grain. Look closely at the meat and observe the long, parallel muscle fibers—this is “the grain,” similar to the grain in a piece of wood. Cutting perpendicularly across these fibers shortens them, effectively tenderizing the beef and making each bite easier to chew and more enjoyable.
Delectable Serving Suggestions for Your Perfect Steak
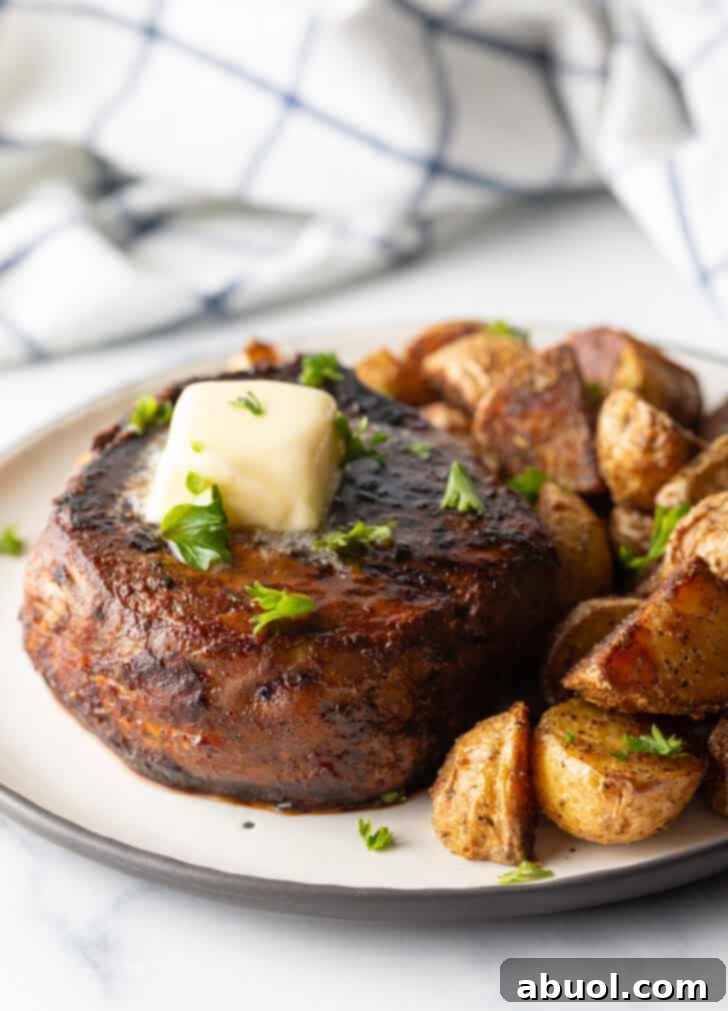
A perfectly reverse-seared steak deserves an equally impressive supporting cast of side dishes. Here, we’ve paired our reverse-seared filet mignon with our classic 2-Ingredient Roasted Potatoes, known for their delightful crisp exterior and fluffy interior. Create the ultimate steak and potato pairing of your dreams with any of these potaTOtally awesome recipes:
- Baked Potato: A timeless classic, perfect with butter, sour cream, chives, and bacon bits.
- Air Fryer Potato Wedges: Crispy, seasoned wedges that are healthier and incredibly satisfying.
- Best Duchess Potatoes: Elegant and rich, these piped mashed potatoes are a fancy touch.
- Russet Potatoes Every Which Way: Explore various preparations like roasted, fried, or smashed.
- Spicy Mesquite Twice Baked Potatoes: A loaded and flavorful option that’s a meal in itself.
- Crispy Ribbon Fries: Thinly sliced, spiralized potatoes baked or fried until wonderfully crisp.
- Creamy Mashed Potatoes: A comforting and classic accompaniment that never disappoints.
- Cheesy Scalloped Potatoes Au Gratin: Layers of thinly sliced potatoes baked in a rich, cheesy cream sauce.
For a touch of sweetness and added nutrients, consider delectable sweet potato side dishes. We highly recommend these Scalloped Sweet Potatoes, rich and savory Twice Baked Sweet Potatoes, convenient Instant Pot “Baked” Sweet Potatoes, and velvety Mashed Sweet Potatoes recipes.
Complete your rich, satisfying dinner with a fresh and crisp salad to balance the flavors. These classic recipes for a Steakhouse-Style Caesar Salad with its tangy dressing, a refreshing Romaine Hearts Salad, and a decadent Blue Cheese Wedge Salad are always a guaranteed hit.
Frequently Asked Questions About Reverse Searing Steak
While reverse searing doesn’t inherently change the muscle fibers to be more tender than traditional methods, it significantly increases the likelihood of your steak being perfectly tender. This is because the precise, low-temperature cooking prevents overcooking, which is the primary cause of tough steak. By consistently hitting your ideal doneness, reverse searing helps you achieve maximum tenderness and juiciness every time.
Absolutely, yes! Although the reverse sear method might take a bit longer than a traditional sear-first approach, the superior results are undeniable. It’s by far the best way to virtually guarantee that your beef will be cooked to the precise level of doneness you crave, with an incredibly even pink interior and a deep, flavorful crust. The consistency and quality achieved make it well worth the extra time, delivering a steakhouse-quality experience at home.
Properly stored cooked steak will maintain its quality and safety when kept in an airtight container in the refrigerator for up to 3-4 days. For best flavor and texture, it’s recommended to consume it within 2-3 days.
Looking for More Handy How-To Guides? Be Sure to Try:

Print Recipe
Leave a Review »
How to Reverse Sear Steak
Prep Time: 5 minutes
Cook Time: 1 hour
Total Time: 1 hour 5 minutes
Learn the easy steps and best tips to reverse sear a beautiful filet mignon, ribeye, New York strip, or porterhouse so that it’s the most juicy, melt-in-your-mouth tender, perfect steak possible!
Servings: 2 – 4 steaks
Ingredients
- 2-4 steaks (at least 1 – 1.5 inches thick; e.g., filet mignon, ribeye steaks, NY strips)
- 2-4 tablespoons Best Steak Seasoning or salt and pepper
- 2-4 tablespoons butter
Instructions
- Preheat the oven to 190°F (88°C). Season the steaks well on all sides and place them on a wire rack set over a baking sheet. Cook in the oven for approximately 55 minutes, or until the internal temperature reaches 115-120°F (46-49°C) for medium-rare. (This step can also be done in an electric smoker or a low-heat grill at 190°F, ensuring accurate temperature.)
- Near the end of the cooking time, preheat a cast-iron skillet to high heat, aiming for 450-500°F (232-260°C). (Alternatively, preheat a gas grill to high heat.) Once the pan is screaming hot, add a thin layer of high-heat cooking oil, then sear (or grill) the steaks for 1 minute per side to create deep caramelization and a crispy crust. If cooking steaks over 2 inches thick, increase searing time to 1.5-2 minutes per side.
- Remove steaks from heat. Top each hot steak with a pat of butter and allow it to rest for at least 5-10 minutes before cutting to ensure juices redistribute evenly throughout the meat.
Notes
Top your finished steaks with optional garnishes if desired, such as fresh chopped parsley or scallions, caramelized onions, or a savory steak sauce.
Cooked steak will keep well when stored in an airtight container for up to 3-4 days in the refrigerator.
Nutrition
Serving: 8oz
Calories: 572 kcal
Carbohydrates: 0.01g
Protein: 46g
Fat: 43g
Saturated Fat: 21g
Polyunsaturated Fat: 2g
Monounsaturated Fat: 18g
Trans Fat: 0.5g
Cholesterol: 168mg
Sodium: 7184mg
Potassium: 613mg
Sugar: 0.01g
Vitamin A: 384IU
Calcium: 24mg
Iron: 4mg
Course: Main, Main Course
Cuisine: American
Author: Sommer Collier
Cook It? Love It? Rate It!
YOU can help this recipe RANK on Google – TAP 5 STARS so other hungry people can find it. Thank you!