
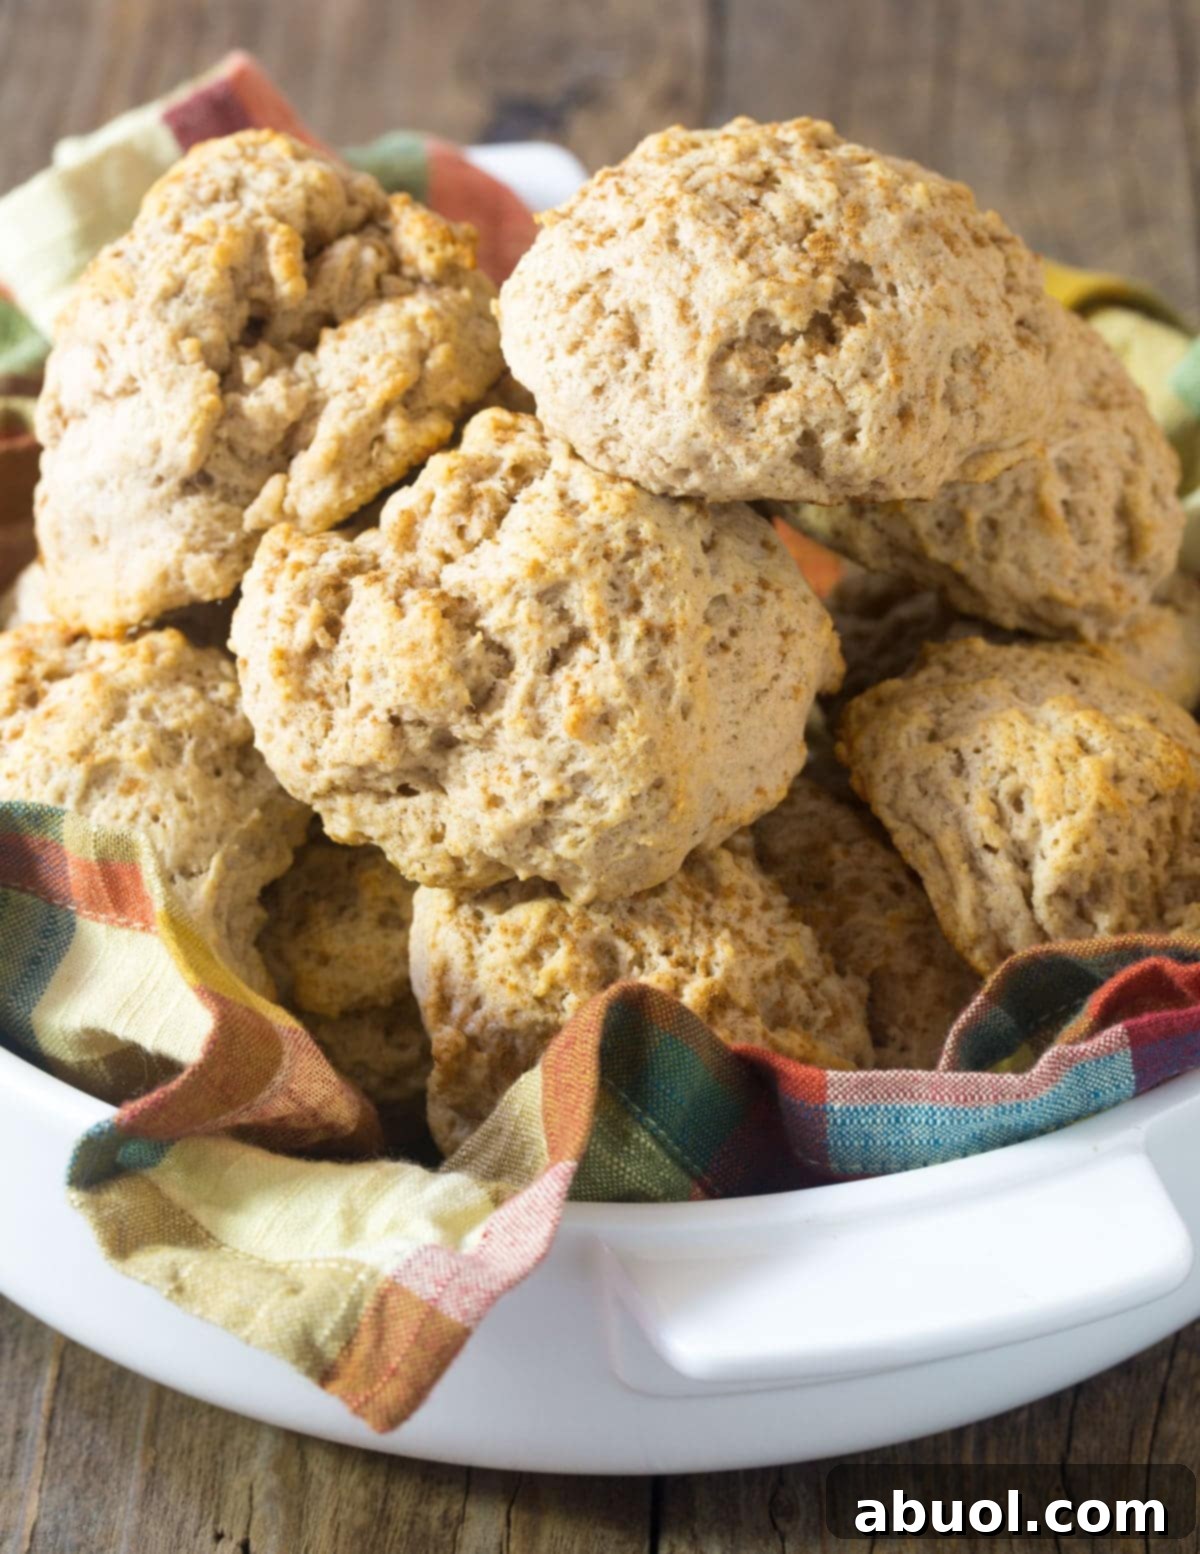
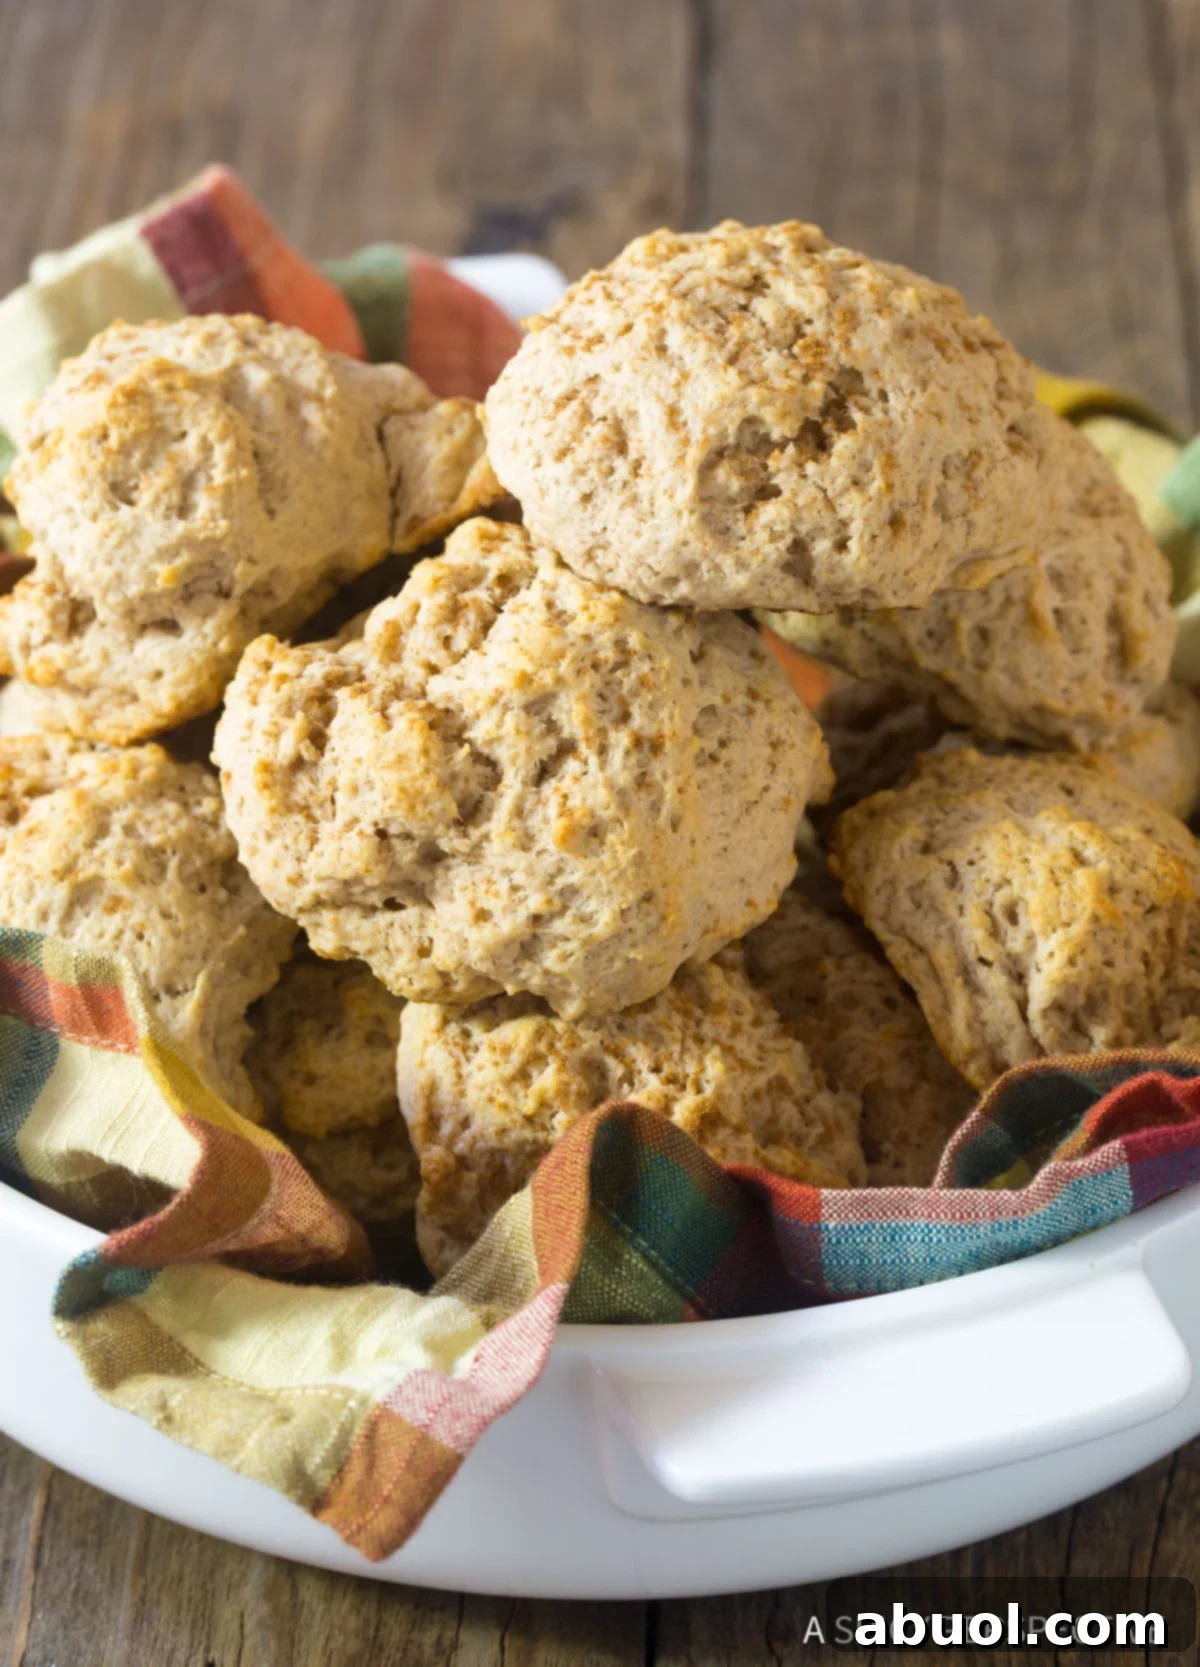
Easy Cinnamon Drop Biscuits Recipe – Experience the ultimate comfort food with these fluffy and sweetly spiced quick breads that come together in a hurry! Tender, aromatic, and incredibly simple to make, these cinnamon drop biscuits are not just a wonderful addition to your holiday table but a delightful treat for any day of the year. Forget complicated baking; this recipe is designed to help you create bakery-quality biscuits with minimal effort, making you look like a seasoned baker whether you’re a beginner or an expert.
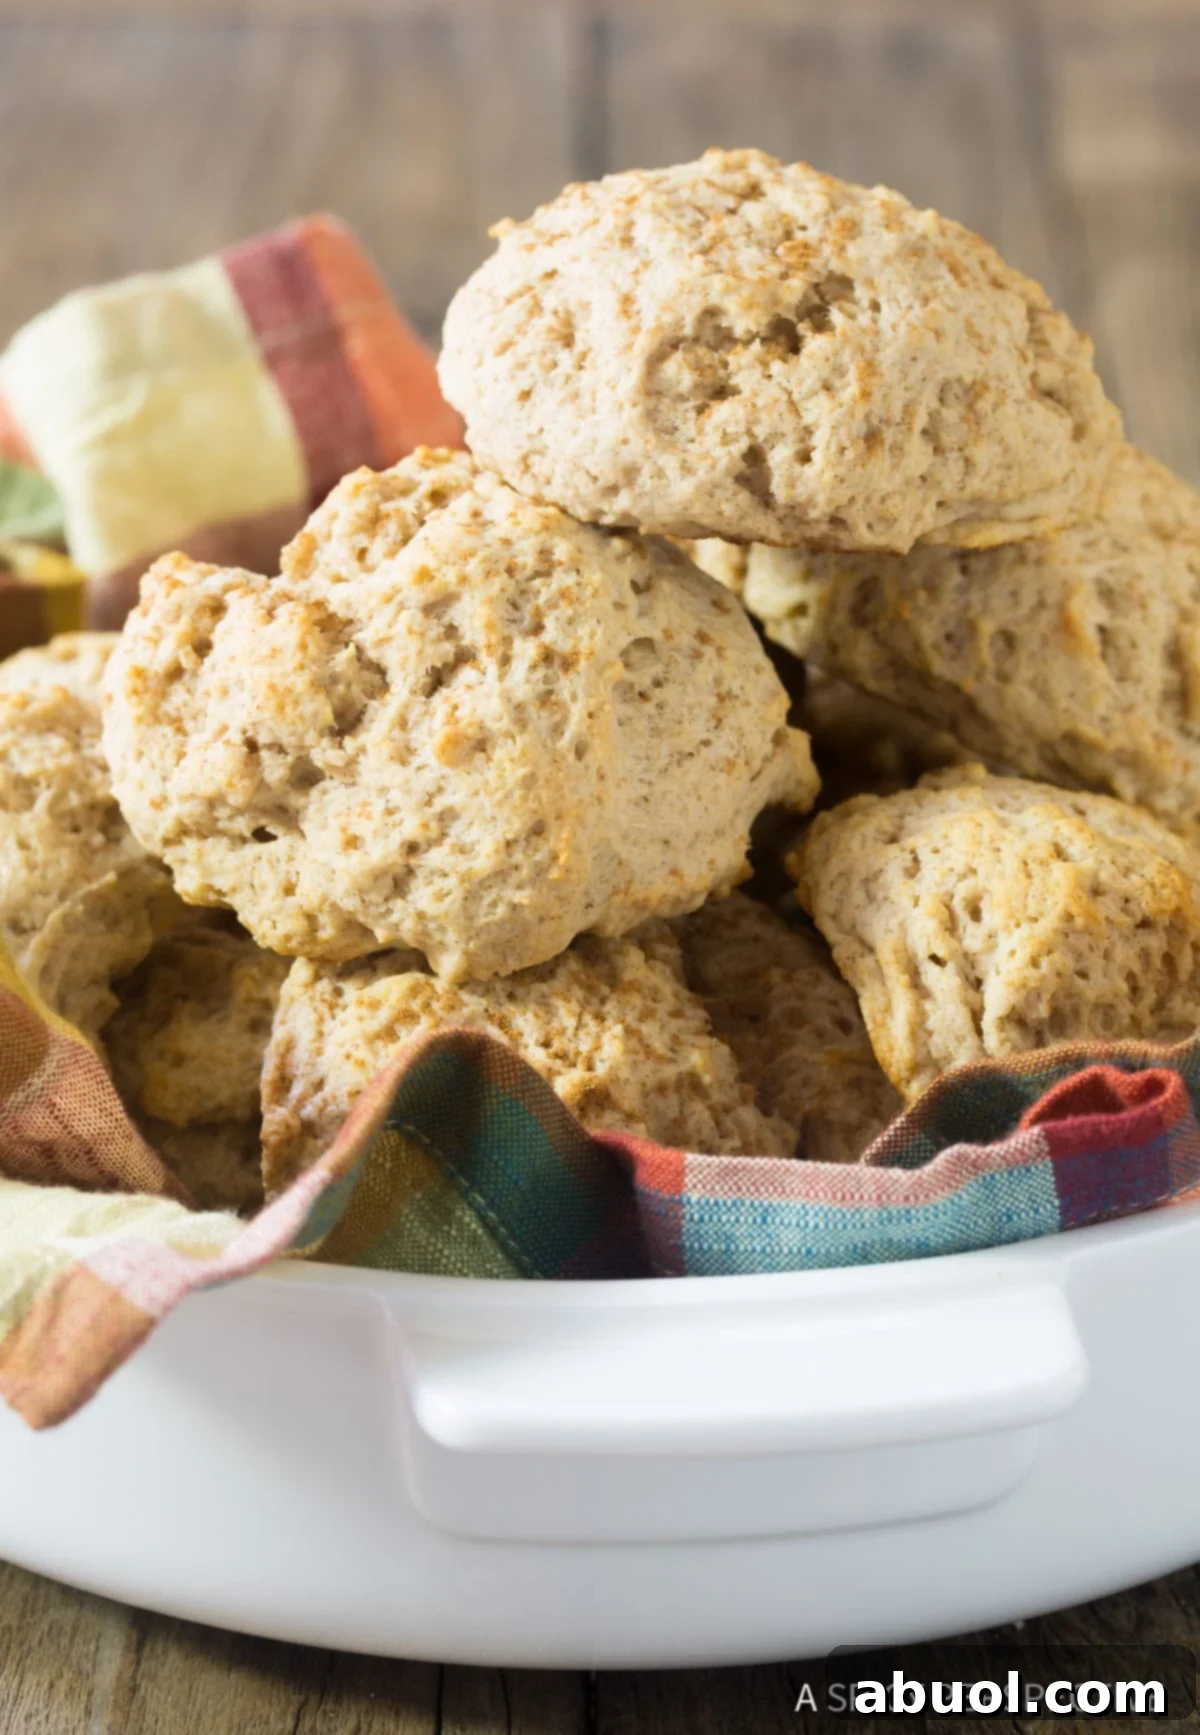
Cinnamon Biscuits: The Joy of Easy Baking For All
Many aspiring bakers are often intimidated by the thought of bread-making, imagining hours spent kneading, proofing, and wrestling with complex doughs. But what if we told you that creating warm, soft, and delicious biscuits could be incredibly simple? Today is your day to cast aside those baking fears! This recipe for Easy Cinnamon Drop Biscuits is designed to be accessible for everyone, from absolute novices to experienced home cooks looking for a quick and satisfying baking project. You’ll be able to impress your friends and family with a batch of these delightful quick breads, perfect for holiday gatherings or spontaneous weeknight treats.
Biscuits and scones were among the first types of bread I truly mastered when I began my baking journey many years ago. They fall under the “quick bread” category, which means they rely on leavening agents like baking powder rather than yeast. This is fantastic news because it eliminates the need for any yeast activation or lengthy proofing periods, significantly cutting down on preparation time and complexity. This makes quick breads, and especially drop biscuits, an ideal choice for busy schedules or when a craving for fresh-baked goods strikes suddenly. However, while yeast isn’t a factor, there are a few crucial tips and tricks to ensure your biscuits emerge from the oven light, airy, and wonderfully tender, rather than flat, dense, or tough.
Secrets to Perfect Cinnamon Drop Biscuits: Essential Tips and Tricks
Achieving perfectly fluffy, tender biscuits isn’t magic; it’s about understanding and applying a few key principles. These tips are vital for any quick bread, but they are especially crucial for delicate drop biscuits where the goal is maximum tenderness and lift. Paying attention to these details will elevate your baking from good to extraordinary.
1. Keep Your Dough Cold: The Foundation of Fluffiness and Flakiness
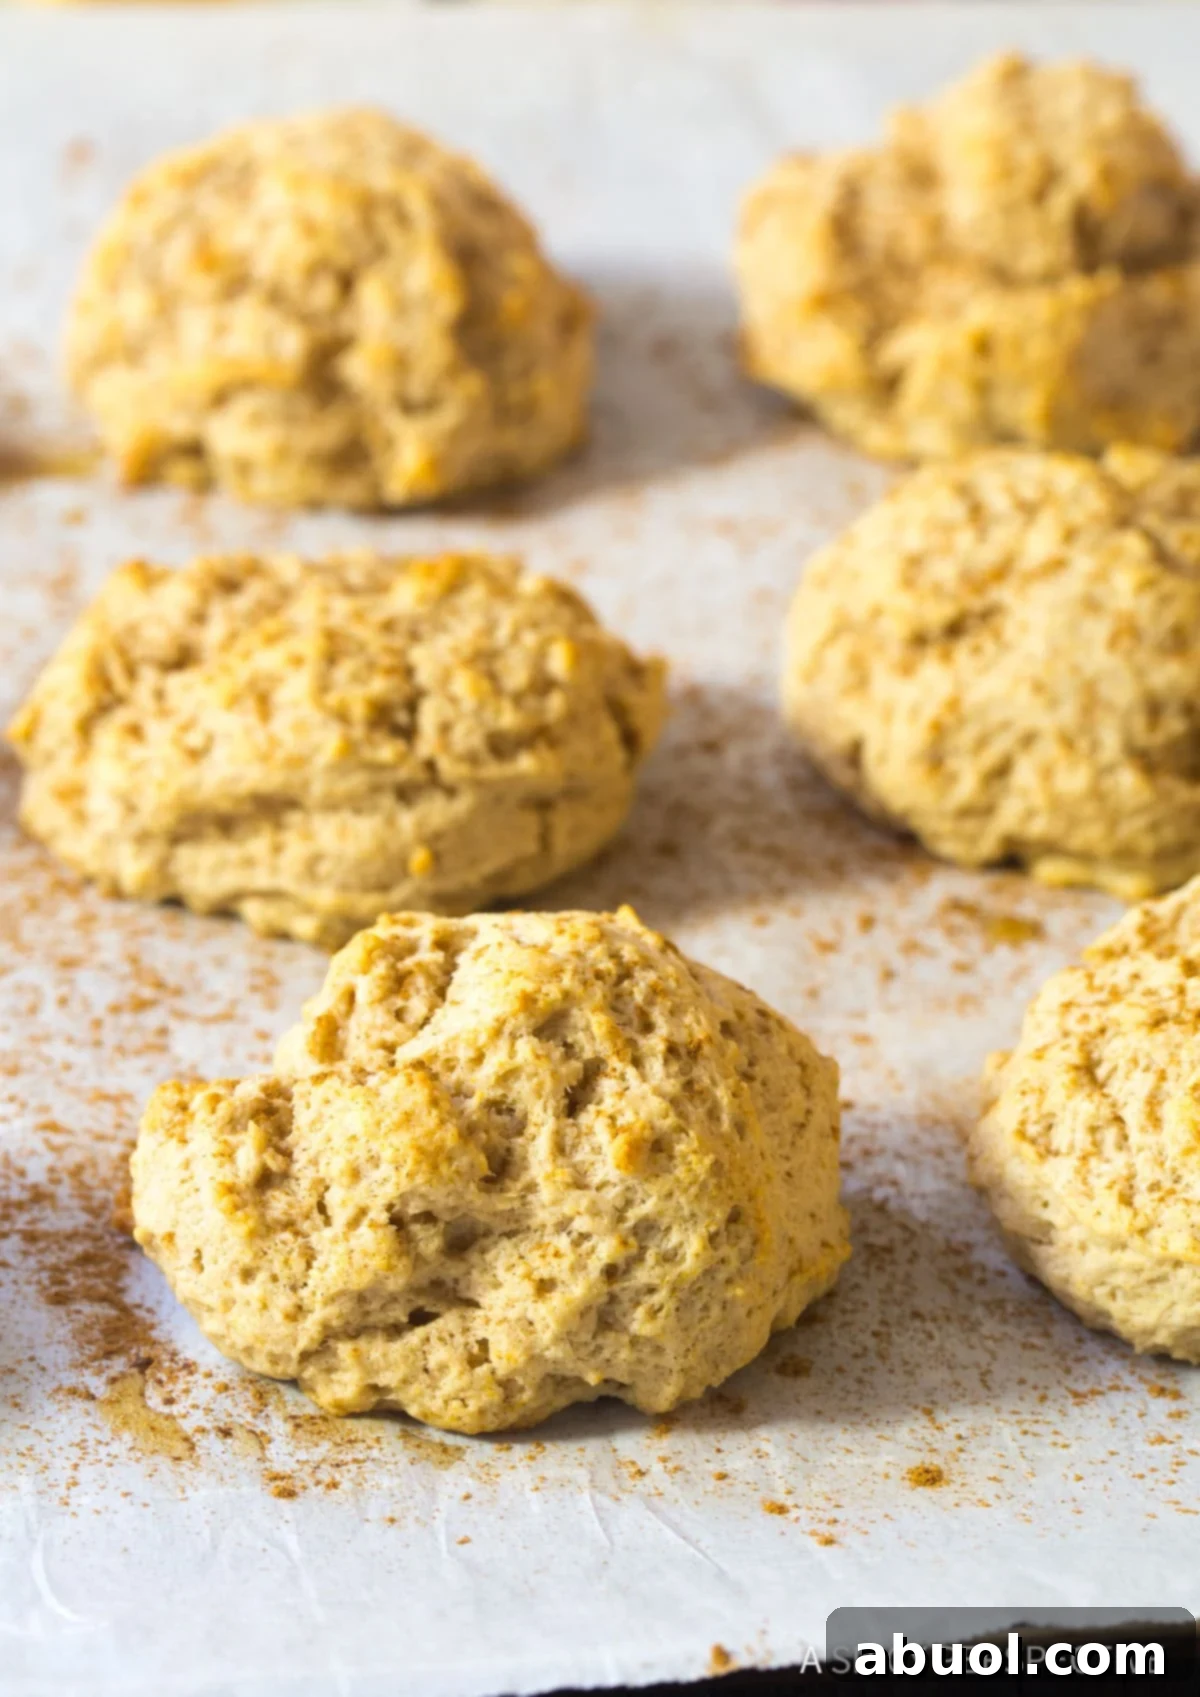
First and foremost, your dough MUST go into the oven cold. This is perhaps the most critical tip for achieving those coveted flaky layers and a significant rise. When tiny pieces of cold butter are encased in the dough and then hit the high heat of the oven, they melt rapidly and release steam. This steam creates small pockets within the dough, pushing it upwards and separating the layers, which results in that wonderfully light, airy, and flaky texture characteristic of excellent biscuits. If the butter is too warm before baking, it will melt prematurely, causing the biscuits to spread out on the baking sheet and become flat and dense instead of rising beautifully. The cold dough also allows the exterior to create a firm crust before the insides fully bake, helping to hold the shape as the biscuit expands.
The importance of cold ingredients cannot be overstated. From the butter to the buttermilk, ensure everything is well chilled. If you find that your dough has warmed up during preparation – perhaps from too much handling, a warm kitchen environment, or simply taking too long to mix – it’s imperative to place the dough back in the refrigerator for at least 15-20 minutes to chill thoroughly before baking. This simple step can make all the difference in the final outcome of your biscuits, transforming them from merely good to truly spectacular.
2. Avoid Over-mixing and Excessive Handling: Gentle is Best for Tenderness
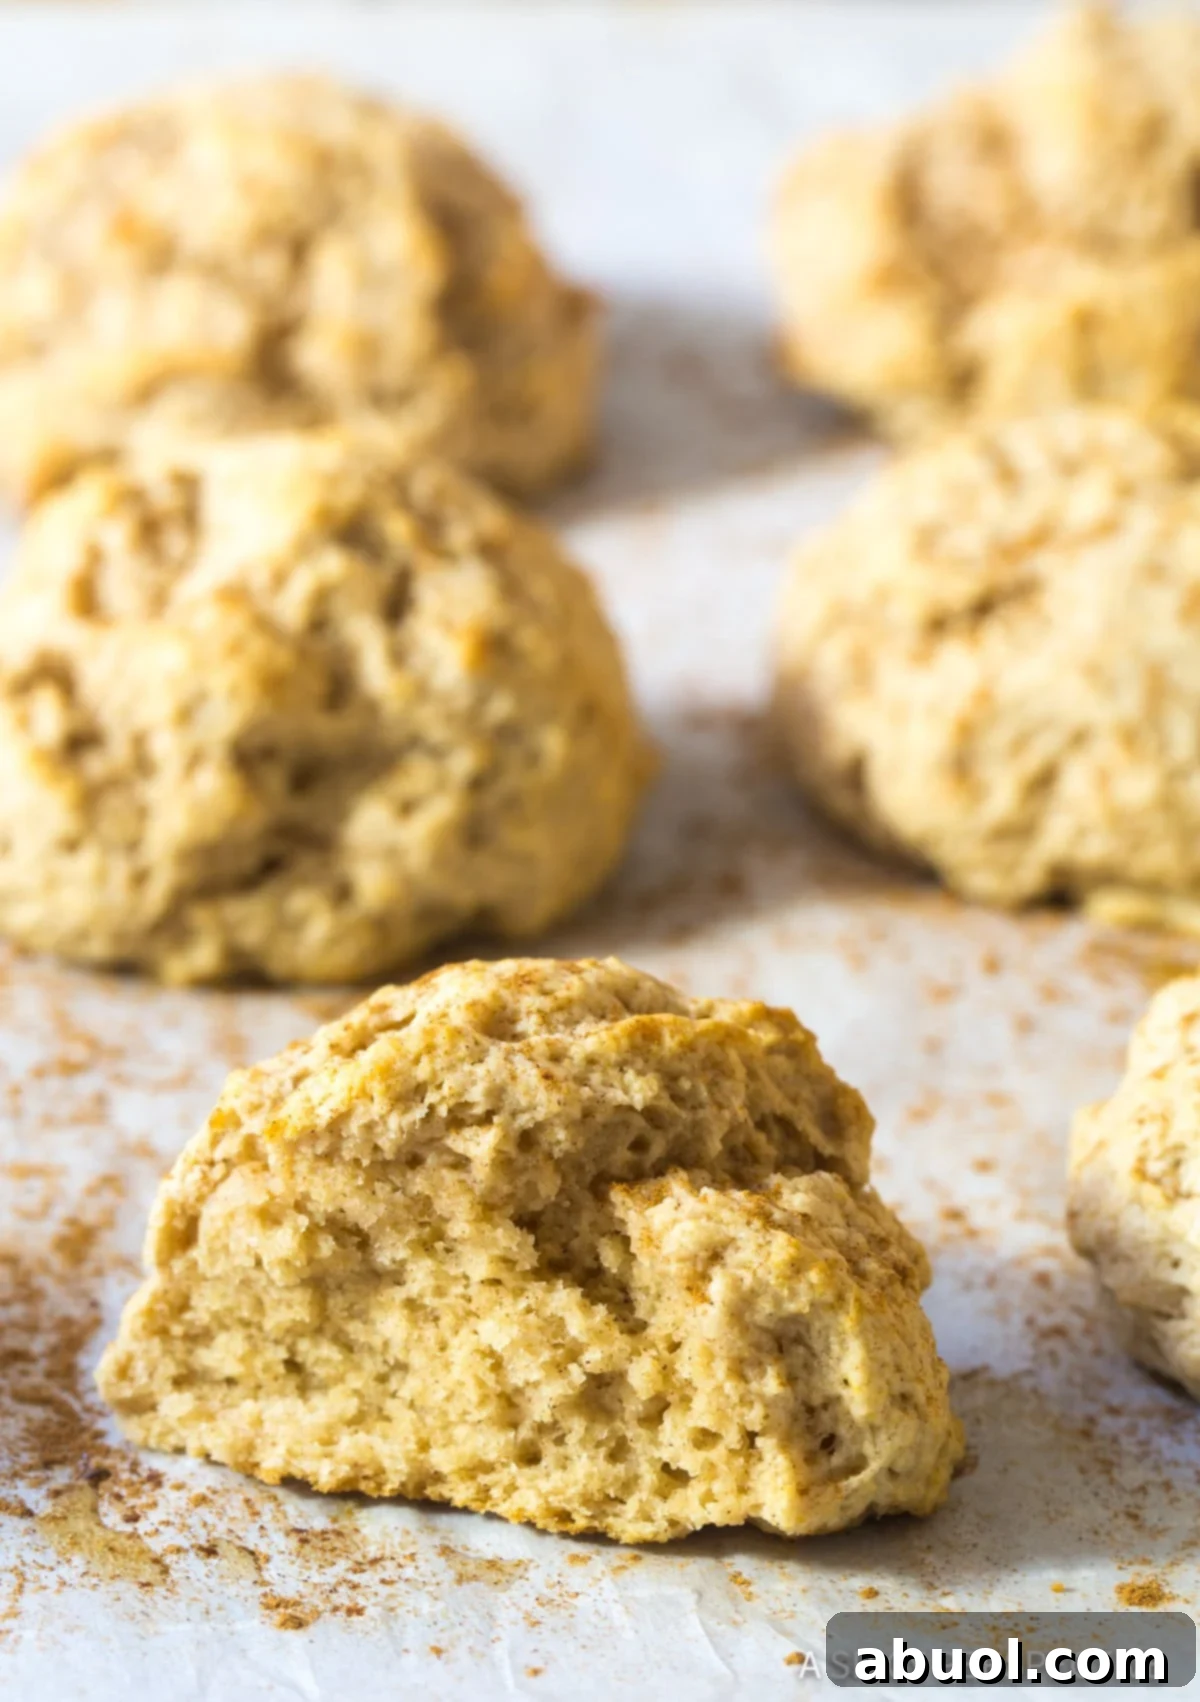
Second, it’s extremely important not to over-mix or handle the dough too much before baking. Over-mixing develops the gluten in the flour excessively, leading to a tough, chewy biscuit rather than a melt-in-your-mouth tender one. The goal with quick breads is minimal gluten development; we want just enough to hold the biscuit together, not to create a bread-like chewiness. Not only does excessive mixing and handling warm up the dough (working directly against our first crucial tip!), but it also directly impacts the texture in a negative way. For the most delicate, ethereal biscuits and quick breads, mix the dough just enough until the ingredients are barely combined. You should still see some small, distinct chunks of butter in the dough, which is a key indicator for developing those desirable flaky layers.
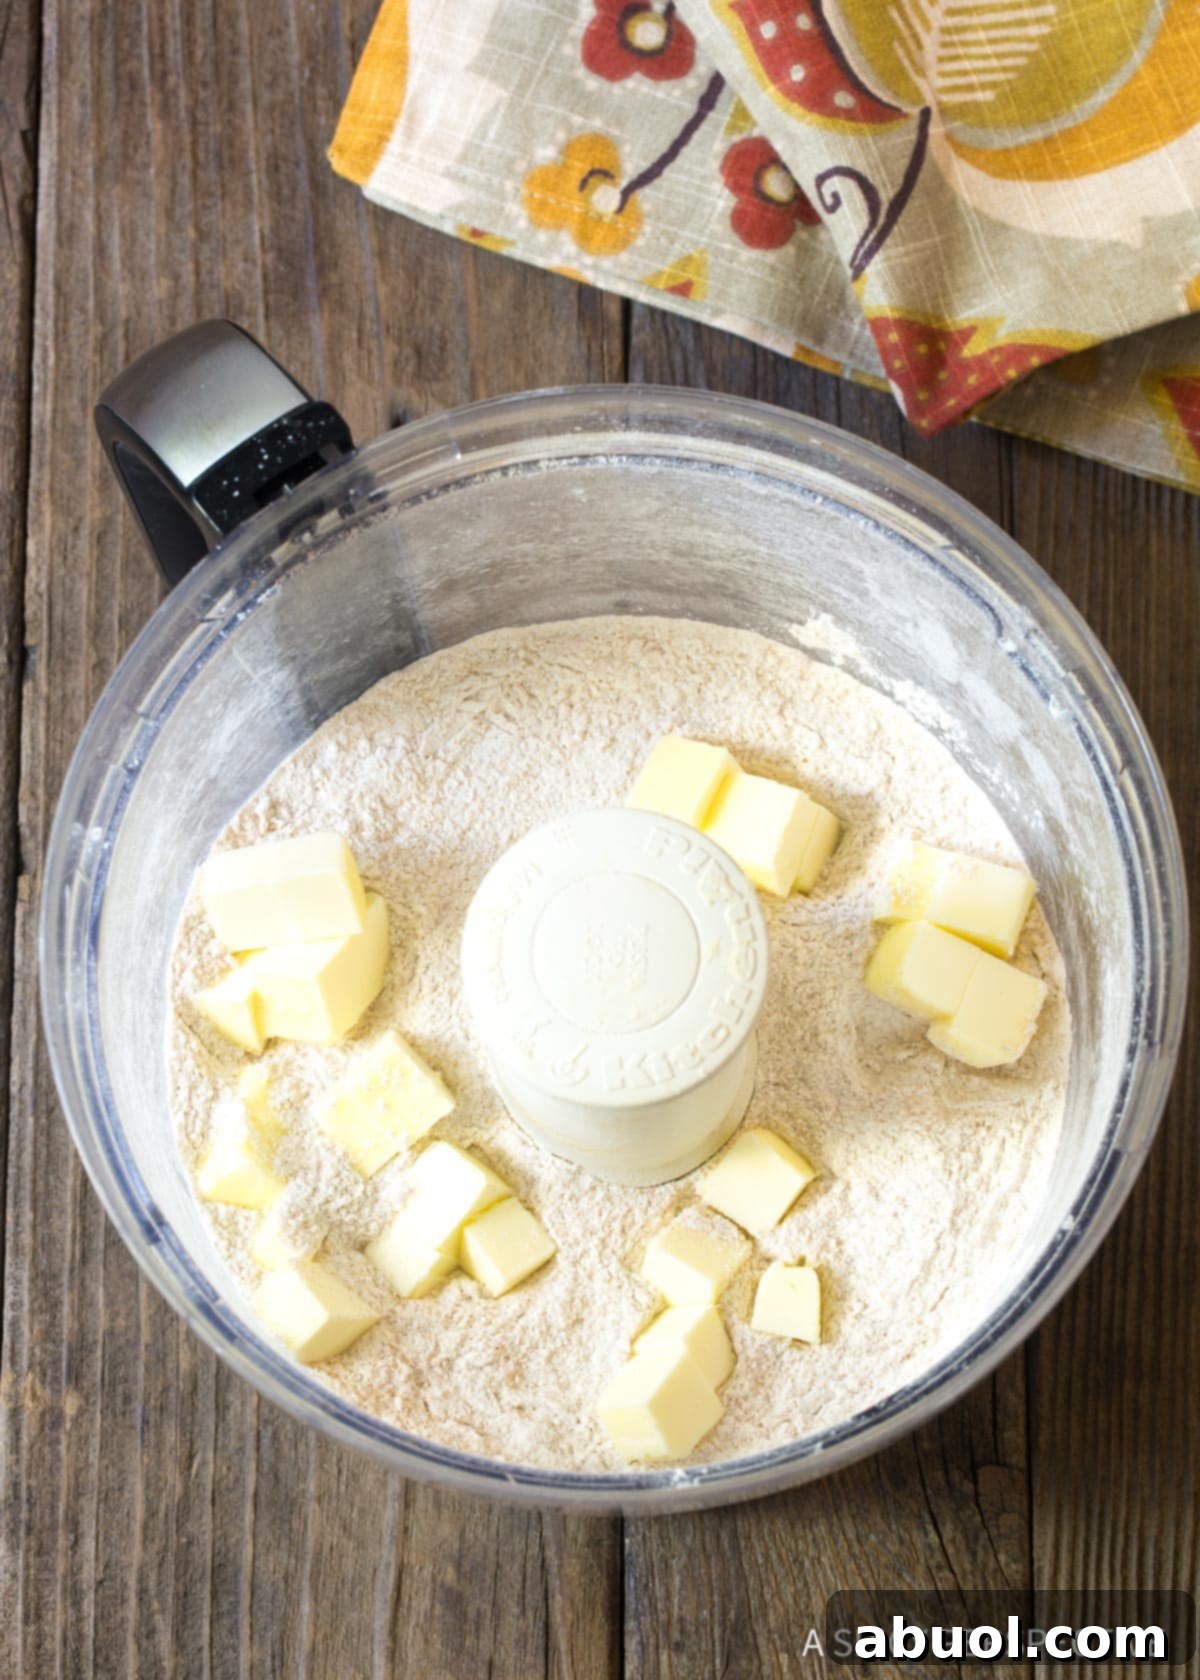
To keep handling to an absolute minimum and help maintain the dough’s cold temperature, I highly recommend using a food processor for mixing the dry ingredients and cutting in the butter. This method is incredibly efficient and prevents your warm hands from heating up the butter. Once the wet ingredients are added, pulse just until the dough comes together into a cohesive mass – literally, only a few pulses are usually enough. For portioning, a cookie scoop or ice cream scoop works wonders. It allows you to scoop and drop the dough directly onto the parchment-lined baking sheet without needing to touch it with your hands, ensuring consistent sizing and an even bake while preserving that delicate texture and precious coldness.
Why Cinnamon Drop Biscuits are a Must-Try Delicacy
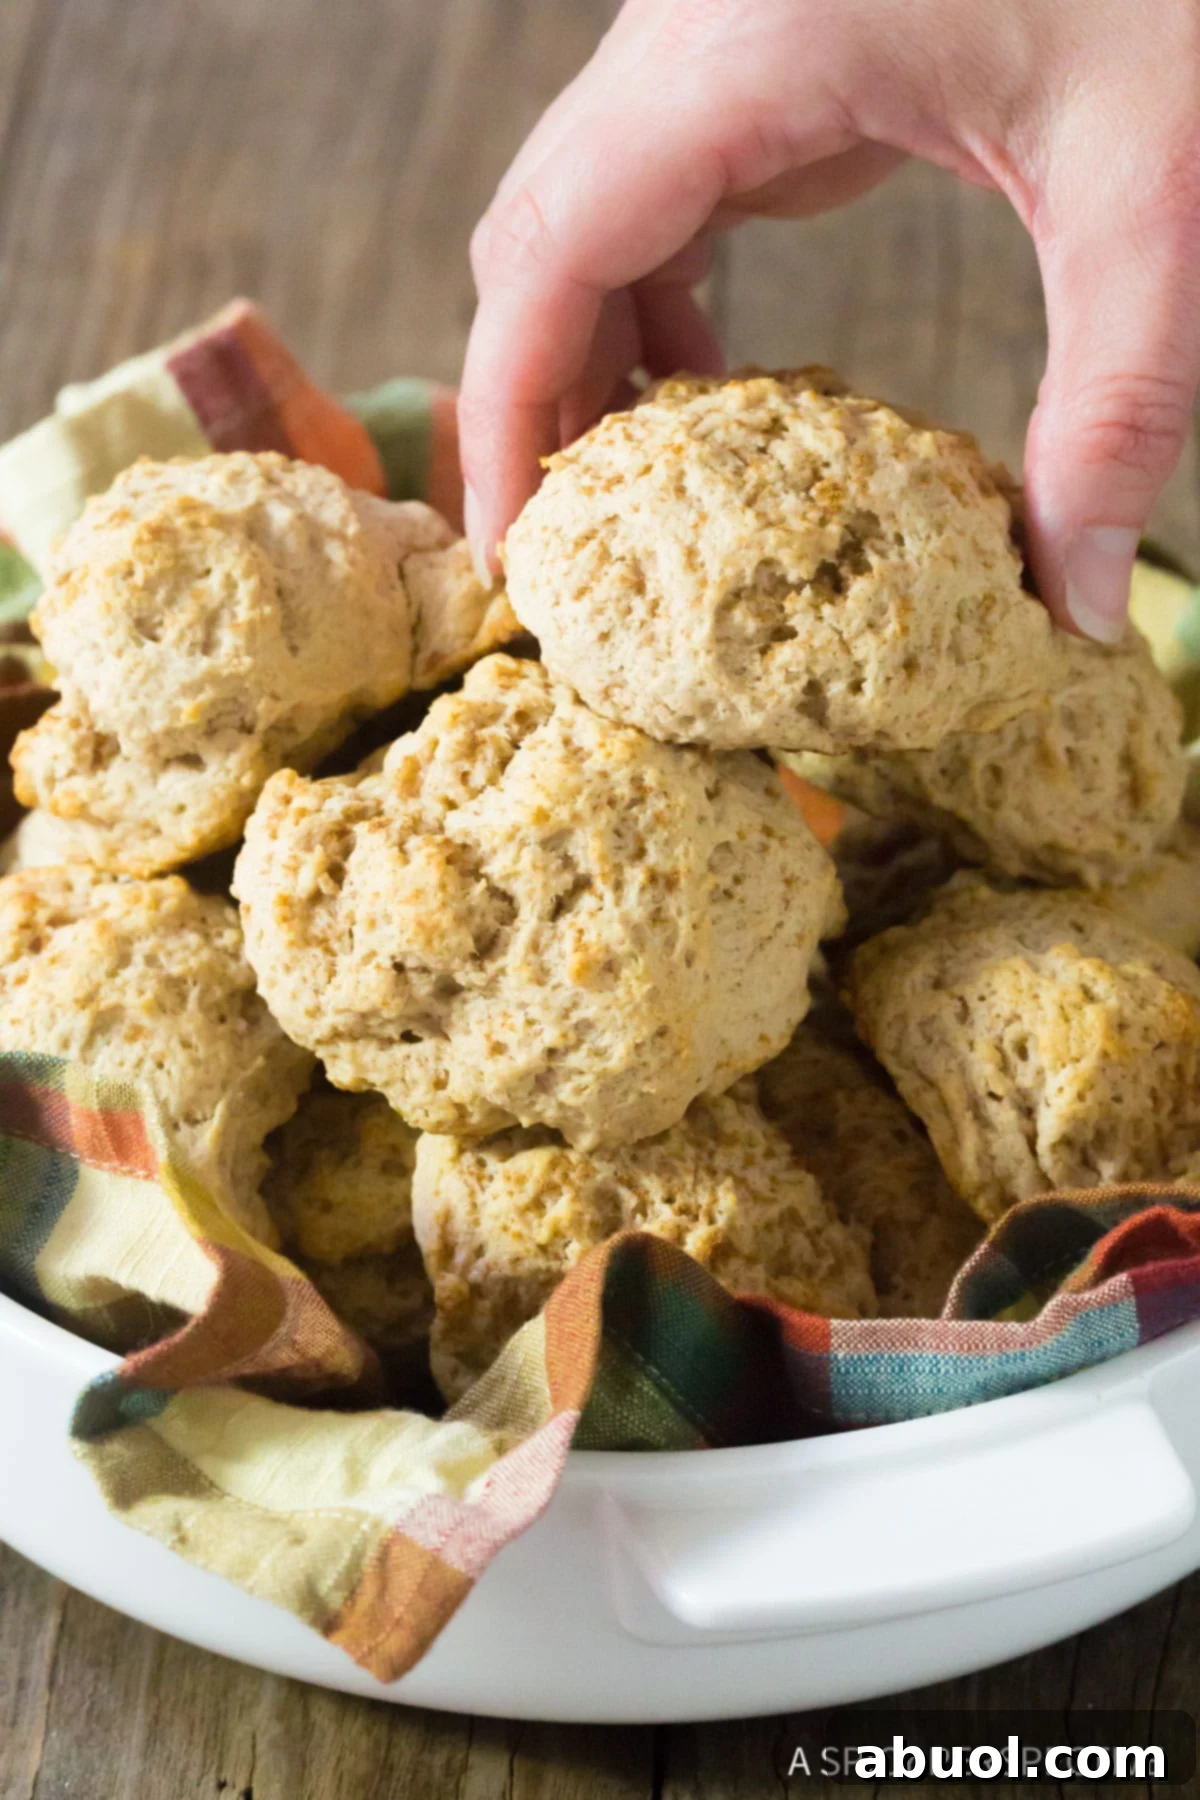
Today’s **Easy Cinnamon Drop Biscuits Recipe** offers a truly delightful and unique twist on traditional savory biscuits. These aren’t your typical breakfast companions for gravy; they are soft, airy, and exquisitely imbued with a comforting touch of sweetness and a warm, inviting kiss of cinnamon. They strike a perfect balance of flavors, making them incredibly versatile and a standout treat. Their subtle sweetness and inviting aroma allow them to elegantly bridge the gap between main courses and sweet desserts, adapting beautifully to various meal times and occasions.
Their inherent charm makes them an excellent accompaniment to a wide range of holiday dishes. Imagine these warm biscuits alongside a succulent Roasted Turkey, complementing a hearty Thanksgiving Stuffing, or serving as a sweet counterpoint to an elegant Christmas Beef Tenderloin. They add a touch of homespun comfort and sophistication to any festive spread. But their appeal isn’t limited to holidays. These biscuits are equally fantastic for everyday meals! Envision them alongside a creamy Fish Chowder, a comforting bowl of 15 Bean Soup, a flavorful Chicken Sausage with Baked Apples and Squash, or classic Smothered Chicken. Beyond meals, they can be served simply with butter, a dollop of fruit jam, or even a swirl of whipped cream for a simple, yet utterly satisfying dessert. Their versatility truly knows no bounds!
What Is A Drop Biscuit and Why Are They So Easy?
The term “drop biscuit” perfectly describes its wonderfully straightforward preparation method: you simply scoop the prepared dough and drop it onto a baking sheet. This ingenious technique completely eliminates the need for more complex and often messy steps associated with traditional biscuits, such as rolling out dough with a pin, folding it multiple times, and then cutting out individual shapes with a biscuit cutter. These are steps that can be intimidating, time-consuming, and require a certain level of skill and confidence for many bakers. This “no-fuss” and “hands-off” approach is precisely what makes drop biscuits an absolute game-changer, especially for those new to baking, short on time, or simply looking for a quick fix for fresh, homemade goodness.
The inherent beauty of drop biscuits lies in their rustic charm, irregular shapes, and unparalleled ease. As long as you adhere to the critical rule of keeping the dough cold when it enters the hot oven, you are virtually guaranteed to achieve perfect, fluffy, and tender biscuits every single time. This method not only saves a significant amount of time during preparation but also drastically reduces cleanup, as there’s no flour-dusted countertop to scrub. An added bonus that makes these Easy Cinnamon Drop Biscuits even more convenient is their make-ahead potential! You can easily prepare the dough up to a day in advance, cover it tightly, and refrigerate it. Then, when you’re ready to enjoy fresh-baked goodness, simply preheat your oven, scoop the chilled dough onto a baking sheet, and bake as directed. This flexibility is perfect for meal prepping, entertaining, or simply ensuring you can have warm, homemade biscuits on demand whenever the craving strikes.
Essential Ingredients for Easy Cinnamon Biscuits
Crafting these delightful cinnamon drop biscuits requires a handful of common pantry staples. The quality of your ingredients plays a significant role in the final taste and texture, so choosing fresh and appropriate items is key to baking success!
- All-Purpose Flour: This is the fundamental building block of our biscuits. While various types of flour exist, all-purpose flour is your most reliable choice for consistent results, providing a good balance of protein for structure without making the biscuits overly tough or chewy.
- Light Brown Sugar: This ingredient provides a gentle sweetness and a subtle, rich molasses flavor that exquisitely complements the warm notes of cinnamon. When measuring, remember that brown sugar is soft and fluffy, so it needs to be packed firmly into your measuring cups for accurate portioning, unless the recipe specifically states otherwise. This ensures you get the correct amount for perfect sweetness.
- Baking Powder: Our primary leavening agent, baking powder is responsible for the “quick” in quick bread. It reacts with the liquids in the dough to produce carbon dioxide bubbles, which are trapped in the dough and expand during baking, causing your biscuits to rise beautifully and achieve that irresistible fluffy texture. Always ensure your baking powder is fresh for maximum effectiveness.
- Ground Cinnamon: Without a doubt, cinnamon is the star of the show in this recipe! A generous amount of high-quality ground cinnamon infuses these biscuits with their signature warm, aromatic, and comforting spice, making them an ideal treat for cozy mornings, festive brunches, or holiday gatherings.
- Salt: A seemingly small but mighty ingredient! Salt is crucial for balancing the sweetness, enhancing the complex flavors of all the other ingredients, and ensuring your baked goods taste well-rounded and delicious, preventing them from being bland or overly sweet.
- Unsalted Butter: Always opt for unsalted butter when baking. This gives you complete control over the salt content in your recipe, allowing you to adjust it to your precise preference and ensuring a consistent flavor profile. Crucially, the butter should be very cold and cut into small cubes for the initial mixing stage, as this is fundamental for creating the desired flaky texture. Part of the butter is also melted to brush on top for a golden finish.
- Whole Buttermilk: Buttermilk is a secret weapon in biscuit making, prized for its ability to create incredibly tender and moist results. Its acidity reacts with the baking powder, generating extra lift and tenderizing the dough significantly. If you don’t have buttermilk on hand, don’t worry! You can easily make a substitute: simply add 1 teaspoon of white vinegar or lemon juice to a liquid measuring cup, then fill the rest of the cup with whole milk until it reaches 3/4 cup. Let this mixture sit for 5-10 minutes until it slightly curdles before using it in your recipe.
- Vanilla Extract: A splash of pure vanilla extract adds another layer of warm, sweet fragrance and complexity that elevates the overall flavor profile of these cinnamon biscuits, making them even more irresistible.
Step-by-Step: How to Make Easy Cinnamon Drop Biscuits
Follow these clear and concise instructions to bake a batch of homemade cinnamon drop biscuits that are sure to impress everyone who tastes them.
- Preheat Your Oven and Prepare Baking Sheet: Begin by preheating your oven to a high temperature of 450°F (230°C). A hot oven is essential for a quick rise and a beautifully golden crust. Line a large baking sheet with parchment paper; this simple step not only prevents sticking but also helps the biscuits puff up (rather than spread out) for a superior texture and appearance.
- Divide and Prepare Butter: Take 1 stick (1/2 cup) of your unsalted butter, cut it into small, even cubes, and immediately place these cubes back into the refrigerator to keep them thoroughly chilled. This cold butter is absolutely essential for creating those desired flaky layers. Separately, melt the remaining 1/4 cup butter in the microwave or on the stovetop. Allow this melted butter to cool slightly to just above room temperature. It should be liquid enough to brush over the biscuits but not warm enough to prematurely melt the cold butter in the dough or warm the dough itself.
- Combine Dry Ingredients: In the bowl of a food processor, combine the all-purpose flour, packed light brown sugar, baking powder, ground cinnamon, and salt. Pulse a few times to thoroughly combine these dry ingredients, ensuring they are evenly distributed. Next, add the chilled butter cubes to the food processor. Pulse the mixture in short bursts until the butter is cut into pea-sized pieces. It’s perfectly okay if some pieces are a bit larger; these larger chunks contribute to extra flakiness. The key here is to avoid over-processing at this stage.
- Incorporate Wet Ingredients: Add the cold whole buttermilk and the vanilla extract to the food processor with the dry ingredients and butter. Pulse just until the mixture comes together and forms a cohesive, smooth ball of dough. Be extremely careful not to over-mix; as soon as the dough forms a ball, stop processing immediately to prevent gluten development and maintain tenderness.
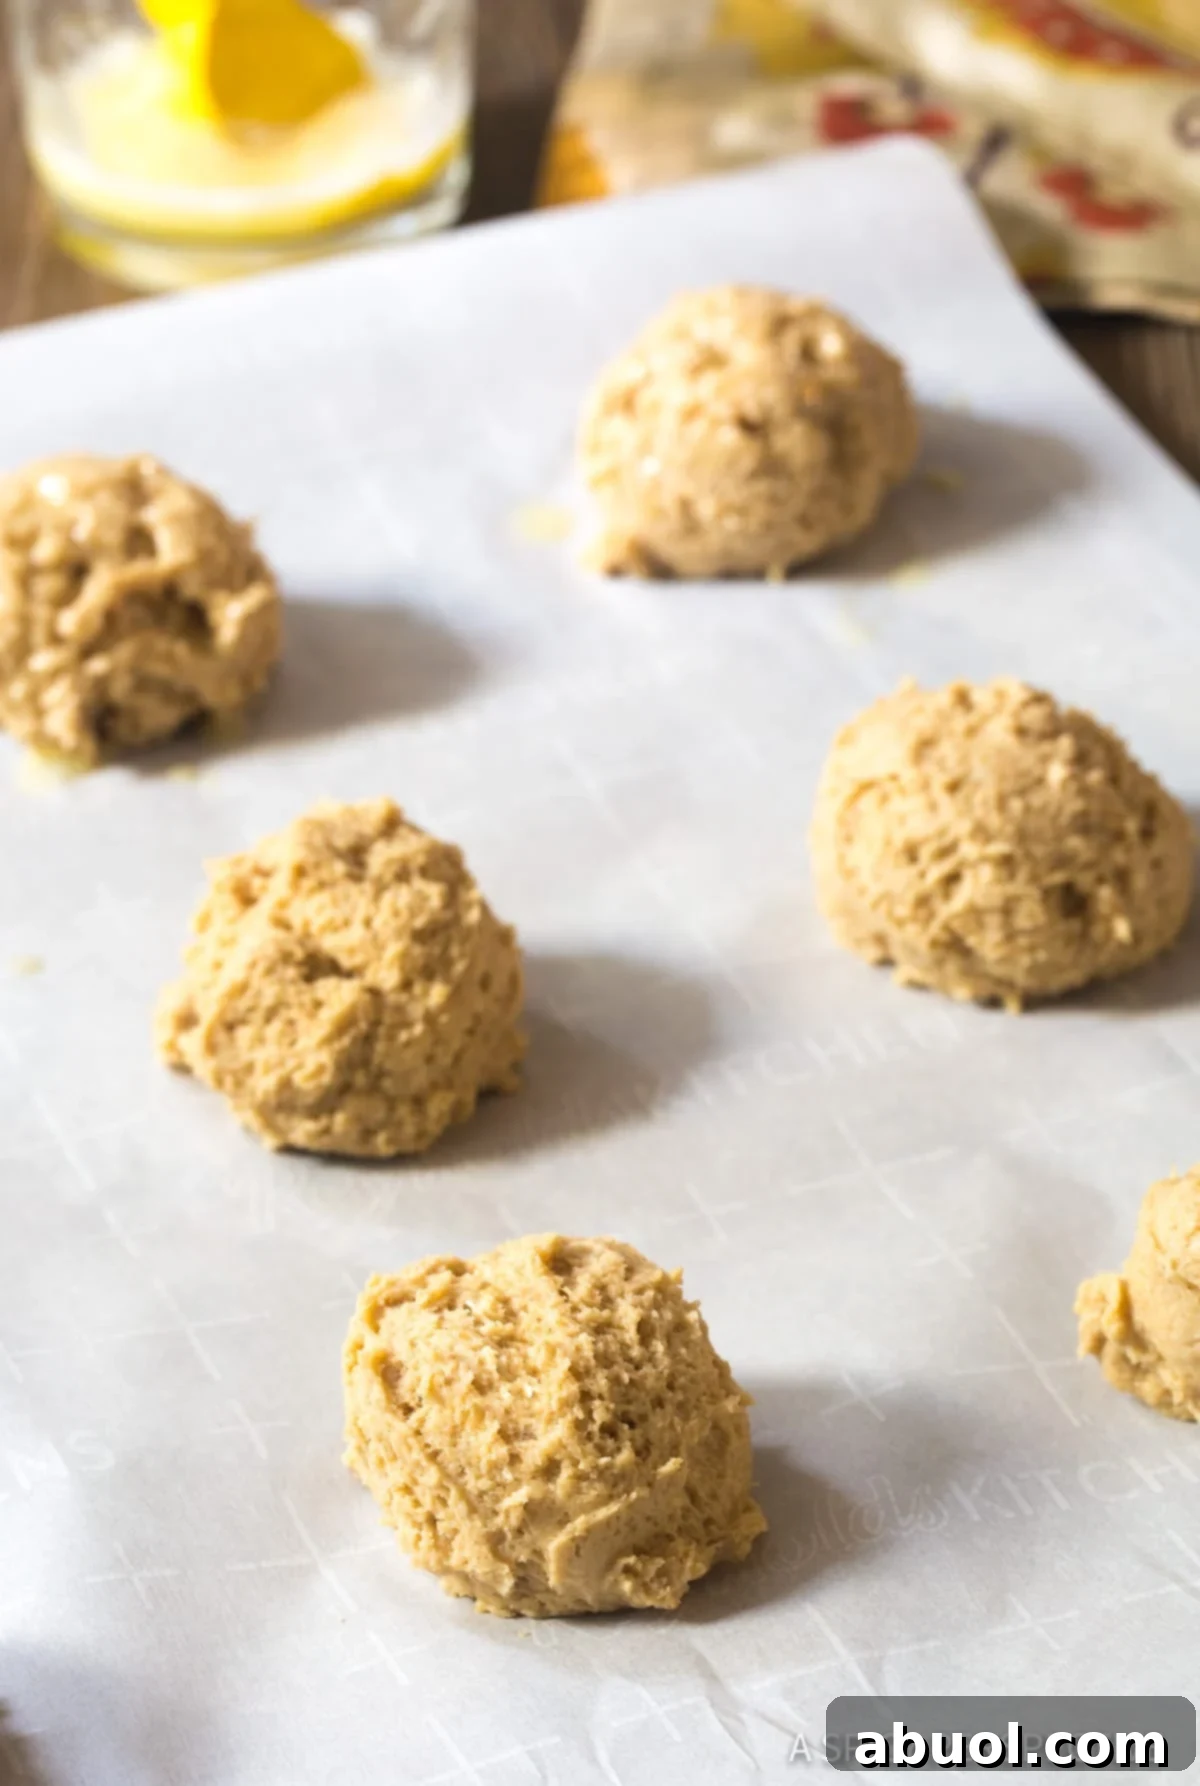
- Portion Hands-Free: While the dough is still refreshingly cold, use a 3-tablespoon scoop (or a similar-sized ice cream scoop) to portion out approximately 14 biscuits. Drop these mounds of dough directly onto the prepared baking sheet, ensuring you leave about 2 inches of space between each for slight spreading. This “drop” method is wonderfully efficient and mess-free – no need for rolling pins, messy flour on your counters, or biscuit cutters!
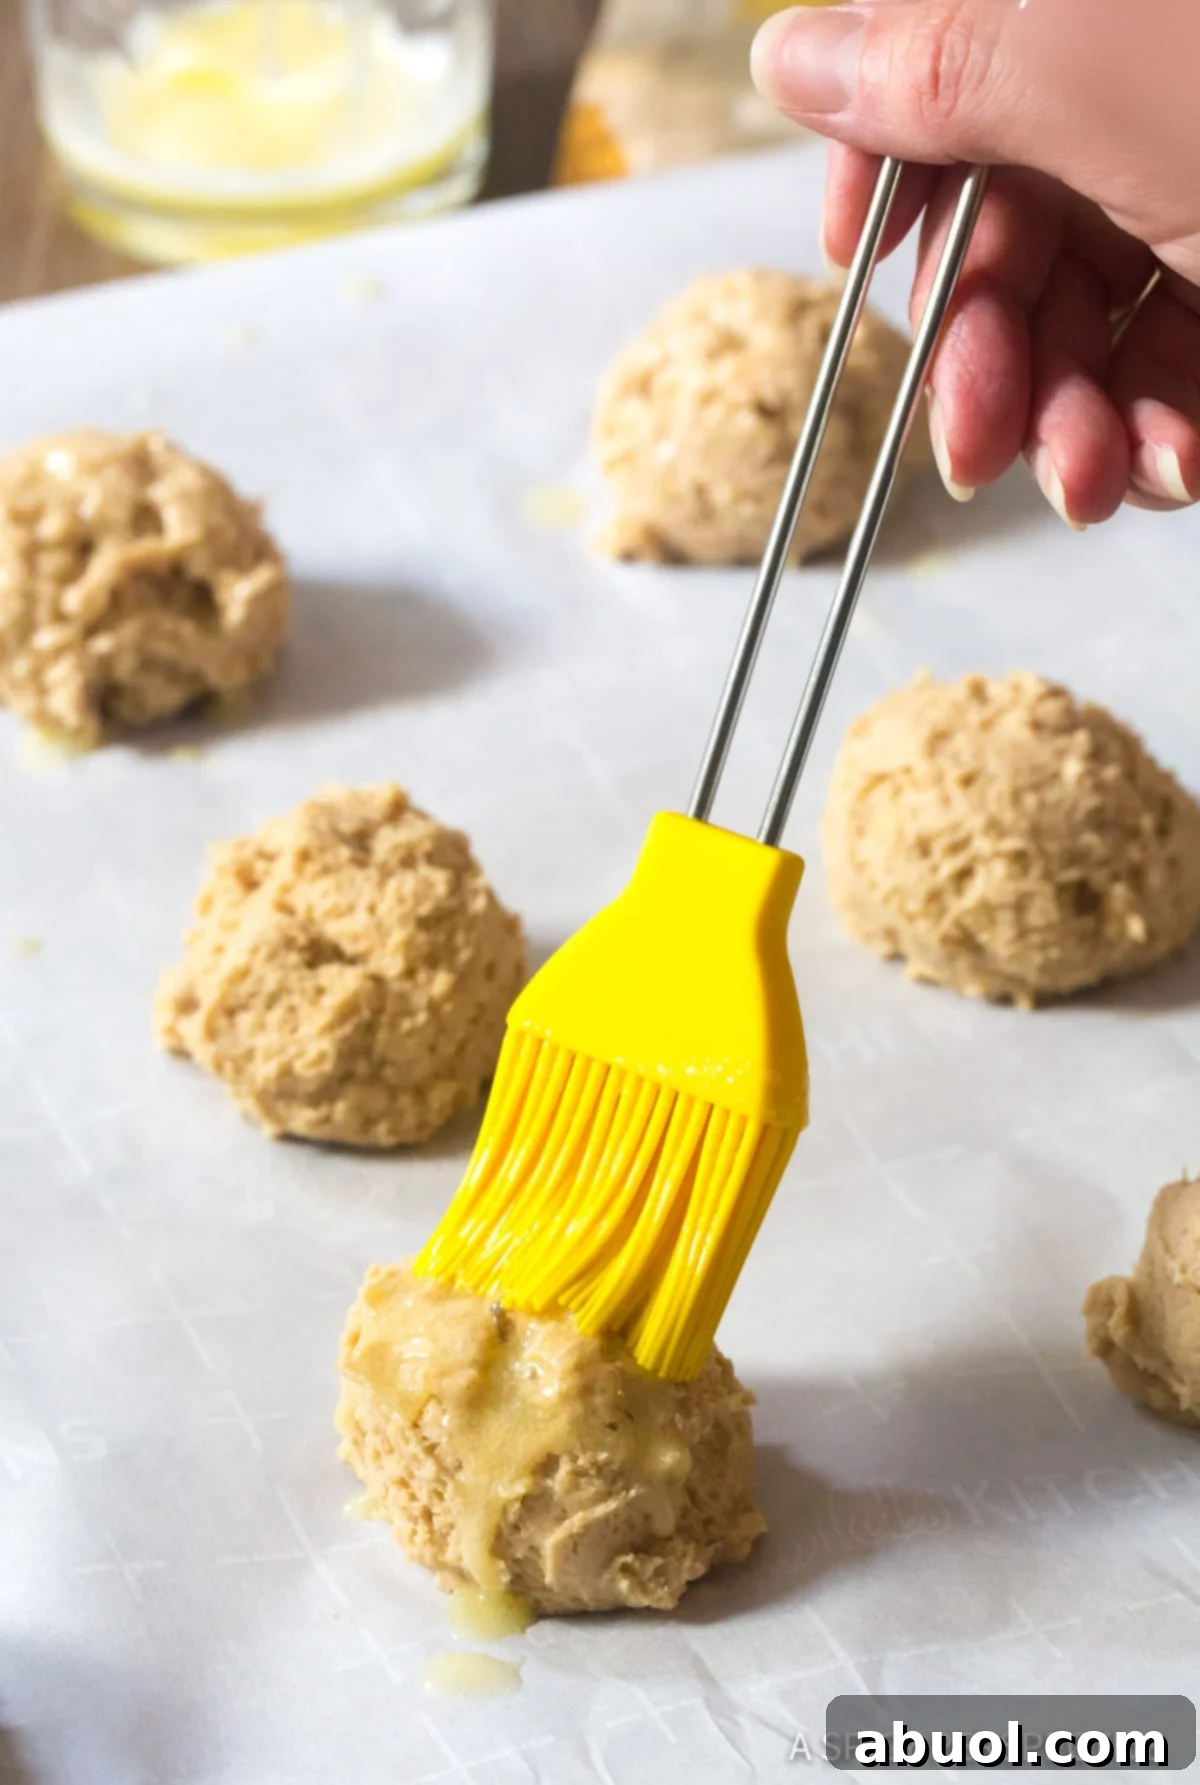
- Brush and Bake: Work quickly to brush the tops of the unbaked biscuits with the slightly cooled melted butter you prepared earlier. This step not only adds a rich depth of flavor but also helps them achieve a beautiful golden-brown color and a slightly crisp top crust. Immediately place the baking sheet into your preheated oven. Bake for 10-12 minutes, or until the biscuits are beautifully golden brown around the edges and have proudly puffed up.
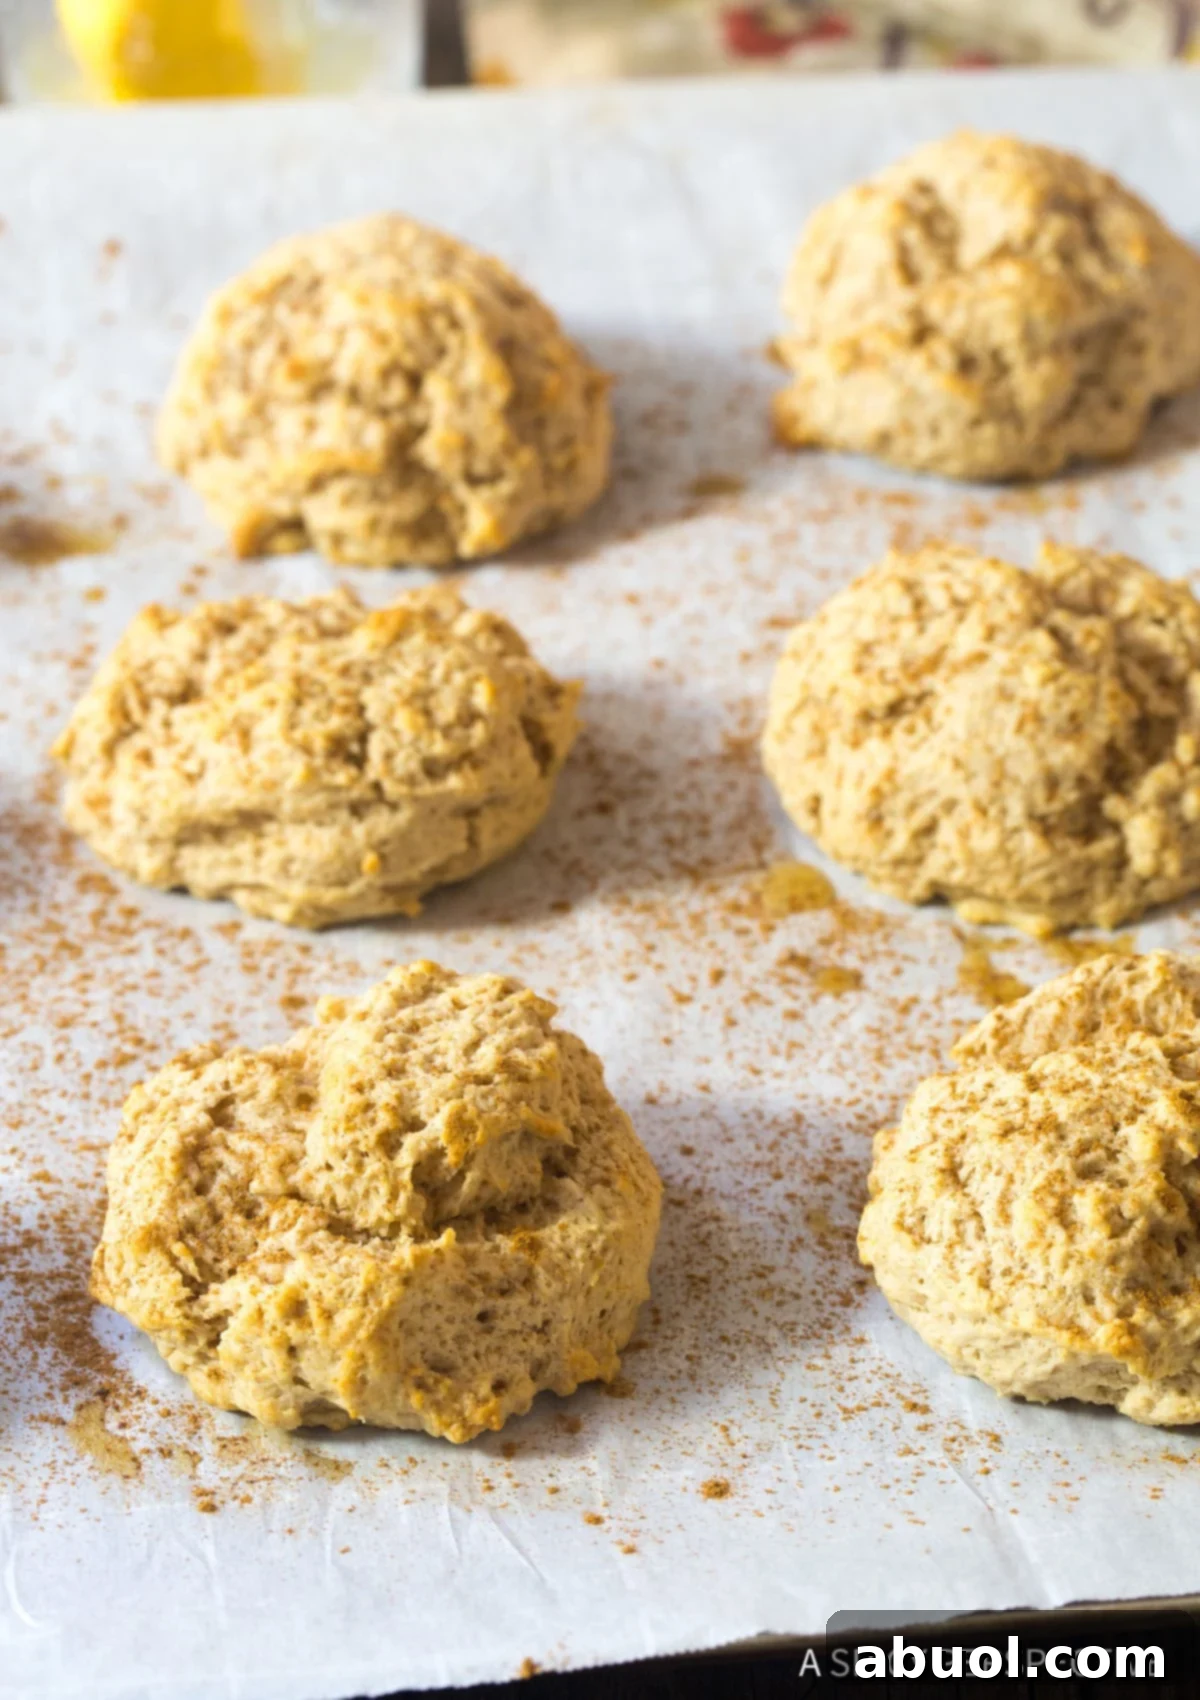
- Serve and Enjoy: Carefully remove the baked biscuits from the oven. If desired, for an extra aromatic touch, sprinkle the tops with a little additional ground cinnamon. For the best taste and tender texture, serve these warm, tender biscuits within 2 hours of baking. They are truly at their peak when fresh from the oven!
Biscuit Serving Suggestions and Creative Variations
These Easy Cinnamon Drop Biscuits are incredibly versatile and can be enjoyed in countless ways! For a simple yet satisfying breakfast, savor them warm with a generous pat of butter, a delicate drizzle of honey, or your favorite homemade fruit jam. They also make a fantastic and inviting addition to any brunch spread, perfectly complementing dishes like scrambled eggs, crispy bacon, or a bowl of fresh seasonal fruit. For those with a sweeter tooth, consider serving them as a delightful dessert with a light cream cheese glaze, a dusting of powdered sugar, or even alongside a scoop of vanilla ice cream.
Feeling adventurous and want to customize your batch? Here are a few creative variations to try, allowing you to personalize these already delicious biscuits:
- Nutty Cinnamon Biscuits: For an added layer of texture and a rich, earthy flavor, fold in 1/4 cup of finely chopped pecans or walnuts with the dry ingredients before adding the butter.
- Orange Zest Twist: Introduce a bright, citrusy note that beautifully complements the warmth of cinnamon by adding 1 teaspoon of freshly grated orange zest to the dry ingredients.
- Apple-Cinnamon Delight: For a taste reminiscent of apple pie, incorporate 1/4 cup of finely diced, peeled apple (Granny Smith or Honeycrisp work wonderfully) into the dough along with the wet ingredients.
- Maple Glaze: Whisk together 1 cup powdered sugar, 2 tablespoons maple syrup, and 1-2 tablespoons milk. Drizzle over warm biscuits for an extra sweet finish.
Storage and Reheating Your Cinnamon Drop Biscuits
While these biscuits are best enjoyed fresh from the oven, you can certainly store and reheat them to enjoy later.
- Storing Baked Biscuits: Once completely cooled, store leftover cinnamon drop biscuits in an airtight container at room temperature for up to 2-3 days. For longer storage, you can freeze them for up to 1 month.
- Reheating: To reheat, place biscuits on a baking sheet and warm them in a preheated oven at 300°F (150°C) for about 5-7 minutes, or until warmed through. You can also quickly reheat them in a toaster oven. Avoid the microwave, as it can make them tough.
- Make-Ahead Dough: As mentioned, the dough can be prepped up to a day ahead. Simply cover the dough tightly and refrigerate. When ready to bake, preheat your oven and scoop the chilled dough onto baking sheets, then proceed with the brushing and baking steps. This is a fantastic time-saver!
Troubleshooting Common Biscuit Problems
Even with the easiest recipes, sometimes things don’t go exactly as planned. Here are some common biscuit issues and how to avoid or fix them:
- Biscuits are Flat and Hard: This is almost always due to the butter being too warm or the dough being over-mixed. Remember: cold butter and minimal handling are your best friends for tall, flaky biscuits. Ensure your oven is fully preheated to the correct high temperature.
- Biscuits are Tough and Chewy: This is a classic sign of over-mixing the dough. The more you work the dough, the more gluten develops, leading to a tough texture. Mix only until the ingredients are just combined.
- Biscuits are Dry: This could be from too much flour (always measure accurately, especially for brown sugar being packed) or baking for too long. Keep an eye on your oven and remove them as soon as they are golden brown.
More Delicious Quick Bread Recipes to Explore
If you’ve loved the incredible ease and comforting flavor of these Cinnamon Drop Biscuits, you’ll surely enjoy exploring other quick bread recipes. They offer similar simplicity and versatility, perfect for any time you crave fresh-baked goodness without the lengthy wait associated with yeast breads. Expand your baking repertoire with these dazzling quick bread recipes:
- Fluffy Southern Cathead Biscuits
- Maple Bacon Corn Muffins
- Tomato Basil Focaccia Bread
- Copycat Red Lobster Cheddar Bay Biscuits
- Crazy Bread Recipe (Homemade Breadsticks)
- Best Sweet Potato Biscuits

Easy Cinnamon Drop Biscuits
A light, fluffy, and sweetly-spiced quick bread, perfect for the holidays, brunch, or any occasion. Serve warm with butter, jam, or a chocolate spread for an extra treat.
Prep Time: 10 minutes
Cook Time: 10-12 minutes
Total Time: 20-22 minutes
Servings: 14 biscuits
Author: Sommer Collier
Print Recipe
Ingredients
- 2 1/4 cups all-purpose flour
- 1/3 cup light brown sugar, packed
- 5 teaspoons baking powder
- 2 teaspoons ground cinnamon
- 1/2 teaspoon salt
- 3/4 cup unsalted butter, divided (1 stick or 1/2 cup for cubing and chilling, 1/4 cup for melting)
- 3/4 cup whole buttermilk, cold (or homemade substitute: 3/4 cup milk + 1 tsp white vinegar/lemon juice)
- 1 teaspoon vanilla extract
Instructions
- Preheat your oven to 450°F (230°C). Line a baking sheet with parchment paper.
- Cut 1 stick (1/2 cup) of butter into small cubes and place them back in the refrigerator to chill. Melt the remaining 1/4 cup butter and allow it to cool to just above room temperature.
- In a food processor, combine the flour, brown sugar, baking powder, cinnamon, and salt. Pulse to mix. Add the cold butter cubes and pulse until the butter is cut into pea-sized pieces.
- Add the cold buttermilk and vanilla extract. Pulse just until the mixture comes together into a cohesive ball of dough. Avoid over-mixing.
- Using a 3-tablespoon scoop, portion out the cold dough onto the prepared baking sheet, leaving some space between each biscuit for slight spreading.
- Quickly brush the tops of the biscuits with the cooled melted butter.
- Bake for 10-12 minutes, or until the biscuits are golden brown around the edges and well-risen.
- For an extra touch, sprinkle with additional cinnamon if desired. Serve warm, ideally within 2 hours of baking.
Notes
For convenience, the biscuit dough can be prepped up to a day ahead. Cover tightly and refrigerate. When ready to bake, simply preheat your oven and portion the chilled dough onto baking sheets, then proceed with brushing and baking as directed.
Nutrition Information (Per Serving)
Serving: 1 biscuit, Calories: 191kcal, Carbohydrates: 22g, Protein: 2g, Fat: 10g, Saturated Fat: 6g, Cholesterol: 27mg, Sodium: 101mg, Potassium: 193mg, Fiber: 0g, Sugar: 5g, Vitamin A: 325IU, Calcium: 90mg, Iron: 1.1mg
Course: Bread
Cuisine: American