
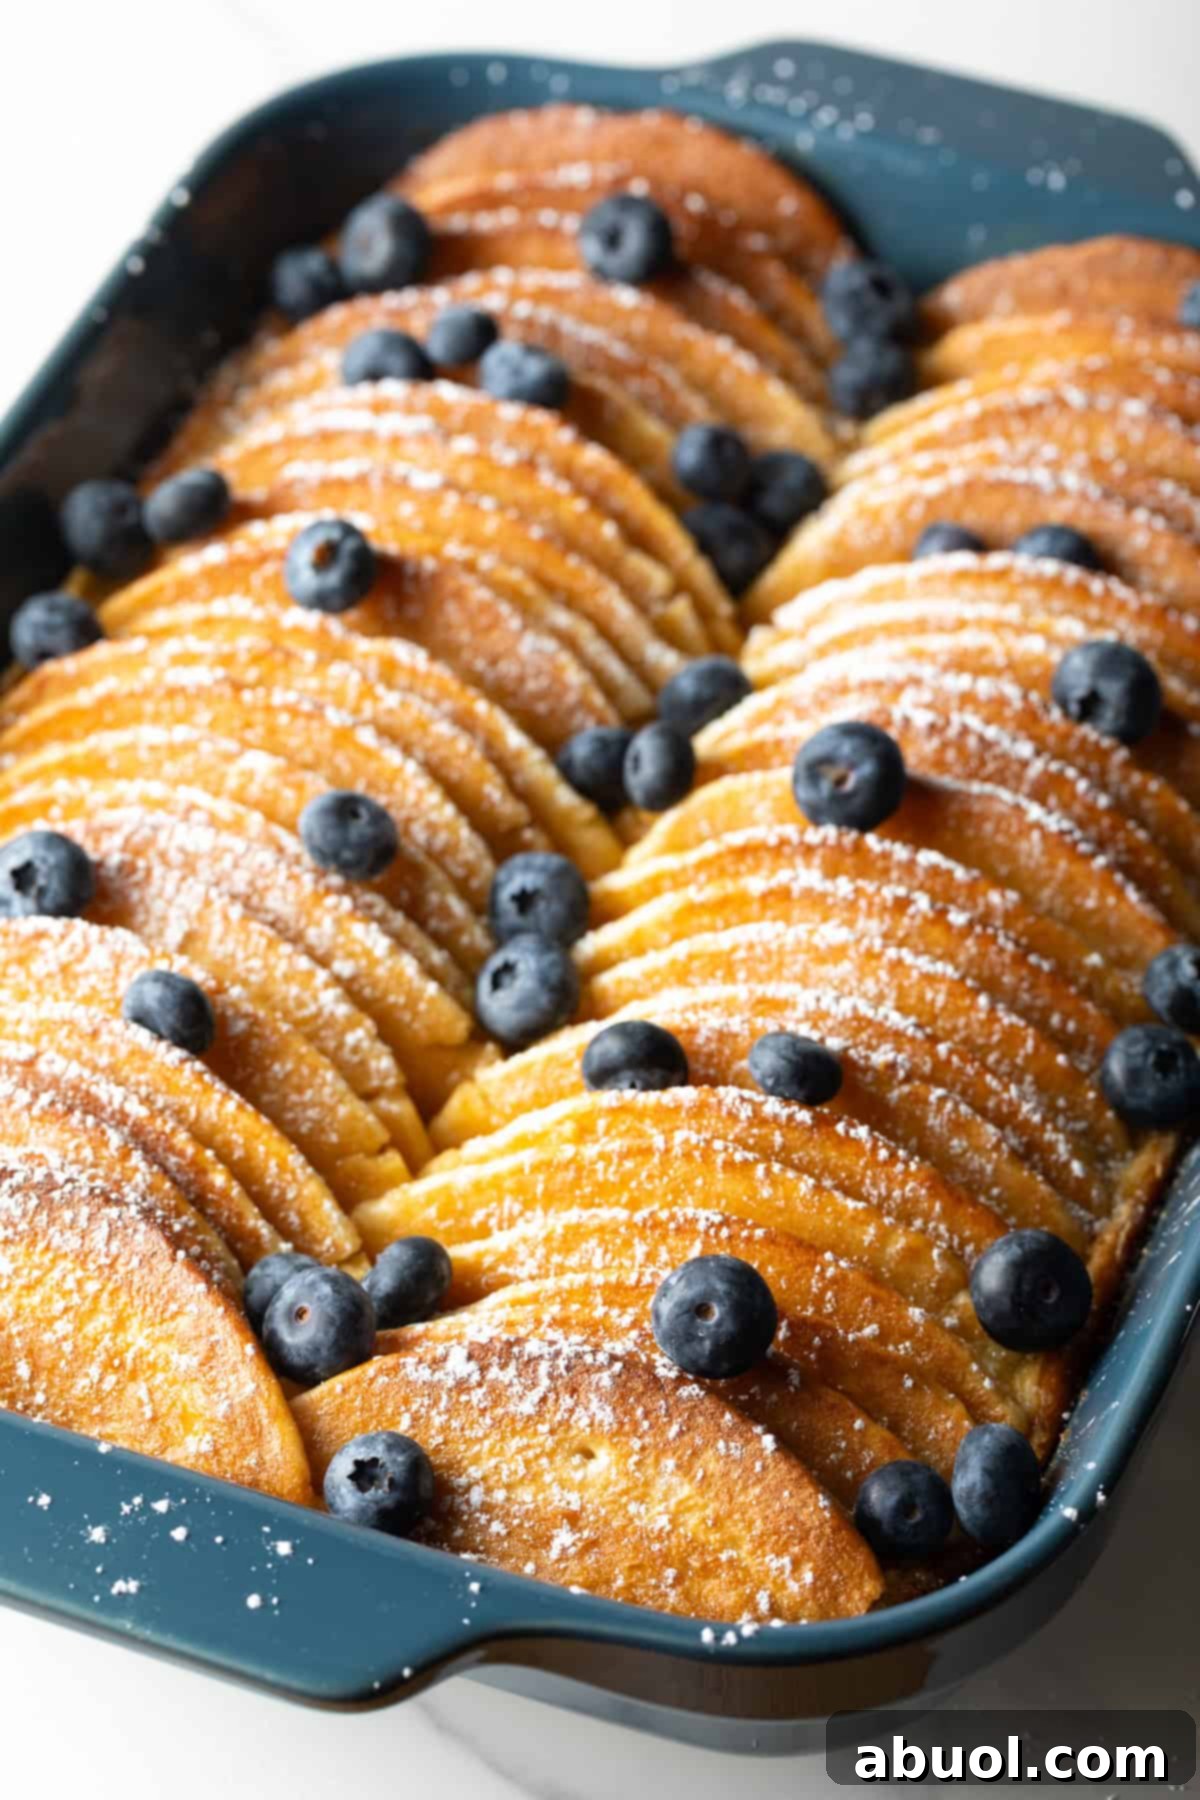
Easy Pancake Breakfast Casserole: The Perfect Make-Ahead Holiday Brunch
This pancake breakfast casserole is a dish I absolutely adore! The fluffy, tender pancakes bake together into a beautiful and incredibly delicious creation, making it the perfect centerpiece for your holiday brunch. My simple pancake casserole recipe is wonderfully convenient to prepare in advance, allowing you to have it ready to enjoy with family and friends in under an hour. It has quickly become one of my favorite breakfast casseroles, whether I’m hosting a gathering or simply craving something truly special.
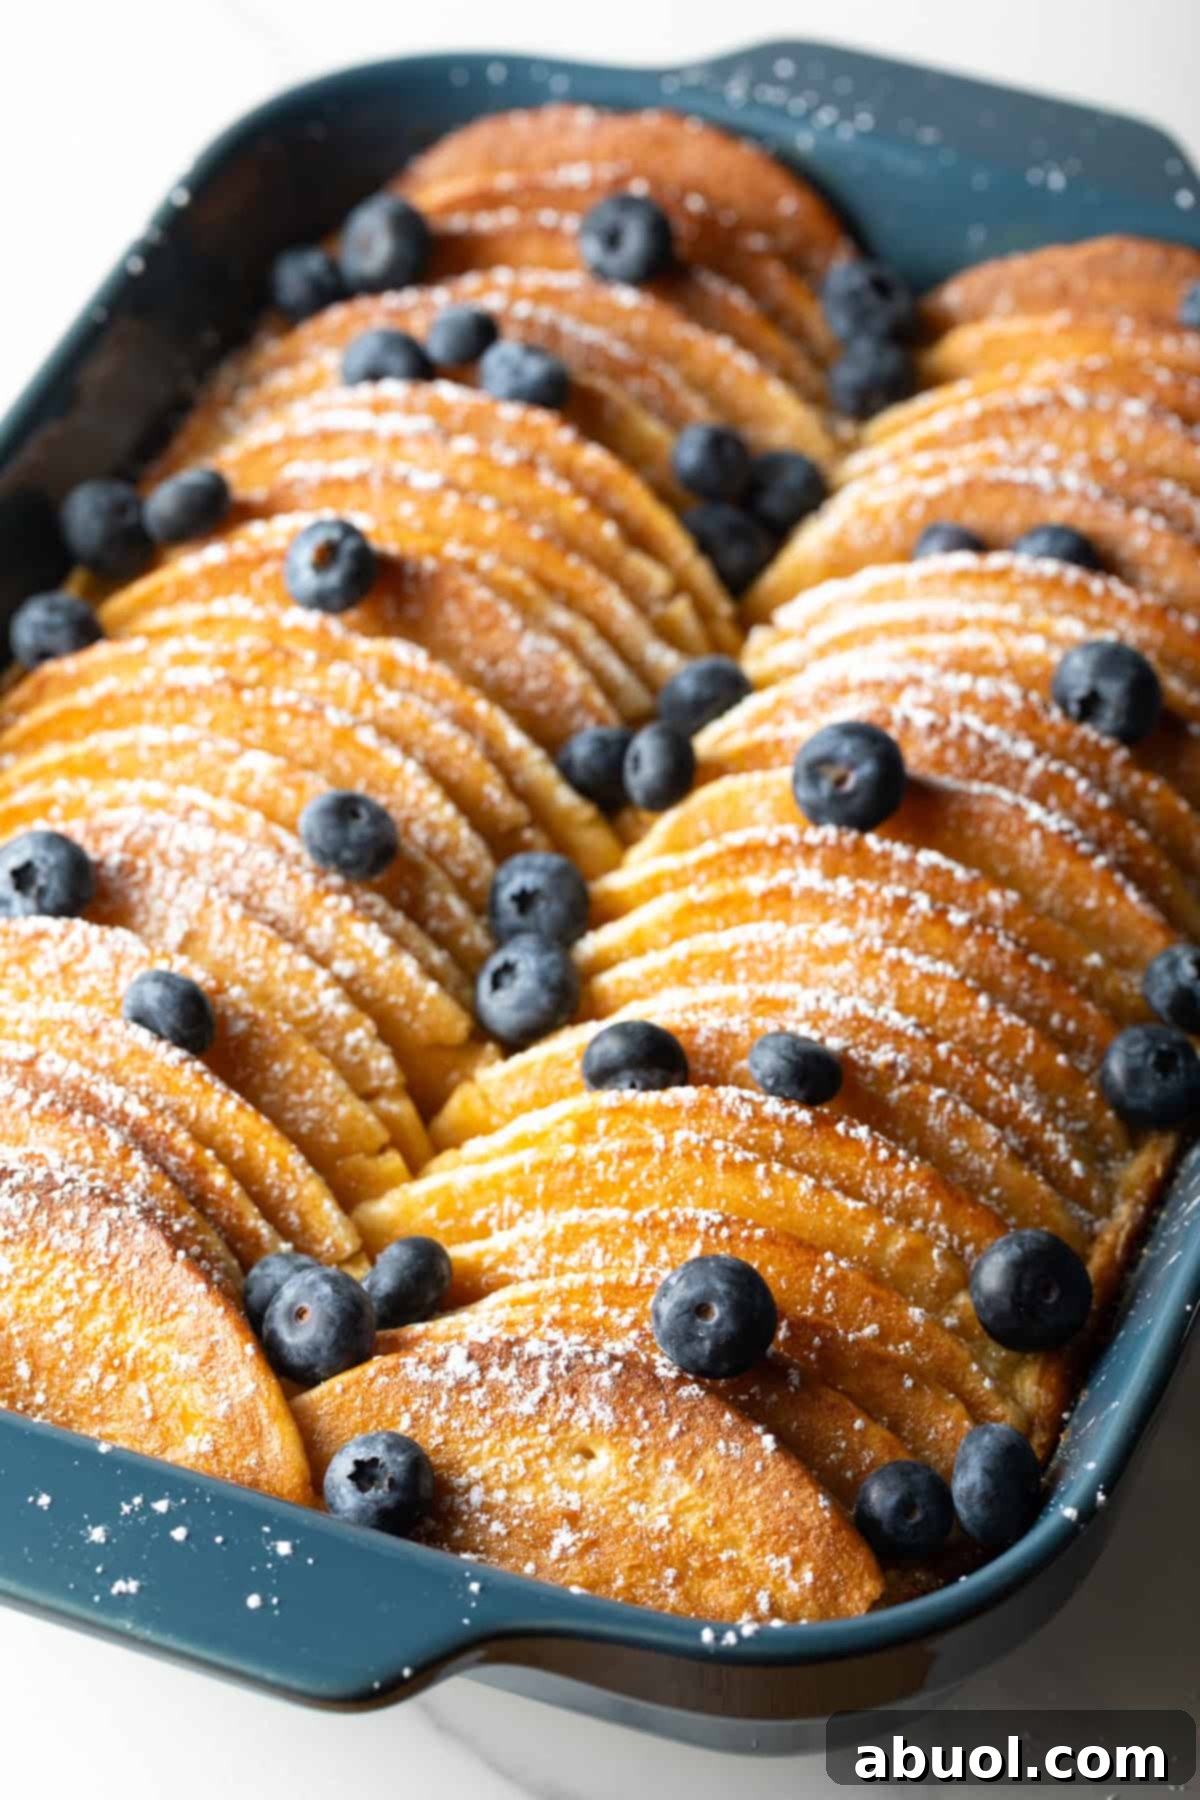
At this point, my family and friends eagerly anticipate a casserole of some kind at all of our holiday breakfasts and brunches. My easy baked pancake recipe is always a crowd-pleaser, and this 5-ingredient pancake casserole is just as effortless and delectable! This slightly sweet casserole features whole pancakes – either store-bought for convenience or freshly made for that homemade touch – and a luscious sweet cream and egg mixture infused with the rich flavor of maple syrup. The preparation is delightfully simple: just cut the pancakes in half, arrange them in an appealing pattern in your baking dish, and then gently pour the cream and egg mixture evenly over the top. As the fluffy pancakes bake, they absorb the creamy mixture, which not only helps to bind the layers together beautifully, but also imparts a delightful custard-like yet tender texture. Don’t be surprised if the entire family insists that this recipe become a cherished must-make tradition for all of your holiday celebrations!
Table of Contents
- Recipe Highlights
- Key Ingredients and Tips
- How to Make the Pancake Casserole
- Make-Ahead Instructions
- Serving Suggestions
- Best Toppings for Your Pancake Casserole
- Storing and Reheating Tips
- Frequently Asked Questions
- More Delicious Breakfast Recipes
Recipe Highlights

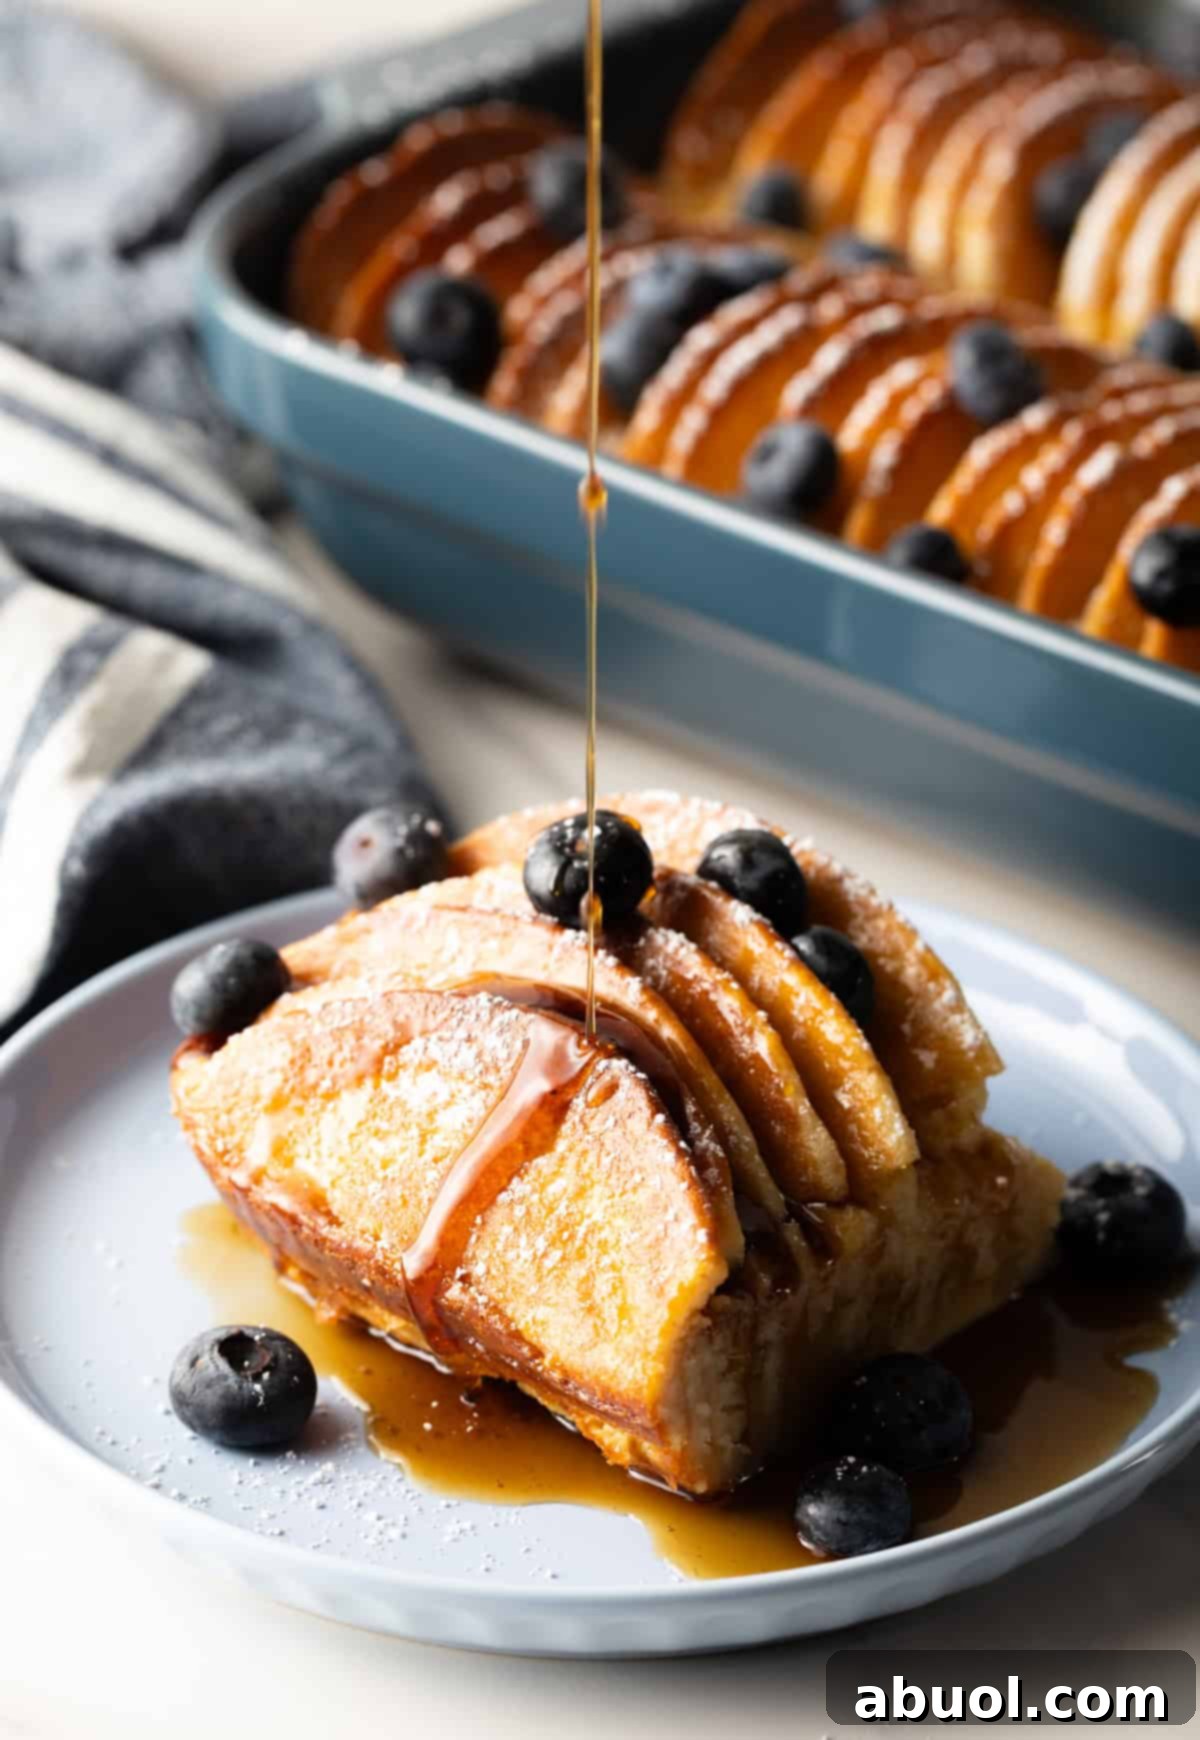
Perfectly Sweet, With or Without Toppings: The inclusion of maple syrup directly into the pancake breakfast casserole recipe ensures that the final product possesses a delicate sweetness that is simply delightful. Feel free to serve it as-is, savoring its subtle flavors, or elevate it further with a sprinkle of powdered sugar for an elegant touch, an extra drizzle of maple syrup for added richness, or any other toppings that capture your fancy. This versatility allows you to create a truly decadent and personalized dish that is sure to impress.
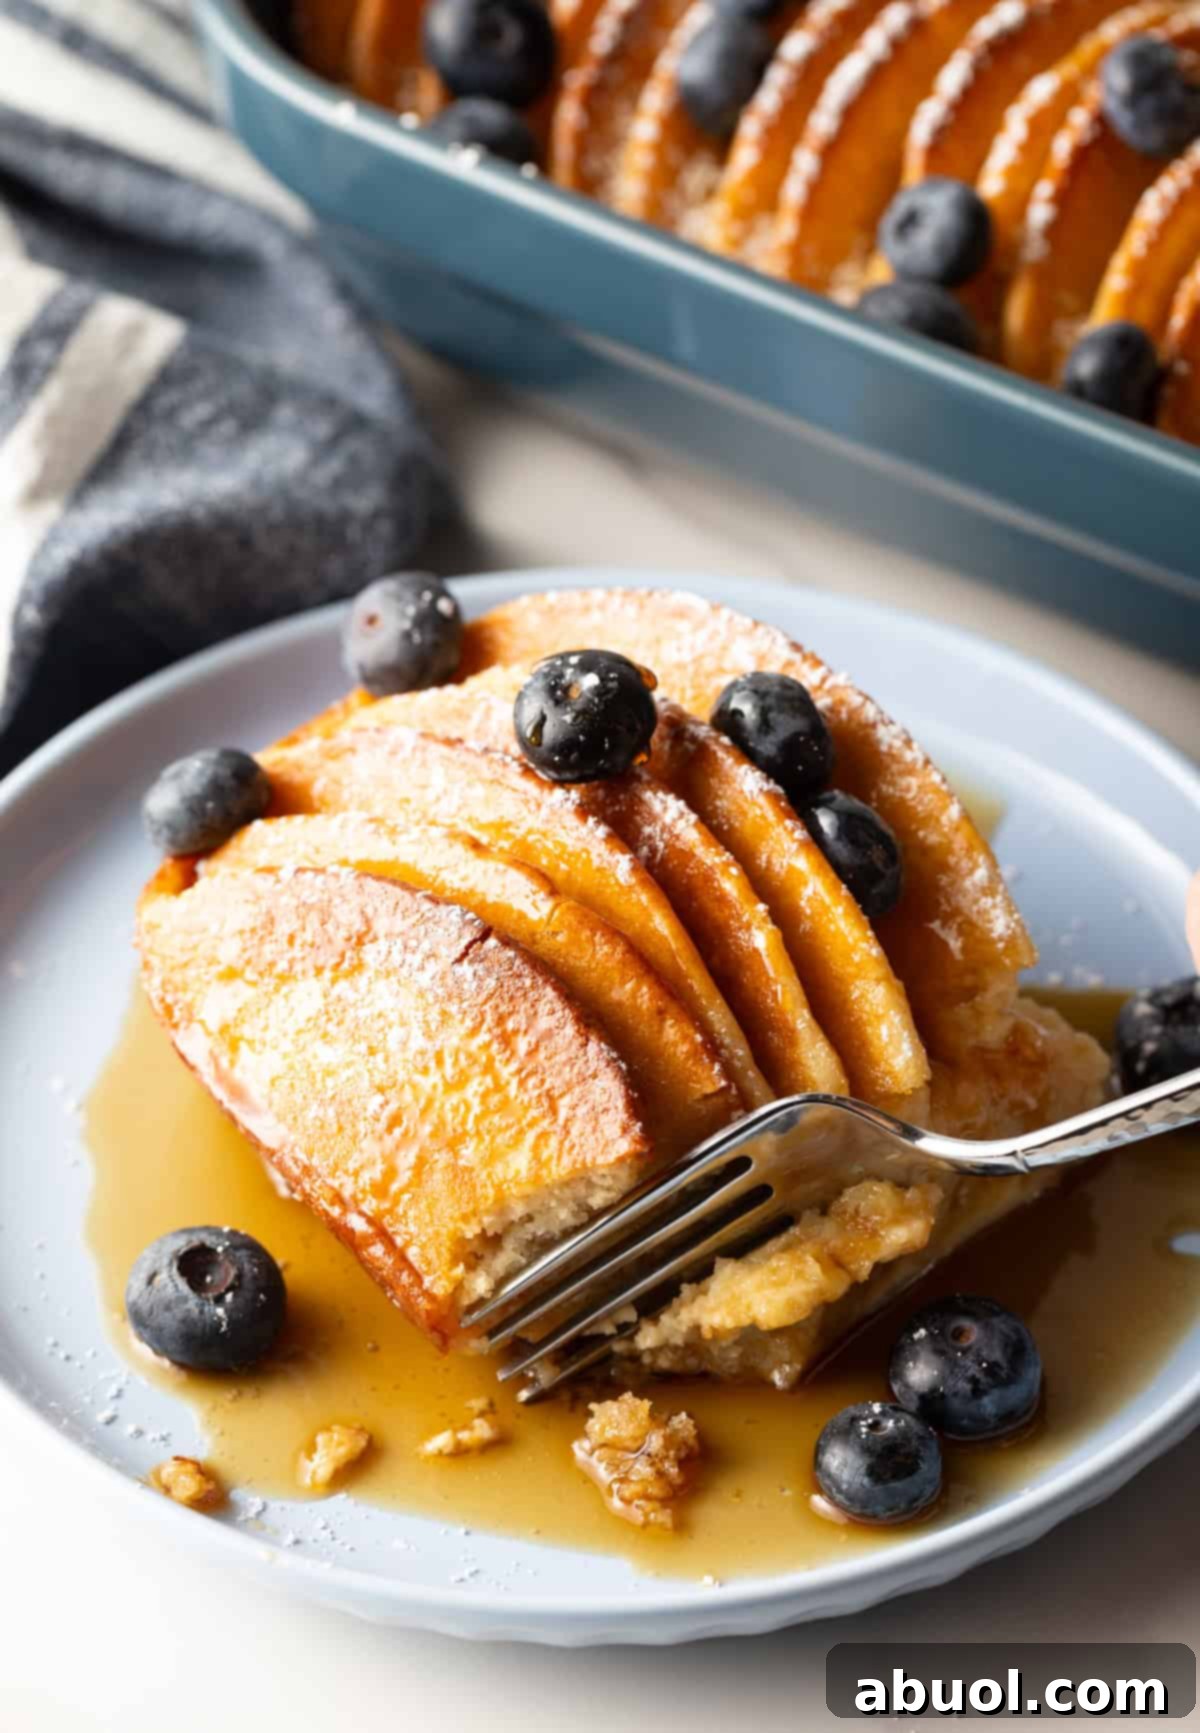
A Holiday Hit: This warm, inviting, and incredibly scrumptious breakfast bake boasts a presentation that is as beautiful as its taste is divine! The aesthetically pleasing arrangement of the pancake layers, coupled with the enticing aroma that fills the kitchen, creates an irresistible visual and olfactory experience. Its versatility extends beyond just taste; it remains delicious even at room temperature, making it an ideal dish to elegantly present on a breakfast buffet. Complement it with a selection of toppings on the side, empowering guests to customize their portion according to their individual preferences.
Easy Make-Ahead Recipe: While the actual assembly of the casserole only takes about 15 minutes, I am still an avid proponent of minimizing any and all day-of cooking time whenever possible. This recipe lends itself perfectly to make-ahead preparation; simply assemble it the night before, store it diligently in the refrigerator to preserve its freshness, and then, in the morning, effortlessly transfer the overnight breakfast bake directly into the oven. This strategic approach allows you to streamline your morning routine and savor the delightful flavors without the added stress of last-minute cooking.
Key Ingredients and Tips
- Pancakes: This is a fantastic opportunity to make use of those frozen stacks of homemade pancakes that I conveniently keep in the freezer, or alternatively, you can opt for the convenience of store-bought pancakes to streamline the preparation process.
- Half & Half: While the substitution of whole milk may be considered in a pinch, I strongly recommend adhering to the use of true half & half for optimal results in this recipe. The higher fat content inherent in half & half plays a crucial role in creating an exceptionally rich and delectable custardy base that elevates the overall flavor profile of the casserole.
- Eggs: I make use of large eggs, ensuring that they are allowed to come to room temperature while I systematically gather the remaining ingredients and diligently prep for the recipe. The rationale behind this practice stems from the fact that cold eggs necessitate a longer cooking time, which, in turn, can potentially disrupt the overall baking time and compromise the final texture of the casserole.
- Maple Syrup: This is the moment to use the good stuff, folks! Forgo the imitation pancake syrup, and instead opt for real maple syrup to unlock the most authentic and pronounced flavor profile that this recipe has to offer. The depth and complexity of real maple syrup will truly shine through, enhancing the overall sensory experience of the dish.
- Salt: I add a mere pinch of salt to the mixture, primarily to artfully balance the inherent sweetness contributed by the maple syrup. This delicate equilibrium between sweet and savory elements is what sets this casserole apart, creating a harmonious symphony of flavors that tantalize the palate.
How to Make the Pancake Casserole
Find the complete list of ingredient proportions, detailed step-by-step instructions, useful storage tips, and an engaging video tutorial within the comprehensive printable form conveniently located at the bottom of this post.
Prep Baking Dish: My first step involves diligently greasing a 9 x 13-inch baking pan (or a 3-quart pan) with softened butter, ensuring that every nook and cranny of the dish is thoroughly coated. Alternatively, you can opt for the convenience of nonstick cooking spray, which serves as an equally effective solution.
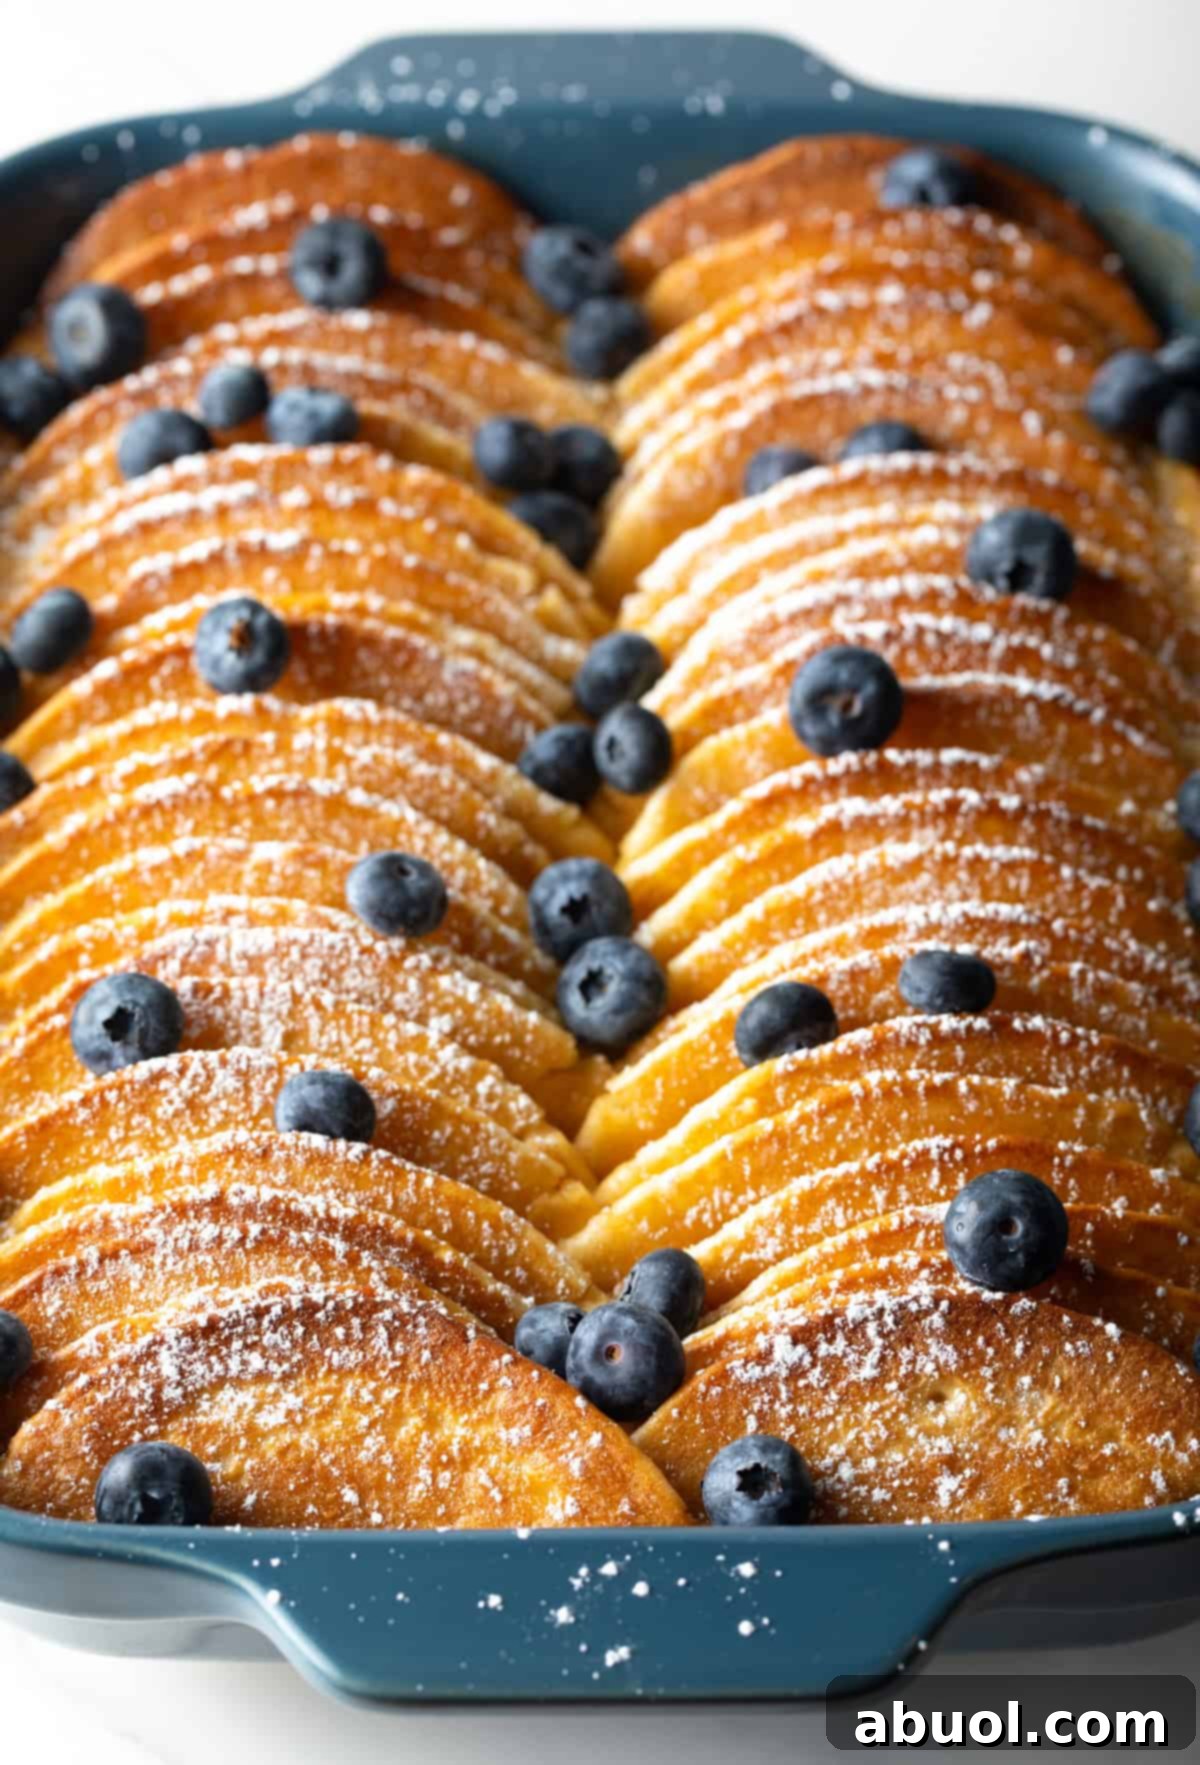
Slice and Arrange Pancakes: Next, I precisely cut the pancakes in half, creating neat stacks of semicircles. I then carefully arrange each semicircle, cut-side down, within the baking dish, allowing the rounded side to elegantly protrude upwards, resembling a gentle hump. I proceed layer by layer, meticulously adding the pancakes until the pan is generously filled with two uniform rows, mirroring the visual representation in the accompanying photograph below. Feel free to indulge your creative inclinations and arrange them in a particularly pleasing pattern, should you feel so inspired!
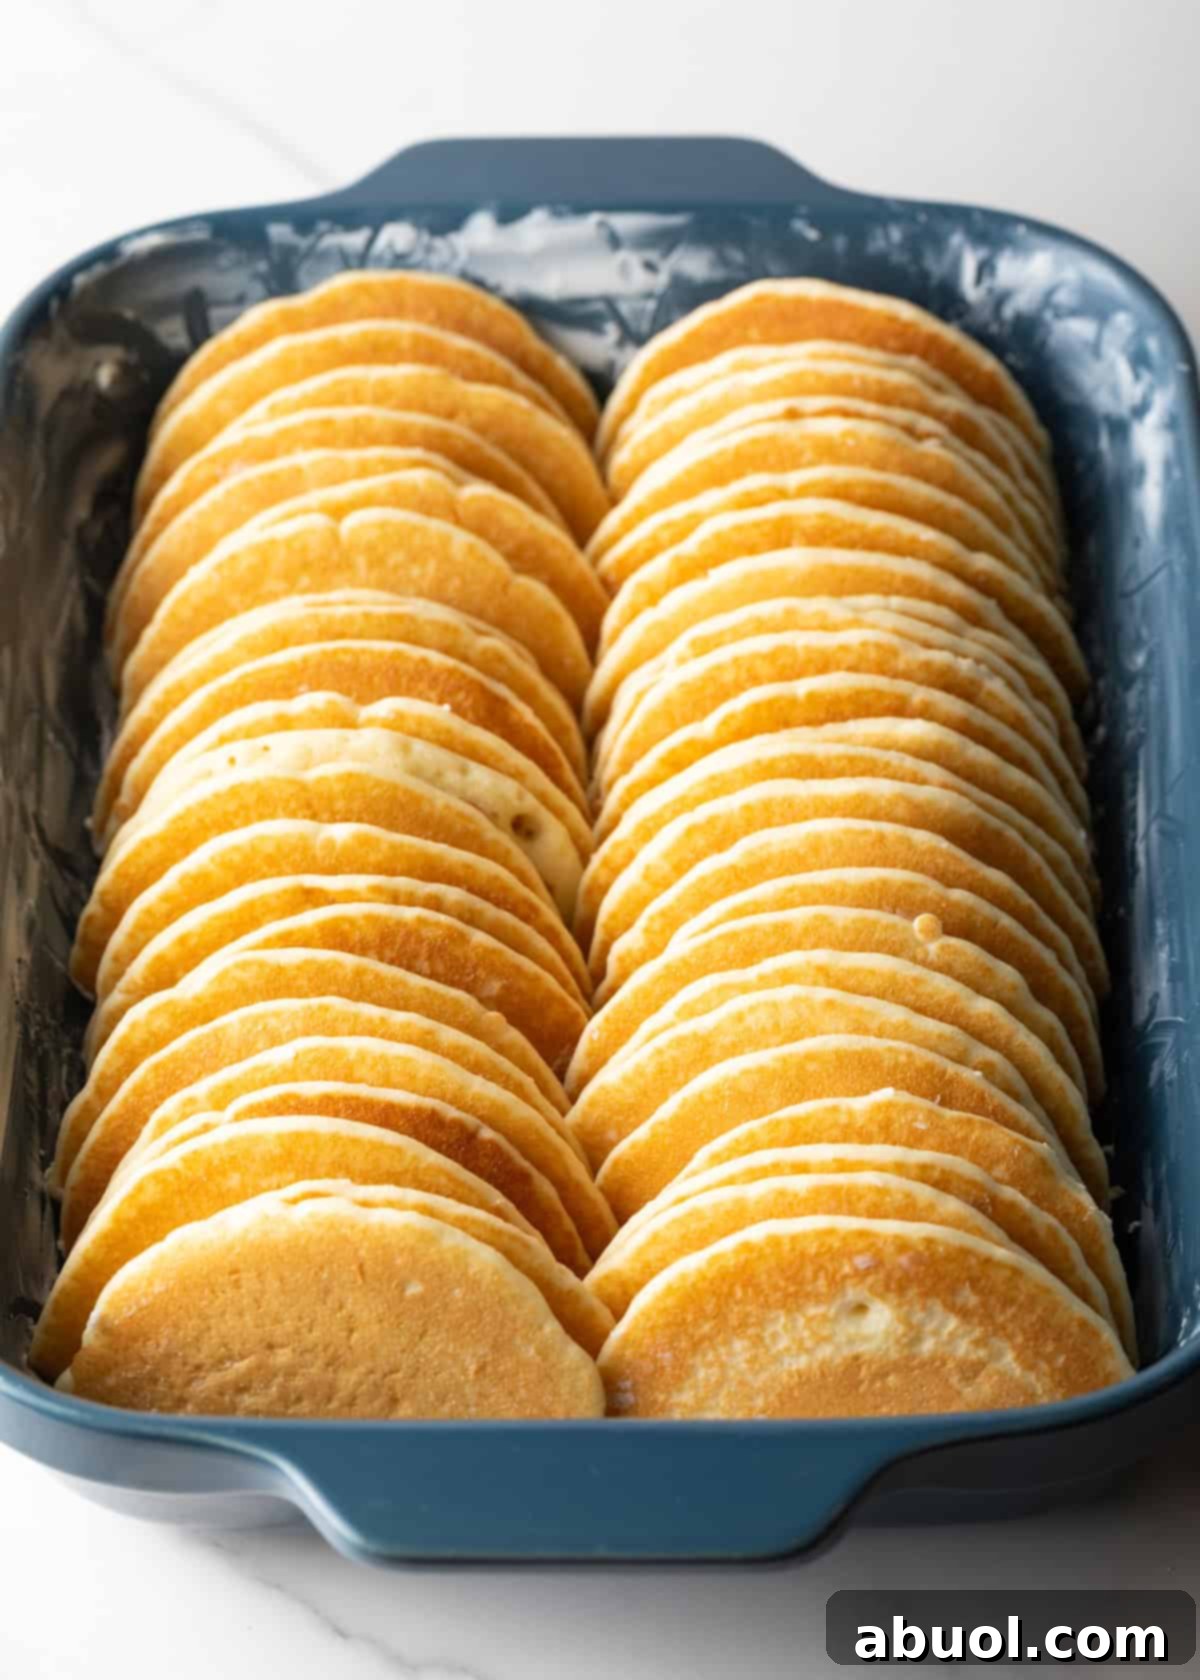
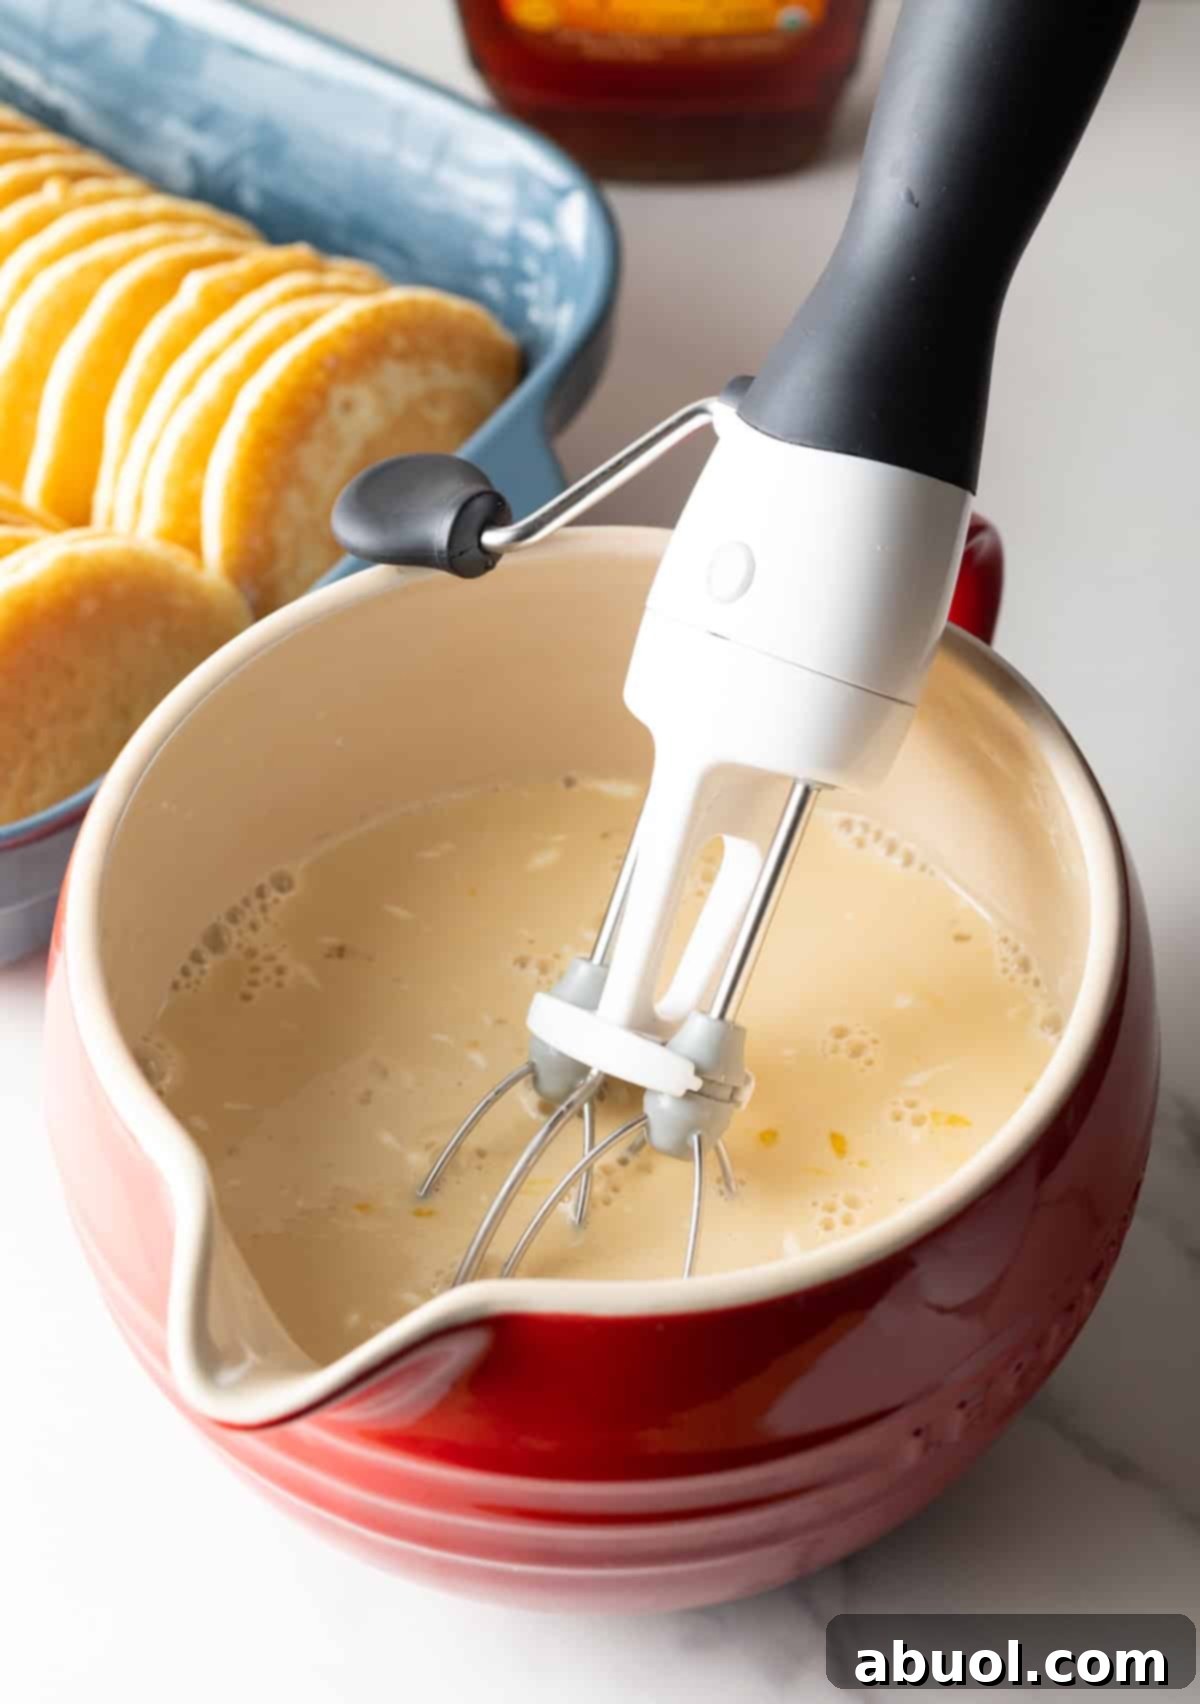
Make Cream Mixture: I now introduce the half & half, eggs, maple syrup, and salt into a capacious measuring pitcher or mixing bowl. With the aid of a hand mixer or a trusty wire whisk, I diligently combine the ingredients until they are evenly incorporated into a thin, creamy liquid that forms the foundation of the casserole.
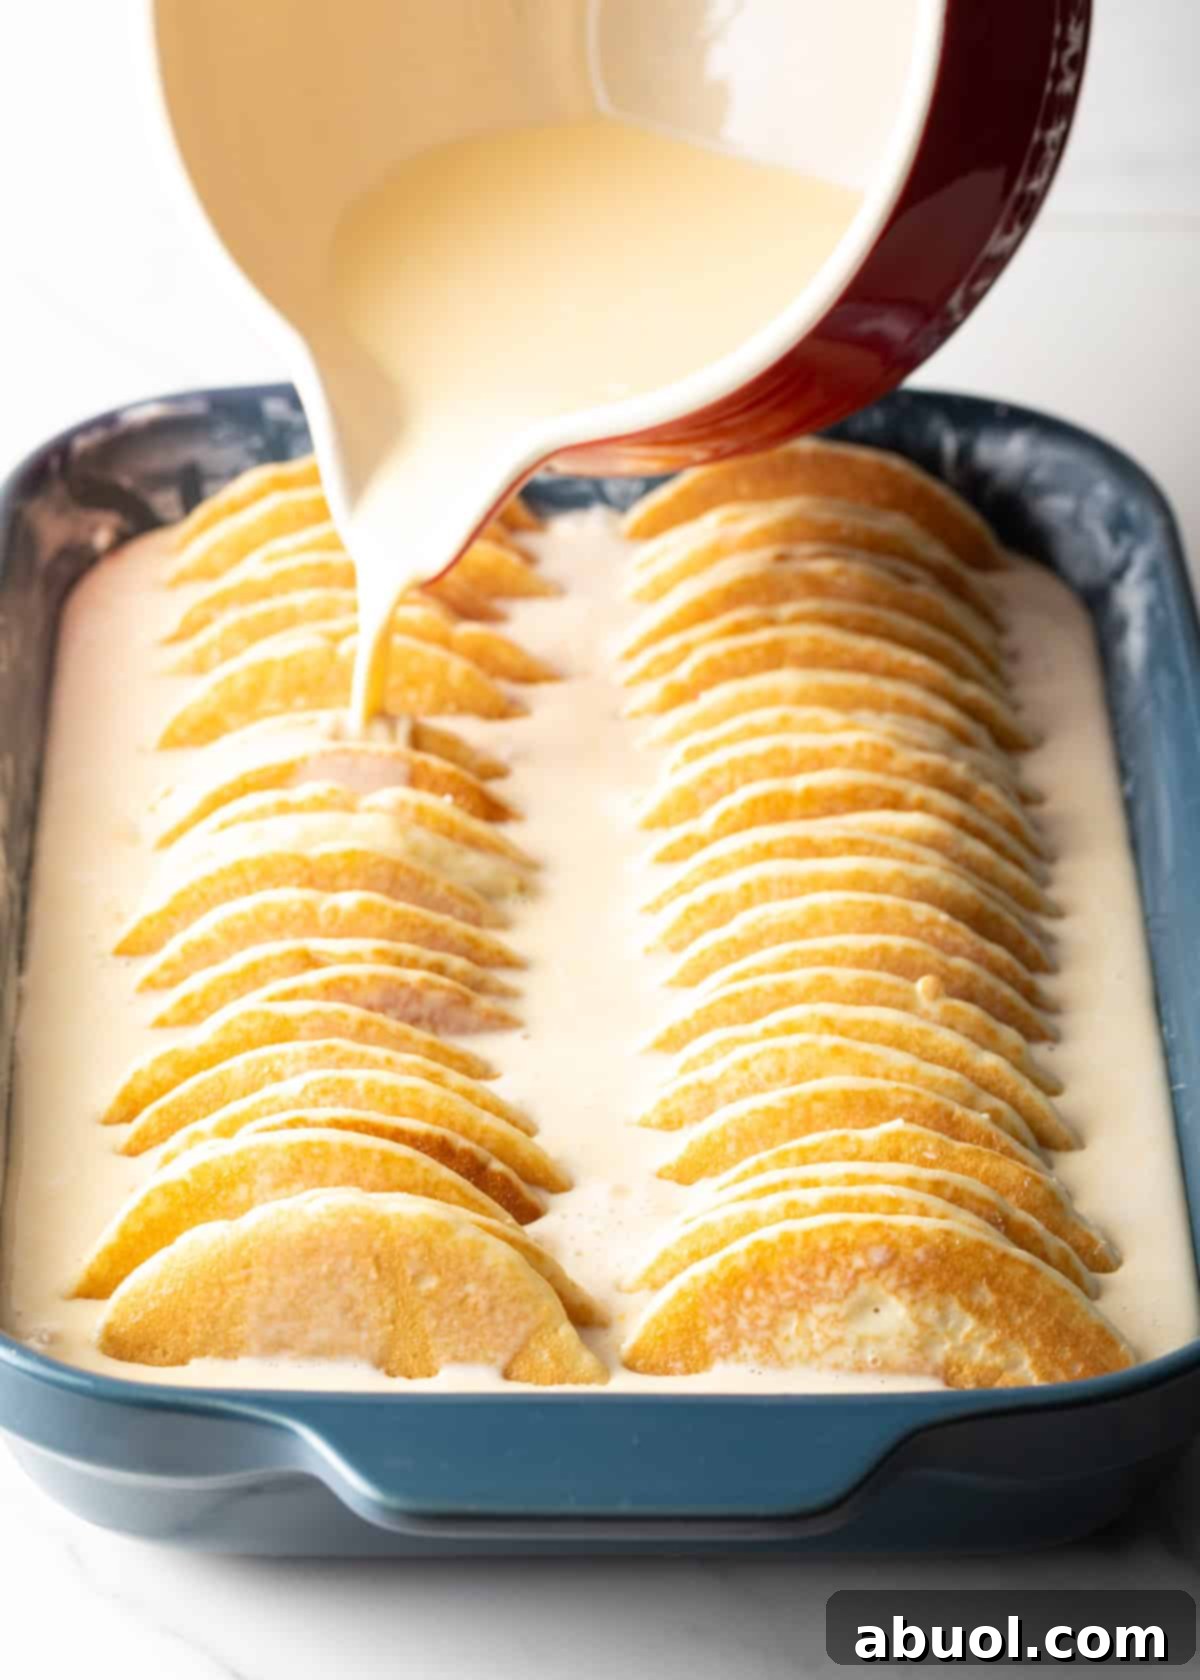
Pour: I carefully and deliberately pour this mixture over the meticulously arranged layers of pancakes, proceeding back and forth to ensure even distribution. The liquid level should reach approximately the halfway mark within the casserole dish, providing sufficient saturation to the pancakes.
At this juncture, I preheat the oven to a consistent temperature of 350 degrees F, and then set the dish aside, allowing the pancakes ample time to soak up the rich, eggy goodness as the oven gradually preheats, enhancing the final texture and flavor.
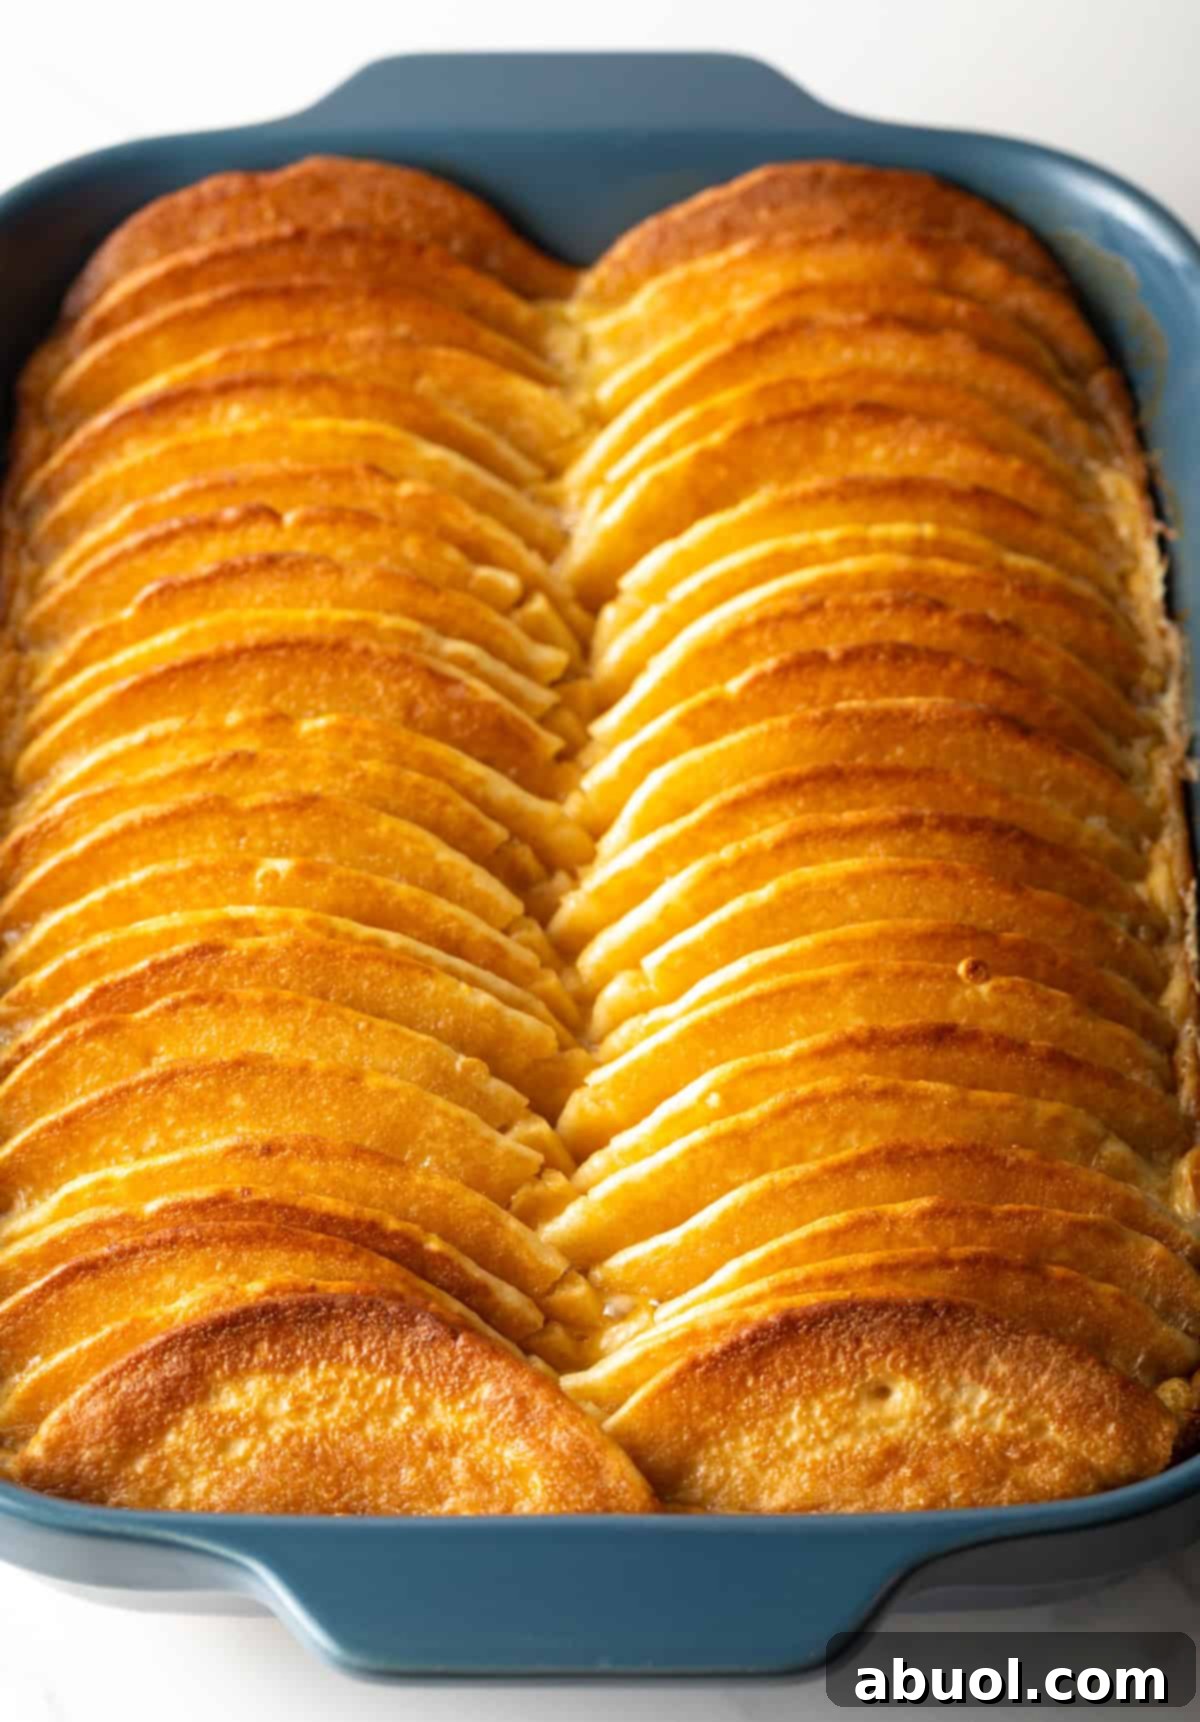
Bake until Golden: Once the oven has attained the desired temperature, I carefully place the casserole within and bake it for a duration of 45 minutes. The visual cues that indicate doneness include golden brown and lightly crisp outer edges adorning the pancakes, accompanied by a puffy yet solid center. To ensure complete certainty, you can confidently insert a toothpick into the central region of the eggy base; if the toothpick emerges clean, the casserole is deemed thoroughly cooked and ready to be enjoyed.
Make-Ahead Instructions
This particular sweet breakfast casserole distinguishes itself as a personal favorite when it comes to make-ahead preparation, particularly the night before serving. Its construction is ridiculously easy, yet it effectively curtails a substantial portion of day-of cooking time, offering unparalleled convenience. Once the egg mixture has been meticulously poured over the pancake layers, the next step involves tightly enveloping the pan in plastic wrap, creating an airtight seal, and subsequently placing it carefully in the refrigerator for safekeeping. However, it is prudent to note that I do not advise preparing it any earlier than the evening prior to serving, as allowing the pancakes to soak for an extended period increases the likelihood of them becoming overly saturated and potentially soggy.
To cater to longer storage needs, I recommend freezing the pancake casserole following assembly but prior to baking. This entails wrapping the entire pan securely in aluminum foil, followed by an additional layer of protective plastic wrap. When stored under these conditions, the casserole maintains its quality for up to one month. Upon readiness to bake, simply thaw it in the refrigerator overnight, and then proceed with the baking process in the preheated oven as directed. It is worth noting that you may need to extend the baking time by approximately 5-10 minutes if the casserole fails to fully thaw during its overnight stay in the refrigerator.
Serving Suggestions
I often present this delightful pancake bake alongside classic breakfast staples such as bacon or sausage, complemented by eggs prepared to perfection, for those grand breakfasts and brunches that call for a touch of indulgence. Personally, I have a fondness for soft over-easy eggs, their velvety yolks oozing seductively onto the plate, and tender scrambled eggs, prepared in a substantial batch, prove to be an excellent choice when catering to a larger gathering of guests. While the dish itself is inherently sweet, boasting a moist and flawlessly fluffy texture, I find that pairing it with a seasonal fresh fruit salad adds a refreshing counterpoint, creating a harmonious balance to the inherent richness of the casserole.
I truly relish the opportunity to showcase this pancake casserole as part of a comprehensive breakfast buffet during special occasions such as Thanksgiving, Christmas, or Easter mornings, or whenever we host a substantial brunch gathering. As previously emphasized, it maintains its appealing character even after sitting out for an hour or so, proving equally delectable at room temperature as it does when served warm straight from the oven! The presentation is equally effortless; I simply position the entire pan strategically on the table, equipped with a serving spatula for easy access, and surround it with an array of dishes containing various toppings, fostering a fun and interactive DIY setup that caters to individual preferences.
Best Toppings for Your Pancake Casserole
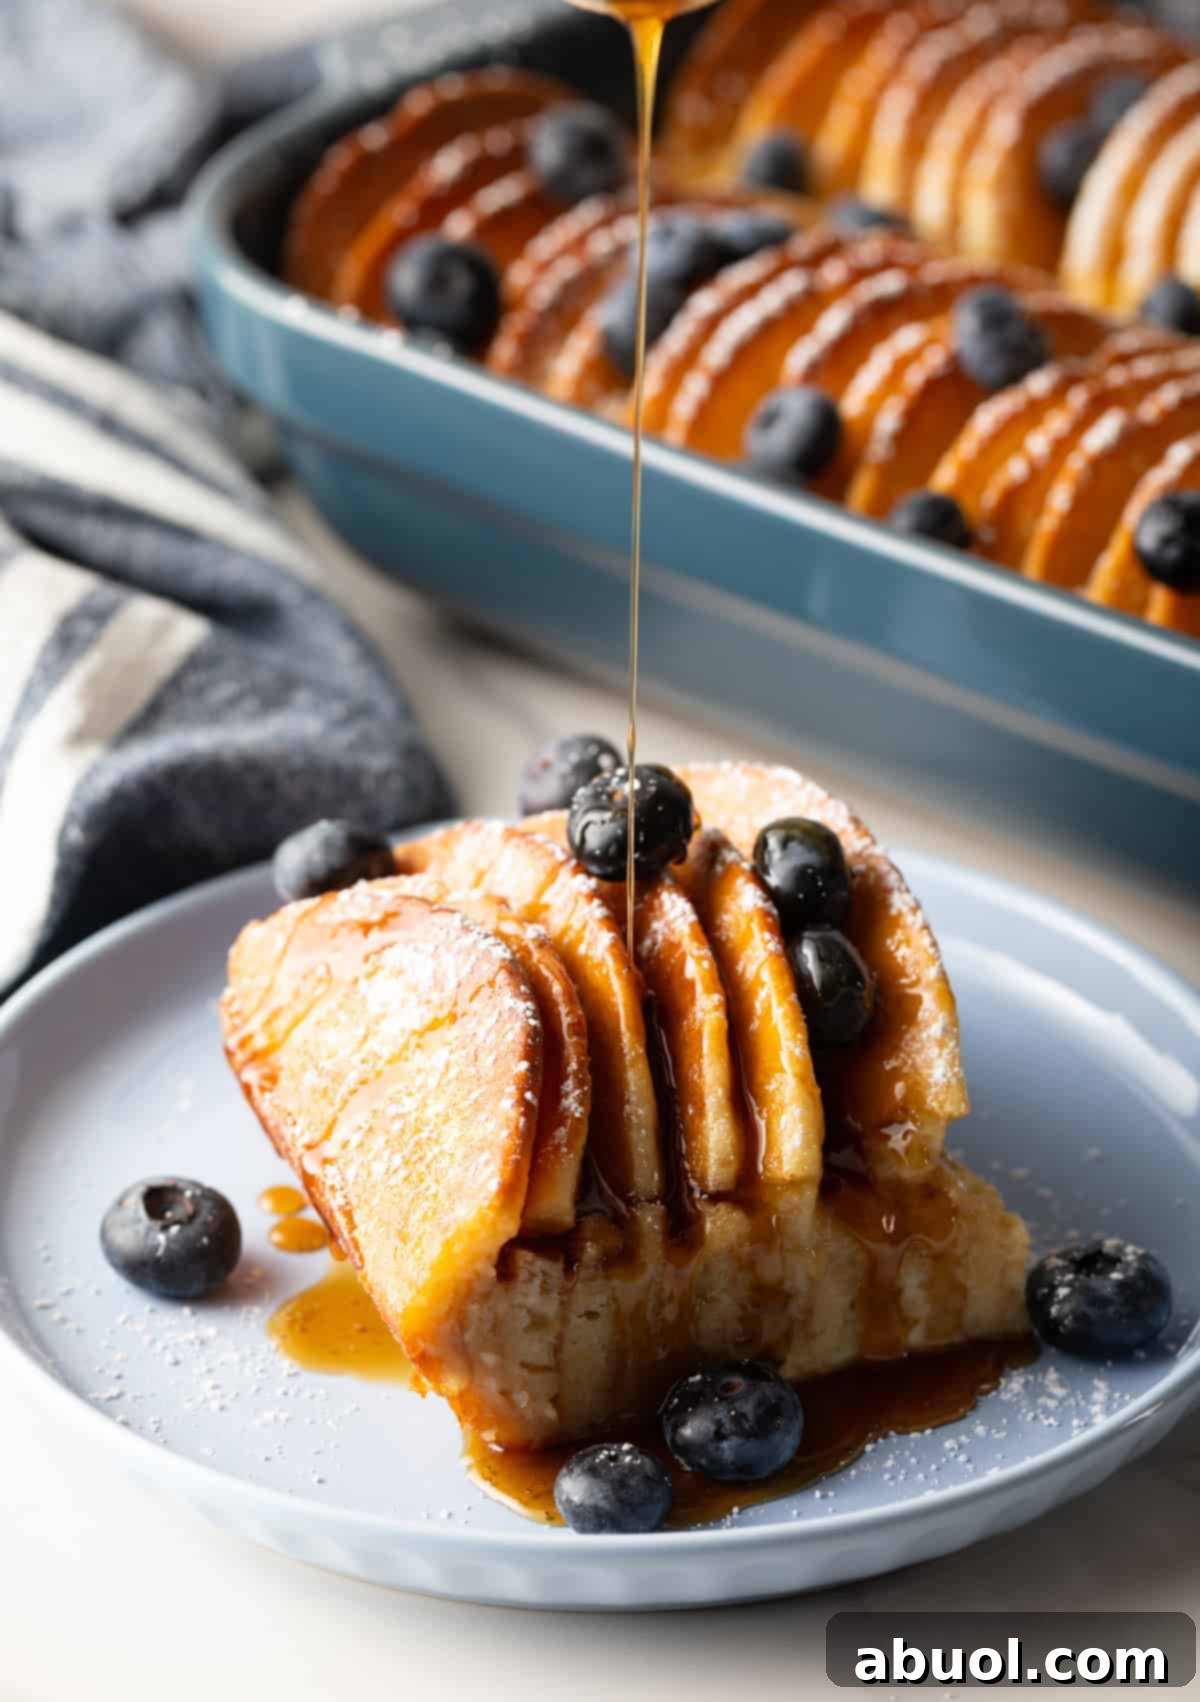
- Powdered Sugar: Employing a sieve or sifter, delicately dust the pancake breakfast casserole with a light layer of ultra-fine powdered sugar for an elegant and visually appealing garnish.
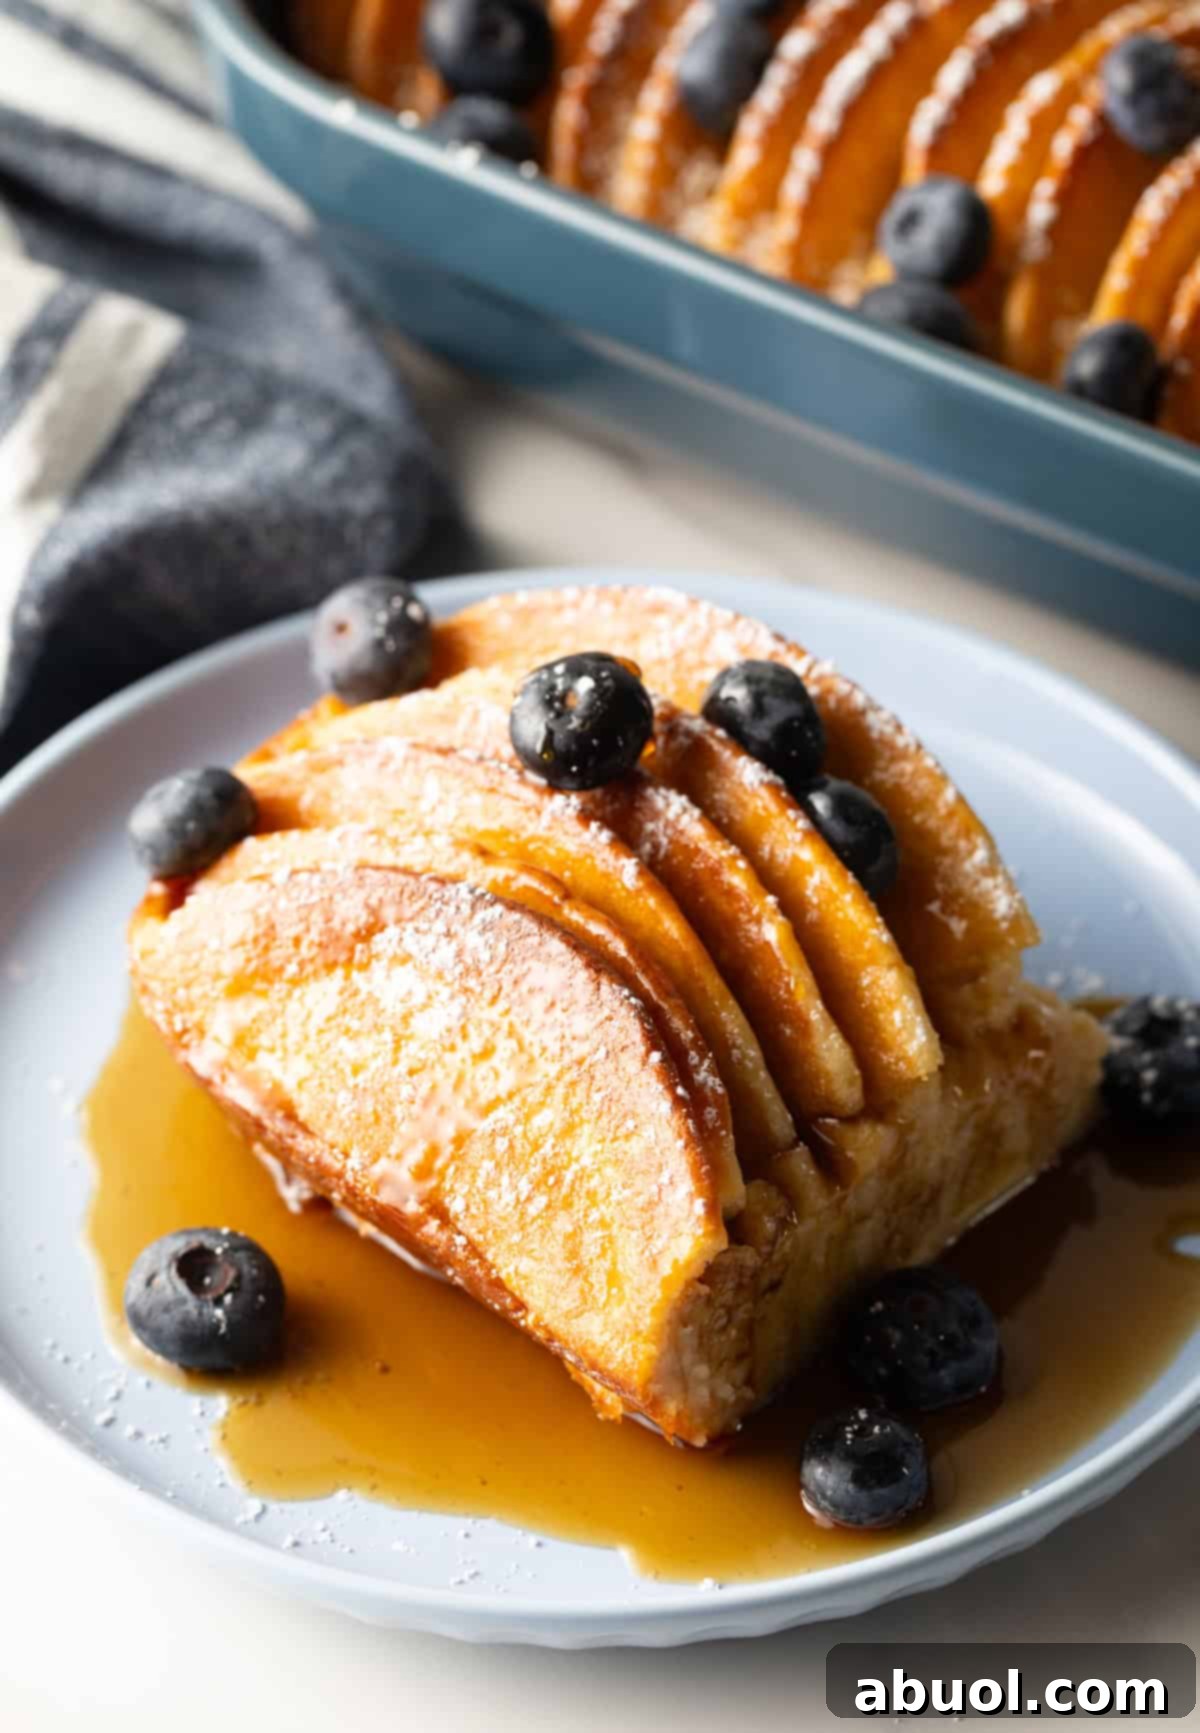
- Maple Syrup: Prior to drizzling it over the pancake layers, gently heat the maple syrup in the microwave to enhance its flavor and consistency.
- Other Sweet Sauces: Explore the possibilities of drizzling on an array of delectable sweet sauces, such as caramel sauce, rich chocolate sauce, or a fruity sauce of your choosing. For a quick and effortless option, consider my homemade blackberry sauce recipe, which can be easily prepared on the stovetop.
- Berries: Elevate the dish’s aesthetic appeal and nutritional profile by adding a small handful of fresh blueberries, raspberries, blackberries, or strawberries, each imparting its own distinct flavor and visual charm.
- Coconut: For a playful twist, sprinkle toasted coconut shavings over the casserole, introducing a touch of tropical flavor that adds an element of surprise and intrigue to the overall taste profile.
- Chocolate Chips: Given the casserole’s inherent sweetness, I tend to lean towards the use of semi-sweet chocolate chips, which strike a harmonious balance between sweetness and a hint of cocoa bitterness, avoiding the excessive sweetness of milk chocolate chips while still offering a delightful chocolatey indulgence.
- Whipped Cream: Unleash your inner child by adorning your serving with a generous layer of whipped cream, creating a nostalgic and playful touch that adds an extra layer of indulgence to the overall experience.
Storing and Reheating
Leftovers exhibit their optimal taste and texture when consumed within the initial day or two, although they can be safely stored for up to 3-4 days in an airtight container within the confines of the refrigerator.
Alternatively, the casserole can be frozen for a more extended storage duration, lasting up to one month. To do so effectively, carefully transfer the layers to a ziploc freezer bag, or place them in an airtight container and diligently envelop the container in a layer of aluminum foil to prevent freezer burn. Prior to reheating, allow the casserole to thaw gradually in the refrigerator overnight.
When the moment arrives to reheat the casserole, I recommend transferring the leftovers to a baking pan and gently warming them in the oven at a temperature of 350 degrees for approximately 10-15 minutes. While microwaving in short bursts presents a viable option, it may, unfortunately, compromise the textural integrity of the layers, rendering them somewhat softer than my preferred consistency.
Frequently Asked Questions
- Can I halve it?
- Absolutely! When prepared in a standard 9 x 13-inch dish, this pancake breakfast casserole yields approximately 12 servings. Simply halve all of the ingredient quantities and bake the resulting mixture in an 8 x 8 or 9 x 9-inch pan to achieve a more modest 6 servings.
- Is it better to use frozen or fresh pancakes?
- Regardless of whether you opt for fresh or previously frozen and thoroughly thawed pancakes, the paramount requirement is that the layers be supple and pliable, ensuring their capacity to effectively absorb the custard base and maintain their integrity during the baking process.
- Why is my casserole dry?
- Prior to initiating the baking process, meticulously ensure that every individual pancake nestled within the dish is uniformly saturated with the delectable cream mixture. Any exposed or dry portions have the propensity to dry out even further during baking, undermining our pursuit of flawlessly fluffy and moist layers. Take the extra moment to ensure even saturation to attain the desired outcome.
More Delicious Breakfast Recipes
Pancake Casserole Recipe

Ingredients
- 24 – 4-inch pancakes (33 oz frozen pancakes or homemade)
- 2 cups half & half
- 6 large eggs
- ½ cup maple syrup
- ½ teaspoon salt
Optional Toppings
- Powdered sugar
- Maple syrup
- Fresh berries
- Chocolate chips
Instructions
- Set out a 9 x 13-inch (3 quart) baking dish. Butter the interior of the baking dish on all sides, or spray with nonstick baking spray.
- Cut the pancakes in half to create semicircles. Arrange the semicircles, flat side down, in the baking dish so that all the rounded edges are facing up. *Mine usually fit in the baking dish in two neat rows, but you can arrange them in any pattern you like.
- Set out a mixing bowl. Combine the half-and-half, eggs, maple syrup, and salt. Whisk them together until light and frothy. Then pour the cream mixture over the top of the pancakes, making sure to saturate each one.
- Now preheat the oven to 350°F. This allows time for the pancakes to absorb some of the liquid mixture.
- Once the oven is well heated, place the baking dish in the oven and bake for 45-50 minutes, until the edges are golden brown, and the center is puffed and solid. You can insert a toothpick into the very center of the casserole to check it it’s done. If the toothpick comes out wet, leave the casserole in the oven for another 5+ minutes.
- Allow the breakfast bake to cool for 5 minutes, then cut and serve.
Notes
Make Ahead Tips – This is one of my favorite sweet breakfast casseroles to prep the night before. It’s ridiculously easy but still saves a decent amount of day-of cooking time. Once I’ve poured the egg mixture over the pancakes, I simply cover the pan tightly with plastic wrap and refrigerate it.
I don’t recommend making it ahead any earlier than the evening before. You want the pancakes to be well saturated with the custard-like mixture, but if left in the fridge too long, they are likely to get soggy.
So to store it for longer, I suggest freezing the casserole after assembling, and before baking. Wrap the full pan in aluminum foil, then in a layer of plastic wrap. It freezes well for up to a month. Then thaw it in the fridge overnight and bake! You might need to add an extra 5-10 minutes of bake time if they don’t completely thaw.
Storage and Reheating Notes – Leftovers taste best in the first day or so, but will keep well for up to 3-4 days in an airtight container in the fridge.
They can also be frozen for up to a month. Transfer the layers to a ziploc freezer bag, or place in an airtight container and wrap the container in a layer of aluminum foil. Then thaw it in the fridge overnight before reheating.
When you are ready to reheat, I suggest transferring leftovers to a baking pan and popping them back in the oven for 10-15 minutes at 350 degrees. Microwaving in short bursts is also an option, but it can make the layers a bit softer than what I prefer.