
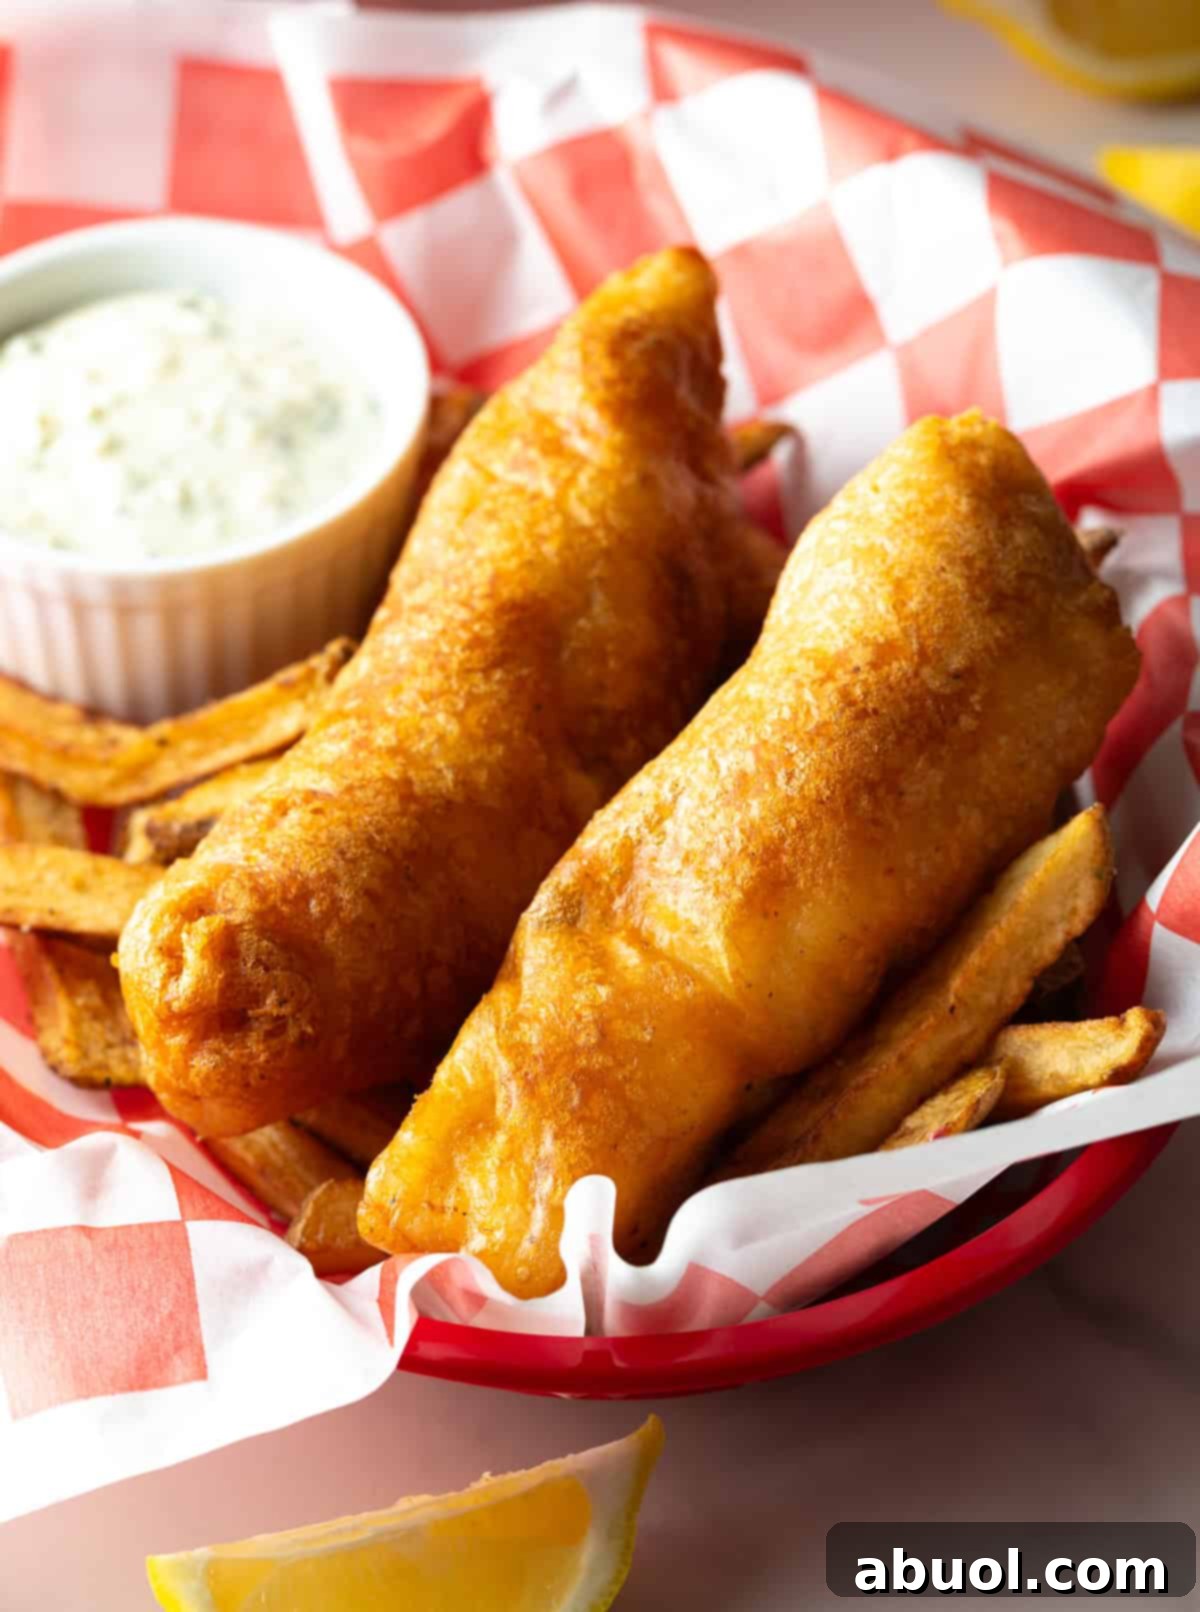
There are few culinary pleasures as universally satisfying as the perfect piece of fried fish. Imagine a golden, shatteringly crispy crust giving way to a steaming, tender, and flaky interior. This isn’t just a meal; it’s an experience. This beer-battered fried fish recipe is your definitive guide to achieving that restaurant-quality, pub-style perfection right in your own kitchen. It’s the ultimate comfort food, a dish that calls for a side of crispy fries, a dollop of tangy slaw, and a moment of pure, delicious indulgence.
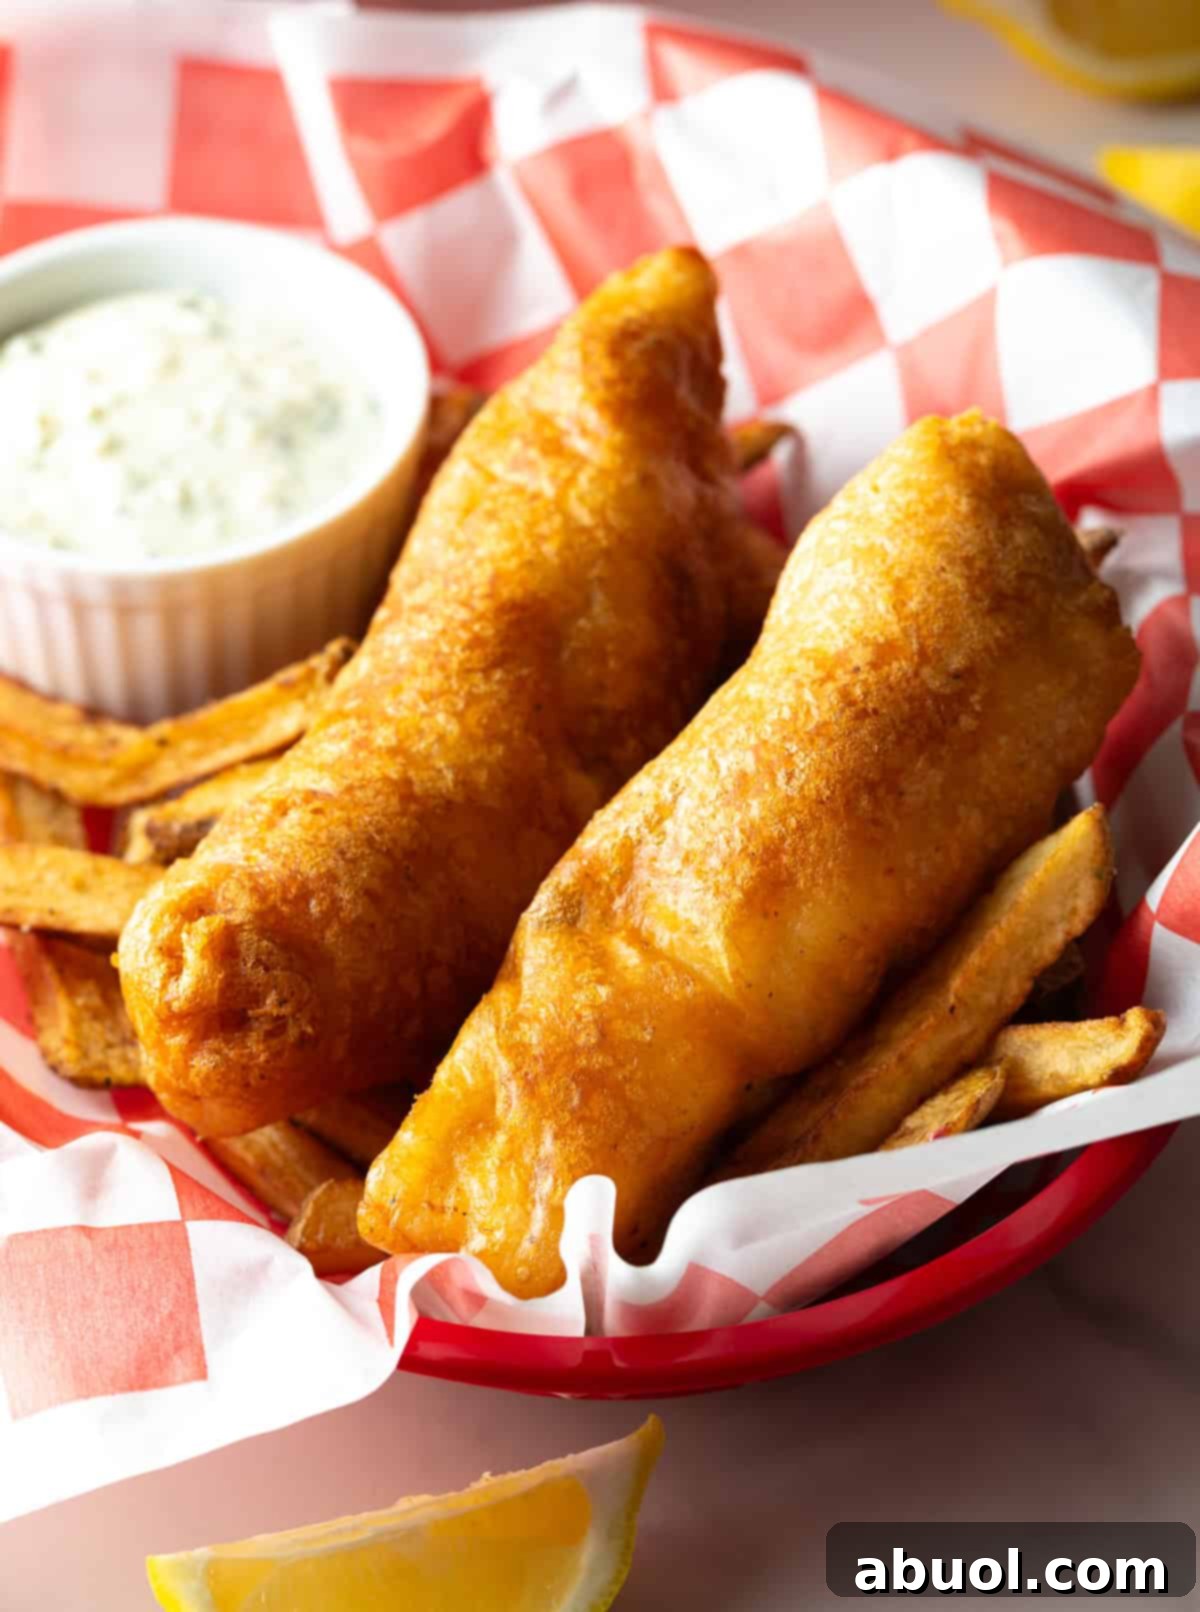
Crispy fried fish is a beloved staple across many cultures, from the classic British “fish and chips” to the hearty fish fries of the American South. While a simple cornmeal crust offers a delightful crunch, a beer batter provides something truly special. If you’re searching for that iconic, airy, and ultra-crisp coating that encases the fish in a delicate shell, you have arrived at the right destination. Today, we’re diving deep into the art of making the most decadent and flavorful beer-battered fried fish you’ve ever tasted.
This versatile recipe is the perfect foundation for a classic fish and chips night, served with a generous splash of malt vinegar and a side of tartar sauce. You can also pile the golden fillets onto soft buns for incredible fish sandwiches, or serve them Southern-style with hush puppies, creamy coleslaw, and your favorite fixings. Prepare to master a technique that will elevate your home cooking and impress everyone at your table.
Table of Contents
- Why This Recipe is a Game-Changer
- The Science of the Perfect Batter: Key Ingredients
- Essential Equipment for Frying Success
- Step-by-Step Guide to Crispy Fried Fish
- Pro Tips for Flawless Results
- Creative Serving Suggestions
- Storing and Reheating Leftovers
- Frequently Asked Questions
- More Delicious Finger Food Recipes

Why This Recipe is a Game-Changer
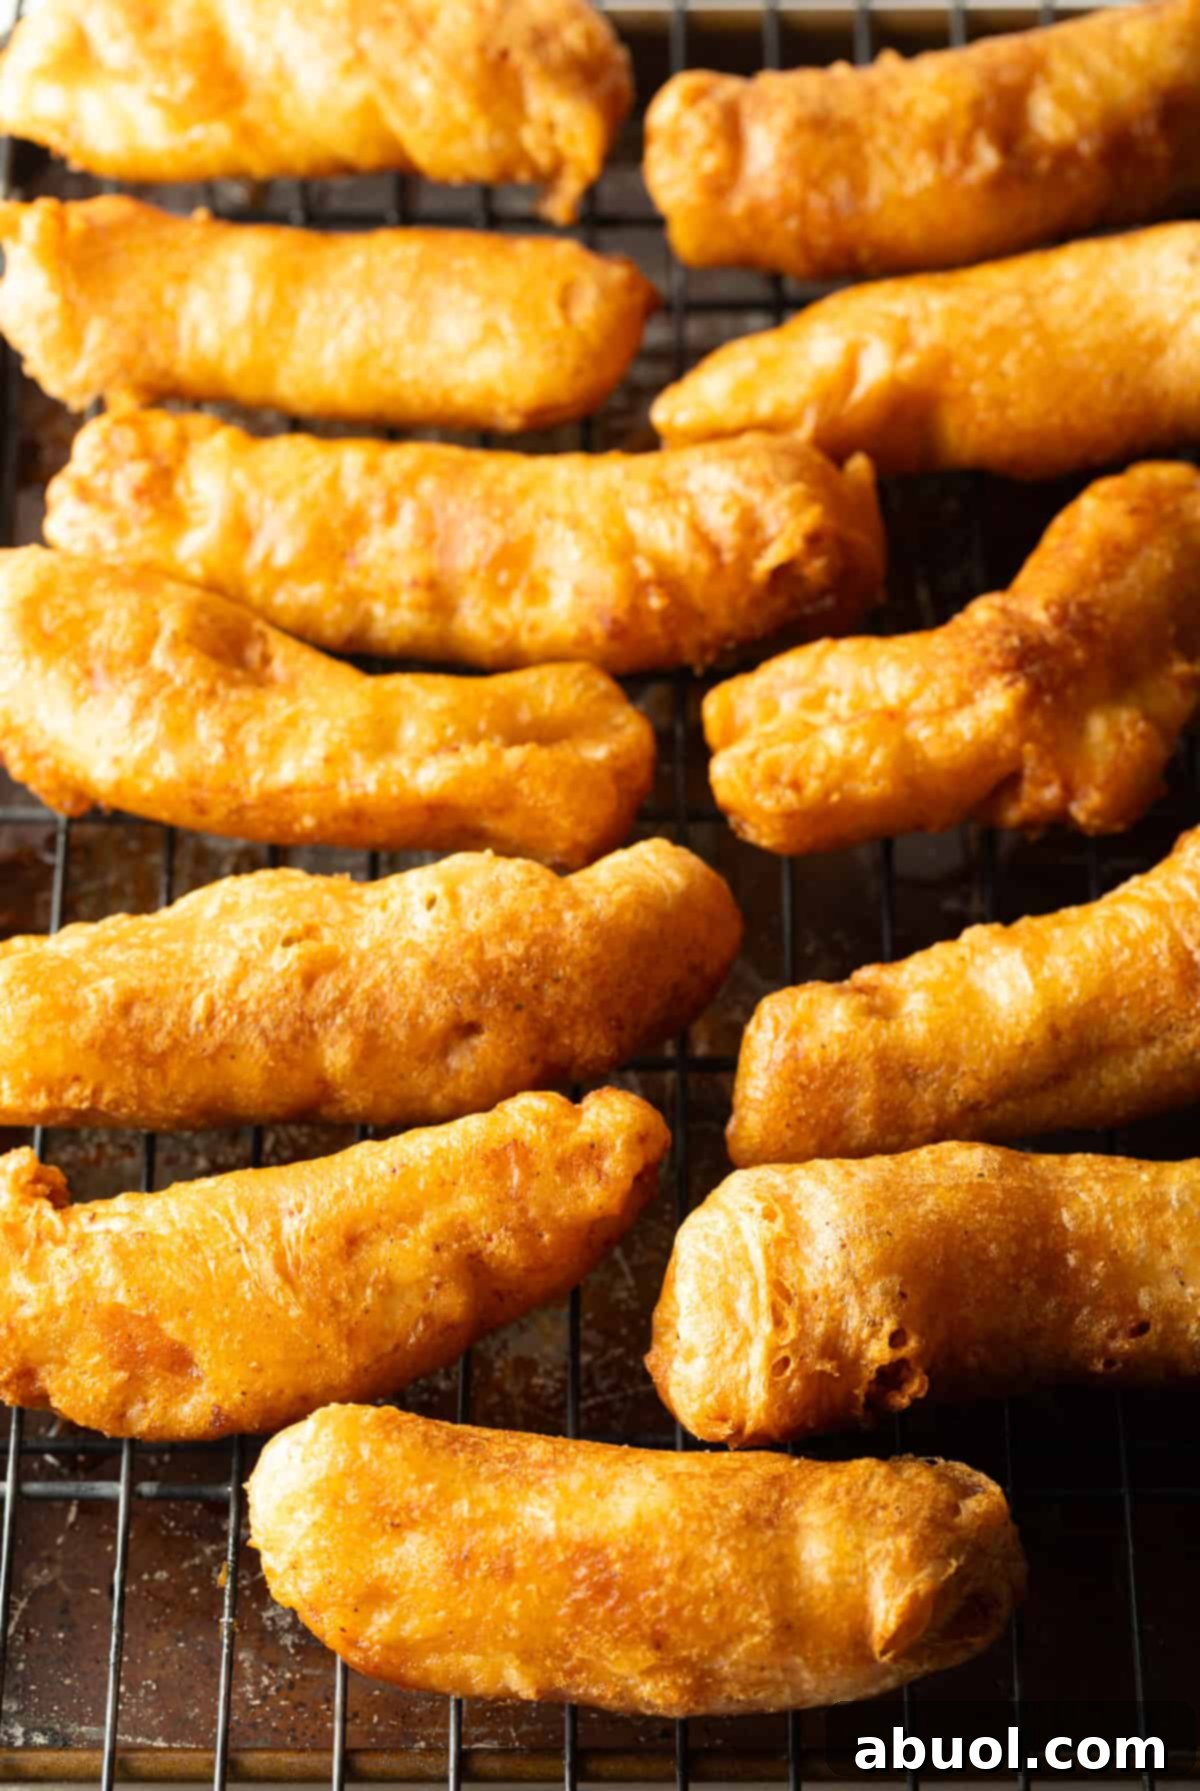
Achieve Pub-Quality Perfection at Home – This recipe delivers that authentic, crunchy, and flavorful fried fish that rivals, and often surpasses, what you’d find at a classic pub. Not only is it more delicious when made fresh, but it’s also significantly more budget-friendly. Once you master this base recipe, you can use it to create other amazing dishes like incredible Baja-style fish tacos or the ultimate fried fish sandwich.
Built on Simple, Quality Ingredients – We rely on pantry staples to create a batter that’s truly magical. The secret lies in a specific trio of dry ingredients that guarantees a crispy, light texture. Making it yourself means you have complete control over the quality, from the freshness of the fish to the type of oil used, ensuring there are no unwanted preservatives or additives.
A Foolproof Method for Frying – Deep frying can seem intimidating, but this recipe breaks it down into a simple, no-fail process. With step-by-step instructions and crucial tips, you’ll learn exactly how to prepare the fish, mix the batter, and manage the oil temperature. The result is a perfectly golden and crunchy coating every time, with succulent, flaky fish nestled inside.
The Science of the Perfect Batter: Key Ingredients
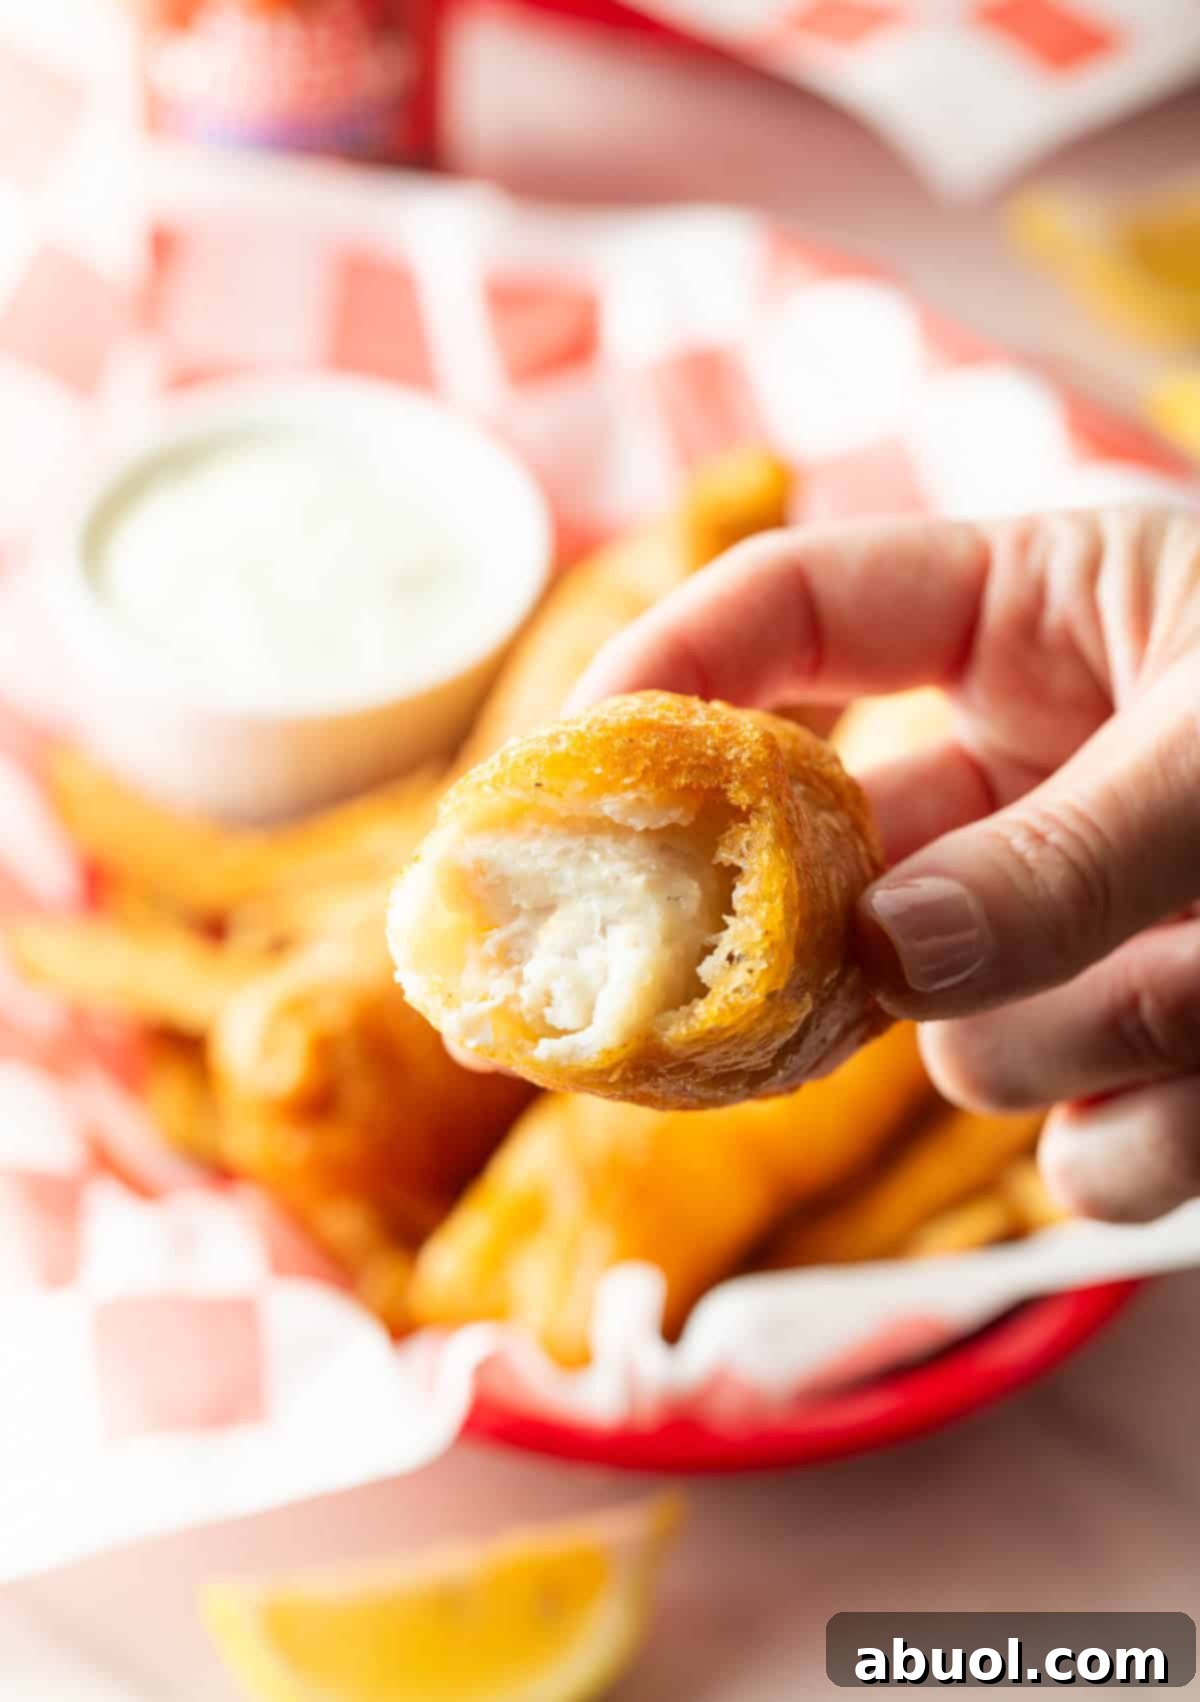
- The Best Fish for Frying – The ideal choice is a firm, flaky white fish that can hold up to the batter and heat. Cod is the classic, quintessential choice for fish and chips due to its mild flavor and large, tender flakes. Haddock is another excellent option, slightly sweeter and more delicate. Other fantastic choices include grouper, halibut, catfish, or even walleye. The key is to select fillets that are about 1-inch thick.
- The Dry Ingredient Trio – This is the secret to an incredibly crispy yet light coating. We use a combination of all-purpose flour for structure, cornstarch to inhibit gluten development (which keeps the batter tender and crisp, not tough), and baking powder, which reacts with the heat to create tiny air bubbles, making the coating light and airy.
- The Magic of Beer – Beer does two crucial things for the batter. First, its carbonation creates a multitude of tiny bubbles, resulting in a much lighter, lacier, and crispier texture than a batter made with water or milk. Second, the yeast and malt in the beer add a subtle but distinct depth of flavor that complements the fish beautifully. Opt for a crisp, light-flavored beer like a lager, pilsner, or a pale ale. Corona, Stella Artois, or Sierra Nevada Pale Ale are all great choices. Avoid dark, heavy beers like stouts or porters, as their strong flavors can overwhelm the dish.
- High-Smoke-Point Frying Oil – For deep frying, you need an oil that can reach high temperatures without smoking and burning. A high smoke point ensures the fish cooks quickly and crisps up perfectly without absorbing excess grease. Peanut oil is a fantastic choice for its high smoke point (around 450°F) and neutral flavor. Canola, vegetable, or grapeseed oil are also excellent alternatives.
- Essential Seasonings – A simple yet effective blend of garlic powder, salt, and freshly ground black pepper is all you need to perfectly season the batter. This ensures every bite is flavorful, from the crispy coating to the flaky fish inside.
Essential Equipment for Frying Success
- A Large, Heavy-Bottomed Pot – A deep 6 to 8-quart pot is essential for safe and effective deep frying. A heavy bottom, like that of a Dutch oven or a ceramic-coated cast-iron pot, is crucial because it distributes heat evenly and helps maintain a consistent oil temperature, preventing drastic fluctuations when you add the fish.
- A Reliable Cooking Thermometer – This is the most important tool for perfect fried fish. Guessing the oil temperature is a recipe for disaster, leading to greasy, soggy, or burnt results. A heat-safe kitchen thermometer that can clip to the side of the pot allows you to monitor and control the temperature precisely, ensuring a golden, crispy outcome every time.
- A Wire Draining Rack – To keep your perfectly fried fish crispy, you must let it drain immediately after it comes out of the oil. Placing the fish on a wire rack set over a baking sheet allows air to circulate all around each piece, preventing the bottom from steaming and becoming soggy. This is far superior to using paper towels, which can trap steam.
Step-by-Step Guide to Crispy Fried Fish
You can find the full ingredient measurements, detailed instructions, and a helpful video tutorial in the printable recipe card at the bottom of this post.
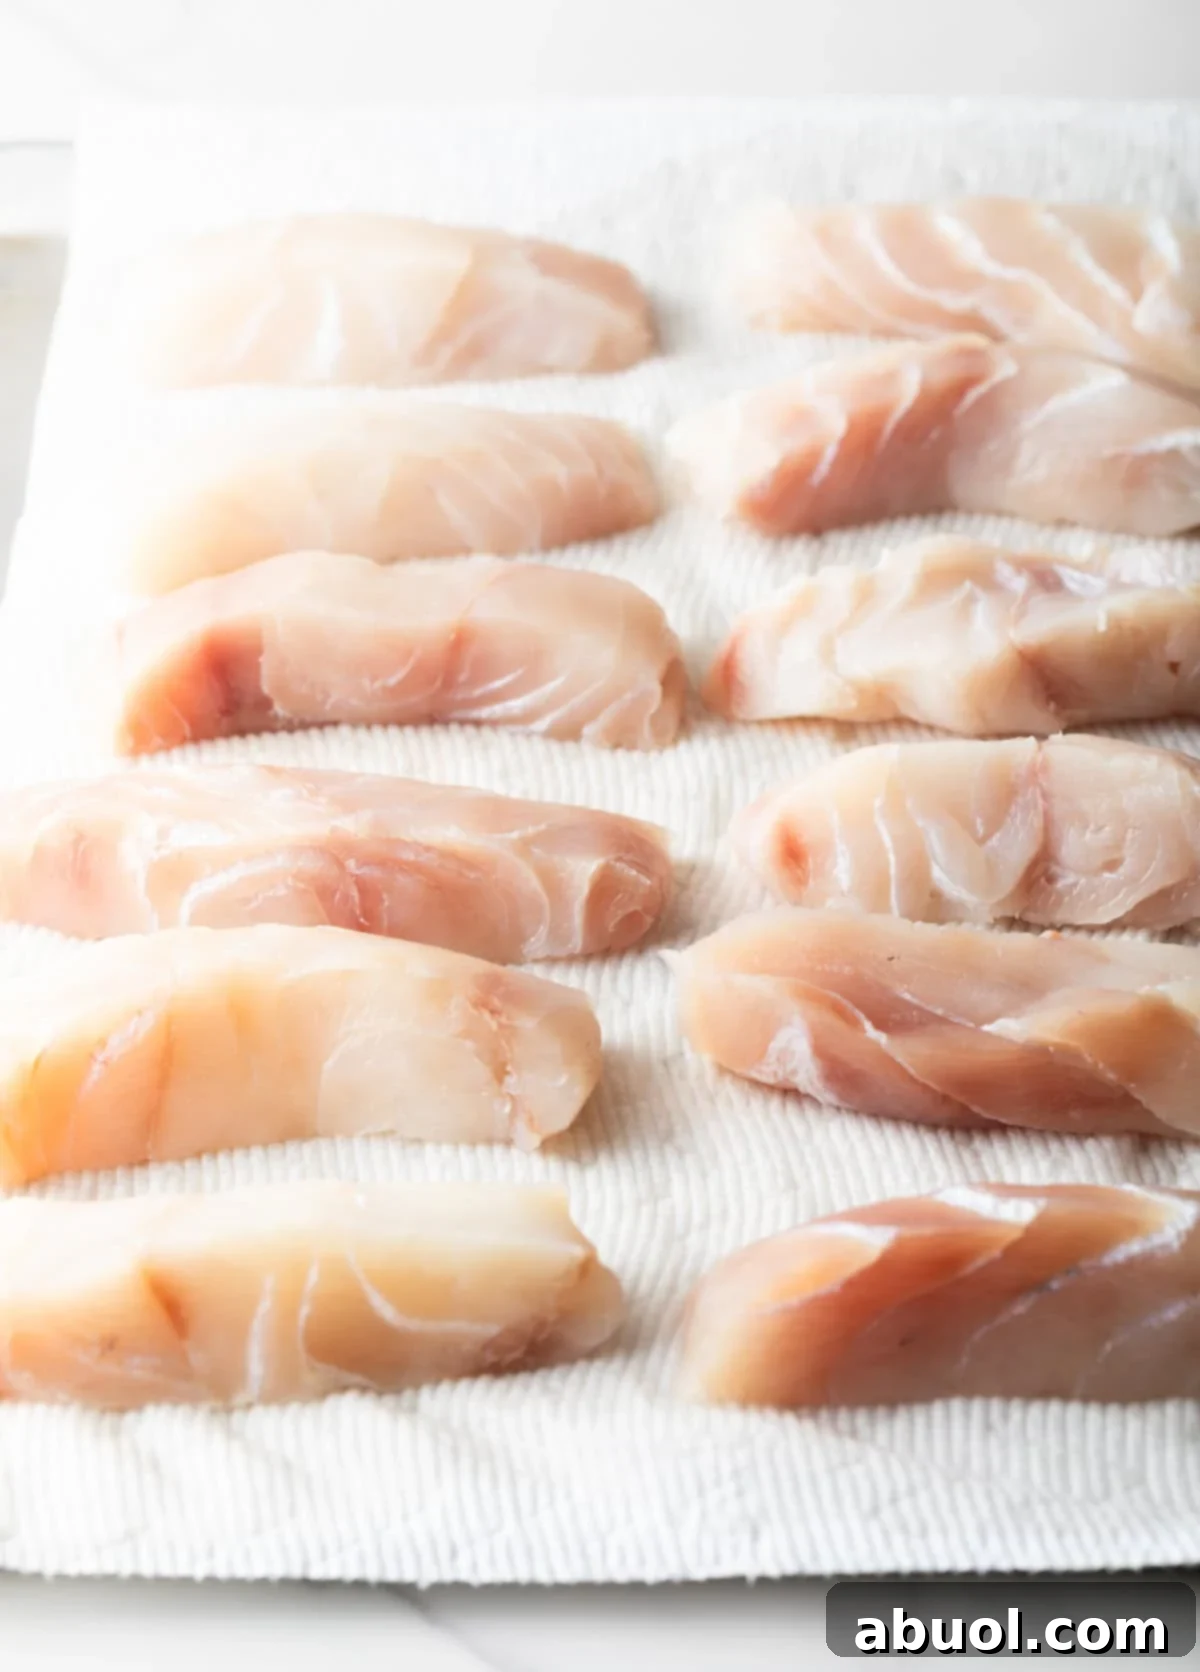
Step 1: Prep the Fish – The absolute key to making the batter stick is to start with very dry fish. Line a baking sheet with a layer of paper towels. Slice your fish fillets into uniform strips, about 1 1/2 inches wide. As you cut each piece, place it on the paper towel-lined sheet. Once all the fish is cut, place another layer of clean paper towels on top and gently pat down to absorb as much surface moisture as possible. Don’t press too hard, or you risk breaking the delicate fillets.
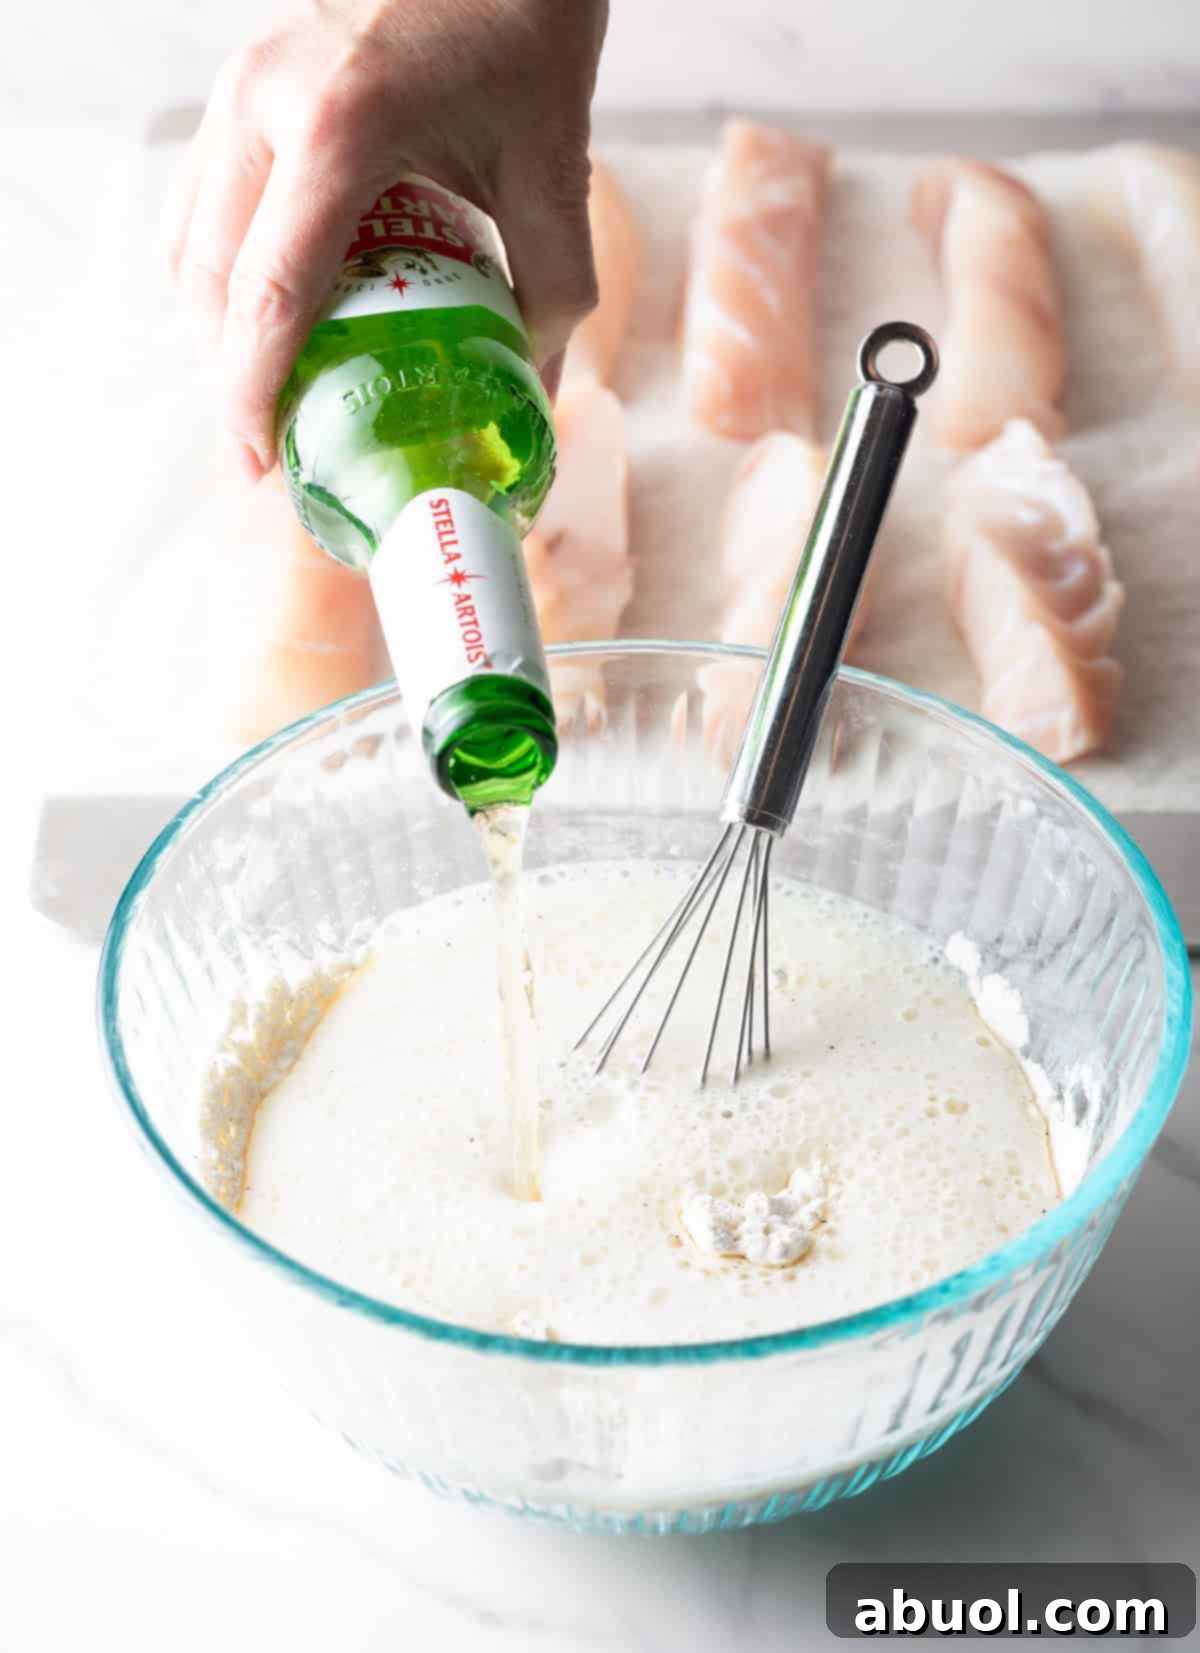
Step 2: Make the Beer Batter – While the fish is drying, prepare your batter. In a medium to large mixing bowl, combine the all-purpose flour, cornstarch, baking powder, salt, garlic powder, and pepper. Whisk these dry ingredients together thoroughly. Then, gently pour in the cold beer and whisk just until the batter is combined. A few small lumps are perfectly fine; be careful not to overmix, as this can develop gluten and make the coating tough.
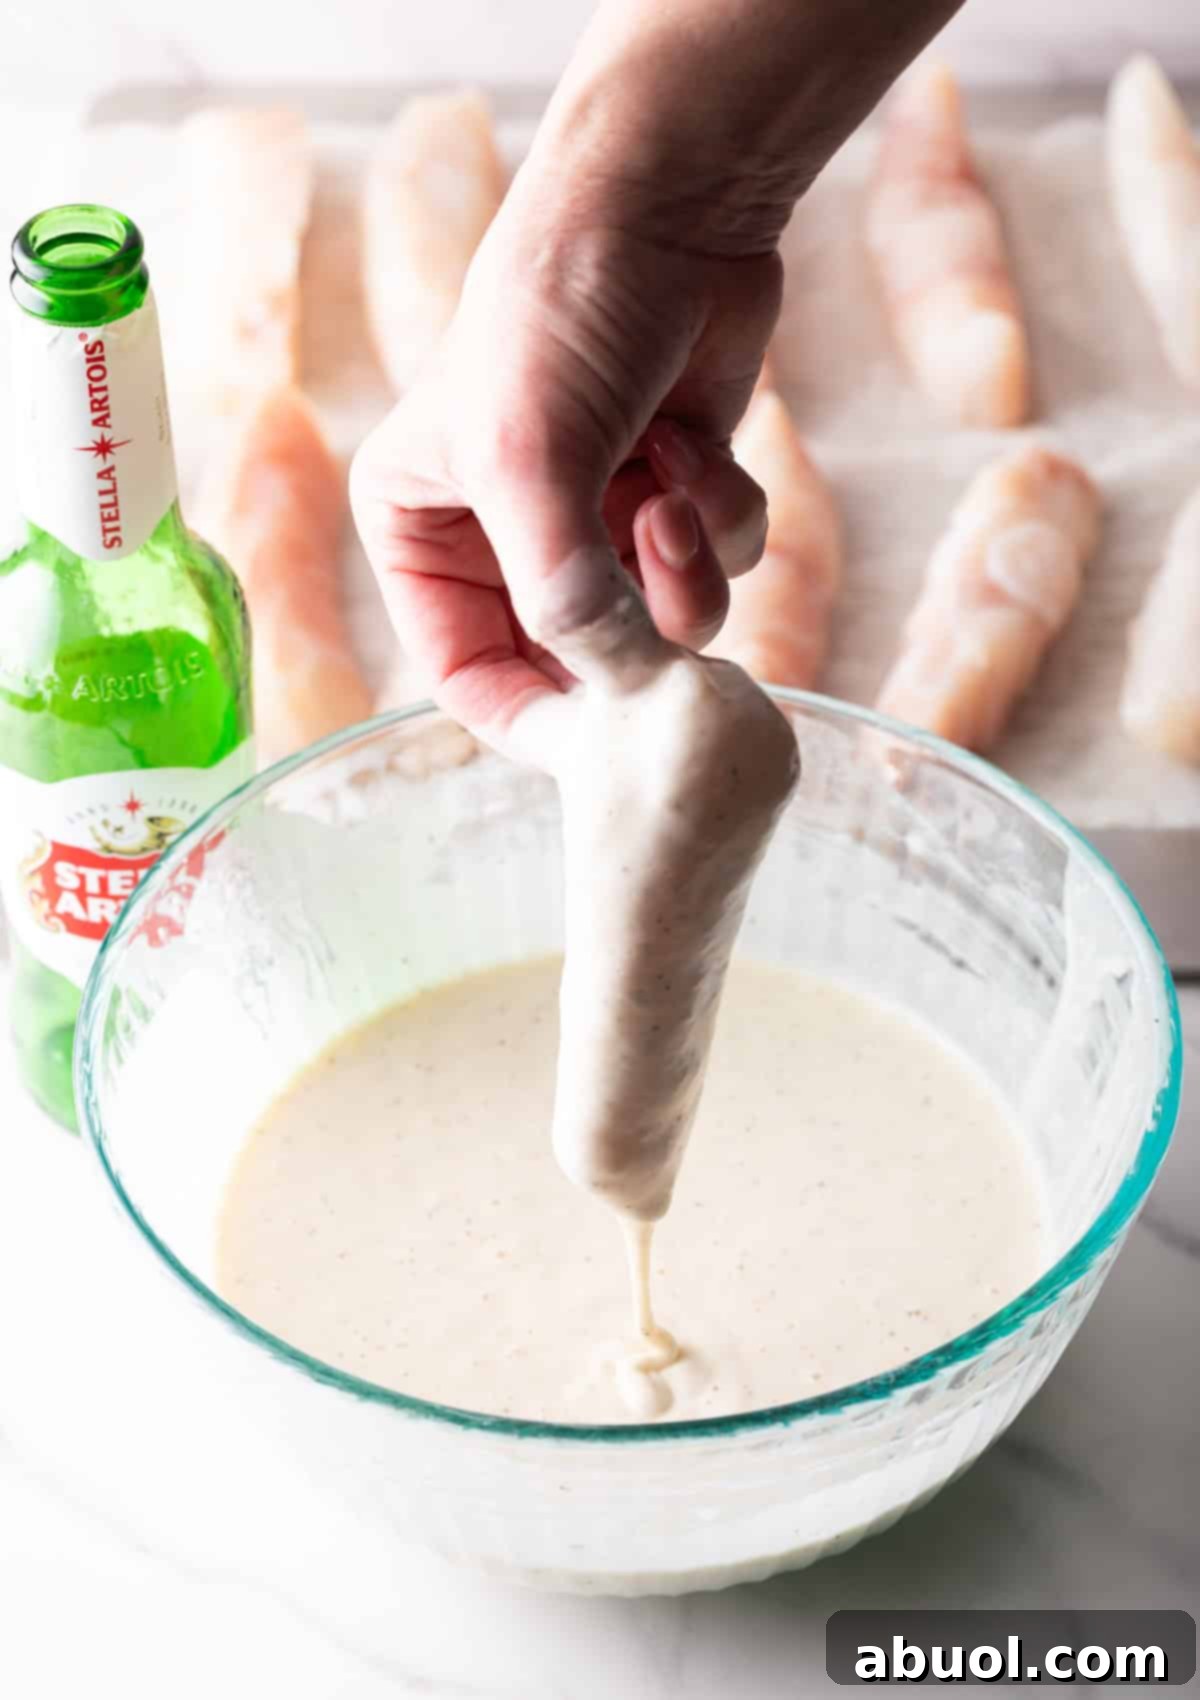
Step 3: Heat the Oil and Dip the Fish – Place your large pot on the stovetop over medium-high heat. Pour in enough oil to come about halfway up the sides of the pot. Clip your cooking thermometer to the side, ensuring the tip is submerged in the oil but not touching the bottom of the pot. Heat the oil until it reaches 365-375°F. Once the oil is hot, take one piece of dry fish and dredge it completely in the beer batter, allowing any excess to drip back into the bowl.
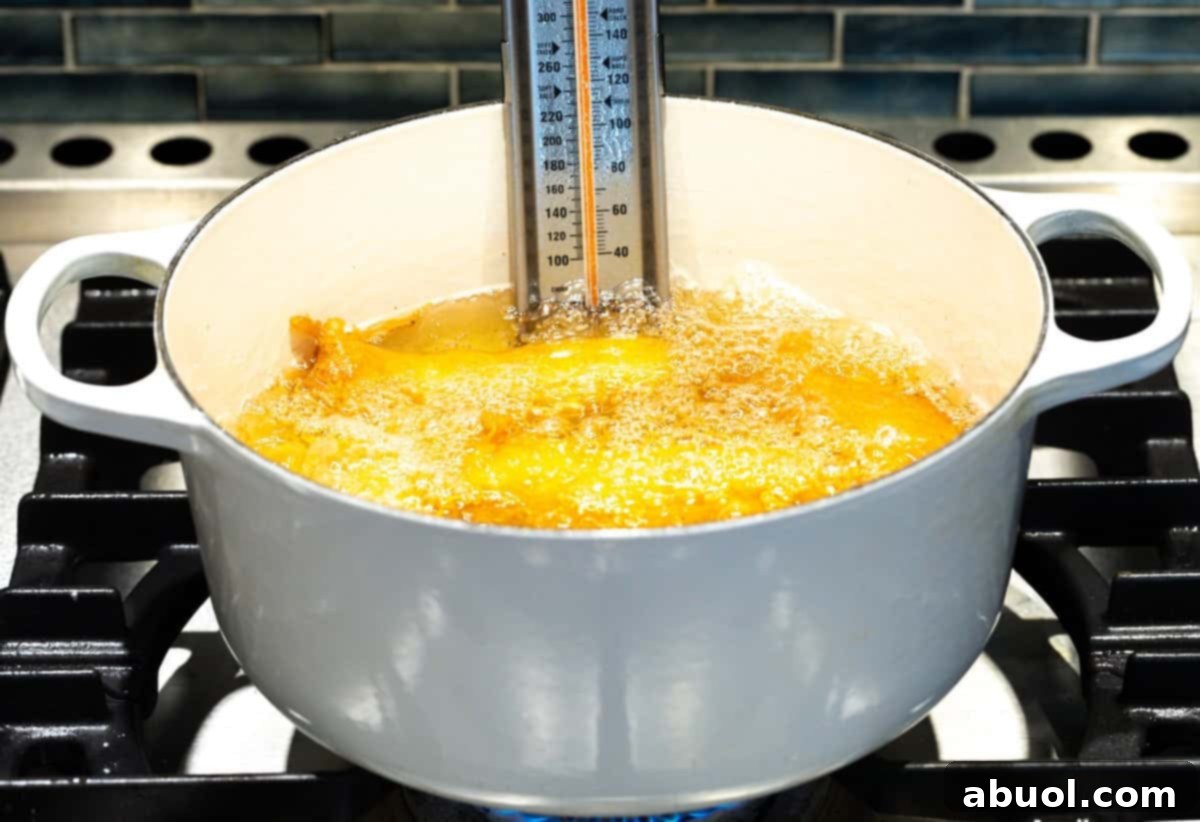
Step 4: Fry to Golden Perfection – Working carefully and quickly, gently lower the battered fish into the hot oil. It should start sizzling immediately. Use tongs to give it a little swirl to prevent it from sticking to the bottom or other pieces. Add a few more pieces to the pot, but do not overcrowd it. Frying in batches (usually 4-6 pieces at a time) is essential for maintaining the oil temperature. You want the oil to stay around 350°F during frying. Adjust the stove’s heat as needed to maintain this range.
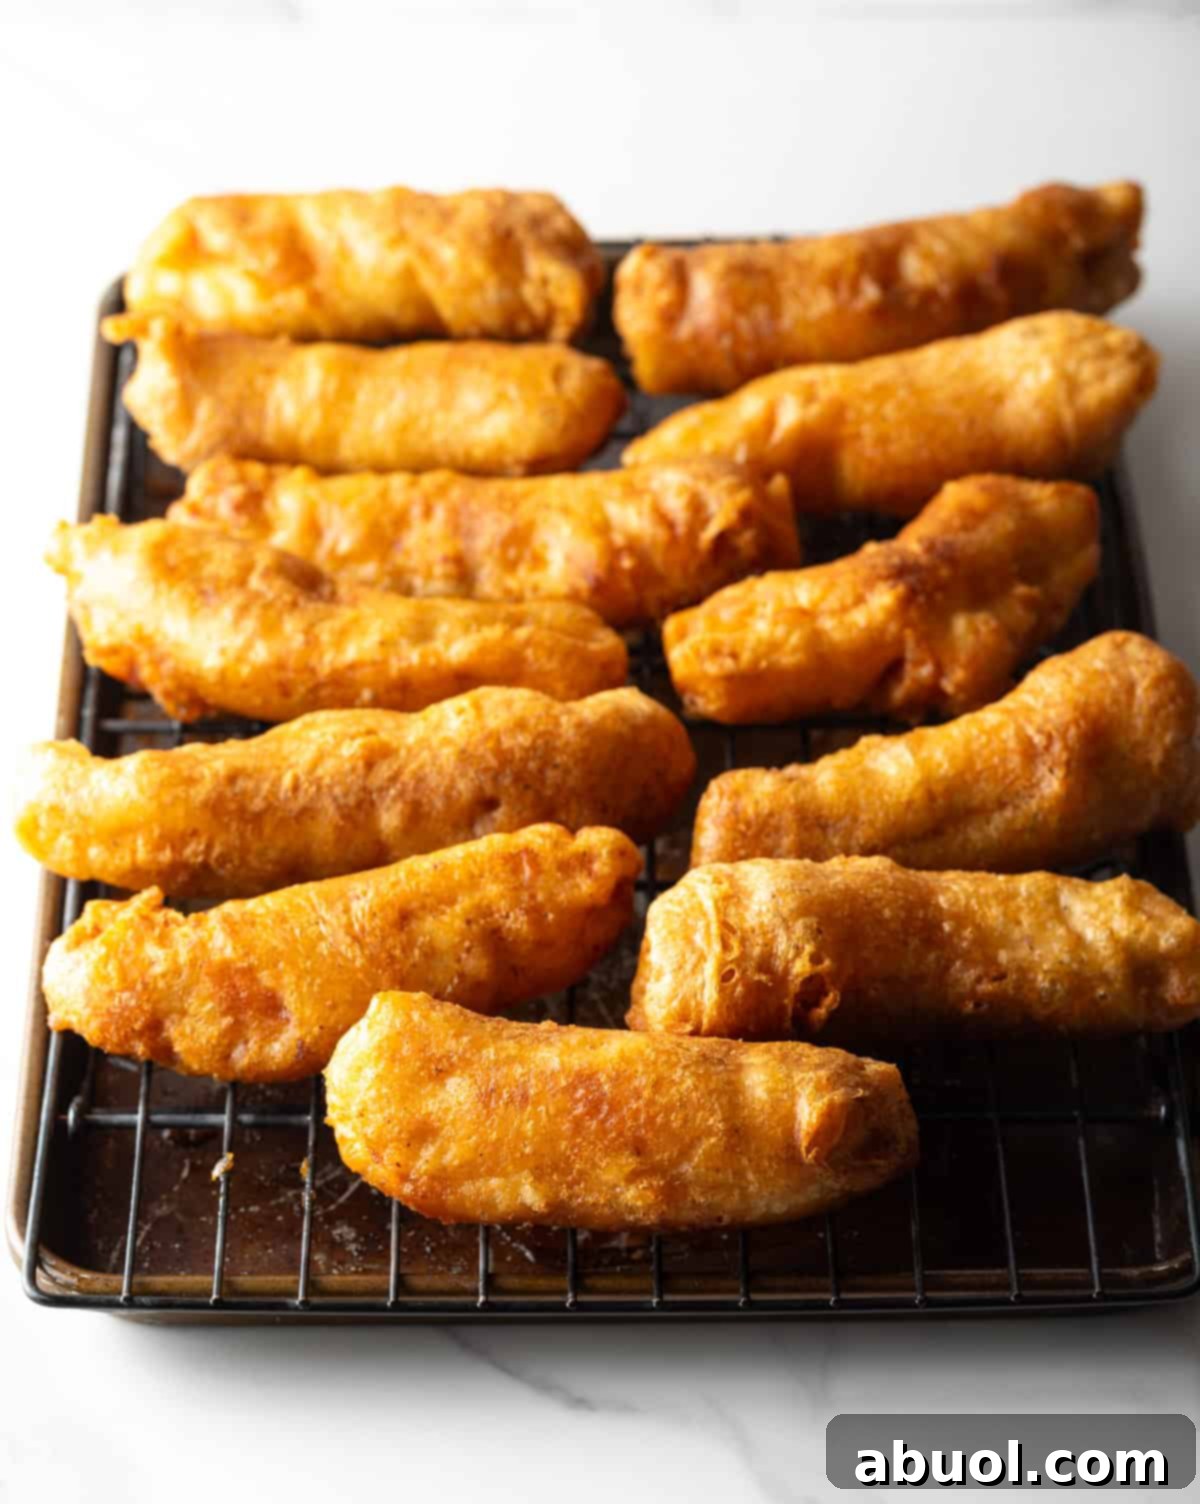
Step 5: Drain and Repeat – Fry the fish for about 4-5 minutes, using tongs to turn the pieces occasionally, until the batter is a deep golden brown and beautifully crisp on all sides. As each piece is cooked, remove it from the oil and place it on the prepared wire rack to drain. Between batches, use a skimmer to remove any floating bits of fried batter from the oil to prevent them from burning. Allow the oil to return to 375°F before starting the next batch. Repeat the process until all the fish is cooked.
Pro Tips for Flawless Results
Master Your Oil Temperature: The single most important factor in successful frying is temperature control. If the oil is too cool (below 350°F), the batter will absorb grease and become soggy. If it’s too hot (above 390°F), the batter will burn before the fish inside is cooked through. Use your thermometer diligently and adjust the heat between batches to stay in that golden 350-375°F window.
Don’t Overcrowd the Pan: It might be tempting to cook all the fish at once, but this is a critical mistake. Adding too much food to the pot at one time will cause the oil temperature to drop dramatically, leading to greasy results. Work in small batches to ensure each piece has enough space to cook evenly and become perfectly crisp.
Dry Fish is a Must: We can’t stress this enough. The batter will not adhere properly to wet fish. Patting the fillets thoroughly with paper towels creates a dry surface that the batter can cling to, ensuring the crispy coating stays on the fish instead of falling off in the fryer.
Season Immediately: For the best flavor, lightly salt the fried fish the moment it comes out of the hot oil and is resting on the wire rack. The heat and residual oil will help the salt adhere perfectly to the crust.
Creative Serving Suggestions
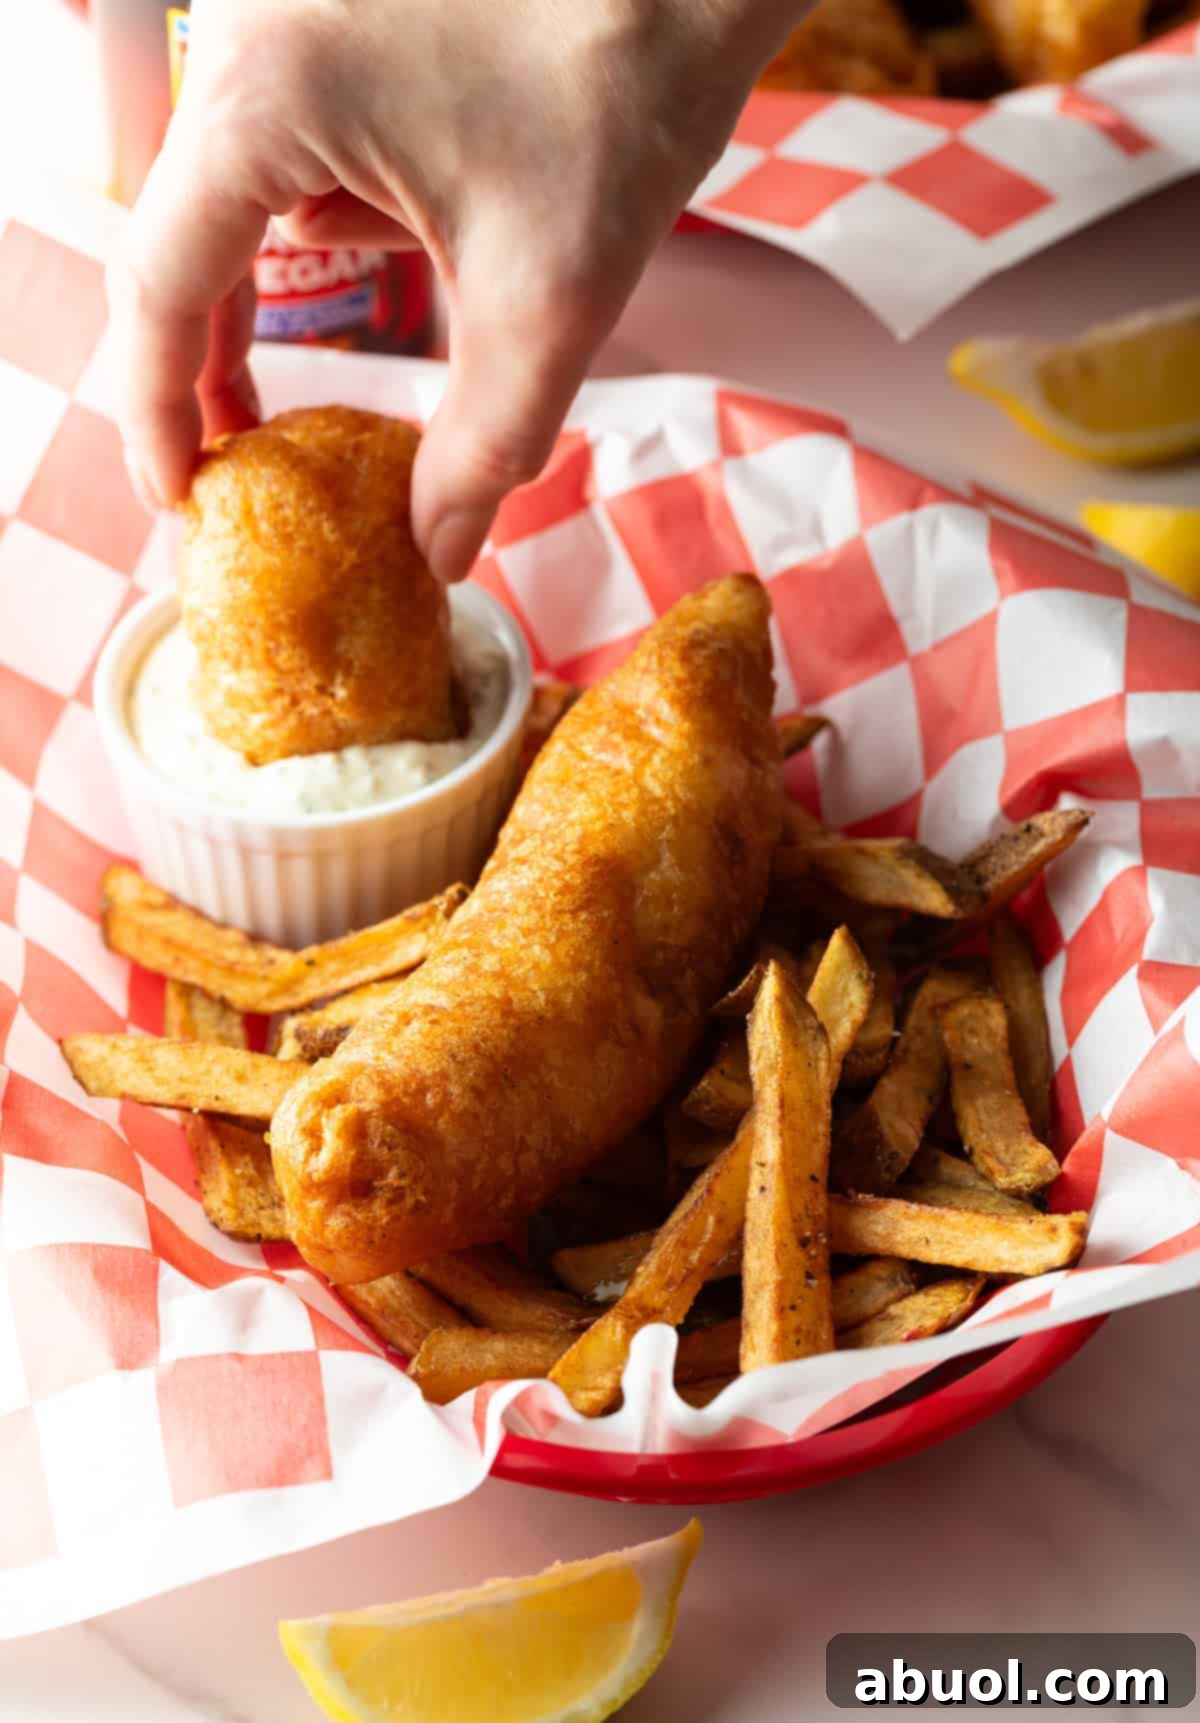
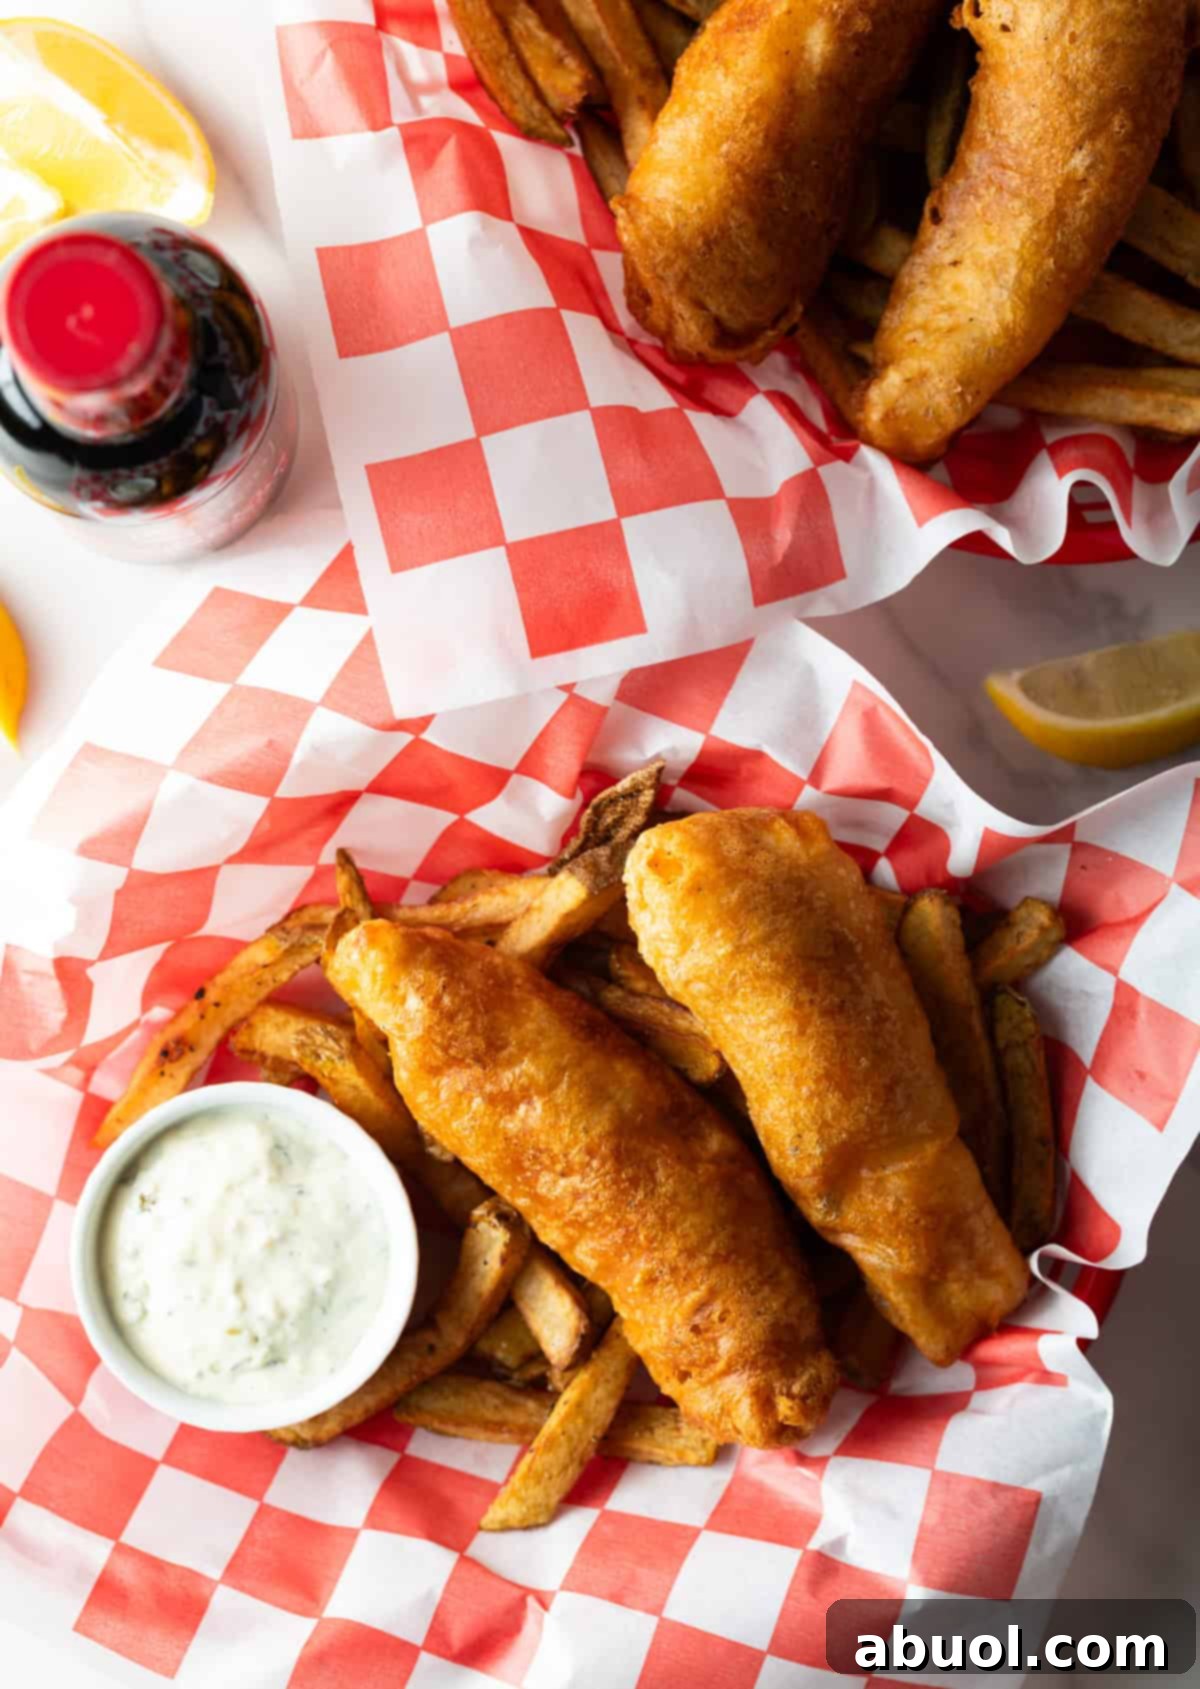
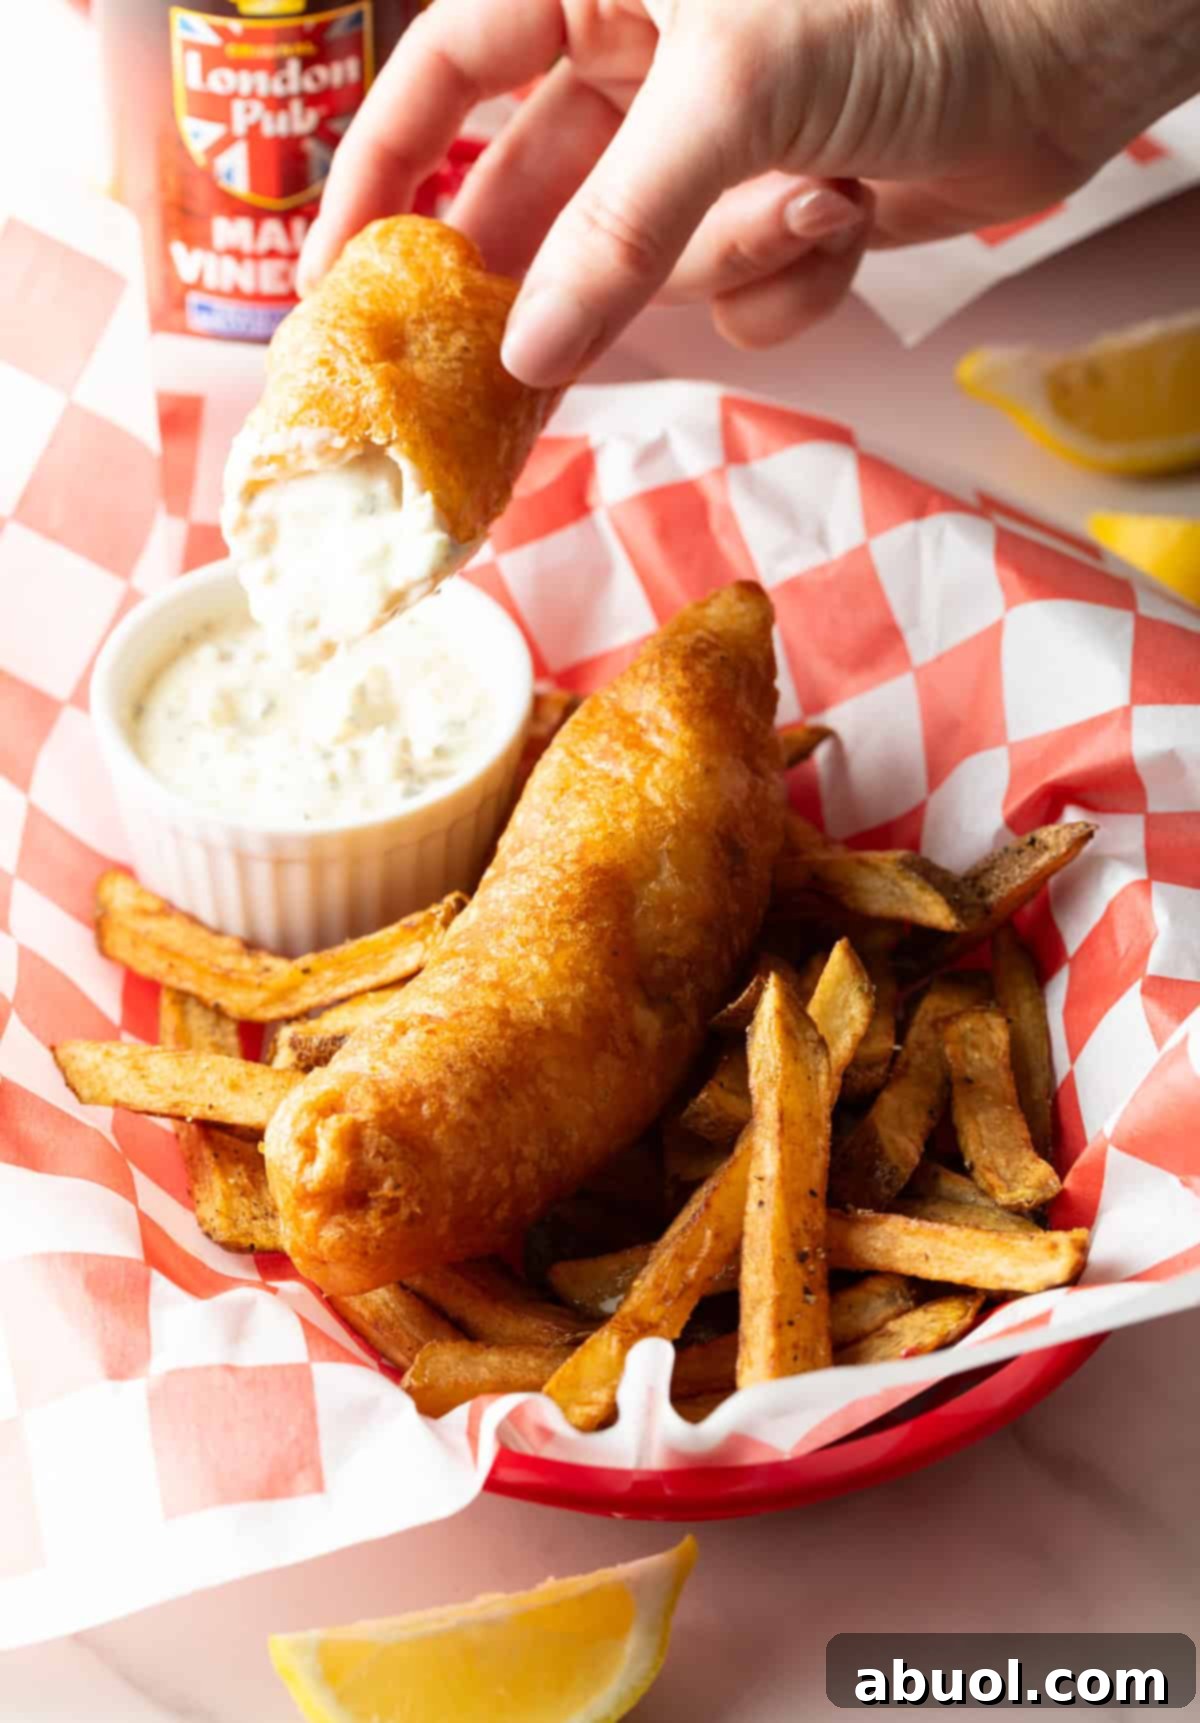
The most iconic way to serve this dish is as classic fish and chips. Pair the hot, crispy fish with homemade french fries and offer a side of malt vinegar for drizzling. A cool, tangy dipping sauce is a must. Consider any of these delicious homemade options:
- Classic Tartar Sauce with a spicy kick.
- A zesty Homemade Cocktail Sauce for a bit of heat.
- A rich and creamy Remoulade Sauce, popular in Southern cuisine.
For a Southern-inspired feast, serve the fish with a side of jalapeño hush puppies or crispy fried okra. Balance the richness with a refreshing, creamy coleslaw and a hearty scoop of deviled egg potato salad.
Storing and Reheating
Like all fried foods, this beer-battered fish is undeniably best when enjoyed fresh from the fryer. That’s when the crust is at its crispiest. However, if you have leftovers, allow them to cool completely before storing them in an airtight container in the refrigerator for up to 2-3 days.
To bring back some of the original crunch, it’s crucial to reheat them properly. Avoid the microwave at all costs, as it will steam the coating and make it rubbery. The best method is an air fryer. Preheat it to 350°F (175°C) and reheat the fish for 3-5 minutes, flipping halfway through. Alternatively, you can use a conventional oven. Place the fish on a wire rack on a baking sheet and bake at 350°F (175°C) for about 10-12 minutes, or until hot and re-crisped.
Frequently Asked Questions
Soggy fried fish is almost always caused by one of two things: the oil temperature was too low, or the pot was overcrowded. When the oil isn’t hot enough, the batter absorbs grease instead of instantly crisping. Always use a thermometer to ensure your oil is at least 350°F and fry in small batches.
Keep your pot over medium to medium-high heat and watch your thermometer closely. The temperature will naturally drop when you add the cold fish. Be prepared to adjust the burner’s heat up or down to compensate. It takes a minute or two for the oil to respond to changes in heat, so make small adjustments and be patient.
Absolutely! The most important property the beer provides is carbonation, which creates a light and airy crust. Non-alcoholic beer is carbonated and will work wonderfully. You can also use soda water or club soda as a non-alcoholic substitute.
This usually happens if the fish was not dry enough before being dipped in the batter. Moisture on the fish’s surface creates a steam barrier that prevents the batter from adhering properly. Patting the fish thoroughly dry is a non-negotiable step for a coating that stays put.
Help Me Spread the Word about this Fabulous Free Recipe! Sharing this recipe link on Pinterest and Facebook is super impactful, and I greatly appreciate it! Find the share buttons below the recipe form.
More Finger Food Recipes

Print Recipe
Leave a Review »
The Ultimate Crispy Beer-Battered Fish
Video
Ingredients
- 2 ½ – 3 pounds white fish filets (cod, haddock, grouper, halibut, catfish, or walleye)
- 1 cup all-purpose flour
- ½ cup cornstarch
- 2 teaspoons salt, plus more for seasoning
- 1 teaspoon baking powder
- 1 teaspoon garlic powder
- ½ teaspoon ground black pepper
- 12 ounces light crisp beer, cold (like a lager or pilsner)
- 1 ½ quarts frying oil (peanut or canola oil recommended)
Instructions
-
Prepare the Fish: Line a large baking sheet with paper towels. Cut the fish fillets into uniform strips about 1 ½ inches wide. Place the strips on the paper towels in a single layer. Use another paper towel to gently pat the top of the fish fillets to remove all excess moisture. This step is crucial for a crispy batter.
-
Mix the Batter: In a medium bowl, whisk together the flour, cornstarch, salt, baking powder, garlic powder, and black pepper. Pour in the cold beer and whisk just until a smooth batter forms. Do not overmix; a few small lumps are okay.
-
Heat the Oil: Set a large, heavy-bottomed pot (6-8 quarts) over medium-high heat. Pour in the oil to a depth of at least 2 inches. Clip a cooking thermometer to the side of the pot, ensuring the tip is submerged in the oil. Heat the oil to 375°F (190°C). Prepare another baking sheet by placing a wire rack on top.
-
Batter and Fry: Once the oil is hot, work in batches. Dip a piece of dry fish into the batter, coating it completely. Let any excess batter drip off. Carefully lower the fish into the hot oil. Repeat with 3-5 more pieces, being careful not to overcrowd the pot. The oil temperature will drop; try to maintain it around 350°F (175°C) by adjusting the stove’s heat.
-
Cook and Drain: Fry the fish for 4-5 minutes total, turning occasionally with tongs, until the exterior is a deep golden-brown and crisp. Remove the cooked fish with tongs and place it on the wire rack to drain. Immediately sprinkle with a little extra salt. Between batches, use a skimmer to remove any debris and allow the oil to return to 375°F before frying the next batch.
-
Serve Hot: Serve the fried fish immediately while it’s hot and crispy, with french fries, lemon wedges, malt vinegar, and tartar sauce.
Notes
This recipe is best enjoyed immediately after cooking for maximum crispiness. Leftovers can be stored in an airtight container in the refrigerator for 2-3 days.
To reheat, use an air fryer at 350°F for 3-5 minutes or an oven at 350°F for 10-12 minutes. Avoid the microwave.