
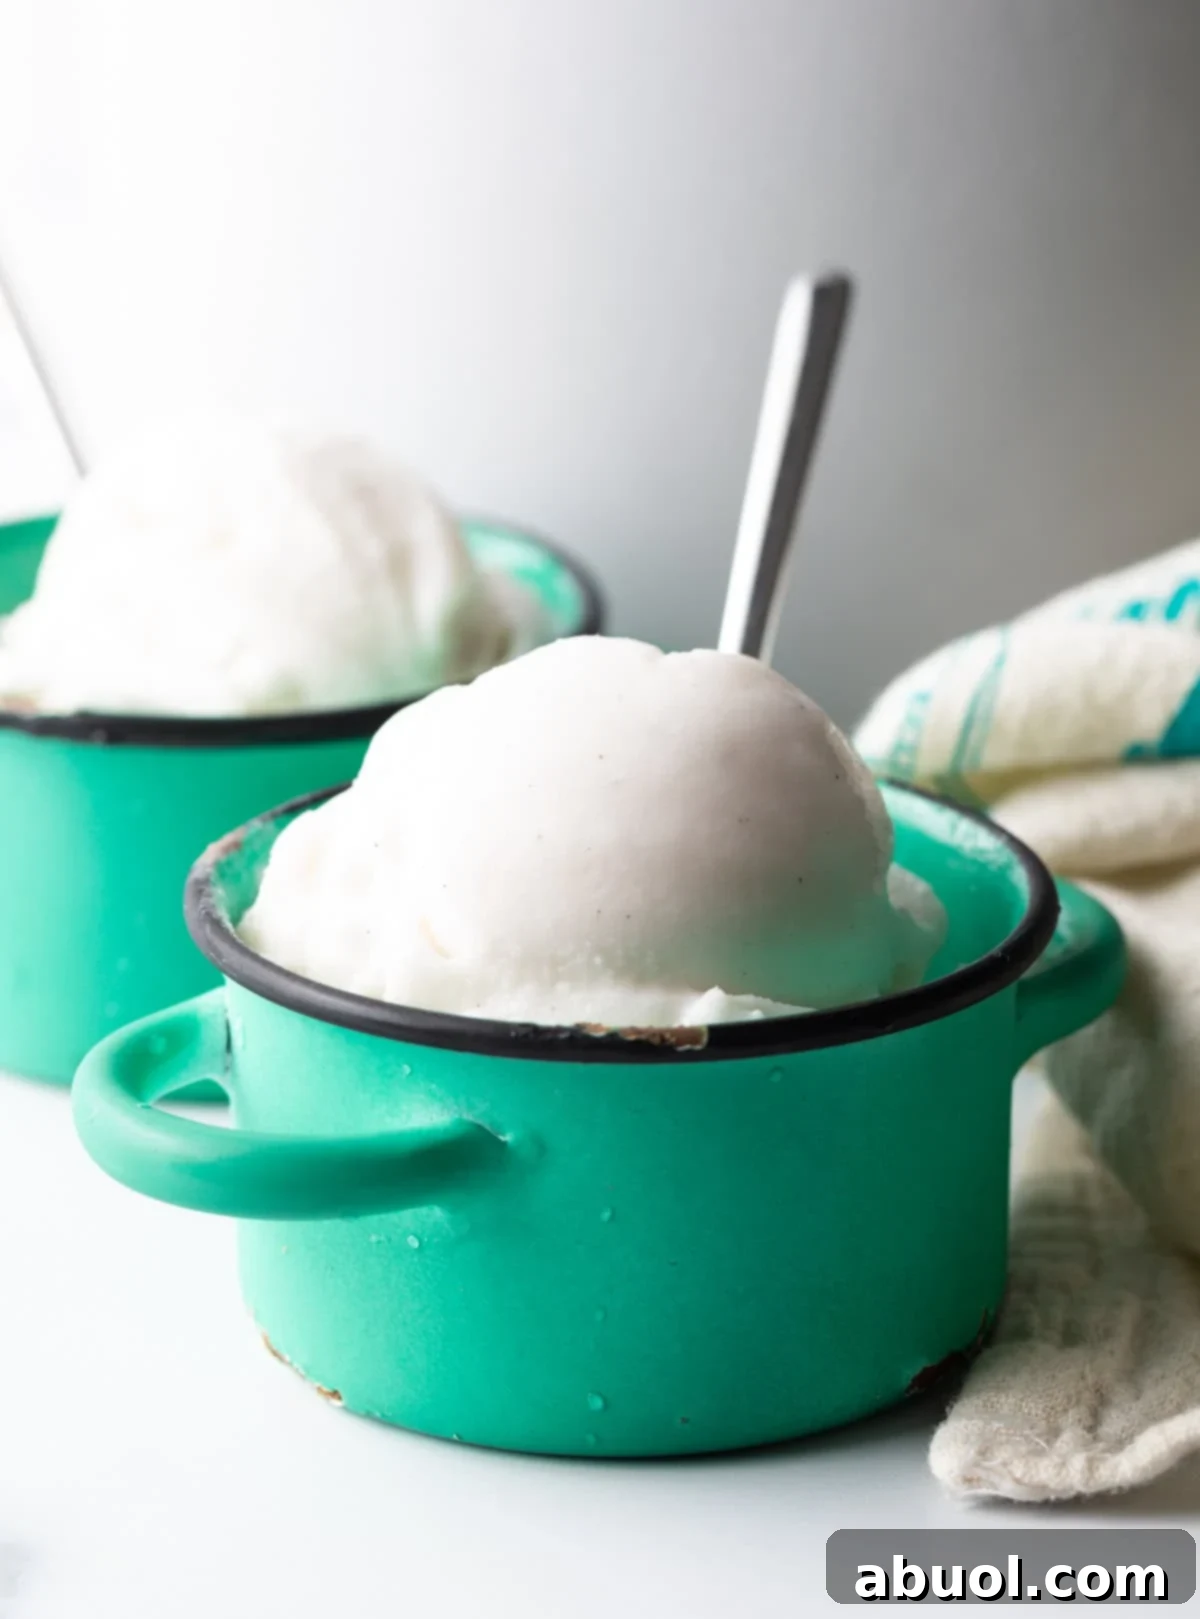
Coconut Milk Ice Cream is undoubtedly the ultimate dairy-free vanilla ice cream recipe you’ll find. Crafting a batch of this delightful vegan “nice” cream at home is incredibly simple, requiring just five wholesome ingredients. Prepare to indulge in a perfectly creamy, sweet, and refreshing treat, ideal for any time of year, especially those warm summer days. Load it with your favorite mix-ins and toppings for an unforgettable dessert experience!
Why We Adore Homemade Coconut Ice Cream
There’s nothing quite like a scoop of cold, refreshing ice cream to beat the heat, particularly during the scorching summers in the south where temperatures often soar above 90 degrees Fahrenheit. Our kitchen is constantly experimenting with frozen treat recipes, and this homemade coconut ice cream has quickly risen to the top of our favorites list.
While we cherish traditional dairy ice cream, there’s a growing need for inclusive dessert options. For friends and family with food sensitivities, allergies, or those following specialized diets like veganism, a dairy-free alternative is essential. This is precisely where our vanilla bean coconut ice cream shines. It’s not just an alternative; it’s a star in its own right!
This recipe delivers our absolute favorite non-dairy ice cream, affectionately known as “nice cream” due to its entirely plant-based composition. It masterfully combines the rich flavors of full-fat coconut milk, luscious coconut cream, and fragrant vanilla extract to create a dessert that is perfectly creamy, luxuriously smooth, and exquisitely sweet. It’s a treat designed for everyone to love, regardless of their dietary preferences, proving that dairy-free can be just as decadent and satisfying as its traditional counterpart.
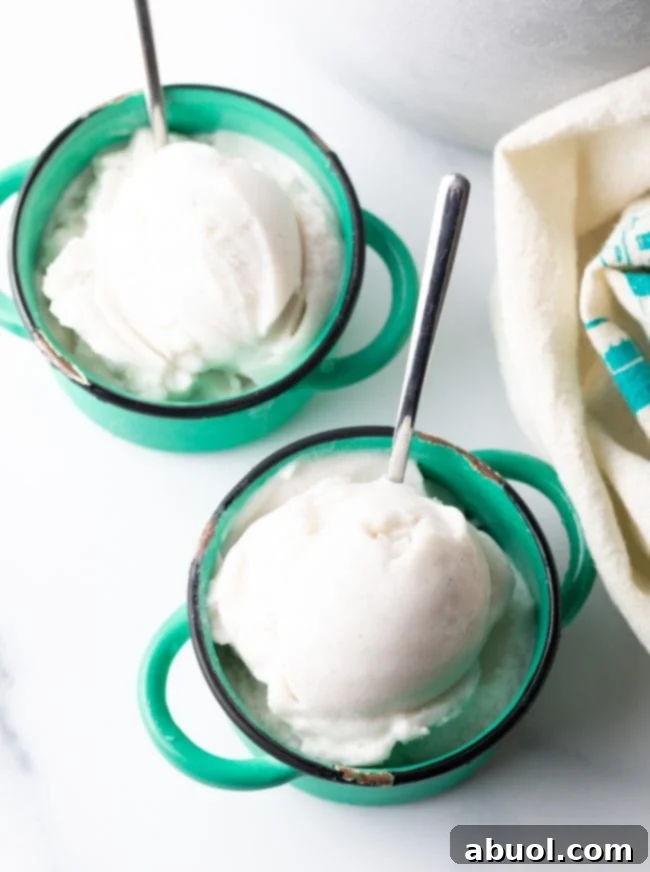
The Secret to Perfect Dairy-Free Coconut Milk Ice Cream: Heating or Not?
One of the most surprising and convenient aspects of making Coconut Milk Ice Cream from scratch is its simplicity, and the result is nothing short of fabulous! You will genuinely not miss dairy milk even one bit. The texture and flavor are so rich and satisfying, you might even prefer it.
Traditionally, when preparing ice cream with dairy and sugar, heating the mixture is a crucial first step to ensure the sugar fully dissolves. However, through numerous tests and batches, we’ve discovered a fantastic shortcut for this dairy-free version: heating isn’t always necessary before churning! This revelation can significantly reduce your preparation time, making homemade ice cream even more accessible.
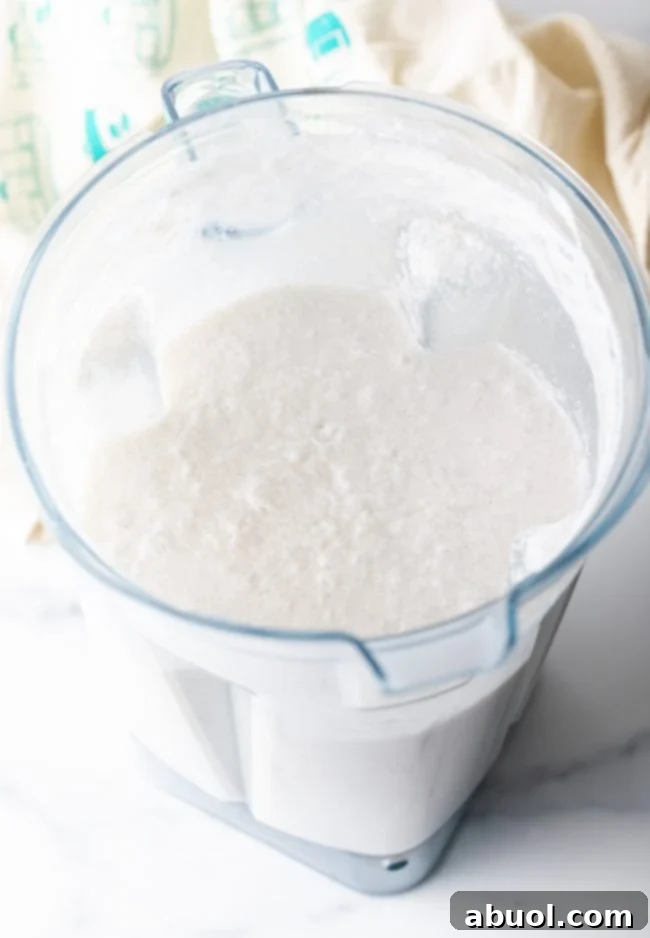
So, how do you determine if your mixture needs heating? The necessity of heating largely depends on two factors: the brand of full-fat coconut milk and coconut cream you use, and the power of your blender. To find out, simply combine all your ingredients in a high-speed blender and process until completely smooth. If the coconut ice cream base achieves a remarkably smooth consistency without any discernible lumps or chunks, you are in the clear! It’s perfectly safe to proceed directly to churning without any pre-heating step, saving you precious time and effort.
Conversely, if your blender leaves even small chunks of coconut cream in the mixture, heating becomes essential. These undissolved pieces will unfortunately freeze into hard, waxy, and unpleasant clumps within your otherwise creamy ice cream. In this scenario, gently warm the mixture over medium heat on your stovetop, stirring constantly, until all solids have completely dissolved and the mixture is silky smooth. After heating, it’s critical to chill the mixture thoroughly to at least room temperature, or ideally, colder, before introducing it to your ice cream maker. This chilling step is vital for achieving the correct consistency during churning.
If you prefer to err on the side of caution or simply want to bypass the “no-heat test,” you can always combine all ingredients in a saucepan from the start. Warm the mixture over medium heat, stirring regularly, until both the sugar and any coconut cream solids are fully dissolved. Once smooth, chill the mixture thoroughly, and then it’s ready for churning. This method guarantees a smooth base every time, removing any guesswork.
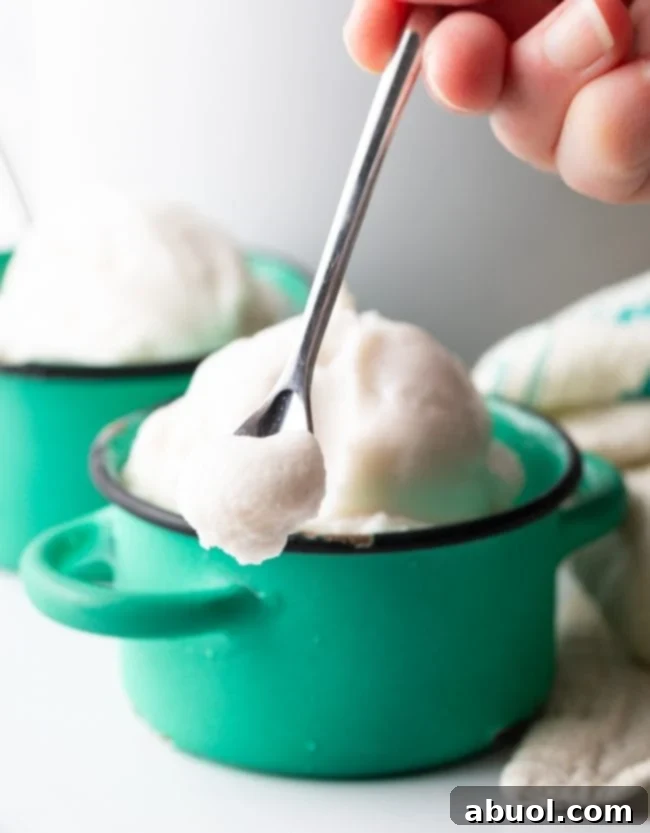
Essential Ingredients for the Best Coconut Ice Cream
One of the many compelling reasons to fall in love with this vegan “nice cream” recipe is its minimalist approach to ingredients. You only need five wholesome, readily available components to create this incredible treat. It’s truly nice, indeed!
To craft the most delicious and creamy Coconut Milk Ice Cream, gather these essential items:
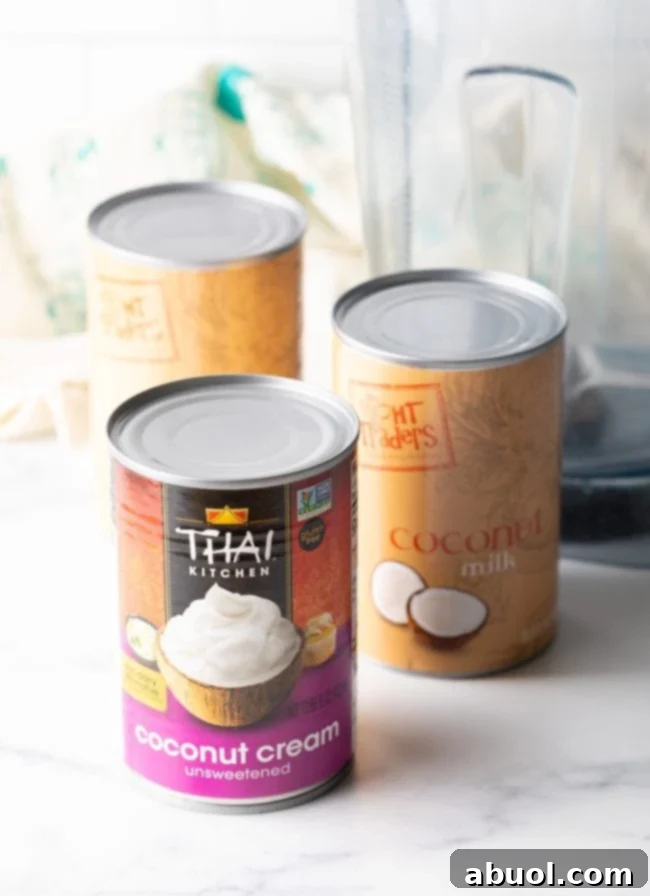
- Full-fat unsweetened coconut milk: This is the foundation of our creamy ice cream. Ensure you use canned full-fat coconut milk, as it contains the necessary fat content for a rich, luscious texture. Avoid “lite” coconut milk or refrigerated coconut milk beverages, as they lack the fat required to achieve the desired consistency and can lead to an icy result.
- Coconut cream: A key player in boosting the creaminess and richness, this thicker, more concentrated product—also found in a can—contributes significantly to the luxurious mouthfeel of the ice cream. It provides extra body and prevents an overly icy texture.
- Granulated sugar: This is our primary sweetener. Both white granulated sugar and coconut sugar work beautifully, allowing you to choose based on your preference for flavor and dietary needs. Sugar is crucial not only for sweetness but also for lowering the freezing point of the mixture, contributing to a softer, scoopable ice cream.
- Vanilla extract: Essential for that classic, universally loved vanilla flavor. For an even more intense and aromatic vanilla experience, consider using vanilla bean paste. The rich aroma and deep flavor profile of quality vanilla elevate this simple base.
- Salt: A small but mighty ingredient, salt is absolutely vital in dairy-free ice cream. It helps to balance the sweetness, enhances all the other flavors, and, most importantly, prevents the ice cream from freezing into a solid, impenetrable block when churned. It slightly interferes with ice crystal formation, resulting in a smoother, more enjoyable texture.
Once you have these core ingredients, the next step is to prepare your favorite toppings! We’ve got plenty of sweet and exciting ideas coming up to inspire your perfect homemade “nice cream” creation.
Step-by-Step Guide: How to Make Creamy Coconut Ice Cream
Creating this rich and creamy dairy-free ice cream is a straightforward process, whether you opt for the no-heat method or decide to warm your base. The first critical step is to prepare your ice cream mixture by combining all of the ingredients. Add the full-fat coconut milk, coconut cream, granulated sugar, vanilla extract, and salt into a high-speed blender. Process thoroughly until the mixture is perfectly smooth and well-combined.
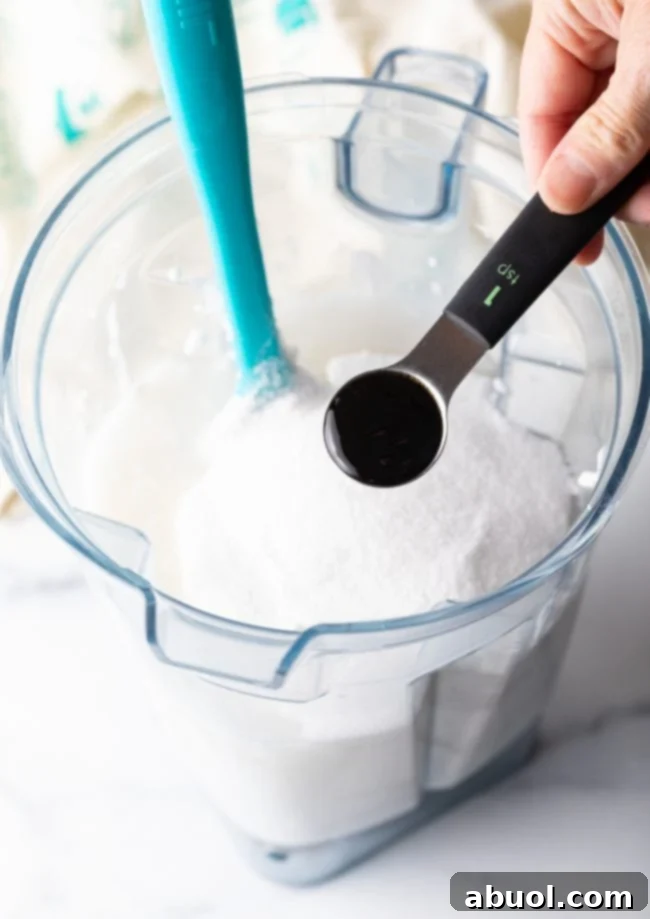
As discussed earlier, if your blender leaves any noticeable chunks of coconut cream in the mixture, you’ll definitely want to heat the mixture. Transfer the blended ingredients to a saucepan and gently warm over medium heat, stirring consistently, until any remaining coconut solids and sugar crystals are completely dissolved. This ensures a silky-smooth base. Once heated, it’s absolutely crucial to let the mixture cool down entirely, ideally chilling it in the refrigerator for at least 4 hours, or even overnight, until it’s very cold. This pre-chilling step is essential for proper churning and a creamy end product.
However, if your initial blend resulted in an incredibly smooth coconut ice cream mixture with no chunks whatsoever, congratulations! You can bypass the heating step and safely churn it as-is without heating. This can save you a significant amount of time, allowing you to enjoy your homemade treat even sooner.
Once your ice cream mixture is thoroughly chilled (whether it was heated or not), retrieve your 1.5-2 quart ice cream maker machine. Ensure the freezer bowl has been pre-frozen according to your machine’s instructions—this is critical for optimal results. Place the freezer bowl into the machine, turn it on, and then steadily pour the very smooth and cold coconut ice cream base into the running machine.
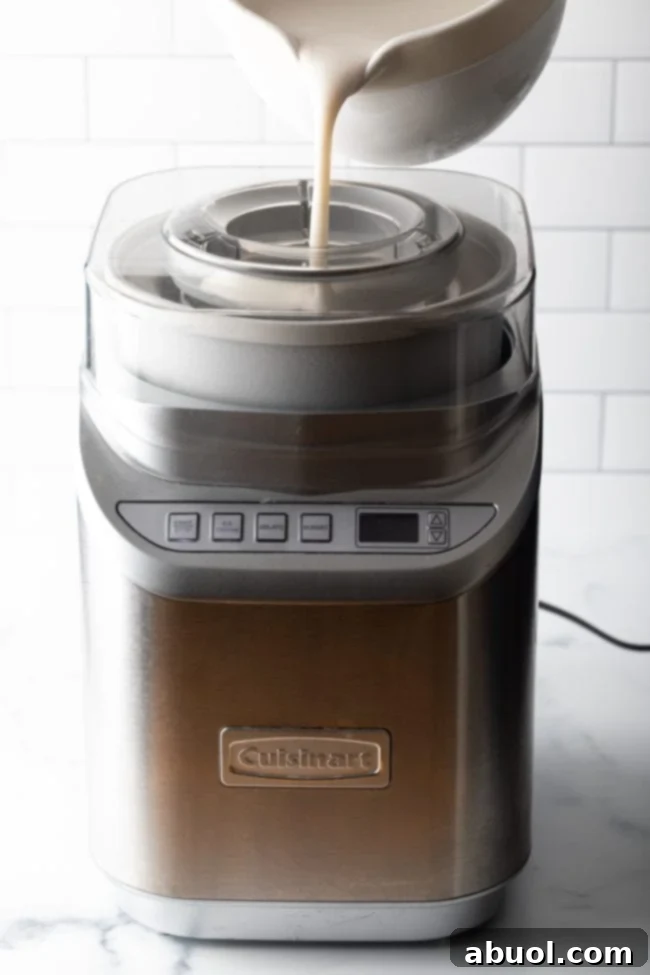
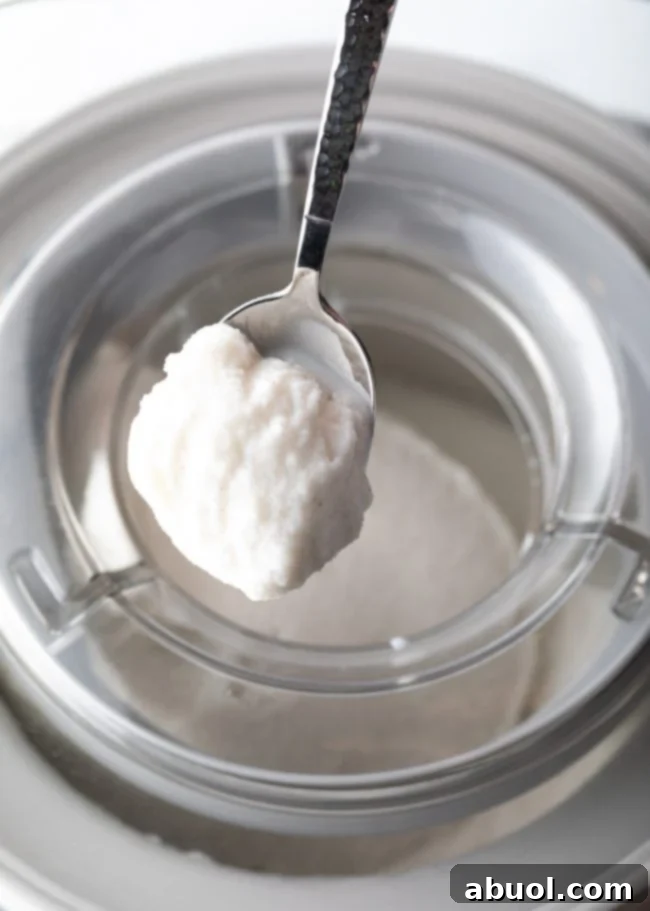
Allow the machine to churn for approximately 20-25 minutes. The churning time can vary slightly depending on your machine and the initial temperature of your mixture, but you are looking for a consistency that is thick, firm, and wonderfully smooth, resembling soft-serve ice cream. Exercise caution to avoid over-churning; processing for too long can result in a hard and brittle texture, losing that desired creamy mouthfeel.
For a detailed, printable version of this Dairy-Free Coconut Milk Ice Cream recipe, please refer to the recipe card below. Enjoy making this delightful treat!
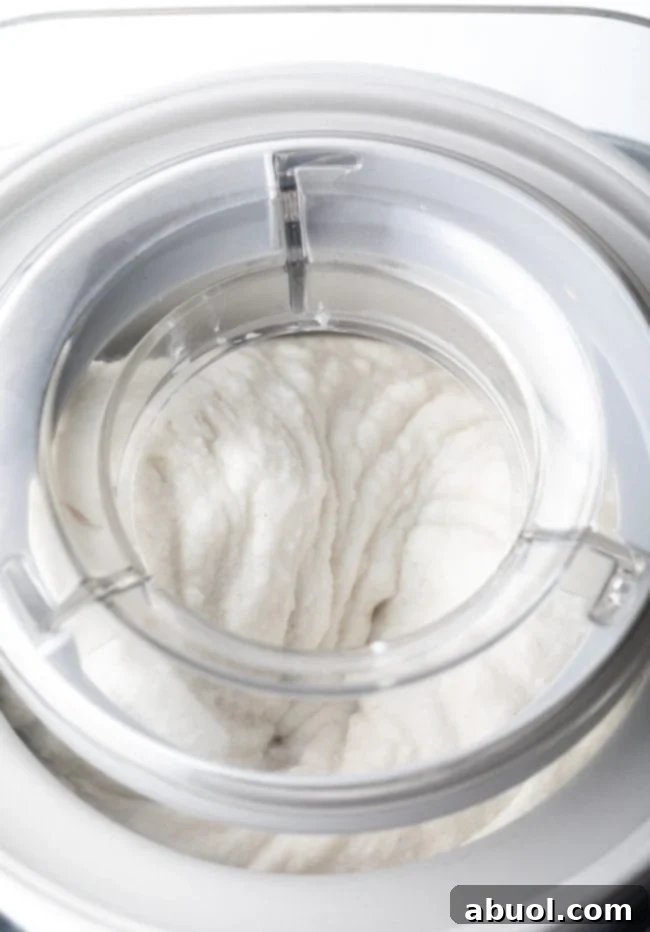
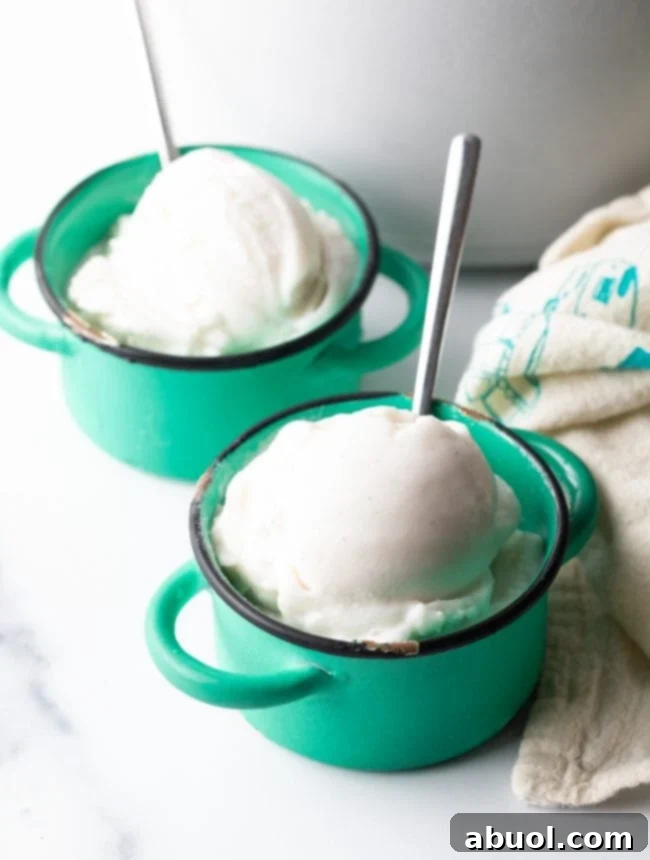
Once churned to perfection, you can serve your fresh coconut milk ice cream immediately for a soft-serve experience. Alternatively, for a firmer, scoopable ice cream, transfer it to an airtight container and freeze it for at least 2-4 hours, or until it reaches your preferred level of firmness. This allows the ice cream to harden further while maintaining its delicious creamy texture.
Pro Tips and Tricks for the Best Coconut Milk Ice Cream
Achieving perfectly creamy homemade coconut milk ice cream is easier with a few expert tips:
- Always Opt for Full-Fat Canned Coconut Milk: This is arguably the most crucial tip. For a truly rich and creamy ice cream, you must use full-fat coconut milk from a can. Look for brands that clearly state “full-fat” or “classic.” Do not substitute with “lite” coconut milk, which has reduced fat content, or the refrigerated coconut milk beverage often found in cartons, as these simply do not contain enough fat to create a luscious, scoopable ice cream. Using inadequate fat will result in an icy, less satisfying product. The higher fat content is key to a smooth, less crystalline texture.
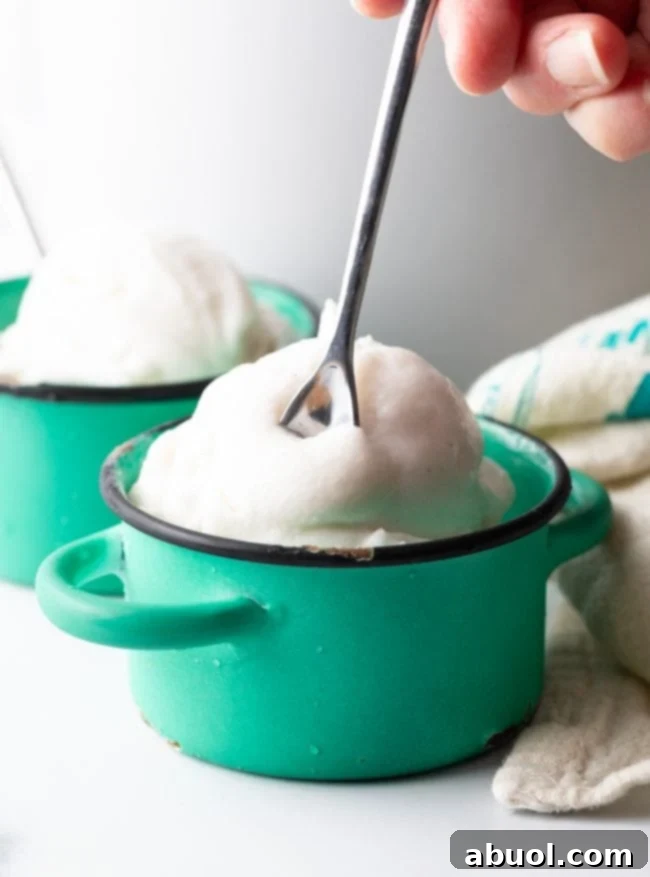
- Enjoy on the Day It’s Made for Peak Creaminess: While still delicious, homemade coconut ice cream is at its absolute creamiest and softest on the day it’s made. As it sits in the freezer over time, it naturally develops a slightly icier texture, characteristic of many dairy-free frozen desserts due to their water content and lack of dairy proteins/fats. To enjoy that fresh, melt-in-your-mouth experience, plan to serve it soon after churning. If you do freeze it for later, allow it to soften on the counter for 5-10 minutes before scooping.
- Customize the Sweetness to Your Liking: The amount of granulated sugar in the recipe provides a balanced sweetness that most people enjoy. However, taste preferences vary, and this recipe is highly adaptable. Feel free to adjust the sugar content based on how sweet you desire your ice cream to be. You can start with a little less and add more if needed after blending, especially if you plan to add very sweet toppings. Just remember that sugar also plays a role in the texture, so don’t reduce it too drastically without expecting a slightly firmer outcome.
- Pre-Chill Everything: For the best churning results, ensure all your ingredients (especially the coconut milk and coconut cream) are thoroughly chilled before blending. A colder base mixture churns more efficiently and creates a finer ice crystal structure, leading to a creamier final product.
- Don’t Over-Churn: While churning is essential, over-churning can be detrimental. Stop your ice cream maker as soon as the mixture reaches a thick, soft-serve consistency. Continuing to churn past this point can introduce too much air or lead to a grainy texture.
Endless Possibilities: Add-Ins and Dairy-Free Toppings
The beauty of this Coconut Milk Ice Cream recipe lies not only in its delicious simplicity but also in its incredible versatility. There are truly endless possibilities for enhancing your “nice cream” with extra yummy goodies! Once you have your perfectly churned vanilla base, you can transform it into a multitude of exciting flavors and textures.
We recommend first churning the ice cream in your machine according to the regular vanilla ice cream instructions below. This ensures a flawless creamy base. After churning, but before freezing for a firmer set, is the ideal time to gently fold in your favorite dairy-free delights directly into the ice cream. Alternatively, you can simply top each serving with these sweet treats for a beautiful presentation and textural contrast. Consider these delicious dairy-free options:
- Tropical Coconut Shreds: To amplify the coconut flavor and add a chewy texture, fold in toasted or untoasted coconut shreds.
- Fresh Fruit Sauces: Drizzle with vibrant homemade strawberry sauce, raspberry coulis, or a tropical mango puree.
- Chocolate Indulgence: Stir in rich dark chocolate shavings, mini dairy-free chocolate chips, or even chunks of your favorite vegan chocolate bar. A swirl of homemade chocolate fudge sauce is also divine.
- Nutty Crunch: Add a delightful crunch with finely chopped nuts like cashews, creamy macadamia nuts, or earthy pistachios. Almond slivers or pecans also make great additions.
- Zesty Citrus: Brighten the flavor profile with the aromatic zest of fresh lime or lemon, offering a refreshing counterpoint to the sweetness.
- Fruity Chunks: Fold in crushed pineapple for a tropical twist, or diced fresh mango and peaches for juicy bursts of flavor.
- Berry Bliss: Incorporate fresh berries such as blueberries, raspberries, or sliced strawberries. For a more intense flavor, swirl in your favorite berry jam or preserves.
- Vegan Caramel Swirl: A rich dairy-free caramel sauce swirled throughout adds a sophisticated layer of sweetness.
- Cookie Crumbs: Crushed vegan cookies, like chocolate sandwich cookies or ginger snaps, provide an irresistible texture.
To elevate your dessert to an exquisite vegan sundae, top your coconut milk ice cream with a generous dollop of fresh homemade dairy-free whipped cream and a juicy maraschino cherry. The possibilities are truly limitless, allowing you to create a personalized treat every time!
Frequently Asked Questions About Coconut Milk Ice Cream
While there is a subtle hint of coconut flavor in this homemade ice cream, it’s generally quite mild and balanced. Primarily, it tastes like a rich, creamy vanilla ice cream. The light tropical essence from the coconut milk is beautifully complementary, making it a wonderful base for various flavors. We especially love how it pairs with crushed pineapple, as the tropical notes truly harmonize.
This Coconut Milk Ice Cream recipe is wonderfully adaptable to different extract flavors. Feel free to experiment based on your preferences! Some fantastic extract options that complement the natural coconut undertones include hazelnut, almond, lemon, lime, raspberry, or mint. You could also try coffee extract for a mocha twist or a touch of rum extract for a Caribbean flair.
Our Coconut Milk Ice Cream is incredibly versatile! Enjoy generous scoops in classic root beer floats for a nostalgic treat. Create extravagant banana splits with all your favorite toppings for a truly indulgent dessert. It’s also perfect for serving a la mode with baked desserts like warm apple pie, peach cobbler, or even a slice of chocolate cake, offering a delightful dairy-free contrast to rich pastries.
Properly stored, homemade coconut milk ice cream can be kept in a sealed, airtight container in the freezer for up to 3 months. To enjoy the best texture and make scooping easier after extended freezing, simply let the container sit on your kitchen counter for about 5-10 minutes to soften slightly before serving.
Explore More Dairy-Free Dessert Recipes
If you loved this dairy-free ice cream, you’re in for a treat! Discover more delightful plant-based desserts from our collection:
- Easy Coconut Popsicles: A refreshing and simple frozen treat perfect for hot days.
- Luxurious Mango Italian Ice: A vibrant, fruity, and incredibly smooth dessert.
- Chocolate Chia Seed Pudding (Vegan!): A healthy yet indulgent pudding, rich in flavor and texture.
- Thai Mango Sticky Rice: A classic, comforting, and wonderfully sweet Thai dessert.
- “Date With Fate” Tropical Smoothies: A blend of tropical flavors for a quick, energizing, and dairy-free drink.
Print Recipe
Leave a Review »
Coconut Milk Ice Cream (Dairy-Free!)
Ingredients
- 27 ounce canned full-fat unsweetened coconut milk (2 cans)
- 13.6 ounce can coconut cream
- 1 cup granulated sugar
- 2 teaspoons vanilla extract (or vanilla bean paste)
- ¼ teaspoon salt
Instructions
-
No-Heat Test (Optional): Save time by checking if heating is necessary. Blend all ingredients in a blender until smooth. If the mixture is completely free of coconut cream chunks, it’s ready to churn as-is. If any chunks are present, proceed to the heating step. (This depends on your coconut milk/cream brand and blender power.)
-
Heat and Chill (If Chunks Present or Preferred Method): If you find coconut cream chunks after blending, or if you prefer a guaranteed smooth base, transfer the mixture to a saucepan. Warm over medium heat, stirring regularly, until all coconut clumps and sugar crystals fully dissolve and the mixture is smooth. Once smooth, remove from heat and chill thoroughly in the refrigerator until completely cold (at least 4 hours, or overnight).
-
Churning: Once your ice cream mixture is very cold, set up your 1.5-2 quart ice cream maker machine with its pre-frozen freezer bowl. Turn on the machine and slowly pour the smooth, chilled ice cream mixture into it. Churn for 20-25 minutes, or until the “nice cream” becomes thick, firm, and smooth, resembling soft-serve ice cream. Be careful not to over-churn.
-
Serve immediately for a soft-serve consistency, or scoop into an airtight container and freeze for 2-4 hours (or longer) for a firmer, scoopable ice cream.
Notes
Storage: Keep the coconut “nice cream” in a sealed, airtight container in the freezer for up to 3 months. For easier scooping, let the container sit on the counter for 5-10 minutes to soften slightly before serving.