
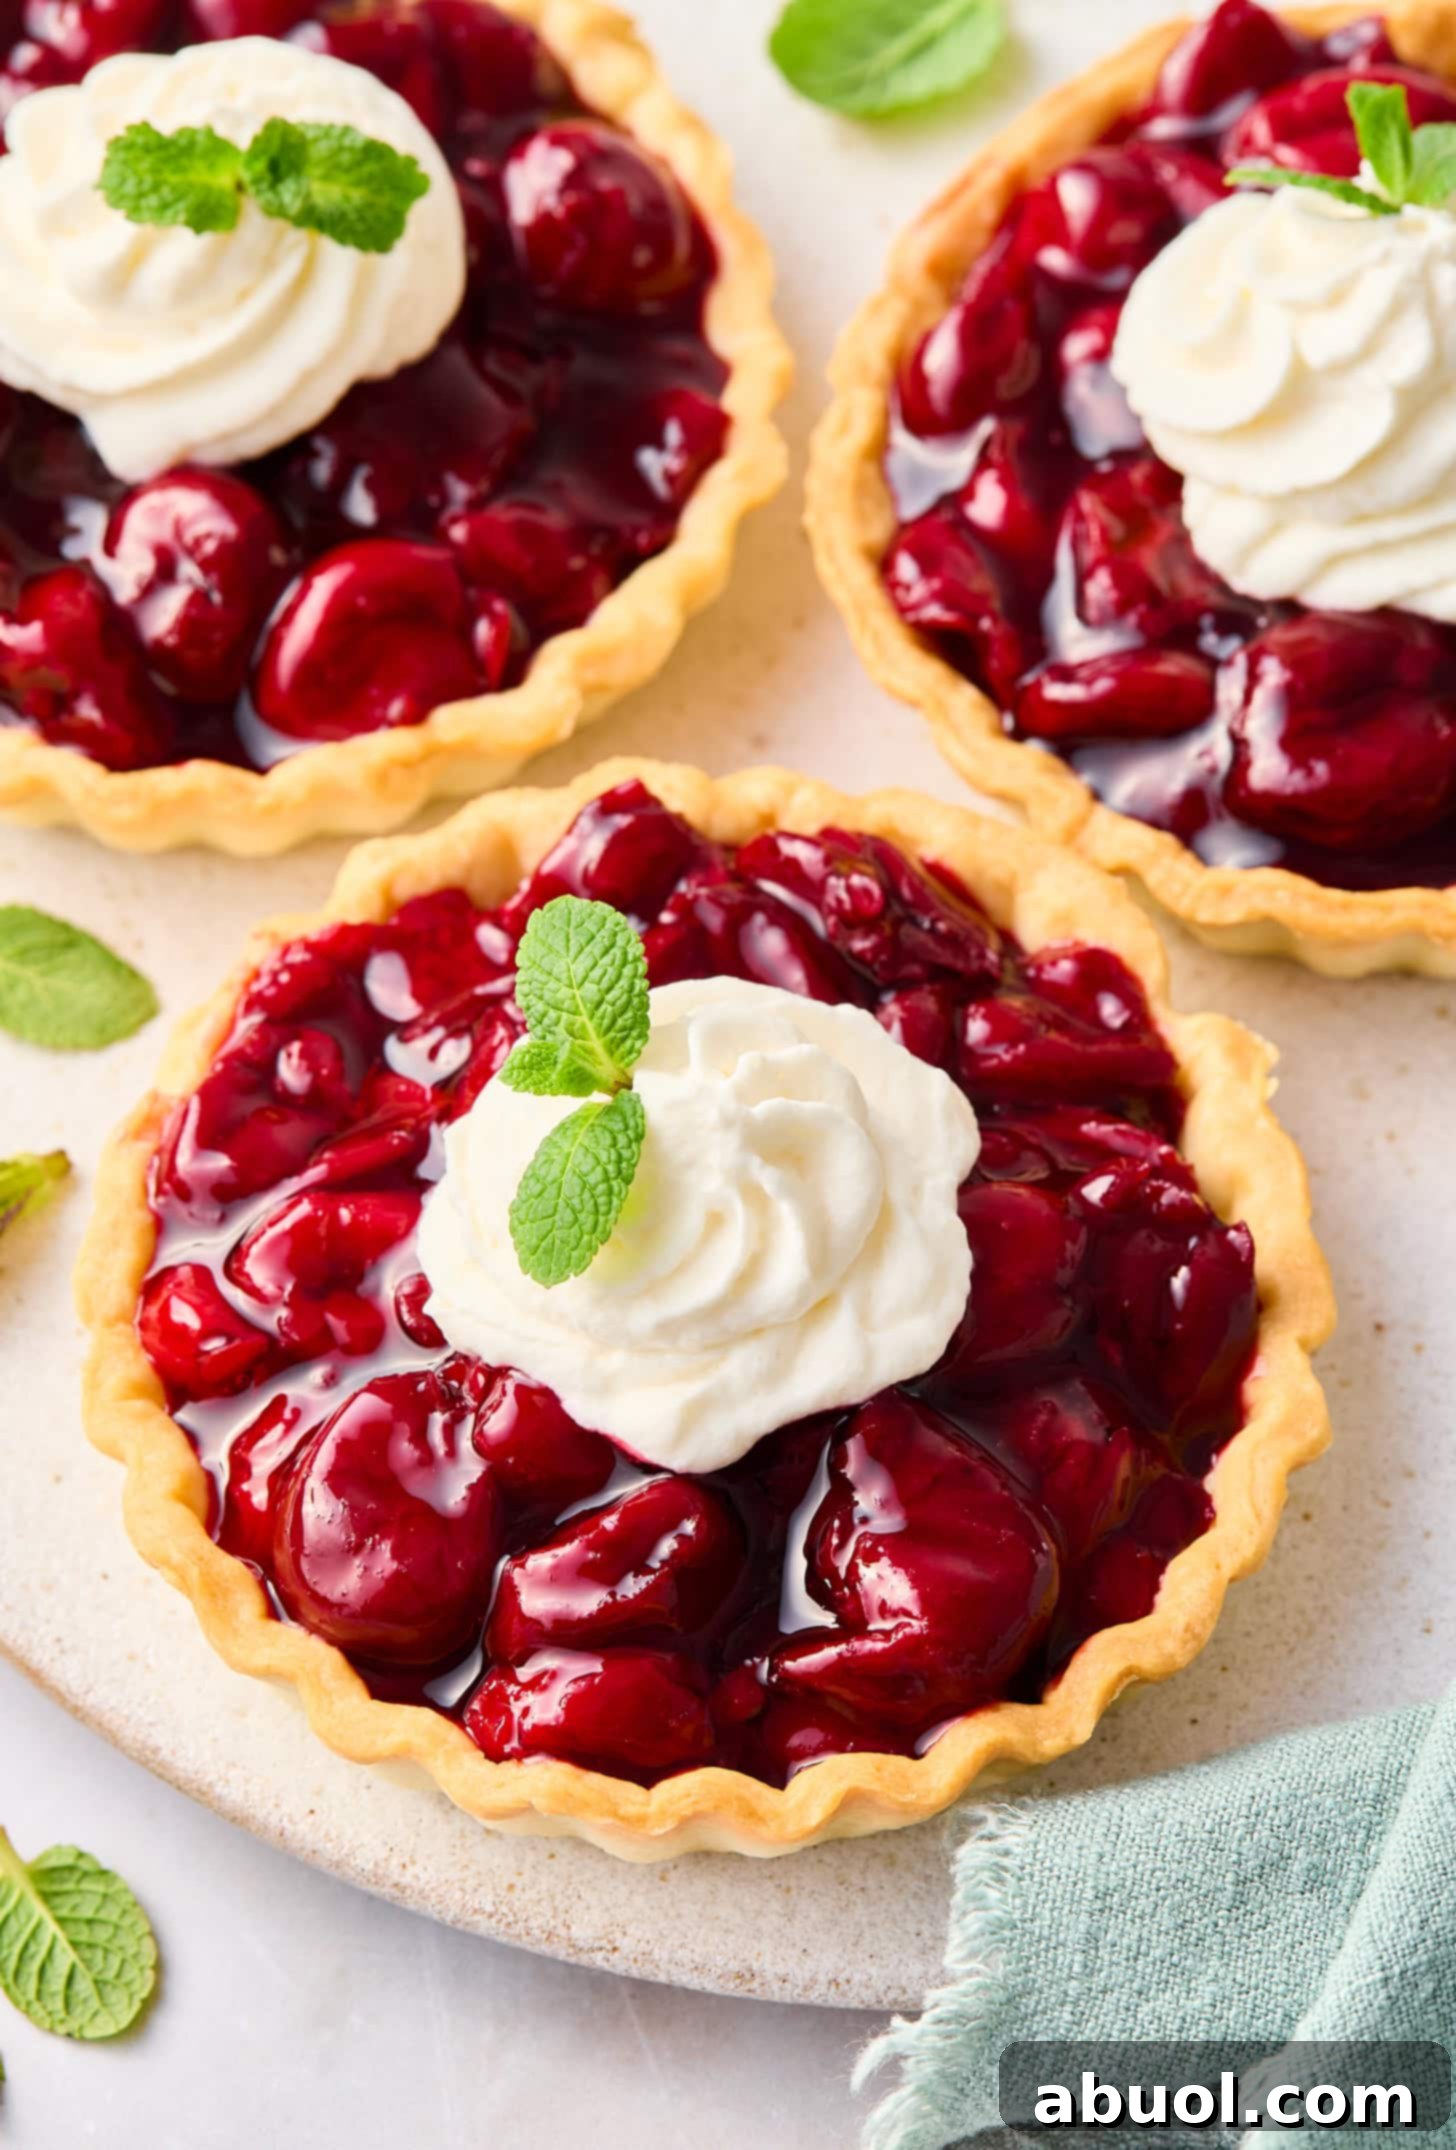
Welcome to the delightful world of homemade desserts! This recipe for Mini Cherry Tarts is designed to be incredibly easy to follow, promising a truly delicious treat that your family and friends will absolutely adore. Best of all, you can whip up these charming individual tarts in under an hour, making them perfect for any occasion.
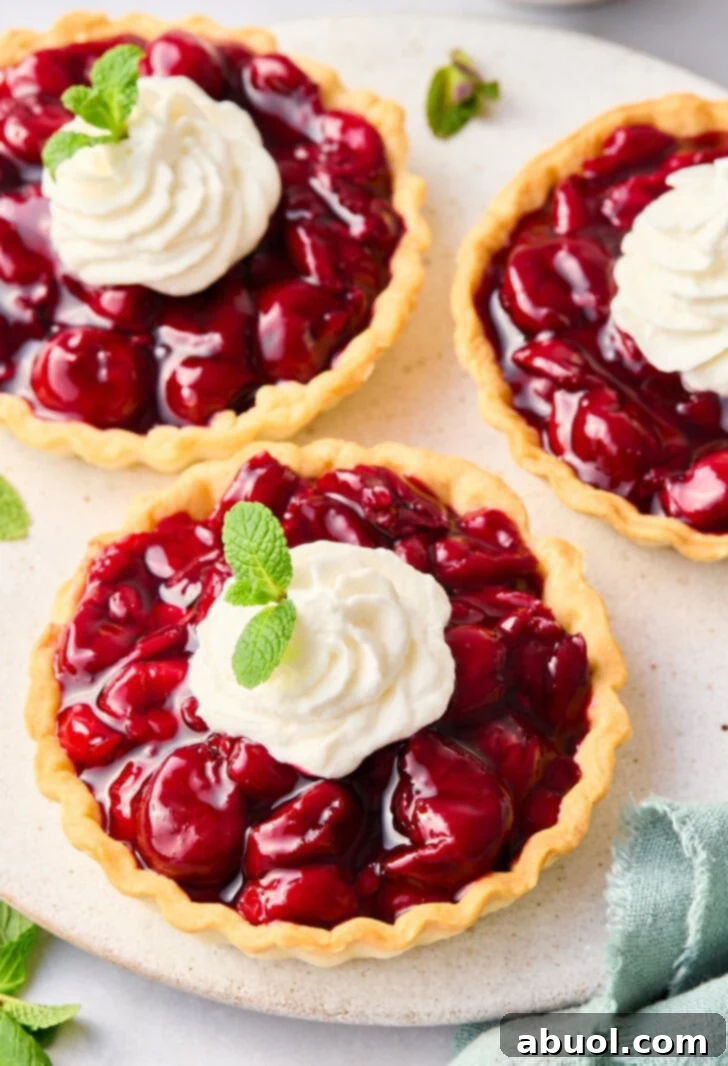
Why You’ll Fall in Love with This Mini Cherry Tarts Recipe
There’s an undeniable magic in the taste of fresh, ripe cherries. Their unique balance of tartness and sweetness makes them an irresistible ingredient for a wide array of culinary creations, and desserts are no exception. This particular recipe for Easy Cherry Tarts elevates the humble cherry into a truly memorable dessert experience. Imagine the aroma of sweet cherries baking, filling your kitchen with a warmth that signals pure comfort. These aren’t just any tarts; they are miniature works of art, delivering a burst of vibrant cherry flavor in every bite, all while requiring minimal effort.
This recipe stands out for its simplicity and speed. In a world where time is a precious commodity, the ability to create a homemade dessert from scratch in just about 30 minutes from start to finish is a game-changer. Whether you’re planning a special dinner party, hosting a casual brunch, or simply craving a sweet indulgence, these mini cherry pies are guaranteed to impress without the stress. They are perfectly portioned, making them ideal for individual servings, and their charming appearance adds a touch of elegance to any dessert spread. Prepare to be delighted by how effortlessly you can achieve bakery-quality results right in your own kitchen.
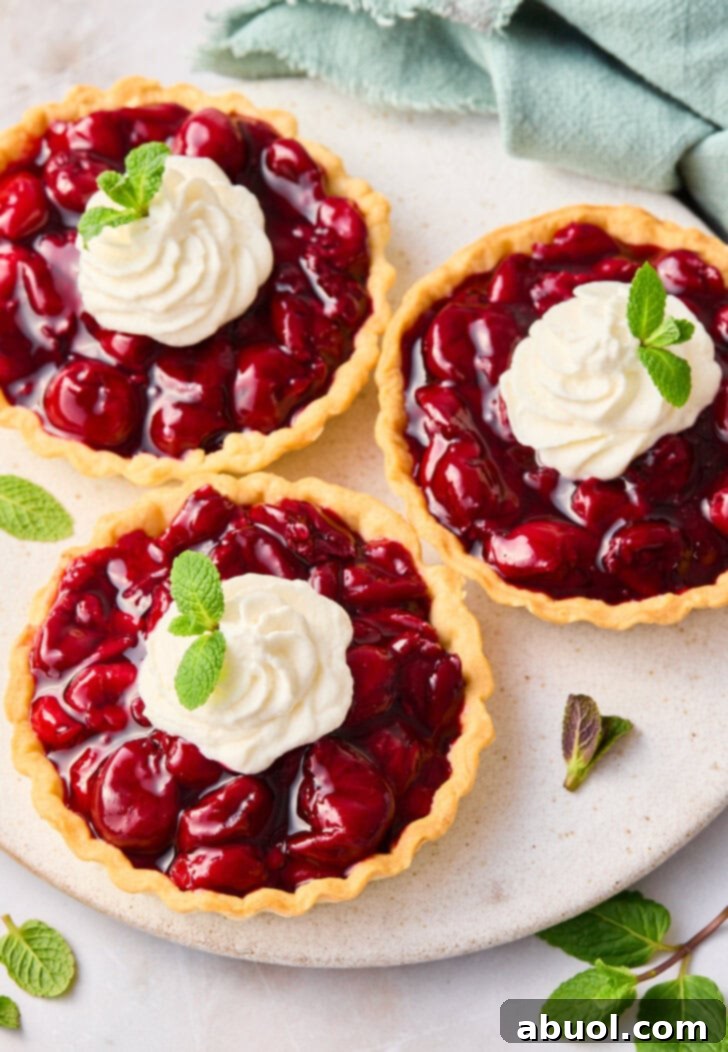
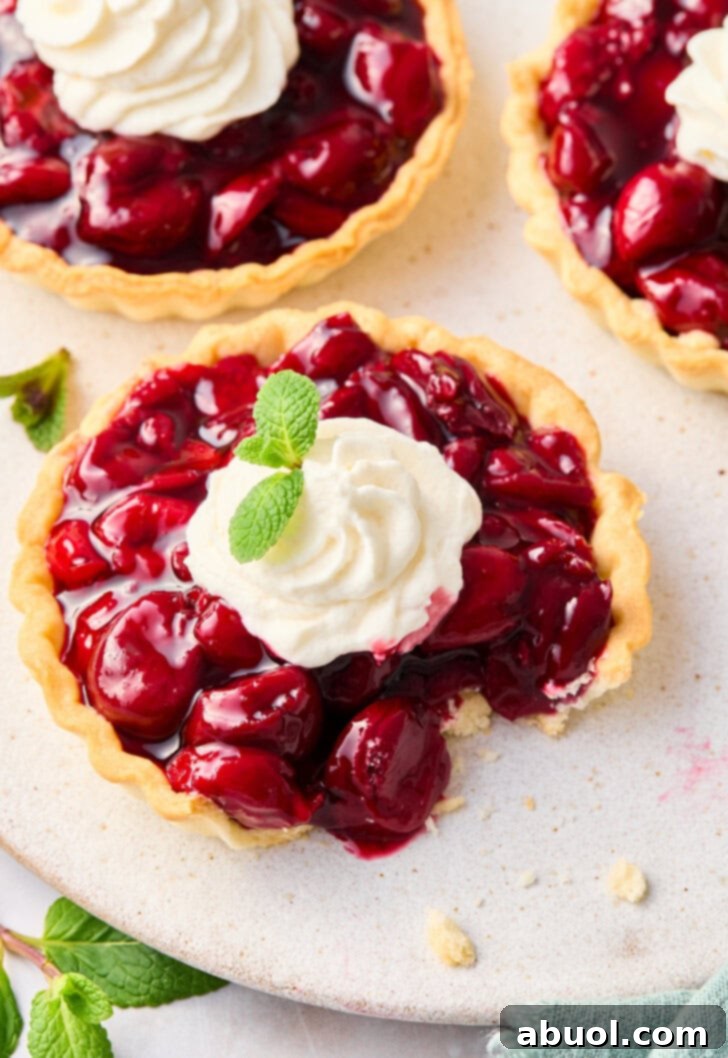
The secret to their quick preparation lies in combining convenient store-bought refrigerated pie crusts with a lusciously simple, homemade cherry filling. This clever shortcut means you spend less time on complex pastry work and more time enjoying the process and the fantastic end product. The result is a flaky, golden crust cradling a rich, sweet-tart cherry filling that’s perfectly balanced and incredibly satisfying. Topped with a dollop of whipped cream and a fresh mint leaf, these tarts are as beautiful to behold as they are delicious to eat.
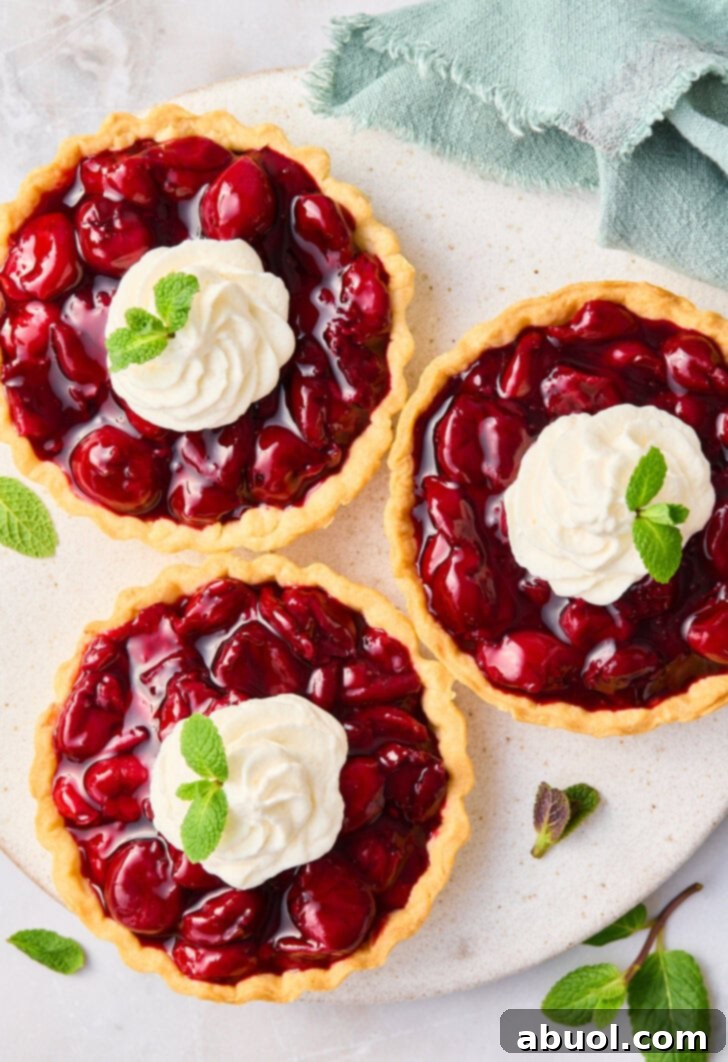
Essential Ingredients for Irresistible Cherry Tarts
Crafting these delectable mini cherry tarts requires a handful of readily available ingredients. Each component plays a crucial role in building the perfect flavor and texture profile:
- Pitted Frozen Cherries: These are the undisputed star of our tarts. Using frozen pitted cherries is a fantastic convenience, saving you time and effort on pitting. They retain their vibrant flavor and color, making them perfect for a year-round treat. If fresh cherries are in season, feel free to use those (see tips below for pitting!).
- Granulated Sugar: This provides the essential sweetness to balance the natural tartness of the cherries, creating a harmonious flavor profile for the filling. Adjust the amount to your preference, depending on the sweetness of your cherries.
- Corn Starch: Our thickening agent. Corn starch is crucial for achieving that perfectly luscious, spoonable cherry filling that holds its shape beautifully within the tart shell. It prevents the filling from being too runny and ensures a delightful consistency.
- Water: A small amount of water helps to dissolve the corn starch and sugar, creating a smooth base for the cherry filling as it cooks down.
- Refrigerated Pie Crusts: For ultimate convenience, we recommend using pre-made, refrigerated roll-out pie dough. This eliminates the need for measuring flour, butter, and mixing, significantly cutting down on prep time. However, if you enjoy making pastry from scratch, you can certainly use your favorite homemade pie crust recipe.
- Whipped Cream: A cloud of fluffy whipped cream is the ideal topping, adding a creamy, cool contrast to the warm, fruity filling. You can use freshly whipped cream for the best taste and texture, or store-bought whipped cream for an even quicker finish.
- Fresh Mint Leaf: Not just for decoration, a small sprig of fresh mint adds a lovely aromatic garnish and a subtle hint of freshness that brightens the overall dessert experience. It truly elevates the presentation.

Essential Equipment for Effortless Mini Tarts
To ensure a smooth and enjoyable baking process, here’s a list of the key equipment you’ll need:
- 4-Inch Tart Pans (with removable bottoms): These are ideal for creating perfectly shaped individual tarts that are easy to release. If you don’t have tart pans, an extra-large muffin tin can work as a suitable alternative, though the edges won’t be scalloped.
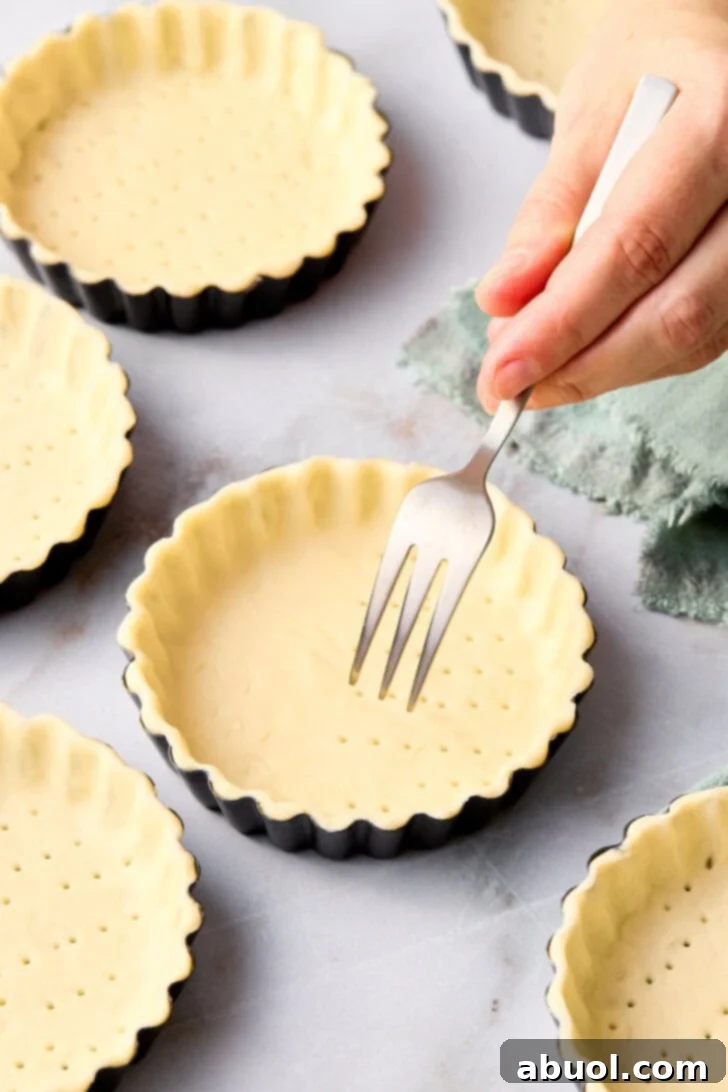
- Fork: Essential for piercing the pie crusts to prevent them from puffing up excessively during baking.
- Medium Saucepan: You’ll need this for cooking the cherry filling to the perfect consistency. A non-stick saucepan is a good choice to prevent sticking.
- Wooden Spoon: Ideal for stirring the cherry filling, as it won’t scratch your saucepan and provides a comfortable grip.
Step-by-Step Guide: How to Make Delightful Cherry Tarts
Making these mini cherry tarts is a straightforward process. Follow these simple steps for perfectly baked, flavorful tarts every time:
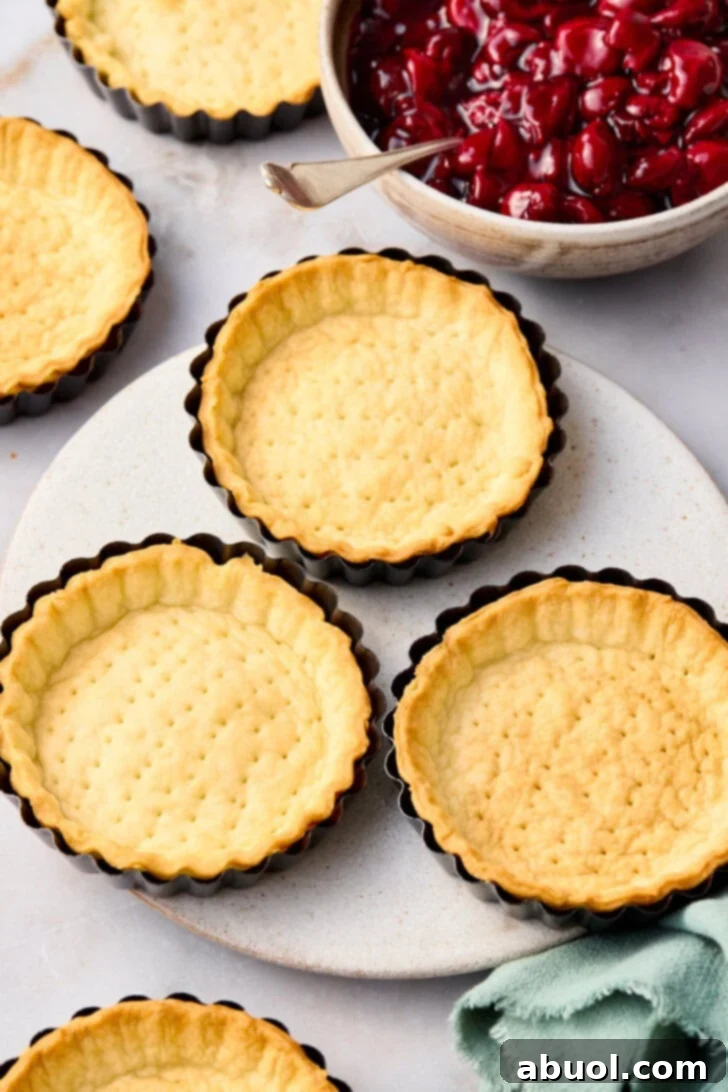
- Prepare the Crusts: Begin by setting out your six 4-inch mini tart pans. Carefully unroll your refrigerated pie crusts. For each tart tin, gently place a portion of the crust inside, pressing it firmly into the scalloped edges to achieve a neat shape. To prevent the crust from bubbling excessively and losing its form during baking, trim any excess dough from the edges and then generously pierce the bottom of each crust with a fork. This “docking” allows steam to escape. Once prepared, chill the pie crusts in the refrigerator for at least 15-20 minutes. It’s crucial for the crusts to be very cold before they go into the oven, as this helps them maintain their shape and flakiness. (If you don’t have mini tart pans, a regular muffin pan can be used, though the edges won’t be as decorative.)
- Pre-Bake the Crusts: While your crusts are chilling, preheat your oven to 350°F (175°C). Once the oven is ready and the crusts are thoroughly chilled, transfer the tart pans to the preheated oven. Bake the crusts for approximately 10 minutes, or until they are lightly golden brown and appear set. This pre-baking (also known as blind baking) is important to ensure a crispy bottom crust that won’t become soggy when filled with the cherry mixture. Remove them from the oven and let them cool completely on a wire rack while you prepare the filling.
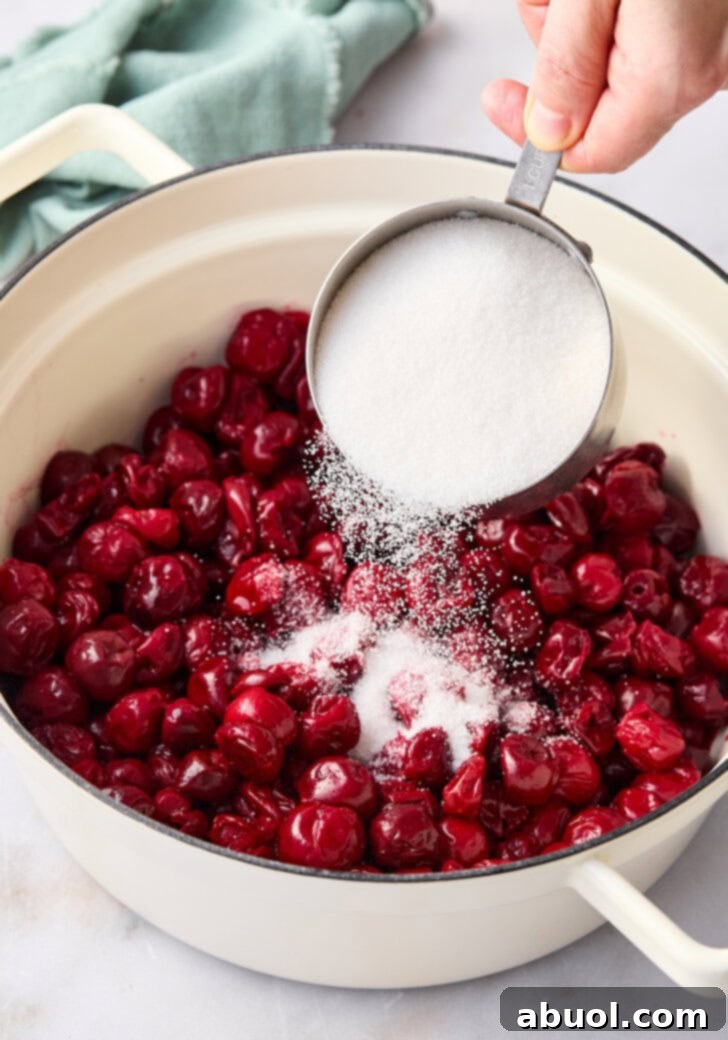
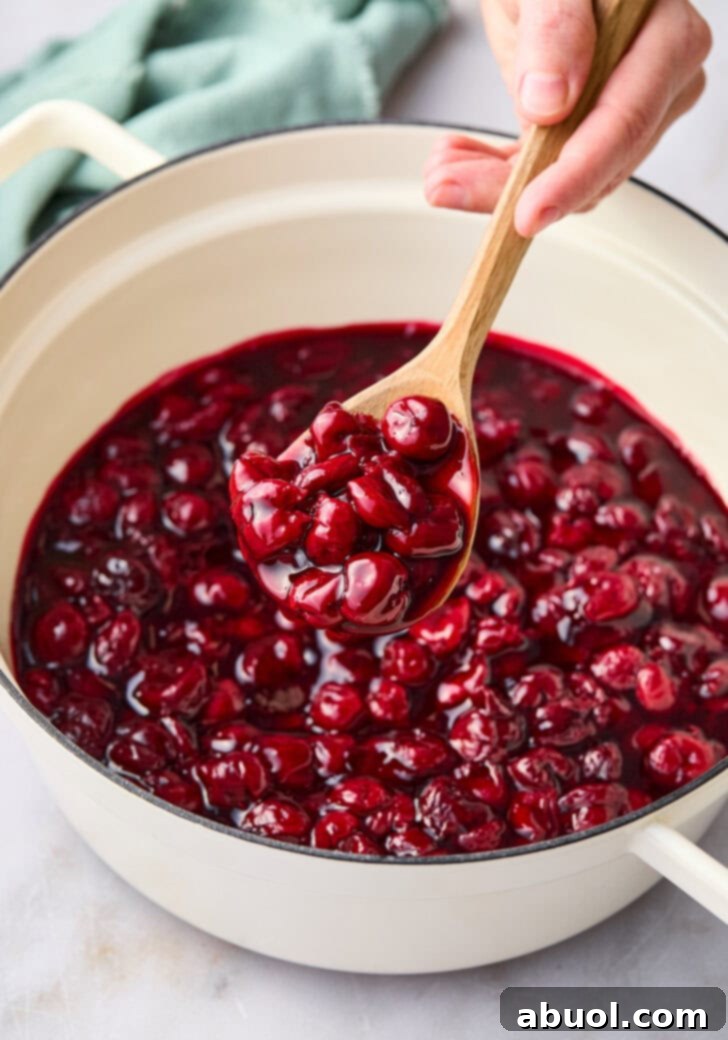
- Cook the Cherry Filling: In a medium-sized saucepan, combine the pitted cherries (fresh or frozen), granulated sugar, water, and corn starch. Stir all ingredients together until well combined. Place the saucepan over medium heat and slowly bring the mixture to a boil, stirring regularly to prevent sticking and ensure the corn starch dissolves evenly. Let the mixture boil gently for about 5 minutes, allowing it to thicken. Then, reduce the heat to low and let it simmer for an additional 5 minutes, continuing to stir occasionally. The filling should be thick and glossy. Remove the saucepan from the heat and set it aside to cool completely. Cooling the filling is essential before assembling the tarts; a hot filling will make the crust soggy.
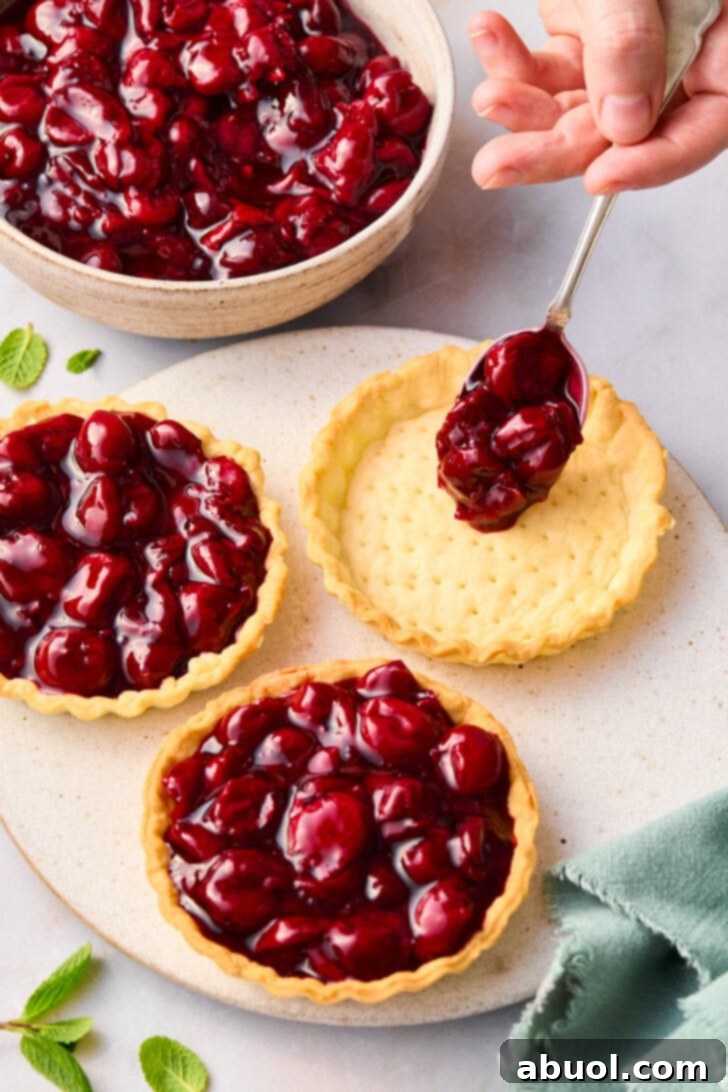
- Assemble and Finish the Tarts: Once both the baked tart shells and the cherry filling have cooled completely to room temperature, it’s time for assembly. Spoon a generous amount of the luscious cherry filling into each pre-baked tart shell, filling it almost to the brim. For the perfect finishing touch, top each tart with a swirl or dollop of fresh whipped cream. Finally, garnish each mini cherry tart with a small, fresh mint leaf. Serve immediately and enjoy the delightful combination of flavors and textures!
Can You Make These Mini Cherry Tarts Ahead of Time?
Yes, absolutely! These mini cherry tarts can be made in advance, which is a fantastic feature for entertaining or busy schedules. You can prepare them up to 3 days ahead of time. To keep them fresh and maintain their best quality, store the assembled tarts in an airtight container in the refrigerator. While the crust might soften slightly over time as it absorbs moisture from the filling, they will still be utterly delicious.
Why This Recipe Is So Convenient and Delicious:
- Ultimate Convenience: By utilizing refrigerated pie crusts, this recipe streamlines the baking process significantly. There’s no need for measuring individual ingredients like eggs, unsalted butter, or all-purpose flour for the crust, cutting down on both time and cleanup. It’s a fantastic shortcut that doesn’t compromise on taste or texture.
- Flexible Preparation: The cherry filling is incredibly versatile. It can be prepared well in advance, giving you the flexibility to spread out your cooking tasks. You can even tweak the filling to your liking, adjusting sweetness or adding extra spices to personalize the flavor profile.
Delightful Variations to Your Cherry Tart Recipe
While classic cherry tarts are wonderful on their own, don’t hesitate to experiment with these creative variations to suit your taste or what you have on hand:
- Berry Bonanza: Substitute or combine cherries with other delicious berries. Blueberries, blackberries, and raspberries all work exceptionally well in this recipe, offering their unique flavors and vibrant colors. A mixed berry tart is always a crowd-pleaser!
- Flavor Enhancements: Elevate the cherry filling with additional flavorings. Consider adding warm baking spices like a pinch of cinnamon or nutmeg for a cozy touch. A teaspoon of lemon zest can brighten the flavor, while concentrates such as a splash of vanilla extract or a hint of rum extract can add depth and complexity.
- Creamy Layers: Play with different creamy elements. Beyond whipped cream on top, you could add a thin layer of softened cream cheese mixed with a touch of sugar and vanilla at the bottom of the tart shell before adding the cherry filling. Alternatively, a layer of homemade or store-bought pastry cream can add an extra dimension of richness and smoothness.
Using Fresh Cherries? Here’s How!
If you’re lucky enough to have an abundance of fresh cherries, they are a fantastic choice for this recipe, offering an even brighter, more authentic flavor. The main task will be pitting them. If you don’t have a dedicated cherry pitter tool, a sturdy straw (like a reusable plastic or metal straw) makes an excellent substitute. Simply hold the cherry between your thumb and forefinger, insert the straw through the top where the stem emerges, and push the pit out through the bottom. Be mindful to avoid sticking your finger underneath the cherry to prevent any accidental pokes. Once pitted, proceed with the recipe as directed for the frozen cherries.
Need to Make Cherry Tarts Even Faster? Try This Quick Hack!
Sometimes, time is of the essence, and you need a delicious dessert in a flash. This speedy version of cherry tarts is perfect for those moments:
First, prepare your tart crusts as described in step 1 of the main recipe: place the crusts in the scalloped tart pans, trim excess, and pierce the bottoms with a fork. Chill them briefly while your oven preheats to 350°F (175°C). Bake the tart shells for approximately 10 minutes until lightly golden. While the crusts are baking and cooling, open a can of your favorite Cherry Pie Filling. For a slightly warmed filling, place the canned filling into a microwave-safe bowl and microwave for about 45 seconds, stirring halfway through. Once the tart shells are cool, spoon the warmed (or room temperature) pie filling into the prepared tarts. Top with a generous teaspoon of whipped cream and a small, fresh mint leaf, and enjoy your almost-instant homemade dessert!
Storing and Freezing Your Cherry Tarts
For the absolute best taste and texture, these mini cherry pies are ideally enjoyed soon after baking and cooling. The crispness of the pie crust is at its peak within the first few hours. You can safely keep them at room temperature for a short period after preparation if serving on the same day.
If you plan to store them for longer, it’s advisable to refrigerate them. However, please be aware that after the first 24 hours, the moisture from the delicious cherry filling will naturally begin to soak into the pastry. This will inevitably soften the crust, making it less flaky and more tender or even slightly mushy. While they will still be perfectly safe and enjoyable to consume for a few days when stored in an airtight container in the refrigerator, the texture will change. For optimal enjoyment, aim to serve them within a day or two of preparation.
Freezing these fruit tarts is generally not recommended. The delicate crust can become very soggy upon thawing, and the texture of the cherry filling may also change, becoming less appealing. These tarts are truly best savored fresh or within a couple of days of baking.
Cherry tarts are a truly delightful dessert that combines ease of preparation with incredible flavor. Not only will your taste buds thank you, but the wonderful aroma of baking cherries will also fill your home, creating a cozy and inviting atmosphere. Don’t hesitate to give this recipe a try for your next family gathering, holiday celebration, or simply as a special everyday treat.
Feeling adventurous? If you’re keen to explore other fruit tart options, you can easily adapt this concept! Try our Recipe for Peach Syrup as a luscious filling to transform these into equally delicious Peach Tarts.
Today’s fantastic recipe post was generously provided by Michelle Huston from The Wooden Spoon Effect. Be sure to visit her site for a treasure trove of more amazing and inspiring recipes!

Discover More Deliciousness from The Wooden Spoon Effect
- Easy Strawberry Margarita Jello Shots
- Hearty Applesauce Oatmeal Cookies
- Delicious Applesauce Brownies
- Smoked Meatloaf In An Electric Smoker
Craving More Delicious Pie Recipes? Explore These Favorites!
- Impossible Coconut Pie
- Fluffy French Silk Pie Recipe
- Classic Cherry Pie (with the Best Filling Recipe)
- Southern Sweet Potato Pie Recipe
- No-Bake Strawberry Cream Pie
- Sweet Cinnamon Pie
- Fresh Blueberry Pie with Almond Crust
- Charming Mini Apple Pies
- Easy Cherry Pie Bars
- Apple Raspberry Pie Recipe
- Perfect Dutch Apple Pie Recipe

Mini Cherry Tarts Recipe
This recipe for Cherry Tarts is easy to follow and results in a delicious dessert that your family will love. Best of all, it only takes about 30 minutes from start to finish!
Prep Time: 15 minutes
Cook Time: 20 minutes
Total Time: 35 minutes
Servings: 6 tarts
Ingredients
- 6 cups pitted cherries (fresh or frozen)
- 1 1/2 cups granulated sugar
- 2 tablespoons cornstarch
- 2-3 tablespoons water
- 2 refrigerated roll-out pie crusts (or your homemade pie crust recipe)
- 6 teaspoons whipped cream (fresh or store-bought)
- 6 small fresh mint leaves (for garnish)
Instructions
- Set out six 4-inch mini tart pans. In each tart pan, place the crust inside and push it into the scalloped edges. To prevent the crust from bubbling, trim the extra crust off the edges and pierce the bottom with a fork. Chill the crusts in the refrigerator, so they are extremely cold before they go into the oven.
- Preheat the oven to 350 degrees F (175°C). After the crusts are very cold, bake the crust for approximately 10 minutes, or until lightly golden.
- Add the pitted cherries, sugar, water, and cornstarch to a medium-sized saucepan. Slowly bring the mixture to a boil and let it boil for 5 minutes, stirring regularly. Then turn down heat and simmer for another 5 minutes until thickened. Remove from the heat and let it sit until cool.
- Once the tarts and the cherry filling are both cool, spoon the cherry filling into the baked tart shells. Top with a teaspoon of whipped cream and garnish with a fresh mint leaf.
Notes
Keep the tarts refrigerated until ready to serve for best results.
Nutrition Information (per tart)
Serving: 1 tart, Calories: 561kcal, Carbohydrates: 102g, Protein: 5g, Fat: 16g, Saturated Fat: 5g, Polyunsaturated Fat: 2g, Monounsaturated Fat: 7g, Cholesterol: 4mg, Sodium: 233mg, Potassium: 370mg, Fiber: 4g, Sugar: 68g, Vitamin A: 123IU, Vitamin C: 10mg, Calcium: 35mg, Iron: 2mg
Course: Dessert
Cuisine: American
Author: Sommer Collier