
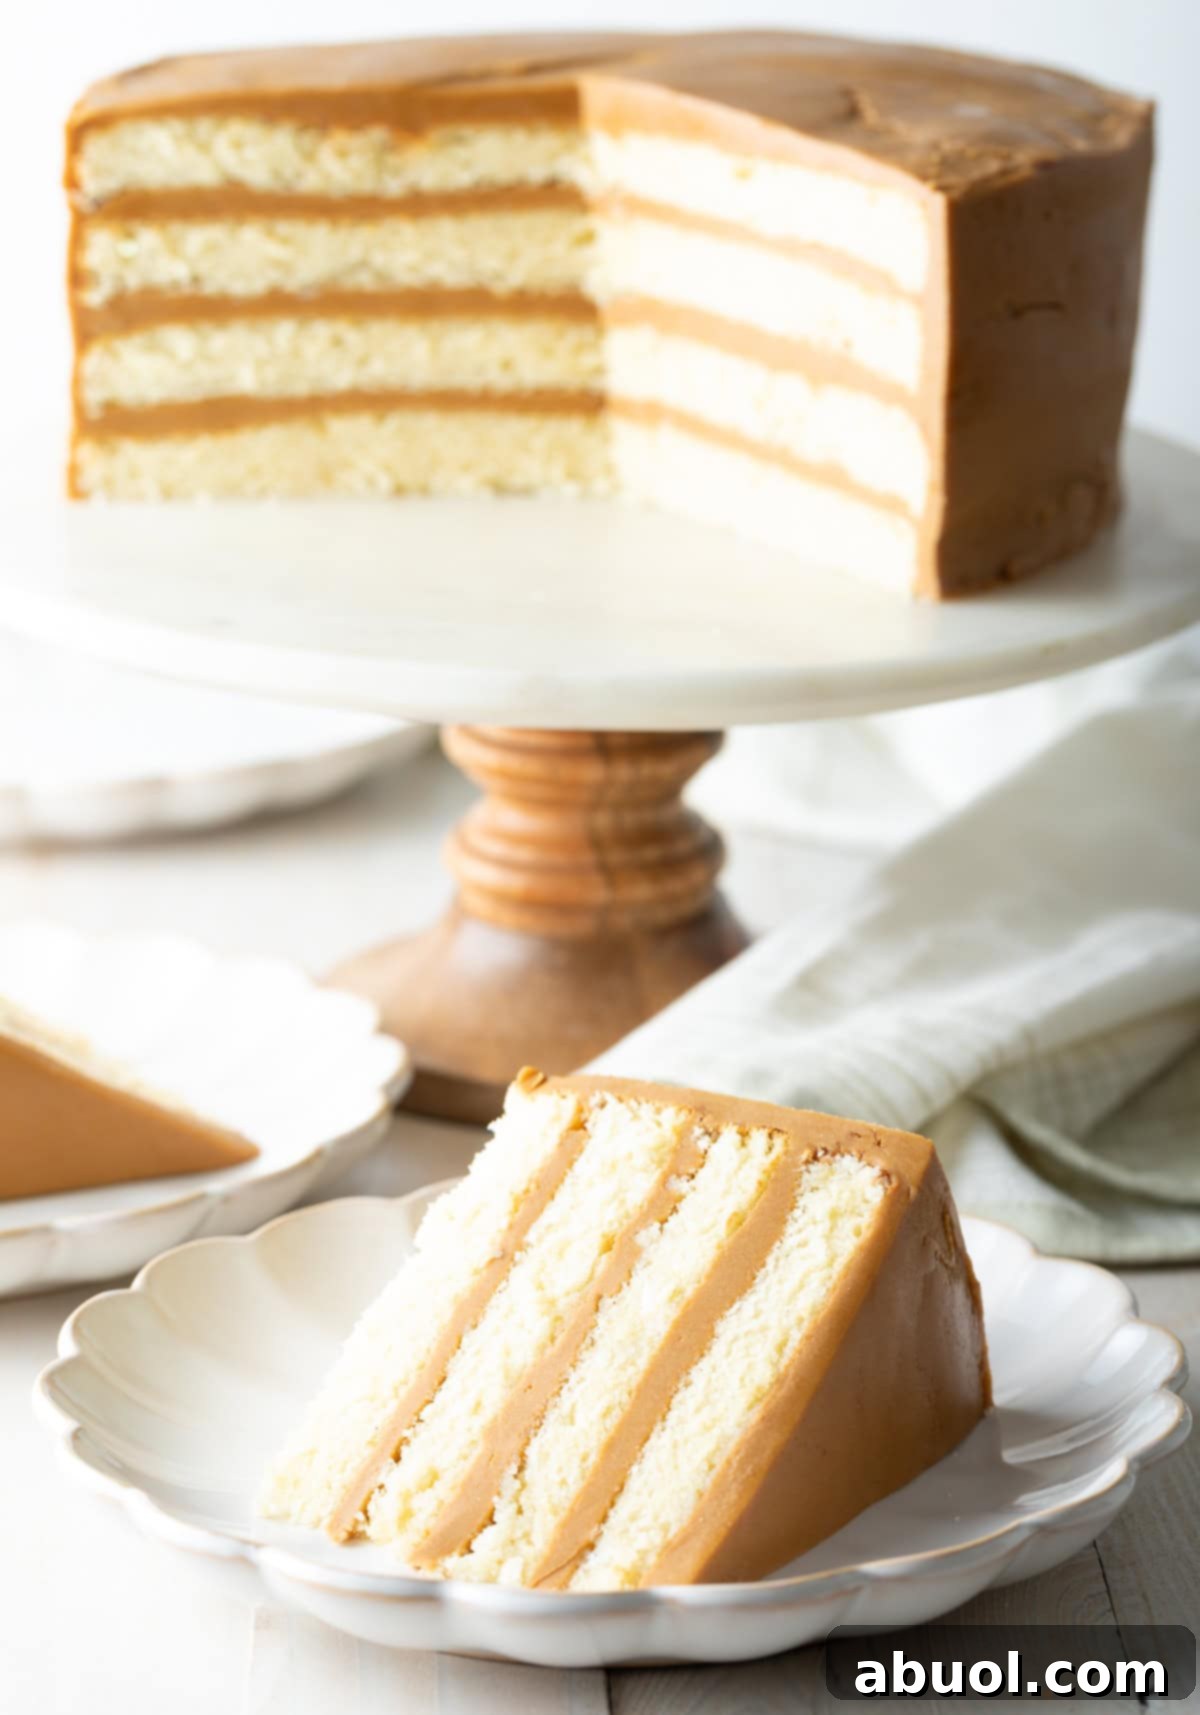
Southern Caramel Cake Recipe – Indulge in the ultimate homemade dessert featuring a perfectly tender white cake crowned with thick, luscious layers of the most decadent Salted Caramel Frosting. This recipe brings a cherished Southern classic right to your kitchen, promising an unforgettable taste experience.
Why This Southern Caramel Cake Will Become Your New Favorite
Some culinary delights are so exceptional that recreating them at home becomes an irresistible quest. This Southern Caramel Cake recipe is one such masterpiece, inspired by a truly unforgettable restaurant experience and perfected for your enjoyment.
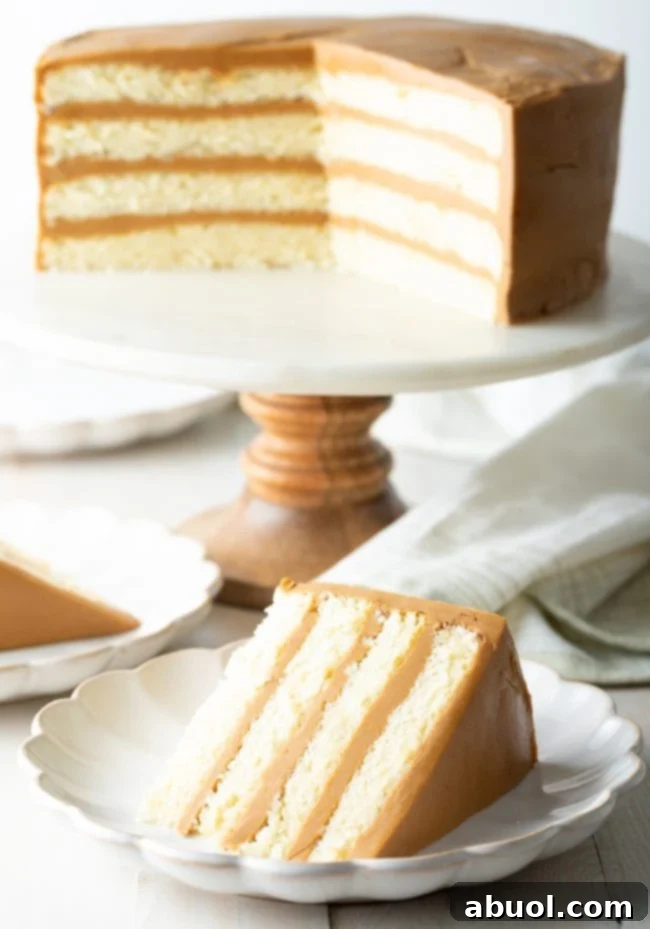
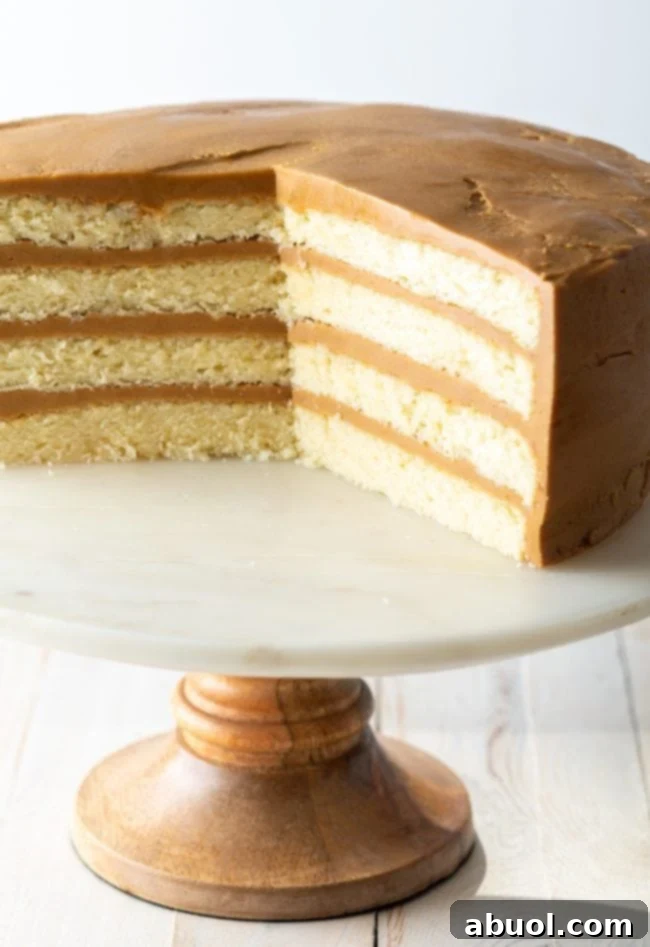
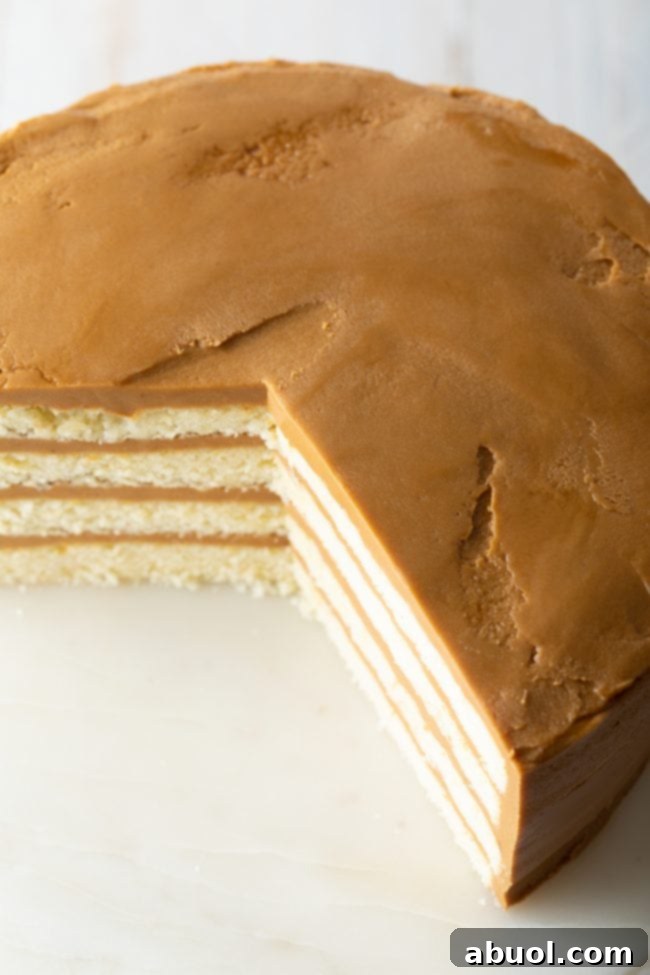
Our journey to perfect this caramel cake began in Hilton Head, at a charming seafood restaurant called Charlie’s. While the fresh fish entrees were always a highlight, it was their caramel cake that truly stole the show, becoming a mandatory finale to every meal. Its charm lay in its simplicity: four delicate layers of white cake generously spread with a dense, fudge-like caramel frosting. The experience was pure bliss, leaving us longing for more.
Since frequent trips to Charlie’s weren’t always possible, the desire for this exquisite dessert grew. It became clear: I needed a homemade version, one that captured the indulgent satisfaction of that restaurant-quality cake. After much experimentation, I am thrilled to share that this Southern Caramel Cake recipe is, in every sense of the word, pure perfection. Not only does it deliver the same crave-worthy dessert you desire, but it also offers the incomparable joy of licking the spoon clean after crafting your own rich Salted Caramel Frosting from scratch!
The Distinctive Charm of Southern Caramel Cake
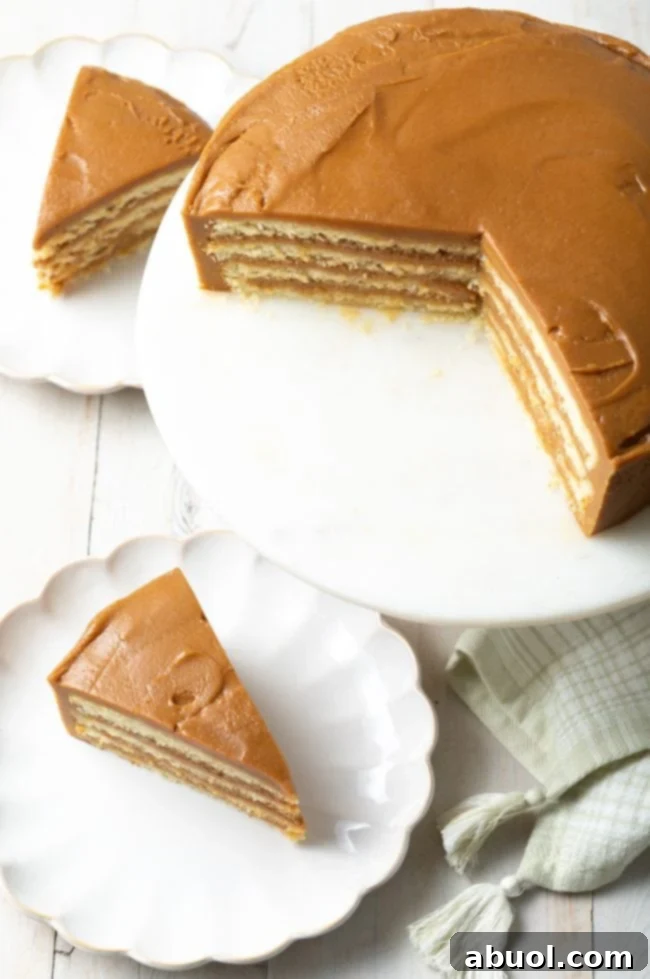
What truly sets Southern Caramel Cake apart is its unique frosting. Unlike the light and airy texture of traditional buttercream, authentic Southern caramel frosting boasts a dense, sweet character with an intentional, subtle granular texture, reminiscent of soft Mexican caramels. This delightful chewiness is perfectly complemented by the sweetness of granulated sugar and a profound salted-caramel flavor, achieved through a generous, balanced addition of salt.
This fantastically rich, deeply flavored frosting creates a harmonious contrast with a light, tender, and airy vanilla cake. The combination results in a luscious, truly decadent dessert that serves as the perfect grand finale to any authentic Southern meal. Imagine serving this magnificent cake after a heartwarming dinner of Southern Shrimp and Grits, Chicken Bog (Rice Pilaf), Chicken and Dumplings, Brown Sugar Baked Ham, or Slow Cooker Smoked Pulled Pork! It’s more than just a dessert; it’s a celebration of Southern culinary tradition and hospitality.
Essential Ingredients for Your Homemade Salted Caramel Cake
Crafting this exquisite Southern Caramel Cake requires high-quality ingredients for both the delicate white vanilla cake and the luxurious salted caramel frosting. Here’s a detailed look at what you’ll need:
For the Fluffiest White Vanilla Cake:
- Cake flour: Essential for a tender, fine crumb. If unavailable, a simple substitute of all-purpose flour plus cornstarch works wonderfully.
- Baking powder: Provides lift and helps the cake rise beautifully.
- Baking soda: Reacts with the buttermilk to create a light, airy texture.
- Salt: Balances the sweetness and enhances all the flavors.
- Granulated sugar: For sweetness and moisture in the cake layers.
- Unsalted butter: Softened, for richness and a smooth batter. Using unsalted allows you to control the overall salt content of the cake.
- Eggs: Specifically, two large eggs plus one extra egg white, which contributes to the cake’s light color and tender structure without adding excess richness.
- Buttermilk: Whether store-bought or homemade, buttermilk is key for the cake’s moistness and delicate tang.
- Vanilla extract: For that classic, aromatic vanilla flavor. Pure vanilla extract offers the best taste.
Pro Tip for Flour Measurement: Accurate flour measurement is crucial for cake texture. To ensure you don’t use too much flour, stir it in its bag to loosen it up before spooning it gently into your measuring cup. Then, use a straight edge (like a knife or the back of a spoon) to level off the top, removing any excess. This method prevents a dense cake.
For the Irresistible Salted Caramel Frosting:
- Granulated sugar: The foundation of our rich caramel.
- Buttermilk: Adds a unique depth and tang that elevates the caramel flavor and contributes to its distinctive texture.
- Unsalted butter: Provides creaminess and richness to the frosting.
- Baking soda: A vital ingredient in Southern caramel frosting. It reacts to create the characteristic granular, fudge-like texture and prevents the caramel from becoming too hard.
- Salt: Crucial for achieving the “salted” caramel profile, cutting through the sweetness and enhancing the overall flavor.
- Vanilla extract: Infuses the caramel with a warm, comforting aroma and taste.
Essential Equipment for Success:
- 2 9-inch Cake Pans
- Parchment Paper & Scissors
- Stand Mixer (or powerful Hand Mixer)
- Rubber Spatula & Mixing Bowl
- Measuring Spoons & Mixing Pitcher
- Whisk
- Toothpick (for testing cake doneness)
- Wire Racks (Cooling Rack)
- Serrated Knife (for leveling cake layers)
- Plastic Wrap & Baking Sheets (for freezing cake layers)
- 7-8 Quart Sauce Pot (essential for caramel, as it expands)
- Candy Thermometer (for precise caramel cooking)
- Flat Spreading Knife (for frosting)
Crafting Your Fluffy Vanilla Cake Layers
Building this magnificent Southern Caramel Cake begins with creating the perfect foundation: tender, moist vanilla cake layers. An important secret to success with this recipe is to **freeze your cake layers** before assembly and frosting. This crucial step ensures that the delicate cake layers remain stable and perfectly level, providing a sturdy base for the rich, dense caramel frosting. Freezing allows for cleaner cuts, easier handling, and prevents the layers from tearing or compressing under the weight of the frosting. Freeze, frost, then thaw for the absolute best caramel cake experience.
Here’s your step-by-step guide to making the fluffiest vanilla white cake, ideally suited for layering with our luscious salted caramel frosting:
- Begin by preheating your oven to 350 degrees F (175°C). Prepare two 9-inch round cake pans by tracing their bottoms onto parchment paper and cutting out perfect circles. Line the bottom of each pan with parchment paper, then generously grease and flour the pans. This ensures easy release.
- In the bowl of a stand mixer fitted with the paddle attachment, or using a large mixing bowl with a hand mixer, cream the softened unsalted butter and granulated sugar together on high speed. Beat for 3-5 minutes, until the mixture is visibly ultra-light, pale, and fluffy. This creaming process incorporates air, essential for a light cake. Scrape down the sides of the bowl with a rubber spatula to ensure even mixing.
- In a separate medium-sized bowl, whisk together all your dry ingredients: the cake flour, baking powder, baking soda, and salt. Make sure they are well combined.
- In a large measuring pitcher or another bowl, whisk together the liquid ingredients: the buttermilk, two large eggs, one extra egg white, and vanilla extract until smooth.
- With the mixer on low speed, gradually alternate adding the flour mixture and the buttermilk mixture to the creamed butter and sugar. Begin and end with the flour mixture. Mix just until combined. After adding all ingredients, scrape the bowl again with a spatula. Beat for another 15-30 seconds on low speed, just until the batter is smooth. Crucially, do not over-mix the batter, as this can develop the gluten too much, resulting in a tough cake.
- Divide the cake batter equally between your two prepared 9-inch pans. Gently place the pans on the center rack of your preheated oven. Bake for approximately 23-27 minutes. Test for doneness by inserting a toothpick into the center of each cake. If it comes out clean, the cakes are ready.
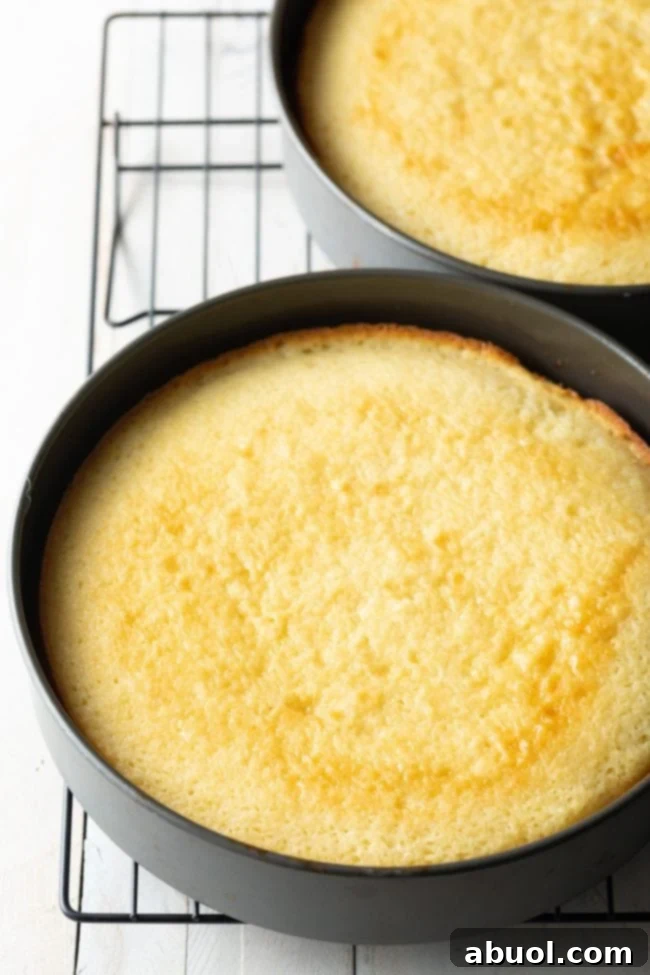
- Allow the baked cakes to cool in their pans for 15 minutes. This brief resting period helps the cake set and makes it easier to handle. Then, carefully invert the cakes onto a wire cooling rack and gently peel off the parchment paper from the bottom. Continue to let the cakes cool completely to room temperature.
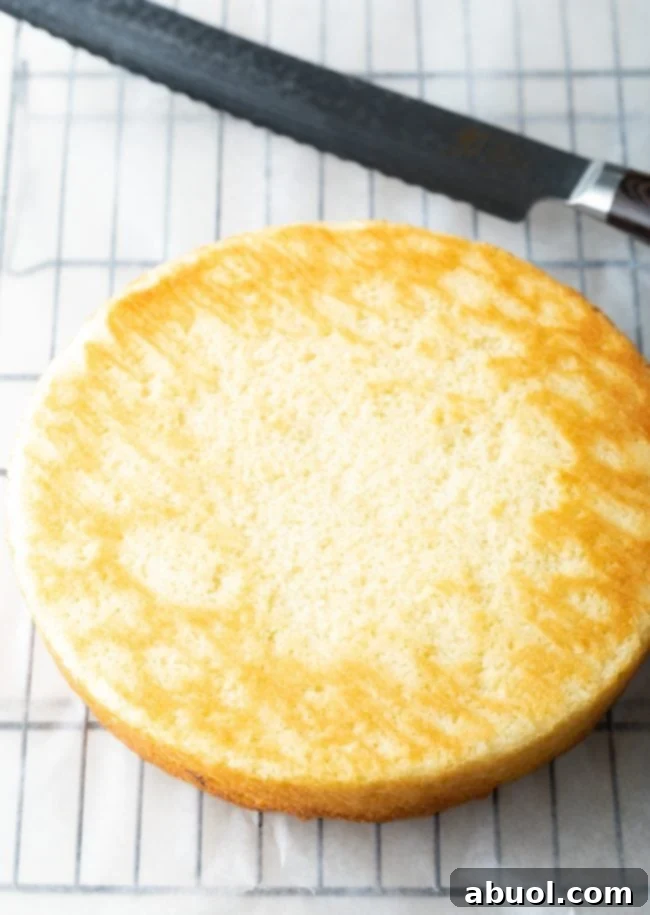
- Once thoroughly cooled, use a long, sharp serrated knife to carefully slice each cake horizontally in half. This will yield four even cake layers. Aim for uniform thickness to ensure a beautiful presentation.
- Carefully wrap each individual cake layer tightly in plastic wrap. Transfer the wrapped layers to a baking sheet and place them in the freezer. Freeze the cakes for at least one hour, or until they are firm and rock-hard. This firming process is vital for effortless assembly and prevents crumbling when frosting.
Mastering the Art of Salted Caramel Frosting
No Southern Caramel Cake is truly complete without its signature, deeply flavorful salted caramel frosting. This unique frosting is what elevates the cake from good to truly extraordinary. Achieving its perfect consistency and flavor is simpler than you might think.
Here’s how to make the best, easiest Southern-style salted caramel frosting:
- Once your cake layers have been in the freezer for at least 30 minutes (allowing ample time for them to firm up), you can begin preparing the frosting.
- Set a large, heavy-bottomed 7-8 quart saucepot over medium heat. It’s crucial to use a large pot because the caramel mixture will boil and expand significantly during the initial cooking phase. Clip a reliable candy thermometer onto the side of the pot, ensuring its tip is submerged in the mixture but not touching the bottom. Place all the frosting ingredients – granulated sugar, buttermilk, unsalted butter, baking soda, and salt – into the saucepot. Reserve the vanilla extract for later.
- Bring the mixture to a simmer, stirring regularly with a heat-proof spatula or wooden spoon. At first, the mixture will boil up quite high and appear frothy. Continue to stir, and as it begins to caramelize, it will gradually settle down. Regular stirring prevents scorching and ensures even cooking.
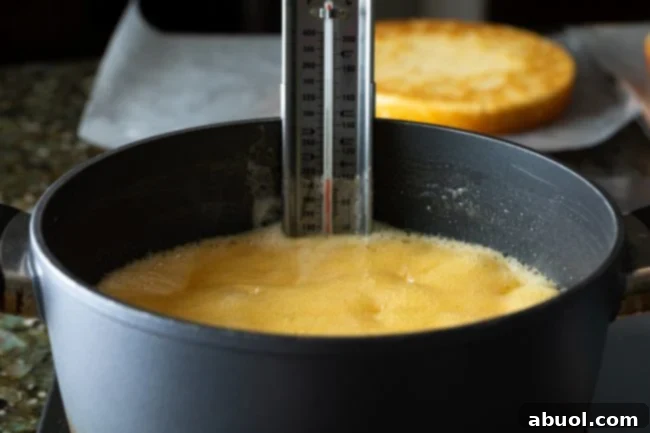
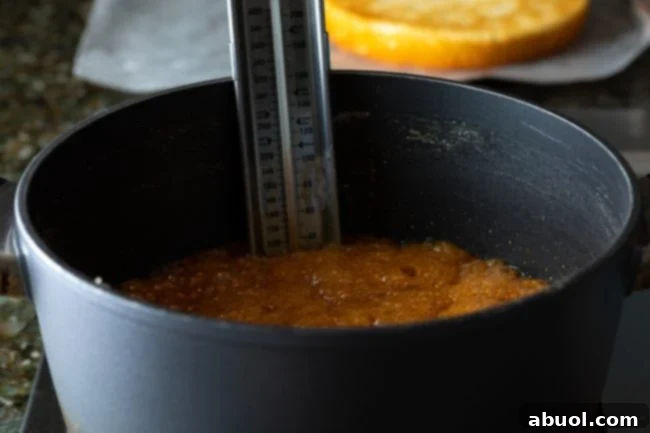
- Continue to cook, stirring frequently, and closely monitor the candy thermometer. The caramel mixture will gradually deepen in color. Once it reaches a rich medium-brown hue and the thermometer registers exactly 235 degrees F (113°C), immediately remove the pot from the heat. This temperature is crucial for the perfect “soft-ball” stage, giving the frosting its distinctive texture. This cooking process can take anywhere from 25 to 40 minutes, depending on your stovetop’s heat and pot.
- Carefully stir in the vanilla extract. The mixture will be very hot. Allow the caramel mixture to cool undisturbed for at least 15 minutes. It needs to cool sufficiently before beating.
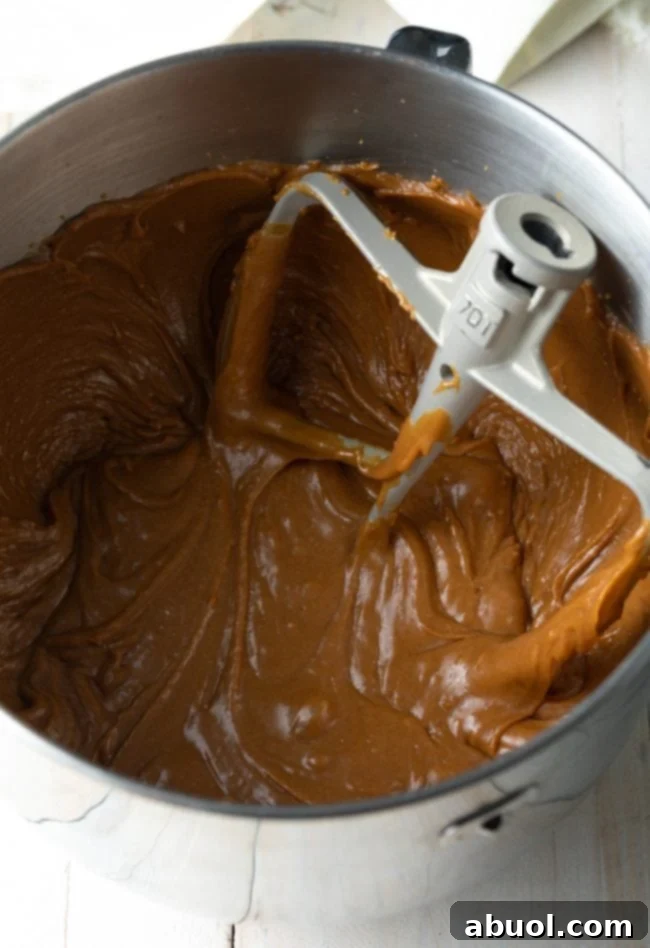
- Once cooled slightly, use a hand mixer or transfer the mixture to the bowl of a stand mixer. Beat the caramel frosting on medium-high speed for 3-5 minutes until the texture loosens and becomes creamy. The frosting should have a specific, thick, spreadable, mud-like texture – a signature characteristic of traditional Southern caramel frosting. Don’t expect it to be light and fluffy like buttercream; its dense, almost fudge-like consistency is intentional and absolutely delicious.
Assembling Your Masterpiece: The Southern Caramel Cake
With your perfectly frozen cake layers and luscious caramel frosting ready, it’s time to bring this magnificent Southern Caramel Cake to life. The frozen layers will make this step surprisingly easy and mess-free.
- Retrieve your hardened cake layers from the freezer, working with one layer at a time to maintain their firmness. Unwrap the first cake layer and carefully place it on your desired cake plate or serving stand. Using a long, flat spreading knife or offset spatula, spread approximately ½ cup of the prepared salted caramel frosting evenly over the surface of the cake layer, reaching almost to the edges.
- Unwrap and gently set the second cake layer directly on top of the first frosted layer. Take a moment to carefully align the edges, ensuring the cake is straight. Gently press down on the top layer to level it and ensure good contact with the frosting, creating a stable stack.
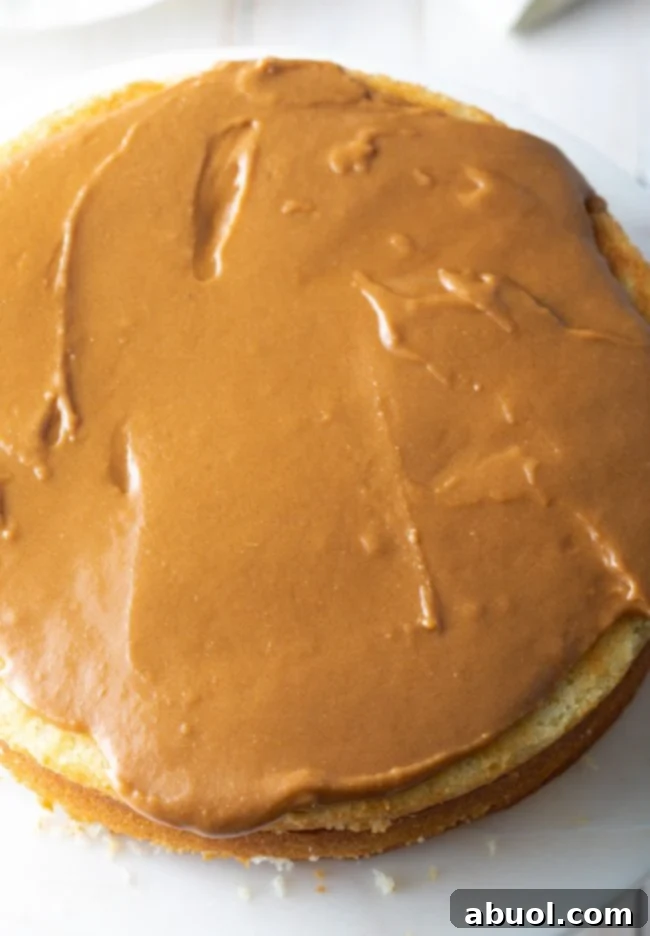
- Continue this process: spread another ½ cup of frosting evenly over the third cake layer, then stack the fourth layer. The goal is to make each of the multiple frosting layers as even as possible, creating beautiful, distinct bands of cake and caramel. Continue stacking and frosting the remaining cake layers until all four layers are neatly stacked and leveled.
- Once all layers are stacked, scoop the remaining salted caramel frosting over the top of the cake. Begin by spreading the frosting across the top, then carefully work it down the sides of the cake. Because this frosting is inherently rich and dense, it can be a little challenging to achieve perfectly smooth coverage, especially around the edges. If you find the frosting too stiff or difficult to spread smoothly, a helpful trick is to dip your spreading knife in warm water, wipe off any excess water, and then use the warm, damp knife to smooth out the final coating. This will help create a more polished finish.
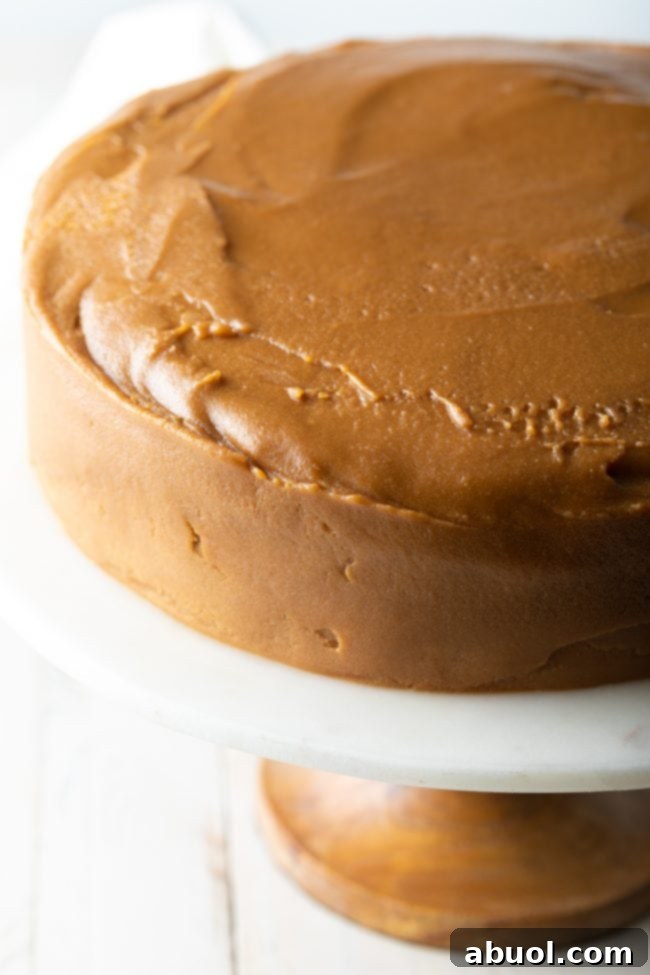
- For the best results, and to allow the frosting to fully set and marry with the cake layers, I highly recommend chilling the assembled cake in the refrigerator for at least 30 minutes before serving. This will firm up the frosting, making it easier to slice cleanly.
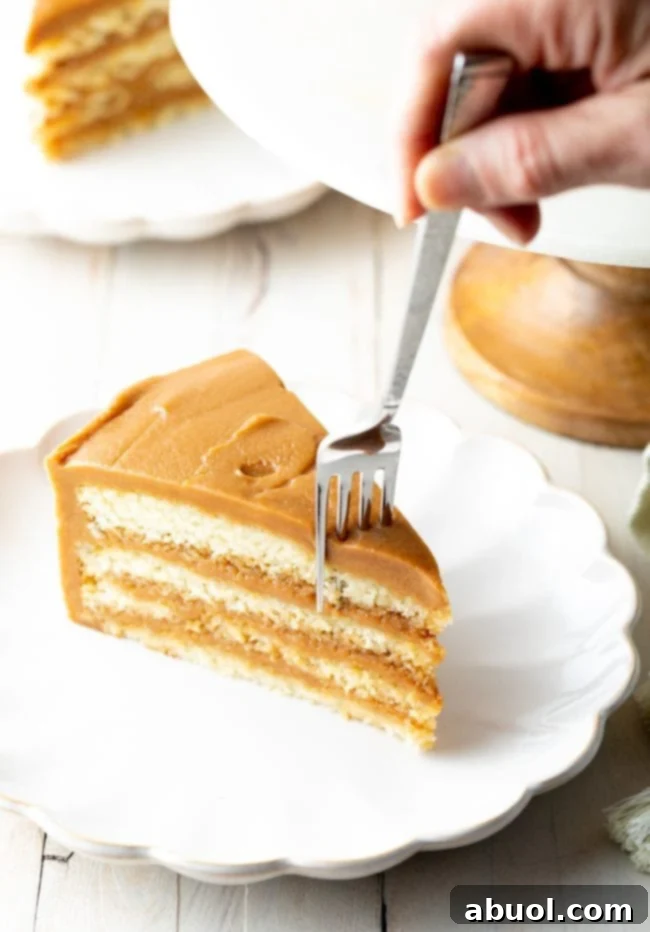
- When you are ready to serve this old-fashioned caramel cake, let it sit out at room temperature for 30-60 minutes. This crucial step allows the interior cake layers to thaw completely, ensuring they are soft, delicate, and melt-in-your-mouth tender, while the caramel frosting reaches its ideal, subtly granular yet yielding texture. Slice into generous portions and enjoy the fruits of your labor!
Get the Complete (Printable) Southern Caramel Cake Recipe Below. Enjoy!
Frequently Asked Questions
Leftover Southern Caramel Cake, with its salted caramel frosting, should be loosely covered with plastic wrap and stored in the refrigerator. It will stay fresh and delicious for up to 4 days. For optimal texture, allow slices to come to room temperature before enjoying.
Yes, you certainly can adapt this recipe for 8-inch cake pans. Keep in mind that the baking time will need to be adjusted slightly, typically increasing to approximately 30-35 minutes, as the layers will be thicker. Always test with a toothpick for doneness.
Absolutely. The recipe calls for a 7-8 quart saucepot for a very good reason. When making caramel, the mixture tends to boil up significantly, especially during the initial stages. Using a sufficiently large pot prevents boil-overs, which not only create a difficult mess to clean but also pose a safety risk due to molten sugar. A large pot protects you and ensures a smooth caramel-making process.
Southern caramel icing has a unique, almost strange, spreadable consistency that is quite different from light, fluffy buttercreams. It should resemble a soft mud-like texture when beaten. If you cooked your caramel to the precise temperature of 235 degrees F (113°C), there’s no need to worry about its initial texture. Southern bakers have perfected this method over generations; trust that this distinct icing will firm up and set over time as it cools, transforming into its characteristic luscious, Mexican caramel-like texture. Be patient, it will set beautifully.
Explore More Decadent Southern Desserts
If you’ve fallen in love with the rich flavors of this Southern Caramel Cake, you’re in for a treat! The American South is renowned for its incredible dessert traditions, offering a delightful array of sweet endings. Discover more indulgent recipes that embody the warmth and hospitality of Southern baking:
- Best Lemon Buttermilk Cake: A zesty, moist cake with a delightful tang.
- Southern Hummingbird Cake Cupcakes: The classic tropical-inspired cake, miniaturized for individual enjoyment.
- Kentucky Derby Pie: A rich, nutty, and chocolatey pie, often infused with a hint of bourbon.
- Salted Caramel Chocolate Chip Cookie Bars: A chewy, sweet, and salty delight in bar form.
- Southern Sweet Potato Pie Recipe: A beloved holiday classic, creamy and perfectly spiced.
Each of these recipes promises to deliver a taste of authentic Southern comfort. Dive in and expand your repertoire of delightful homemade treats!

Print Recipe
Caramel Cake Recipe (with Salted Caramel Frosting)
Video
Ingredients
For the Vanilla Cake:
- 3 cups cake flour (or 2 ¾ cups all-purpose flour + ¼ cup cornstarch)
- 2 teaspoons baking powder
- ½ teaspoon baking soda
- 1 teaspoon salt
- 1 ¾ cups granulated sugar
- ¾ cup unsalted butter softened (1 ½ sticks)
- 2 large eggs + 1 egg white
- 1 2/3 cup buttermilk
- 1 tablespoon vanilla extract
For the Caramel Frosting:
- 4 cups granulated sugar
- 2 cups buttermilk
- 2 cups unsalted butter (4 sticks)
- 2 teaspoons baking soda
- 1 teaspoon salt
- 2 teaspoons vanilla extract
Instructions
For the Cake:
- Preheat the oven to 350 degrees F (175°C). Prepare two 9-inch cake pans. Trace the bottom of the pans onto parchment paper and cut out the circles to fit the bottom exactly. Line the pans with parchment paper, then grease and flour them thoroughly.
- In the bowl of a stand mixer, cream the butter and sugar on high speed until ultra-light and fluffy (about 3-5 minutes). Scrape the bowl with a rubber spatula to ensure all ingredients are incorporated.
- In a separate bowl, mix together the cake flour, baking powder, baking soda, and salt.
- Pour the buttermilk into a large measuring pitcher. Whisk in the eggs, egg white, and vanilla extract until well combined.
- Turn the mixer to low speed and alternate adding the dry flour mixture and the wet buttermilk mixture to the creamed butter and sugar. Start and end with the flour mixture, mixing just until everything is combined. Scrape the bowl again with a spatula. Beat for another 15-30 seconds, only until the batter is smooth. Do not over-mix the batter.
- Divide the cake batter equally into the prepared pans and place them on the center rack in the oven. Bake 9-inch pans for 23-27 minutes. Test the cakes by inserting a toothpick into the center; if it comes out clean, the cakes are done. Remove from the oven.
- Cool the cakes in the pans for 15 minutes. Then, carefully invert them onto a cooling rack and gently peel off the parchment paper. Allow the cakes to cool completely to room temperature.
- Once cooled, use a serrated knife to carefully cut both cakes horizontally in half, creating four even cake layers.
- Carefully wrap each cake layer individually in plastic wrap. Transfer them onto a baking sheet and place them in the freezer. Freeze the cakes for at least one hour, or until they are rock-hard.
For the Frosting:
- Set a large 7-8 quart saucepot over medium heat. Clip a candy thermometer onto the side of the pot. Place all the frosting ingredients (except the vanilla extract) into the saucepot. Bring to a simmer, stirring regularly. The mixture will initially boil up high but will settle as it begins to caramelize.
- Watch the candy thermometer closely and continue to stir. Once the caramel mixture turns a medium-brown color and reaches 235 degrees F (113°C), remove it immediately from the heat. This process can take 25-40 minutes.
- Stir in the vanilla extract. Allow the mixture to cool for at least 15 minutes before proceeding.
- Use a hand mixer (or pour into a stand mixer bowl) to beat the caramel frosting for 3-5 minutes to loosen its texture. The frosting should have a thick, spreadable, mud-like consistency.
For Assembly:
- Pull the hardened cake layers out of the freezer. Unwrap one cake layer and place it on a cake plate. Use a long flat spreading knife to spread approximately ½ cup of frosting evenly over the cake layer. Unwrap and set the second cake layer on top. Press gently to level the cake, ensuring the edges are aligned.
- Spread another ½ cup of frosting over the second cake layer. Continue stacking and frosting the remaining cake layers until all four layers are neatly stacked and leveled with even frosting layers.
- Scoop the remaining frosting over the top of the cake. Spread the frosting over the top and down the sides. Because the frosting is dense, it can be tricky to achieve perfectly smooth coverage. If needed, dip the spreading knife in warm water (and wipe dry) to help smooth out the final coating.
- Chill the assembled cake in the refrigerator for at least 30 minutes to allow the frosting to set.
- When ready to serve, let the cake sit out at room temperature for 30-60 minutes to fully thaw. This ensures the interior cake layers are soft and delicate. Cut into portions and serve.
Notes
Learn how to make your own buttermilk here!