
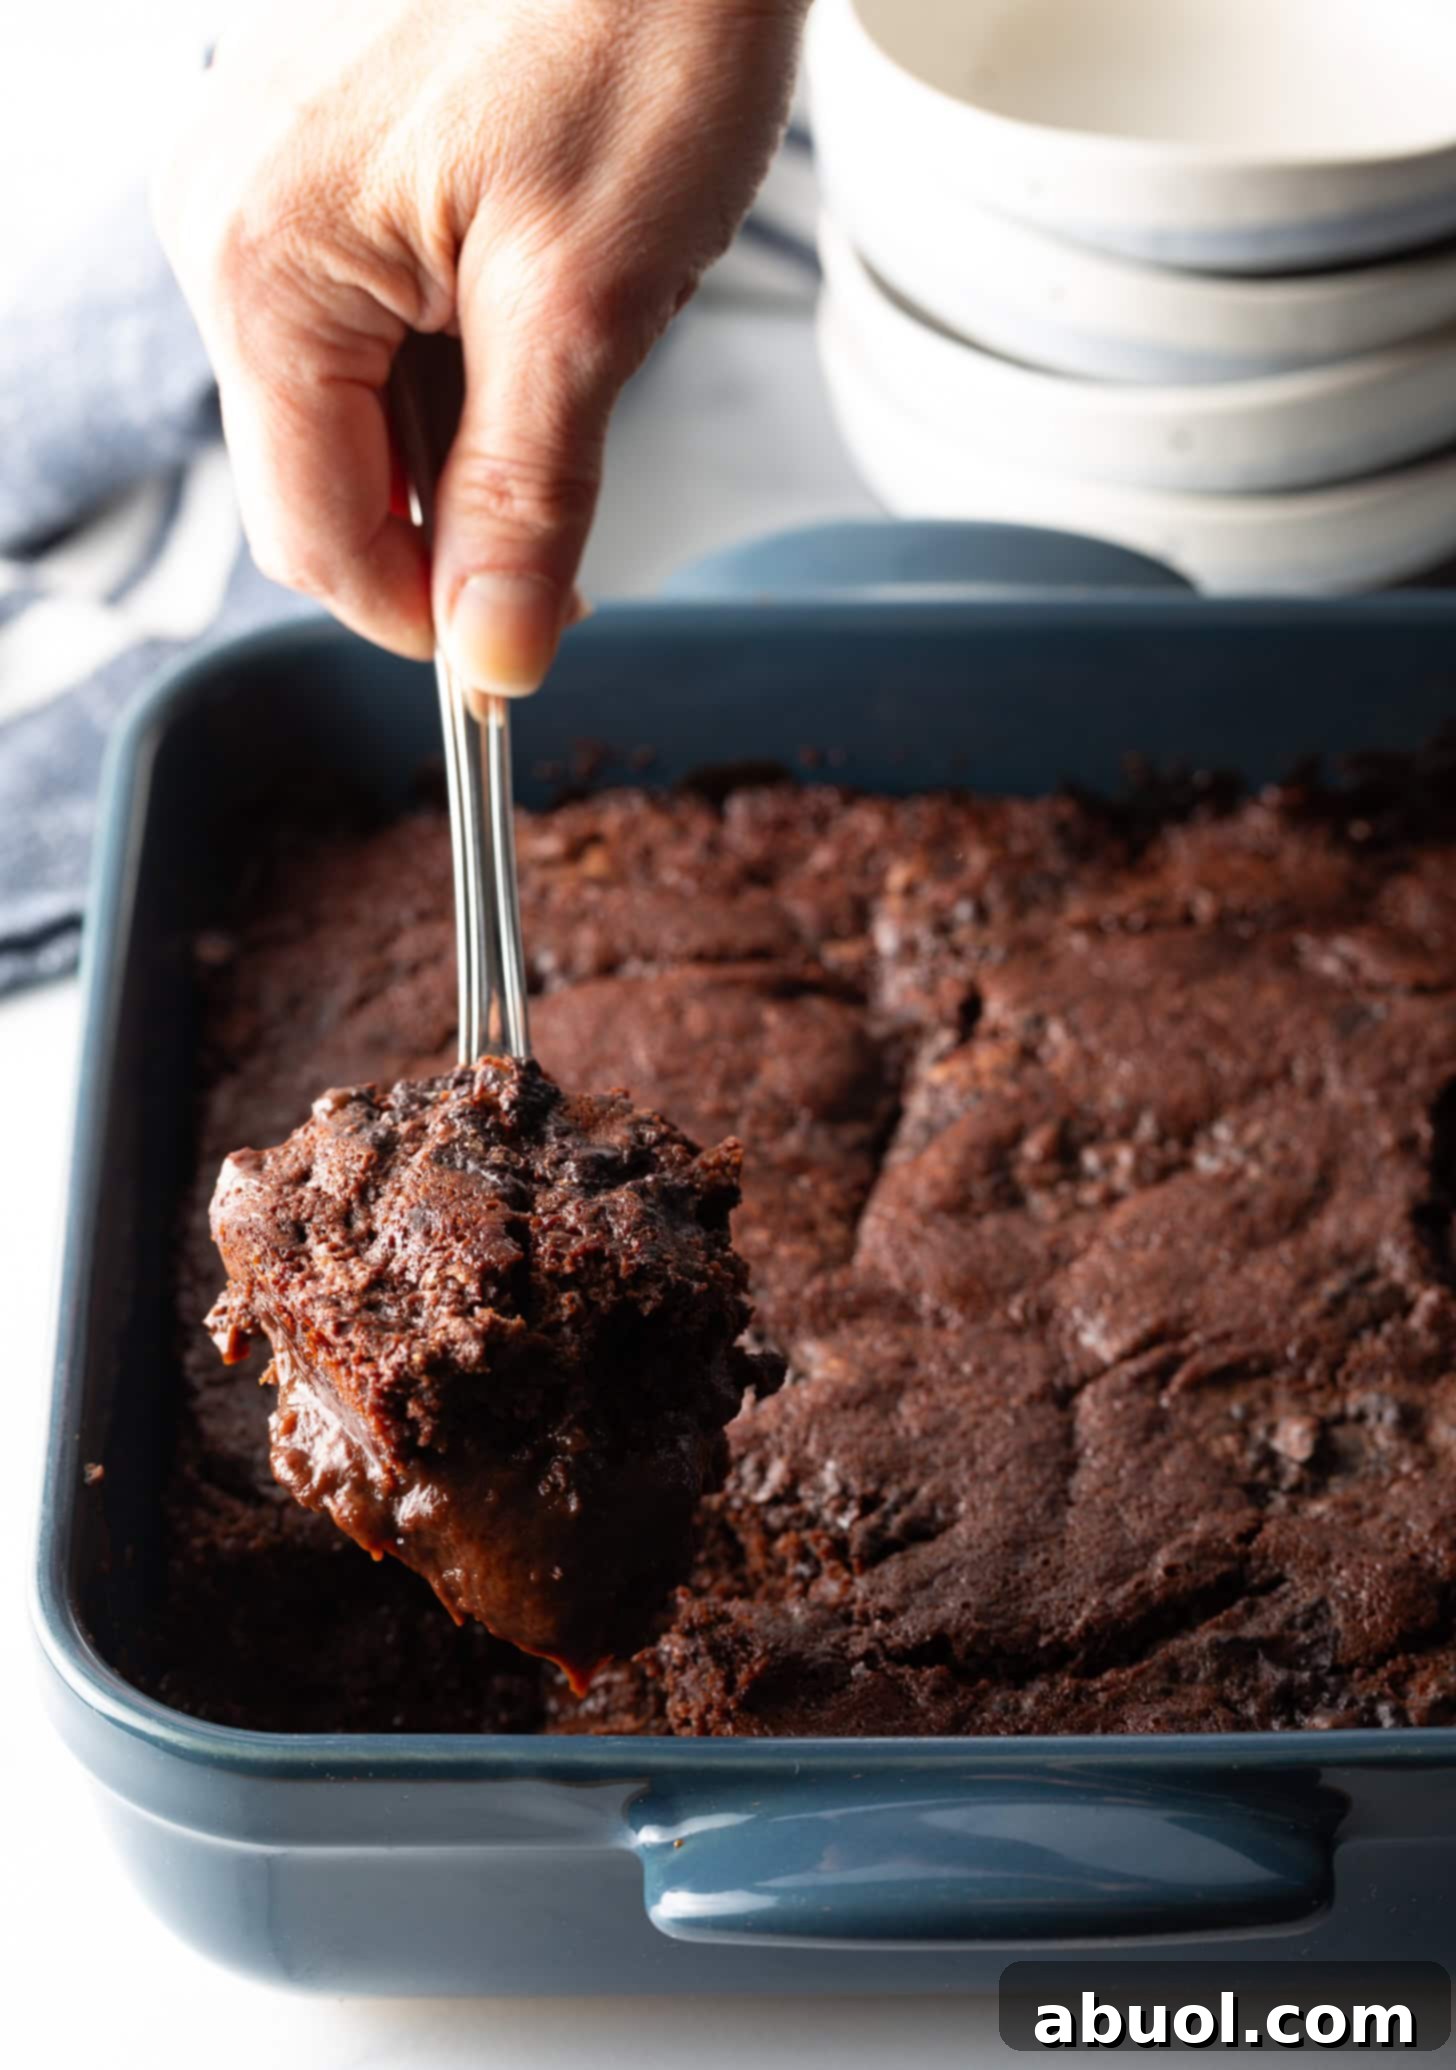
Indulge in the ultimate homemade dessert experience with this best chocolate pudding cake recipe. This rich, incredibly decadent, and irresistibly gooey chocolate pudding cake is remarkably simple to prepare in a single baking dish, making it perfect for any occasion. Ready to be enjoyed by the spoonful, ideally paired with a scoop of creamy vanilla ice cream, all in under an hour. Forget complicated baking – this dessert is pure, magical chocolate bliss made effortlessly!
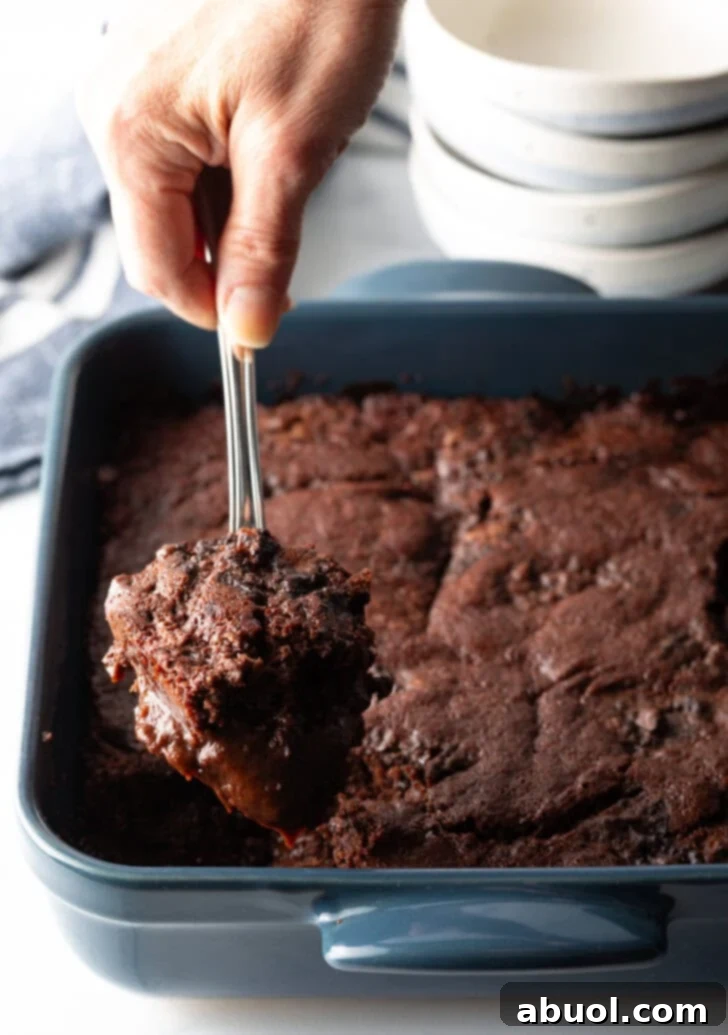
What is a Chocolate Pudding Cake? The Secret to Melt-in-Your-Mouth Decadence
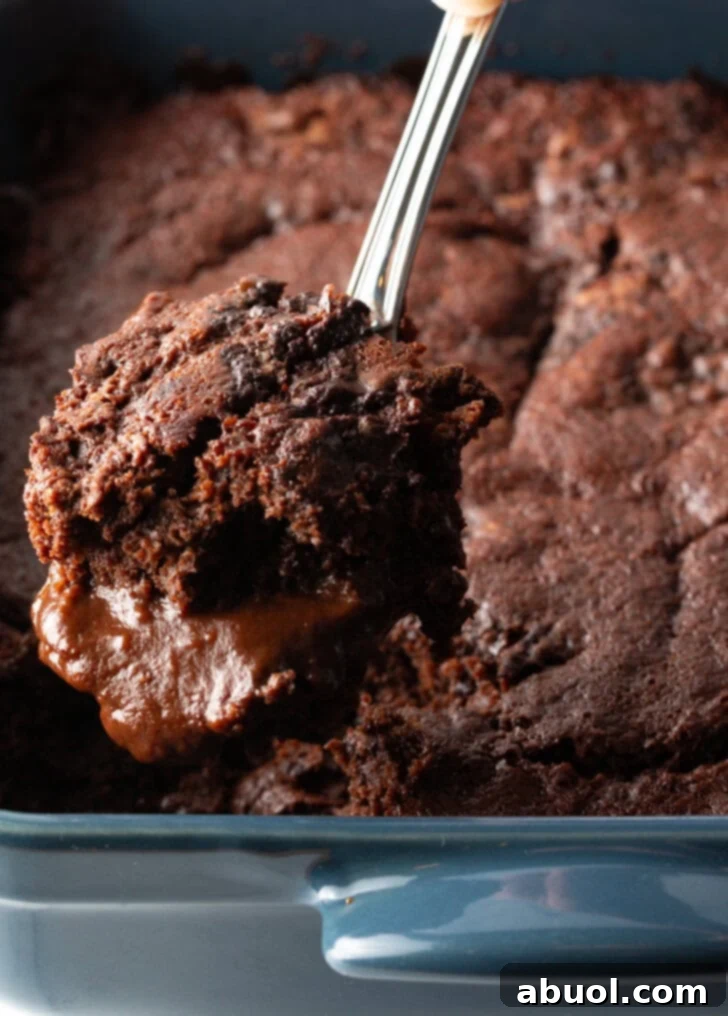
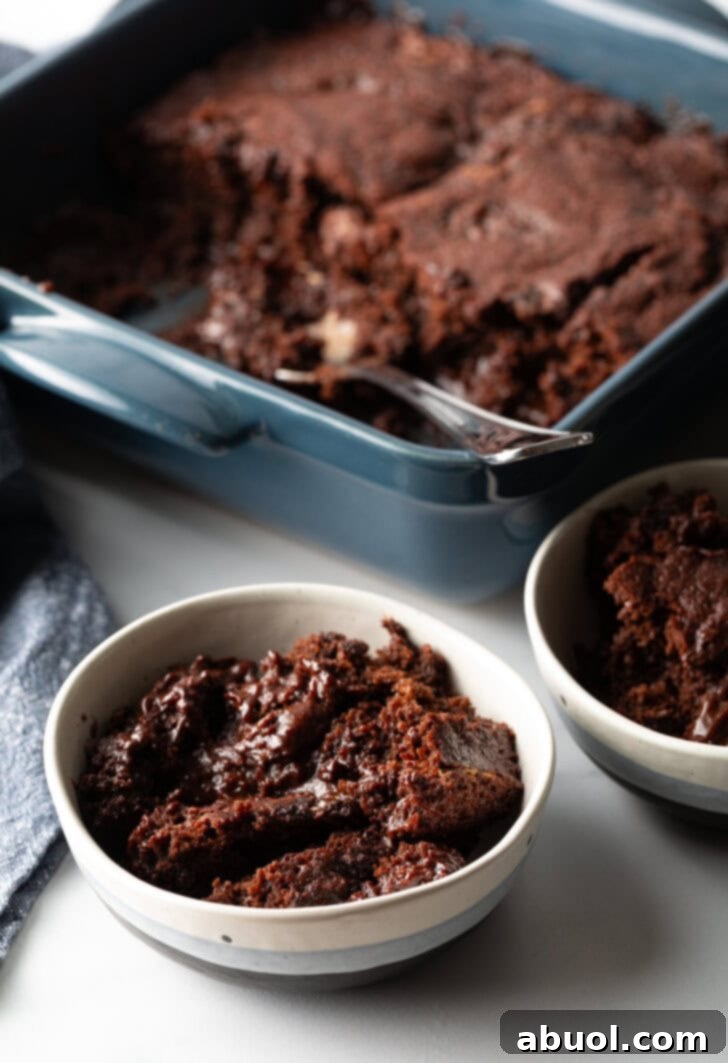
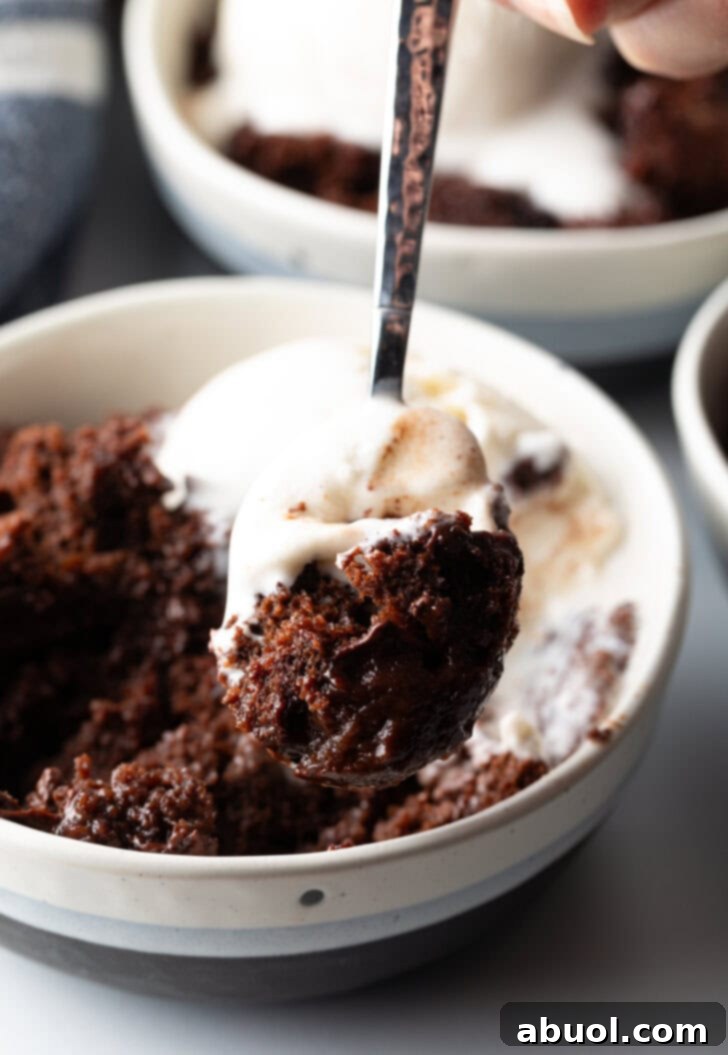
A chocolate pudding cake, often celebrated for its captivating texture, is essentially a glorious, shareable version of a chocolate lava cake or molten chocolate cake. It’s designed to be enjoyed family-style, delivering an unforgettable dessert experience. The magic lies in its dual layers: a light, fluffy, and intensely chocolatey cake layer on top, perfectly complemented by a thick, warm, and wonderfully saucy pudding nestled underneath.
Many first-time bakers might wonder: “Is this gooey center safe to eat?” The answer is a resounding yes! Our chocolate pudding cake recipe features an egg-free pudding layer, eliminating any concerns about underbaked batter. In essence, the pudding component is quite similar to preparing a classic homemade chocolate pudding on the stovetop and serving it warm – only here, it’s infused with the rich essence of freshly baked chocolate cake.
The true wonder of this dessert, however, unfolds through a surprisingly simple yet ingenious baking method. You begin by mixing a straightforward cake batter. This batter is then topped with a generous sprinkle of extra cocoa and sugar, creating the foundation for the upcoming “magic.” The pivotal step involves carefully pouring hot boiling water directly over the unbaked cake batter and the sprinkled topping. Crucially, you **DO NOT STIR** this water into the batter. As the cake bakes in the oven, the hot water performs its alchemy, gracefully seeping through the cake mixture. This process transforms the bottom layer into a luscious, molten chocolate pudding, while the top layer rises into a beautifully fluffy chocolate cake. The result is a stunning dessert where every spoonful offers a delightful contrast of textures and intense chocolate flavor.
This easy chocolate pudding cake recipe is an ideal choice for feeding a crowd, making it a standout addition to picnics, potlucks, family gatherings, or any celebration where a memorable dessert is desired. Its warm, inviting, and intensely gooey hot fudge pudding center comes together with minimal effort in **just 3 easy steps**. From start to finish, including prep and bake time, you can have this exquisite dessert ready to serve in **under an hour**, delighting everyone with generous spoonfuls alongside their favorite vanilla ice cream.
Essential Ingredients for Your Decadent Chocolate Pudding Cake
Crafting the perfect chocolate pudding cake requires a selection of common pantry staples. The quality of your ingredients, especially the chocolate, will significantly impact the final flavor profile of this sensational dessert. Here’s a breakdown of what you’ll need to create this gooey, warm chocolate delight:
- All-purpose flour: The foundation of our cake batter, providing structure. For a gluten-free alternative, simply swap in your favorite gluten-free all-purpose flour blend.
- Granulated white sugar: Sweetens the cake batter, ensuring a balanced and delightful sweetness.
- Unsweetened cocoa powder: This is where the deep, rich chocolate flavor comes from. Opt for a high-quality, unsweetened cocoa powder for the best possible taste and color.
- Baking powder: Our crucial leavening agent, responsible for giving the chocolate cake its fluffy texture without the need for eggs.
- Salt: A small pinch of salt enhances all the flavors, balancing the sweetness and intensifying the chocolate notes.
- Milk: Whole fat or 2% milk provides moisture and richness to the cake batter, contributing to its tender crumb.
- Unsalted melted butter: Adds essential fat and moisture, giving the cake a tender texture and a delicious buttery undertone. Using unsalted butter allows you to control the overall saltiness of the recipe.
- Semi-sweet chocolate chips: Incorporated into the batter for an extra layer of chocolatey goodness, ensuring an ultra-chocolatey pudding cake. These chips melt beautifully, adding pockets of intense chocolate flavor.
- Brown sugar: This is key for the “magic topping,” providing a caramel-like sweetness and depth that helps create the molten pudding layer.
- Boiling water: The real secret ingredient behind the magical transformation. Pouring hot boiling water over the batter and sugar mixture allows gravity and heat to work together, creating the luscious, eggless gooey center of the cake as it bakes.
Mastering the Art of Chocolate Pudding Cake: A Step-by-Step Guide
Making this incredible chocolate pudding cake is surprisingly straightforward, thanks to its unique baking method. Follow these simple steps to create a dessert that will impress with minimal effort.
1. Prepare Your Baking Environment
Begin by preheating your oven to 350°F (175°C). While the oven heats up, select an 8×8-inch baking dish. For easy cleanup and to prevent sticking, generously spray the inside of the dish with a nonstick cooking spray. This ensures your decadent chocolate pudding cake can be effortlessly scooped and served.
2. Craft the Irresistible Chocolate Cake Batter
Gather a medium-sized mixing bowl. In this bowl, combine all the dry batter ingredients: the all-purpose flour, granulated sugar, unsweetened cocoa powder, baking powder, and salt. Whisk these dry ingredients thoroughly until they are well combined and there are no lumps. This step is important for an evenly textured cake.
Next, pour in the wet ingredients: the milk and the melted butter. Whisk them into the dry mixture until a smooth, cohesive batter forms. Be careful not to overmix; a few small lumps are perfectly fine. Finally, fold in the semi-sweet chocolate chips, distributing them evenly throughout the batter. Once your batter is ready, scoop it into the prepared 8×8-inch baking dish and gently spread it out to form an even layer.
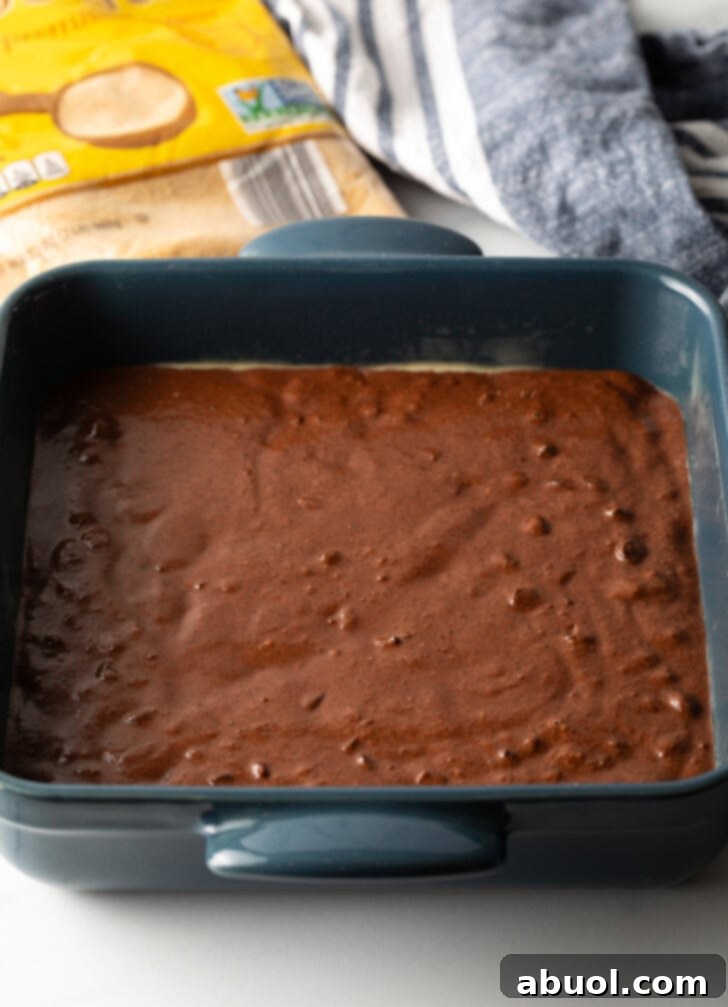
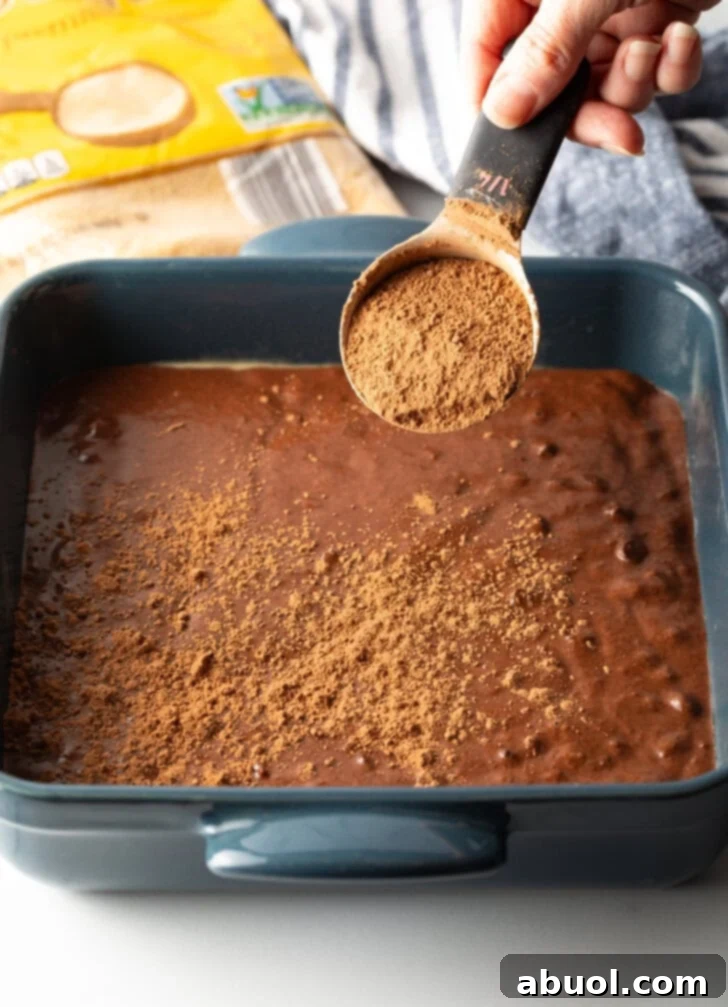
3. Unleash the Magic Topping
This is where the magic truly happens! Over the evenly spread cake batter in the dish, generously sprinkle the additional unsweetened cocoa powder. Ensure an even coating over the entire surface. Following this, sprinkle the brown sugar evenly over the cocoa layer. This combination will transform into the rich, gooey pudding layer during baking.
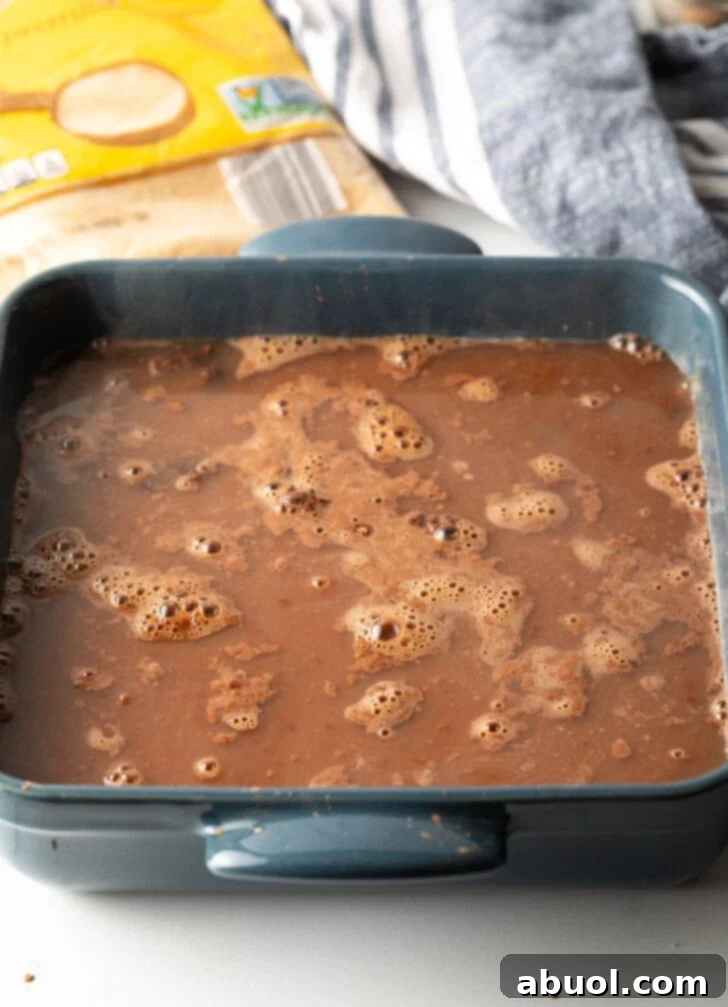
The final, crucial step: carefully pour the hot boiling water directly over the top of the cake batter, cocoa, and brown sugar. Remember, and this is vital, **DO NOT STIR** the water into the mixture. The water needs to sit on top, as shown in the picture below, allowing the baking process to do its work. Gently and carefully place the cake pan into your preheated oven.
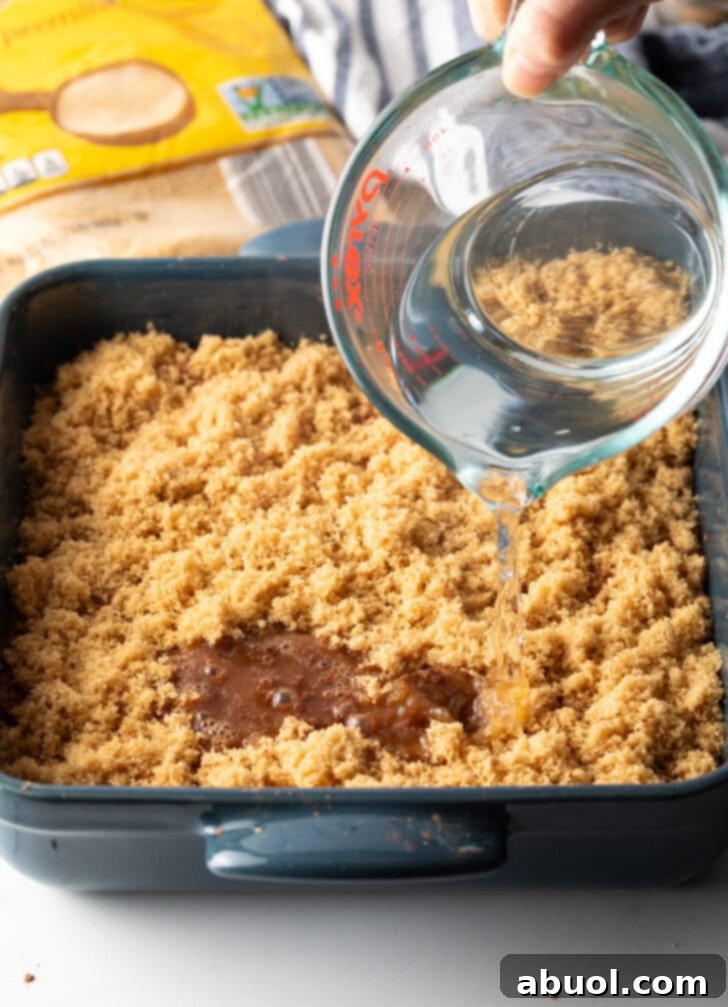
The water will seemingly sit atop the cake batter, forming a distinct layer as depicted in the image below. Exercise caution when transferring the baking pan to the oven, as the hot water can easily slosh.
Get the Complete (Printable) Chocolate Pudding Cake Recipe Below. Enjoy!
4. Bake to Perfection and Serve
Bake the chocolate pudding cake for precisely 30 minutes. This timing is critical. The most important thing about making a perfect pudding cake is to **not overbake it**. Overbaking will cause the magical pudding layer to set too much, losing its signature gooey consistency. Ensure your oven temperature is accurate by using an oven thermometer if you suspect inconsistencies. The top cake layer should look set, but the center will still be wonderfully soft beneath.
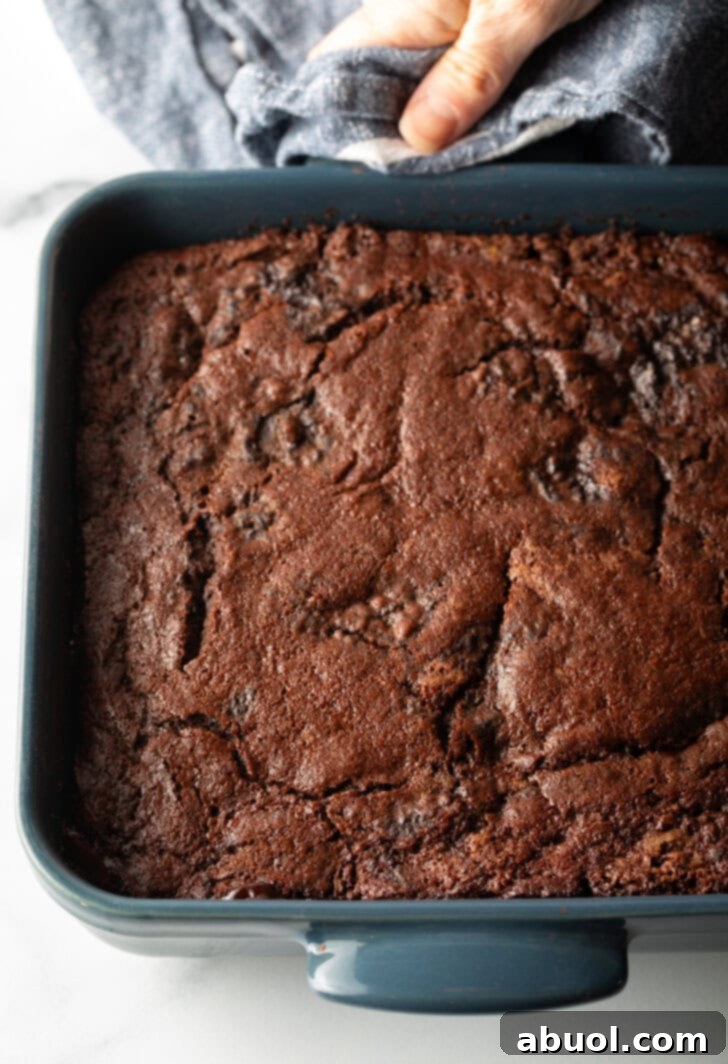
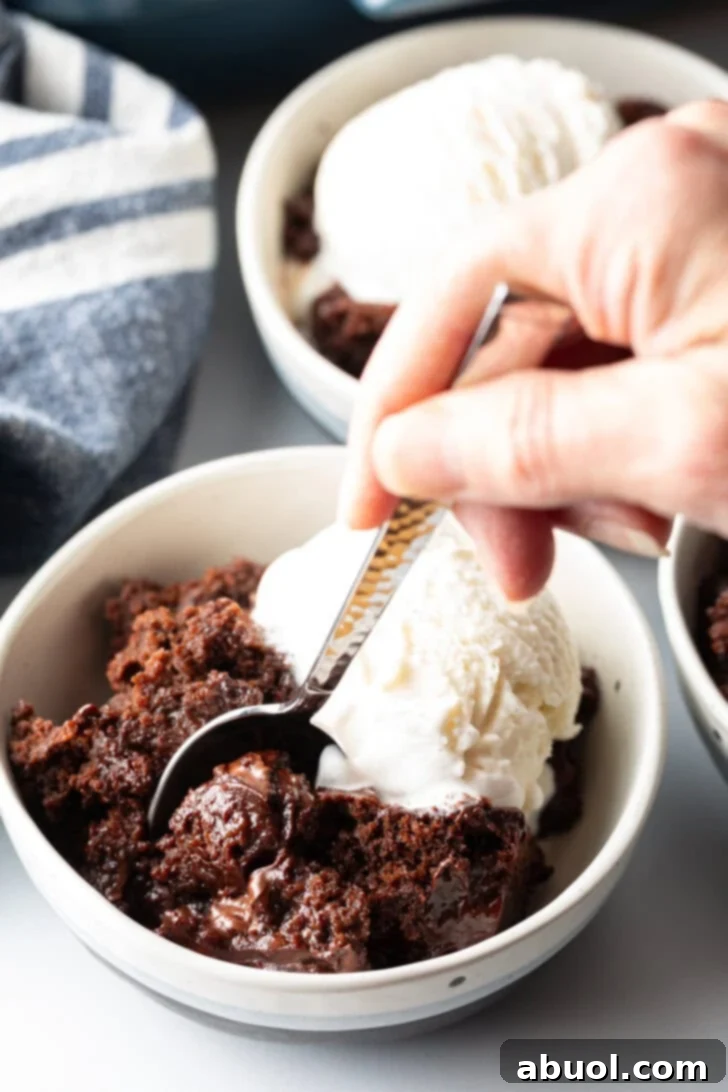
Once baked, remove the cake from the oven and allow it to cool for a brief 5-10 minutes. This short resting period allows the pudding to fully settle and become even more luscious. To serve, use a large spoon and **scoop deep into the cake** to ensure you get a generous portion of both the light, fluffy chocolate cake and the warm, molten chocolate pudding in every single bite. This ensures the ultimate tasting experience.
Exciting Recipe Variations to Explore
While the classic chocolate pudding cake is divine on its own, don’t hesitate to experiment with these delicious variations to suit different tastes or dietary needs:
- Gluten-Free Version: Easily adapt this recipe by substituting regular all-purpose flour with your favorite gluten-free all-purpose flour mixture. Ensure the blend contains a binder like xanthan gum, or add a small amount if not already present, to maintain the cake’s structure.
- Vegan-Friendly Option: To create a plant-based version, simply swap dairy milk for a good-quality plant-based milk (such as almond, soy, or oat milk) and use a high-quality vegan butter alternative. Most unsweetened cocoa powders and semi-sweet chocolate chips are already vegan, but always double-check the labels.
- Customizing Chocolate Chips: Unleash your creativity with different types of chocolate chips! Instead of semi-sweet, try dark chocolate chips for a more intense flavor, milk chocolate for a sweeter profile, or even white chocolate chips for a beautiful contrast. For an adventurous twist, consider peanut butter chips or butterscotch chips to introduce new flavor dimensions.
- Doubling the Recipe for a Crowd: The original recipe yields 6-8 servings in an 8×8-inch dish. If you’re hosting a larger gathering or simply want more of this irresistible dessert, you can easily double all the ingredients. Prepare the doubled recipe in a larger 9×13-inch baking pan. Keep in mind that doubling the recipe might require an additional 5-10 minutes of baking time. Always keep a close watch to prevent overbaking and preserve that crucial gooey pudding layer.
Elevate Your Chocolate Pudding Cake Experience
This chocolate pudding cake is a showstopper on its own, but pairing it with the right accompaniments can transform it into an even more extraordinary dessert. Here are some delightful serving suggestions:
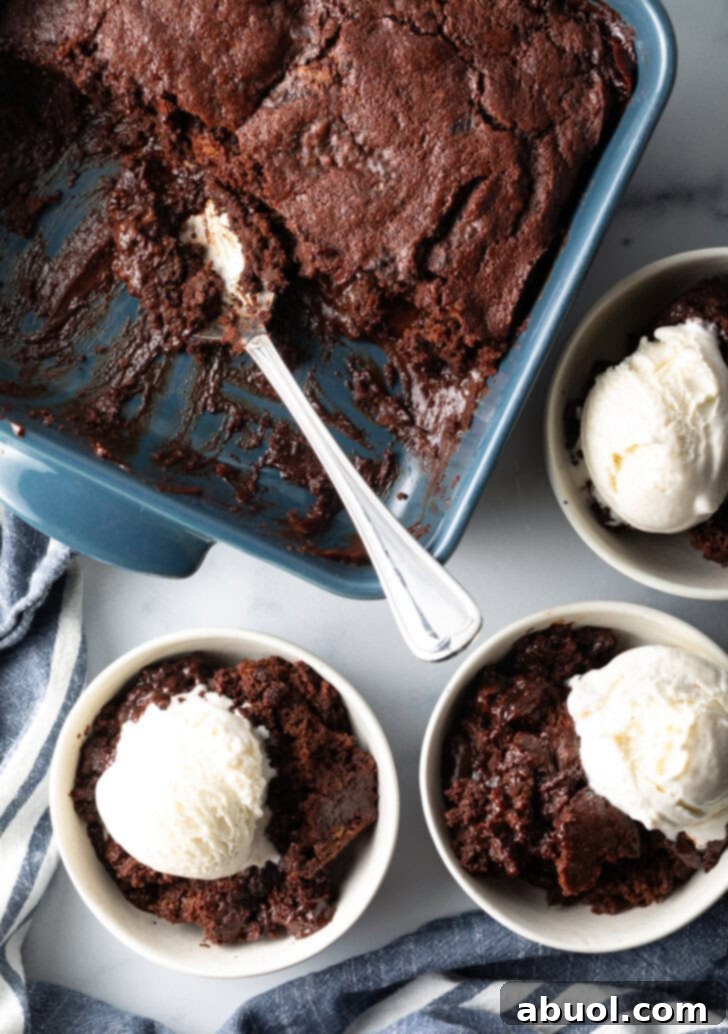
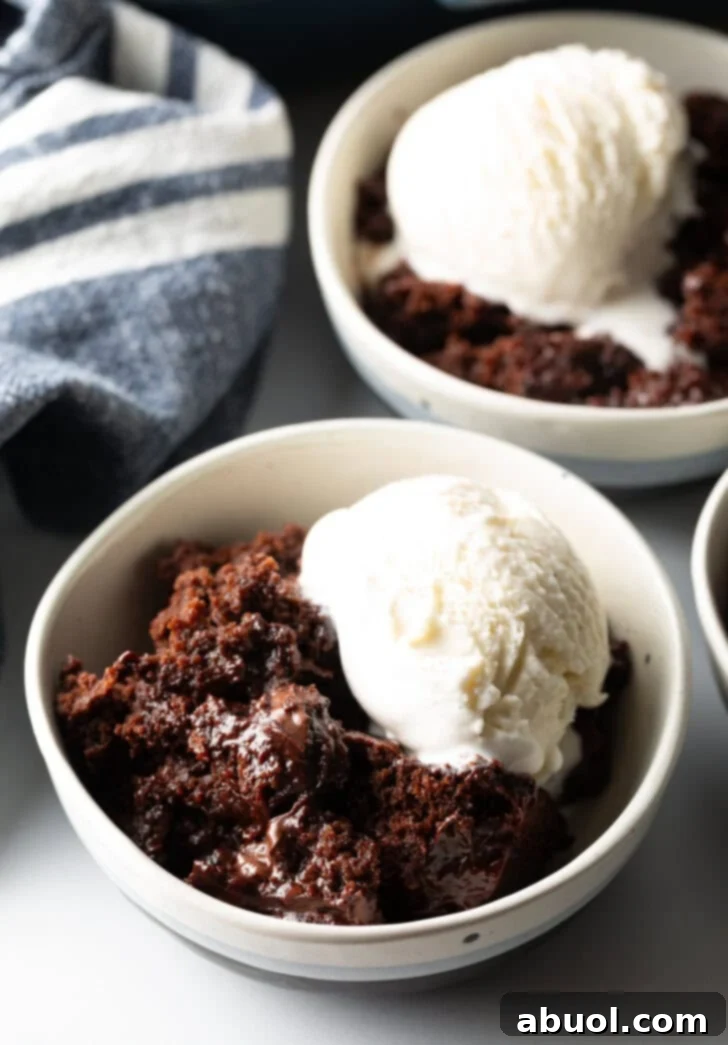
- Classic Vanilla Ice Cream: The ultimate pairing! A generous scoop of cold, creamy vanilla ice cream melting into the warm, gooey chocolate pudding cake creates a magnificent contrast in temperature and texture that is truly irresistible. It’s a marvelous, homey, and decadent dessert that everyone will adore.
- Homemade Whipped Cream or Cool Whip: A dollop of light, airy whipped cream or a spoonful of Cool Whip adds a delicate sweetness and a cloud-like texture that complements the rich chocolate perfectly. You can even add a hint of vanilla extract or a dash of cinnamon to your homemade whipped cream for an extra touch.
- Fresh Berries: For a bright and refreshing counterpoint, sprinkle a handful of fresh berries over your serving. Raspberries, strawberries, or blueberries add a lovely tartness and vibrant color, balancing the cake’s richness beautifully.
- Chocolate or Caramel Sauce Drizzle: Take the indulgence up a notch with an extra drizzle of homemade chocolate fudge sauce or a luscious salted caramel sauce. This adds another layer of flavor and visual appeal.
- Chopped Nuts: For added crunch and a nutty flavor, sprinkle some toasted chopped pecans, walnuts, or almonds over your dessert.
- A Dusting of Powdered Sugar: A simple dusting of powdered sugar can add an elegant touch and a subtle extra sweetness.
Frequently Asked Questions About Chocolate Pudding Cake
Here are some common questions and answers to help you master your chocolate pudding cake:
No, absolutely not! The unique charm of a chocolate pudding cake comes from its distinct two layers. The cake portion on top is fully baked, achieving a light and fluffy consistency. The gooey, molten filling underneath is created through a specific combination of ingredients and a clever cooking method, not from being undercooked. Since our recipe is eggless, there’s no concern about consuming raw ingredients in the pudding layer.
Yes, it is highly recommended to refrigerate any leftover chocolate pudding cake. Even though the pudding layer is egg-free, refrigeration helps maintain its freshness and prevents spoilage. Allow the cake to cool completely before covering it or transferring it to an airtight container for storage in the fridge.
When stored properly, cooled chocolate pudding cake leftovers will last for up to 5 days in the refrigerator. To ensure maximum freshness, cover the baking dish tightly with plastic wrap or aluminum foil, or transfer individual servings to an airtight container before placing them in the fridge. For the best experience, gently reheat individual servings in the microwave for a few seconds until warm and gooey again.
While the cake is best enjoyed warm and fresh from the oven, you can certainly prepare parts of it in advance. You can mix the dry ingredients for the cake batter and store them in an airtight container. You can also have your boiling water ready to go. The full assembly and baking are best done just before serving to ensure the ultimate warm, gooey pudding experience. If you must bake it ahead, reheat gently before serving.
There are a few common reasons for this. The most frequent culprit is **overbaking**. If the cake bakes for too long, the liquid in the bottom layer evaporates or sets completely, preventing the pudding from forming. Ensure your oven temperature is accurate and stick to the recommended baking time of 30 minutes. Another reason could be stirring the hot water into the batter; remember, the key is to pour and *not* stir, allowing the water to create the separate pudding layer as it bakes.
Looking for More Decadent Chocolate Recipes? Be Sure to Also Try:
- Better Than Sex Cake (Retro Recipe)
- Salted Caramel Cheesecake
- Easy Tiramisu Recipe
- Brownie Cake (Gluten Free Flourless Chocolate Cake)
- Salted Caramel Chocolate Chip Cookie Bars
- Fluffy No-Bake Chocolate Banoffee Pie
- Magic Chocolate Eclair Cake (No-Bake)
- Triple Chocolate Bundt Cake
- Chocoflan Impossible Cake
Print Recipe
Chocolate Pudding Cake Recipe
This rich, decadent, and ooey-gooey chocolate pudding cake is incredibly easy to prepare in a single baking dish, making it ready to enjoy by the spoonful with vanilla ice cream in under an hour. It’s the perfect warm chocolate dessert for any occasion, promising a delightful molten center with every scoop.
Prep Time: 10 minutes
Cook Time: 30 minutes
Total Time: 40 minutes
Servings: 6 – 8 servings
Ingredients
For the Chocolate Cake Batter –
- ¾ cup all-purpose flour
- ¾ cup granulated sugar
- ½ cup unsweetened cocoa powder
- 2 teaspoons baking powder
- ½ teaspoon salt
- ¾ cup milk (whole fat or 2%)
- ¼ cup melted butter (unsalted)
- 1 cup semi-sweet chocolate chips
For the Magic Topping –
- ¼ cup unsweetened cocoa powder (additional)
- ¾ cup light brown sugar
- 1 ¼ cups boiling water
Instructions
- Preheat your oven to 350°F (175°C). Prepare an 8×8-inch baking dish by spraying it generously with nonstick cooking spray.
- In a mixing bowl, combine the dry cake batter ingredients: flour, granulated sugar, ½ cup cocoa powder, baking powder, and salt. Whisk well until combined. Then, whisk in the milk and melted butter until just combined. Finally, fold in the 1 cup of semi-sweet chocolate chips. Scoop the batter into the prepared dish and spread it out evenly to form the base layer.
- For the magic topping: Evenly sprinkle the additional ¼ cup of cocoa powder over the top of the cake batter. Next, sprinkle the brown sugar evenly over the cocoa layer. Carefully pour the 1 ¼ cups of hot boiling water over the entire surface of the cake batter and the sprinkled topping. **DO NOT STIR** the water into the batter. Carefully place the baking dish into the preheated oven and bake for exactly 30 minutes.
- Once baked, remove the cake from the oven and let it cool for 5-10 minutes. This resting period allows the pudding layer to fully set to its luscious, gooey consistency. To serve, scoop deep into the cake with a large spoon, ensuring you get both the fluffy cake and the warm, molten pudding in each delicious bite.
Notes
- To store leftovers: Allow the chocolate pudding cake to cool completely before covering the baking dish tightly with plastic wrap or aluminum foil, or transferring it to an airtight container. Store in the refrigerator for up to 5 days. For the best eating experience, gently reheat individual servings in the microwave until warm and gooey.
Nutrition Facts (per serving)
- Serving: 6oz
- Calories: 544kcal
- Carbohydrates: 88g
- Protein: 7g
- Fat: 22g
- Saturated Fat: 13g
- Polyunsaturated Fat: 1g
- Monounsaturated Fat: 6g
- Trans Fat: 0.3g
- Cholesterol: 26mg
- Sodium: 282mg
- Potassium: 588mg
- Fiber: 7g
- Sugar: 64g
- Vitamin A: 301IU
- Calcium: 155mg
- Iron: 4mg
Course: Dessert
Cuisine: American
Author: Sommer Collier