
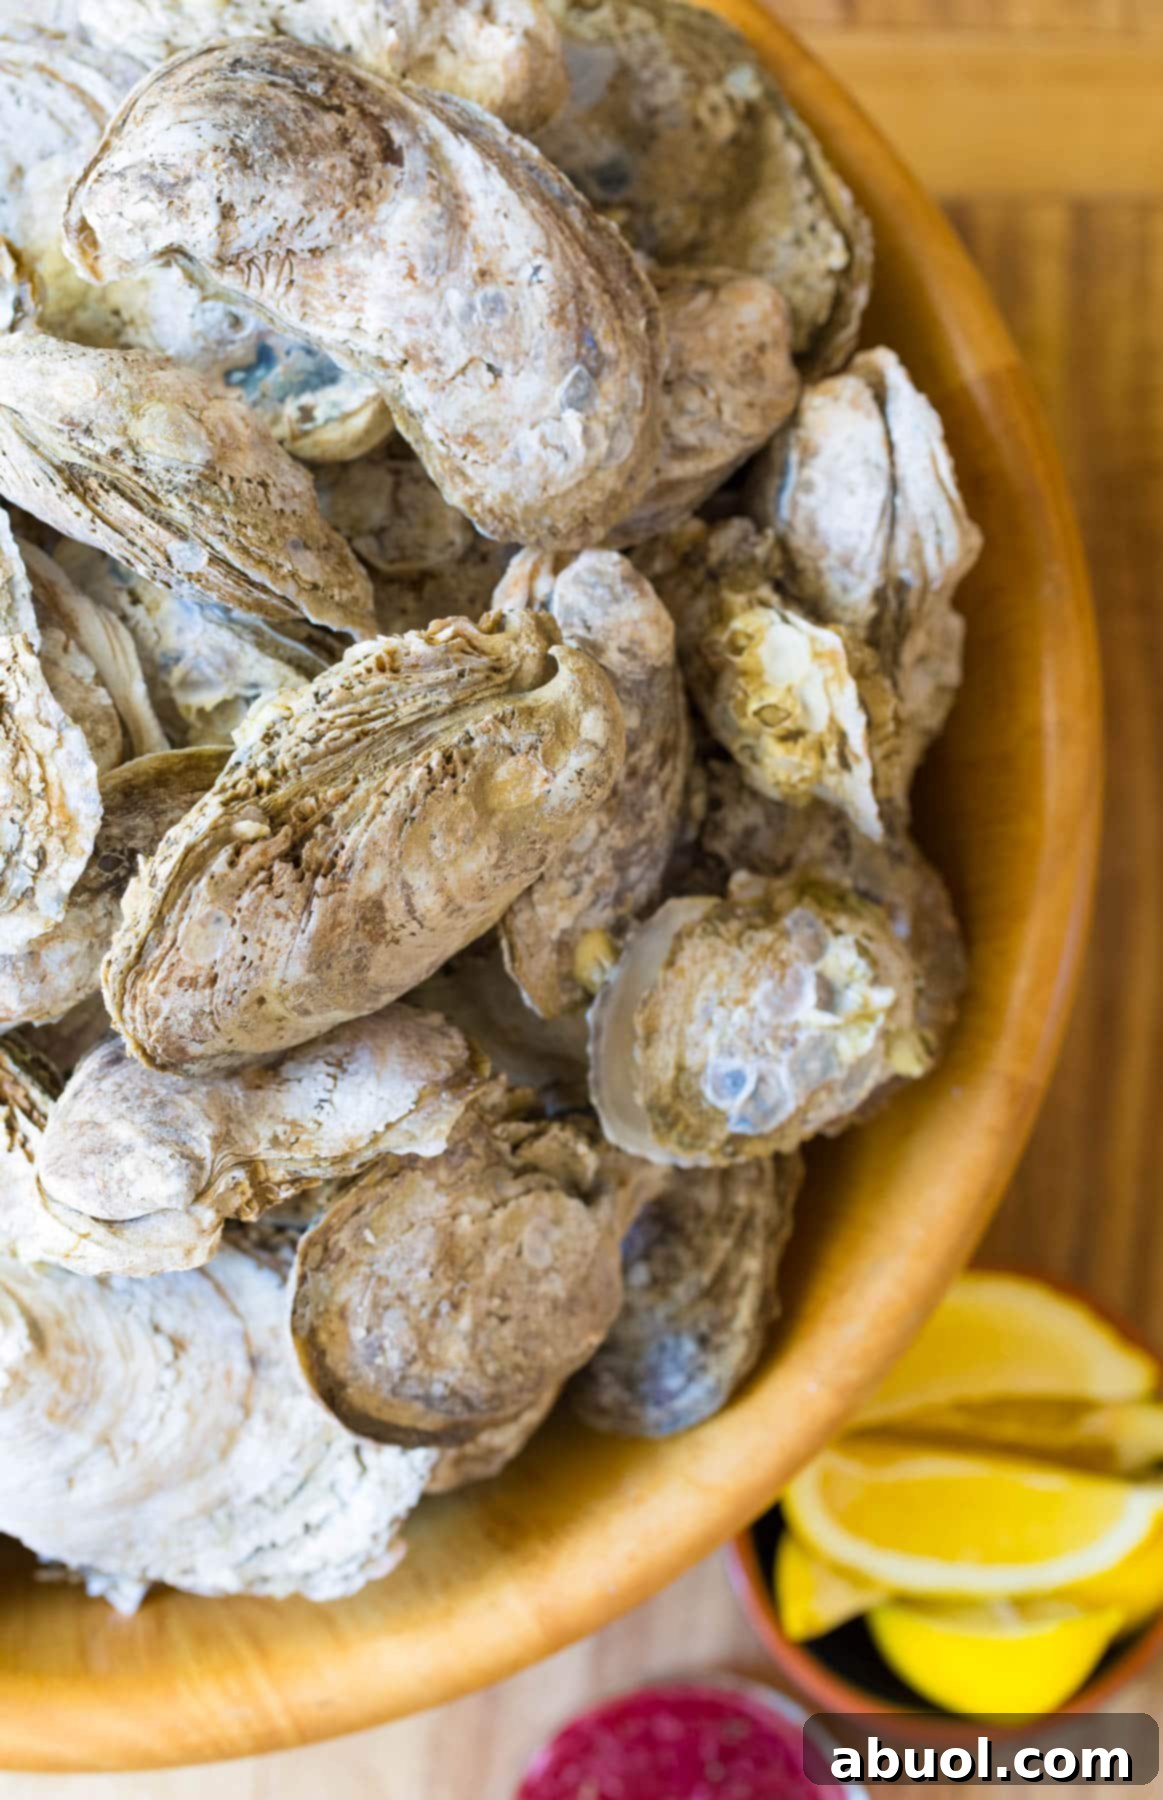
Embark on a culinary adventure and master the art of How to Shuck Oysters right in your own kitchen! Transform any gathering into an unforgettable oyster shucking party, serving delectable raw or perfectly steamed oysters complemented by an array of exquisite toppings. This comprehensive guide will teach you the proper and safe techniques to enjoy this delicacy at home.
How to Shuck Oysters: The Ultimate Guide to Fresh Seafood at Home
There’s an undeniable charm and satisfaction in serving freshly shucked oysters. For seafood enthusiasts, learning how to shuck oysters isn’t just a skill; it’s an experience that unlocks a world of flavor and culinary enjoyment. Imagine hosting a vibrant oyster-shucking party where friends and family gather, engaging in lively conversation as they master this delightful skill together. This hands-on activity creates memorable moments and a truly interactive dining experience.
We discovered years ago that the allure of oyster shucking isn’t limited to adults; even kids, with proper supervision, can enjoy the process and the delicious reward. Once you’ve grasped the fundamental techniques, you’ll be able to host your very own oyster bash, offering an abundance of fresh oysters prepared just the way everyone likes them.
Beyond the simple pleasure of shucking, lies the joy of customization. Oysters serve as a perfect canvas for a variety of accompaniments. Classic pairings like tangy cocktail sauce, bright fresh lemon wedges, and zesty horseradish are always a hit. For those with a more refined palate, a delicate French mignonette offers a sublime contrast, enhancing the oyster’s natural brininess. This guide will walk you through every step, from selecting your oysters to presenting them with flair.

Raw vs. Steamed: Why Steaming Oysters is a Game-Changer
While the debate between raw and cooked oysters rages among connoisseurs, an often-overlooked method offers the best of both worlds: steaming. While we adore oysters prepared in every conceivable way—raw, baked, grilled, or steamed—we’ve found that steaming them for a very short period is the optimal method for an oyster shucking event, especially when catering to diverse preferences.
The Case for Raw Oysters
Raw oysters possess an unparalleled natural flavor. Each slurp is a taste of the ocean, a pure, unadulterated experience that many aficionados cherish. The crisp texture and unique brininess are simply divine. However, the idea of consuming raw shellfish can be daunting for some, and let’s be honest, raw oysters can be notoriously tricky to shuck. Their adductor muscle holds the shells together with incredible strength, demanding precision and effort.
The Downsides of Fully Cooked Oysters
Grilled oysters, with their smoky char, and baked oysters, often adorned with rich, flavorful toppings, certainly have their place. But the intense heat can sometimes diminish the delicate essence of the oyster, transforming its tender flesh into a rubbery texture that loses its unique appeal. The true flavor of the oyster can get lost beneath heavy seasonings or an overly chewy bite.
Steaming: The Perfect Compromise
This is where steaming oysters for a very short time truly shines. It offers a brilliant solution that satisfies both raw oyster lovers and those who prefer their oysters cooked. The gentle heat of the steam causes the oyster to relax its grip on the shell, making them significantly easier to open. This means less struggle, less mess, and a more enjoyable shucking process for everyone.
For purists, the oysters steamed at the top of the pot will be barely cooked, retaining that coveted raw, oceanic flavor with just a hint of firmness around the edges. They offer the ease of opening without sacrificing the quintessential raw oyster experience. For those who prefer a more cooked texture, the oysters at the bottom of the pot will be slightly more firm and texturally substantial, appealing to their preference without becoming rubbery. This method ensures that every guest, regardless of their preference, finds their ideal oyster, creating a truly inclusive and delightful shucking experience.
Gathering Your Oyster Shucking Essentials: Ingredients and Equipment
Before you dive into the joyful task of shucking, ensuring you have the right ingredients and tools is paramount. Preparation is key to a smooth and safe oyster experience.
Ingredients You Need for Fresh Oysters
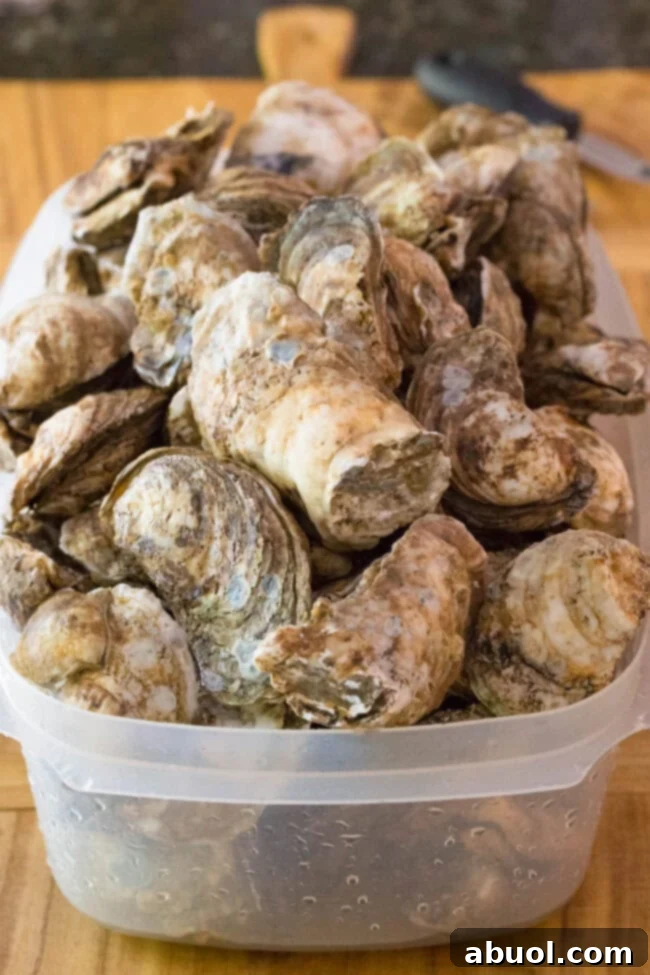
- Raw, Live Oysters: The star of your party! Always purchase fresh, live oysters from a reputable fishmonger. Their quality is crucial for taste and safety.
- Baking Soda: An excellent natural cleaner for the oyster shells, helping to remove grit and grime effectively.
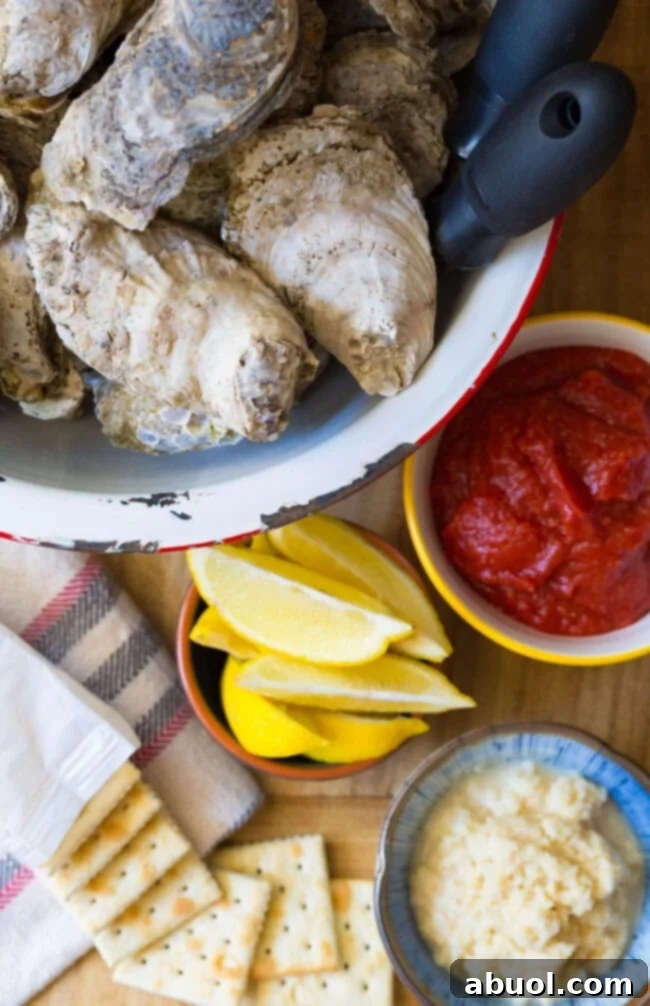
- Your Choice of Condiments and Toppings: From classic lemon wedges to exotic mignonettes, a variety of toppings elevates the oyster experience for all palates.
Essential Equipment for Safe and Efficient Shucking
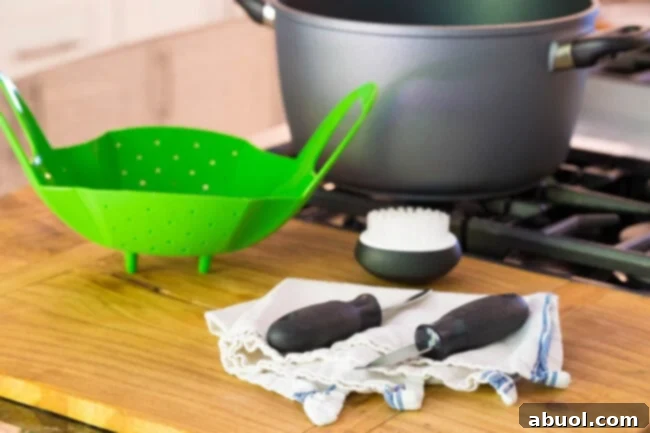
- Oyster Knife: Also known as a shucking knife, this specialized tool is non-negotiable. Its short, blunt, sturdy blade is designed to pry open shells safely without breaking. Do NOT attempt to use a regular kitchen knife, which can be dangerous and damage your cutlery.
- Sturdy Kitchen Towel: A thick, folded kitchen towel is essential for protecting your hand while holding the oyster. It provides a firm grip and safeguards against accidental slips of the knife.
- Vegetable Brush: For thoroughly scrubbing the exterior of the oyster shells, removing any dirt, mud, or debris before steaming or serving.
- Steam Basket: A collapsible or fitted steam basket allows you to steam multiple oysters at once, ensuring even cooking and easy removal from the pot.
- Large Stock Pot: Necessary for steaming the oysters. Choose one large enough to accommodate your steam basket and a good batch of oysters.
- Optional: Cut-Resistant Gloves: For an added layer of protection, especially for beginners or those who prefer extra safety, cut-resistant gloves are an excellent investment.
How To Clean Oysters Properly for a Pristine Experience
Cleaning oysters is a crucial first step, ensuring a hygienic and enjoyable culinary experience. This process removes external dirt and grit, preventing it from contaminating the delicate oyster meat once shucked.
- Source and Inspect Freshness: Always aim to purchase fresh, live oysters on the day you plan to serve them. As with all seafood, freshness is paramount. Upon bringing them home, carefully inspect each oyster. Any oysters that are already open should be discarded immediately. Live oysters are tightly clamped shut. If an oyster is slightly ajar, tap it gently. If it doesn’t close firmly within a few seconds, it indicates the oyster is dead and unsafe to eat. Trust your senses: fresh oysters should smell clean and briny, like the sea, not fishy or unpleasant.
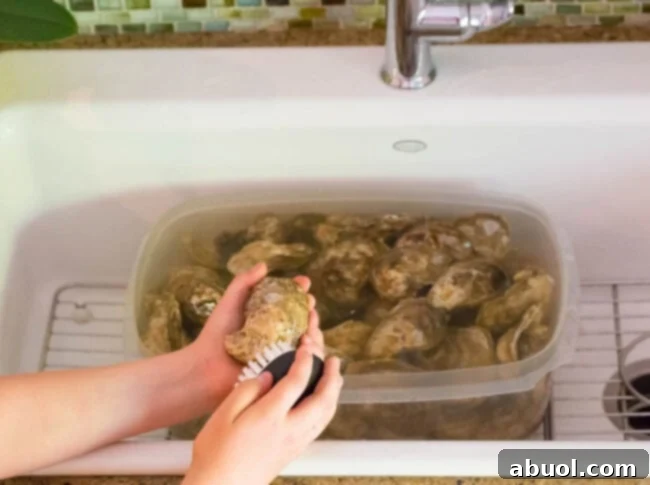
- Soak for Deep Cleaning: Place all your live oysters in a large tub or basin. Add 2 tablespoons of baking soda, then fill the tub with cold water, ensuring the oysters are fully submerged. Allow the oysters to soak for a dedicated 10-15 minutes. This soaking helps to loosen any stubborn dirt, mud, or debris clinging to their shells.
- Thorough Scrubbing: After soaking, use a firm vegetable brush to vigorously scrub the outside of each oyster. Pay close attention to the crevices and hinges where dirt tends to accumulate. This step is essential for removing any remaining external impurities. This can be a fun task to delegate if you have eager helpers! Alternatively, for larger quantities and if you have an outdoor space, laying them out on a picnic table and hosing them down can be an efficient way to clean them, though a brush often ensures a more thorough clean. Once cleaned, they are ready for steaming or raw presentation.
How to Steam Oysters: The Easy Way to Perfect Texture
Steaming oysters is an incredibly simple yet effective method that makes shucking considerably easier while offering a range of textures to suit everyone’s preference. Here’s how to achieve perfectly steamed oysters every time:
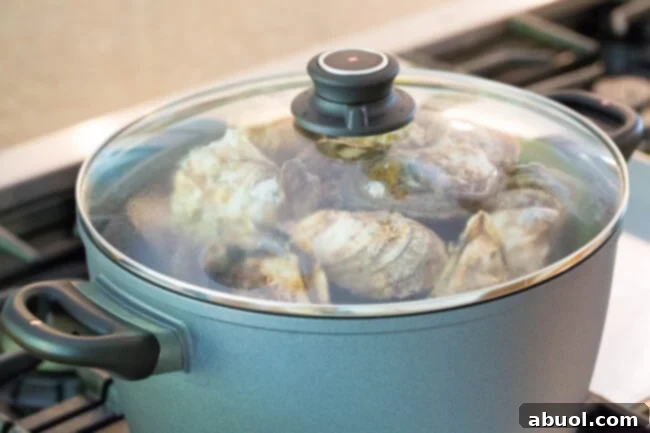
- Prepare Your Steamer Setup: Begin by placing a large stock pot on your stove. Insert a steaming basket into the pot. Pour 1-2 inches of water into the pot, ensuring the water level is significantly below the bottom of the steam basket so the oysters are steamed, not boiled. Cover the pot with a tight-fitting lid and turn the heat to high. Bring the water to a vigorous, rolling boil.
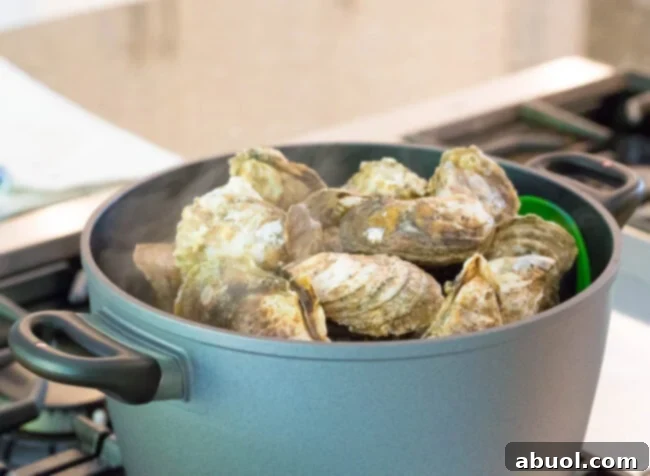
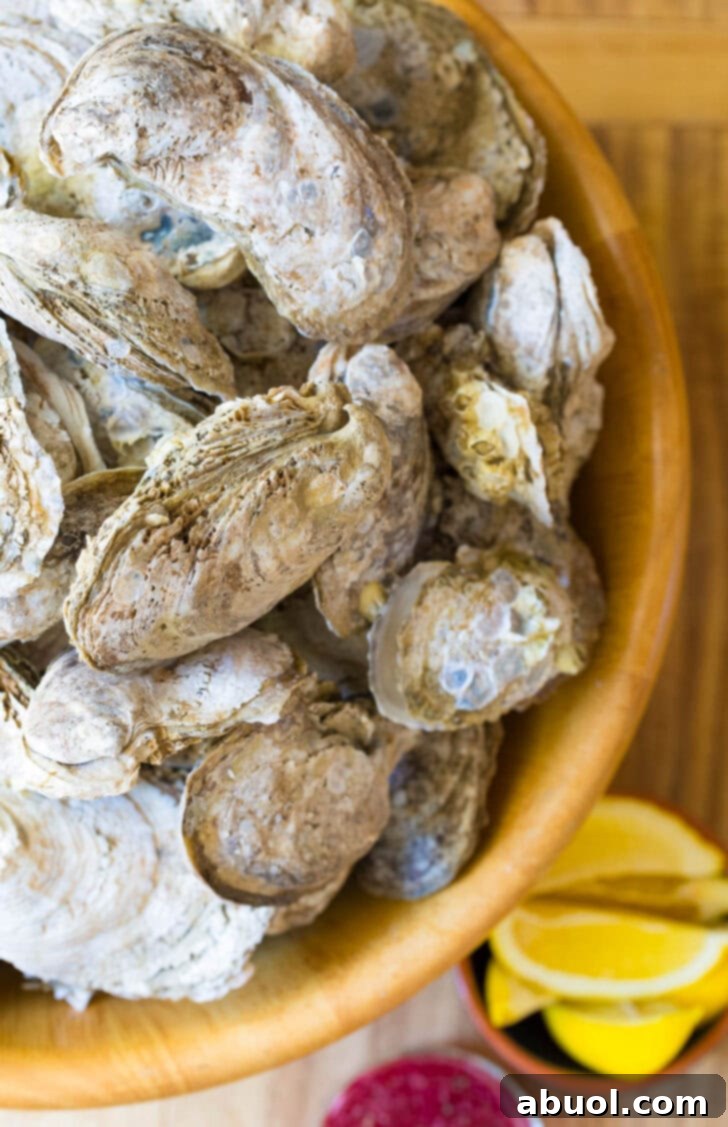
- Steam Oysters to Perfection: Once the water is boiling rapidly, carefully and quickly fill the steamer basket with your cleaned oysters. Work efficiently to minimize steam loss. Immediately cover the pot again to trap the steam. Set a timer for precisely four minutes. This short steaming time is critical for achieving the desired “nearly raw” texture while making them easy to open. When the four minutes are up, swiftly uncover the pot and transfer the steamed oysters into a large serving bowl. If you have more oysters, repeat the process in batches to avoid overcrowding the steamer, which can lead to uneven cooking.
That’s all it takes! Your oysters are now perfectly steamed, their shells slightly opened, and ready for effortless shucking and immediate enjoyment. The beauty of this method lies in its ability to offer variety:
- Bottom-of-the-Pot Oysters: These will be the most cooked, with a firmer, more substantial texture, appealing to those who prefer their shellfish more thoroughly prepared. Their shells will often be slightly more open, making them exceptionally easy to shuck.
- Top-of-the-Pot Oysters: These oysters will be just barely cooked, retaining much of their raw, delicate flavor and creamy texture. You’ll find them mostly raw in the center with just a gentle firmness around the edges—a delightful compromise for those who appreciate the essence of raw oysters but desire easier opening.
This method ensures that everyone at your table will find an oyster perfectly suited to their taste and preference, fostering a truly enjoyable and interactive dining experience. Now, it’s time to arrange your chosen condiments and commence the shucking!
How To Shuck Oysters Safely and Skillfully
Shucking oysters might seem intimidating at first, but with the right tools, a few safety precautions, and a little practice, you’ll be opening them like a pro. This guide focuses on safe and efficient shucking techniques, especially for those perfectly steamed oysters.
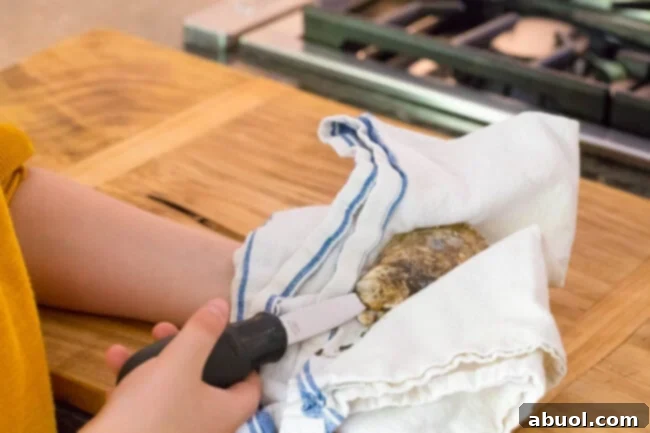
- Gear Up for Safety: Provide each person with a clean, sturdy tea towel and a specialized oyster shucking knife. Emphasize that regular kitchen knives are not suitable; they are too sharp, prone to breaking, and significantly increase the risk of injury. Wrap the oyster firmly in the folded towel, holding it in your non-dominant hand. This provides a secure grip and acts as a crucial barrier against slips. For extra protection, consider wearing cut-resistant gloves. Position the oyster with its flatter shell facing up and the cupped side (containing the oyster meat and liquor) facing down, this helps preserve the oyster’s precious liquid.
- Locate and Open the Hinge: Examine the oyster to identify its natural hinge – the point where the two shells connect tightly, usually at the narrower end. This is your target. With the oyster held securely, insert the tip of your oyster-shucking knife into the hinge. Apply firm, steady pressure, gently wiggling and twisting the knife to work it deeper into the hinge. The goal is to separate the shells without force, finding the natural seam. For steamed oysters, this step will be considerably easier as the heat has slightly relaxed the muscle. You should feel a slight pop as the hinge gives way.
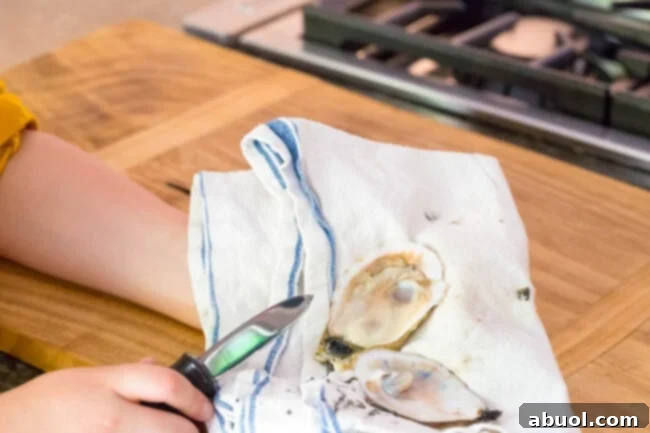
- Sever the Adductor Muscle and Clean the Shell: Once you’ve created a small opening, wipe any grit or shell fragments from the knife’s edge onto your towel. Carefully slide the blade along the top, flat shell, severing the adductor muscle that attaches the oyster to the top shell. Gently pry the top shell off and discard it. Now, carefully run the knife gently underneath the oyster, severing the second adductor muscle that connects it to the bottom, cupped shell. Be careful not to spill the oyster liquor (the natural juice) as this is part of the oyster’s flavor. Inspect the oyster for any small shell fragments and carefully remove them.
- Present for Serving: With the oyster released and its liquid intact, carefully place the open oyster, still in its cupped shell, onto a large tray or platter. Arrange them attractively, perhaps on a bed of ice to keep them chilled. Each guest can then easily select an oyster and customize it with their preferred condiments. Encourage everyone to enjoy their perfectly shucked, fresh oyster!
For a complete visual guide, including ingredient proportions and step-by-step instructions, refer to the printable recipe card at the bottom of this post.
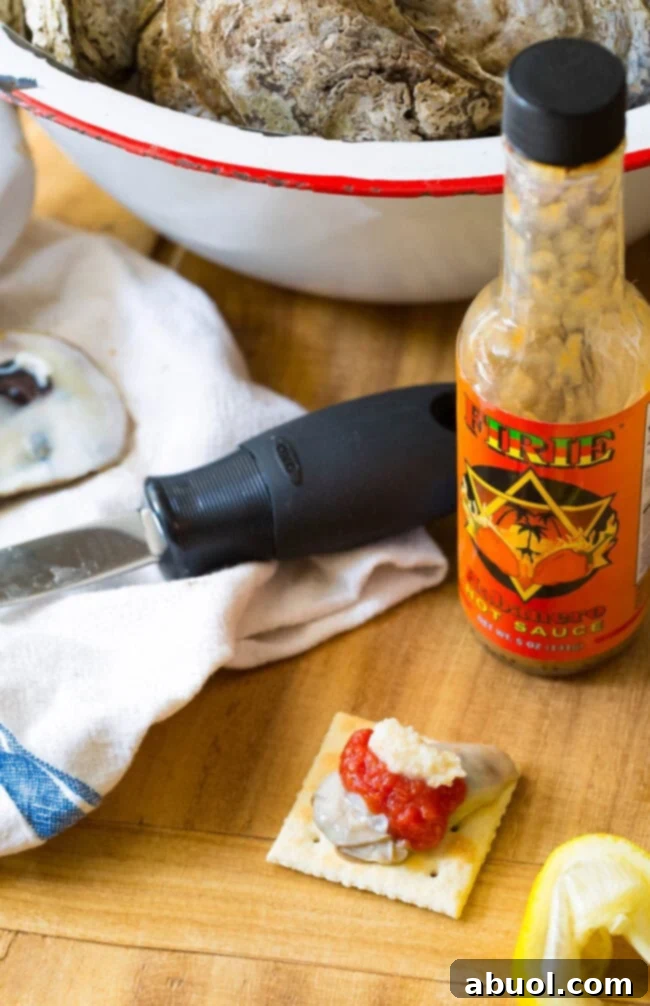
Raw Oyster Condiments and Serving Suggestions
One of the most exciting aspects of serving oysters is the endless possibilities for customization through condiments. Setting up an “oyster bar” with a variety of toppings allows guests to experiment and discover their favorite flavor combinations, turning a simple meal into an interactive tasting experience.
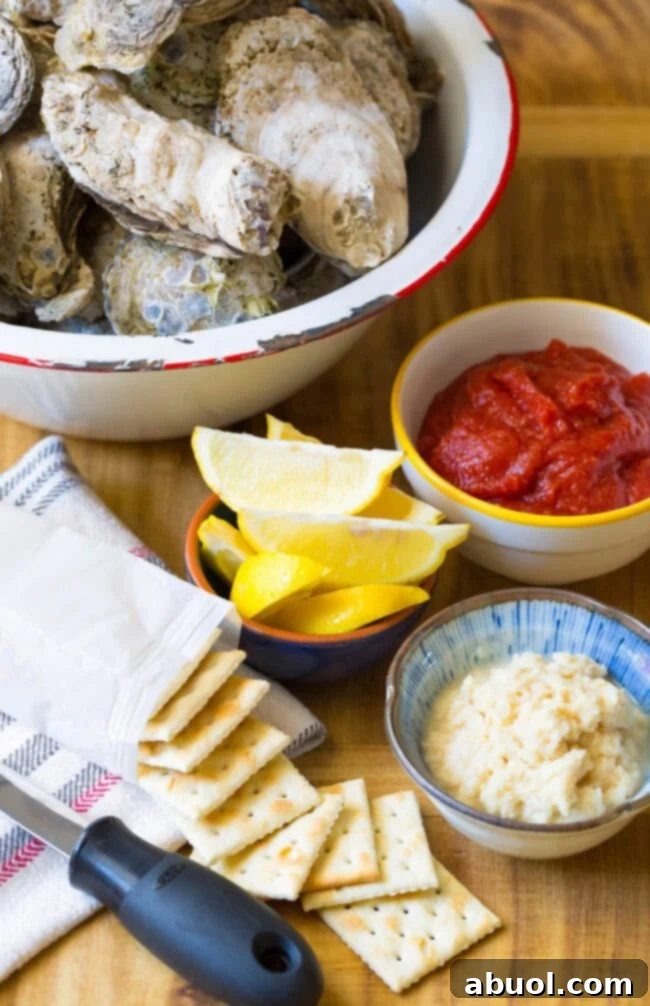
While a simple squeeze of fresh lemon juice is often all a perfectly fresh oyster needs, don’t hesitate to go all out with a diverse array of toppings. Here are some personal favorites and popular choices to inspire your oyster feast:
Classic American Oyster Setup
A timeless combination that many grew up with, offering a familiar and satisfying kick.
- Saltine Crackers: For a delightful textural contrast and to cleanse the palate between oysters.
- Cocktail Sauce: A tangy, horseradish-infused tomato sauce that’s a staple.
- Fresh Lemon Wedges: A squeeze of lemon brightens the oyster’s flavor and adds essential acidity.
- Prepared Horseradish: For those who love an extra fiery punch.
- Hot Sauce (like Tabasco): A dash of your favorite hot sauce can add a spicy complexity.
Classic French Mignonette
An elegant and traditional accompaniment that complements the oyster’s brininess without overpowering it.
- Red Wine Vinegar: Forms the acidic base of the sauce.
- Finely Shaved Shallots: Adds a delicate onion flavor and a subtle crunch.
- Freshly Cracked Black Pepper: Provides a gentle spice and aromatic quality.
- Optional: Fresh Herbs: A sprinkle of finely chopped parsley or chives can add freshness.
- Typically served directly on the oyster, off the shell, or with a small spoon.
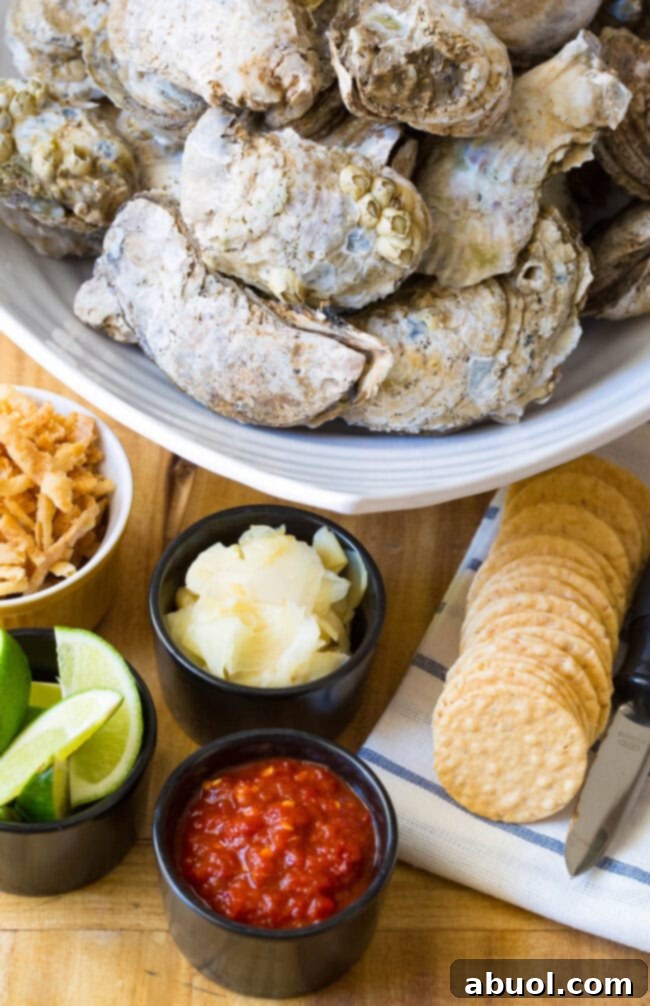
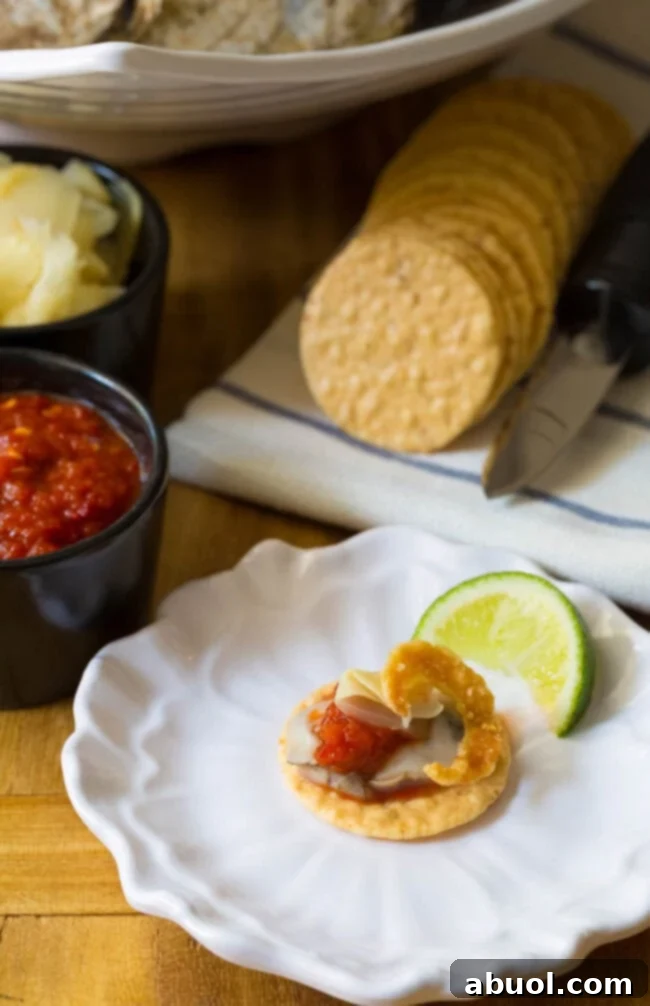
Bold Asian Oyster
For those who crave adventurous and vibrant flavors, drawing inspiration from East Asian cuisine.
- Sriracha Sauce: A beloved chili sauce for a spicy, garlicky kick.
- Fresh Lime Wedges: Offers a brighter, more zesty acidity than lemon, pairing well with Asian flavors.
- Pickled Ginger: Adds a sweet, tangy, and slightly spicy counterpoint, reminiscent of sushi.
- Crispy Fried Onions: Provides a satisfying crunch and umami depth.
- Rice Crackers: A light, crisp alternative to saltines, suitable for Asian-inspired toppings.
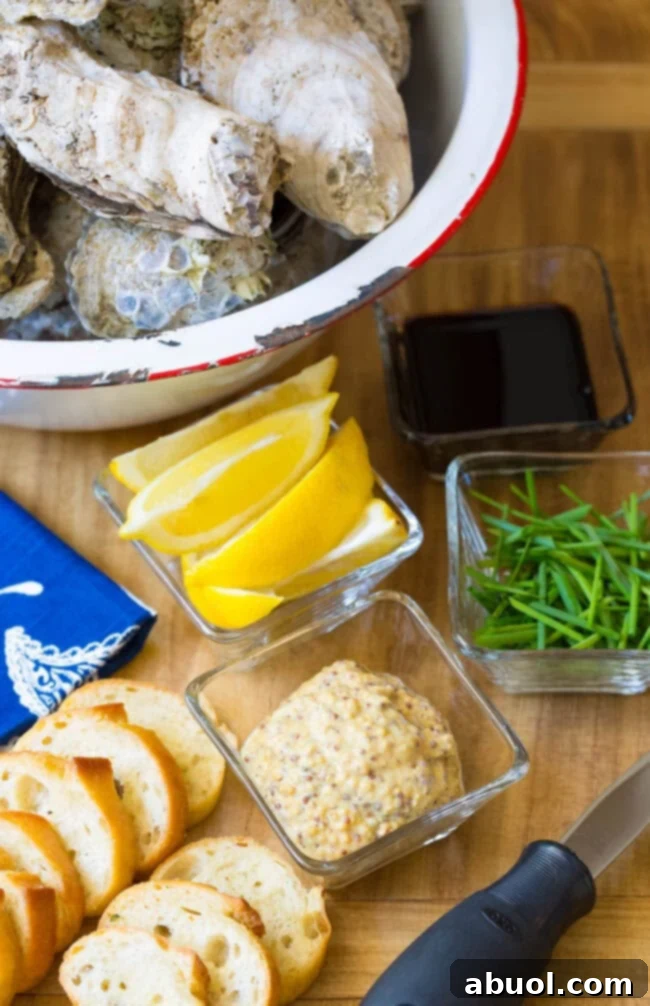
Modern American Oyster
A contemporary twist, blending classic elements with gourmet ingredients for a sophisticated touch.
- Thin Baguette Slices: A delicate bread choice for a European flair.
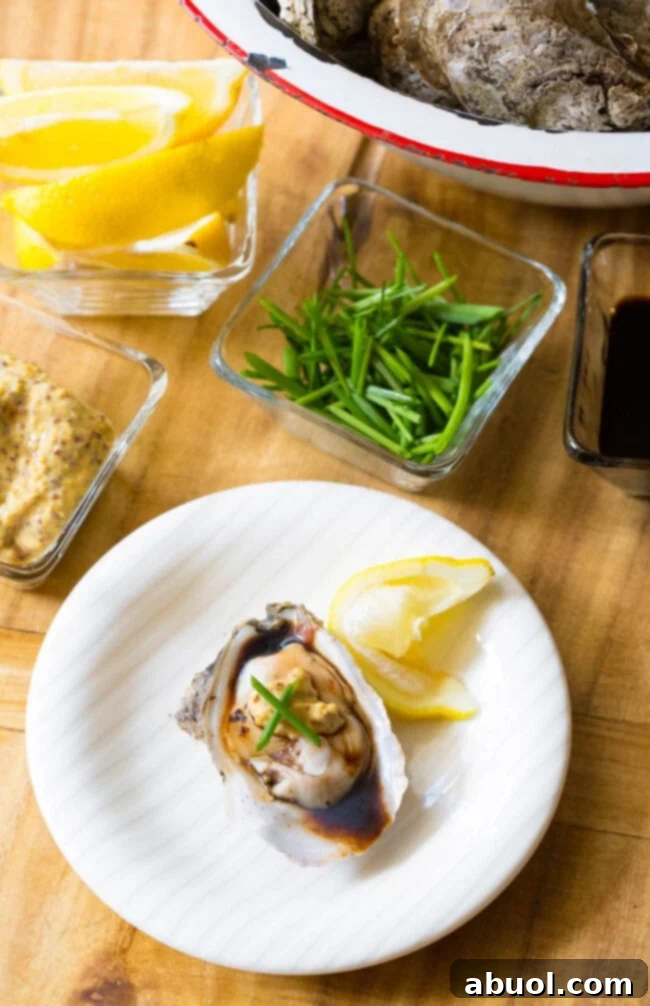
- Finely Chopped Chives: Adds a mild oniony freshness and a pop of color.
- Lemon Wedges: A classic for good reason, providing essential brightness.
- High-Quality Balsamic Vinegar: A few drops can add a complex, sweet-tart dimension.
- Spicy Whole-Grain Mustard: Offers a coarse texture and a robust, earthy heat.
Frequently Asked Questions About Oyster Shucking and Care
How do you buy fresh oysters?
To ensure the best experience, always buy fresh, live oysters from a reputable local grocery store or fish market. Look for oysters displayed on ice, with their cup side down. This orientation helps them retain their natural liquor. Fresh oysters should smell clean, like a crisp sea breeze, and absolutely not strongly fishy or unpleasant. When you get them home, store them in the refrigerator, still cup-side down in a container to preserve their liquid. Cover them with a damp towel, allowing them to breathe. Crucially, do not store them in an airtight container, as this will suffocate and kill them. For optimal freshness, it’s best to use them on the day of purchase, or within 1-2 days if stored properly.
How do I know if fresh oysters are good to eat?
The primary indicators of a good oyster are its smell and its shell integrity. A healthy, fresh oyster will emit a clean, ocean-like aroma – never a strong, off-putting fishy odor. Since oysters are alive when purchased, their shells should be tightly closed. If you encounter an oyster that is even slightly open, gently tap on its shell. A live oyster will react by firmly closing its shell within moments. If it remains open or doesn’t respond to the tap, it means the oyster is dead and should be discarded immediately to avoid any health risks.
Can I use a kitchen knife to shuck oysters?
Absolutely not! This is a critical safety warning. You must use a specialized oyster shucking knife. A regular kitchen knife, including butter knives, is not designed for this task. Using one significantly increases your risk of severe injury (slips can lead to deep cuts) and will likely damage your valuable kitchen knives, as their thin blades are not meant to withstand the force required to pry open an oyster shell.
Is shucking oysters dangerous?
No, shucking oysters is not inherently dangerous when proper precautions are taken! It’s a skill that many, even children with supervision, can learn and enjoy. The key is to adhere to essential safety measures: always use a sturdy kitchen towel to protect your hand and provide a secure grip, and always use a proper oyster shucking knife. For an extra layer of protection, especially for beginners or when shucking many oysters, wearing cut-resistant gloves is highly recommended and adds significant peace of mind.
More Seafood Recipes to Explore
- Delicious Crab Salad
- Indulgent Three Cheese Baked Oysters
- Savory Crab Stuffed Mushrooms
- Hearty Seafood Stuffed Shells
- Classic Seafood Marinara with Shrimp
- Mastering How to Cook Fish
- Refreshing Fish Ceviche
- Best Crab Salad Recipe
- Robust Seafood Cioppino
- Flavorful Seafood Dressing
- Zesty Skillet Shrimp Mozambique
Print Recipe
Leave a Review »
How To Shuck Oysters
15 minutes
4 minutes
19 minutes
10 people
Ingredients
- 40 raw oysters
- Baking soda, for cleaning
- Your choice of condiments
Instructions
-
Place 1 inch of water in a large stock pot and place a steaming basket into the pot. Cover and place over high heat.
-
When the water comes to a boil, fill the pot with oysters and cover. Set the timer for 4 minutes. Once the timer goes off, immediately take the lid off and dump the oysters into a serving bowl.
-
Give each person a clean tea towel and shucking knife. (Do not try to use regular knives. You could potentially hurt yourself and/or ruin your knives.)
-
Place the oyster in one hand on the folded towel. Look for the natural hinge in the oyster. Insert the tip of the oyster shucking knife into the hinge and firmly dig and twist.
-
Once the oyster is open, wipe the edge of the knife on the towel. Then run the edge of the knife gently over and under the oyster to release it from the shell.
Nutrition
Calories: 117 kcal,
Carbohydrates: 7g,
Protein: 5g,
Fat: 7g,
Saturated Fat: 1.5g,
Cholesterol: 2mg,
Sodium: 245mg,
Potassium: 8mg,
Sugar: 0g,
Calcium: 3mg,
Iron: 0.3mg
Appetizer
American
Sommer Collier
YOU can help this recipe RANK on Google – TAP 5 STARS so other hungry people can find it. Thank you!