
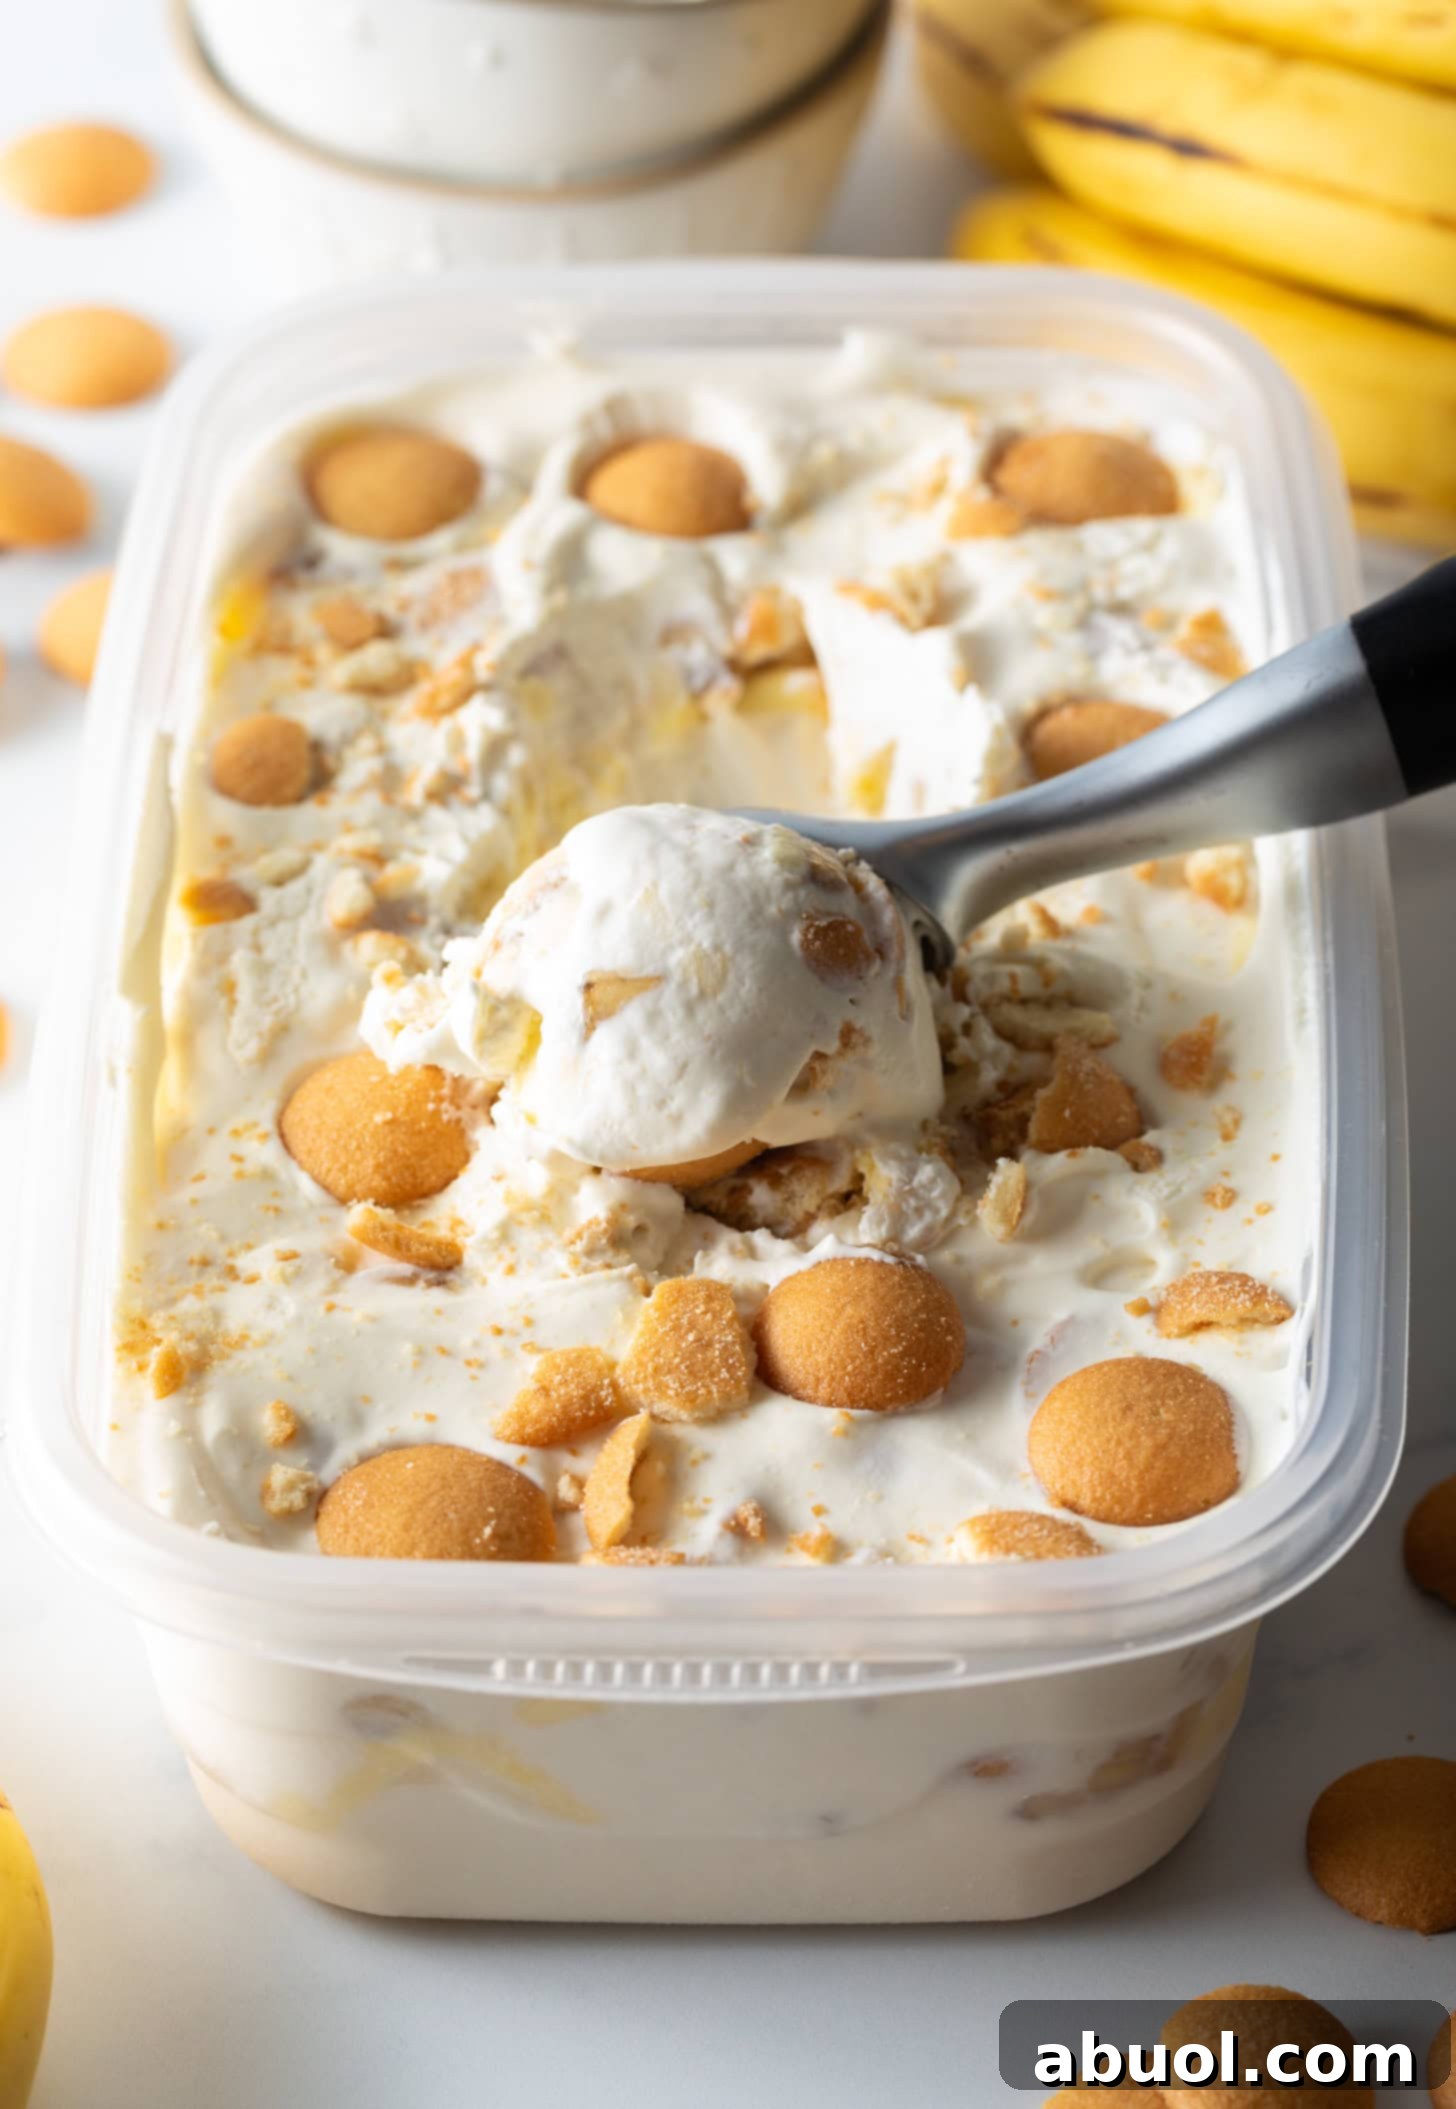
Irresistibly Creamy No-Churn Banana Pudding Ice Cream: Your Ultimate Easy Southern Summer Treat
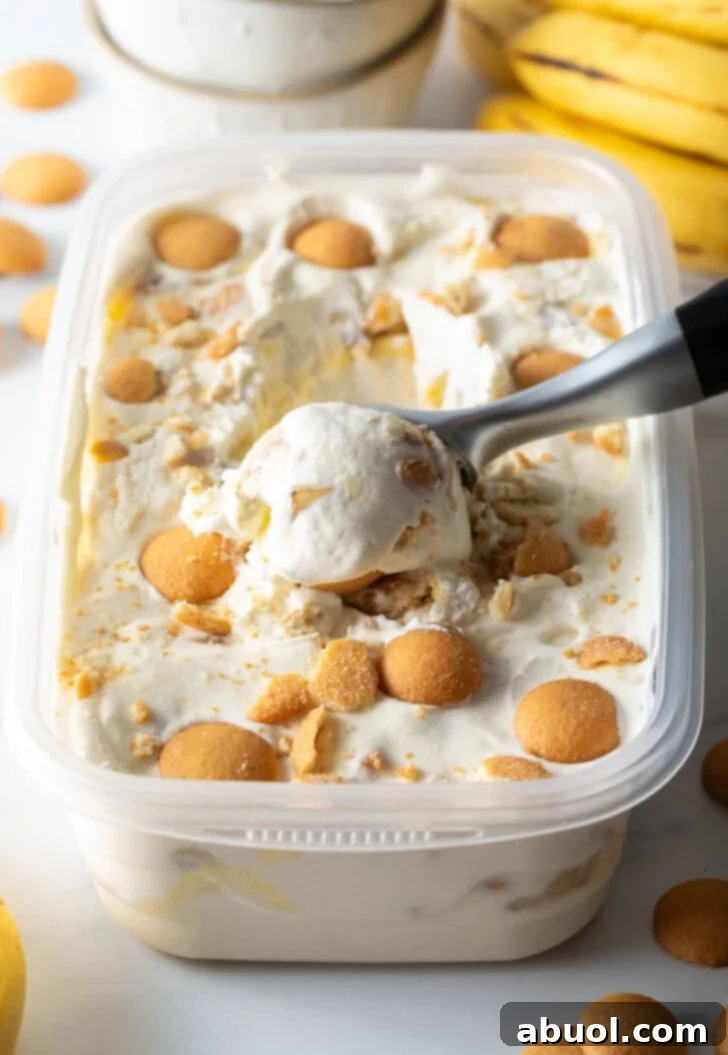
Why This No-Churn Banana Pudding Ice Cream Is a Must-Try
There’s something uniquely comforting and nostalgic about classic Southern banana pudding. That creamy, sweet custard layered with soft vanilla wafers and ripe bananas creates a symphony of textures and flavors. Now, imagine all that delightful essence, but frozen into a rich, scoopable ice cream. This isn’t just any ice cream; it’s a celebration of a beloved dessert, transformed into an easy, no-fuss frozen treat that captures the heart of Southern hospitality.
My family, especially my son, and I share a special fondness for banana-flavored desserts. Our visits to a local shake shop always involve indulging in their legendary banana pudding milkshakes – a heavenly blend of vanilla, crushed wafers, and fresh bananas. While those shakes are undoubtedly divine, I often dreamt of a solidified, frozen version, something I could savor slowly. This dream led to the creation of this very recipe, taking all the elements we adore and presenting them in a truly remarkable ice cream format.
What makes this Banana Pudding Ice Cream truly exceptional is its “no-churn” nature. We specifically developed this recipe to be accessible to everyone, regardless of whether you own a fancy ice cream maker or not. The base for this velvety smooth ice cream is a simple yet brilliant combination of whipped heavy cream folded with sweetened condensed milk. This method eliminates the need for any special equipment, complex cooking, or constant monitoring. The result is an incredibly rich, dense, and creamy ice cream that perfectly replicates the beloved flavors of southern banana pudding without any of the hassle.
This recipe shines all year round, but it’s an absolute superstar during the warmer months. Imagine gathering with loved ones, enjoying a scoop of this cool, sweet, and utterly delightful ice cream. It’s an ideal project for family fun, especially when kids are eager to get involved in making a special dessert. No machine required means more time for enjoyment and less time for kitchen chores!
(However, if you do have an ice cream machine and prefer to use it, don’t worry! We’ve included notes below on how you can adapt this recipe for churned perfection.)
Gather Your Simple Ingredients for Irresistible Flavor
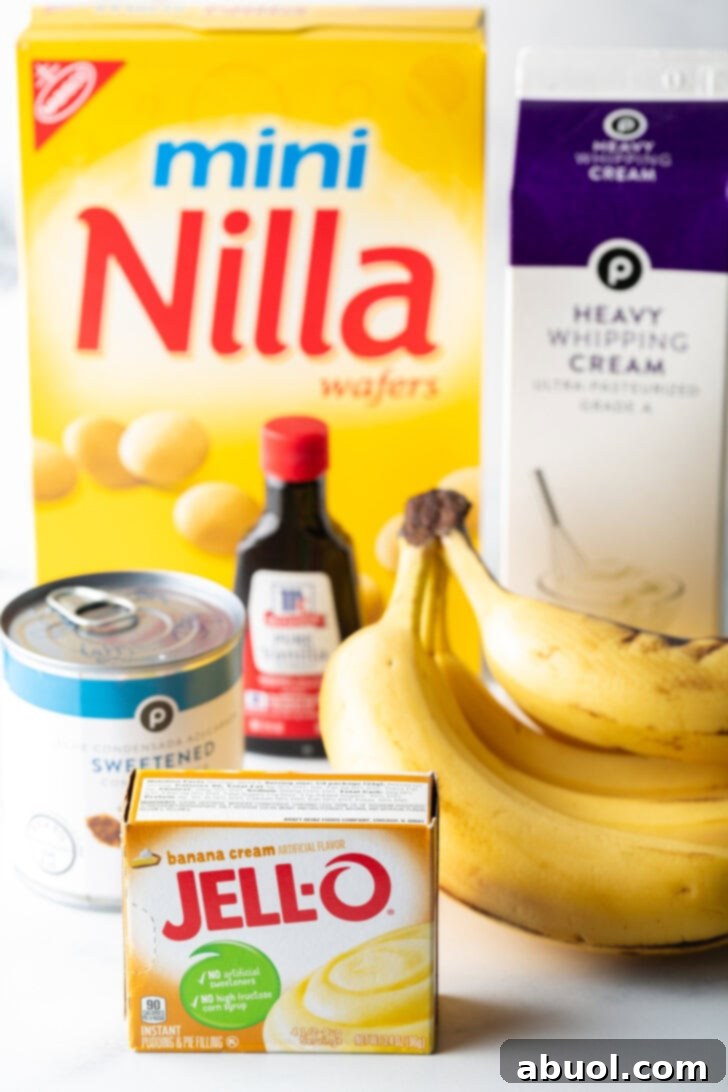
Creating this spectacular banana pudding ice cream requires only a handful of readily available ingredients. Each component plays a crucial role in building the signature flavor and luxurious texture of this Southern-inspired dessert. Here’s what you’ll need:
- Heavy Whipping Cream: This is the foundation of our no-churn ice cream, providing unparalleled richness and the airy texture when whipped. Always ensure your cream is very cold before whipping for the best results and maximum volume.
- Box Instant Banana Flavor Pudding Mix: The secret to infusing that authentic banana pudding taste without any artificial flavorings. Look for “instant banana” or “banana cream” pudding mixes. The dry mix is key here, not the prepared pudding.
- Sweetened Condensed Milk: The miracle ingredient for no-churn ice cream! It not only provides essential sweetness but also contributes to the incredibly smooth, creamy texture, preventing the formation of ice crystals that can plague homemade ice cream.
- Pure Vanilla Extract: A touch of high-quality vanilla extract enhances all the other flavors, adding depth and warmth to the overall profile. Don’t skimp on good vanilla!
- Salt: A small but mighty ingredient! A pinch of salt balances the sweetness and helps to keep the ice cream from freezing into a solid, unyielding block, ensuring a perfectly scoopable consistency.
- Mini Vanilla Wafers: These iconic cookies are indispensable for authentic banana pudding flavor and texture. Their subtle vanilla taste and satisfying crunch are integral. You can use mini wafers or roughly chop full-sized vanilla wafers.
- Ripe Banana: Freshly sliced ripe bananas add natural sweetness and a lovely chewiness. Choose bananas that are ripe (yellow with a few brown speckles) but not overly soft or mushy, as you would for banana bread. You want them firm enough to hold their shape in the ice cream.
Pro Tip for Effortless Ice Cream: One of the greatest advantages of this no-churn recipe is its sheer simplicity. You won’t need any granulated sugar, eggs, or egg yolks. There’s absolutely no cooking involved, which means no standing over a hot stove and no need to strain a cooked base with a fine-mesh sieve. Fewer steps mean less mess, quicker prep, and more time to enjoy your delightful creation!
Mastering the Art of No-Churn: Step-by-Step Instructions
Creating this decadent banana pudding ice cream is surprisingly simple and incredibly rewarding. Follow these easy steps to whip up a batch of pure frozen bliss, all without the need for an ice cream machine.
- Prepare Your Bases: Begin by setting out two medium-sized mixing bowls. In the first bowl, combine the dry instant banana pudding mix with 1 ½ cups of cold heavy cream. Using a hand mixer, beat the mixture on medium speed until it becomes thick, smooth, and lump-free. It should resemble a well-set pudding. Set this bowl aside.
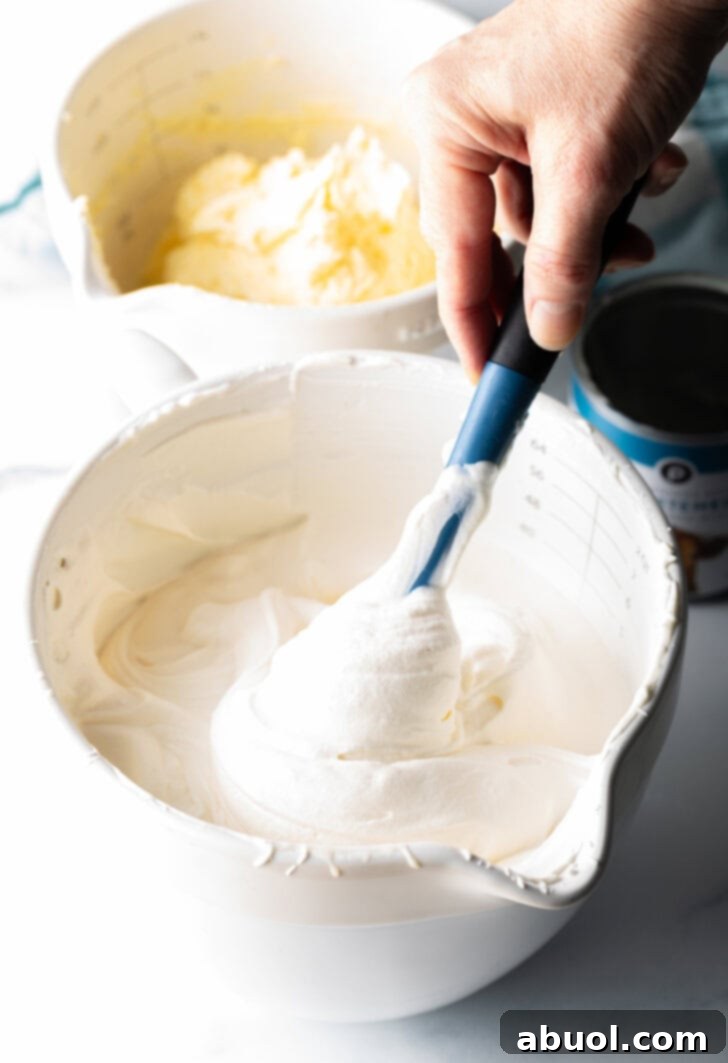
- Whip the Cream: In the second, larger mixing bowl, pour in the remaining 2 ½ cups of cold heavy cream. Add the pure vanilla extract and the pinch of salt. Using your hand mixer, beat the cream on high speed. Continue beating until the whipped cream forms firm, stiff peaks. This means when you lift the beaters, the cream should hold its shape and not collapse. Be careful not to overbeat, or it will turn grainy.
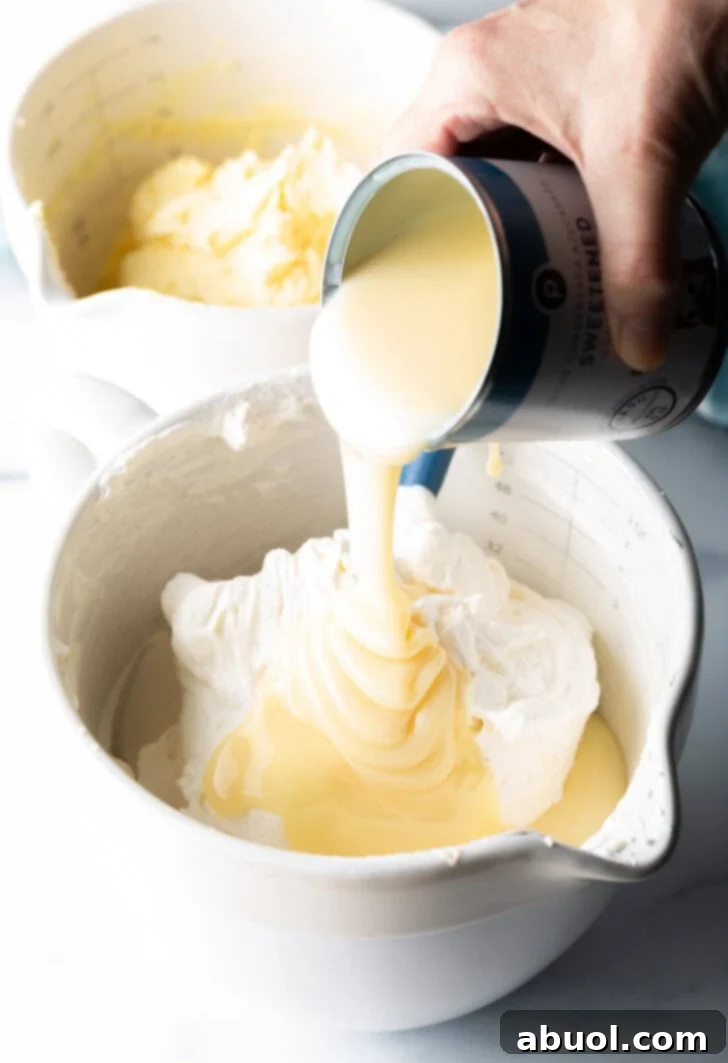
- Incorporate Sweetened Condensed Milk: Gently pour the can of sweetened condensed milk into the bowl with the whipped cream. Using a rubber spatula, carefully fold the condensed milk into the whipped cream until just combined. The key here is to be very gentle to avoid deflating the airy whipped cream, as this air is crucial for the light, creamy texture of your no-churn ice cream.
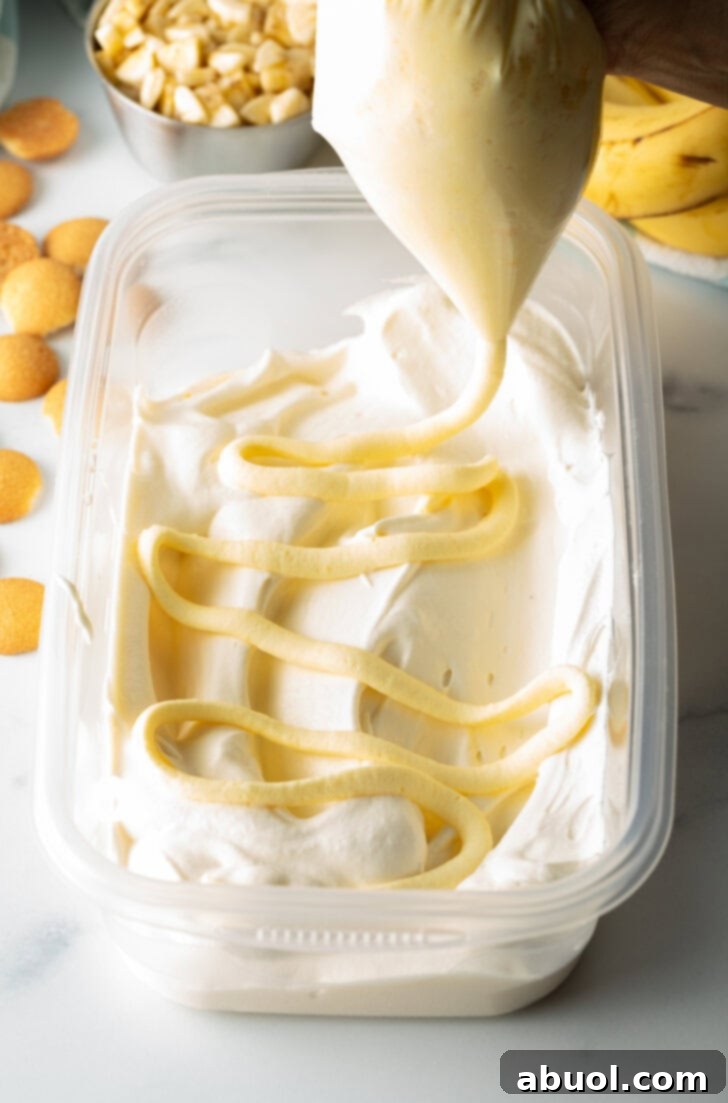
- Layer the Flavors: Grab a 3-4 quart freezer-safe storage container (a loaf pan, a plastic container with a lid, or a dedicated ice cream tub all work well). For easier layering, you can scoop the thick banana pudding mixture into a large freezer bag and snip off one corner to create a makeshift piping bag.
- First Layer: Scoop approximately one-third of the vanilla ice cream mixture (the whipped cream and condensed milk blend) into the bottom of your container. Gently spread it into an even layer.
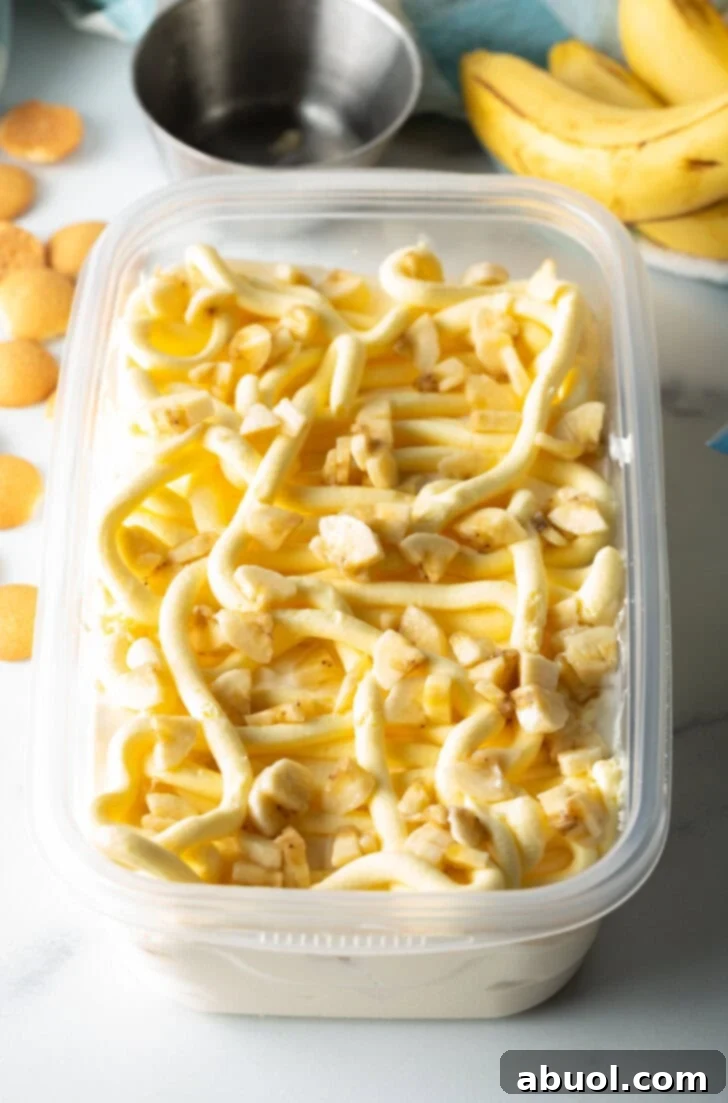
- Pudding and Toppings: Pipe or dollop half of the banana pudding mixture evenly over the surface of the ice cream layer. Then, generously sprinkle with half of your vanilla wafers and half of the diced fresh banana chunks.
- Second Layer: Carefully scoop another one-third of the ice cream mixture over the banana, pudding, and wafer layer. Gently tap the container a few times on your counter to help settle the mixture and fill in any small gaps. Repeat the pudding and topping process: pipe the remaining banana pudding mixture, then sprinkle with the remaining vanilla wafers and banana chunks.
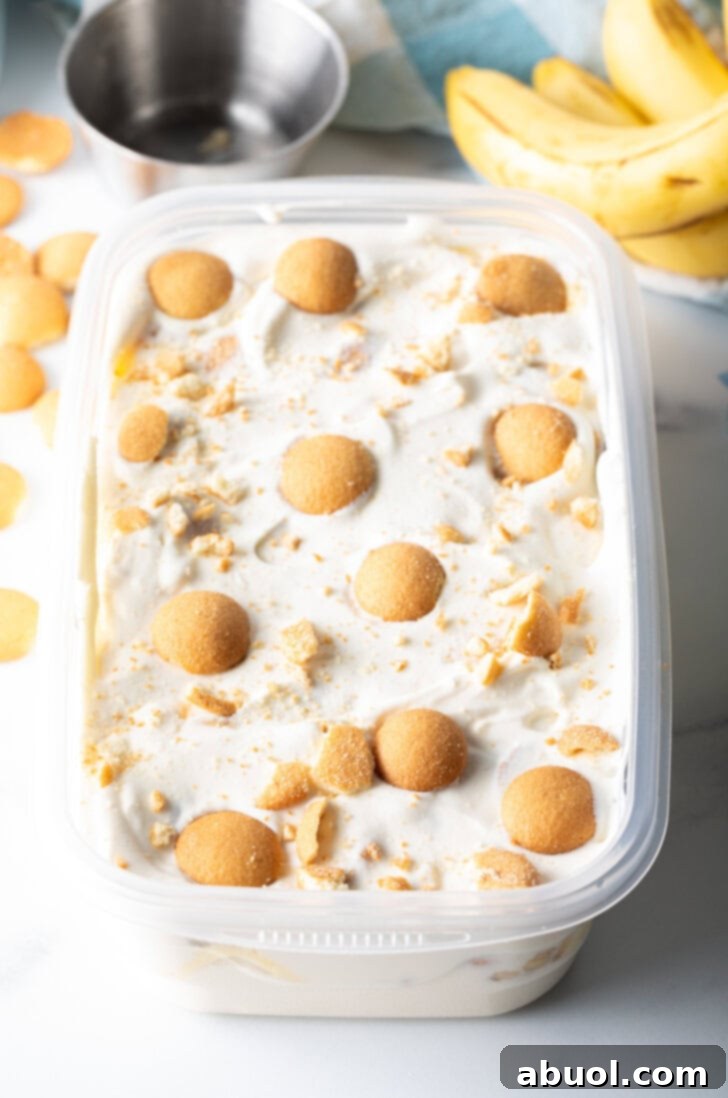
- Final Touches: Add the final one-third of the ice cream mixture over the top, smoothing it out. Give the container another gentle tap. If you like, arrange a few extra vanilla wafer cookies on the very top for a beautiful presentation and added crunch.
- Freeze to Perfection: Cover the container tightly with a lid or plastic wrap, ensuring no air can get in (this helps prevent ice crystals). Place it in the freezer for at least 4 hours, or preferably overnight, to allow the ice cream to firm up completely and for the flavors to meld beautifully.
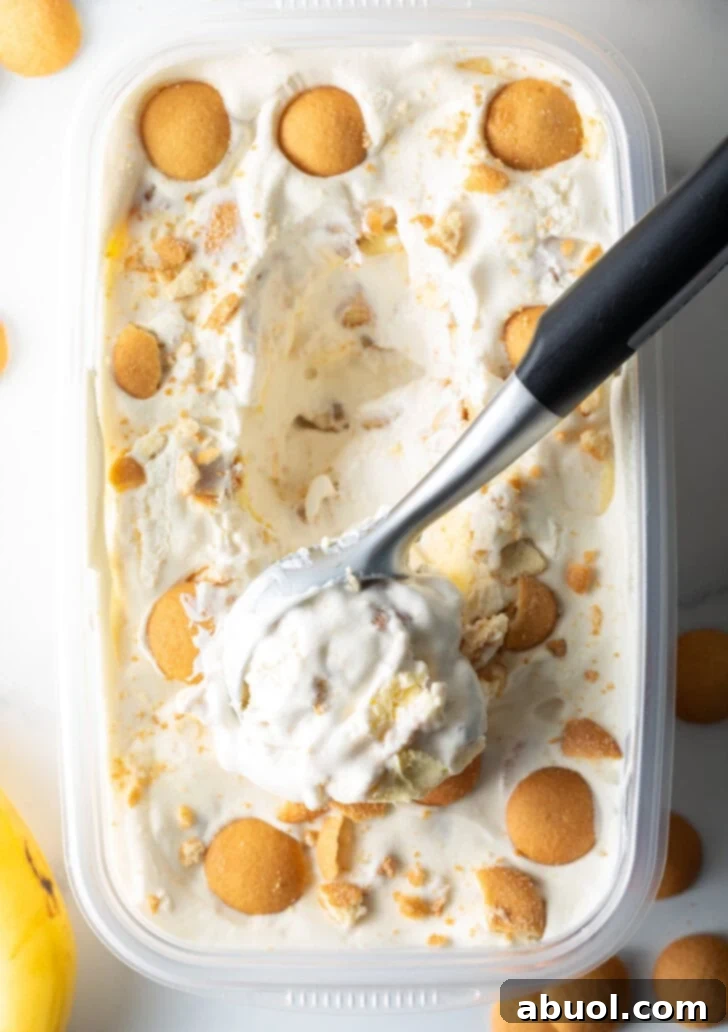
- Serve and Enjoy: When you’re ready to indulge, remove the container from the freezer and let it sit on your kitchen counter for a few minutes (typically 5-10 minutes). This allows the banana pudding ice cream to soften just enough to become perfectly scoopable, revealing all those delightful layers.
Creative Variations to Customize Your Treat
While this Banana Pudding Ice Cream is phenomenal as-is, it’s also wonderfully adaptable! Feel free to get creative and tailor it to your dietary needs or flavor preferences. Here are a few popular variations:
- Gluten-Free Delight: For those with gluten sensitivities, simply swap out the standard vanilla wafers for your favorite gluten-free alternative. Many brands now offer delicious GF vanilla-flavored cookies that will work perfectly in this recipe. Ensure your instant pudding mix is also certified gluten-free.
- Adjusting Batch Size: This recipe, as written, yields a generous 3 quarts of ice cream, which is approximately 24 servings—perfect for a crowd or to stock your freezer. If you’re looking to make a smaller batch, most recipe cards offer an adjustable serving bar (though for this static HTML, you’ll need to manually halve or quarter the ingredients). Remember to adjust all ingredients proportionally to maintain the perfect balance of flavor and texture.
- Using an Ice Cream Maker: If you prefer the traditional churned method, you can certainly use your ice cream machine! While this no-churn recipe is designed for ease, a classic ice cream base often provides a slightly different texture when churned. We recommend starting with a high-quality, tried-and-true vanilla ice cream base recipe (which typically involves eggs and cooking), then folding in the banana pudding mixture, vanilla wafers, and fresh banana chunks during the last few minutes of churning, or layering them in as directed above after churning. Yes, you can technically churn heavy cream and sweetened condensed milk, but a traditional custard base will yield a denser, often richer result in a machine.
- Semi-Homemade with Store-Bought Ice Cream: Short on time or looking for an even quicker shortcut? You can create a fantastic semi-homemade version! Purchase a container of your favorite high-quality vanilla ice cream. Allow it to soften on the counter until it’s easily stirrable but not melted. Then, spread a layer of the softened ice cream into your freezer-safe container, layer with the banana pudding mixture (prepared separately as in step 1), vanilla wafers, and fresh banana chunks. Repeat the layers and freeze until firm. It’s a delicious way to enjoy the flavors with minimal effort!
- Additional Mix-ins: Don’t limit yourself to just wafers and bananas! Consider adding a drizzle of caramel or butterscotch swirl, a sprinkle of toasted pecans or walnuts, or even a few mini chocolate chips for an extra layer of flavor and texture.
Elevate Your Experience: Perfect Serving Suggestions
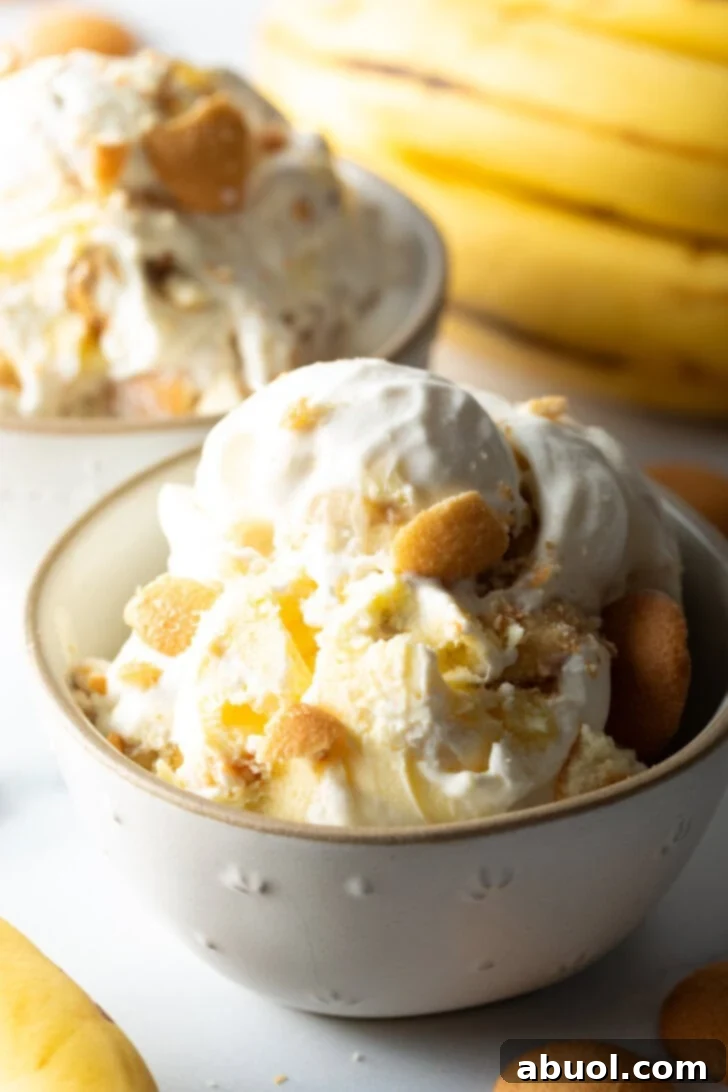
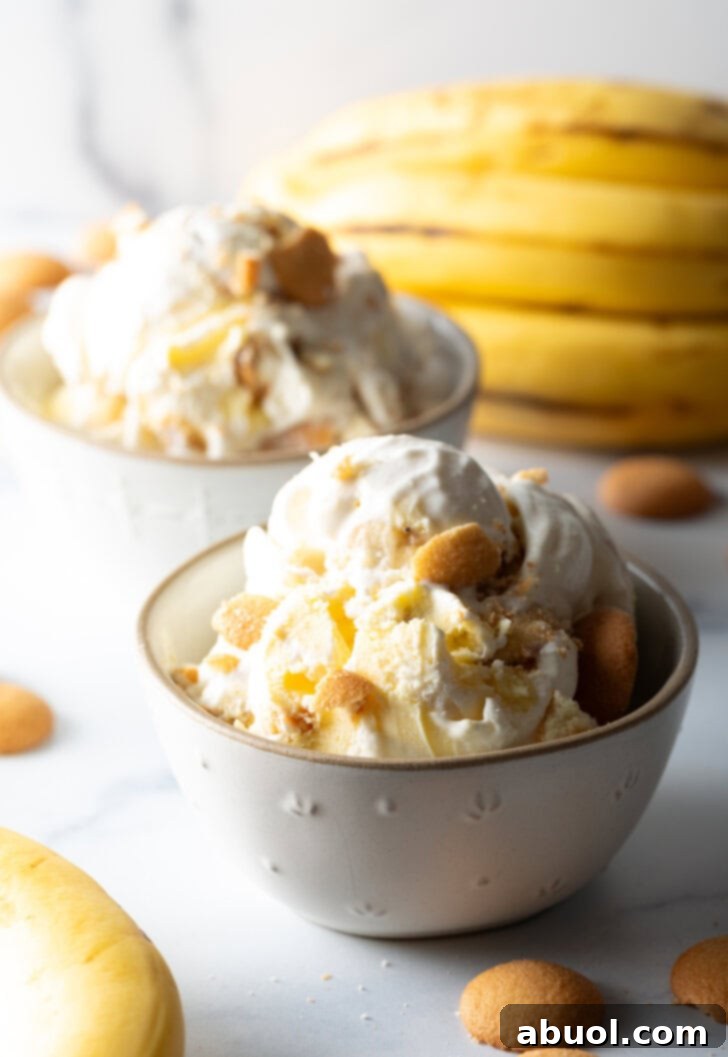
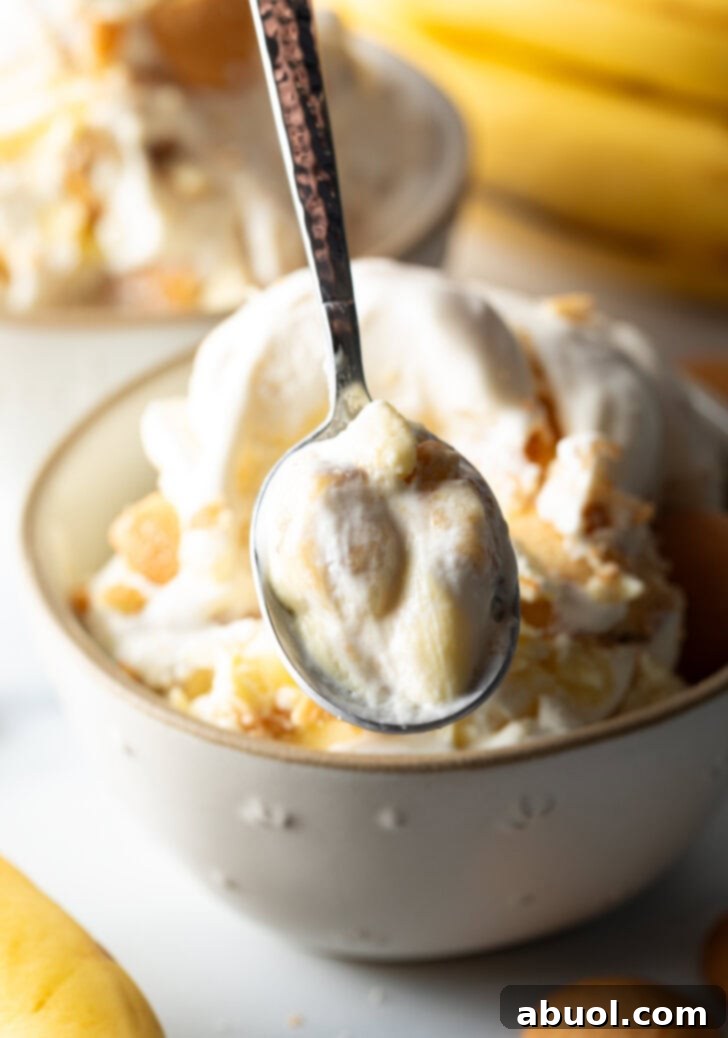
This Banana Pudding Ice Cream is already a complete dessert in itself, bursting with all the wonderful flavors and textures of its namesake. It comes loaded with creamy pudding swirls, tender banana chunks, and delightful vanilla wafer crumbles. So, technically, it doesn’t *really* need anything extra. However, if you’re like us and believe there’s always room for a little more decadence, here are some ideas to make your serving truly special:
- Classic Embellishments: For a simple yet effective upgrade, add a few more crushed vanilla wafers, a fresh slice or two of banana, and a generous dollop of freshly whipped cream. These classic additions enhance the familiar flavors and textures without overpowering the main event.
- Decadent Drizzles: Feeling “extra EXTRA”? Take your serving to the next level with a luscious drizzle. A warm salted caramel sauce or a rich butterscotch ice cream topping complements the banana beautifully. A chocolate ganache or a simple chocolate syrup could also provide a delightful contrast.
- Traditional Sundae Toppings: Unleash your inner sundae artist! This ice cream makes a fantastic base for all your favorite traditional toppings. Think colorful sprinkles, more chocolate syrup, a scattering of chopped nuts (like pecans or walnuts), and of course, a bright red cherry on top.
- Creative Presentation: Serve your banana pudding ice cream in elegant glass parfait dishes to showcase the beautiful layers. For a more casual feel, scoop it into waffle cones or bowls. It can also be paired with a warm slice of pound cake or a delicate shortbread cookie for an ultimate dessert experience.
Frequently Asked Questions About Banana Pudding Ice Cream
We’ve gathered some common questions you might have about making and enjoying this delightful no-churn banana pudding ice cream. Read on for helpful tips and insights!
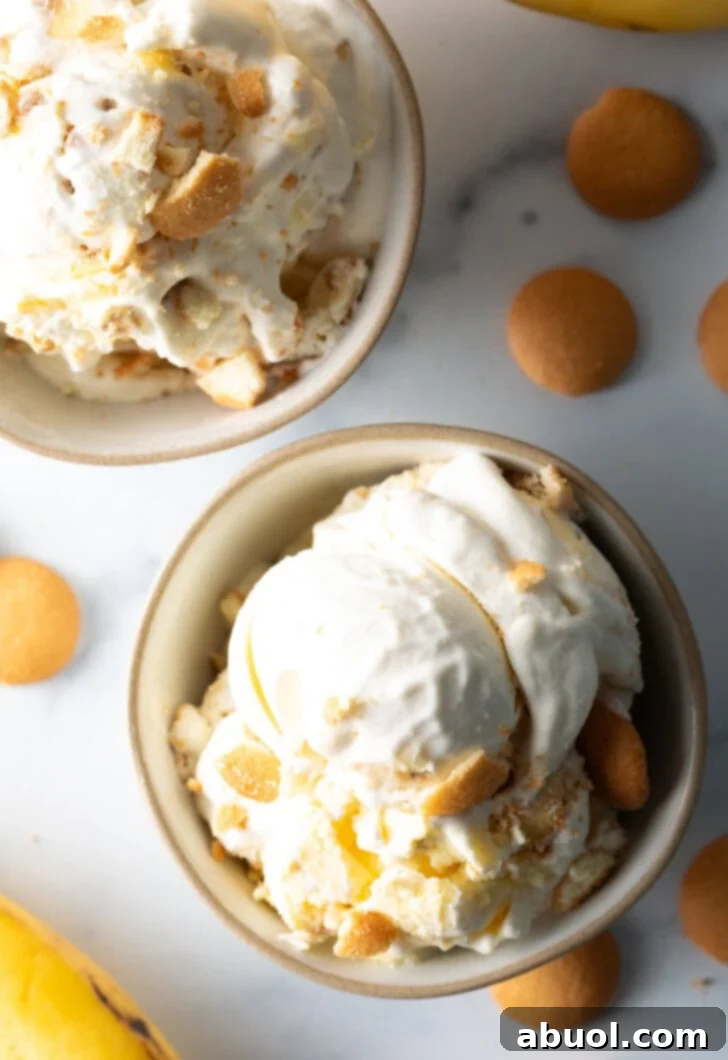
Honestly, it tastes like the most incredible, frozen version of classic Southern banana pudding! Imagine the rich, creamy texture of premium homemade ice cream infused with the unmistakable sweet and comforting flavor of banana pudding. You get delightful pockets of soft, fresh banana and satisfying crunches from the vanilla wafers in every spoonful. It’s ultra-rich, incredibly creamy, and perfectly balanced in sweetness.
While frozen bananas are fantastic for smoothies or “nice cream,” for this specific recipe, we strongly recommend sticking to fresh bananas. Frozen bananas tend to be overly ripe and can change the texture of the chunks in the ice cream, potentially making them too soft or icy. Using ripe but still firm fresh bananas ensures the best taste and a pleasant, chewy texture within your frozen dessert.
When stored properly in an airtight container, your homemade banana pudding ice cream will maintain its best quality in the freezer for up to 2-3 weeks. Beyond that, while it will still be safe to eat, you might notice a slight degradation in texture or flavor. To prevent freezer burn and keep it tasting fresh, press a piece of plastic wrap directly onto the surface of the ice cream before securing the lid.
The sweetened condensed milk is key to preventing ice crystals, as its sugar content interferes with the formation of large ice crystals. To further ensure a smooth texture, be sure to gently fold the condensed milk into the whipped cream without deflating it too much, as the air also contributes to a soft texture. Additionally, storing the ice cream in a truly airtight container is crucial to keep moisture out and prevent freezer burn, which can lead to iciness.
This recipe is designed to be perfectly sweet, mirroring the richness of classic banana pudding. However, if you prefer it less sweet, you could try using a sugar-free instant banana pudding mix, though this might slightly alter the texture. Reducing the amount of sweetened condensed milk is not recommended as it’s vital for the no-churn consistency. For a sweeter treat, you can always add more toppings like caramel sauce or extra vanilla wafers upon serving.
Discover More Delicious Homemade Ice Cream Recipes
If you’ve fallen in love with the ease and deliciousness of homemade ice cream, we have plenty more frozen treats for you to explore! From fruity delights to unique global flavors, there’s an ice cream adventure waiting for everyone. Be sure to try these other fantastic recipes:
- Blueberry Pie Ice Cream
- Blackberry Ice Cream with Anise
- Bubble Gum Ice Cream
- Indian Ice Cream (Kulfi)
- Chocolate Dipped Ice Cream Cones
- No-Churn Mocha Mint Vegan Nice Cream
- Lavender Dark Chocolate Chip Ice Cream
- 4-Ingredient Avocado Ice Cream (Vegan)
Banana Pudding Ice Cream (No-Churn!)
Prep Time: 20 minutes
Total Time: 20 minutes (plus freezing time)
Homemade Banana Pudding Ice Cream is a delicious frozen summer treat inspired by the classic southern dessert, transformed into an easy no-churn banana ice cream recipe!
Yields: 24 servings (approx. 3 quarts)
Ingredients
- 4 cups heavy cream
- 3.4 oz box instant banana pudding mix (or banana cream)
- 14 oz can sweetened condensed milk
- 2 teaspoons pure vanilla extract
- ¼ teaspoon salt
- 1 cup mini vanilla wafers (or large crushed wafers)
- 1 cup ripe banana, diced (not overly ripe)
Instructions
- Set out two medium mixing bowls. In one bowl, combine the instant banana pudding mix with 1 ½ cups of heavy cream. Beat with a hand mixer until thick and smooth.
- In the second bowl, add the remaining 2 ½ cups of heavy cream, vanilla extract, and salt. Beat on high until the whipped cream forms firm peaks.
- Pour the sweetened condensed milk into the whipped cream and gently fold until it is well combined. Try not to deflate the whipped cream.
- Set out a 3-4 quart freezer-safe storage container. Scoop the thick pudding mixture into a freezer bag and cut one corner off to create a makeshift piping bag (optional, for easier layering).
- Scoop 1/3 of the ice cream mixture into the storage container and smooth into an even layer. Pipe or dollop half of the pudding mixture over the surface of the ice cream mixture. Sprinkle with half of the vanilla wafers and half of the banana chunks.
- Scoop another 1/3 of the ice cream mixture over the top of the bananas. Gently tap the container to fill in any gaps. Then repeat piping the banana pudding and topping with vanilla wafers and banana chunks.
- Finally, add the remaining 1/3 of the ice cream mixture over the top and gently tap the container to fill in the gaps. Add a few extra vanilla wafer cookies on top if desired for presentation.
- Cover the container tightly and freeze for at least 4 hours, or until firm, before serving.
Notes
Keep the ice cream in an airtight container in the freezer for up to 2-3 weeks. When ready to serve, set the container on the counter for several minutes to allow it to soften slightly and become perfectly scoopable.
Nutrition
Serving: 4oz, Calories: 227kcal, Carbohydrates: 19g, Protein: 3g, Fat: 16g, Saturated Fat: 10g, Polyunsaturated Fat: 1g, Monounsaturated Fat: 4g, Trans Fat: 0.01g, Cholesterol: 47mg, Sodium: 130mg, Potassium: 65mg, Fiber: 0.2g, Sugar: 16g, Vitamin A: 628IU, Vitamin C: 1mg, Calcium: 68mg, Iron: 0.1mg
Course: Dessert
Cuisine: American, Southern
Author: Sommer Collier