
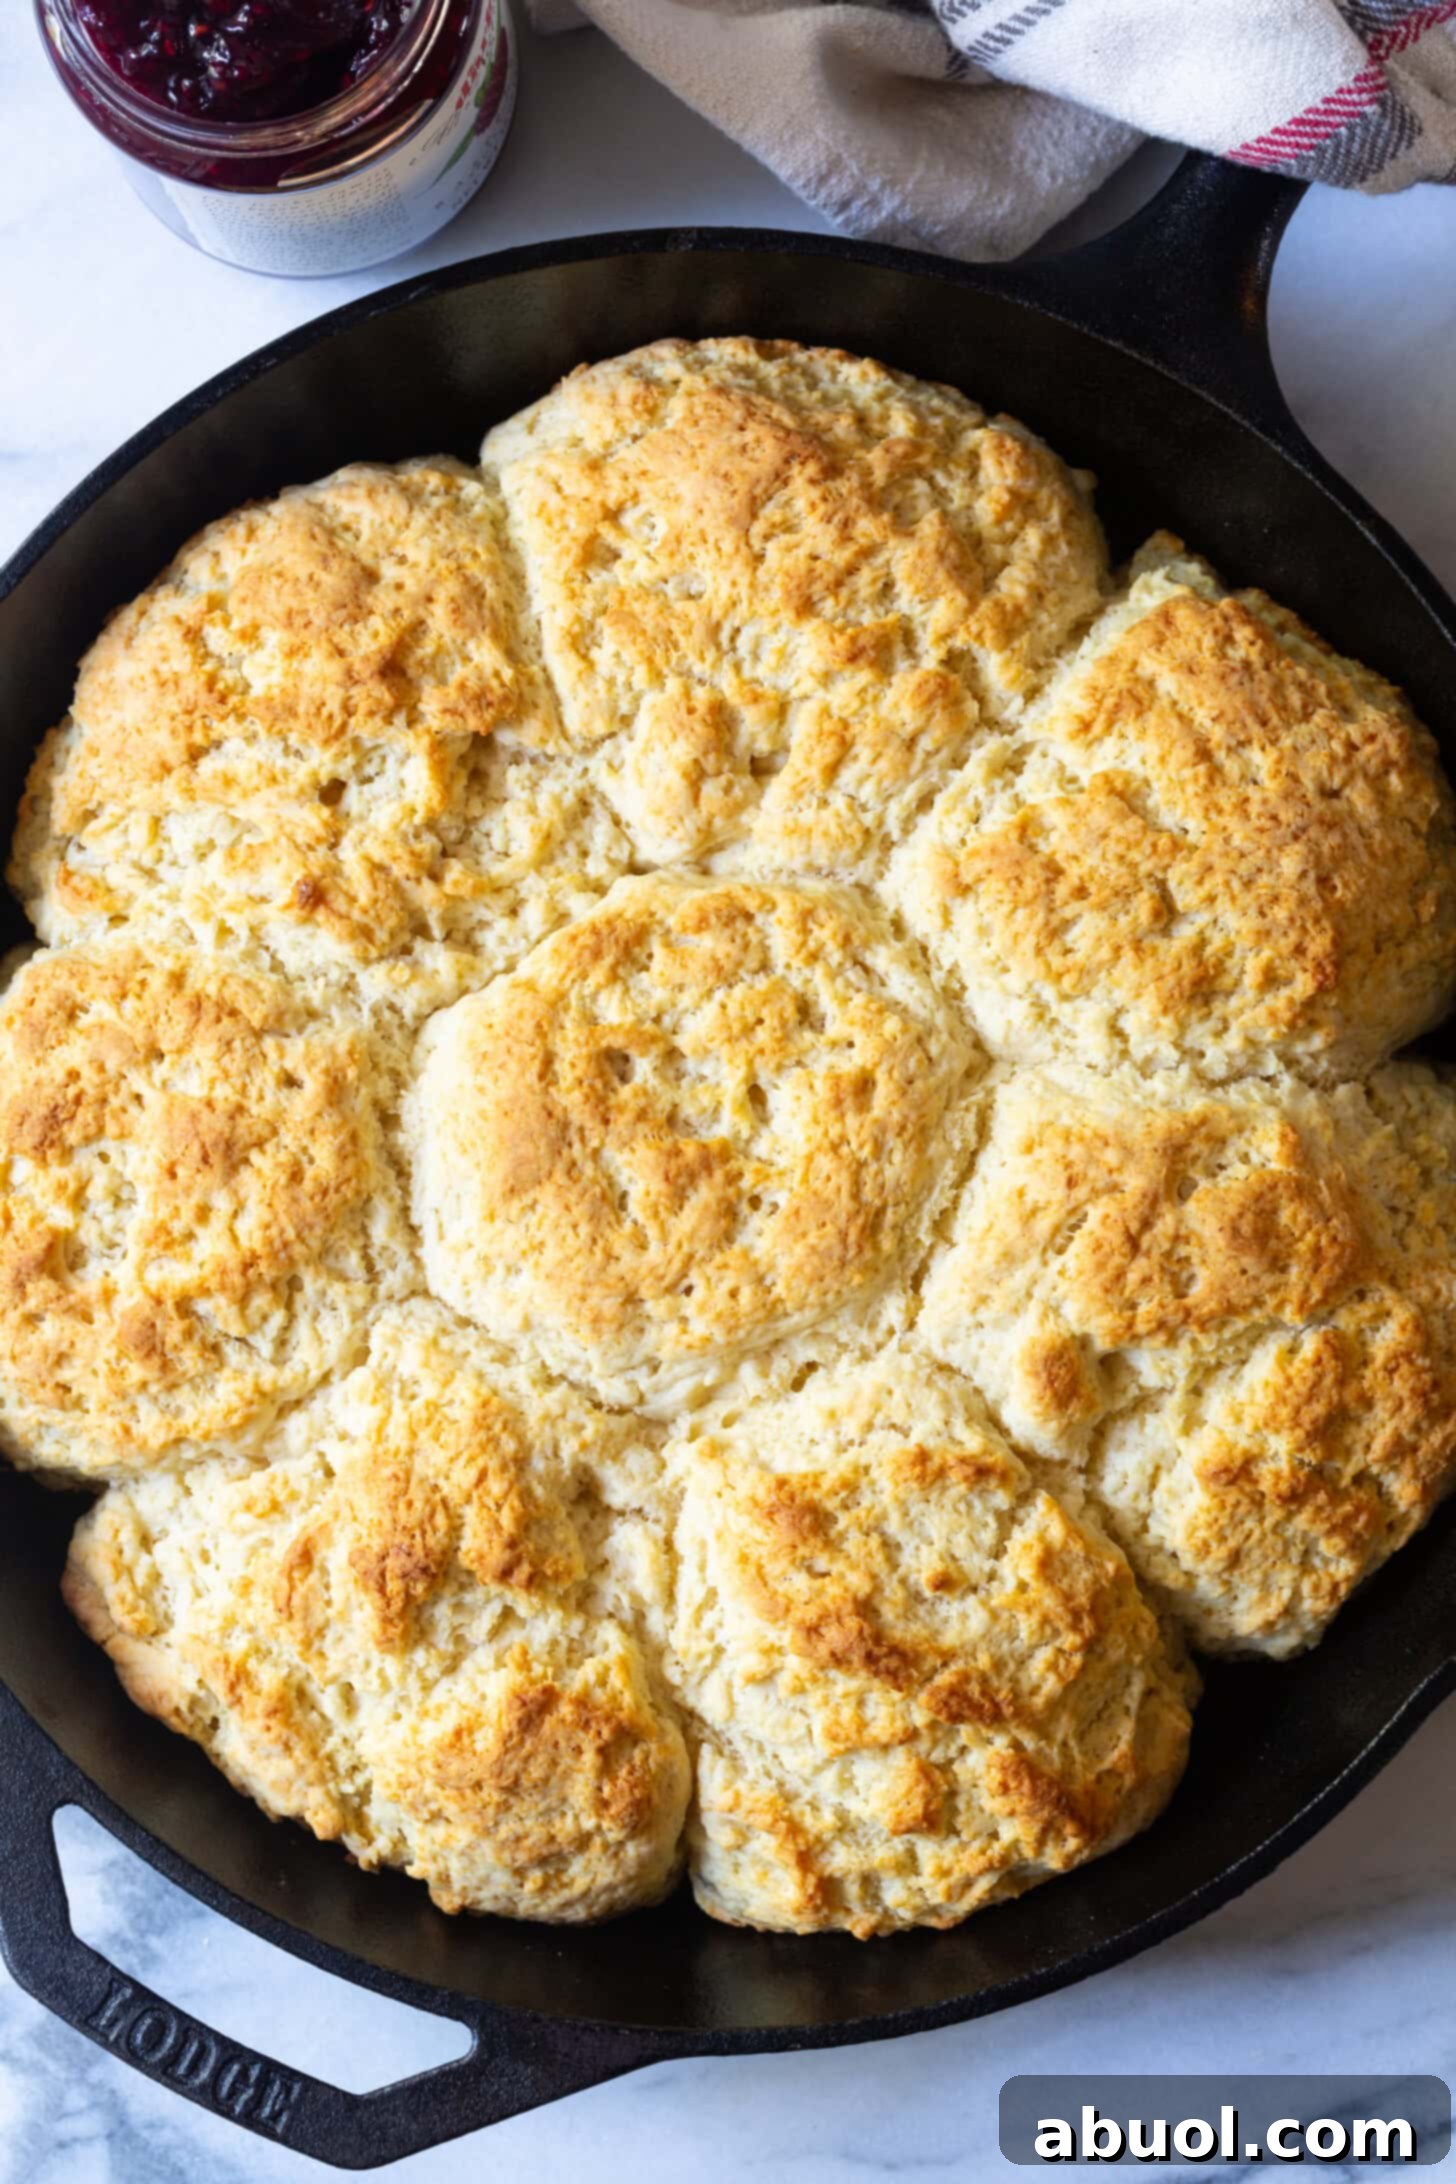
Fluffy Southern Cat Head Biscuits Recipe – Immerse yourself in the timeless tradition of Southern baking with these truly magnificent cat head biscuits. Discover the secret to creating the biggest, softest, and most unbelievably delicious biscuits, boasting golden, buttery tops and a perfect texture that’s flaky on the outside and wonderfully pillowy within. Get ready to bake a batch of comfort that will captivate your senses and elevate any meal.
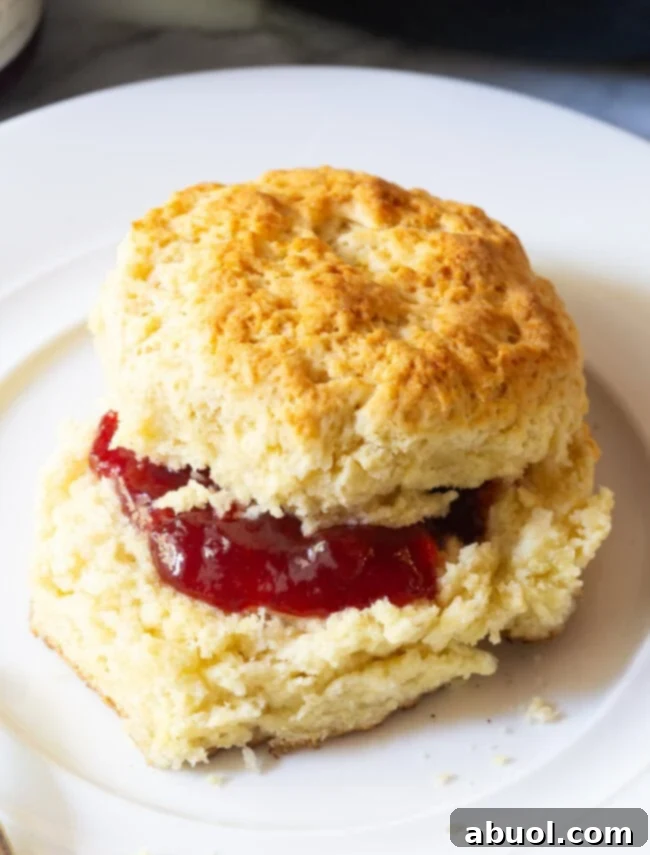
Why Southern Cat Head Biscuits are a Culinary Revelation
When it comes to biscuits, there’s a world of difference between merely good and truly extraordinary. We’re talking about those jaw-dropping, mind-blowing, knee-buckling, eyes-roll-back-in-your-head kind of biscuits that can only come from a cherished scratch-made recipe. While the convenience of a canned variety has its place on a busy morning, it simply cannot compare to the unparalleled joy and flavor of a buttery, homemade biscuit, pulled fresh and steaming from the oven.
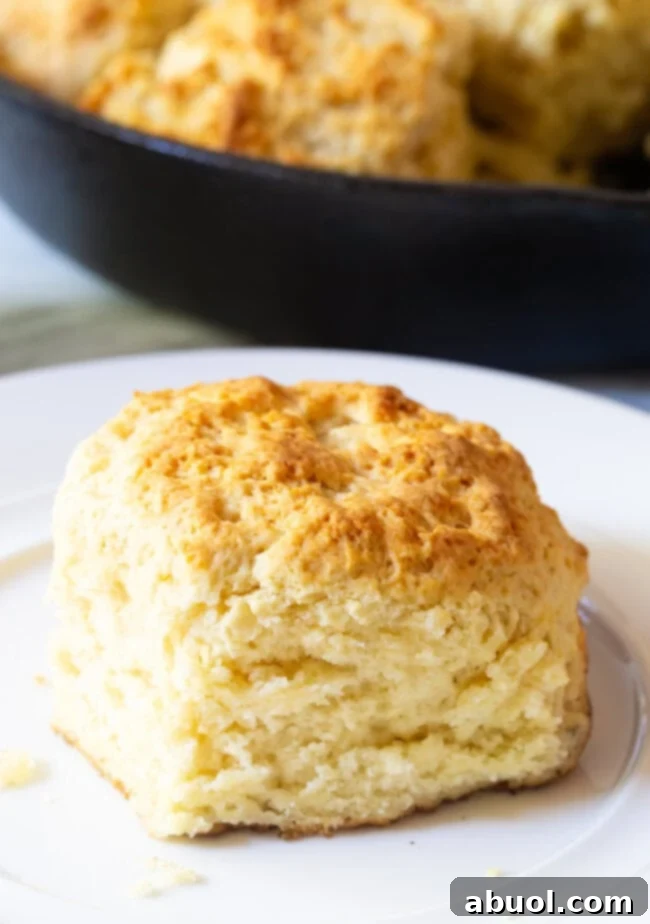
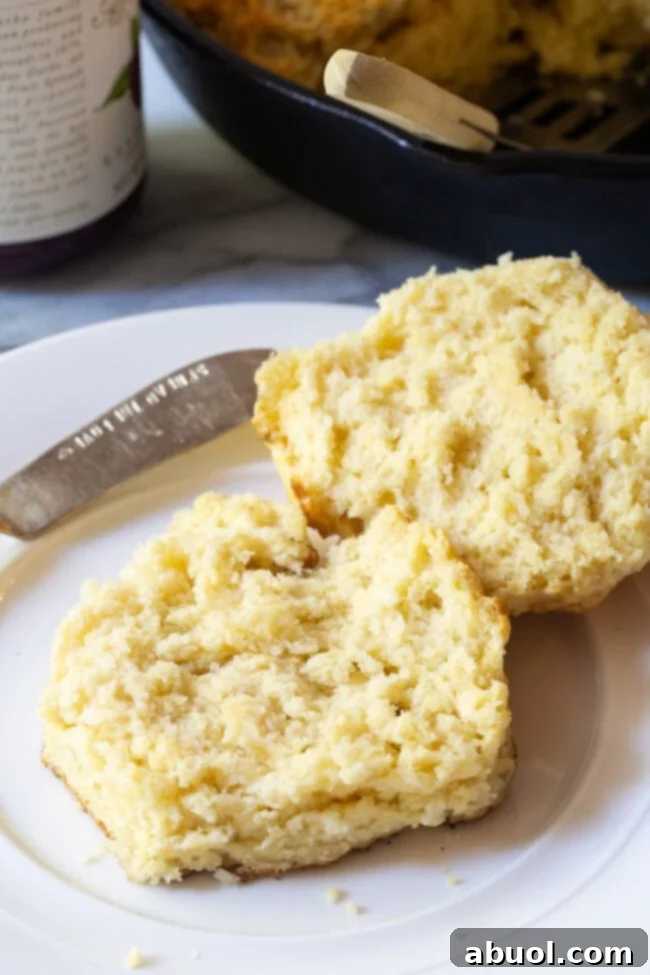
Through countless batches of trial and error, a fundamental truth emerged: creating light, airy, and truly fluffy biscuits requires a delicate touch and swift execution. It’s an art, really, a dance between ingredients and technique. Our Fluffy Southern Cat Head Biscuits embody this perfection. They possess an exquisitely delicate texture on the inside, offering a melt-in-your-mouth experience, while maintaining a wonderfully crispy and flaky exterior. The subtle, ethereal flavor profile, a harmonious blend of rich butter and wholesome wheat, provides the ideal canvas for an array of delightful toppings. In essence, these are the biscuits that all other biscuits aspire to be – a true testament to Southern culinary excellence and comfort food at its absolute finest.
The Amusing Origin of the Name: Cathead Biscuits Explained
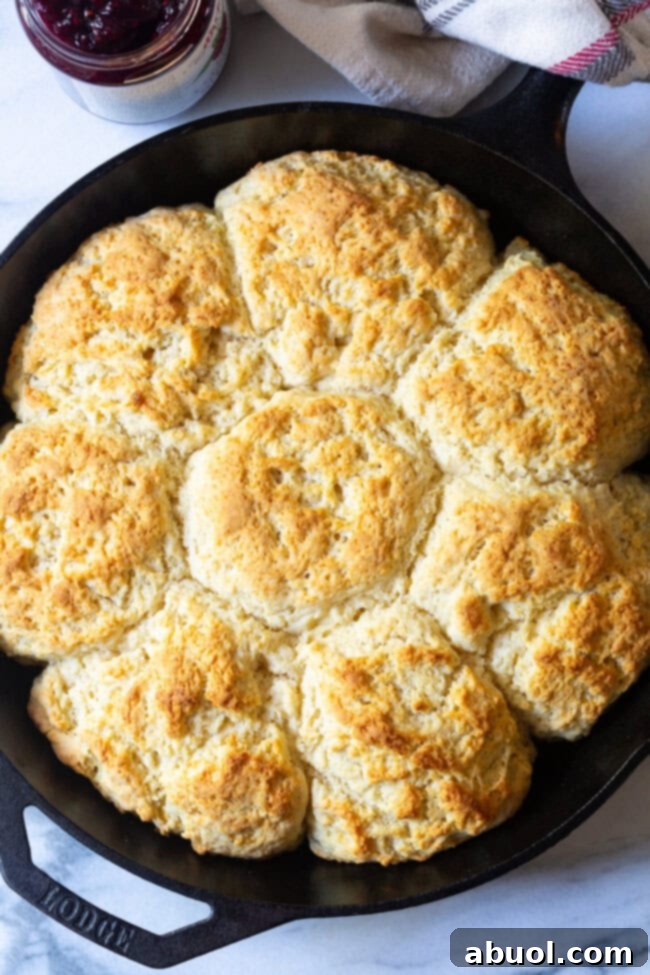
The name “cathead biscuits” often sparks curiosity, and the answer, especially in the South, is delightfully straightforward: it’s all about their impressive size! These biscuits are famously substantial, roughly the dimensions of a cat’s head. “Meow,” indeed! While the name might seem quirky or even a bit unusual at first glance, the association quickly fades once you experience the sheer perfection of these ridiculously enormous biscuits. In the realm of Southern baking, a scrawny biscuit simply won’t do. When it comes to traditional biscuit recipes, the bigger, the better – and Cat Head Biscuits deliver on that promise with every fluffy, generously portioned bite.
This name isn’t just a whimsical label; it’s a nod to a culinary philosophy deeply ingrained in Southern culture. Here, food is often about abundance, generosity, and hearty satisfaction. A “cathead” isn’t merely a biscuit; it’s a statement. It promises a truly filling and comforting experience, designed to sustain hardworking individuals or to simply gather families around a bountiful table. These jumbo biscuits offer ample surface area for lashings of butter, dollops of jam, or a generous pour of rich sausage gravy, making them an indispensable staple in any Southern home. Embrace the peculiar name, for it represents a beloved tradition of baking biscuits so grand, they’re practically legendary.
Essential Ingredients for Perfect Cathead Biscuits
Crafting the perfect batch of Southern Cathead Biscuits relies on a precise selection of high-quality ingredients, each playing a vital role in achieving that coveted fluffy texture and rich flavor. Here’s what you’ll need to gather:
- All-Purpose Flour: The foundation of our biscuits. Using all-purpose flour provides the ideal protein content for a tender crumb, while ensuring it’s well-sifted is crucial for a light, lump-free dough.
- Granulated Sugar: Just a hint of sweetness to balance the flavors and aid in achieving that beautiful golden-brown crust, without making the biscuits overly sweet.
- Baking Powder & Baking Soda: These leavening agents are the dynamic duo responsible for the incredible rise and fluffiness. Baking powder provides the initial lift, while baking soda reacts with the buttermilk’s acidity to create additional gas, resulting in super airy biscuits.
- Sea Salt: Or regular fine salt. Essential for enhancing all the other flavors, giving the biscuits a well-rounded and savory depth.
- Cold Butter: This is non-negotiable for flaky biscuits! Cold butter, when mixed into the dough, creates small pockets. As the biscuits bake, these butter pockets release steam, separating the layers of dough and yielding that characteristic flaky texture.
- Butter-Flavored Shortening (Crisco) or Lard: While butter provides flavor, shortening or lard contributes to an incredibly tender crumb. Its higher melting point compared to butter also helps create those distinct layers without spreading too much. Using butter-flavored shortening adds an extra layer of richness.
- Buttermilk: The star liquid ingredient. Buttermilk not only provides a distinct tangy flavor that is classic in Southern biscuits but also reacts with the baking soda, contributing to the biscuits’ impressive rise and moist interior. If you don’t have buttermilk, you can easily make your own by adding a tablespoon of lemon juice or white vinegar to regular milk and letting it sit for 5-10 minutes.
Gathering these ingredients and ensuring they are properly chilled (especially the fats and buttermilk) sets the stage for a truly exceptional biscuit-making experience.
Crafting Authentic Southern Cathead Biscuits: A Step-by-Step Guide
Making these glorious Fluffy Southern Cathead Biscuits is a rewarding process that, with a few key techniques, yields truly impressive results. Follow these steps for biscuit perfection:
- Prepare Your Baking Environment: Begin by preheating your oven to a robust 450 degrees F (232 degrees C). A hot oven is critical for biscuits to rise quickly and develop a beautiful crust. Thoroughly grease a 12-inch deep-dish cast iron skillet. Cast iron is preferred for its even heat distribution and ability to create a wonderfully crisp bottom crust, while the deep dish provides essential support for the biscuits to rise tall. Set the prepared skillet aside.
- Combine Dry Ingredients: The accuracy of your dry ingredients is paramount. First, sift your all-purpose flour. This step aerates the flour, prevents lumps, and contributes to a lighter biscuit texture. Once sifted, gently scoop the flour into your measuring cups and level it off to ensure an accurate amount (avoid packing it down). Transfer the measured flour, granulated sugar, baking powder, baking soda, and sea salt into a food processor. Pulse a few times, just enough to thoroughly combine these dry ingredients. This ensures uniform distribution of the leavening agents.
- Incorporate the Fats: Now, it’s time to add the cold fats. Introduce the cold butter-flavored shortening and 1/4 cup of your cold butter (cubed for easier blending) to the dry mixture in the food processor. Pulse the mixture in short bursts. The goal here is to cut the fat into the flour until it resembles coarse pebbles or small peas. Avoid over-processing; you want visible pieces of fat, as these are what create those wonderful flaky layers during baking.
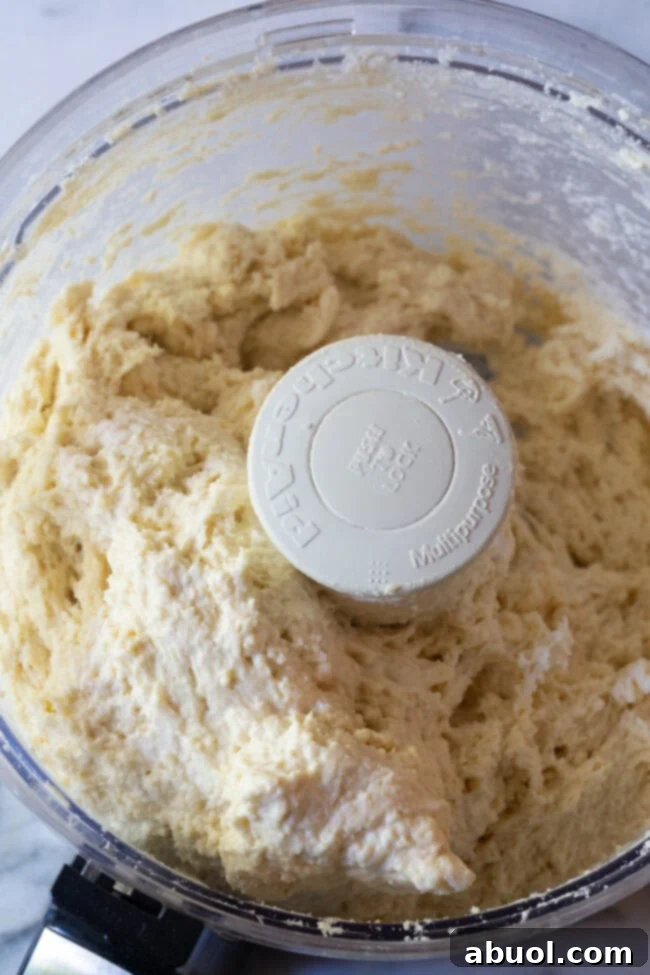
- Add the Buttermilk: With the fat properly incorporated, begin adding the cold buttermilk to the food processor. Continue to pulse the mixture in short bursts, just until the dough comes together. The dough should look moist and evenly combined, but avoid processing it until it forms a smooth, cohesive ball. Overmixing at this stage can develop the gluten too much, leading to tough biscuits. Stop immediately once the wet and dry ingredients are just incorporated.
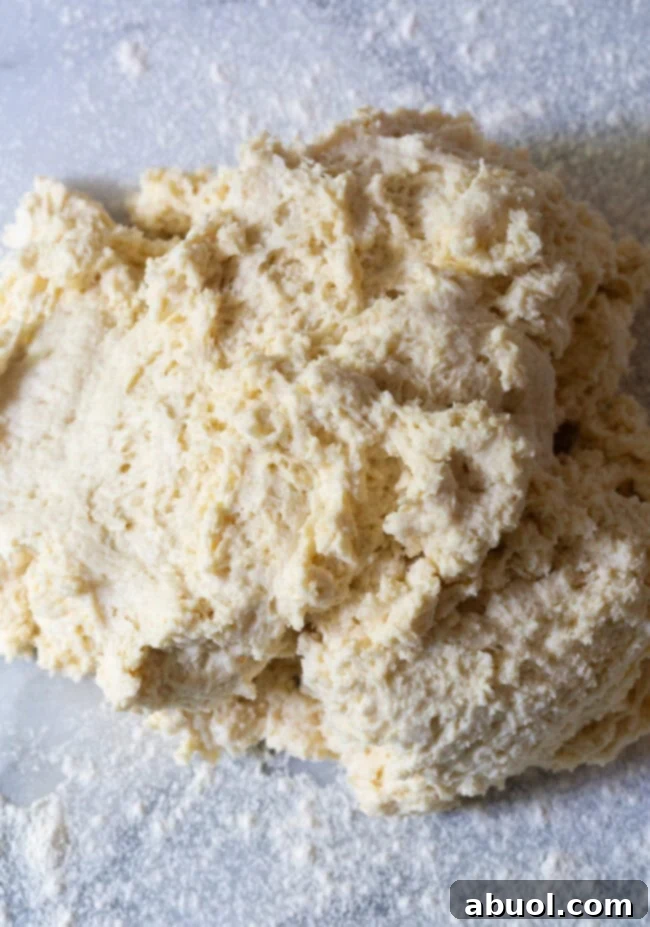
- Shape the Dough: Gently dump the slightly wet dough onto a lightly floured work surface. With floured hands, carefully press and pat the dough flat. Work quickly and with a light touch, forming it into an even disk, approximately 2 inches thick. The key here is minimal handling to prevent the butter from melting and gluten from over-developing.
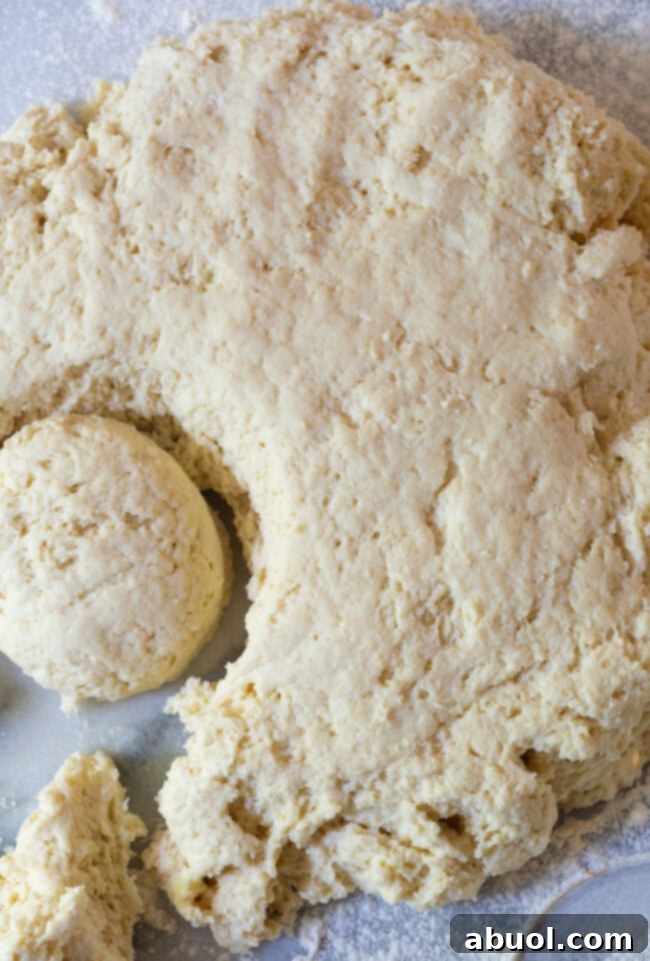
- Cut the Biscuits: Using a drinking glass or a 3-inch biscuit cutter, cut out 8 generous biscuits. When cutting, press straight down without twisting the cutter. Twisting can seal the edges of the biscuits, inhibiting their rise. If necessary, you can typically cut out 7 biscuits initially, then gently gather the remaining dough scraps, press them together (again, minimally), and cut out the final biscuit.
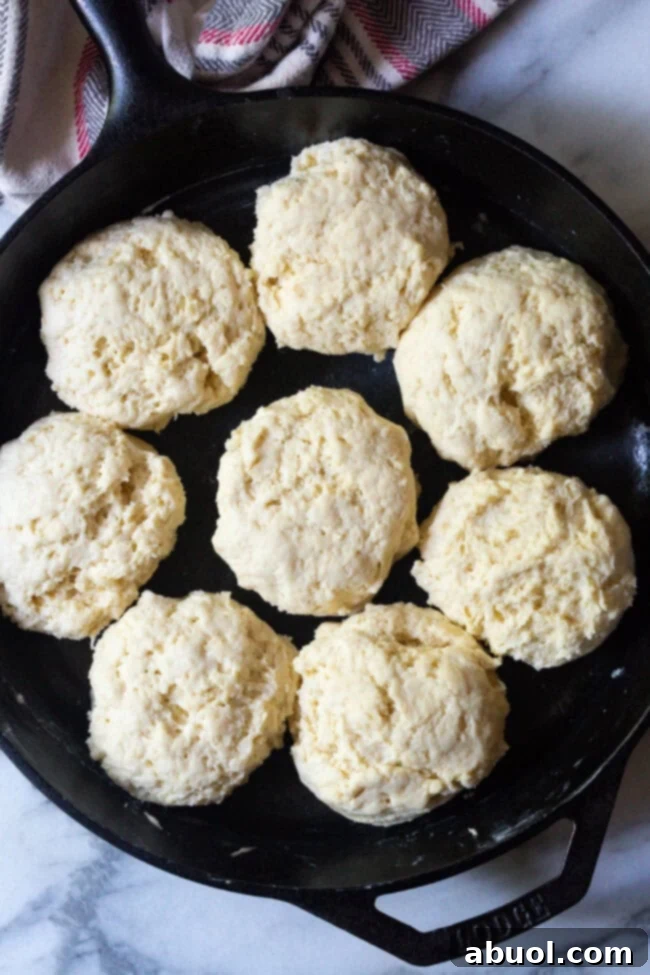
- Arrange and Prepare for Baking: Carefully transfer the cut biscuits into your greased cast iron skillet. They should be placed relatively close together, as this mutual support encourages them to rise upwards rather than spreading out. Once arranged, brush the tops of the biscuits generously with the remaining 1/4 cup of melted butter. This adds flavor, richness, and contributes to their golden-brown finish. Immediately place the skillet into the preheated oven.
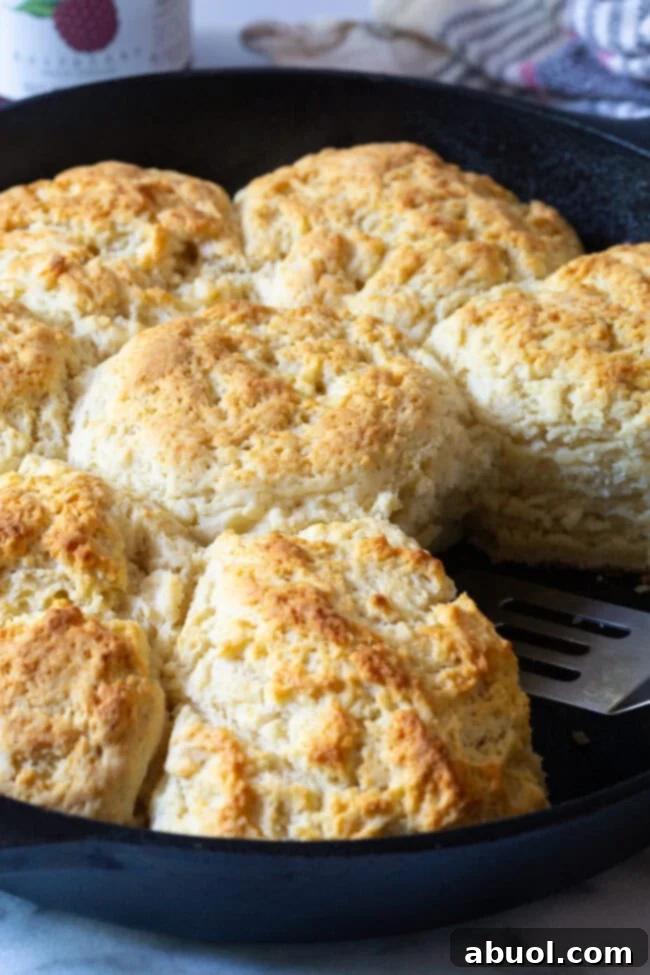
- Bake to Golden Perfection: Bake the biscuits in the center of the oven for approximately 30-35 minutes. Keep an eye on them; they are ready when their tops are a beautiful golden brown, and they have risen at least 1 inch above the top of the skillet. If needed, adjust oven racks beforehand to ensure there’s ample room for their magnificent growth! The intense heat allows the butter to rapidly create steam, puffing up the biscuits to their full, fluffy potential.
- Serve and Enjoy: Once baked, remove the skillet from the oven. Allow them to cool for just a minute or two. Use a spatula or knife to gently separate the biscuits before lifting them out of the pan. Serve them warm, and prepare for a truly unforgettable Southern experience!
Expert Tips & Tricks for Unforgettable Biscuits
Achieving biscuit perfection, especially with these majestic Cat Head Biscuits, often comes down to mastering a few fundamental principles. Here are our top tips and tricks to ensure every batch is nothing short of spectacular:
- The Golden Rule of Cold Ingredients and Speed: The very best Fluffy Southern Cat Head Biscuits owe their incredible texture and flavor to a combination of factors: the dough being perfectly cold when it enters the oven, minimal handling, and well-sifted flour. Always use cold buttermilk, cold butter, and cold shortening. This isn’t just a suggestion; it’s a secret weapon! Cold fats create steam pockets in the oven, which puff up the layers and make the biscuits incredibly flaky. Work quickly when mixing and cutting the dough to keep these precious fats from warming up. If you feel the dough getting too warm, don’t hesitate to place it (covered) in the refrigerator for 15-20 minutes before baking.
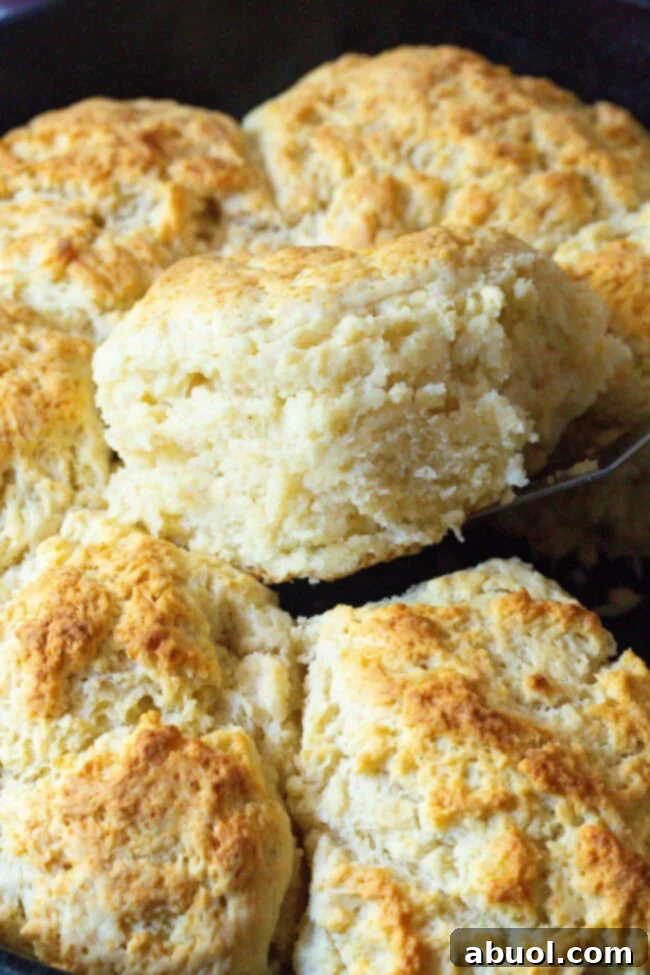
- The Magic of Cold Dough in a Hot Oven: When cold dough meets a hot oven, a beautiful transformation occurs. The exterior of the biscuit rapidly forms a crust while the interior remains cool. This outer crust acts as a structural support, forcing the dough to rise dramatically upwards, rather than spreading outwards. This is the ultimate secret to achieving those towering, sky-high biscuits that are the hallmark of true Cat Head Biscuits. Cold dough, handled gently and not over-worked, is the undisputed key to making the best biscuits you’ve ever tasted!
- The Power of the Deep Skillet: Baking this Fluffy Cat Head Biscuit recipe in a deep cast iron skillet serves two crucial purposes. First, the high sides of the skillet provide essential physical support, encouraging the biscuits to rise to truly ethereal heights. This mutual support prevents them from collapsing or spreading excessively. Second, the biscuits along the outer edge of the pan develop a wonderfully crispy crust, while those nestled in the center remain incredibly soft and feathery. This brilliant technique offers the best of both worlds: a delightful crunch and an abundance of tender, melt-in-your-mouth goodness.
- No Twisting When Cutting: When using a biscuit cutter, press straight down through the dough and lift it out. Do not twist the cutter. Twisting seals the edges of the biscuit, which can prevent it from rising as high and hinder the formation of those coveted flaky layers.
- Don’t Overmix: Whether you’re using a food processor or mixing by hand, stop as soon as the ingredients are just combined. Overmixing develops gluten, which leads to tough, chewy biscuits instead of light, tender ones. A slightly shaggy dough is perfectly fine and often preferred.
- Flour Quality Matters: While all-purpose flour works wonderfully, some bakers swear by soft wheat flour (like White Lily brand in the South) for an even more tender crumb. If using self-rising flour, omit the baking powder, baking soda, and salt, but ensure it’s fresh.
Frequently Asked Questions About Cathead Biscuits
Absolutely! You can easily double this recipe to serve a larger crowd or ensure you have plenty of leftovers. For a double batch, we recommend using a larger baking dish, such as a 9×13 inch or 10×15 inch pan. The baking time might need to be adjusted slightly, so keep an eye on the biscuits for that golden-brown color and significant rise. You can also prepare the double batch of dough and refrigerate the cut biscuits overnight, covered tightly with plastic wrap, before baking them fresh in the morning. This is a fantastic make-ahead option for holidays or special brunches.
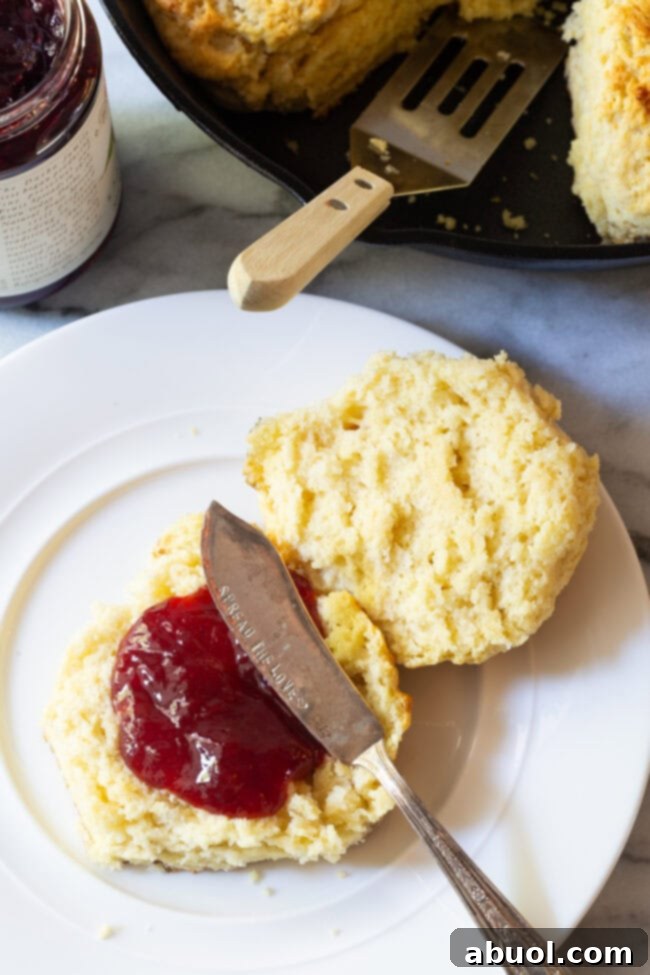
The versatility of these jumbo biscuits means you’ll find yourself making them all the time! They are truly magnificent on their own, simply split open and slathered with softened butter and a drizzle of honey, or your favorite homemade jam. For a truly iconic and hearty Southern breakfast, pair them with rich sausage gravy to create an unforgettable plate of biscuits and gravy. These incredible biscuits also make a phenomenal side dish for a variety of comforting meals. Imagine them alongside a warming bowl of Sausage and Kale Soup, a creamy Chicken Tortellini Soup, or a robust Beef Stew! Given their Southern heritage, they are also the perfect accompaniment to classic dishes like crispy Fried Chicken, tender Chicken Fried Steak, or creamy Cheesy Grits. For a savory twist, consider adding some shredded cheddar cheese to the dough for delicious cheese biscuits, or try my popular Cheddar Bay Drop Biscuits recipe!
Several factors contribute to biscuits rising beautifully. Firstly, a very hot oven, ideally at least 425 degrees F (218 degrees C) and preferably 450 degrees F (232 degrees C), is crucial. The intense heat causes the cold butter and shortening in the dough to melt and rapidly create steam, which forces the layers of dough apart, leading to tall, flaky biscuits. Secondly, baking biscuits in a deep-dish cast iron skillet is immensely helpful. The high sides of the skillet provide structural support, encouraging the biscuits to grow upwards instead of spreading out sideways. Lastly, ensure your ingredients are cold, avoid overmixing the dough, and cut the biscuits straight down without twisting the cutter. These techniques combined will give you the tallest, flakiest biscuits every time.
Any leftover Cat Head Biscuits can be stored in an airtight container at room temperature for up to 4 days. While they are best enjoyed fresh, they reheat wonderfully. To reheat, you can pop them in the microwave for 15-30 seconds for a quick warm-up, though this might make them slightly softer. For a crisper exterior, reheat them in a warm oven (around 300-325 degrees F or 150-160 degrees C) for about 5-10 minutes, or until warmed through. This method helps restore some of their original texture. You can also freeze unbaked biscuit dough: cut out the biscuits and place them on a baking sheet to freeze individually, then transfer to a freezer bag. Bake from frozen, adding a few extra minutes to the baking time.
While buttermilk is highly recommended for its unique tang and reaction with baking soda, you can create a homemade substitute. Simply measure out 2 cups of regular milk (whole milk works best) and stir in 2 tablespoons of fresh lemon juice or white vinegar. Let the mixture sit for about 5-10 minutes until it slightly curdles and thickens. This “soured milk” will provide the necessary acidity to activate the baking soda, although the flavor might be slightly different from traditional buttermilk.
For classic Southern biscuits, a low-protein soft wheat flour is often considered ideal, as it results in a more tender crumb. Brands like White Lily Self-Rising Flour are staples in Southern kitchens for this reason. However, high-quality all-purpose flour, especially when sifted and measured correctly, will still yield fantastic results. If using self-rising flour, remember to omit the baking powder, baking soda, and salt called for in the recipe, as these leavening agents are already included in the flour blend.
Cathead Biscuits: Perfect for Every Occasion and Any Time
As the holidays swiftly approach, or for any occasion that calls for a touch of homemade warmth and indulgence, why not give these magnificent beauties a try? Fluffy Southern Cat Head Biscuits are not just a recipe; they are an experience, perfect for serving a hungry crowd at any special gathering. Their generous size and comforting nature make them an instant favorite.
You might just decide that these jumbo biscuits deserve a prominent place on your Thanksgiving table, offering a delightful alternative or addition to traditional dinner rolls. Or perhaps they’ll become the star of your Christmas morning brunch this year, a truly special treat to share with loved ones. Beyond holidays, these versatile biscuits are ideal for weekend breakfasts, comforting family dinners, or simply as an everyday indulgence to elevate a simple meal. They embody the heart of Southern hospitality, turning any occasion into a memorable feast.
Discover the full recipe details below for making these incredible Fluffy Southern Cat Head Biscuits.
Explore More Irresistible Biscuit Recipes!
If you’ve fallen in love with the art of biscuit making, or simply can’t get enough of these flaky, tender delights, be sure to explore our other fantastic biscuit creations. Each recipe offers a unique twist on this beloved staple, ensuring there’s a biscuit for every palate and occasion. Expand your baking repertoire and discover new favorites:
- Savory Breakfast Scones: A delightful, savory take on a classic scone, perfect for breakfast or brunch.
- Red Lobster Cheddar Bay Biscuits: Recreate the famous, cheesy, garlicky biscuits from your favorite seafood restaurant right in your own kitchen.
- Sweet Potato Biscuits: Infused with the comforting sweetness of sweet potato, these biscuits offer a unique flavor and beautiful orange hue.
- Truffle Parmesan Biscuits: An elegant and sophisticated biscuit, featuring the earthy aroma of truffle and savory Parmesan cheese.
- Air Fryer Biscuits: Learn how to make both scratch-made and canned biscuits perfectly crispy and golden in your air fryer.
- Cinnamon Drop Biscuits: A sweet, comforting biscuit bursting with cinnamon flavor, perfect for a cozy morning treat.

Print Recipe
Leave a Review »
Cathead Biscuits Recipe
Video
Ingredients
- 4 1/2 cups all-purpose flour, well-sifted
- 1/4 cup granulated sugar
- 2 tablespoons baking powder
- 2 1/2 teaspoons sea salt
- 1 teaspoon baking soda
- 1/2 cup butter, divided (half cold, half melted)
- 1/3 cup butter-flavored vegetable shortening, cold
- 2 cups buttermilk, cold
Instructions
-
Preheat the oven to 450 degrees F. Grease a 12-inch deep dish cast iron skillet and set aside.
-
Sift the flour, then scoop and level. Place the flour, sugar, baking powder, baking soda, and salt in a food processor. Pulse to mix.
-
Next, add the cold shortening and 1/4 cup cold butter. Pulse again until the fat is mixed into the flour creating a pebble texture. Continue pulsing as you add in the cold buttermilk.
-
Once the dough is thoroughly mixed, stop pulsing. The dough should look wet, but even.
-
Dump the dough out onto a floured work surface. Press it flat with your hands until it is smooth, in an even 2-inch thick disk. Use a drinking glass, or 3-inch cutter, to cut out 8 biscuits. If needed, cut out 7, then gather the dough and cut out the last biscuit.
-
Place the biscuits in the skillet. Then brush the tops with the melted butter, and place in the oven immediately.
-
Bake in the center of the oven until the tops are golden and the biscuits have risen at least 1 inch above the top of the skillet. Around 30-35 minutes. Make sure to move the oven racks, if need, to allow room for growth.
-
Use a spatula or knife to separate the biscuits before lifting out of the pan.