
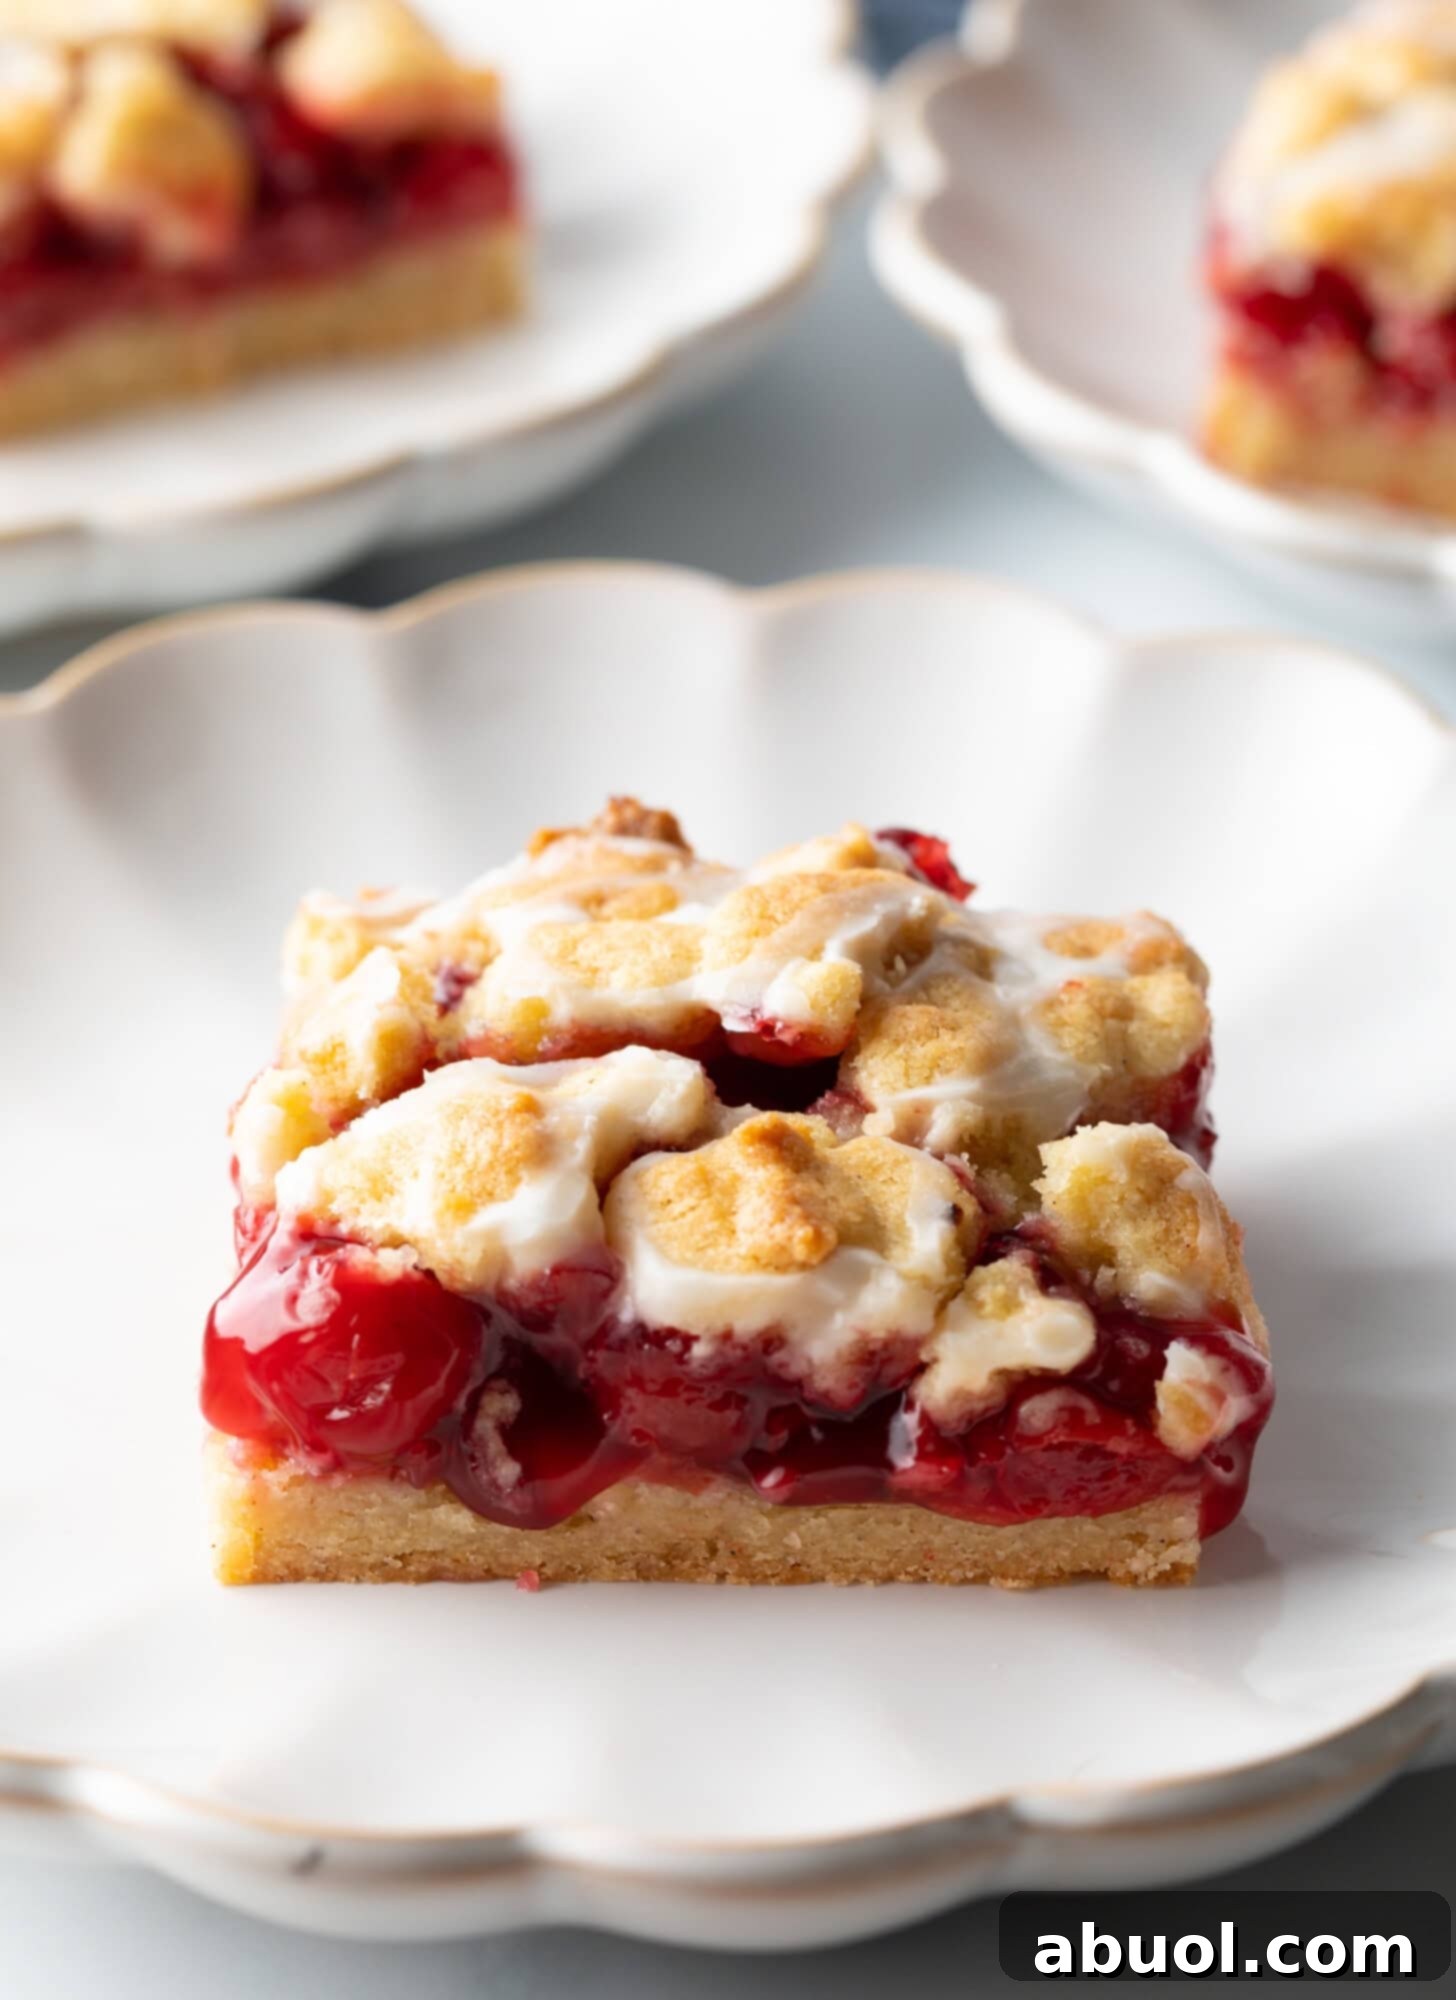
Experience the delightful blend of homemade goodness and effortless preparation with these irresistible Cherry Pie Bars! Featuring a rich, buttery shortbread crust and a luscious cherry pie filling, all crowned with a sweet sugar glaze, these bars are the ultimate scrumptious treat for any occasion.
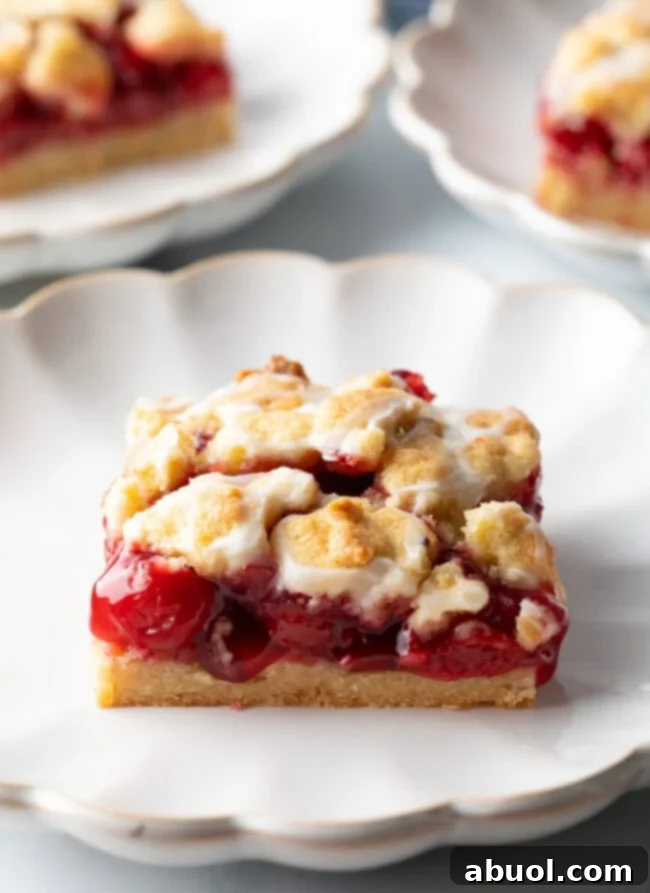
Why Cherry Pie Bars Are an Absolute Must-Try
While a classic cherry pie holds a special place in our hearts, these easy-to-make Cherry Pie Bars offer a delightful twist that makes them utterly irresistible. Imagine all the beloved flavors of a traditional cherry pie, condensed into convenient, handheld squares perfect for sharing. This recipe isn’t just a dessert; it’s a celebration of simplicity and rich, fruity taste. It transforms the somewhat daunting task of making a full pie into a quick and satisfying baking adventure, making it ideal for busy home bakers or anyone looking for a reliable crowd-pleaser.
One of the standout benefits of cherry pie bars over a traditional pie is their incredible serving versatility. A standard pie typically yields 6-8 slices, but with this bar recipe, you can easily cut anywhere from 12 to 24 pieces, making it a fantastic choice for larger gatherings, potlucks, bake sales, or even just stocking your fridge with delicious treats for the week. Their sturdy, bar-like structure makes them perfectly portable, eliminating the mess often associated with serving slices of pie. Plus, they look stunning on any dessert spread, inviting everyone to grab a piece of fruity, crumbly heaven.

Unlock the Secret to Perfect Cherry Pie Bars
These fruit dessert bars are a true homemade delight that can be enjoyed any time of year. The magic lies in their simplicity: a quick and easy buttery shortbread crust forms the perfect base, cradling a generous layer of luscious cherry pie filling. Whether you opt for convenient canned cherry pie filling for a year-round treat or prefer to whip up a homemade version during peak cherry season, the results are equally spectacular.
What truly sets these bars apart is the ingenious use of the dough for both the crust and a crumble topping. This ensures you get that authentic “pie” layering and an irresistible textural contrast in every bite. The tender, crumbly top adds another layer of buttery flavor and delightful crunch, perfectly complementing the sweet, gooey cherry center. This recipe masterfully combines the best elements of a pie and a bar cookie, resulting in a dessert that is both comforting and incredibly satisfying. If you’re a fan of these easy-to-make dessert bars, you’ll also adore our Caramel Pecan Pie Bars and Gooey Blueberry Cookie Bars!
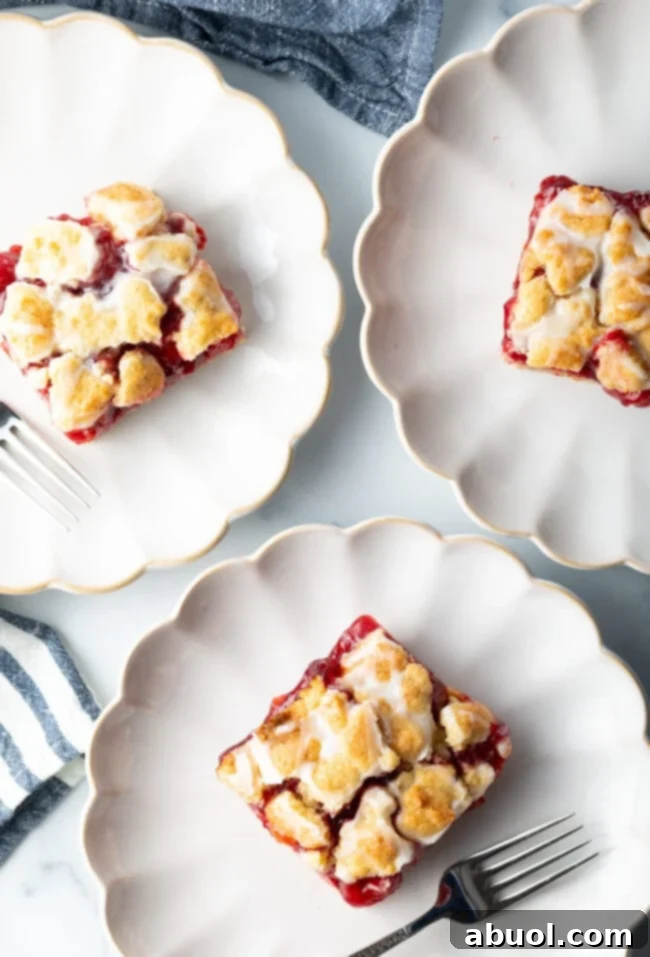
Essential Ingredients for Your Delicious Cherry Pie Bars
Crafting these delectable cherry pie bars requires a handful of common baking ingredients, most of which you likely already have in your pantry. Each component plays a vital role in achieving that perfect balance of sweetness, texture, and flavor. Here’s what you’ll need:
- Unsalted Butter: Softened to room temperature, unsalted butter is crucial for creating a rich, tender, and flavorful shortbread crust. Using unsalted allows you to control the overall saltiness of your dessert.
- Granulated Sugar: Provides the foundational sweetness for the crust and helps achieve that delightful golden-brown finish. Feel free to use your preferred sugar alternative if desired.
- Eggs: Room temperature eggs are essential for better emulsification with the butter and sugar, resulting in a smoother, more cohesive dough. They add richness and help bind the crust together.
- Vanilla Extract: A classic and indispensable ingredient in baked goods, vanilla extract enhances and rounds out all the sweet flavors, adding warmth and depth.
- Salt: A small pinch of salt is vital to balance the sweetness and intensify the flavors of both the crust and the cherry filling, preventing the bars from tasting flat.
- Cinnamon: The secret ingredient that elevates this dessert! Ground cinnamon introduces a warm, subtly smoky, and aromatic note that pairs beautifully with the cherries, adding a layer of complexity.
- All-Purpose Flour: Forms the primary structure of the crust, ensuring it’s sturdy yet tender.
- Almond Flour: This addition is key for a truly exceptional crust! Almond flour contributes to a wonderfully flaky, yet crisp texture, and imparts a delicate nutty flavor that complements the cherry perfectly.
- Cherry Pie Filling: The star of the show! Canned cherry pie filling makes this recipe incredibly convenient. You can choose a low or no-sugar variety if you prefer to control the sweetness.
- Powdered Sugar: Used to create the simple, elegant sugar glaze that drizzles over the cooled bars, adding an extra touch of sweetness and a beautiful finish.
- Milk (or Half and Half): Just a couple of tablespoons are needed to whisk with the powdered sugar for a smooth, pourable glaze. Half and half will yield a richer glaze.
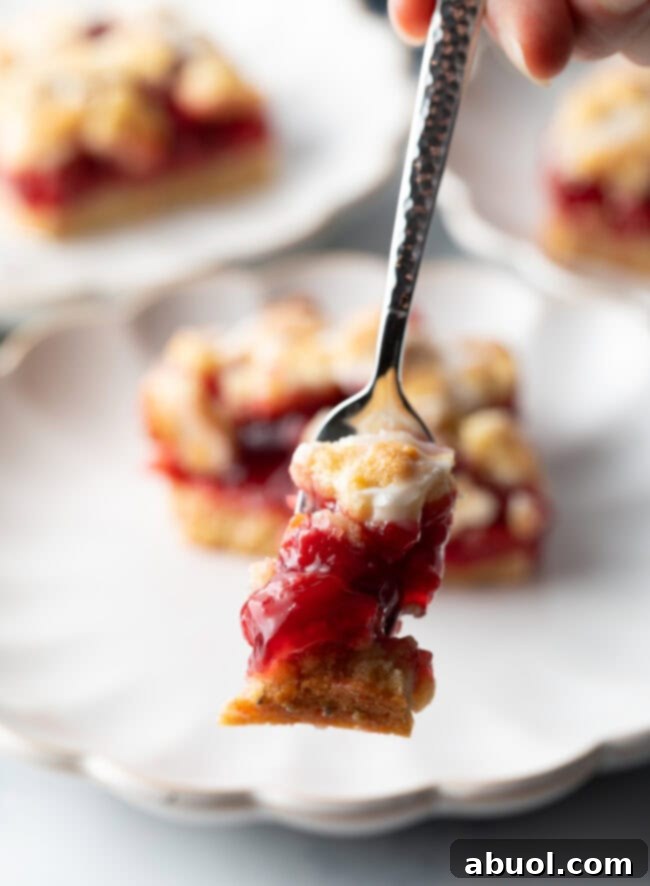
Mastering the Art of Cherry Pie Bars: A Step-by-Step Guide
Creating these delightful cherry pie bars is a straightforward process that yields impressive results. From preparing the buttery crust to spreading the vibrant cherry filling and drizzling the sweet glaze, each step is designed for ease and enjoyment. Below, you’ll find a detailed guide to help you bake these scrumptious bars to perfection. Remember, the full Cherry Pie Bars recipe with exact ingredient proportions and detailed instructions is provided in the printable recipe card towards the end of this post, along with a video tutorial for visual guidance.
Exciting Variations for Your Cherry Pie Bars
One of the best things about this cherry pie bar recipe is its incredible adaptability! Once you’ve mastered the basic technique, you can easily experiment with different pan sizes, crust options, dietary modifications, and even other fruit fillings to create a truly personalized dessert. Here are some fantastic ways to switch up your cherry bars:
- Adjusting Pan Size: For thick, sturdy, and wonderfully chewy cherry bars, we recommend a 9×13-inch baking dish. This size creates bars that hold their shape beautifully and offer a substantial bite. If you prefer thinner, crisper bars that are perfect for a larger crowd, you can use a 10×15-inch jelly roll pan. Keep in mind that baking times will vary; expect approximately 35 to 40 minutes for the jelly roll pan, as opposed to 45 to 50 minutes for the thicker 9×13-inch bars. Always bake until the top is golden and the filling is bubbly.
- Time-Saving Crust: In a rush? Don’t let a busy schedule stop you from enjoying these delicious bars! You can absolutely use store-bought packaged pie dough for both the bottom crust and the crumble topping. Simply unroll one crust for the base, spread the filling, and crumble another crust (or pieces of it) over the top. It’s a fantastic shortcut that doesn’t compromise on flavor.
- Gluten-Free Delight: Making these bars gluten-free is simple. Just substitute the all-purpose flour with your favorite gluten-free baking flour blend (ensure it’s a 1:1 substitute blend that includes xanthan gum for best results). The almond flour component is naturally gluten-free and adds excellent flavor.
- Dairy-Free Option: To transform this into a dairy-free dessert, simply swap regular butter for your preferred vegan unsalted butter substitute. For the glaze, use almond milk, cashew milk, or another plant-based milk alternative instead of regular milk or half and half.
- Explore Other Fruit Fillings: Don’t limit yourself to just cherries! This versatile dessert bar recipe works beautifully with almost any canned fruit pie filling. Imagine delicious peach, blueberry, strawberry, raspberry, or apple pie bars. Each fruit offers its unique flavor profile, allowing you to enjoy a different variation every time.
- Nutty Variations for the Crust: If almond flour isn’t your preference, or you’re looking for a different nutty depth, feel free to use finely ground pecans, walnuts, or cashews as a substitute. These will add a rich, distinct flavor and texture to your shortbread crust.
- Craving a Traditional Pie? If these bars spark an inspiration for a classic round pie, explore our recipes for Fresh Blueberry Pie with Almond Crust or a rustic Raspberry Apple Pie.
- More Cherry Inspirations: If you’re a devoted fan of cherry desserts, don’t stop here! You might also love our Mini Cherry Tarts, perfect for individual servings, or our delightful Walnut Cherry Scones for a lovely breakfast or tea-time treat.
Expert Tips for Achieving Perfect Cherry Pie Bars
Even though this recipe is designed to be easy, a few expert tips can elevate your cherry pie bars from good to absolutely phenomenal. Pay attention to these details to ensure your bars are perfectly baked, beautifully presented, and utterly delicious every single time:
- Avoid Overmixing the Dough: This is a crucial rule for any shortbread-style crust. Once you’ve added the all-purpose flour and almond flour to your wet ingredients, mix only until they are just combined. Overmixing develops the gluten in the flour, which can lead to a tough, chewy crust instead of the desired tender, crumbly texture. Stop the mixer as soon as no dry streaks of flour remain.
- Patience is Key: Cool Completely Before Cutting: We know it’s tempting to dive into warm, fragrant cherry pie bars straight from the oven, but for neat, cleanly cut squares, patience is your best friend. These bars are quite gooey when warm, and cutting them prematurely can result in a messy presentation and a crumbly texture. Allow them to cool completely, preferably chilling them in the refrigerator, until the filling and glaze are fully set. This step ensures beautiful, defined slices. If you simply can’t wait, know that they will still taste amazing, just be prepared for a more rustic cut!
- Serving Suggestions: While these cherry pie bars are magnificent on their own, a scoop of creamy vanilla ice cream takes them to an indulgent new level. The cold, melting ice cream creates a delightful contrast with the sweet, fruity bars. A dollop of whipped cream or a sprinkle of toasted almonds also makes for an elegant finish.
- Lining the Pan for Easy Removal: Don’t skip lining your baking dish with parchment paper! This simple step makes lifting the entire slab of baked bars out of the pan incredibly easy, allowing for much cleaner cutting and serving. Leave an overhang of parchment on the sides to use as “handles.”
- Room Temperature Ingredients: Ensure your butter and eggs are at room temperature. This allows them to cream together more smoothly, creating a cohesive and evenly textured dough.
- Evenly Spread Filling: After adding the cherry pie filling, spread it evenly across the crust. This ensures that every bar has a consistent ratio of crust to filling, preventing any dry spots or overly gooey sections.
Print Recipe
Rating: 5 stars (3 reviews)
Leave a Review »
Easy Cherry Pie Bars Recipe
Prep Time: 20 minutes
Cook Time: 45 minutes
Total Time: 1 hour 5 minutes
These sweet and gooey cherry pie dessert bars are easy to make with a simple homemade crust and canned pie filling. Top with a sugar glaze for a truly scrumptious treat!
Servings: 12 – 24 squares
Video Tutorial
Watch our video tutorial for a visual guide on how to make these delicious cherry pie bars.
Ingredients
- 2 sticks unsalted butter, softened (1 cup)
- 1 ½ cups granulated sugar
- 2 large eggs
- 1 tablespoon vanilla extract
- 1 teaspoon salt
- ½ teaspoon ground cinnamon
- 2 ½ cups all-purpose flour
- ½ cup almond flour
- 2 – 21 ounce cans cherry pie filling
- 1 cup powdered sugar
- 2 tablespoons milk or half & half
Instructions
- Preheat the oven to 350°F (175°C). Prepare a 9×13-inch baking dish or a 10×15-inch jelly roll pan by lining it with parchment paper, leaving an overhang on the sides for easy removal. Set aside.
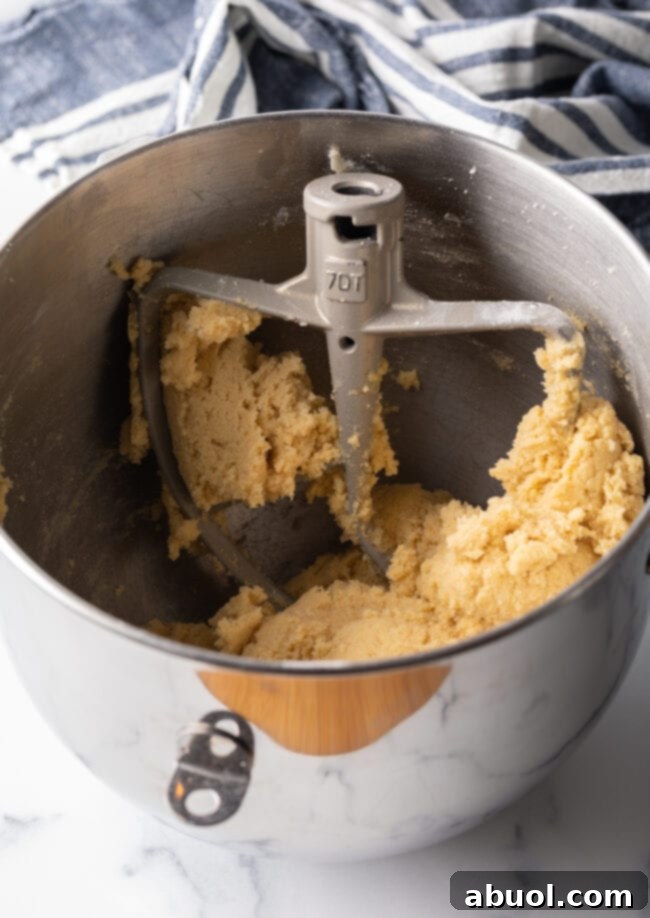
- In a stand mixer with the paddle attachment, cream the softened butter and granulated sugar together on high speed until the mixture is light and fluffy, which usually takes 3 to 5 minutes. Scrape down the sides of the bowl with a rubber spatula. Reduce the mixer speed to low, then beat in the eggs, vanilla extract, salt, and cinnamon until just combined.
- Scrape the bowl again. With the mixer on low speed, gradually add in the all-purpose flour and almond flour. Beat until the flours are just incorporated and no dry streaks remain. Be careful not to overmix the dough.
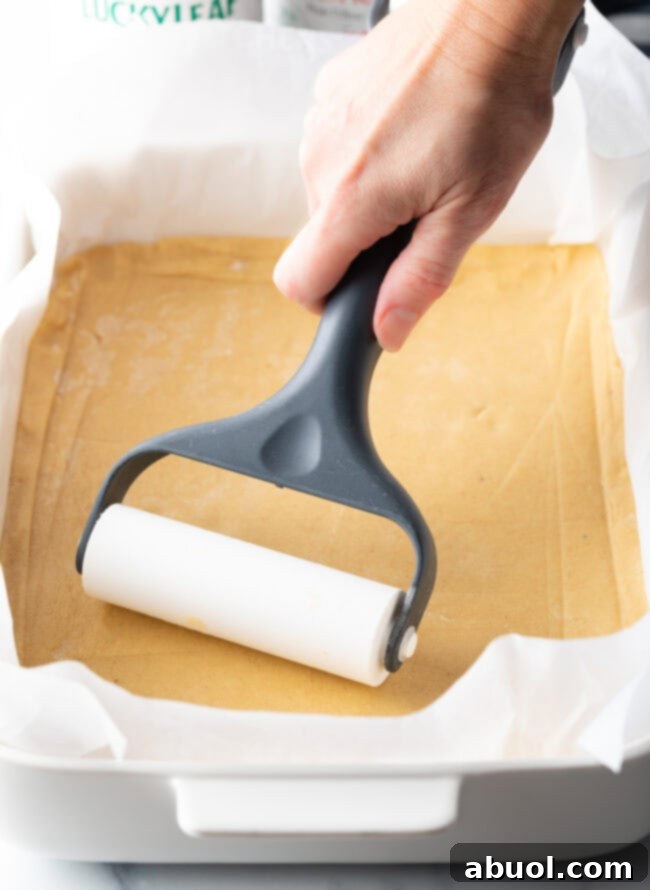
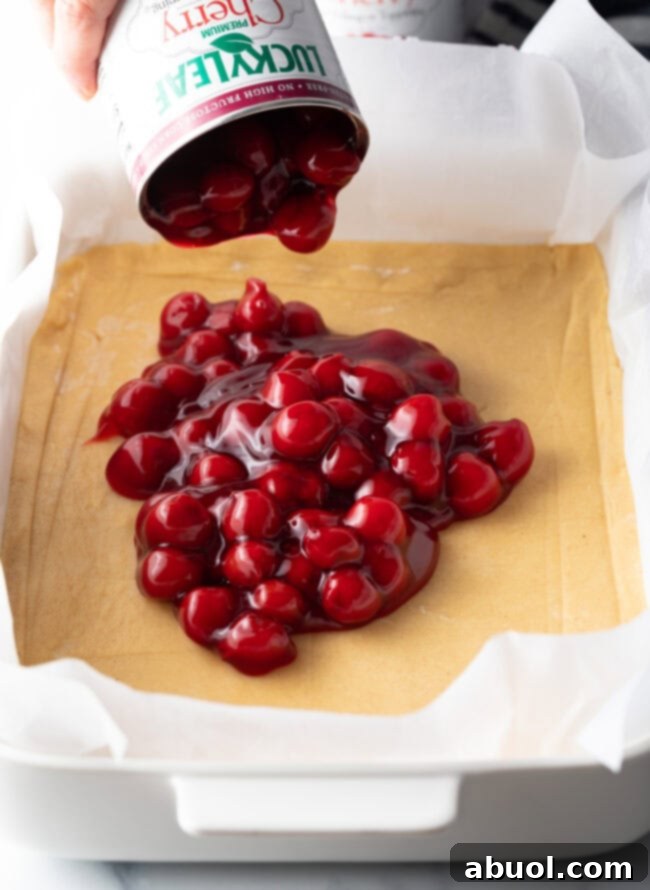
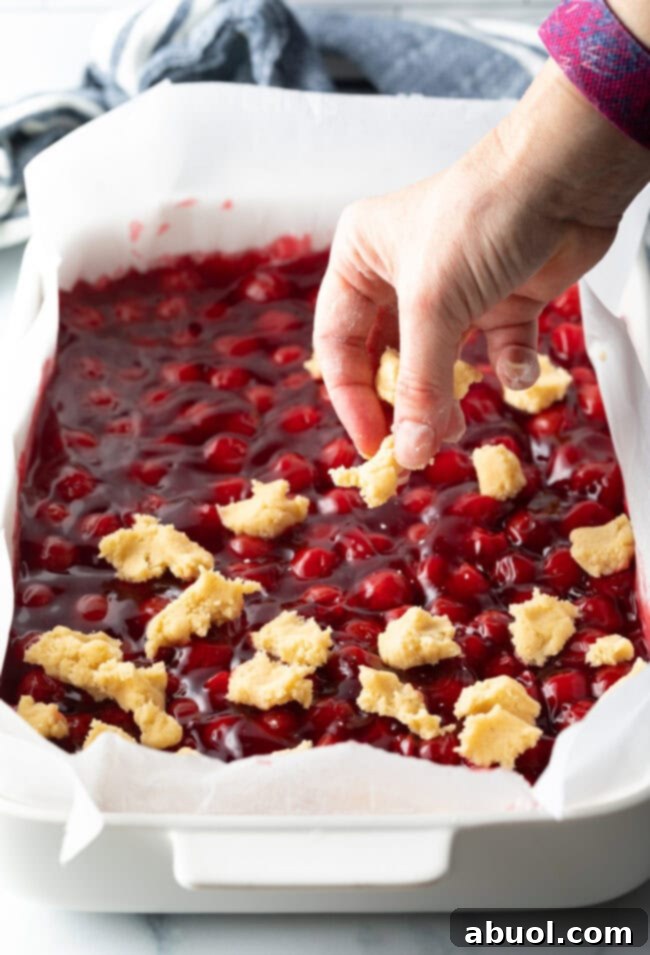
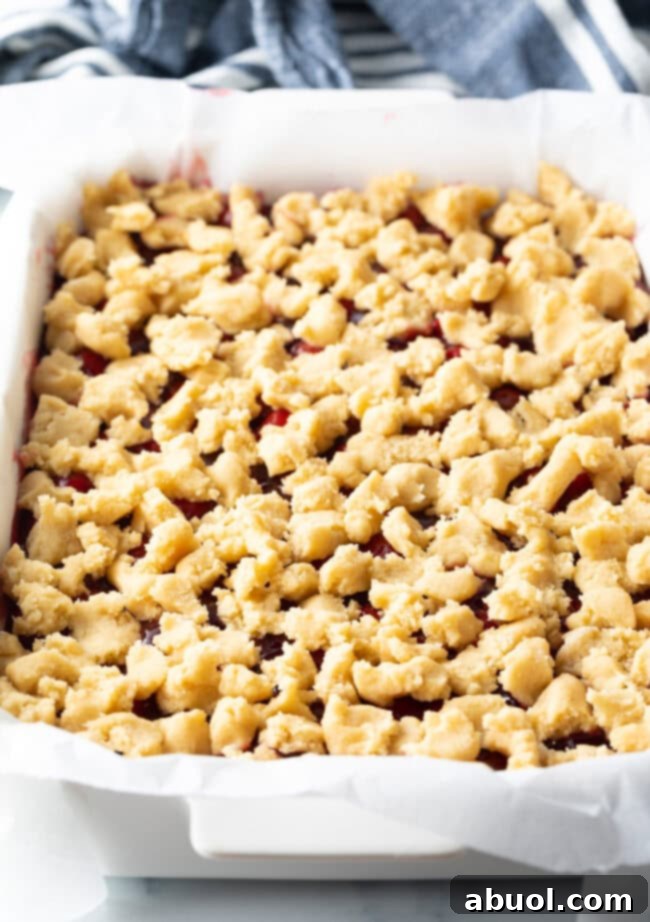
- Scoop about two-thirds of the dough into the prepared pan. Press or roll the dough out evenly to form the bottom crust. Pour the cherry pie filling over the crust and spread it into an even layer. Take the remaining dough, pinch off small pieces, and scatter them over the surface of the cherry filling until it is mostly covered.
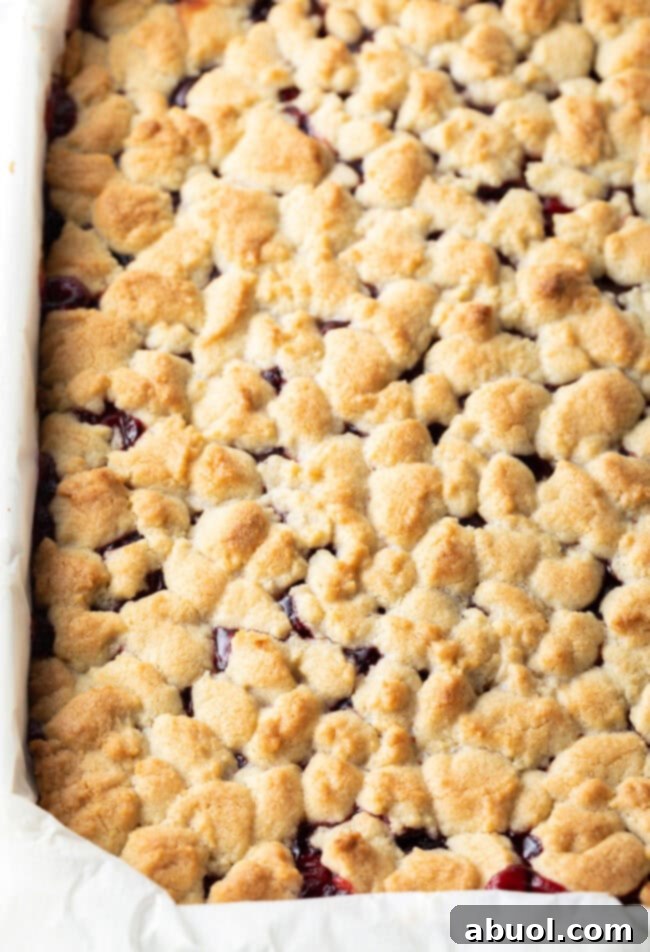
- Bake the cherry pie bars on the lowest oven rack. For a 9×13-inch baking dish, bake for 45 to 50 minutes. If using a 10×15-inch jelly roll pan, bake for 35 to 45 minutes. The bars are ready when the topping is golden brown and the filling is bubbly. Remove the pan from the oven and allow the cherry bars to cool completely on a wire rack.
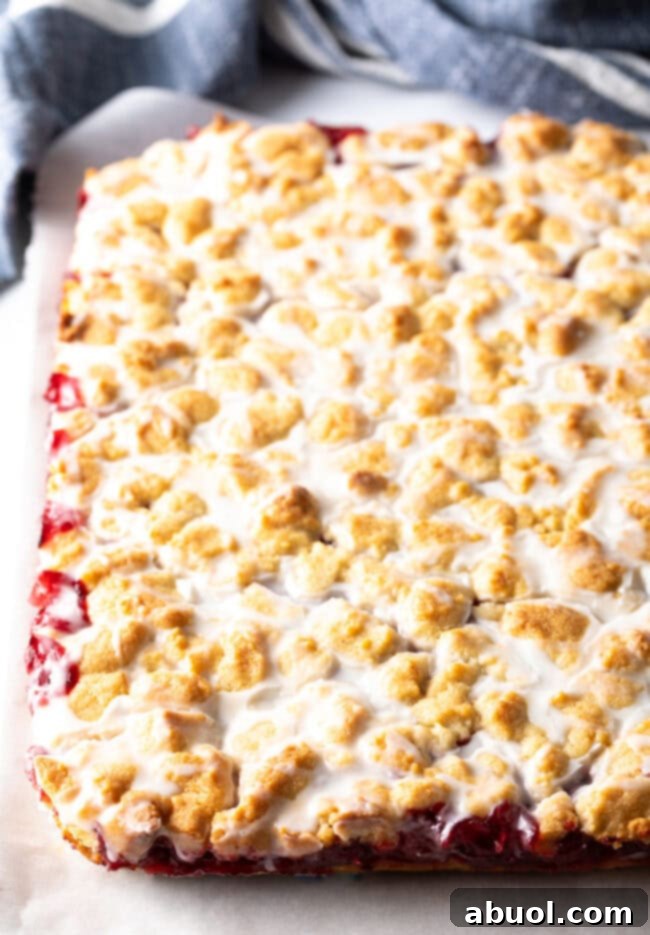
- In a small bowl, whisk together the powdered sugar and milk (or half and half) until smooth and free of lumps. Drizzle the glaze generously over the top of the cooled cherry pie bars. For the glaze to set properly, place the entire pan in the refrigerator to chill for at least 30 minutes.
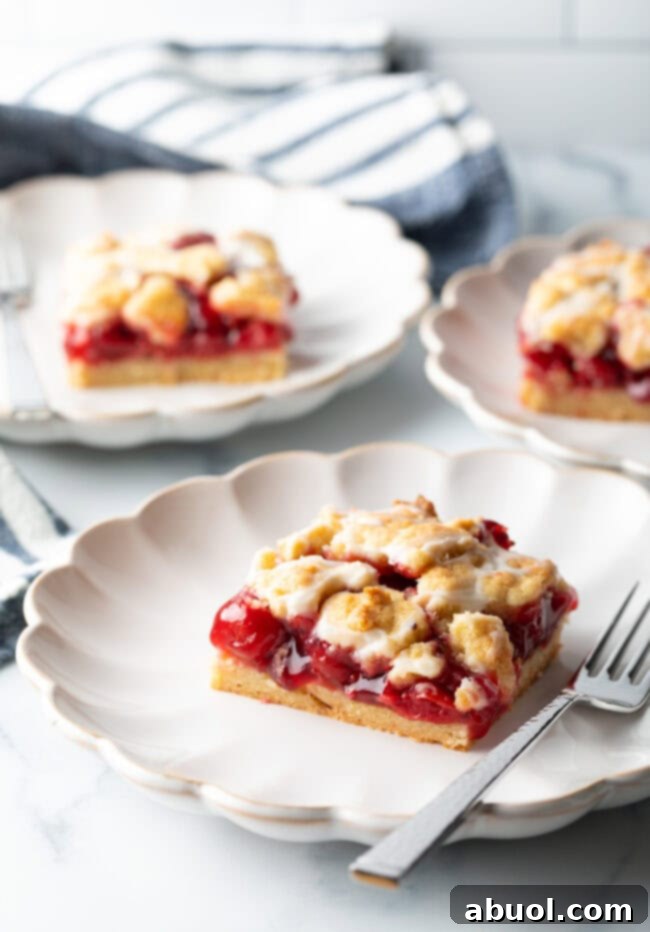
- Once the glaze has set and the bars are firm, carefully lift them from the pan using the parchment paper overhang. Cut the cherry pie bars into 12 large squares or up to 24 smaller pieces, depending on your preferred serving size.
- Cover any leftover bars and refrigerate them until you are ready to serve again.
Recipe Notes
- Storage: Store the cooled and glazed cherry pie bars in a sealed airtight container in the refrigerator for up to 7 days.
- Freezing: These bars freeze beautifully! To freeze individual bars, place a small piece of parchment paper between each bar if stacking them to prevent sticking. Place all pieces in a plastic freezer bag or an airtight container and freeze for up to 3 months.
- Alternatively, you can freeze the entire pan of baked bars (before cutting). Wrap the pan tightly in a layer of plastic wrap, followed by a layer of aluminum foil. For this method, a disposable metal pan is ideal as it can go directly from the freezer to the oven for reheating.
Nutrition Information (per serving)
Serving: 1 large piece
Calories: 273kcal | Carbohydrates: 56g | Protein: 5g | Fat: 4g | Saturated Fat: 1g | Polyunsaturated Fat: 0.3g | Monounsaturated Fat: 0.3g | Trans Fat: 0.01g | Cholesterol: 28mg | Sodium: 206mg | Potassium: 45mg | Fiber: 1g | Sugar: 35g | Vitamin A: 48IU | Vitamin C: 0.01mg | Calcium: 22mg | Iron: 2mg
Course: Dessert, Snack
Cuisine: American
Author: Sommer Collier
Cook It? Love It? Rate It!
YOUR feedback helps this recipe reach more hungry people. Please TAP 5 STARS and leave a review. Thank you!
Frequently Asked Questions About Cherry Pie Bars
To ensure your baking experience is as smooth as possible and your cherry pie bars turn out perfectly every time, here are answers to some common questions:
Yes, absolutely! Canned cherry pie filling is pre-cooked and safely sealed during the canning process, meaning it is perfectly safe and ready to eat straight from the can. This makes it a fantastic shortcut for recipes like these cherry pie bars, saving you significant time and effort in the kitchen.
Cherry pie filling boasts a vibrant, complex flavor profile. It’s often described as slightly tart and tangy, a characteristic sweetness from ripe cherries, perfectly balanced with added sugar. The taste is intensely fruity, reminiscent of summer’s bounty. The pitted cherries are typically whole or halved, providing plump, tender bursts of fruit suspended in a smooth, glossy, and slightly squishy cherry-flavored gel. It’s the quintessential flavor of cherry pie!
For a classic and utterly satisfying pairing, you simply can’t go wrong with a generous scoop of Homemade Vanilla Ice Cream atop a warm cherry pie bar. The creamy, cool ice cream provides a delightful contrast to the warm, fruity sweetness. Alternatively, a dollop of freshly whipped cream, a sprinkle of toasted nuts, or a light dusting of powdered sugar can also elevate the experience beautifully.
Proper storage is key to enjoying your cherry pie bars for days. Once they have completely cooled, transfer the bars to an airtight container. They will keep beautifully in the refrigerator for up to 7 days, maintaining their delightful flavor and texture. For optimal freshness, make sure the container is truly sealed to prevent them from drying out.
Yes, cherry pie bars are excellent for freezing, allowing you to enjoy them long after baking! Since they are quite gooey, a little care is needed during freezing. To freeze individual bars, I recommend placing a small piece of parchment paper between them if you plan to stack them. Then, place all pieces in a plastic zipper bag or an airtight freezer-safe container. They can be frozen for up to 3 months.
Alternatively, you can leave the bars whole in the baking pan. For this method, wrap the entire pan tightly in a layer of plastic wrap, followed by a layer of aluminum foil to prevent freezer burn. Using a disposable metal pan is particularly convenient here, as it can go straight from the freezer into a preheated oven (after unwrapping) for reheating, making serving a breeze.
Explore More Irresistible Dessert Recipes
If you’ve fallen in love with the ease and deliciousness of these cherry pie bars, you’re in for a treat! Our collection of easy dessert recipes is filled with creations designed to satisfy your sweet tooth without requiring hours in the kitchen. Dive into these other fantastic options:
- Gooey Caramel Brownies: Rich chocolate brownies with a surprise caramel center.
- Fresh Strawberry Pie: A vibrant and refreshing classic, perfect for spring and summer.
- Easy Bread Pudding with Blackberries: A comforting dessert with juicy blackberries and warm spices.
- Lemon Drop Thumbprint Cookies: Zesty, buttery cookies with a bright lemon curd filling.
- Cream Cheese Tart with Pomegranate: An elegant tart featuring a creamy filling and jewel-toned pomegranate seeds.
- The Best Strawberry Cookie Pizza: A fun, fruit-topped cookie “pizza” that’s always a hit.
- Mini Cherry Tarts: Individual portions of sweet cherry goodness, perfect for parties.
- Peach Crumble Pie: A rustic and comforting pie with a buttery crumble topping, great with fresh or frozen peaches.