
Discover the ultimate secret to a truly unforgettable Thanksgiving centerpiece with our easy, yet incredibly effective, Best Turkey Brine Recipe. This simple blend of salt, sugar, and carefully selected spices is designed to transform your turkey into the most moist, tender, and intensely flavorful bird you’ve ever prepared. Say goodbye to dry, bland holiday turkeys and hello to a culinary masterpiece that will impress every guest at your table.

Unlock the Secret to a Perfectly Moist and Flavorful Turkey with Our Ultimate Brine Recipe
Every holiday season, the quest for the perfect turkey begins. We all dream of a golden-brown bird, crispy on the outside, and incredibly juicy and tender within. Yet, for many, the reality often falls short – a turkey that’s disappointingly dry, lacks deep flavor, or simply doesn’t live up to the festive hype. If you’ve ever found yourself asking:
- “Is brining truly worth the effort for my Thanksgiving turkey?”
- “What magical transformation does brining bring to the meat?”
- “How can I create an effective turkey brine without complication?”
- “What’s the optimal brining duration for maximum flavor and moisture?”
- “What are the most practical and hygienic methods for brining a large turkey?”
- “Will my turkey still need seasoning after being brined?”
- “Can I transfer my turkey directly from the brine to the oven?”
- “What are the risks if I brine my turkey for too long?”
You’re not alone! These are the very questions that inspired this comprehensive guide to mastering the art of turkey brining. Today, we’ll demystify the process, answering these critical questions with clear, actionable advice. Get ready to elevate your holiday cooking and serve the most succulent, richly flavored turkey your family and friends have ever tasted. This recipe isn’t just for Thanksgiving; it’s perfect for any special occasion that calls for an extraordinary roasted turkey.
Why Brining Your Thanksgiving Turkey is Essential
In the culinary world, few techniques deliver as dramatic a transformation as brining when it comes to poultry. If you’re wondering, “Should I brine my Thanksgiving turkey?”, my answer is an unequivocal YES. It’s a game-changer, making an enormous difference in both taste and texture.
Over the years, I’ve encountered numerous arguments suggesting that brining is an unnecessary fuss, a step that doesn’t genuinely enhance the bird’s flavor. However, having personally roasted well over fifty turkeys, I can confidently assert that brining is absolutely worth the time and minimal effort. Each time I’ve experimented with alternative turkey preparation methods, skipping the brine, I’ve been met with disappointment – without fail.
A properly brined turkey, even without elaborate stuffings or excessive seasonings, consistently emerges as the star of any holiday feast. The simple act of brining ensures a deeply flavorful, incredibly moist bird that will impress even the most discerning palate, solidifying its place as a cherished tradition in your holiday cooking repertoire.
The Science Behind a Perfect Turkey: What Brining Truly Does
Brining poultry isn’t just an old wives’ tale; it’s a scientific marvel that dramatically improves the eating experience. Submerging your turkey in a seasoned saline solution accomplishes three critical things:
- Deep Seasoning: The salt in the brine penetrates the meat through osmosis, seasoning the turkey from the inside out, not just on the surface. This ensures every bite is infused with flavor, creating a delicious depth often missing in unbrined birds.
- Unmatched Moisture Retention: As the salt works its way into the muscle fibers, it causes them to denature and unwind, allowing them to absorb and trap more moisture. This “plumps” the poultry, preventing it from drying out during cooking and resulting in an exceptionally tender and juicy bite. It’s the ultimate safeguard against a dry turkey.
- Flawlessly Crispy, Golden Skin: The salt also affects the protein structure of the turkey’s skin. This alteration helps the skin render its fat more effectively and dry out faster in the oven, leading to that coveted, shatteringly crisp, golden-brown finish that everyone loves.
Considering these profound benefits, it’s clear that brining offers truly remarkable results that transform an ordinary turkey into an extraordinary culinary delight.
Crafting Your Brine: Essential Ingredients for Unforgettable Flavor
At its core, a brine is simply water and salt. However, our Turkey Brine Recipe elevates this basic concept by introducing a symphony of additional flavors from sugar, aromatic herbs, and savory spices. The process is straightforward: dissolve the salt and sugar in warm water, then incorporate the remaining ingredients to create a flavorful bath for your turkey. Here’s a breakdown of what you’ll need and why each component is vital:
- Gallon Warm Water: The base of our brine. Warm water helps dissolve the salt and sugar efficiently. You’ll need more as necessary to fully submerge your turkey.
- Brown Sugar: More than just sweetness, brown sugar helps balance the intense saltiness, contributes to a beautiful caramelized color on the skin during roasting, and adds a subtle depth of flavor.
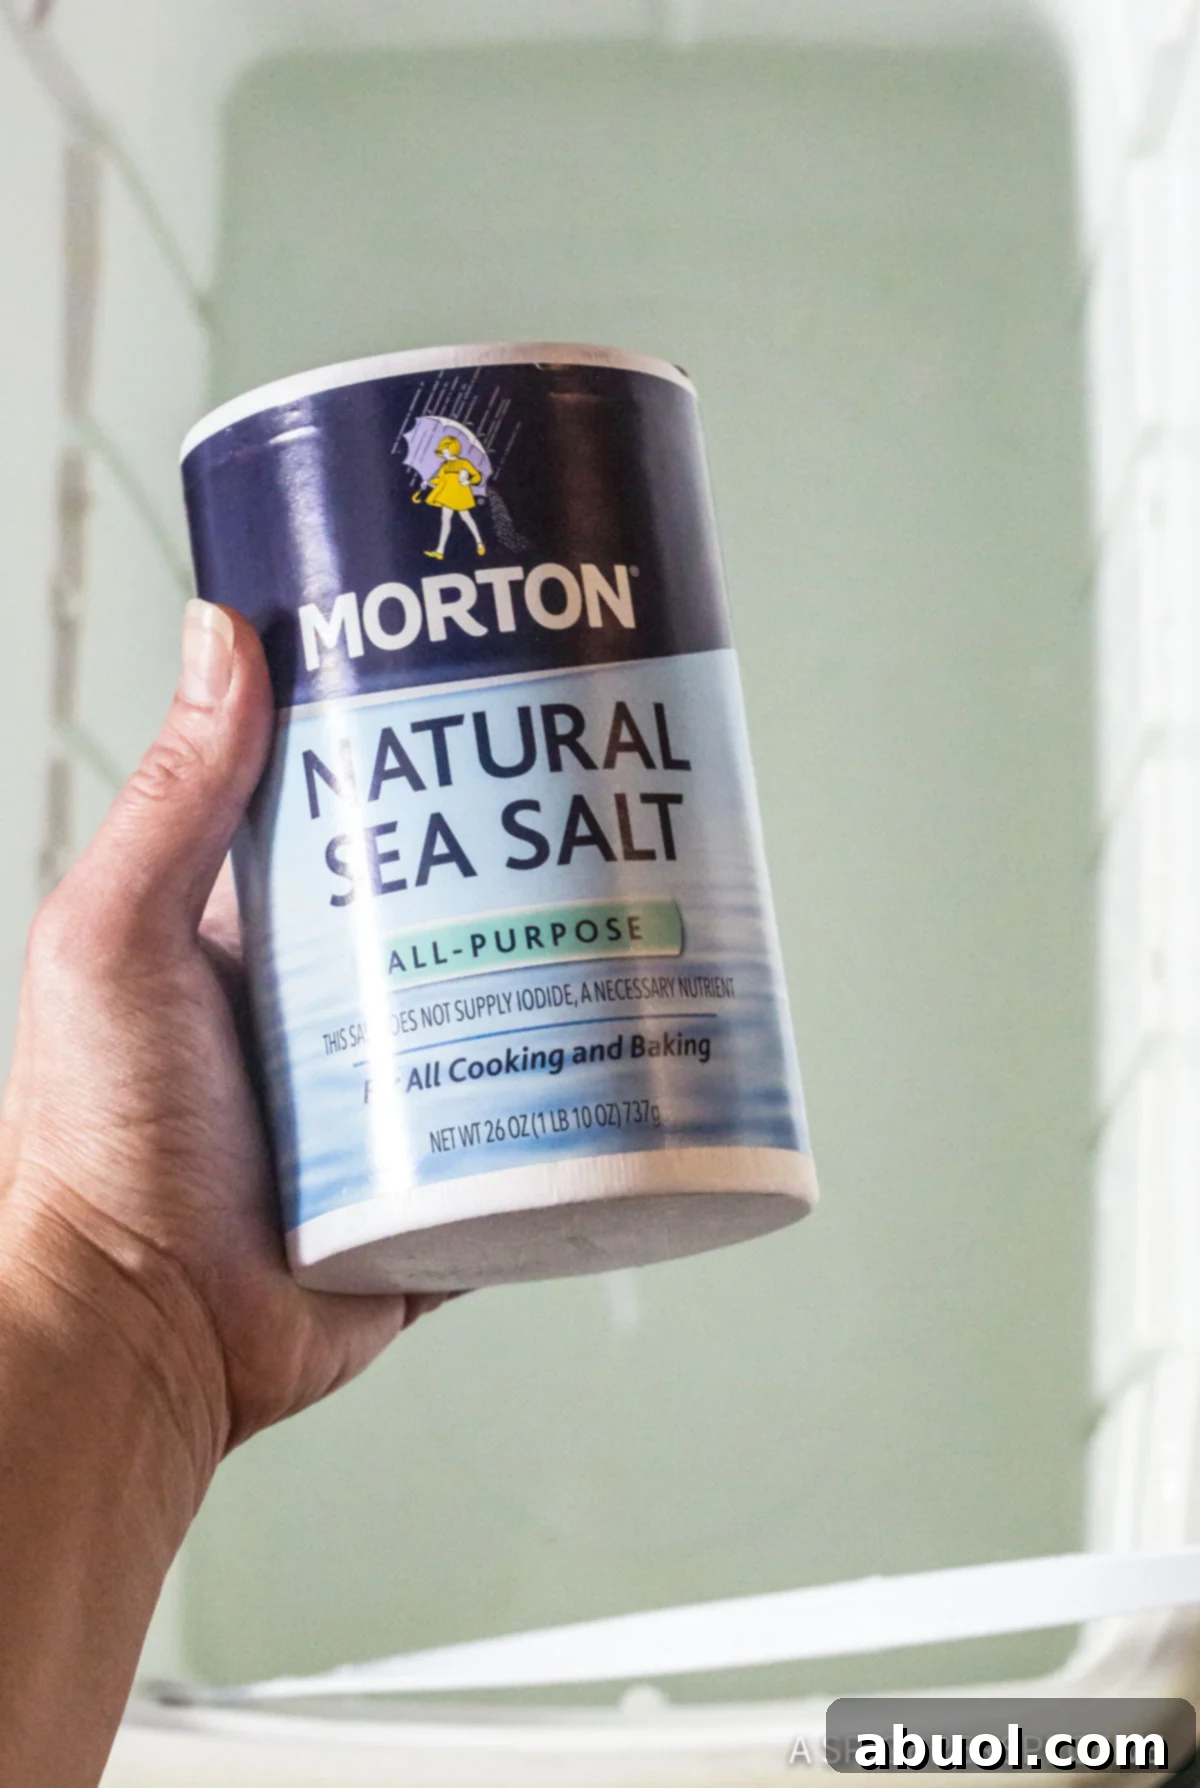
- Sea Salt (or Kosher Salt): The star of the brine. Use a good quality coarse salt like sea salt or kosher salt, as their larger crystals dissolve slower and are easier to measure accurately than fine table salt.
- Shallots (roughly chopped, or sweet onion): These provide a delicate, sweet, and pungent onion flavor that infuses deeply into the turkey.
- Garlic Cloves (smashed): Smashed garlic releases its potent, savory aromas and flavors more readily into the brine, contributing essential savory notes.
- Whole Peppercorns: Adding whole peppercorns introduces a gentle, earthy spice that complements the other ingredients without overwhelming them.
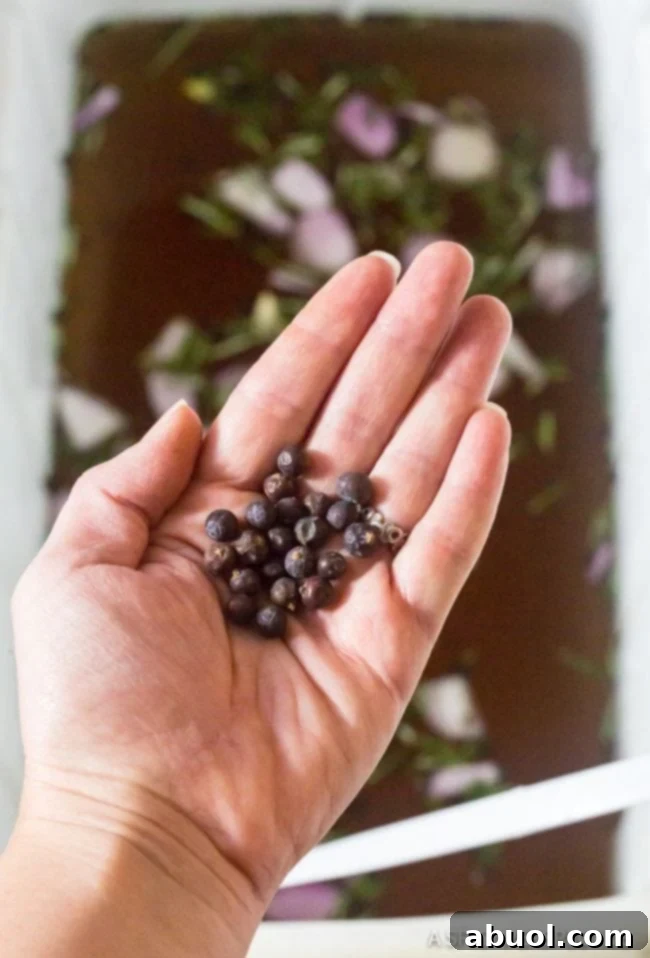
- Dried Juniper Berries (optional, or allspice berries): These add a wonderfully aromatic, slightly piney, and citrusy note that is traditional in many poultry brines. If you don’t have juniper, allspice berries offer a similar warm, complex spice profile.
- Fresh Rosemary (roughly chopped): Rosemary brings a distinct, pungent, and woody fragrance that is classic with roasted poultry, permeating the turkey with its robust herb flavor.
- Fresh Thyme: Thyme offers a lighter, earthy, and subtly floral aroma that pairs exquisitely with turkey, adding another layer of herbaceous complexity to the brine.
Effortless Brining: The Cleanest and Most Convenient Methods
Brining a turkey might sound daunting, especially when considering the logistical challenges of refrigerating a large bird in liquid. However, with the right approach, it can be incredibly simple and clean. In fact, I find it to be a real time-saver in the busy days leading up to Thanksgiving or Christmas, as it frees up precious refrigerator space.
My go-to method for brining is always in a cooler. This technique offers several distinct advantages:
- Space-Saving: A cooler keeps the turkey out of your main refrigerator, leaving ample room for all your pies, side dishes, and other holiday essentials.
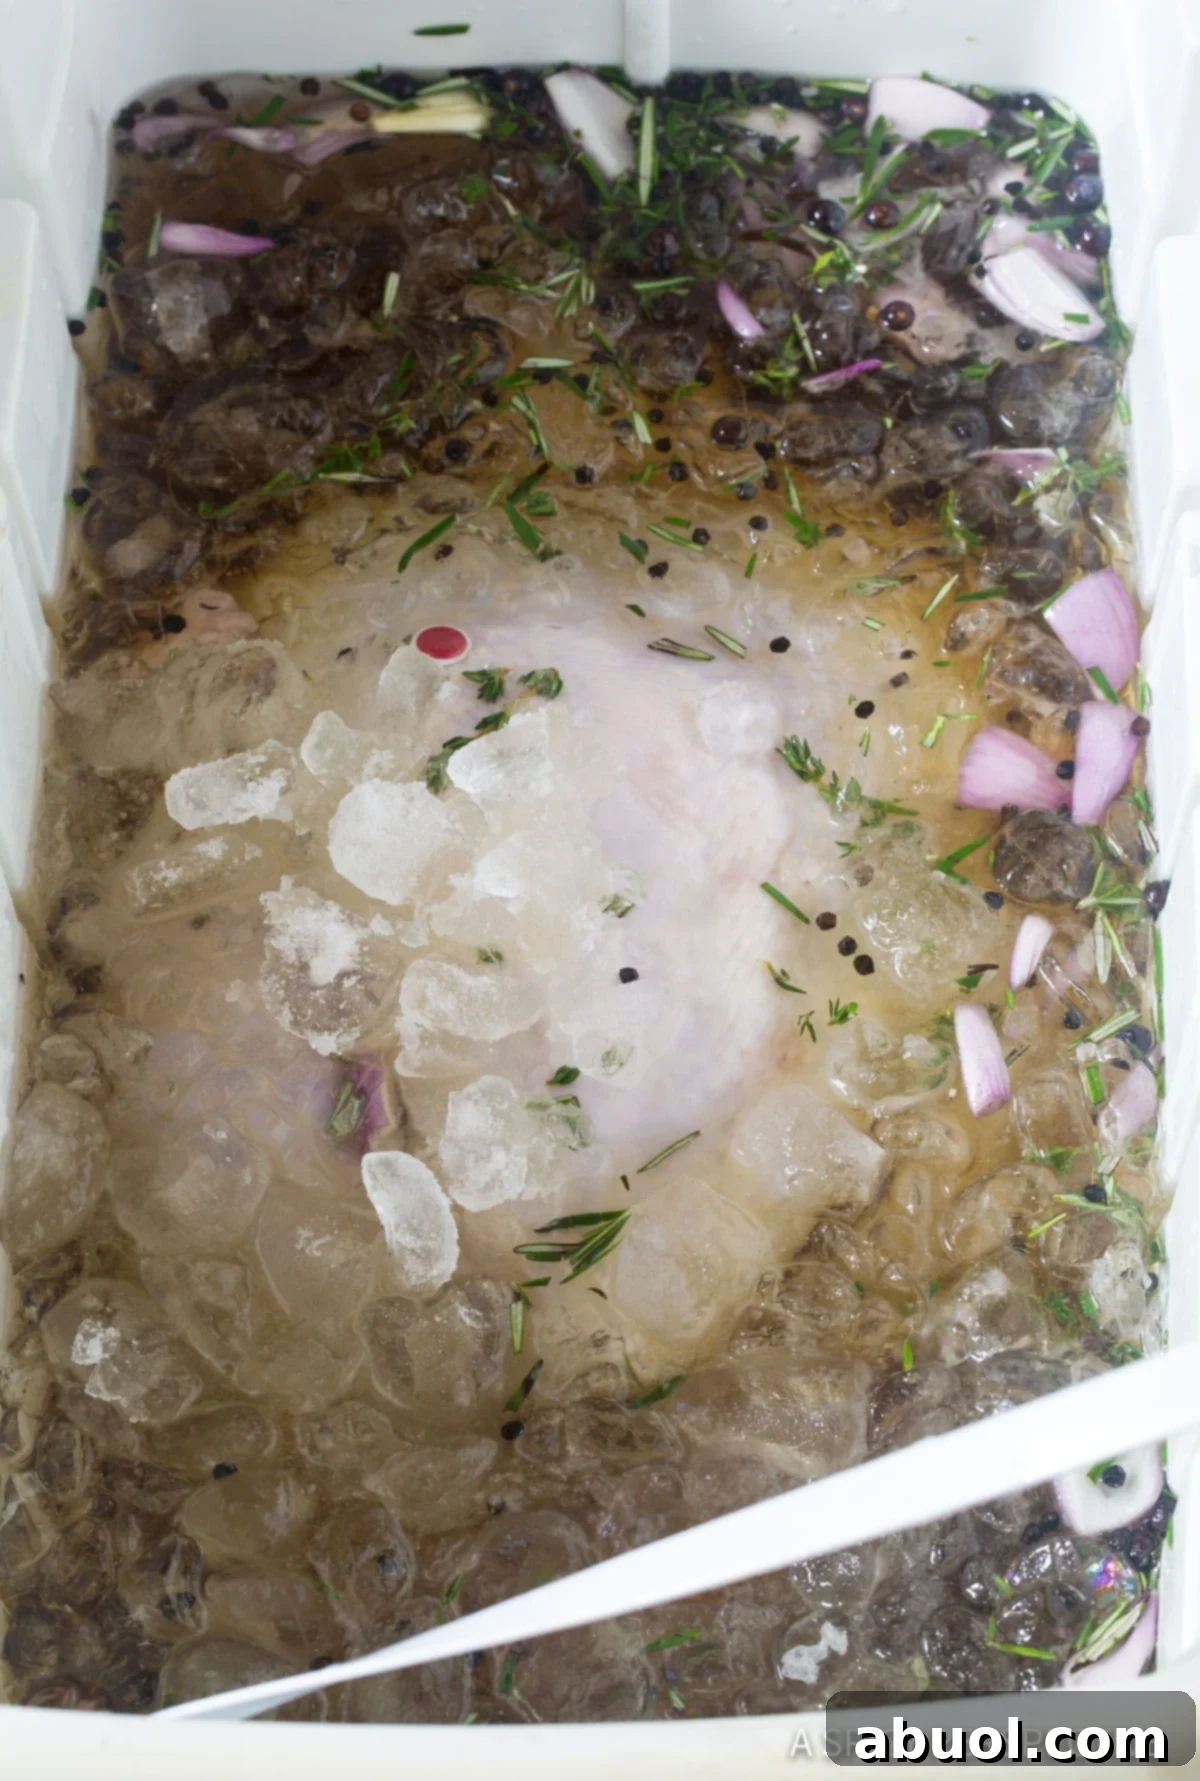
- Temperature Control: By filling the cooler with ice after submerging the turkey in brine, you create a perfectly chilled environment that safely keeps the turkey at the required temperature for several days.
- Easy Setup and Cleanup: Start by thoroughly washing your cooler. Mix your brine directly in it. Submerge the turkey, add ice, and you’re set. When you’re done, simply dump the brine (into a garden area or drain where appropriate), spray the cooler with a kitchen disinfectant, and rinse with a hose. It’s remarkably easy to sanitize. You can even allow the turkey to dry-brine or rest on ice within the cooler, further simplifying your process.
If a cooler isn’t an option, a very clean, food-grade bucket or a large stockpot can serve as alternatives. However, remember that these options will likely require refrigerator space, so ensure you have enough room before you begin.
Step-by-Step Guide: Achieving Your Most Flavorful and Juicy Turkey
Follow these detailed steps to prepare and roast a turkey that is truly a culinary masterpiece, starting with the essential brining process.
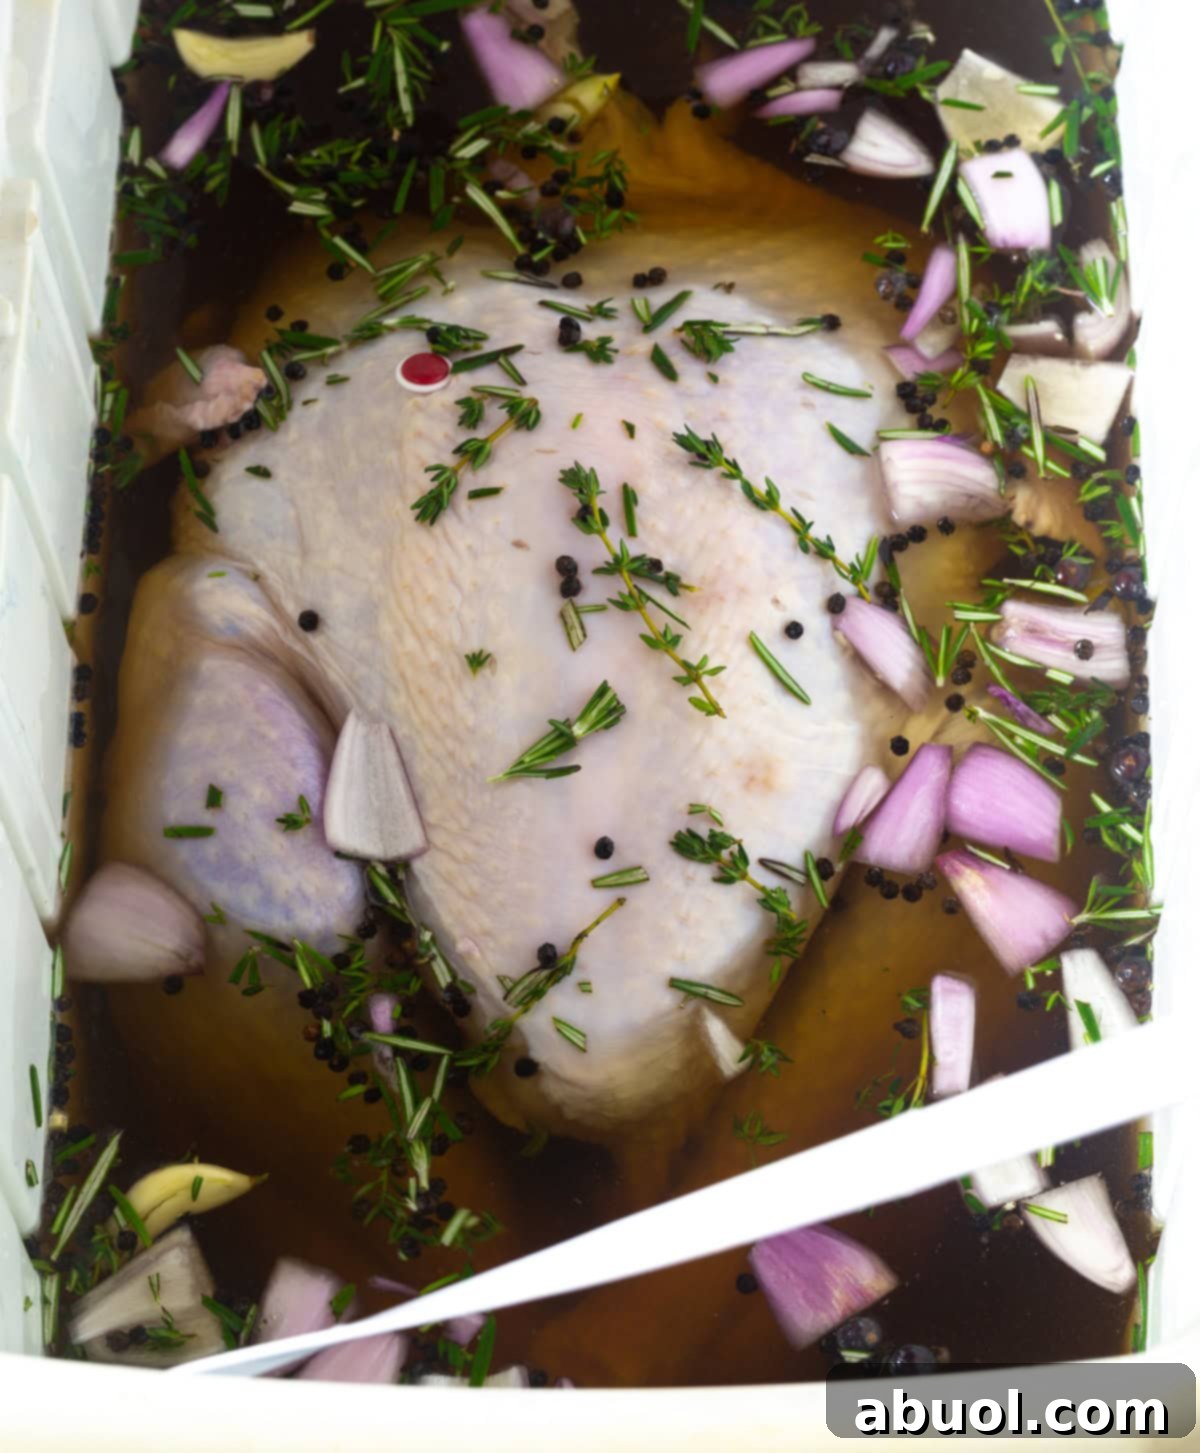
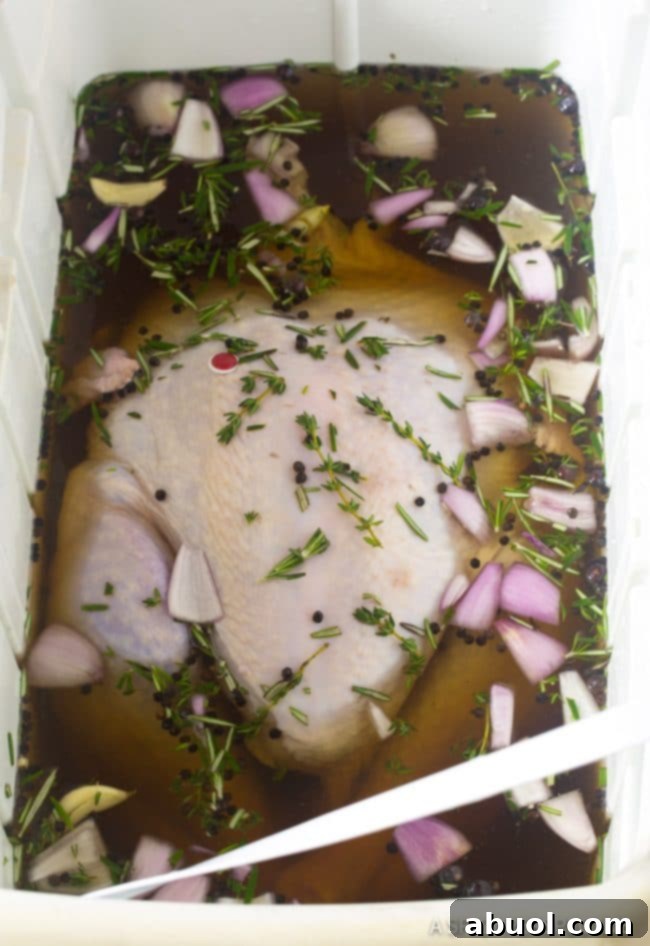
- Prepare the Brine: Begin by placing one gallon of warm water into your chosen clean container – whether it’s a large bucket or a cooler. Add the brown sugar, sea salt, roughly chopped shallots, smashed garlic cloves, whole peppercorns, dried juniper berries (if using), roughly chopped fresh rosemary, and fresh thyme. Stir the mixture vigorously until both the salt and sugar are completely dissolved into the water.
- Submerge the Turkey: Carefully place your turkey into the brine solution, ensuring it is fully submerged. Depending on the size of your bird and container, you may need to add an additional half-gallon of water or more to ensure the brine completely covers the turkey. This full submersion is crucial for even seasoning.
- Brining Time and Storage: If you are using a bucket, cover it tightly with plastic wrap and place it in the refrigerator. If using a cooler, fill it with plenty of ice around the turkey to maintain a cold temperature for the duration of the brining process. Brine the turkey for 1 to 3 days, adjusting based on its size.
- Determine Brine Duration by Turkey Size:
- For turkeys 15 pounds or under, a brining period of 24 to 36 hours is ideal.
- For larger turkeys, exceeding 15 pounds, you can safely brine for up to 3 full days.
- Important Note: If you plan to brine a smaller turkey for an extended period (closer to 3 days), consider reducing the amount of salt in your brine to 1/2 to 3/4 cup per gallon of water to prevent over-seasoning.
- Crucial Drying Stage: Before roasting, remove the turkey from the brine water. Place it on a rack set inside a roasting pan for at least a couple of hours, allowing the skin to dry thoroughly. You can gently pat the skin dry with paper towels if needed. For the best browning and crispiest skin, I recommend drying the bird overnight in the refrigerator (or back in the ice-filled cooler). The drier the skin, the better it will brown in the oven.
- Pre-Roasting Preparation: Once the turkey skin is perfectly dry, generously rub it all over with softened butter. While optional, some chefs like to stuff the turkey cavity with extra fresh herbs (like rosemary and thyme sprigs) or aromatics (like onion and lemon halves) for added fragrance during roasting.
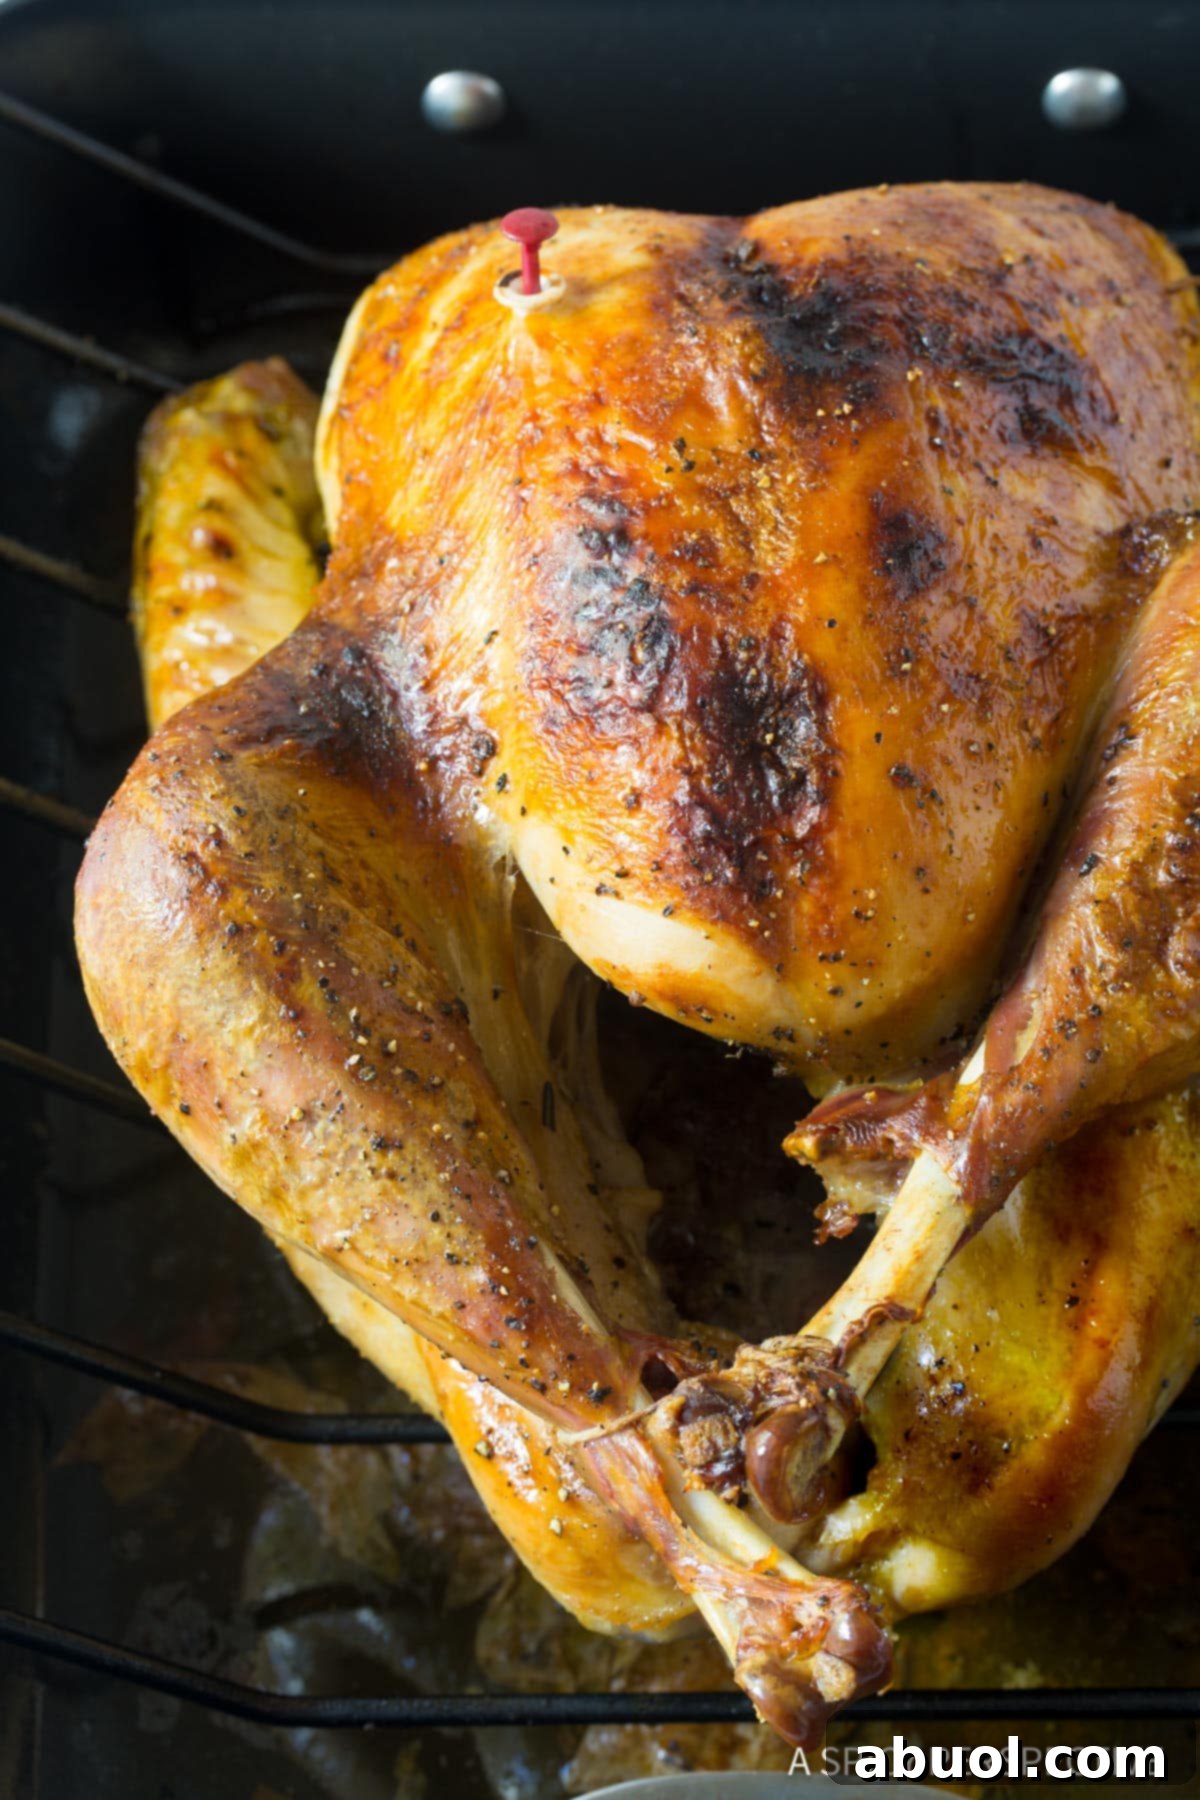
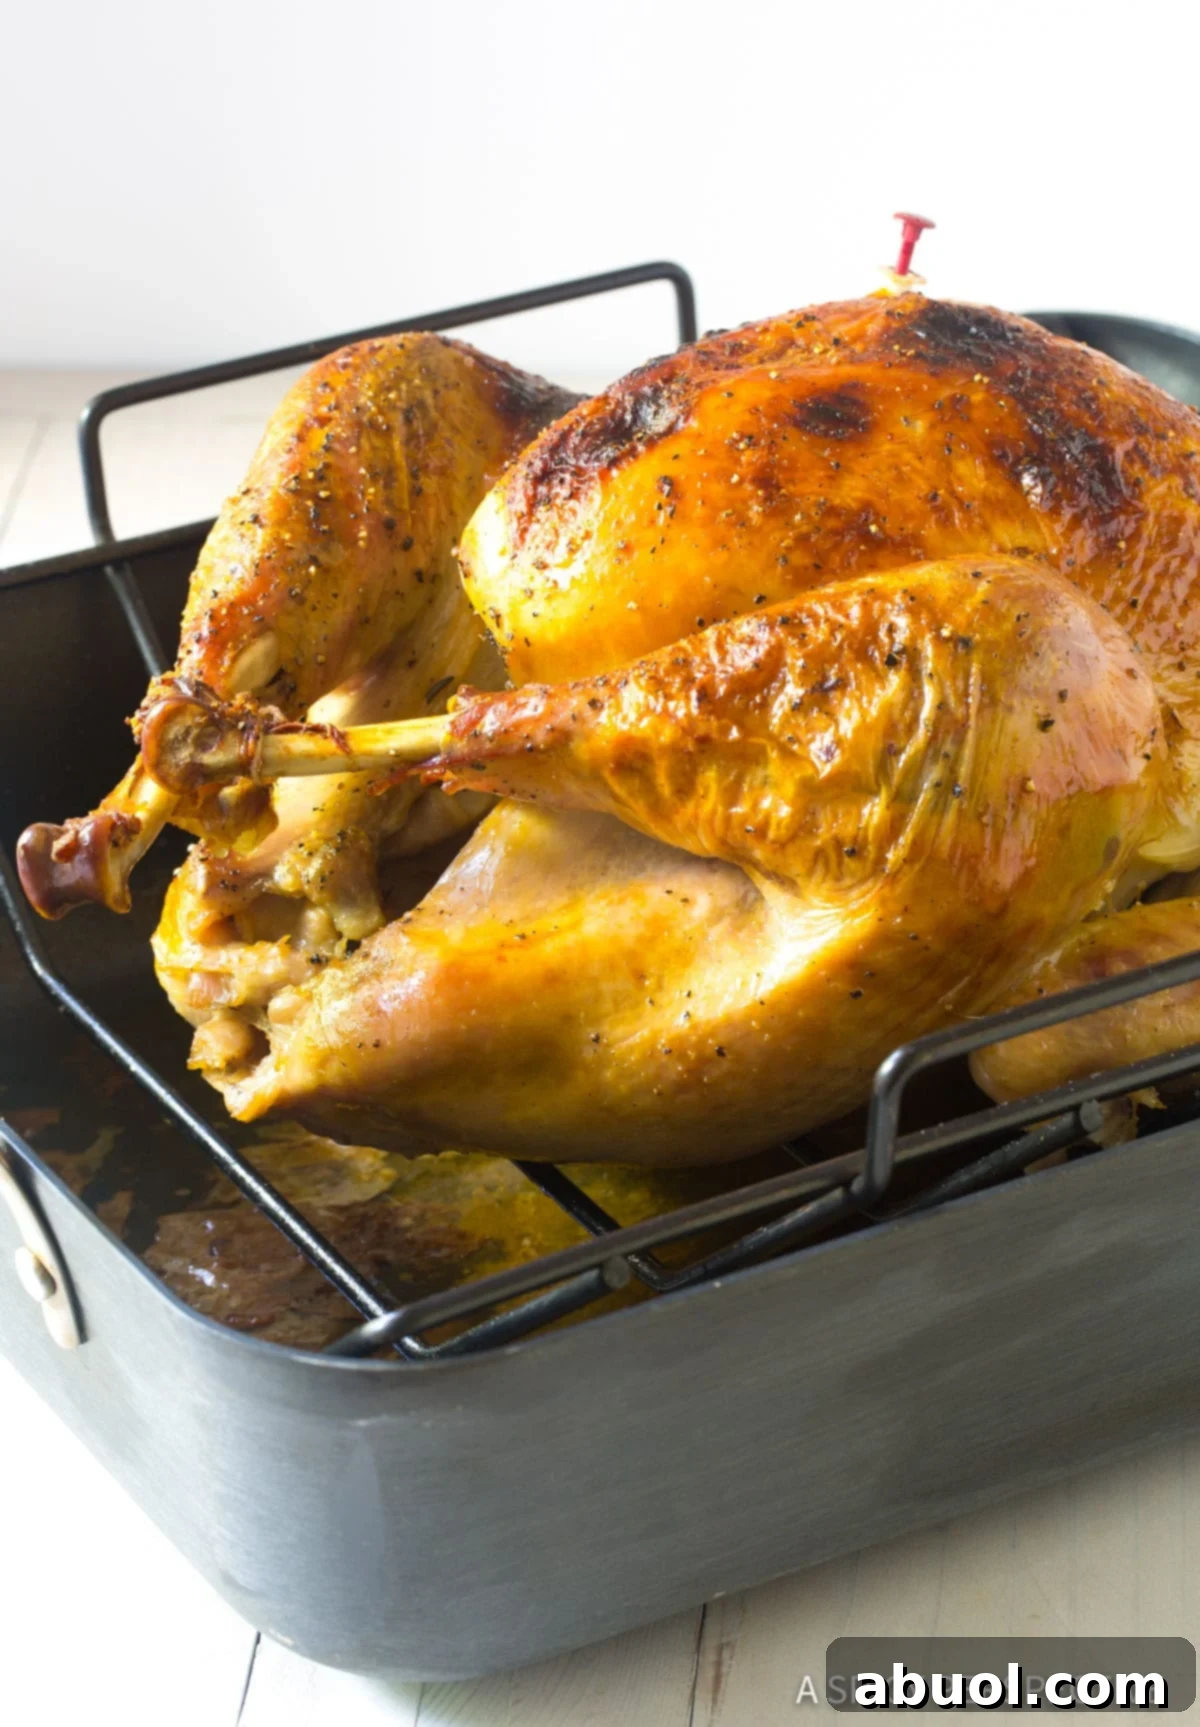
- Roasting Instructions: Preheat your oven to 325°F (160°C). Roast the turkey uncovered for the first couple of hours to allow the skin to crisp and brown. Then, loosely tent the turkey with aluminum foil for the remaining roasting time to prevent the breast meat from overcooking and drying out. A general guideline is 15 minutes per pound, but always use a meat thermometer. The turkey is fully cooked when the internal temperature of the thickest part of the thigh and breast reaches 165°F (74°C).
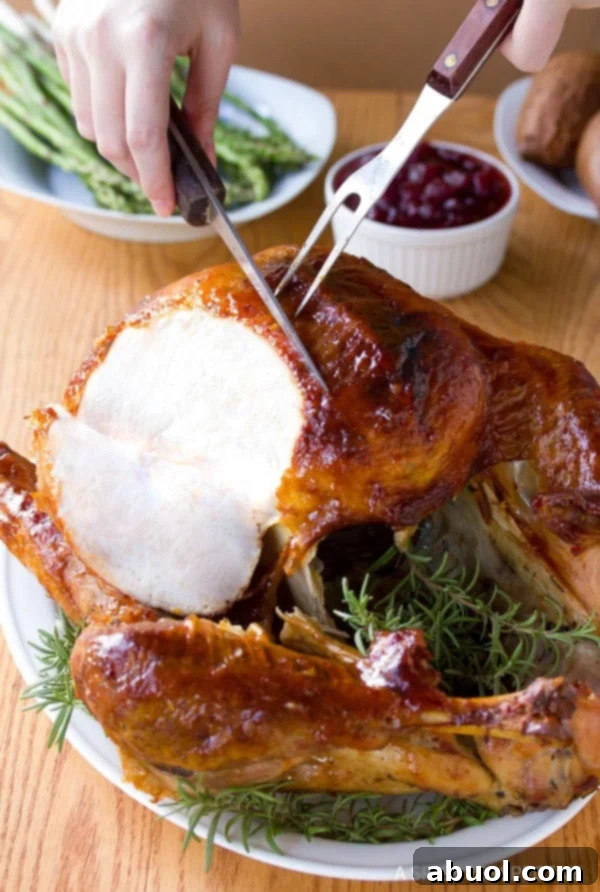
- The Essential Resting Period: Once cooked, remove the turkey from the oven and allow it to rest, uncovered, for at least 25 to 30 minutes before carving. This critical step allows the juices to redistribute evenly throughout the meat, resulting in an exceptionally moist and tender final product. Skipping this step often leads to dry turkey, as the juices escape upon carving.
For precise ingredient proportions, detailed step-by-step instructions, and a visual guide, find the complete Turkey Brine Recipe in the printable recipe card below.
Expert Tips & Tricks for Turkey Brining Success
Achieving the perfect brined and roasted turkey is easier with these crucial tips:
- Always Thaw Safely: Never thaw your turkey on the kitchen counter. This can create a breeding ground for bacteria. Always thaw your turkey in the refrigerator, which can take several days depending on its size (allow approximately 24 hours for every 4-5 pounds). Only begin the brining process once the turkey is completely thawed.
- No Pre-Rinse Needed: You can take the turkey directly from its packaging and place it into the brine. Rinsing the turkey before brining is unnecessary and can spread bacteria around your kitchen.
- Verify Internal Temperature: A reliable meat thermometer is your best friend. Always check the internal temperature in multiple spots, particularly in the thickest part of the thigh and the deepest part of the breast, ensuring both reach 165°F (74°C) for safe consumption.
- The Golden Rule of Resting: This step is non-negotiable for a juicy turkey. Allowing the turkey to rest for at least 25-30 minutes after roasting (and before carving) enables the muscle fibers to relax and reabsorb the juices, ensuring every slice is incredibly moist and flavorful.
- Customize Your Brine Flavors: Feel free to experiment with additional ingredients! Consider adding apple juice or apple cider for sweetness and tang, sliced lemons or oranges for bright citrus notes, baking spices like cinnamon sticks or star anise for warmth, or even a splash of bourbon or brandy for an adult twist.
- Addressing Gravy Saltiness: If you’ve brined your turkey for the recommended time, your pan drippings should not be overly salty for gravy. However, if you taste them and find them too concentrated, you can easily thin them out with low-sodium chicken or turkey broth, or even a little water, to achieve the perfect balance.
Perfect Pairings: Serving Suggestions for Your Brined Turkey
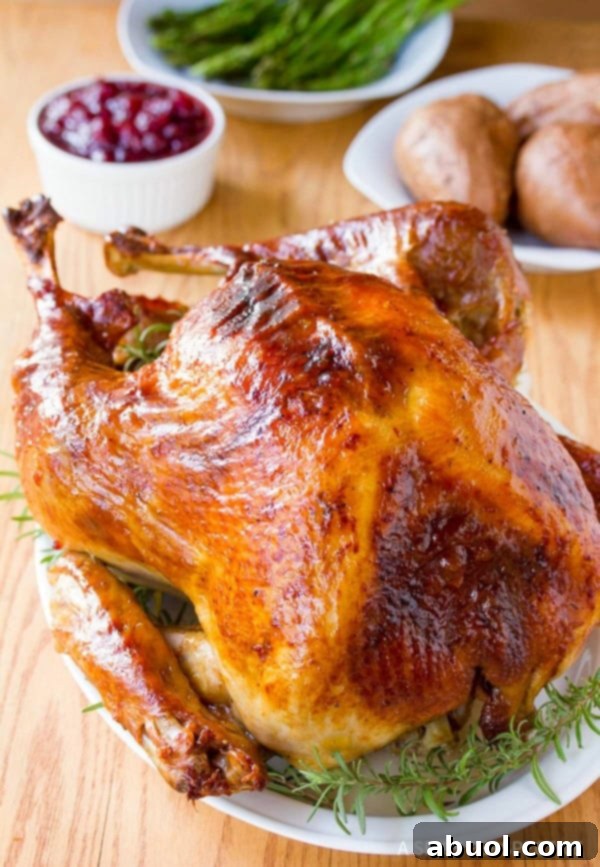
Once your beautifully brined and roasted turkey is ready, it’s time to complement it with an array of delicious holiday side dishes. Here are some of our absolute favorites to complete your festive feast:
Print Recipe
Leave a Review »
Best Turkey Brine Recipe
10 minutes
12-72 hours
12+ hours 10 minutes
Video
(Video tutorial demonstrating the brining process would be displayed here.)
Ingredients
- 1 gallon warm water (more as needed)
- 2 cups brown sugar
- 1 cup sea salt
- 3 shallots, roughly chopped
- 6 cloves garlic, smashed
- 2 tablespoons whole peppercorns
- 2 tablespoons dried juniper berries (optional)
- 2 tablespoons fresh rosemary, roughly chopped
- 1 tablespoon fresh thyme
Instructions
-
Place a gallon of warm water in a clean bucket or cooler. Add the brown sugar, salt, shallots, garlic, herbs and spices. Stir to dissolve the salt and sugar.
-
Carefully submerge the turkey in the brine. Add an additional 1/2 gallon of water to make sure the brine covers the turkey entirely. (Or more water!)
-
If using a bucket, cover the bucket with plastic and place in the refrigerator for 1 to 3 days. If using a cooler, filled it with ice to keep the turkey cold for up to 3 days.
-
The brine time should be determined based on the size of turkey. For a turkey 15 pounds or under, brine for just 24 to 36 hours. For a turkey larger than 15 pounds, brine for up to 3 days. *If you want to brine a smaller turkey for a longer period of time, reduce the salt to 1/2-3/4 cup, so it is not overly seasoned.
-
Before roasting, take the turkey out of the brine water and place on a rack for at least a couple hours. Allow the turkey skin to dry thoroughly. Use paper towels to pat it dry if needed. You can place the roasting pan in the refrigerator (or back in the cooler over ice) if you want to give the bird longer to dry. (The dryer the skin, the better it browns. Drying it overnight is best.)
-
Once dry, rub the turkey skin thoroughly with butter. Sometimes I stuff the turkey with herbs, but this is not necessary.
-
Roast the turkey at 325°F for 15 minutes per pound. Roast uncovered for the first couple hours, then tent with foil the last hour to make sure the breast meat doesn’t overcook. When using a meat thermometer, the breast meat should be 165°F.
-
Allow the turkey for rest for at least 25 minutes before serving to allow the juices to redistribute.
Notes
Nutrition
Carbohydrates: 23g,
Protein: 0g,
Fat: 0g,
Saturated Fat: 0g,
Cholesterol: 0mg,
Sodium: 5675mg,
Potassium: 62mg,
Fiber: 0g,
Sugar: 21g,
Vitamin A: 30IU,
Vitamin C: 1.2mg,
Calcium: 39mg,
Iron: 0.5mg
Frequently Asked Questions About Turkey Brining
The advantages of brining a turkey are significant: it guarantees incredibly juicy meat, imparts deep and complex flavors throughout the bird, and helps achieve that irresistible golden, crispy skin. The primary “cons” involve the need for advanced planning (typically 2-3 days before cooking) and the extra step of cleaning a large container like a bucket or cooler. However, for a truly show-stopping holiday turkey, we firmly believe the benefits of brining far outweigh these minor inconveniences.
The ideal brining time depends on two main factors: the size of your turkey and the salt concentration in your brine. A general guideline is to use 1 cup of salt per gallon of water and brine a standard turkey overnight (12-24 hours). However, for larger birds or a more deeply infused flavor, you can extend the brining time. For turkeys over 15 pounds, brining for up to 3 days is often recommended, especially if you slightly increase the water-to-salt ratio to prevent over-seasoning. The goal is a perfectly seasoned, not overly salty, bird.
If a turkey remains in the brine for an excessive period, it will absorb too much salt, leading to a bird that tastes unpleasantly salty and can even become mushy in texture due to the breakdown of muscle fibers. To mitigate this risk, especially when planning a longer brine, I typically ensure I add more water than traditionally recommended (e.g., 2-3 gallons of water per cup of salt for brining beyond 24-48 hours). This dilutes the brine slightly, allowing for a longer infusion of flavor without oversaturating the meat with salt.
Generally, no additional seasoning is needed after brining! The brining process, especially with our flavorful recipe, ensures the turkey is perfectly seasoned from the skin all the way down to the bone. You may, however, want to rub the exterior with butter or oil to promote browning and crispiness, but salt and other dry seasonings are typically redundant.
Absolutely! Customizing your brine is a fantastic way to impart unique flavors. Consider incorporating ingredients like apple juice or apple cider, sliced lemons or oranges, additional fragrant fresh herbs like sage or bay leaves, warming baking spices such as cinnamon sticks or whole cloves, or even a splash of bourbon or brandy for an added layer of sophistication. These additions will infuse your turkey with even more complex and personalized aromas.
Technically, you could, but for the very best results, especially achieving that desirable golden-brown and crispy skin, you should allow the turkey to dry thoroughly after removing it from the brine. This process, ideally for a couple of hours or even overnight in the refrigerator, helps the skin lose surface moisture. Once dry, rubbing the skin with butter or oil will further enhance its texture and color during roasting.
If you follow the recommended brining times and salt ratios, your pan drippings should not be overly salty. The turkey absorbs the flavor, not excessive salt, particularly when a balanced brine is used. However, if you taste the drippings and find them a bit too strong for your preferred turkey gravy, you can easily mellow the flavor by thinning them out with low-sodium turkey broth or even plain water.
The debate between dry brining and wet brining is common. Dry brining involves coating the turkey in a thick layer of salt (without water). The salt draws out the turkey’s natural juices, mixes with them, and then reabsorbs back into the meat, tenderizing and flavoring it. While a dry brine offers easier cleanup and yields a more flavorful and moist turkey than no brine at all, it’s generally not as effective as a traditional wet brine.
Wet brines excel in their ability to infuse a much broader spectrum of flavors beyond just salt. With a wet brine, you’re not only salting the turkey but also imparting subtle sweetness from sugar, aromatic depth from herbs and spices, and sometimes even fruity notes from cider or citrus. The liquid medium also ensures that these flavors penetrate every nook and cranny of the bird more evenly and thoroughly than a dry rub. Having tried both methods extensively, I confidently recommend a wet brine every single time for a truly superior, moist, and flavorful bird. This method also works wonders for brining a whole chicken.
Brining is the foundational first step toward an incredibly flavorful turkey. Once your turkey has completed its brining and drying process, the next step is roasting it to perfection. You can follow general roasting instructions like those outlined in our recipe above, or for detailed guidance on roasting, including specific techniques for achieving crispy skin and tender meat, refer to our Smoked Turkey Recipe, which also includes comprehensive directions for oven roasting.
Beyond the Feast: Creative Leftover Turkey Ideas
A beautifully brined turkey means delicious leftovers! Don’t let a single savory morsel go to waste. Transform your brined turkey into these delightful dishes:
Explore More Holiday Culinary Delights
Looking for more inspiration to round out your holiday menu? From delectable appetizers to show-stopping desserts, explore our collection of festive recipes: