
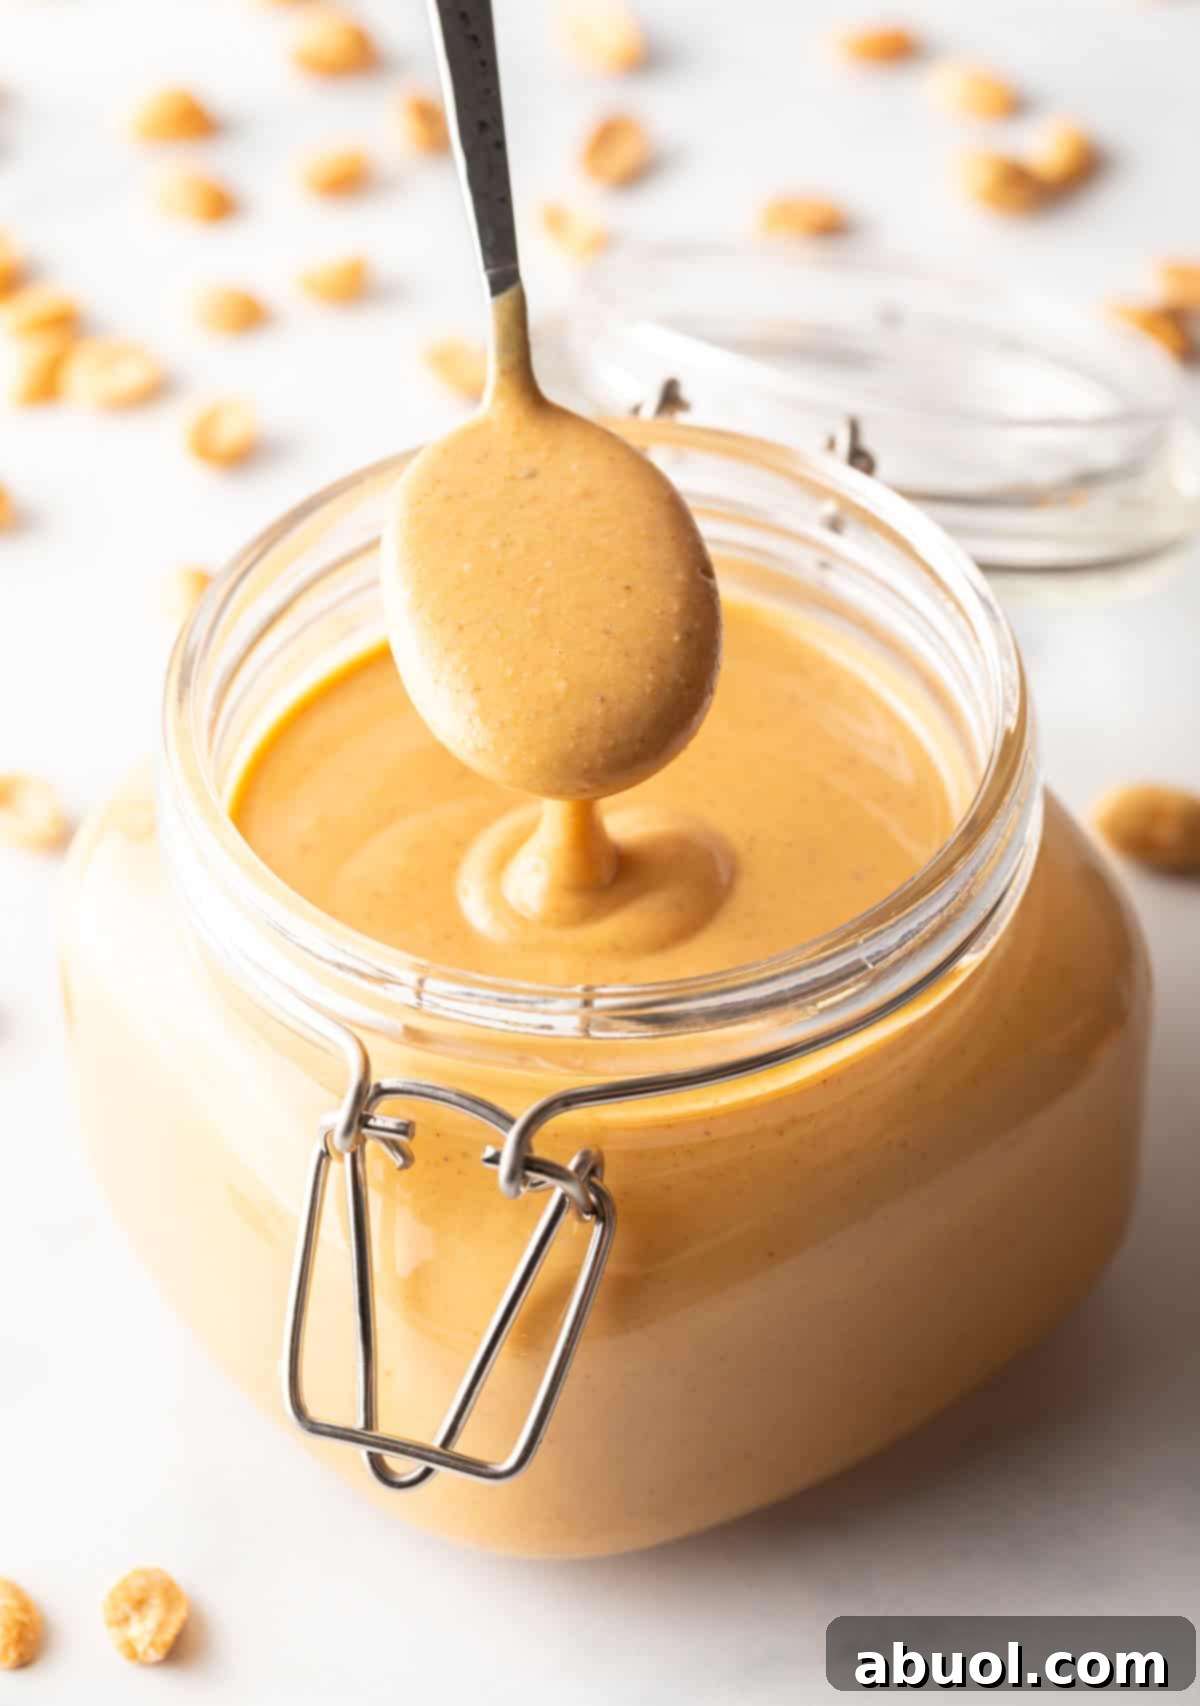
Unlock the secrets to crafting the most exquisite, perfectly smooth, and lusciously rich homemade peanut butter right in your kitchen. Discover simple steps and expert tips to create this pantry staple from scratch using just one key ingredient. (Spoiler alert: It’s roasted peanuts!)
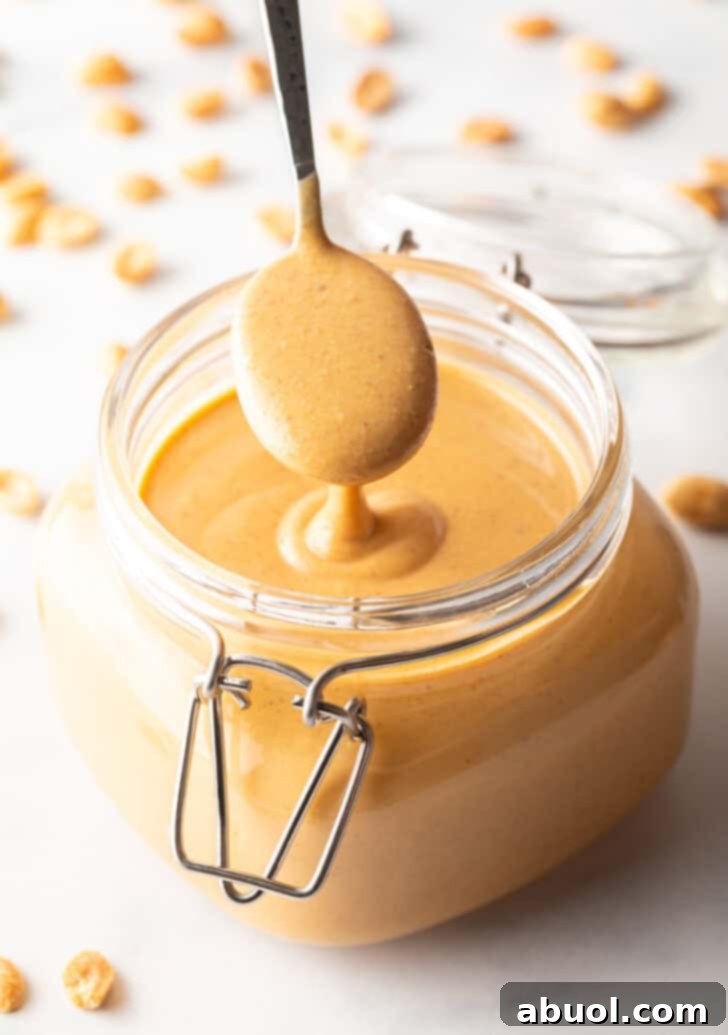
Why Homemade Peanut Butter is a Must-Have Pantry Staple
Few kitchen essentials boast the versatility, nutritional value, and sheer deliciousness of good old peanut butter. It’s a true culinary chameleon, effortlessly transitioning between countless sweet and savory applications. Whether it’s spread generously on toast, swirled into smoothies, or simply enjoyed by the spoonful directly from the jar, peanut butter holds a coveted spot in kitchens worldwide. We genuinely believe it’s one of those indispensable items you simply must keep stocked at all times. But why settle for store-bought when you can elevate your peanut butter experience by making it yourself?

The Ultimate Guide to Easy Homemade Peanut Butter
The good news is that crafting your own peanut butter at home is surprisingly simple, often taking less than 10 minutes from start to finish. This ease means there’s never a valid excuse to run out of this delightful spread. All you truly need is a reliable food processor (or a high-powered blender) and, of course, peanuts. It’s that straightforward!
While the basic recipe is incredibly simple, it also offers a fantastic canvas for customization. You can easily adapt this homemade peanut butter recipe with a few optional add-ins to match your preferred flavor profile. No matter how you choose to blend your batch, we’ve gathered the best tips and suggestions for making and enjoying your freshly made peanut butter in a myriad of delicious ways.
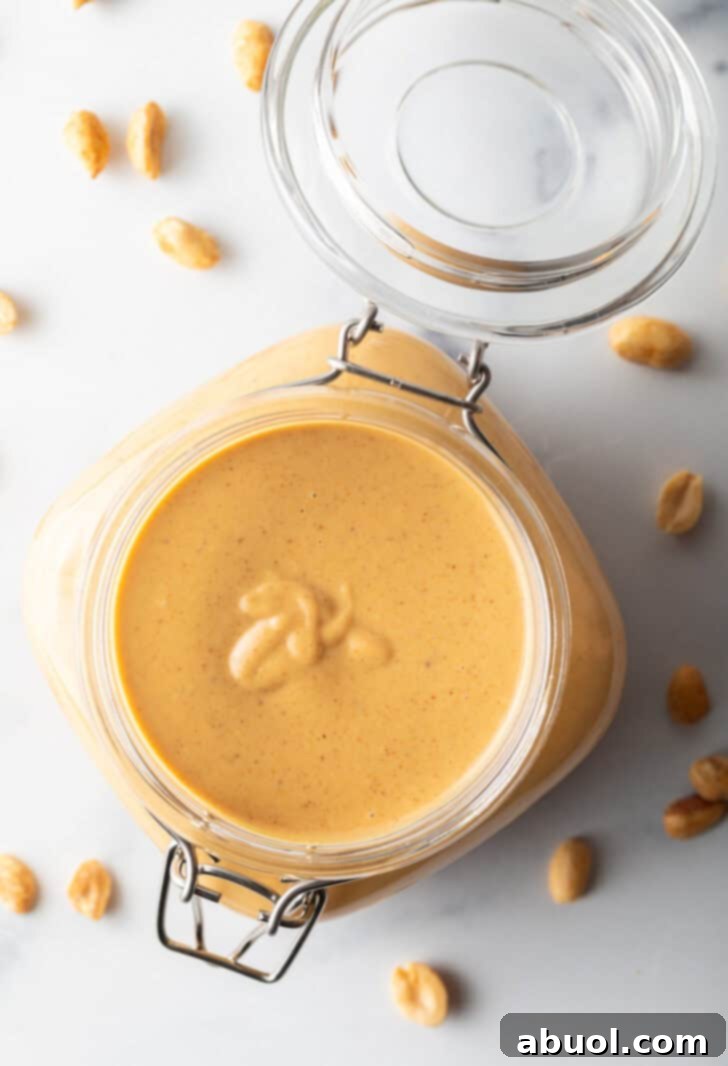
The Singular Ingredient: Peanuts & Optional Add-Ins
At the heart of any great peanut butter is, naturally, the peanut itself. For the best results and the easiest process, we recommend starting with high-quality, dry-roasted peanuts. You have a few choices depending on your preference:
- Dry Roasted Peanuts: These are ideal as they already have that perfect nutty flavor and are ready to be processed.
- Salted Dry Roasted Peanuts: If you prefer a savory peanut butter without needing to add extra salt, these are a convenient choice.
- Honey Roasted Peanuts: For a naturally sweetened peanut butter, opt for these. They will provide a lovely sweet note without the need for liquid sweeteners, which can alter the texture.
If you’re feeling adventurous and want to impart an extra layer of flavor – that “oomph” factor – consider sprinkling in a light dash of any of these fantastic optional peanut butter add-ins:
- Sea Salt: If using unsalted peanuts, a pinch of sea salt can truly enhance the nutty flavor.
- Cinnamon: A warm, comforting spice that pairs beautifully with peanuts, especially for sweet applications.
- Pumpkin Pie Spice: Perfect for a seasonal twist, offering notes of cinnamon, nutmeg, ginger, and cloves.
- Apple Pie Spice: Similar to pumpkin pie spice, it adds a delightful warmth and sweetness.
- Cayenne Pepper: For those who love a subtle kick, a tiny amount of cayenne can add an exciting savory-spicy dimension.
- Cocoa Powder: Transform your peanut butter into a rich chocolate-peanut butter spread – a dream come true for chocolate lovers!
An Important Note on Consistency: To ensure your homemade peanut butter maintains its desired smooth, creamy texture, it is crucial to avoid adding liquid sweeteners such as honey or maple syrup during the blending process. While delicious on their own, these liquids can cause the peanut butter to become thick, gummy, and clumpy, rather than silky smooth. Stick to dry seasonings and spices for flavor customization.
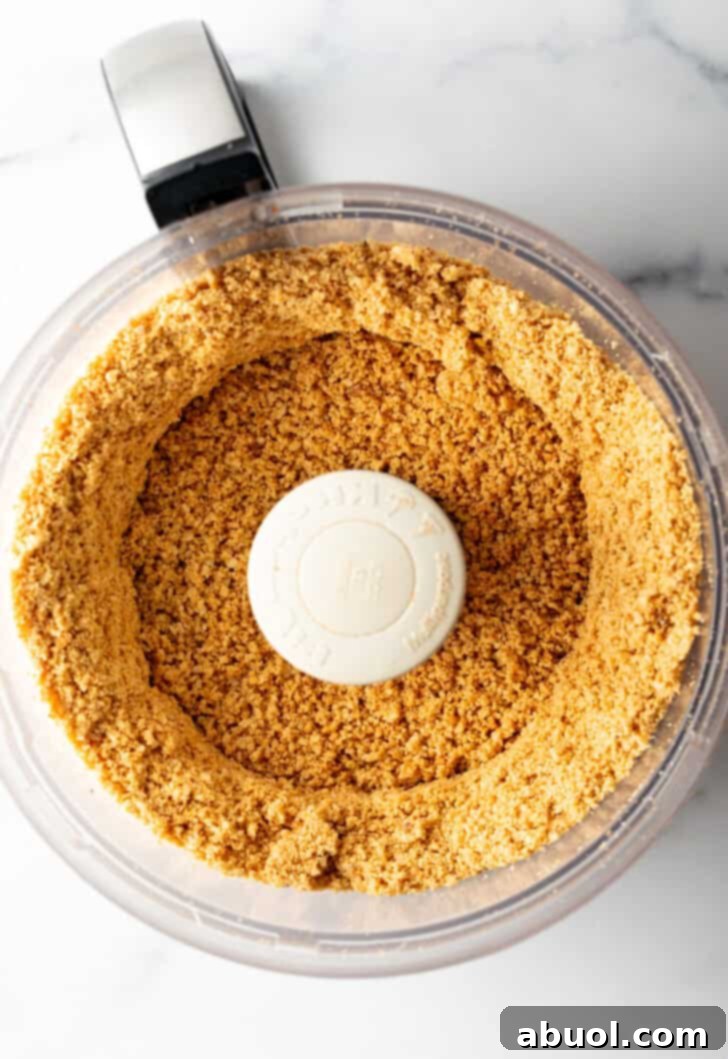
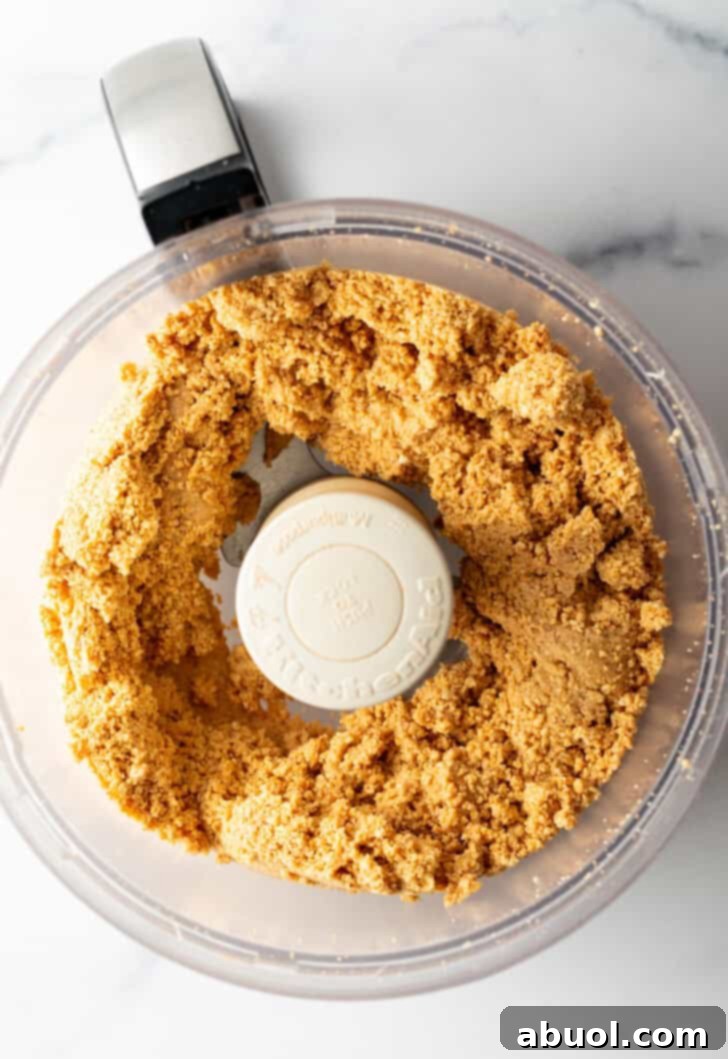
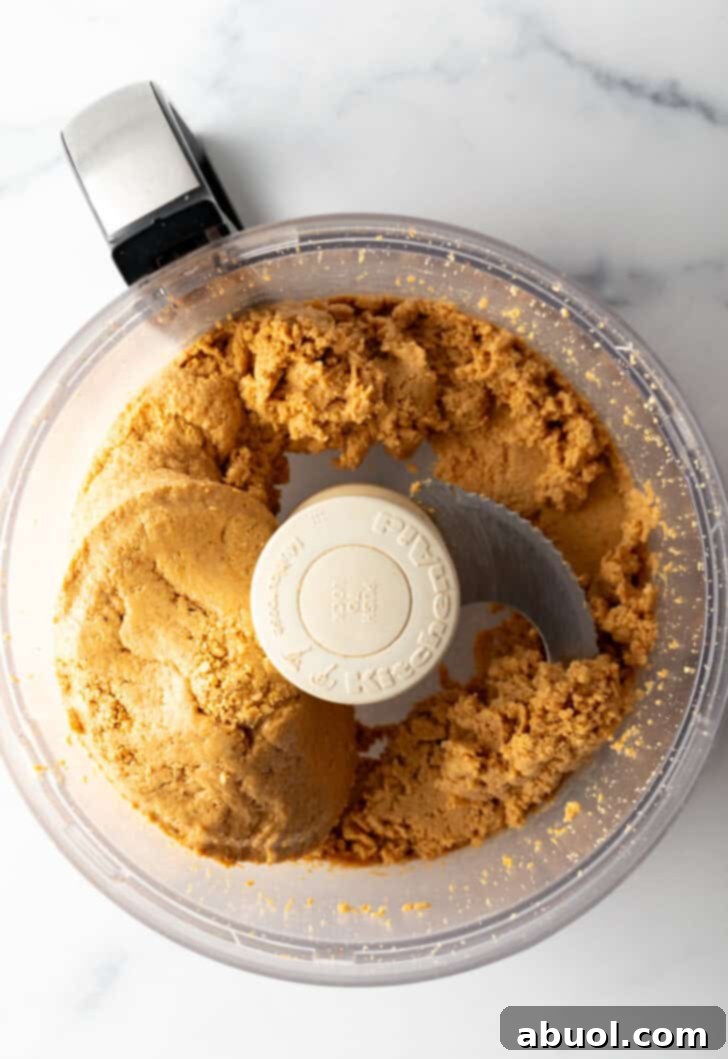
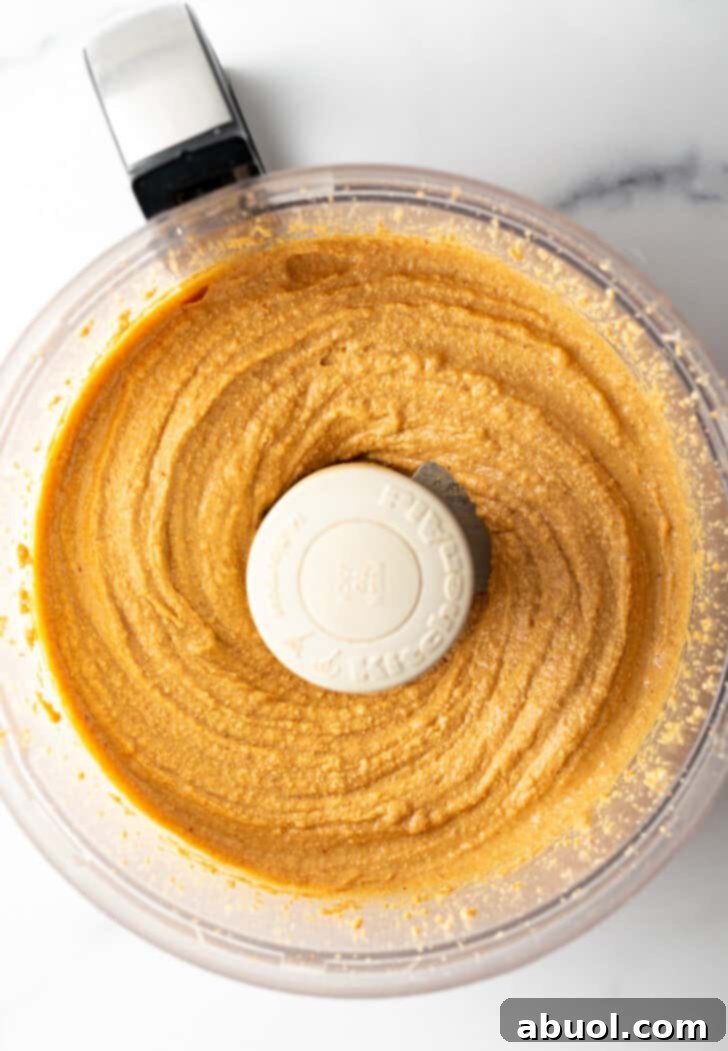
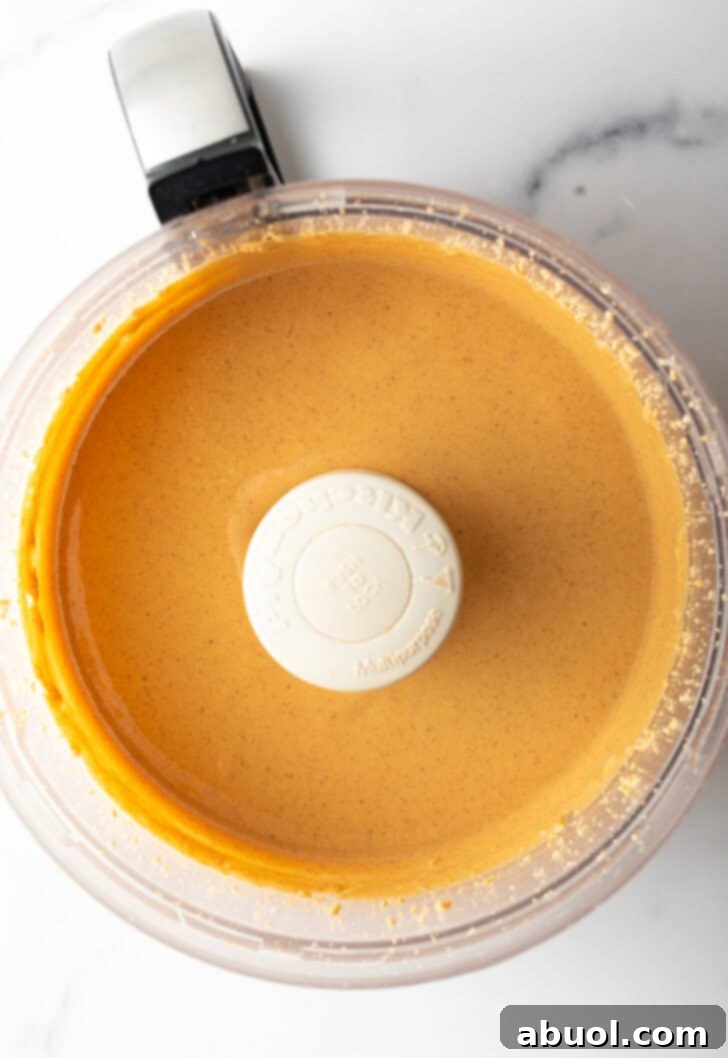
How to Make Peanut Butter Step-By-Step: The Transformation
Making peanut butter is less about complex steps and more about patience and observation. Here’s a detailed guide to achieving that perfect, creamy texture:
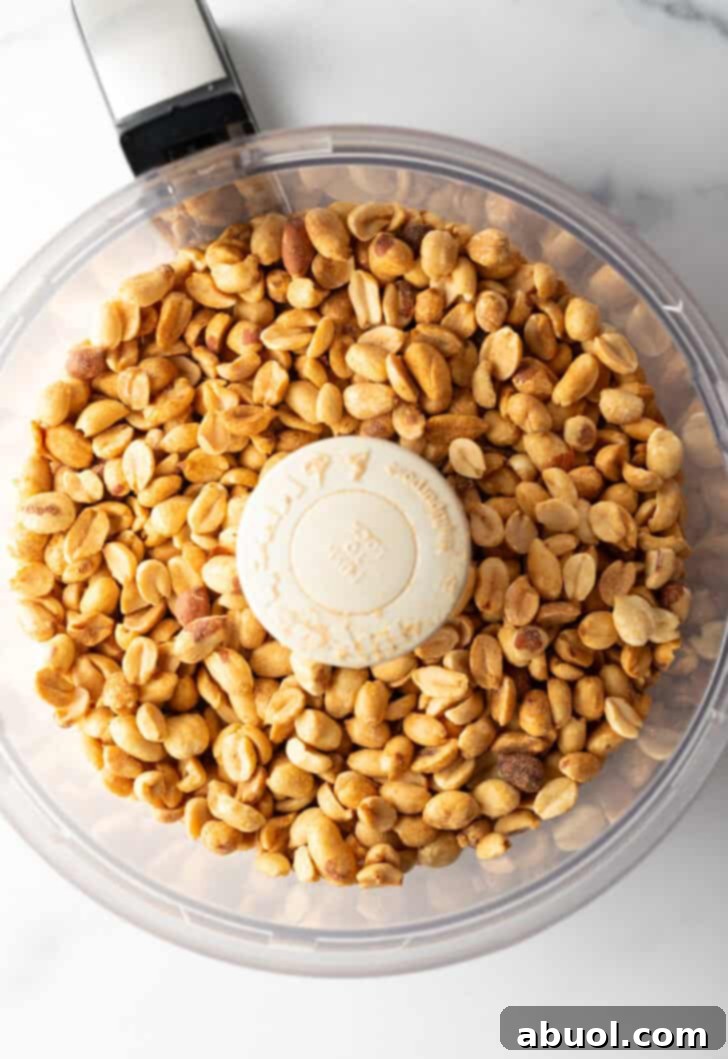
- Load the Peanuts: Begin by placing your chosen peanuts into the bowl of a high-powered food processor or a robust blender. Secure the lid firmly in place. Ensure your machine is powerful enough to handle the task; a weak motor might struggle to break down the peanuts effectively.
- Process with Patience: Turn on your food processor and allow it to purée the peanuts continuously for a full 5 to 7 minutes. This is where the magic happens, and it’s essential to let the machine work its full course. The peanuts will undergo several distinct stages during this time:
- Stage 1 (0-1 minute): The peanuts will quickly break down into coarse crumbs.
- Stage 2 (1-3 minutes): They will then transition into a sticky, dense, dough-like ball that might clump together. Don’t worry, this is completely normal!
- Stage 3 (3-5 minutes): The oils will begin to release, and the mixture will loosen slightly, becoming slightly creamy with chunky pieces still visible.
- Stage 4 (5-7 minutes): Finally, the mixture will smooth out completely, transforming into a glorious, liquid-smooth, and perfectly luscious peanut butter.
Throughout this process, especially during the dough and chunky stages, periodically turn off the food processor and use a rubber spatula to scrape down the sides of the bowl. This ensures all the peanut pieces are evenly processed and helps prevent the motor from overheating. Lock the lid back in place and continue blending.
- Taste and Customize: Once your peanut butter reaches that irresistible creamy consistency, pause the machine and give it a taste test. If you used unsalted peanuts, now is the perfect time to add a pinch of sea salt to enhance the flavor. This is also when you can stir in any of your chosen dry add-ins like cinnamon, pumpkin pie spice, or cocoa powder. Blend for another 10-15 seconds to incorporate thoroughly. Remember, avoid liquid sweeteners at this stage.
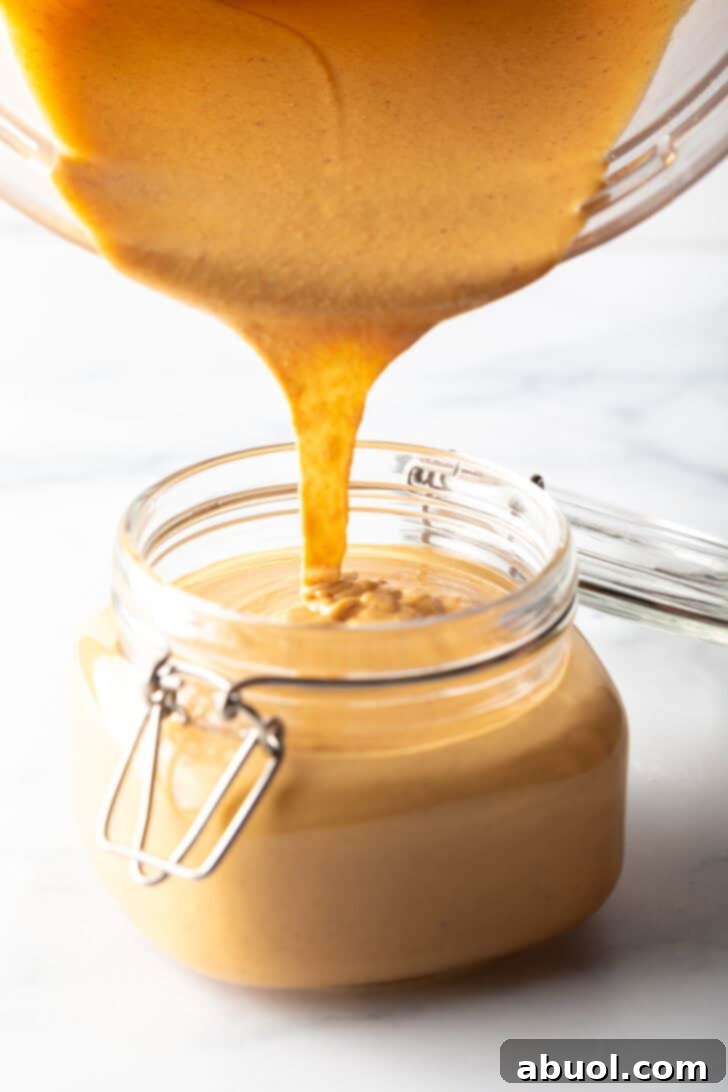
Expert Tips to Make the Best Peanut Butter From Scratch
Achieving consistently perfect homemade peanut butter is simple when you follow a few key guidelines:
- Invest in Good Equipment: The most crucial tool for creamy peanut butter is a high-powered food processor or a high-speed blender. A lesser machine might overheat, struggle to break down the nuts, or fail to achieve the desired smooth consistency. Quality equipment makes all the difference for a silky spread.
- Trust the Process – Literally: As detailed above, peanuts go through several visual stages in the processor. It’s common for first-timers to worry when the peanuts turn into a thick, sticky ball. Don’t panic! This is part of the process. Resist the urge to add oil or liquid. Continue processing, scraping down the sides as needed, and the natural oils will eventually release, transforming it into a smooth butter. Achieving a very smooth texture typically requires 5 to 7 minutes of continuous processing.
- Avoid Liquid Additions: This cannot be stressed enough: do not add liquid ingredients directly into the food processor while blending the peanuts. Liquid sweeteners like honey or maple syrup can disrupt the emulsion, resulting in a thick, pasty, and often gritty texture, rather than a fluid, smooth butter. Stick to dry spices such as cinnamon, nutmeg, ginger, or cayenne pepper for flavor.
- For Sweetened Peanut Butter: If you desire a sweet peanut butter, the best approach is to start with honey roasted peanuts. They are pre-sweetened, ensuring you achieve that wonderful flavor without compromising the marvelously silky-smooth texture of your homemade spread.
- Craft Crunchy Peanut Butter: Love a bit of crunch? It’s incredibly easy to make crunchy peanut butter at home. Once the majority of your nut butter has reached your desired smooth consistency, simply add a handful of whole roasted peanuts back into the food processor during the last minute or so of blending. Pulse a few times until the added peanuts are chopped to your preferred crunch level, then gently stir them in.
- Storing Your Creation: For a very smooth but slightly thicker consistency, perfect for spreading, refrigerate your homemade peanut butter in an airtight container. If you prefer a super pourable peanut butter, ideal for sauces, dressings, or drizzling, store the sealed jar at room temperature.
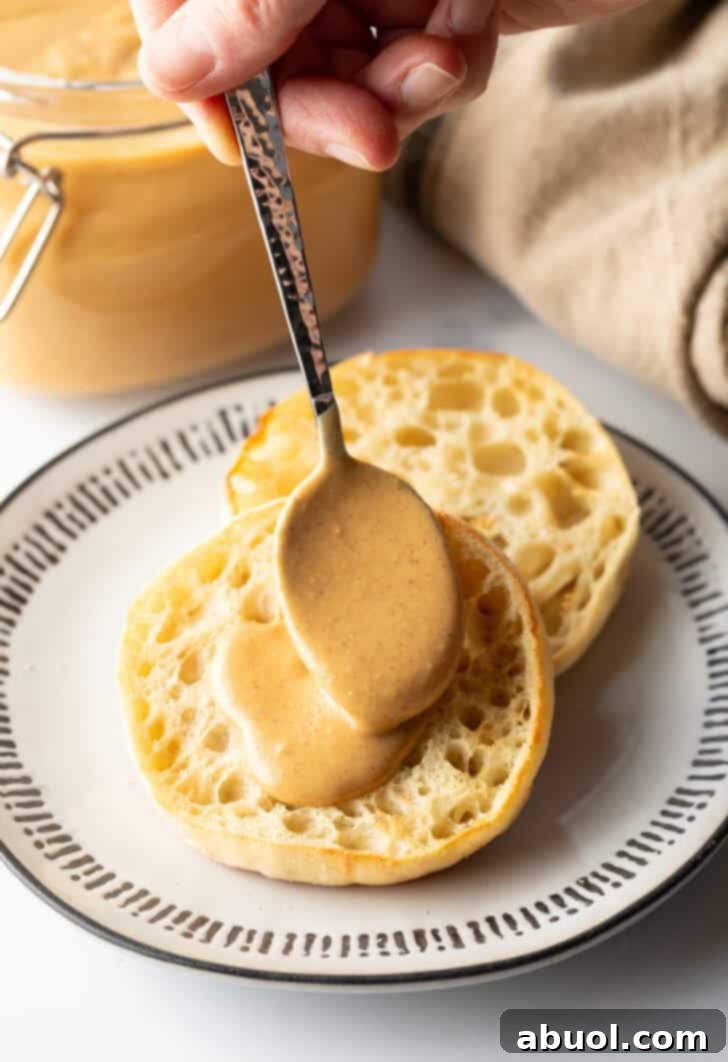
Creative Ways to Use Your Homemade Peanut Butter
The joy of homemade peanut butter lies not just in its superior taste and freshness, but also in the endless possibilities it offers in the kitchen. This golden-brown goodness is incredibly versatile and can elevate a wide array of dishes:
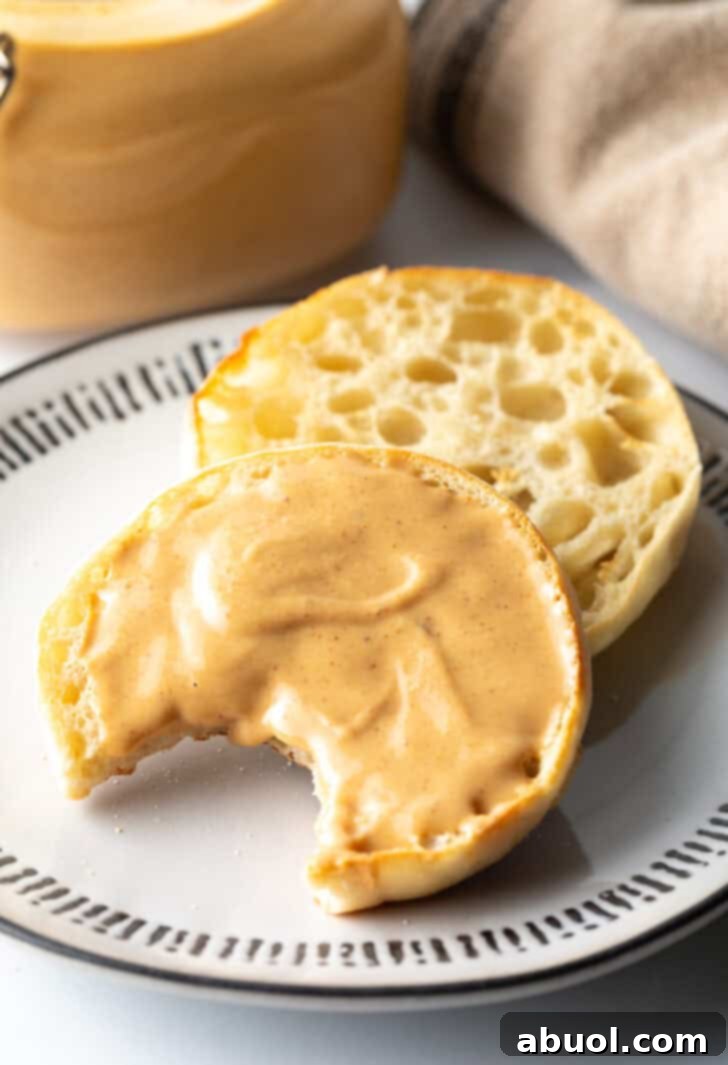
- Classic Spreading: Spoon it onto warm English muffins, toast, bagels, or other baked goods for a delightful breakfast or snack.
- Smoothie Enhancer: Add a generous dollop to your morning smoothie for a creamy texture, nutty flavor, and a protein boost.
- Dipping Delight: Use it as a dip for apple slices, banana chunks, carrots, celery sticks, crackers, or pretzels.
- Simply Scrumptious: Sometimes, the best way to enjoy it is straight off the spoon – no judgment here!
- The Ultimate PB&J: Of course, homemade peanut butter is absolutely perfect for crafting the ultimate PB and jelly sandwich. Experiment with different jams like peach preserves, or any homemade jam that’s your personal favorite!
Beyond these everyday uses, homemade peanut butter shines in both sweet and savory culinary creations. Here are some of our absolute favorite recipes that truly highlight the rich flavor of fresh peanut butter:
Indulgent Sweet Recipes with Peanut Butter –
- Chocolate and Peanut ButterCandy
- Peanut ButterBanana Cookies
- Peanut ButterPotato Candy
- FluffernutterPie
- Caramel Peanut ButterCookie Bars
- Peanut ButterAir Fryer Cookies
- Easy MicrowavePeanut Brittle
- Peanut Butter OatmealMonster Cookies
- No BakeBuckeyes(Chocolate Peanut Butter Candy)
- Peanut ButterRice Krispie Barswith Chocolate
And, of course, don’t miss our recipe for the BEST Peanut Butter Cookies!
Exotic Savory Recipes with Peanut Butter –
- Thai Chicken Satay withPeanut Sauce
- African PeanutSoup(Maafe)
- Panang-StyleTofu Curry
- Thai PanangChicken Curry
- ChickenPad Thai
- Dan DanNoodles
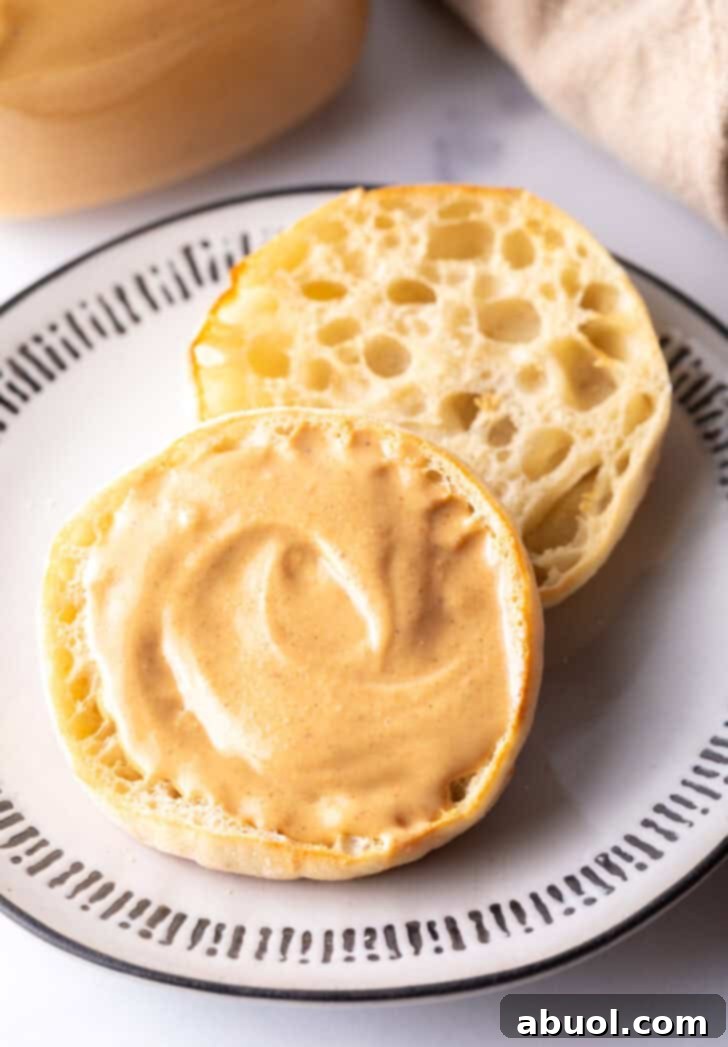
Frequently Asked Questions: Homemade Peanut Butter
The ideal storage method depends on your preferred consistency. If you enjoy your peanut butter on the thinner, more pourable side, store it at room temperature in an airtight container in your pantry. For a firmer, easily scoopable peanut butter, perfect for spreading, keep the sealed jar in the refrigerator. Before using refrigerated peanut butter, simply give it a good stir to ensure uniform consistency, as some oil separation can occur naturally.
Homemade peanut butter has a good shelf life, especially compared to some other homemade spreads. Stored in an airtight container, it will keep well in your pantry for up to one month. If you store it in the refrigerator, its freshness can be extended significantly, lasting for up to three months. Always use a clean spoon to prevent contamination.
The cost-effectiveness of making peanut butter at home truly depends on a couple of factors: the price of the peanuts you purchase and the cost of the store-bought brands you typically buy. The price of both a jar of commercial peanut butter and a bag of quality roasted peanuts can vary widely, ranging from $2 to $10, influenced by ingredients, brand, and organic certifications. If you usually opt for a premium, pricier $8 jar from the store but can find high-quality roasted nuts for less than $5 in bulk, you’ll certainly save money. However, beyond the financial aspect, the real value of homemade peanut butter lies in its simplicity and the complete control you have over its ingredients. Many would argue that the unparalleled freshness, taste, and wholesome goodness of a custom-made spread are simply priceless!
Unfortunately, to achieve that signature smooth and creamy texture for peanut butter (or any nut butter), you absolutely need a high-powered blender or a food processor. These machines are designed to continuously break down the nuts and release their natural oils, creating the emulsified spread. There are no practical alternatives for achieving a truly smooth nut butter from scratch without one of these powerful appliances.
Absolutely, this method is wonderfully adaptable for creating a variety of delicious nut butters! Feel free to experiment with other dry-roasted nuts. abuol.com choices include almonds, pecans, walnuts, or cashew nuts. The processing time might vary slightly depending on the hardness and oil content of the nut, but the fundamental steps remain the same. Ensure they are dry roasted for the best flavor and texture.
If your peanut butter turns out too thick or dry, it’s usually due to insufficient processing time or possibly using peanuts that are too dry to begin with. Ensure your food processor runs for the full 5-7 minutes (or even a little longer) to allow enough natural oils to release. If it still seems too dry after adequate blending, you can add a very small amount (half a teaspoon at a time) of a neutral oil like peanut oil, coconut oil, or vegetable oil, and process until it reaches your desired consistency. Be cautious not to add too much at once.
Explore More Easy How-To Recipes!
If you enjoyed the simplicity and satisfaction of making your own peanut butter, you’ll love these other straightforward “how-to” recipes designed to empower your inner chef:

Print Recipe
Leave a Review »
How to Make Peanut Butter (1-Ingredient!)
10 minutes
10 minutes
Learn the super easy steps and top tips for how to make perfectly smooth, luscious, and delicious peanut butter from scratch with only 1 ingredient. (Hint: It’s peanuts!)
16 servings (2 cups)
Ingredients
- 5 cups dry roasted peanuts (salted or honey roasted peanuts)
Instructions
- Set out a large high-powered food processor. Place the salted dry roasted peanuts into the food processor and lock the lid firmly into place.
- Turn the food processor on and let it purée the peanuts continuously for 5 to 7 minutes. During this time, the peanuts will progressively transform into crumbs, then a dough-like ball, then become slightly creamy with chunky pieces, and finally, achieve a very smooth, liquid-like peanut butter consistency. Remember to scrape down the sides of the bowl periodically to ensure even blending.
- Once the desired smooth consistency is reached, taste the peanut butter. Add additional salt if desired, or incorporate any dry spices such as cinnamon or even a touch of cayenne pepper for extra flavor. To maintain the smooth consistency, avoid adding any liquid sweeteners at this stage.
- Transfer the freshly made peanut butter into an airtight container. Refrigerate it until you are ready to serve. Chilling will firm up the peanut butter, giving it a very smooth but slightly thicker consistency perfect for spreading.
Notes
Optional Add-ins:
- Sea salt
- Cinnamon
- Pumpkin pie spice
- Apple pie spice
- Cayenne pepper
- Cocoa powder
To maintain your desired consistency, do not add liquid sweeteners.
Homemade peanut butter will keep well in the pantry for up to a month, and stays good in the fridge for up to 3 months when stored in an airtight container.
Nutrition Information
Calories: 275kcal,
Carbohydrates: 10g,
Protein: 11g,
Fat: 23g,
Saturated Fat: 4g,
Polyunsaturated Fat: 5g,
Monounsaturated Fat: 12g,
Sodium: 192mg,
Potassium: 297mg,
Fiber: 4g,
Sugar: 2g,
Calcium: 27mg,
Iron: 1mg
Condiment, Dip, How To
American
Sommer Collier