

Welcome to the ultimate guide for crafting a truly exceptional Denver Omelette right in your own kitchen! Forget the notion that a restaurant-quality omelette is out of reach; with this recipe, you’ll whip up a fluffy, tender, and intensely flavorful breakfast classic in just 20 minutes, all within a single pan. This dish, a beloved staple of American breakfast culture, combines savory ham, sweet bell peppers, crisp onions, and an abundance of rich, melted cheddar cheese into a perfectly cooked egg canvas. It’s an easy yet impressive meal, ideal for a quick weekday start or a leisurely weekend brunch.

There’s a special place in my heart, and certainly in my family’s, for egg dishes. From a hearty Huevos Rancheros, loaded with perfectly cooked eggs, savory meat, and a zesty sauce, that satisfies any time of day, to a simple scramble, eggs are a versatile hero. Even if your affection for eggs doesn’t quite match our enthusiastic devotion, you’re bound to agree that this Denver omelette recipe is an absolute delight for breakfast, brunch, or even “brinner” (that’s breakfast-for-dinner, for those not in the know!). While many omelette variations exist, the quintessential Denver omelette is defined by its core quartet of ingredients: diced ham, finely chopped onions, colorful bell peppers, and plenty of sharp cheddar cheese. Before venturing into adventurous swaps or additions, I wholeheartedly recommend experiencing this recipe in its authentic form. It allows you to truly appreciate the exquisite balance of simple, yet profoundly savory and cheesy flavors that make a classic Western omelette so unforgettable.
Table of Contents
- Recipe Highlights: Mastering the Denver Omelette
- Essential Ingredients and Expert Tips
- Step-by-Step Guide to a Perfect Denver Omelette
- Creative Recipe Variations for Your Omelette
- Serving Suggestions for a Complete Meal
- Storing and Reheating Leftovers
- Frequently Asked Questions About Denver Omelettes
- More Irresistible Breakfast Recipes


Recipe Highlights: Mastering the Denver Omelette
Expert Omelette Techniques – Omelettes often carry a reputation for being somewhat “fancy” or tricky to perfect, making them a little intimidating for home cooks. However, having prepared countless omelettes with this method, I confidently consider myself an “eggs-pert” in this domain! Much like my straightforward guide for how to hard boil eggs, this Denver omelette recipe is far simpler than you might imagine. The core secret to achieving that perfect Denver omelette lies in sautéing the ham and vegetables in the skillet *before* adding the eggs. This crucial step softens and subtly sweetens the bell peppers and onions, while gently warming the ham, enhancing all the flavors. After this initial sauté, the rest of the process is primarily about cooking the eggs to a tender perfection, carefully adding the fillings, and mastering the fold. You’ll find even more of my professional tips woven into the step-by-step instructions below, ensuring your success.
A Taste of the West – The Denver omelette, also widely known as a Western omelette, is a quintessentially American egg dish. Its distinctive flavor profile comes from the harmonious blend of savory ham, vibrant bell peppers, and aromatic onions. While traditionally garnished with a dollop of salsa and a spoonful of sour cream, this versatile dish readily accepts a variety of breakfast accompaniments to create a truly complete meal. Consider serving it alongside comforting sweet potato hash for a touch of sweetness, or a rich Amish breakfast casserole for a more elaborate spread. The rich, bold flavors are reminiscent of a hearty meal from the American West, making it a satisfying choice for any time of day.
Crafted One at a Time – This recipe is meticulously designed for preparing one generous, individual omelette. The nature of omelette cooking dictates that to achieve optimal fluffiness and even cooking, it’s best to prepare them one at a time in the pan. However, the ingredients can easily be scaled up using the serving size adjuster in the recipe card. Simply multiply the ingredients as needed and repeat the cooking process for each omelette. This ensures that every single omelette you make is as fresh, perfectly cooked, and delicious as the last, allowing you to cater to any number of guests without compromising on quality.

Essential Ingredients and Expert Tips
- Eggs – For the fluffiest and most evenly cooked omelette, I always recommend using large eggs. A critical tip for success is to let your eggs sit on the counter for about 15-20 minutes to reach room temperature before cracking them. Room temperature eggs blend more smoothly with other ingredients and cook more uniformly and gently, preventing a rubbery texture that can occur when cold eggs hit a hot pan. This seemingly small step makes a significant difference in the final texture of your omelette.
- Heavy Cream – The secret to truly luscious and incredibly fluffy eggs lies in using heavy cream instead of milk. The higher fat content in heavy cream incorporates more air when whisked, resulting in a richer, more tender, and noticeably fluffier omelette. If you’re looking for a slightly lighter option or don’t have cream on hand, whole milk can be substituted in a pinch, though the omelette’s richness and texture will be slightly different.
- Ham – This recipe is a fantastic way to utilize leftover cooked ham from holiday feasts like Easter, Christmas, or Thanksgiving, giving it a delicious second life! If you don’t have leftovers, a store-bought pre-cooked ham, whether a whole piece you can dice or pre-sliced ham steaks, works just as wonderfully. Opt for a good quality smoked ham for the best flavor payoff, diced into small, even pieces for optimal distribution within the omelette.
- Bell Pepper – Feel free to use any color bell pepper you prefer – red, yellow, orange, or green. Each offers a slightly different sweetness level and vibrant hue. For a truly classic Denver omelette experience, I lean towards green bell peppers. Their slightly less sweet, almost tangy flavor provides a beautiful contrast to the richness of the ham and cheese, contributing to the signature Western taste. Ensure they are finely diced for even cooking and tender texture.
- Cheddar Cheese – For unparalleled flavor and a superior melt, I consistently advocate for grating your cheddar cheese fresh from the block. Block cheese melts more smoothly and boasts a more intense flavor compared to pre-shredded varieties, which often contain anti-caking agents that can hinder melting. However, for convenience, a good quality bagged shredded cheddar cheese will still yield a delicious omelette. Sharp cheddar is my go-to for its robust flavor that stands up beautifully to the other ingredients.
Equipment Tip – The right pan is your best friend when making omelettes. I strongly suggest using an 8-10 inch nonstick skillet for this recipe. A quality nonstick surface ensures your eggs won’t stick, making the crucial folding and flipping steps effortless. While a well-seasoned cast-iron pan or a good stainless steel pan *can* work, they require more careful temperature control and a more generous amount of fat to prevent sticking. For a foolproof omelette, nonstick is the way to go.
Step-by-Step Guide to a Perfect Denver Omelette
For full ingredient proportions, detailed instructions, storage tips, and a video tutorial (where available), please refer to the printable recipe card at the bottom of this post.
Step 1: Meticulous Preparation – Begin by preparing your core fillings. Dice the cooked ham, onion, and bell pepper into uniform, small pieces. Uniformity is key here, as it ensures all ingredients cook evenly and integrate perfectly into the omelette. Next, shred your cheddar cheese, ideally by hand from a block, for the freshest taste and best melting capabilities. Having all your ingredients prepped and ready before you start cooking is crucial for a smooth and quick omelette-making process.
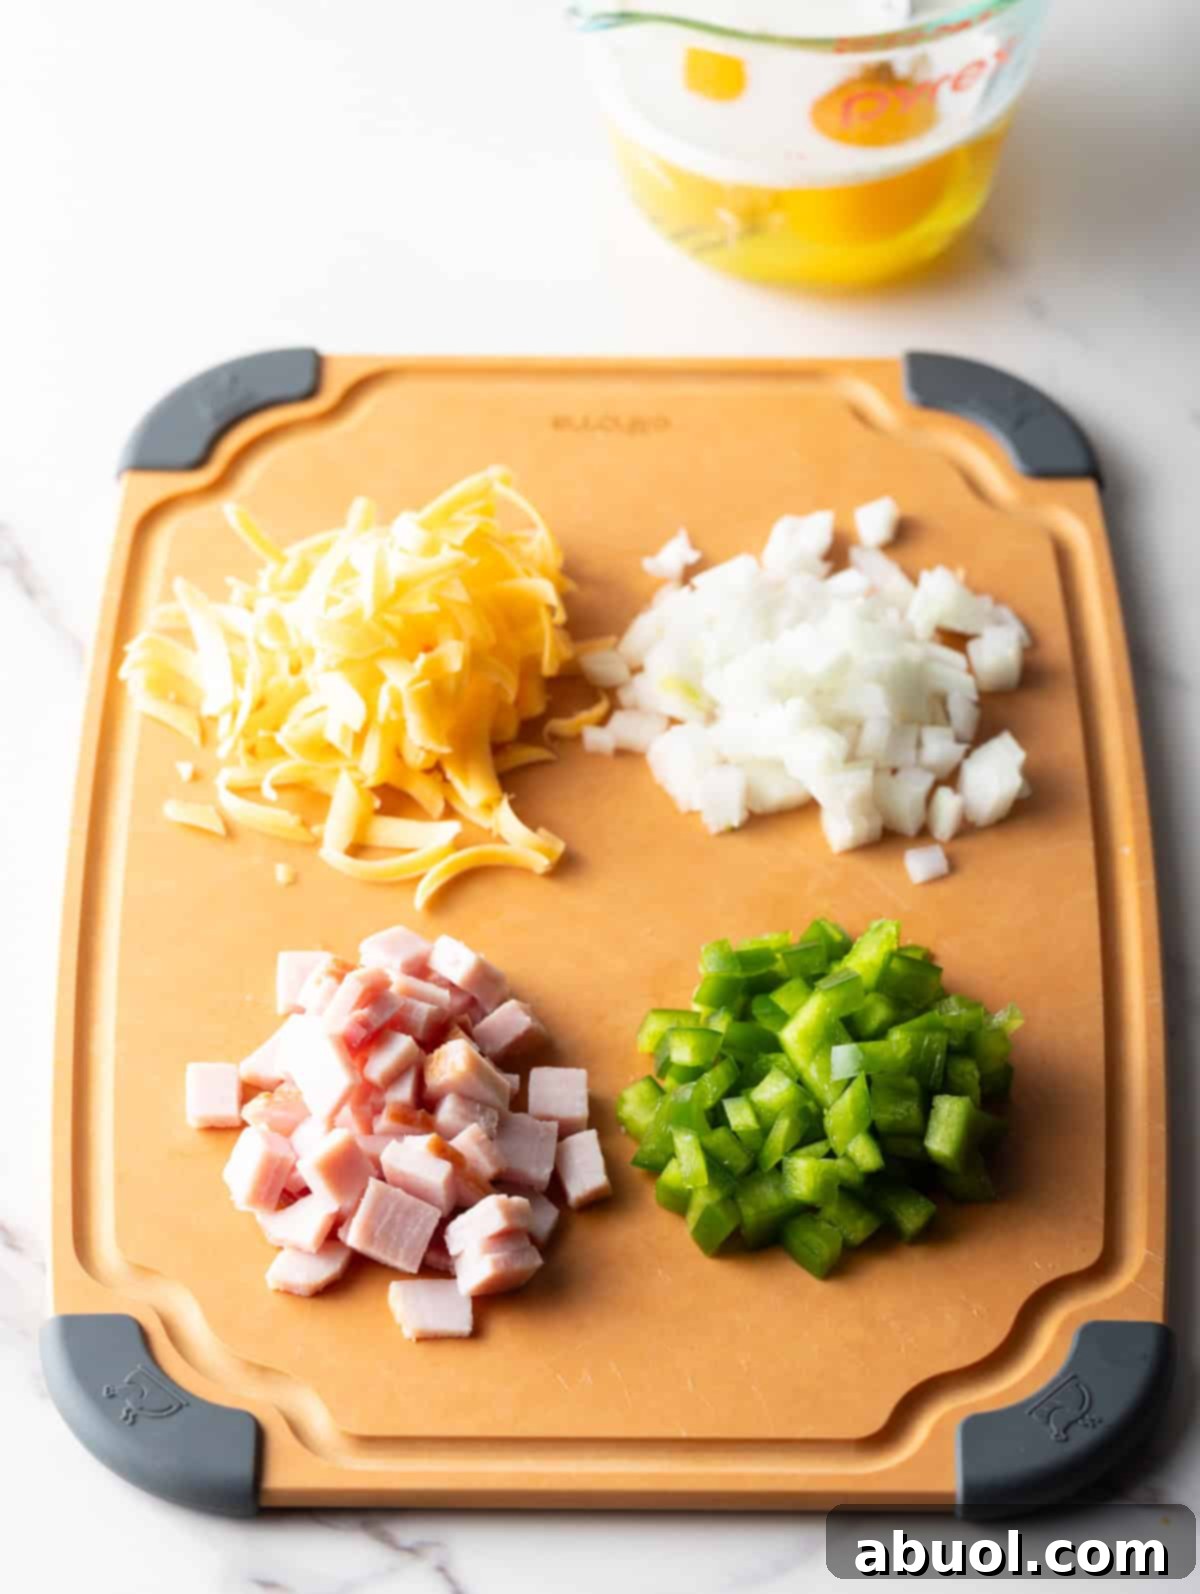
Step 2: Whisk Eggs and Cream to Perfection – Crack your large, room-temperature eggs into a glass measuring cup or a small bowl. Add the heavy cream. Using a fork or a whisk, beat the mixture vigorously until it’s thoroughly combined and slightly frothy. This vigorous beating incorporates air into the eggs, which is essential for achieving that light, fluffy, restaurant-style omelette texture. Don’t be shy – whisking well is a secret to omelette success!

Step 3: Sauté the Flavorful Veggies – Place a large nonstick skillet over medium heat on your stovetop. Add the first tablespoon of butter. Once the butter has melted and is shimmering, add the diced onion and bell pepper. Sauté these vegetables for approximately 2-3 minutes, stirring constantly with a wooden spoon. The goal here is to soften the vegetables and allow their natural sugars to caramelize slightly, deepening their flavor without letting them burn. This step is vital for the overall taste and texture of your Denver omelette.
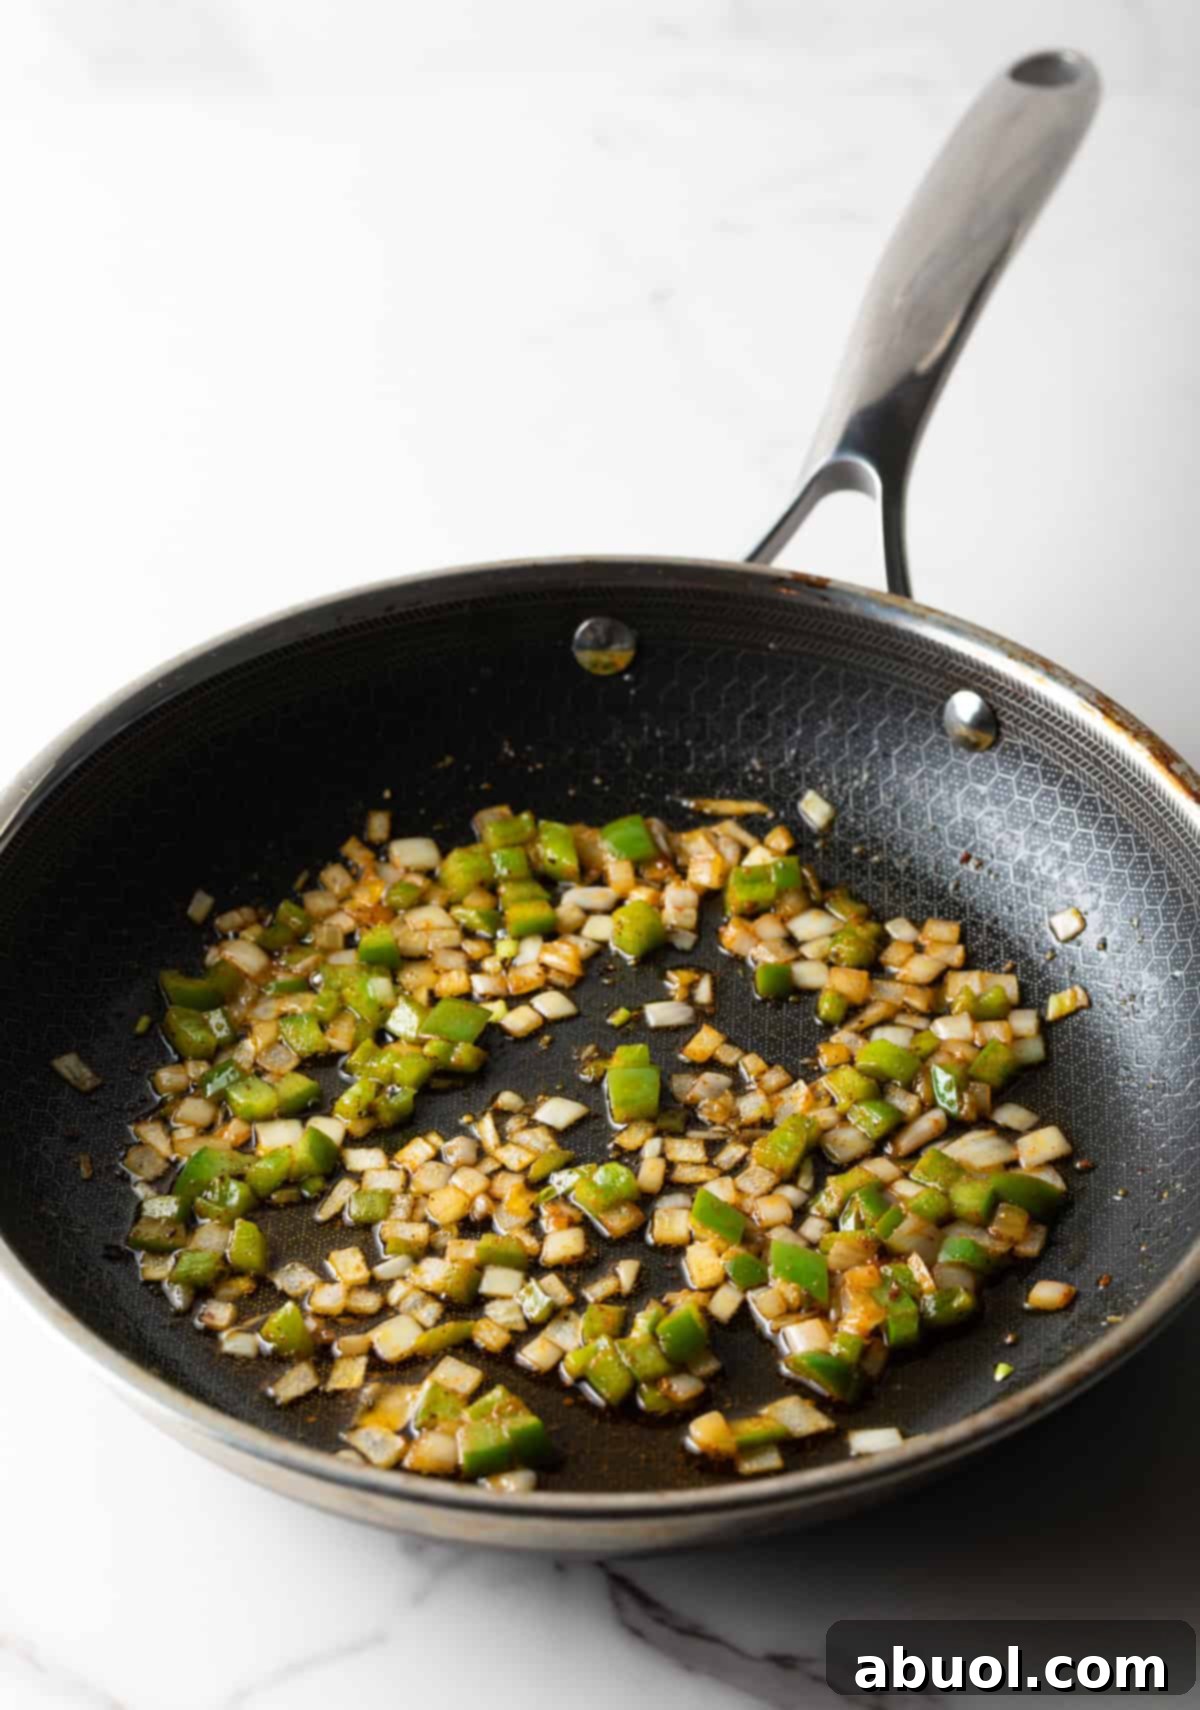
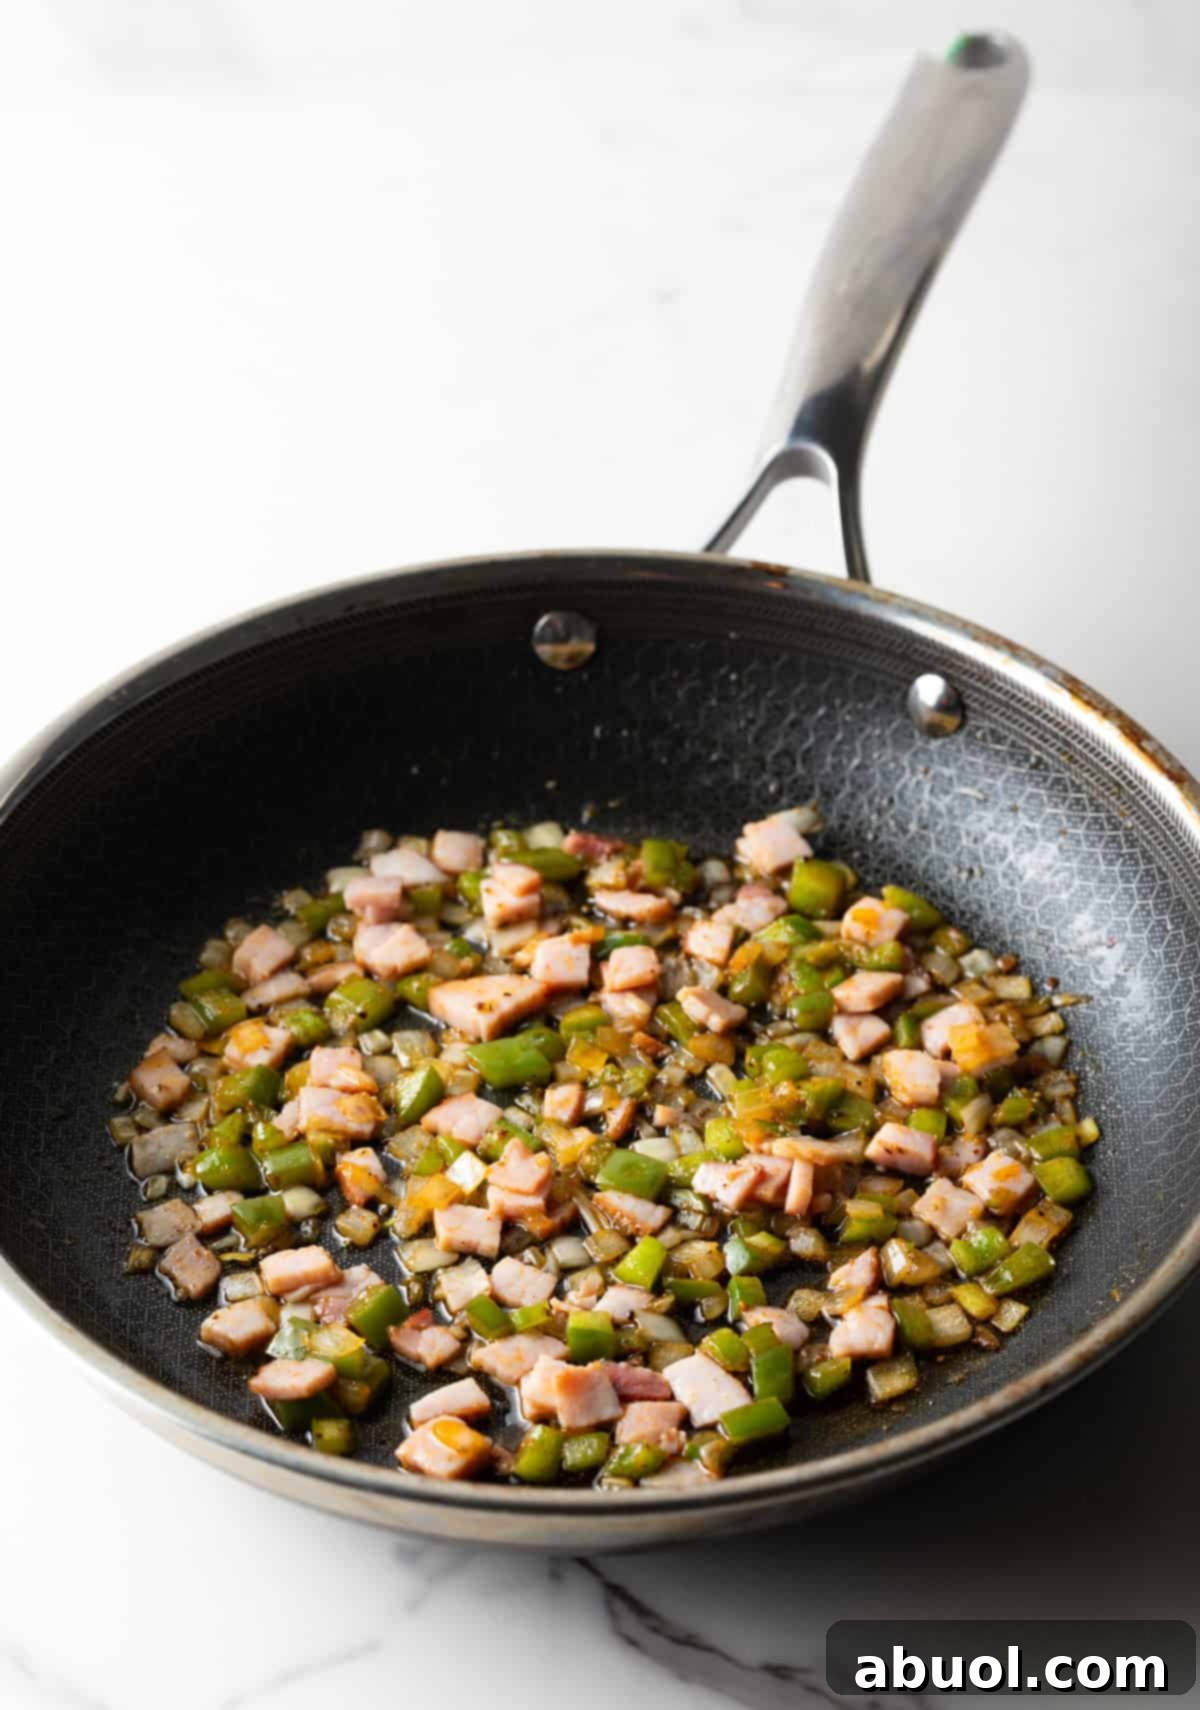
Step 4: Incorporate Ham and Season – Now, add the diced ham to the skillet with the softened vegetables. Cook for another minute, stirring occasionally, just enough to warm the ham through and allow its savory notes to mingle with the peppers and onions. This is the perfect moment to season generously with salt, freshly ground black pepper, and a dash of cayenne pepper for a subtle kick (highly recommended!). After seasoning, reduce the heat from medium to low. This lower temperature is crucial for the eggs to cook gently and evenly, preventing them from browning too quickly.
Step 5: Add the Eggs and Initiate Cooking – Add the remaining tablespoon of butter (or oil) to the pan. As it melts, quickly swirl it around the bottom and up the sides of the skillet, ensuring the entire surface is well-coated. This is an absolutely critical step to prevent your eggs from sticking to the pan, guaranteeing a smooth release and a beautiful final omelette. Once the skillet is thoroughly buttered, pour the frothy egg and cream mixture directly over the cooked veggies and ham. Use your spatula to gently push the cooking eggs from the edges towards the center of the pan, allowing the uncooked liquid egg to flow into the gaps. This technique ensures a uniformly thick omelette without any holes.

Step 6: Introduce the Cheese and Prepare for Folding – Once the edges of the egg mixture begin to set and the center is still slightly moist, evenly sprinkle the shredded sharp cheddar cheese over the eggs. Make sure to leave a small 1-inch gap around the outer edge of the omelette – this helps with neat folding. With the cheese in place, gently give the skillet a small shake. This ensures the egg is loose and not adhering to the bottom of the pan, which is vital for a clean fold. If needed, carefully use your spatula to loosen any stubborn edges.

Step 7: The Art of Folding – Now comes the exciting part – the roll and flip! With your spatula, gently lift the edges of the omelette all the way around the pan. The egg should lift easily, revealing a lovely golden-brown underside, indicating it’s fully cooked and ready. Carefully tilt the pan slightly *away* from you, allowing you to slide your spatula underneath one side of the omelette. Begin to gently roll the omelette over itself, simultaneously tilting the pan *back towards you* to guide the fold. Alternatively, for a simpler approach, you can just fold the omelette in half. The residual heat from the perfectly cooked egg will work its magic, melting the cheddar cheese into a gooey, irresistible filling as the omelette wraps around it. This creates a beautifully contained, flavorful breakfast package.

Creative Recipe Variations for Your Omelette
- Add More Veggies – While the classic combination of green bell pepper and onion is essential for an “official” Western omelette, you’re welcome to introduce additional vegetables to the sauté pan. Consider incorporating thinly sliced mushrooms for an earthy depth, tender baby spinach for a boost of greens (add towards the end of sautéing until wilted), or even finely diced jalapeños for an extra touch of heat. Ensure any added vegetables are diced small for even cooking.
- Lighter Egg Whites – For a lighter, lower-fat version of this Denver omelette, you can opt to use only egg whites in your egg and cream mixture. To compensate for the volume and richness lost from the yolks, I recommend adding an extra egg white (or two) to achieve a similar fluffy texture and satisfying portion size. The cooking process remains the same, ensuring a delicious outcome.
- Alternate Meats – If ham isn’t your preferred protein, or you’re simply looking to mix things up, there are fantastic alternatives. Swap out the diced ham for crispy cooked and crumbled bacon, savory crumbled and cooked breakfast sausage, or, for those who love a bit of spice, crumbled and cooked spicy chorizo. Each option will impart its unique flavor profile, transforming the classic Denver omelette into a personalized creation.
- Vegetarian Option – Easily adapt this recipe to be vegetarian-friendly by omitting the ham entirely. To ensure a satisfying and flavorful omelette, increase the amount of bell peppers and onions, or add a wider variety of extra vegetables. Sautéed zucchini, corn kernels, or even a handful of black beans can make for a hearty and delicious meatless Denver-style omelette.
- Cheese Choices – While sharp cheddar is the traditional and highly recommended cheese for its robust flavor and excellent melt, don’t hesitate to experiment with other varieties to alter the taste profile. Mellow Colby-jack cheese offers a milder, creamier melt, while shredded spicy pepper jack cheese will introduce a delightful heat and a tangy kick, elevating the omelette to a bolder level.

Serving Suggestions for a Complete Meal
The beauty of a freshly cooked omelette is undeniable, so once it’s perfectly folded, I gently slide the hot Denver omelette directly from the skillet onto a waiting plate. Given the seasoned peppers and onions within, this omelette pairs exquisitely with southwestern-inspired condiments and sides. Consider serving it with:
- Homemade or store-bought roasted tomato salsa for a vibrant, fresh kick.
- Zesty Pico de Gallo for a burst of fresh tomatoes, onions, and cilantro.
- A cooling dollop of sour cream or Greek yogurt to balance the richness.
- Creamy avocado slices or a generous scoop of guacamole for healthy fats.
- Freshly chopped green onions or cilantro scattered over the top for garnish and added freshness.
This egg dish, packed with protein and vegetables, already stands alone as a satisfying and lower-carb breakfast option. However, if you’re craving some comforting carby goodness to complete your meal, I highly recommend serving it with sides like:
- Crispy fried breakfast potatoes or classic hash browns.
- Fluffy biscuits or warm, buttered toast for soaking up all the flavors.
- Savory sweet potato hash for a touch of natural sweetness and earthy flavor.
- Perfectly baked hash browns for a hands-off potato option.
- Irresistible smashed potatoes, offering a crispy exterior and fluffy interior.
- Extra crispy bacon – because, let’s be honest, you can never have too much delicious pork alongside your ham!

Storing and Reheating Leftovers
While heartier egg casseroles often fare well as leftovers, individually cooked omelettes are truly at their peak when enjoyed freshly prepared. The tender, fluffy texture is best straight from the pan. However, if you find yourself with any delicious leftovers, they can certainly be saved. Place your cooled Denver omelette in an airtight container and store it in the refrigerator for up to 3 days. It will still retain much of its wonderful flavor, but it’s worth noting that the texture might become slightly more firm or “spongy” after being chilled and then reheated, a common characteristic of cooked eggs.
To reheat, I suggest using the microwave with caution. Reheat in short bursts of 20 seconds at 50% power, checking the omelette’s warmth between each interval. Continue until it’s heated through, but be careful not to overcook it, as this can further compromise the delicate texture. Gentle reheating will help preserve as much of that original deliciousness as possible.
Frequently Asked Questions About Denver Omelettes
A common reason for a broken omelette is attempting to fold it too early, before the eggs have sufficiently set and formed a sturdy base. If the exterior isn’t cooked long enough, it can tear, allowing the softer interior to spill out. Patience is key! Allow the omelette to cook undisturbed over low heat until the edges are clearly set and the bottom is a lovely golden brown. This forms a stable “skin” that allows for a clean, easy fold. Also, ensuring you’re using a quality nonstick skillet and properly buttering the pan as described in our instructions is absolutely crucial for preventing sticking and tearing.
Absolutely, yes! Sautéing the vegetables (onions and bell peppers) first is a non-negotiable step for a perfect Denver omelette. This initial cooking serves several important purposes: it helps to cook off excess moisture from the vegetables, which would otherwise be released into the omelette, making it soggy. More importantly, sautéing softens their texture, bringing out their natural sweetness and enhancing their overall flavor. Uncooked or undercooked vegetables would not only lend an unpleasant crunch but also a raw, harsh flavor to the delicate eggs. This pre-sauté ensures your omelette is flavorful, tender, and never watery.
For a perfectly sized, individual Denver omelette, an 8-inch to 10-inch nonstick skillet is ideal. An 8-inch pan will yield a slightly thicker omelette, while a 10-inch pan will produce a thinner, wider omelette that’s perhaps easier to fold for beginners. The key is to have enough surface area for the eggs to spread out and cook evenly without being too crowded, but not so large that the egg layer becomes excessively thin and delicate.

Help Me Spread the Word about this Fabulous Free Recipe! Sharing this recipe link on Pinterest and Facebook is super impactful, and I greatly appreciate it! Find the share buttons below the recipe form.
More Irresistible Breakfast Recipes

Print Recipe
Leave a Review »
Denver Omelette
Video
Ingredients
- 1 tablespoon butter
- 1 tablespoon flavorless oil
- 3 large eggs
- 1 tablespoon heavy cream or milk
- ¼ cup diced smoked ham
- ¼ cup diced bell pepper any color
- ¼ cup shredded cheddar cheese
- 1 dash cayenne pepper or paprika for mild
- Salt and pepper
Instructions
-
Begin by finely dicing the ham, onion, and bell pepper into uniform, small pieces. Next, shred the cheddar cheese by hand. Prepare a small bowl or measuring pitcher for the eggs. Crack the eggs into the bowl, add 1 tablespoon of heavy cream, and beat vigorously with a fork or whisk until the mixture is thoroughly combined and slightly frothy. Set these prepared ingredients aside.
-
Place an 8-10 inch nonstick skillet over medium heat. Add 1 tablespoon of butter to the skillet. Once the butter has melted and is shimmering, add the diced onions and bell peppers. Sauté, stirring frequently, for 2-3 minutes until the vegetables have softened and developed a slight sweetness. Then, add the diced ham and cook for an additional minute, just to warm it through. Season generously with salt, pepper, and a dash of cayenne pepper (or paprika for a milder flavor).
-
Reduce the heat to low. Add 1 tablespoon of flavorless oil (or an additional tablespoon of butter) to the skillet. Swirl the pan to ensure the butter and oil fully coat the entire bottom and sides of the pan. This generous coating is essential to prevent the eggs from sticking.
-
Carefully pour the beaten egg mixture into the skillet over the sautéed ham and vegetables. Sprinkle with another dash of salt and pepper. Using a spatula, gently push the cooking eggs from the edges of the skillet towards the center, allowing any uncooked liquid egg to flow into the spaces. This ensures an evenly cooked omelette without holes.
-
Once the egg is mostly set but still slightly moist in the center, evenly sprinkle the shredded cheddar cheese over the top, leaving about a 1-inch border around the edges. Gently shake the pan to confirm the egg is loose from the bottom. If any edges are sticking, carefully loosen them with your spatula. Then, gently roll or fold the omelette in the skillet. The residual heat from the folded egg will melt the cheese beautifully and finish cooking the last bit of egg to perfection.
-
Carefully slide the hot omelette out of the skillet and onto a plate. Serve immediately, either as-is or with your favorite breakfast sides and condiments, such as home fries, salsa, and a dollop of sour cream.
Notes
To reheat, use a microwave at 50% power in short 20-second bursts until warmed through. Be careful not to overcook, as this can further impact the texture.