
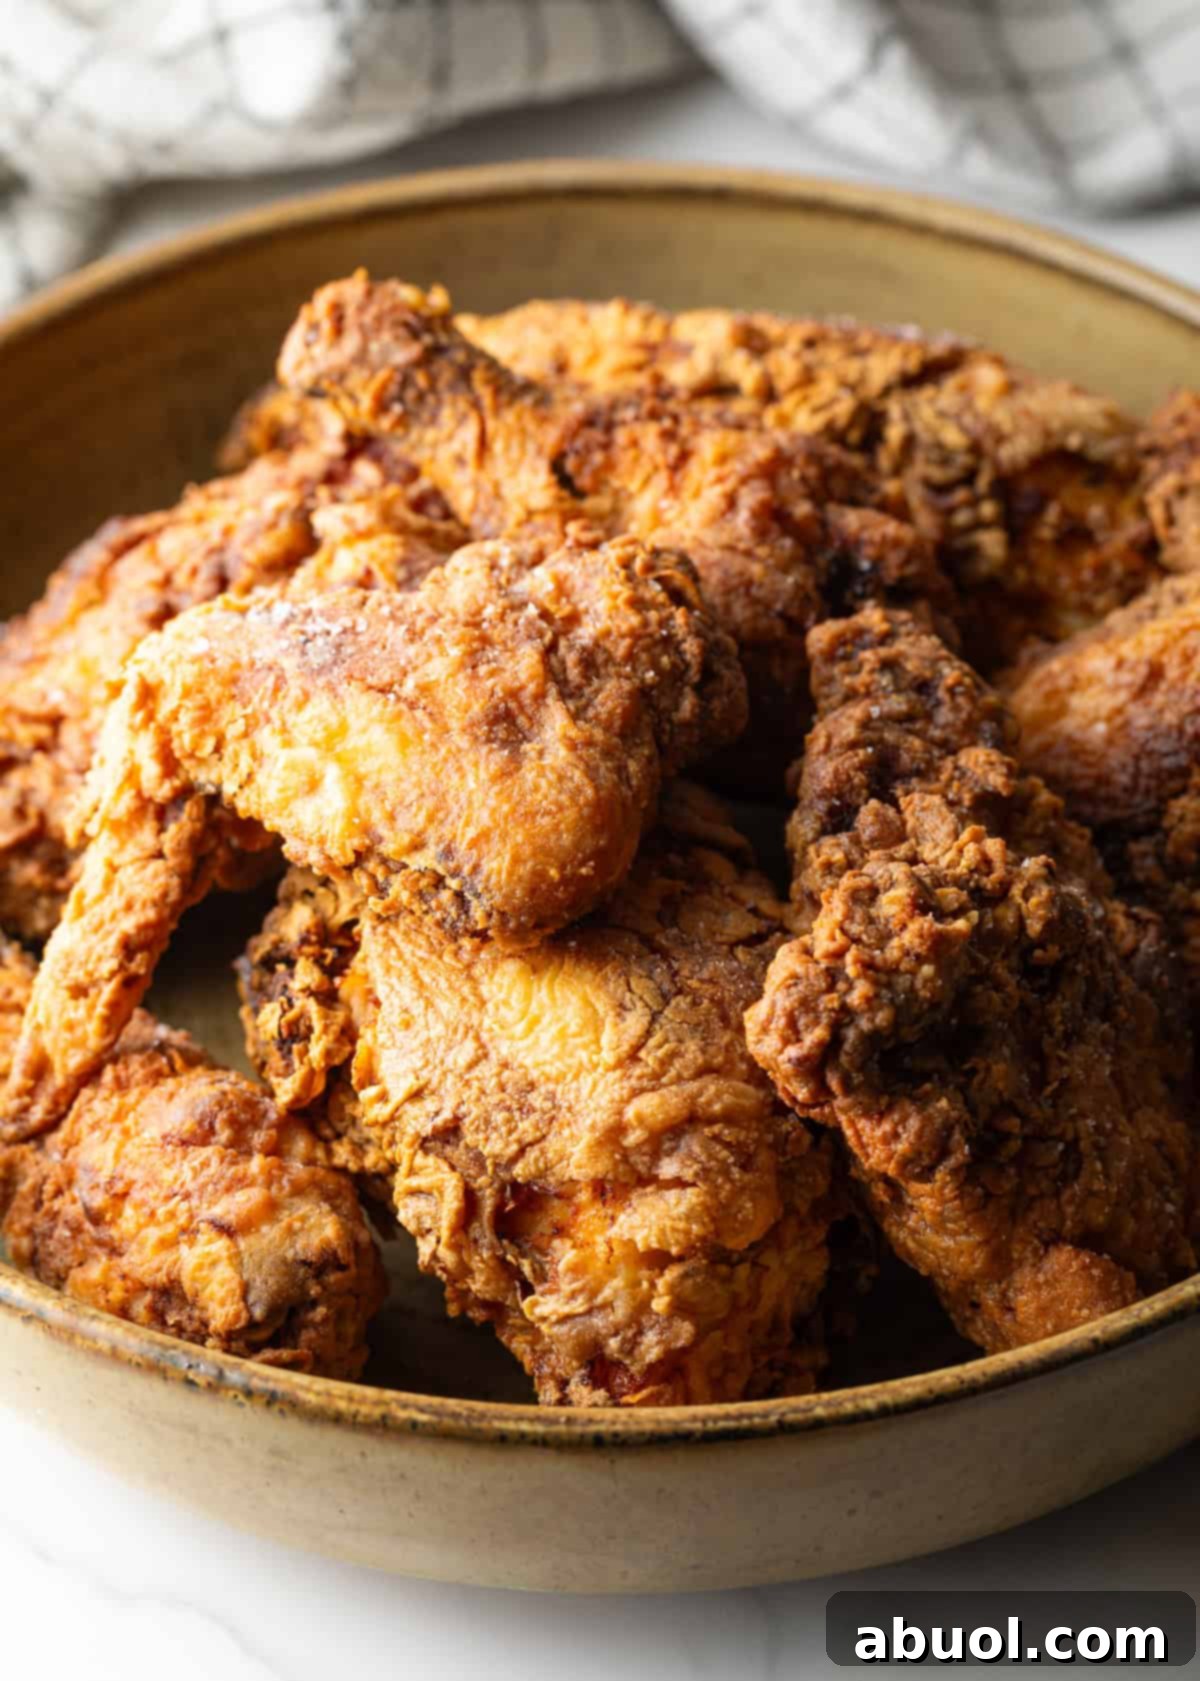
Welcome to the ultimate guide for crafting the most exquisite Southern comfort food right in your own kitchen: cast iron skillet fried chicken. This isn’t just any fried chicken recipe; it’s a time-honored tradition that delivers unparalleled results. We’re talking about chicken that boasts an incredibly crispy, golden-brown exterior while remaining unbelievably juicy and tender on the inside. My tried-and-true method, featuring a classic buttermilk marinade and a blend of simple, aromatic spices, ensures a finger-lickin’ amazing experience every single time. Prepare to elevate your home cooking and master the art of perfectly fried chicken with these step-by-step tips and expert insights.
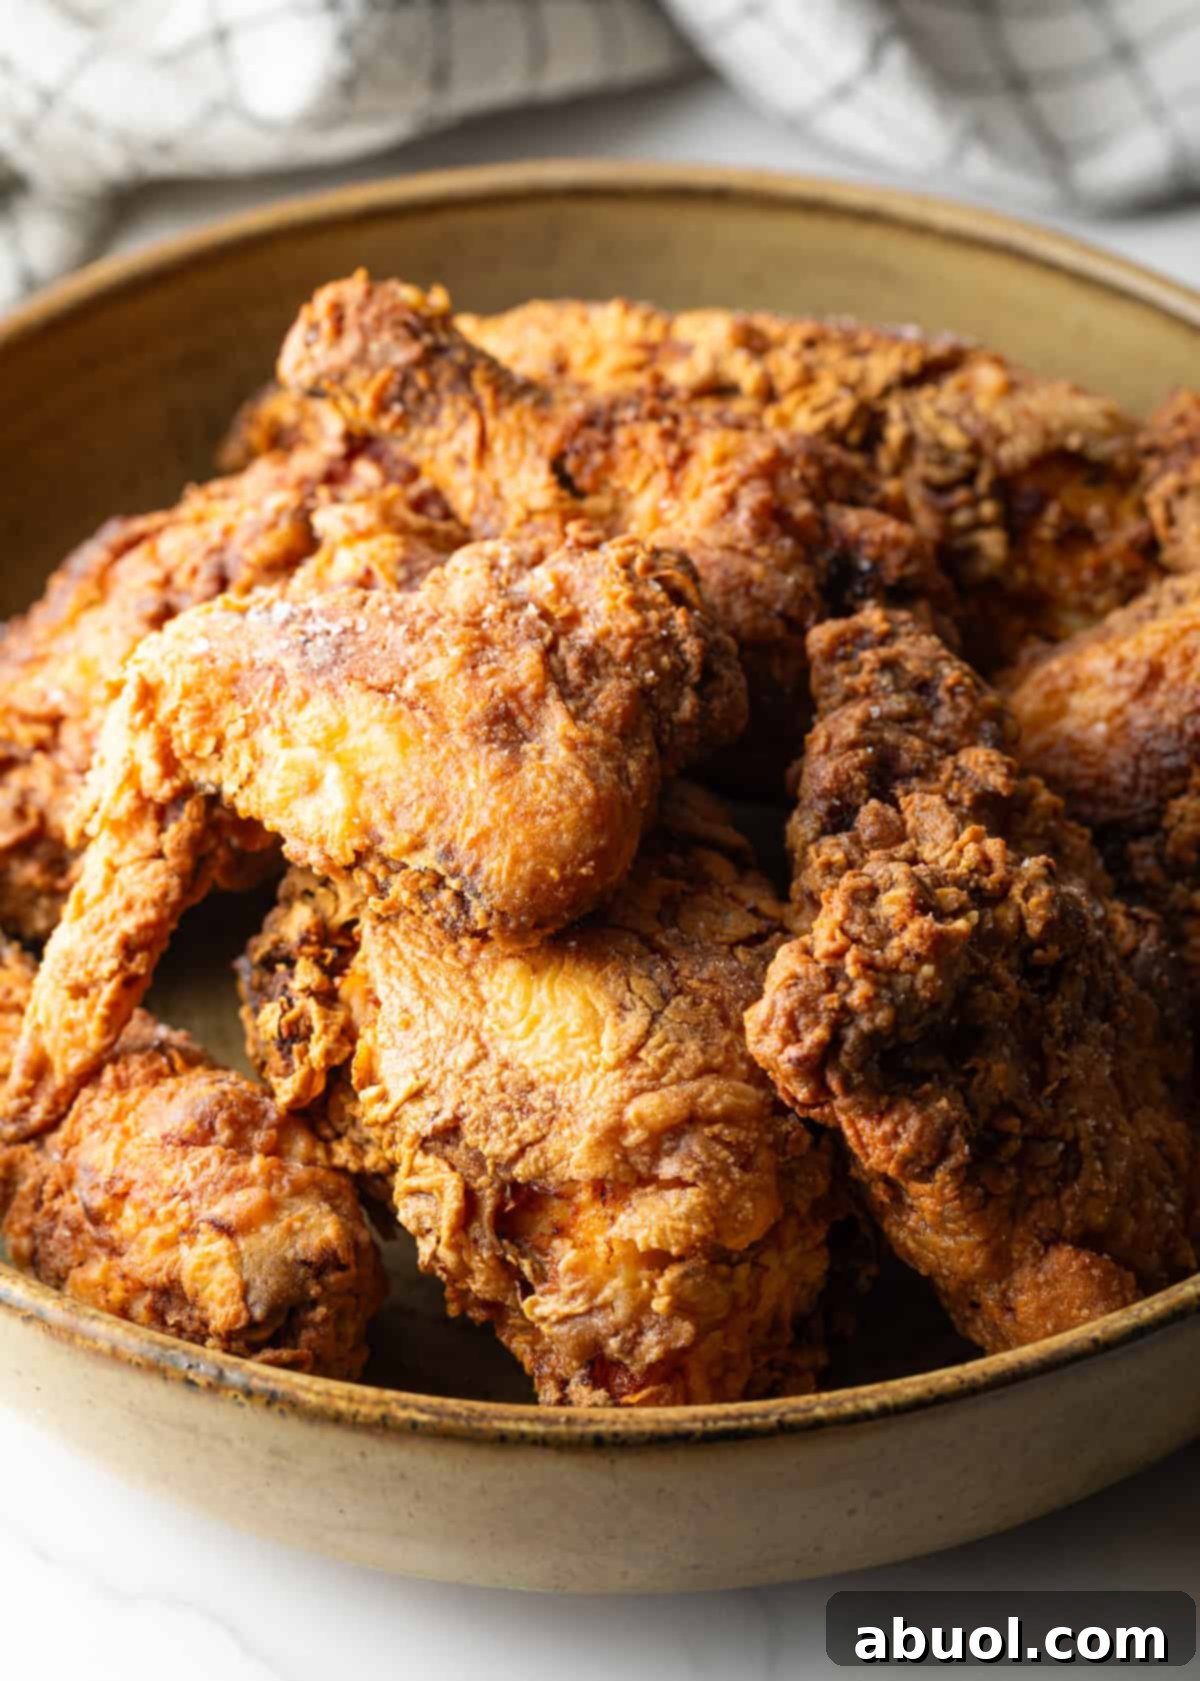
Even if your roots aren’t deeply planted in the American South, you likely grasp two fundamental truths: summers here are intensely hot, and our region is renowned for making, arguably, the best fried chicken. It comes as no surprise, then, that my website features several beloved fried chicken recipes. Among them, our Nashville Hot Chicken stands out, celebrated for its fiery, spicy dunking sauce. We also offer a unique buttermilk-free Northern Tavern-style fried chicken, a particular favorite of my husband’s. While I’ll share links to other cherished recipes further down, it’s clear I have a profound love for this crispy delight. Today, I’m thrilled to present my most straightforward and authentic Southern fried chicken recipe, meticulously prepared in a cast-iron skillet—just as we’ve done for generations in the Southland. This recipe includes a phenomenal buttermilk marinade that can be prepared hours, or even a full day, in advance, promising the crispiest chicken cooked to perfection in 15 minutes or less per batch. Plus, I’ll equip you with expert, step-by-step tips to guarantee flawless results on your very first attempt!
Table of Contents
- Why Choose a Cast Iron Skillet for Fried Chicken?
- Essential Ingredients & Expert Tips for Success
- Recommended Equipment for Perfect Fried Chicken
- Step-by-Step: How to Make Southern Fried Chicken
- Chef’s Expert Tips for Unbeatable Results
- Classic Southern Serving Suggestions
- Storing and Reheating Your Fried Chicken
- Frequently Asked Questions About Fried Chicken
- Explore More Delicious Chicken Recipes

Why Choose a Cast Iron Skillet for Fried Chicken?
The choice of cooking vessel is paramount when frying chicken, and a cast-iron skillet offers several undeniable advantages that make it the preferred tool for authentic Southern fried chicken. Here’s why this rustic, heavy-duty pan is truly remarkable:
Superior Heat Retention: Cast iron is celebrated for its incredible ability to absorb and evenly distribute heat, but more importantly, to retain it. This characteristic is crucial for deep-frying, as it prevents the oil temperature from dropping drastically when colder chicken pieces are added to the skillet. A consistent oil temperature is key to achieving that perfect golden-brown crust without the chicken becoming greasy or undercooked.
Efficient Oil Usage & Less Waste: Unlike deep fryers that require gallons of oil, using a shallow cast-iron skillet on the stovetop significantly reduces the amount of cooking oil needed. This not only makes the process more economical but also means less waste to deal with after frying. While I also adore my best fried chicken recipe without buttermilk, it often leaves you with a substantial pot of used oil. This skillet method offers a practical, less wasteful alternative.
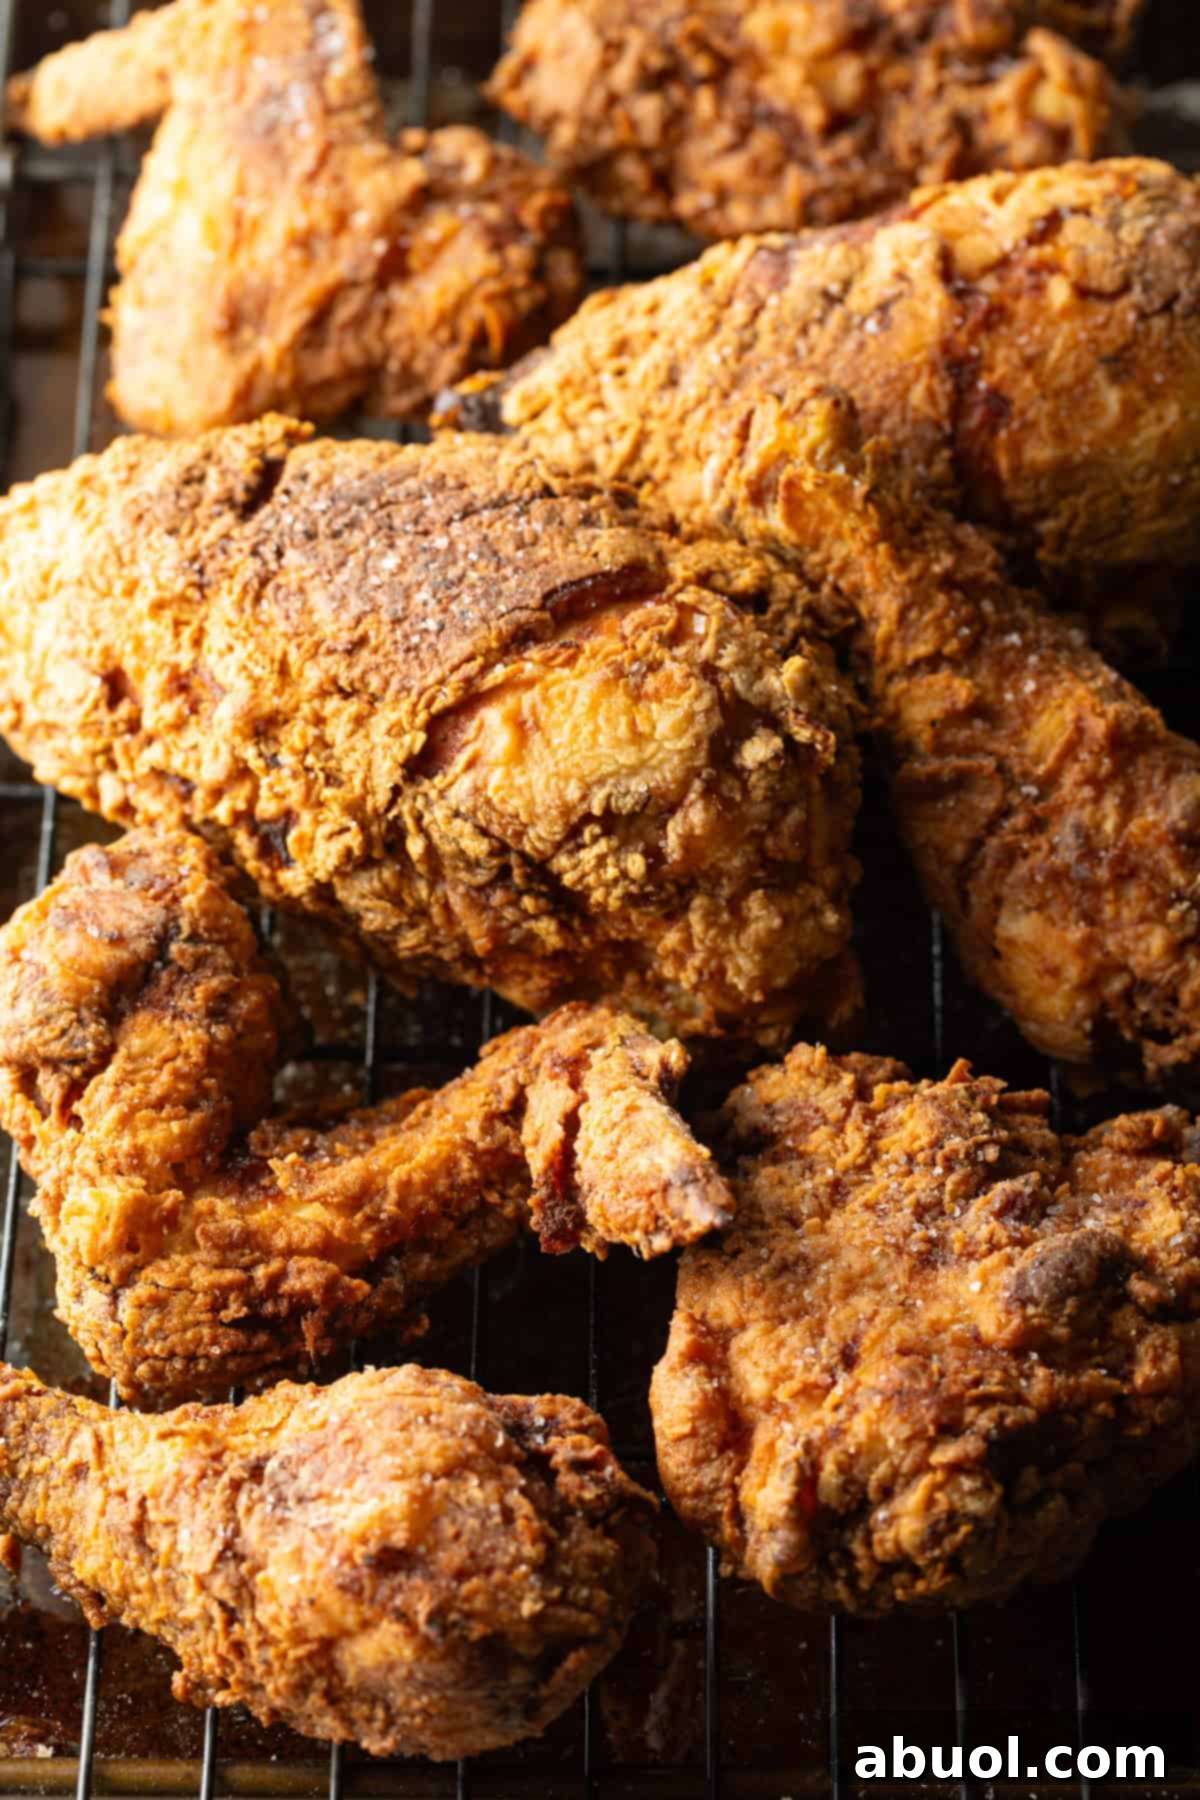
Unbeatable Crispy Fried Chicken: One of the most significant benefits of using a skillet is how the chicken interacts with the hot oil and the pan’s surface. As the chicken pieces gently rest on the bottom of the pan, the breading achieves an extra layer of crispiness that’s difficult to replicate in other frying methods. This contact ensures a delightfully crunchy texture without any burnt spots or an oily residue, delivering the best crispy fried chicken imaginable.
Essential Ingredients & Expert Tips for Success
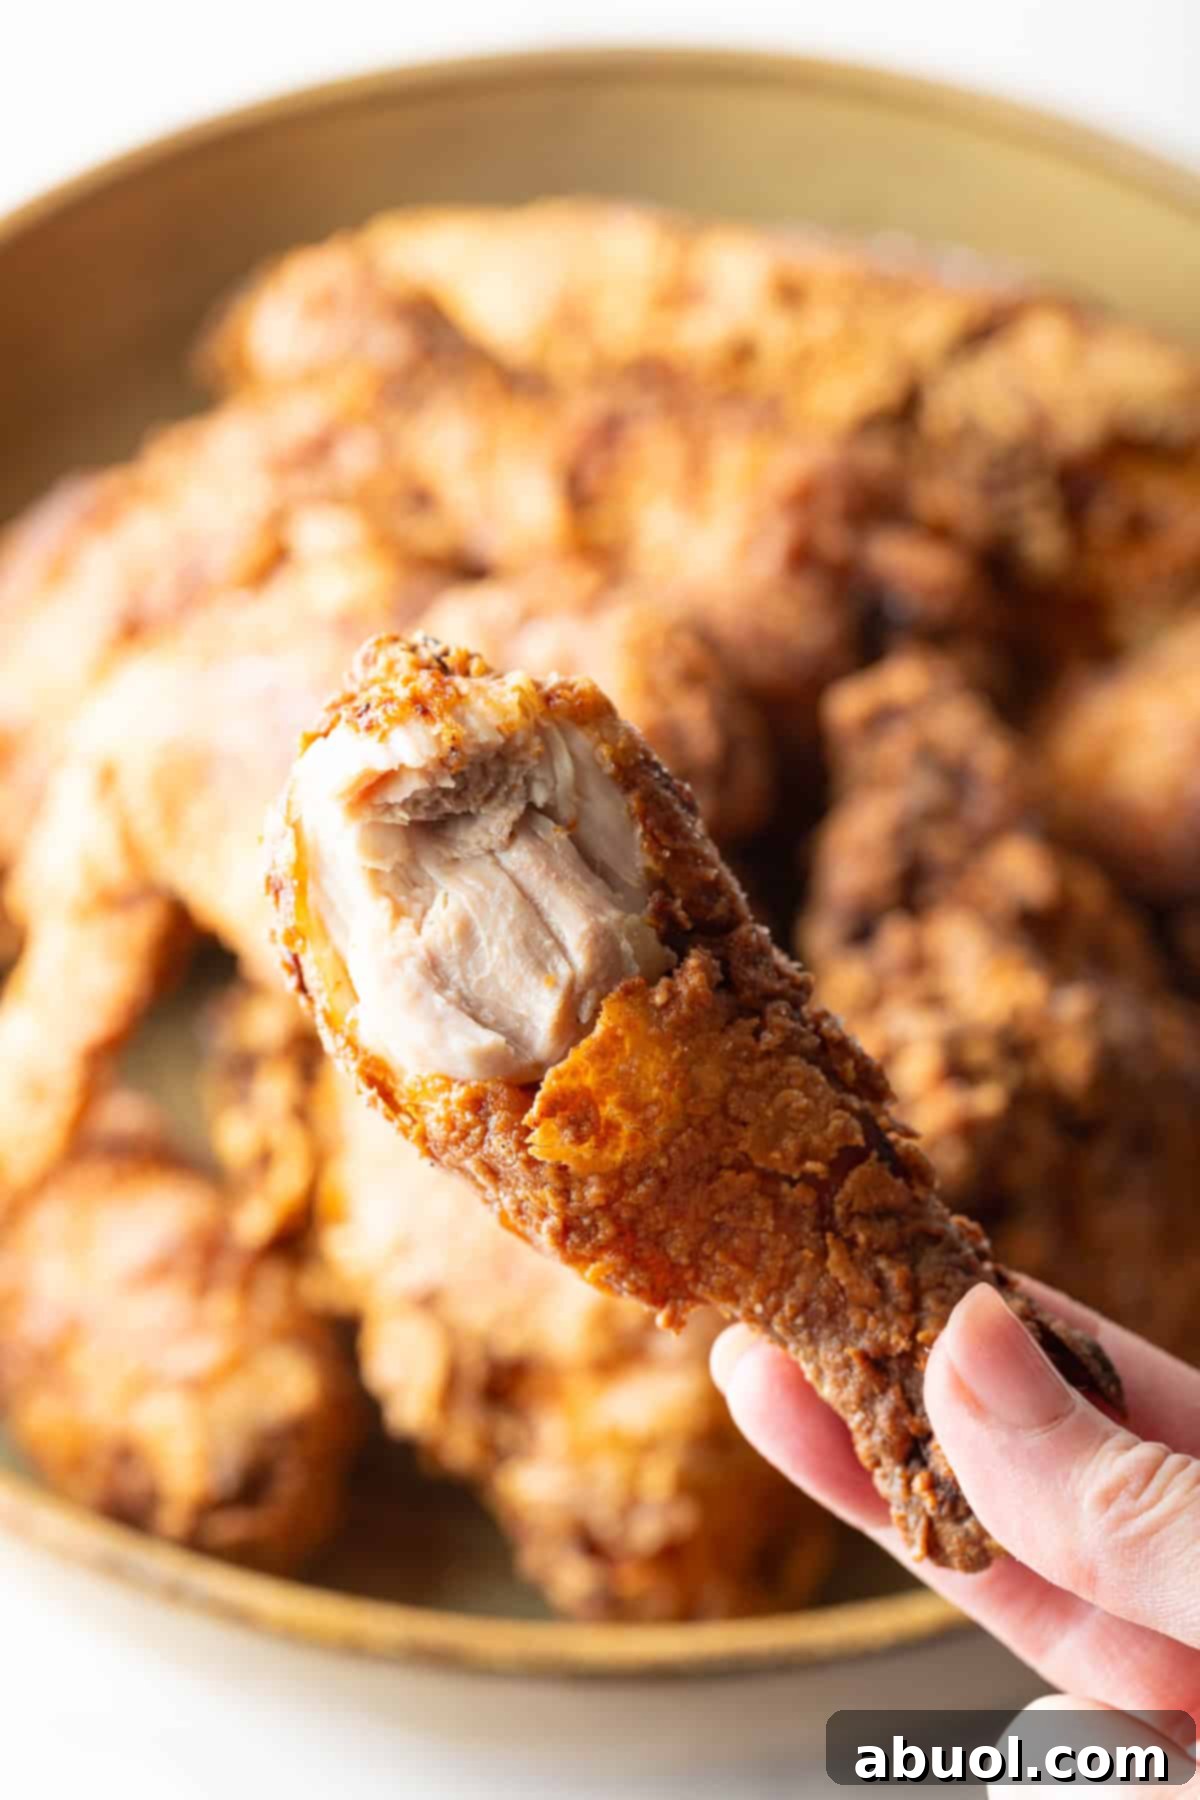
- Bone-in and Skin-on Chicken: For truly authentic Southern fried chicken, bone-in and skin-on pieces are non-negotiable. While I appreciate lean boneless options like baked chicken cutlets, the bone contributes immense flavor and helps the meat cook more evenly and stay moist. The skin, when properly fried, becomes shatteringly crisp, adding an irresistible textural contrast that is fundamental to the fried chicken experience. A whole cut-up fryer chicken (2 breasts, 2 thighs, 2 legs, 2 wings) is ideal for variety and classic presentation.
- Buttermilk: This humble ingredient is the unsung hero of tender, flavorful fried chicken. Its natural acidity works wonders, breaking down tough muscle fibers to tenderize the meat, ensuring a succulent bite every time. Beyond tenderization, buttermilk acts as the perfect “glue,” allowing the seasoned flour breading to adhere beautifully to the chicken skin. If buttermilk isn’t readily available or you only need a small amount (like the 1½ cups required here), don’t fret! My simple guide on how to make buttermilk using just two common kitchen ingredients will save the day.
- Spices: My recipe relies on a straightforward yet powerful blend of seasonings that enhance the chicken’s natural flavor without overpowering it. This includes onion powder, garlic powder, a subtle hint of cayenne pepper for a gentle warmth, and, of course, salt to bring all the flavors forward. This balanced combination creates a deeply savory and aromatic coating.
- Flour and Cornstarch for the Breading: The secret to an extra-crispy, light, and non-greasy coating lies in the dynamic duo of all-purpose flour and cornstarch. While flour forms the bulk of the breading, cornstarch contributes significantly to the irresistible crispiness, ensuring a delicate crunch that holds up beautifully after frying. This combination prevents the breading from becoming too heavy or doughy.
- Choosing the Best Oil for Frying: The type of oil you use plays a critical role in the success of your homemade fried chicken. Peanut oil is my top recommendation for several compelling reasons. It boasts a high smoke point, which is essential for frying at high temperatures without burning. Its neutral taste allows the carefully selected spices to shine, and it excels at creating a truly crispy crust. Furthermore, peanut oil tends not to absorb the flavors of the food being fried as much as other oils and maintains its structural integrity, meaning it can often be strained and reused multiple times by seasoned Southern cooks. For those with peanut allergies, desensitized peanut oil is an option, or you can opt for another high-heat oil like canola or vegetable oil.
Recommended Equipment for Perfect Fried Chicken
Having the right tools can make all the difference in achieving perfectly crispy and juicy Southern fried chicken. Here’s the essential equipment you’ll need for a smooth and successful frying experience:
- Large Baking Dish: A standard 9×13-inch baking dish, or any similarly large, shallow dish, is perfect for marinating your chicken pieces in the buttermilk mixture. Its size allows the chicken to lie flat and get thoroughly coated, ensuring maximum flavor penetration and tenderization.
- Cast-Iron Skillet: As the star of this recipe, a deep, heavy-bottomed cast-iron skillet, ideally 12-14 inches in diameter, is crucial. Its superior heat retention and even heating capabilities are unmatched for frying. If cast iron isn’t available, a robust, deep skillet with a heavy bottom can serve as a good alternative, though the results may vary slightly.
- Cooking Thermometer: Precision is key in frying. A reliable food-safe, high-heat cooking thermometer that clips to the side of your pan is indispensable. It allows you to accurately monitor and maintain the oil temperature, preventing greasy chicken (if the oil is too cool) or burnt exteriors (if it’s too hot). This small investment ensures consistently perfect results.
- Wire Rack and Rimmed Baking Sheet: Immediately after frying, transferring your fried chicken to a wire rack set over a rimmed baking sheet is a critical step. This setup allows excess oil to drain away from the chicken, preventing the bottom from becoming soggy and ensuring the skin remains incredibly crisp.
- Meat Thermometer Probe: To guarantee that your chicken is cooked through to a safe internal temperature (165°F / 74°C) without overcooking and drying it out, a meat thermometer probe is essential. It provides an accurate reading, eliminating guesswork and ensuring food safety and optimal texture.
Step-by-Step: How to Make Southern Fried Chicken
For precise ingredient measurements, comprehensive instructions, detailed storage guidelines, and a helpful video tutorial, please refer to the printable recipe card located at the conclusion of this post.
Step 1: Marinate the Chicken for Maximum Flavor and Tenderness
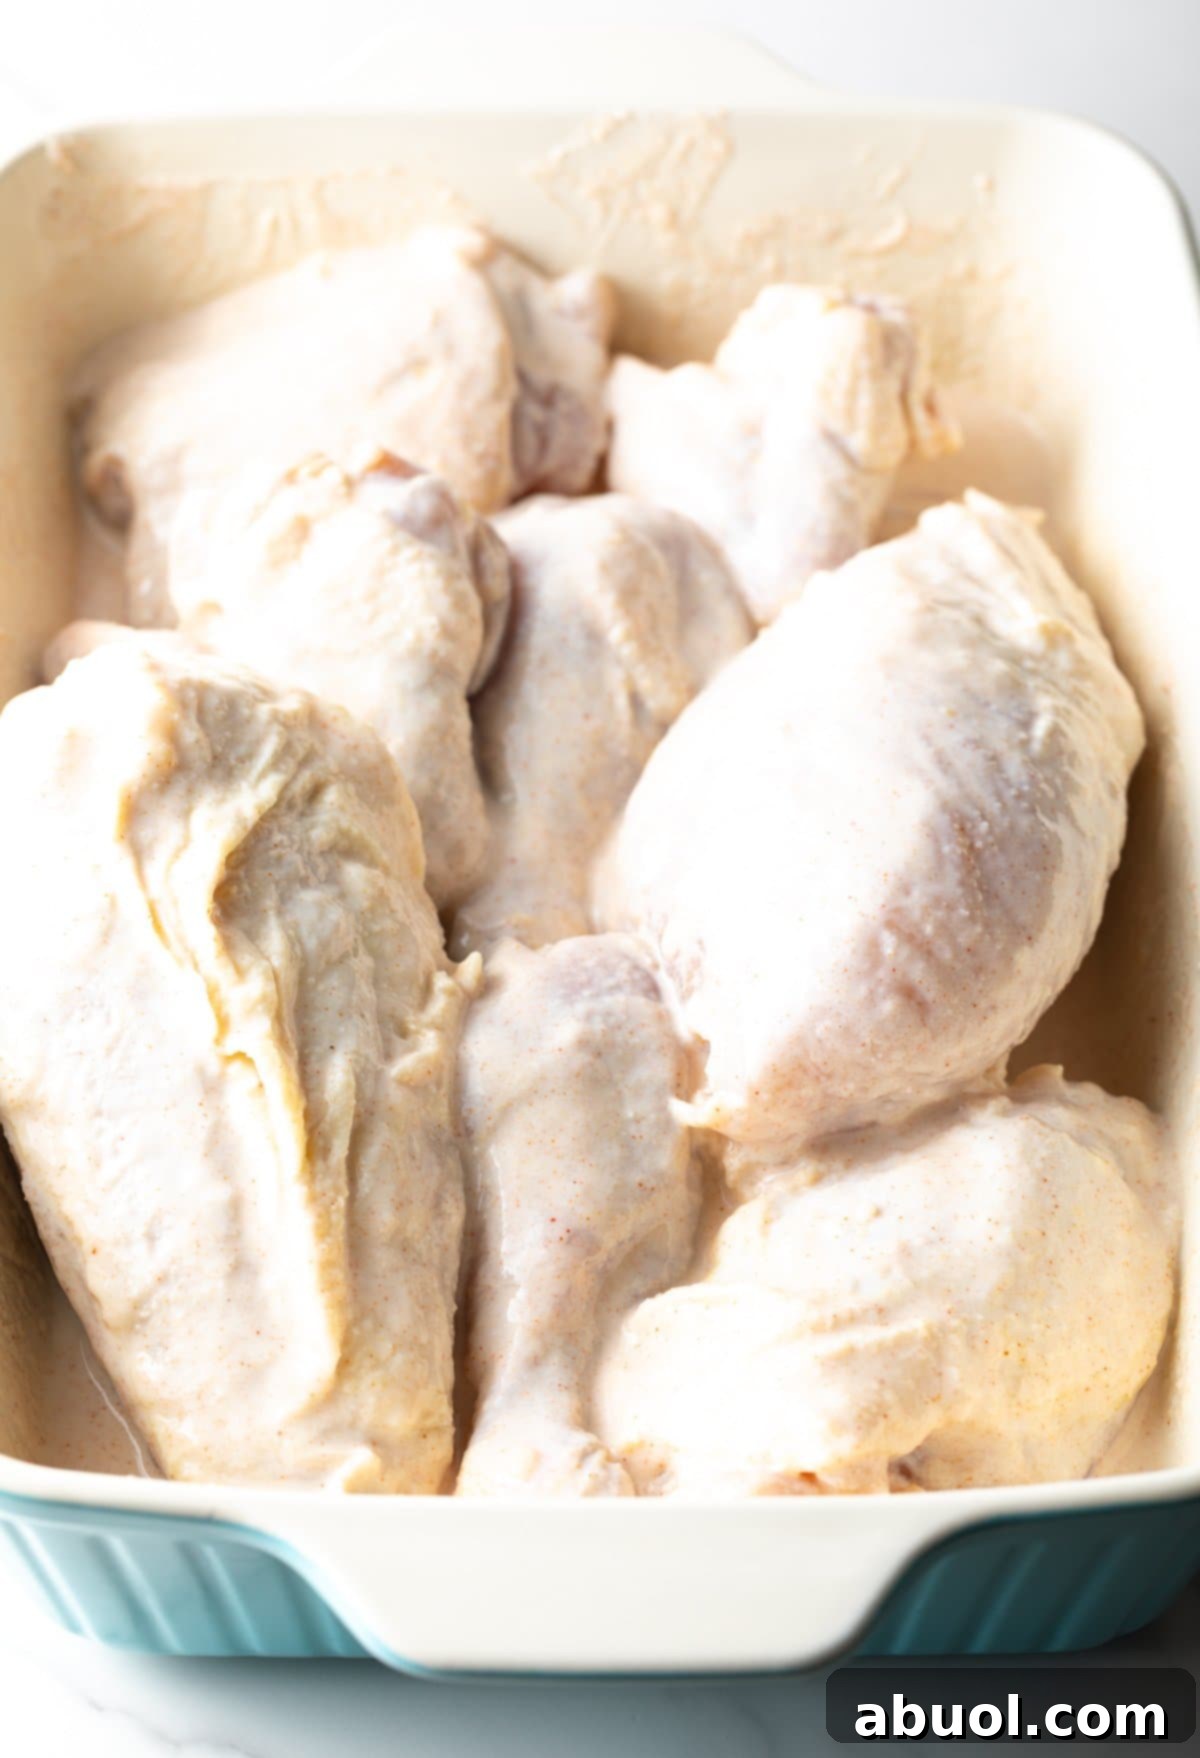
The journey to phenomenal Southern fried chicken begins with a thorough marinade. This crucial step not only infuses the chicken with flavor but also tenderizes it. Plan ahead, as the chicken needs to marinate for at least 2 hours, and ideally, up to 24 hours for the best results. In a large baking dish, combine the buttermilk with your chosen spices. Add the chicken pieces, ensuring they are fully submerged and evenly coated by gently turning them with your hands or tongs. Once coated, cover the dish tightly with plastic wrap and refrigerate. When you’re ready to cook, remove the dish from the fridge and discard the plastic wrap.
Step 2: Prepare the Crispy Breading Mixture
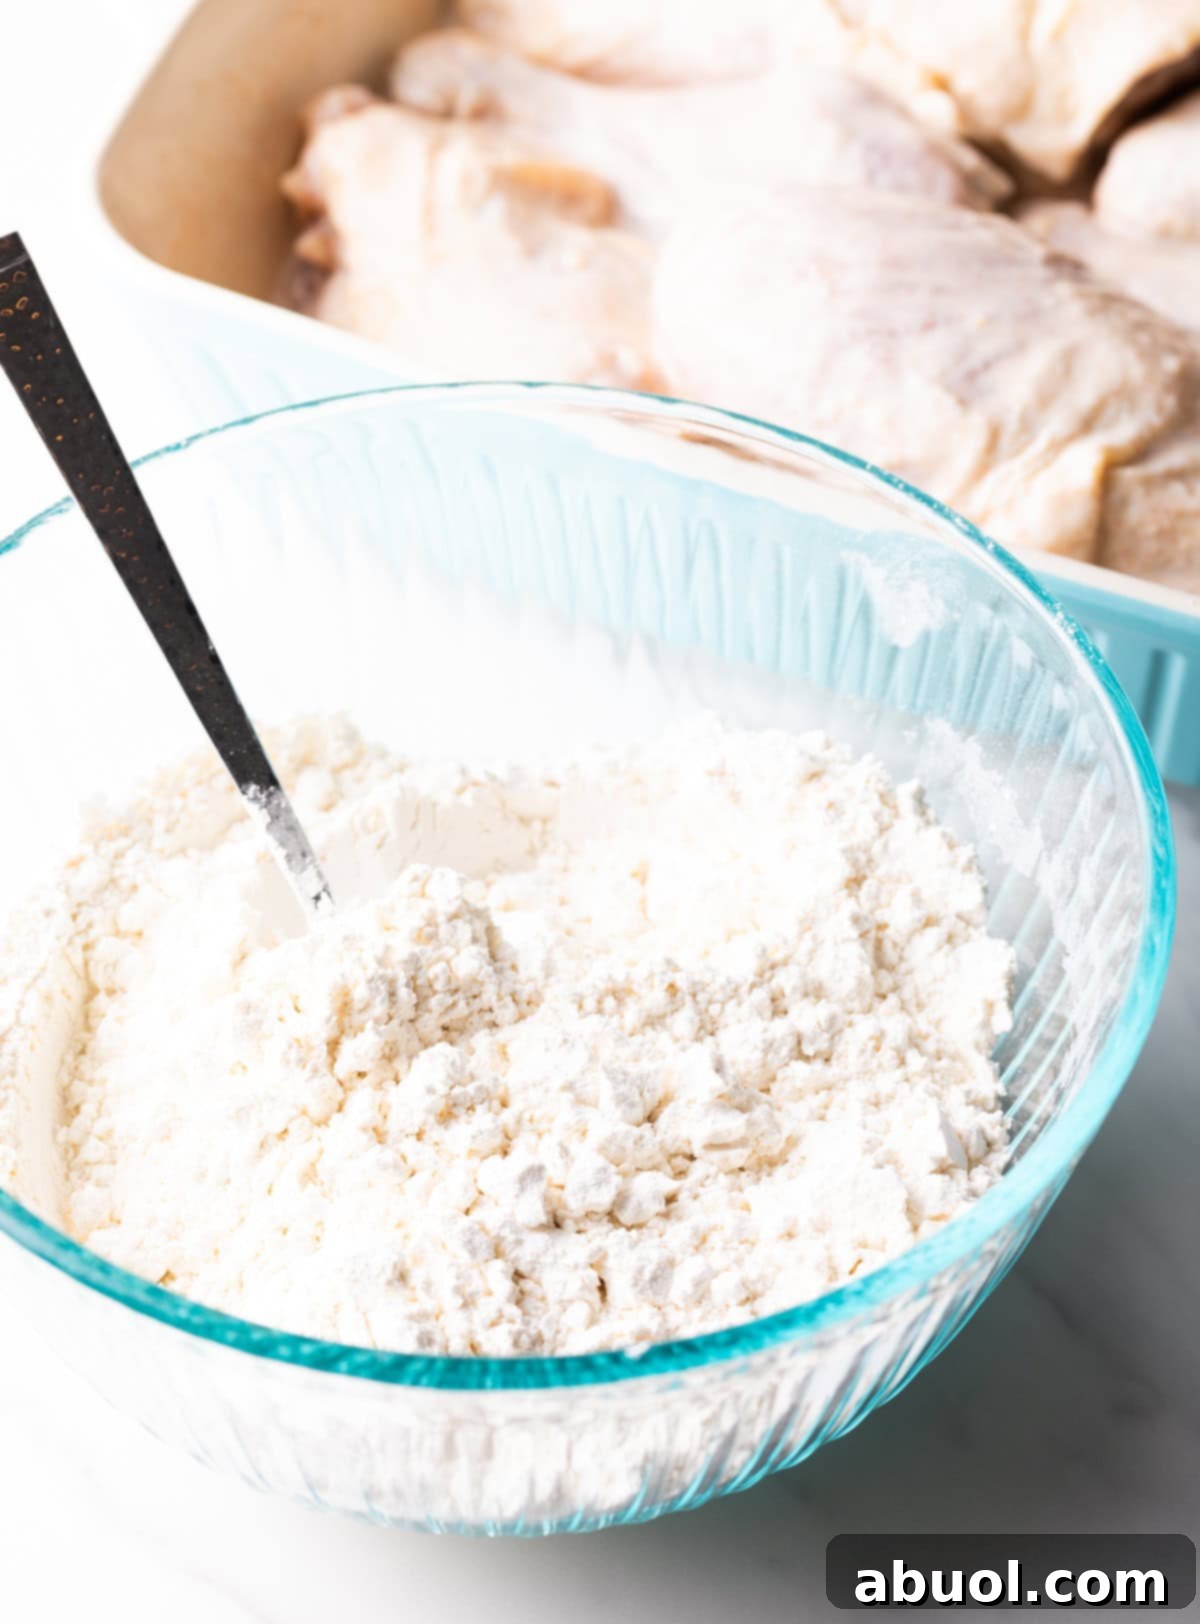
While your chicken is marinating or just before you begin frying, prepare your breading. In a deep bowl—deep enough to easily dredge large pieces of chicken—combine the all-purpose flour, cornstarch, and an additional pinch of salt. Whisk these ingredients together thoroughly to ensure the salt and cornstarch are evenly distributed. This mixture is what will create that incredibly crispy, light, and perfectly seasoned coating on your fried chicken.
Step 3: Preheat the Skillet and Oil
Place your cast-iron skillet over medium heat on your stovetop. As it begins to warm, pour in your chosen frying oil (peanut oil is recommended for best results), filling the skillet approximately halfway. It’s crucial to leave ample space for the oil to rise once the chicken is added, preventing any overflow. Clip a cooking thermometer to the side of the pan to accurately monitor the oil temperature. This precise temperature control is vital for achieving the perfect crispy texture and thorough cooking of your cast iron skillet fried chicken.
Step 4: Dredge the Chicken for Coating Perfection
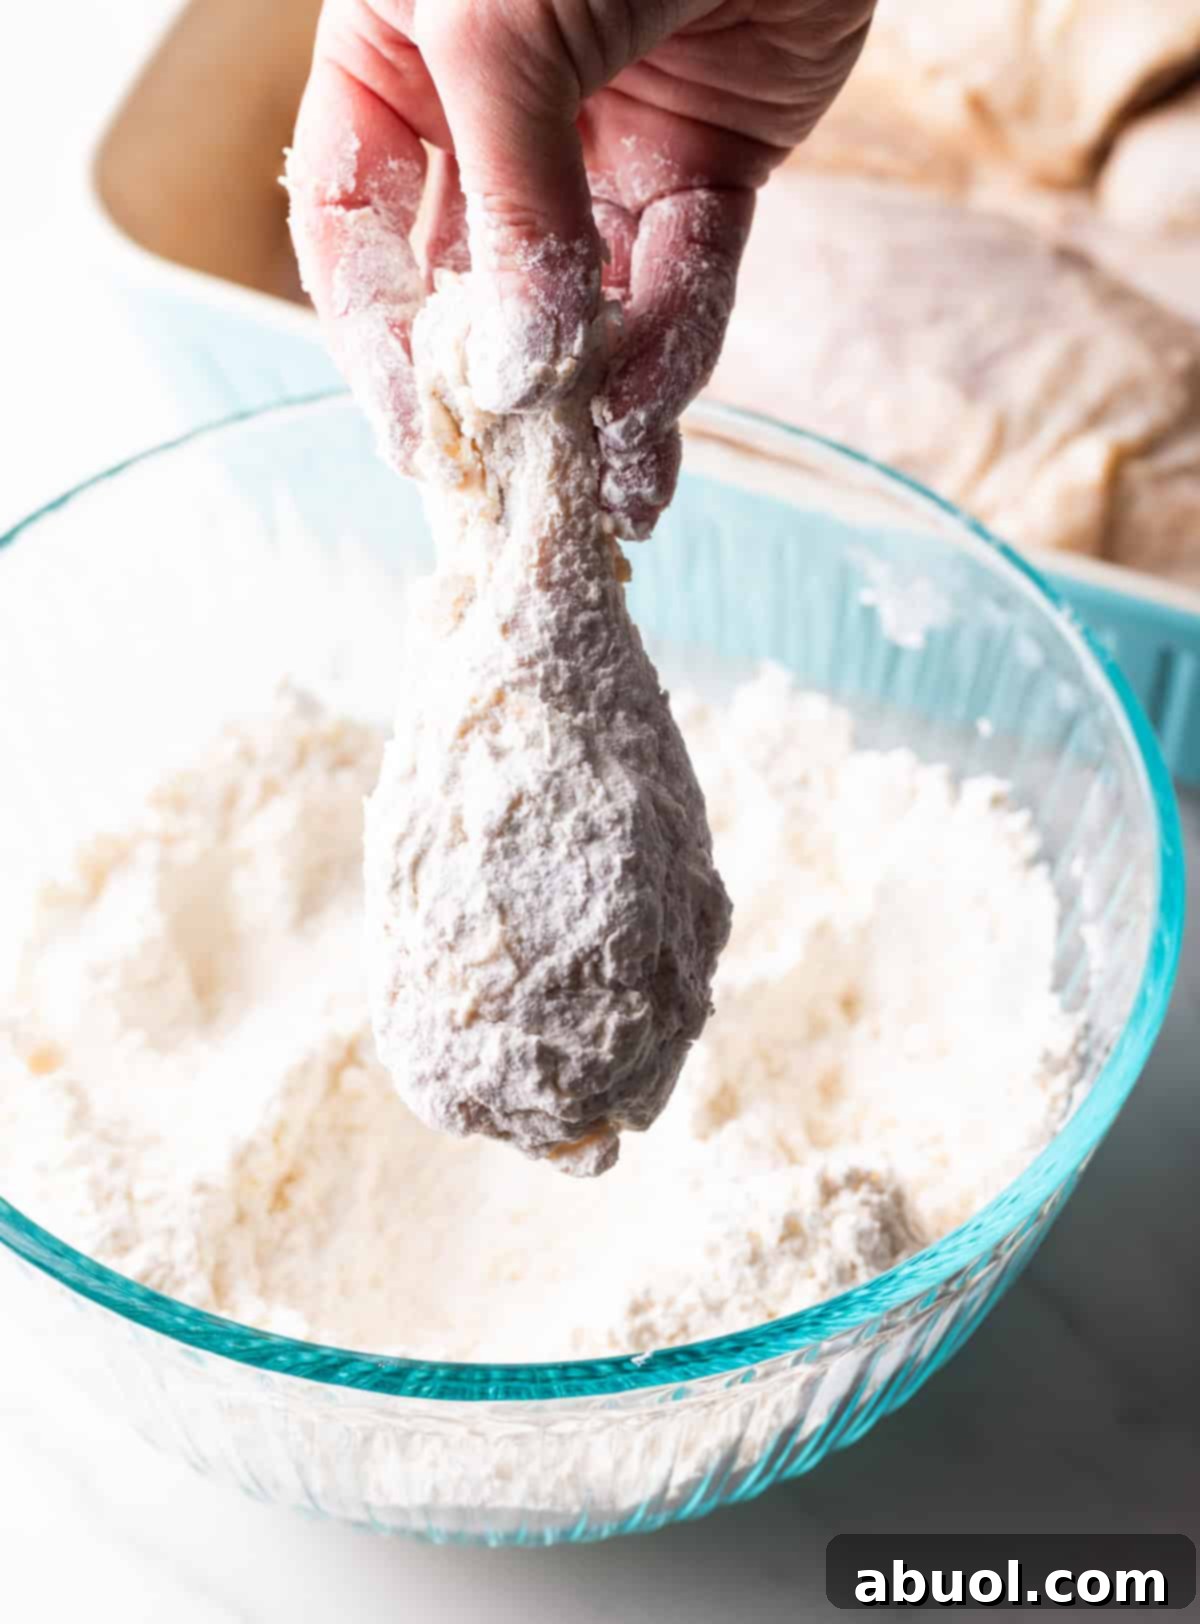
As your oil temperature gradually rises towards 300°F (149°C), begin dredging the chicken. Take one piece of marinated chicken at a time, allowing any excess buttermilk to drip off, then roll it thoroughly in the flour mixture until it is completely coated. A helpful tip for breading is to designate one hand as your “wet hand” for handling the marinated chicken and the other as your “dry hand” for the flour mixture. This technique minimizes mess and ensures an even coating without clumpy breading.
Step 5: The Frying Process – Achieving Golden Crispy Chicken
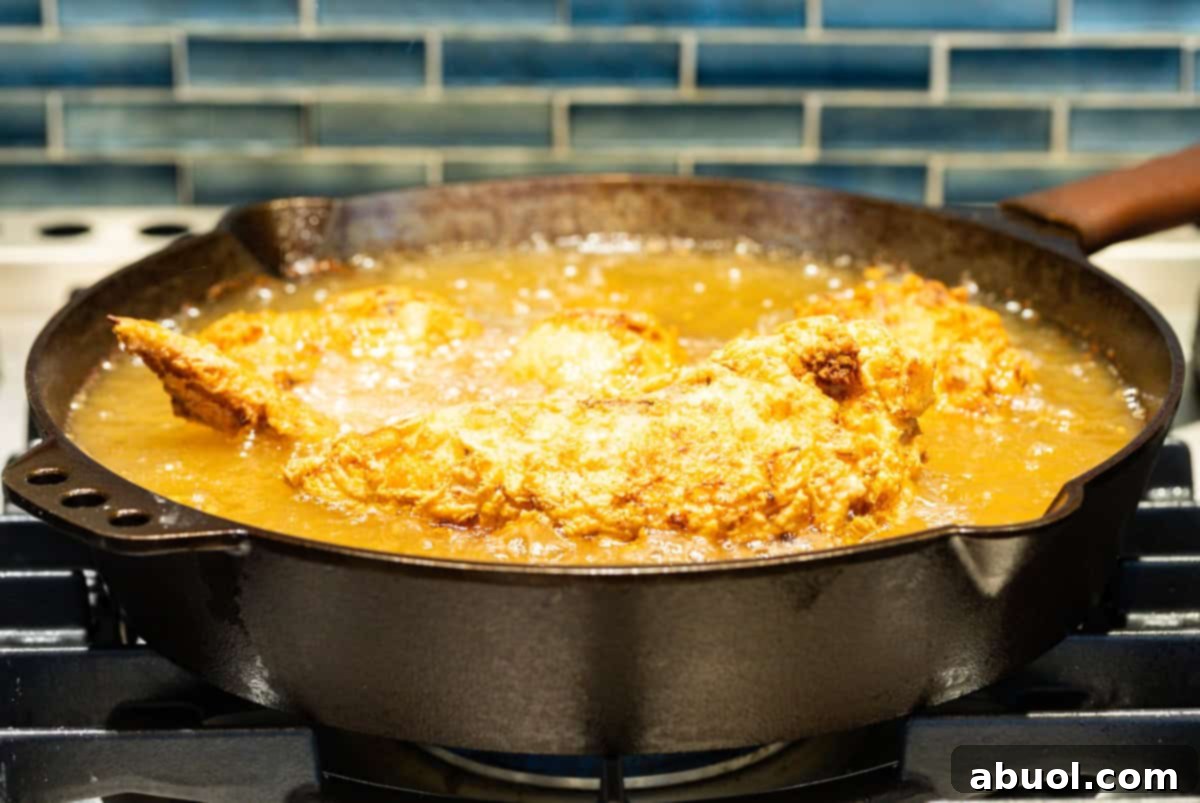
Once the oil reaches a precise temperature of 325°F (163°C), it’s time to introduce the chicken. Very carefully, and one piece at a time, gently lower the breaded chicken into the hot oil. Typically, you can fry about 4 large pieces at once, but avoid overcrowding the pan. Overcrowding can drastically lower the oil temperature, leading to greasy, less crispy chicken. As the chicken begins to fry, the oil temperature will naturally dip to around 300-310°F (149-154°C). This is normal; simply adjust your stovetop heat to maintain this range. Smaller white meat pieces usually cook in about 10 minutes, while larger dark meat portions may take up to 15 minutes to reach a beautiful golden-brown color and perfect doneness. Use tongs to flip the chicken once or twice during frying to ensure even cooking and browning on all sides, resulting in truly crispy chicken.
Step 6: Check Internal Temperature and Drain Excess Oil
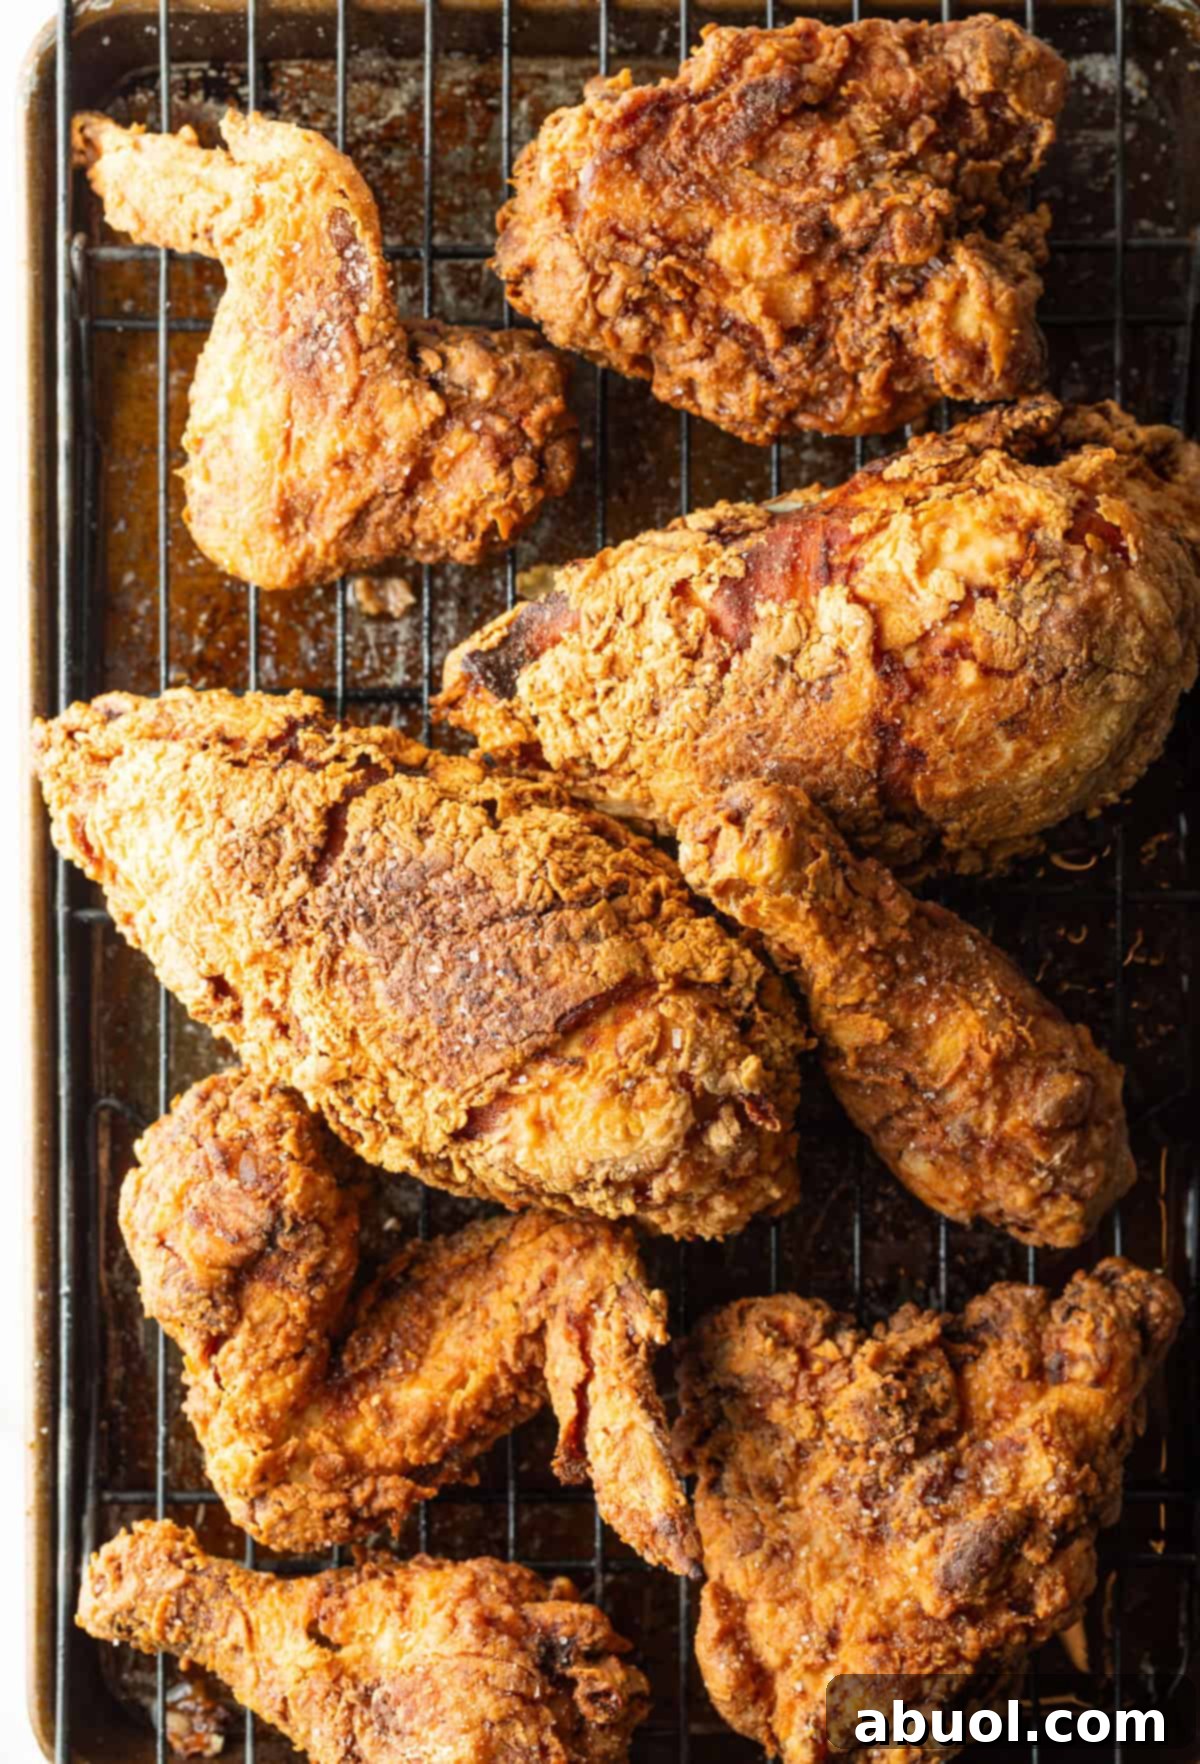
After approximately 8 minutes of frying, begin checking the internal temperature of the chicken using a meat thermometer. Carefully lift a piece of chicken with tongs and insert the thermometer almost to the bone, being careful not to touch the bone itself, as this can give an inaccurate reading. The chicken is perfectly cooked and safe to eat when it reaches an internal temperature of 165°F (74°C). Once cooked, use tongs to transfer the golden-brown cast iron skillet fried chicken pieces to a wire rack placed over a rimmed baking sheet. This setup is crucial for allowing any excess oil to drain away, preventing the chicken from becoming soggy and ensuring that coveted, shatteringly crisp skin. Repeat the dredging and frying process for any remaining chicken pieces, allowing each batch to rest briefly before serving. A final sprinkle of salt before serving enhances the flavor beautifully.
Chef’s Expert Tips for Unbeatable Results
Achieving truly incredible, crispy fried chicken isn’t just about following steps; it’s about understanding the nuances. Here are my expert tips to ensure your homemade fried chicken is nothing short of perfection:
Marinate with Intent: The cornerstone of delicious fried chicken lies in the marinade. Begin by marinating the chicken in buttermilk and a thoughtful blend of seasonings. Buttermilk performs a dual role: it tenderizes the meat, resulting in exceptionally juicy chicken, and it acts as the perfect adhesive, ensuring the flour mixture firmly coats each piece. Do not skip this critical step! In fact, the longer the chicken marinates—up to 24 hours—the more flavorful and tender it will become, allowing the spices to deeply penetrate the meat.
Master the Oil Temperature: Precision in oil temperature is paramount when frying chicken. Always use a reliable cooking thermometer clipped to the side of your skillet. Start by heating the oil to a precise 325°F (163°C). As you add the cooler chicken pieces, the oil temperature will inevitably drop. Your goal is to gently adjust the heat to maintain the frying oil within a consistent range of 300°F to 310°F (149°C to 154°C). This controlled temperature range ensures the chicken cooks thoroughly all the way to the bone without the exterior becoming too dark or burnt before the interior is done. It’s the key to a golden, crispy crust and fully cooked, juicy meat.
Avoid Overcrowding the Skillet: Frying in batches is crucial. Resist the temptation to pack too many chicken pieces into the skillet at once. Overcrowding dramatically lowers the oil temperature, leading to chicken that absorbs too much oil and becomes greasy rather than crisp. Fry 3-4 pieces at a time, depending on the size of your skillet, to maintain optimal oil temperature and allow each piece to cook evenly and develop that perfect golden crust.
Ensure Proper Drainage: Immediately after frying, transfer your chicken to a wire rack set over a rimmed baking sheet. Never place freshly fried chicken directly on paper towels. While paper towels absorb some oil, they also trap steam, which can quickly make the bottom of your crispy fried chicken soggy. A wire rack allows air to circulate around all sides, ensuring your fried chicken stays perfectly crisp.
Classic Southern Serving Suggestions
If you’re going to invest the time and love into making authentic Southern fried chicken from scratch, it only makes sense to complete the experience with classic Southern-style fixings. Here are a few of my favorite sides for that quintessential, down-home meal:
- Deviled Egg Potato Salad: Creamy, tangy, and utterly satisfying, this potato salad is a staple at any Southern gathering.
- Mashed Potatoes and Brown Gravy: The ultimate comfort pairing, perfect for soaking up with your crispy chicken.
- Instant Pot Baked Beans: Sweet, smoky, and incredibly flavorful, these beans add a hearty touch to your plate.
- Mac and Cheese: A rich, cheesy, and creamy classic that no Southern meal is complete without.
- Spicy Collard Greens with Turnips: A robust and slightly bitter counterpoint to the richness of the chicken, with a hint of spice.
- Sweet Cornbread: A moist, tender, and slightly sweet bread that is perfect for sopping up any delicious drippings.
Storing and Reheating Your Fried Chicken
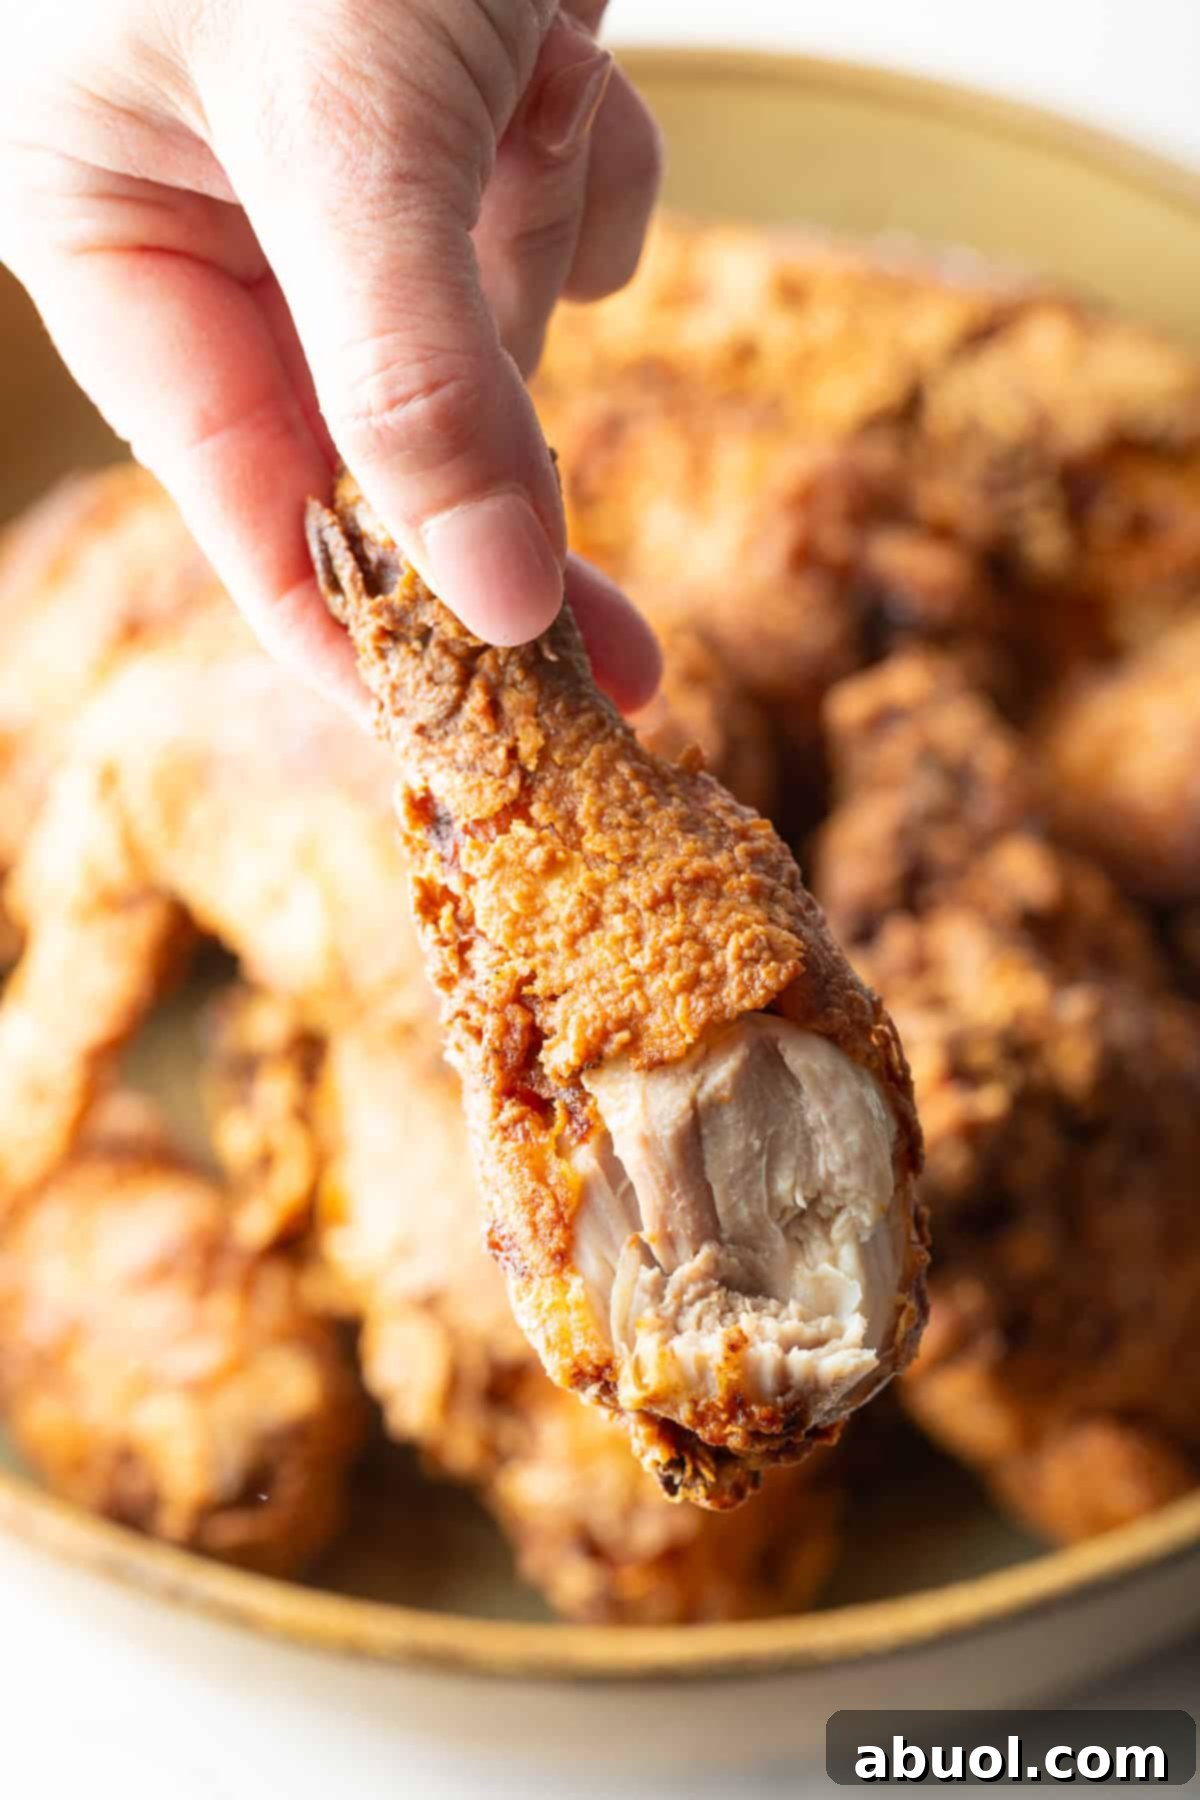
Homemade fried chicken is always at its absolute best when enjoyed freshly fried, when the skin is impeccably crispy and the meat inside is moist and steaming. However, if you find yourself with delightful leftovers, proper storage and reheating techniques can help preserve its quality.
Storing Leftovers: Any leftover fried chicken pieces should be stored in an airtight container and refrigerated promptly. They will maintain their quality for up to 3 days. While the skin may lose some of its initial crispness in the fridge, the chicken will still be incredibly flavorful.
Enjoying Cold Fried Chicken: Honestly, I have a soft spot for leftover fried chicken eaten cold, straight from the refrigerator. While it won’t be as crunchy as freshly made, well-cooked chicken remains juicy and delicious, offering a different, yet equally enjoyable, experience.
Reheating for Crispy Results: For those times when you crave that warm, crispy texture, reheating is straightforward. You have a couple of excellent options:
- Oven Method: Preheat your oven to 350°F (175°C). Arrange the chicken pieces on a wire rack set over a baking sheet (this helps air circulate and keeps the bottom from getting soggy). Bake for about 10-15 minutes, or until the chicken is heated through and the skin has crisped up again.
- Air Fryer Method: For a quicker crisp, place the chicken pieces in a single layer in your air fryer basket. Air fry at 350°F (175°C) for 4-5 minutes, or until the chicken is hot and the skin is crunchy once more. This method is fantastic for restoring that desirable texture.
Frequently Asked Questions About Fried Chicken
Greasy fried chicken is almost always a result of the frying oil not being hot enough. If the oil temperature is too low, the chicken coating will absorb it like a sponge instead of searing and becoming crisp. This leads to a heavy, soggy texture. Ensure your oil reaches the correct temperature (325°F / 163°C initially, maintaining 300-310°F / 149-154°C during frying) using a thermometer. Additionally, it’s critical to drain the fried pieces on a wire rack set over a baking sheet; simply resting them on paper towels isn’t sufficient as it traps steam and pools oil, leading to sogginess.
Conversely, if the outside of your fried chicken burned while the inside remained undercooked, the oil temperature was likely too high. High temperatures can quickly char the exterior before the heat has a chance to penetrate and cook the meat thoroughly. Keep a vigilant eye on your cooking thermometer to ensure the temperature does not exceed 325°F (163°C). Pull the chicken from the oil as soon as it achieves a rich golden-brown color; even a minute or two too long in overly hot oil can cause burning.
No, it is generally not recommended to use a lid when frying Southern fried chicken. Covering the cast-iron skillet traps moisture and steam within the pan, which is detrimental to achieving that desirable crispy skin. The moisture prevents the breading from crisping up properly, often resulting in a softer, less appealing crust. Furthermore, combining hot oil with trapped moisture can create dangerous splattering and potential hazards. For a truly crispy exterior, leave the skillet uncovered throughout the frying process.
Help Me Spread the Word about this Fabulous Free Recipe! Sharing this recipe link on Pinterest and Facebook is super impactful, and I greatly appreciate it! Find the share buttons below the recipe form.
Explore More Delicious Chicken Recipes
If you loved this classic Southern fried chicken, you’ll be thrilled to discover more of my favorite chicken creations. From spicy and sweet to crispy and comforting, there’s a chicken dish for every craving. Dive into these other fantastic recipes:

Print Recipe
Leave a Review »
Southern Fried Chicken (Cast Iron Skillet)
Video
Ingredients
- 1 fryer pack of bone-in chicken (equivalent to 1 whole cut chicken, typically includes 2 breasts, 2 thighs, 2 legs, and 2 wings)
- 1 ½ cup buttermilk
- 1 tablespoon salt + 1 tsp in breading mixture
- 1 tablespoon onion powder
- 2 teaspoons garlic powder
- ½ teaspoon cayenne pepper
- 1 ½ cups all-purpose flour
- ¾ cup cornstarch
- 1 quart peanut oil or canola oil (for frying)
Instructions
-
In a 9×13-inch baking dish, combine the buttermilk, 1 tablespoon of salt, 1 tablespoon of onion powder, 2 teaspoons of garlic powder, and ½ teaspoon of cayenne pepper. Whisk these ingredients thoroughly to create the marinade. Add the chicken pieces to the marinade, ensuring each piece is fully coated by turning them over. Cover the dish with plastic wrap and refriger refrigerate for a minimum of two hours, or ideally, up to 24 hours for deeper flavor and tenderness.
-
When you are ready to begin cooking, retrieve the pan of chicken from the refrigerator, remove the plastic wrap, and give the chicken pieces another turn to ensure they are well coated in the marinade.
-
Prepare the breading mixture by combining the all-purpose flour, cornstarch, and an additional teaspoon of salt in a deep mixing bowl. Whisk vigorously to ensure the ingredients, especially the salt, are evenly distributed throughout the mixture.
-
Place a 12-14 inch cast-iron skillet over medium heat on your stovetop. Attach a cooking thermometer to the side of the skillet and pour in enough peanut or canola oil to fill the pan approximately halfway. It’s crucial to leave adequate space for the oil level to rise once the chicken is added, preventing any overflow.
-
As the oil temperature approaches 300°F (149°C), begin dredging the chicken. Working in batches of four pieces at a time, lift each chicken piece, allow any excess buttermilk to drip off, and then roll it thoroughly in the flour mixture until it is completely coated.
-
When the oil reaches precisely 325°F (163°C), very gently and carefully place the four breaded chicken pieces into the hot oil. Continuously monitor the thermometer and adjust the stovetop heat to maintain the oil temperature between 300-310°F (149-154°C). Fry the chicken pieces, ensuring consistent heat, until their internal temperature reaches 165°F (74°C). A meat thermometer probe is highly recommended for accurate readings. White meat typically cooks in about 8-10 minutes, while darker meat portions may take 12-15 minutes. Use tongs to carefully flip the chicken pieces every 2 minutes to ensure even browning and thorough cooking on all sides.
-
Once the chicken pieces have reached the correct internal temperature, carefully transfer them with tongs to a wire rack positioned over a rimmed baking sheet. This allows excess oil to drain off, maintaining the chicken’s crispiness. Repeat the dredging and frying process for any remaining chicken pieces. Allow the second batch to rest for at least 5 minutes before serving. Optionally, sprinkle the cooked chicken with an extra pinch of salt before serving for enhanced flavor.
Notes
To reheat and restore some of its crispiness, you can bake it in a 350°F (175°C) oven for about 10 minutes, or use an air fryer at 350°F (175°C) for 4-5 minutes, until the skin is hot and crunchy once more.