
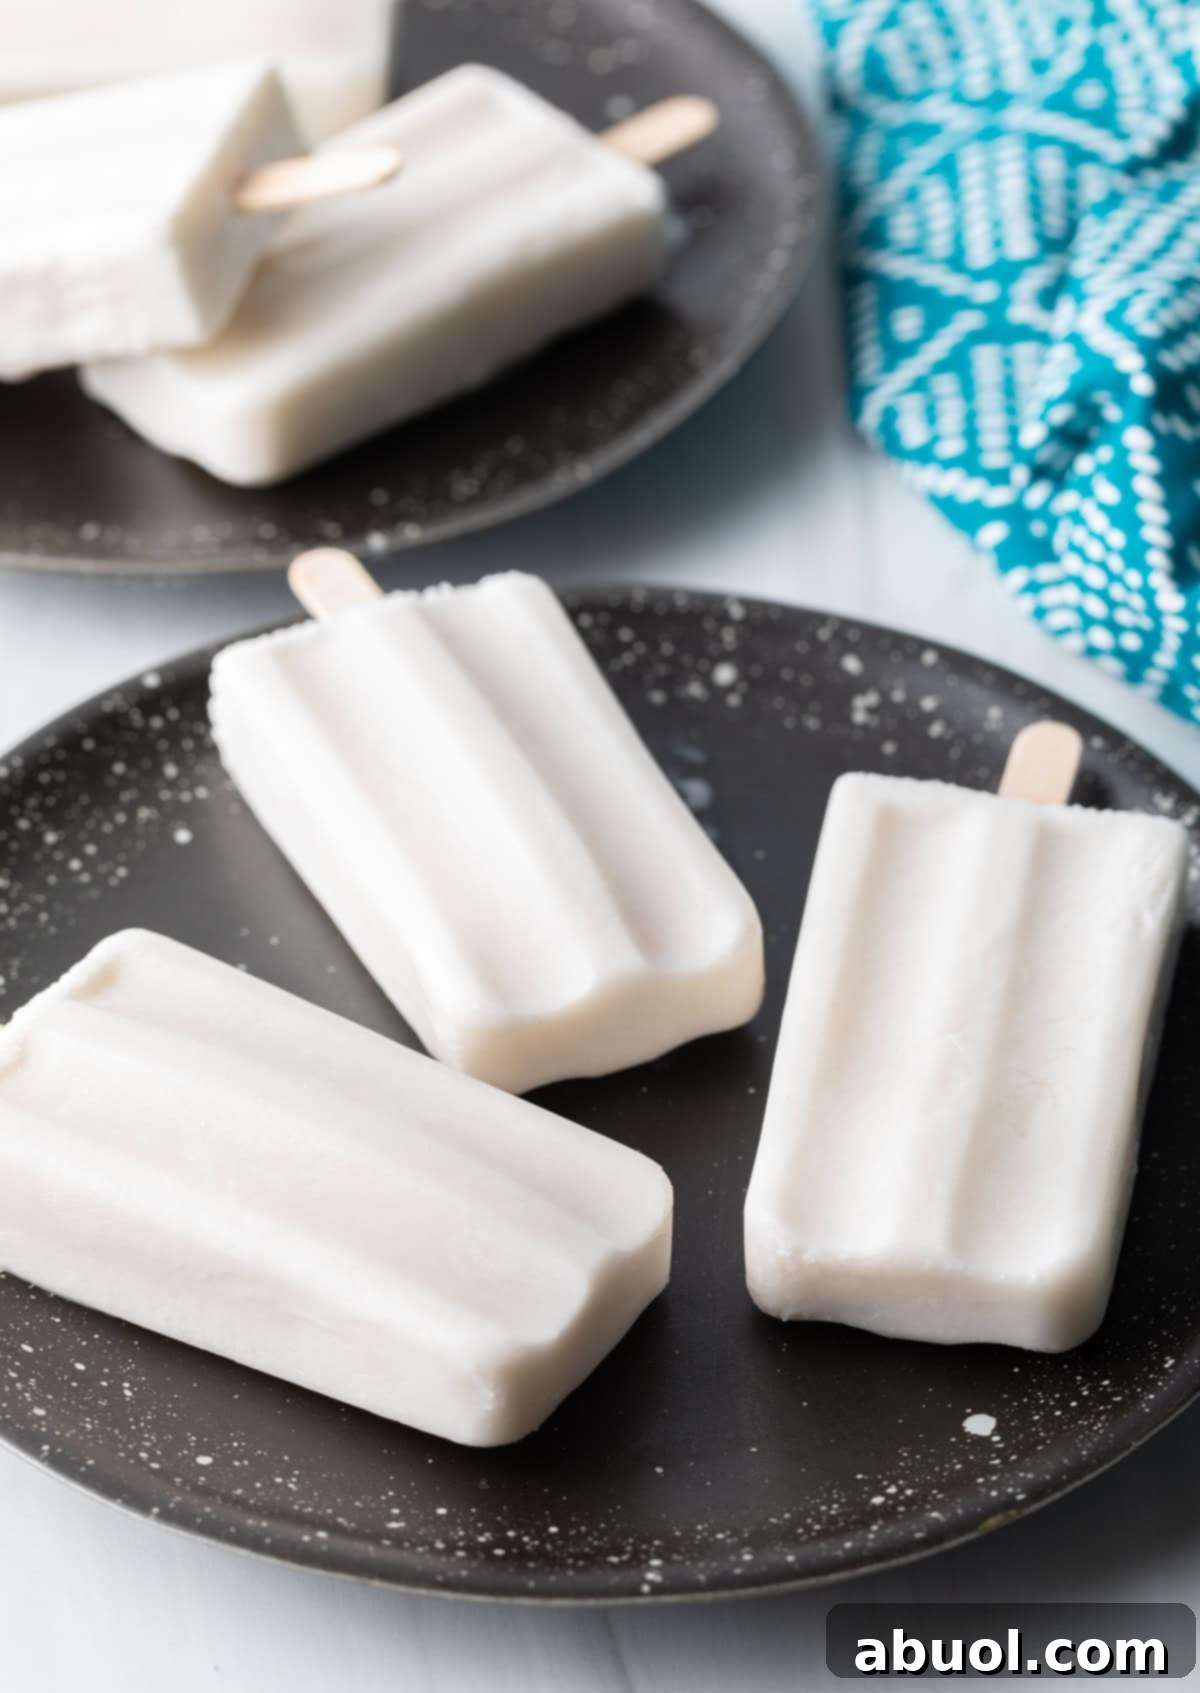
Coconut Milk Popsicles – These dairy-free and vegan popsicles are a refreshing, healthier summer treat crafted with just 5 simple ingredients. Discover how to easily make these creamy, homemade delights for your family.
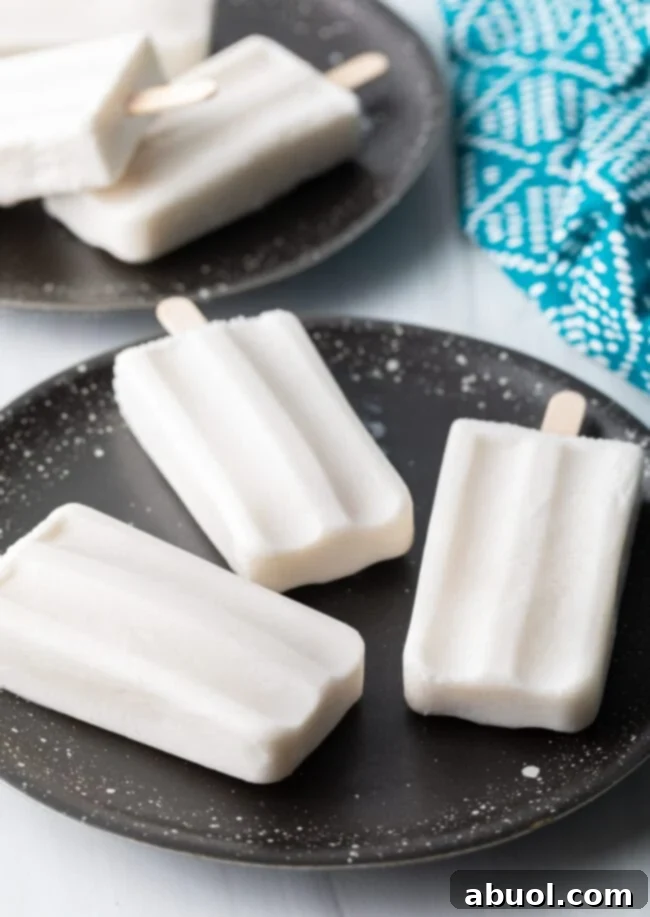
Creamy Coconut Milk Popsicles: Your Ultimate Guide to a Dairy-Free Summer Delight
As the warm embrace of summer arrives, our cravings for cooling, sweet treats soar. While store-bought popsicles offer instant gratification, they often come with a hefty price tag and a list of unpronounceable ingredients. What if you could create your own refreshingly sweet, delightfully creamy, and genuinely healthier frozen treats right in your kitchen? This comprehensive guide will show you how to whip up the most incredible Coconut Milk Popsicles using just five simple ingredients.
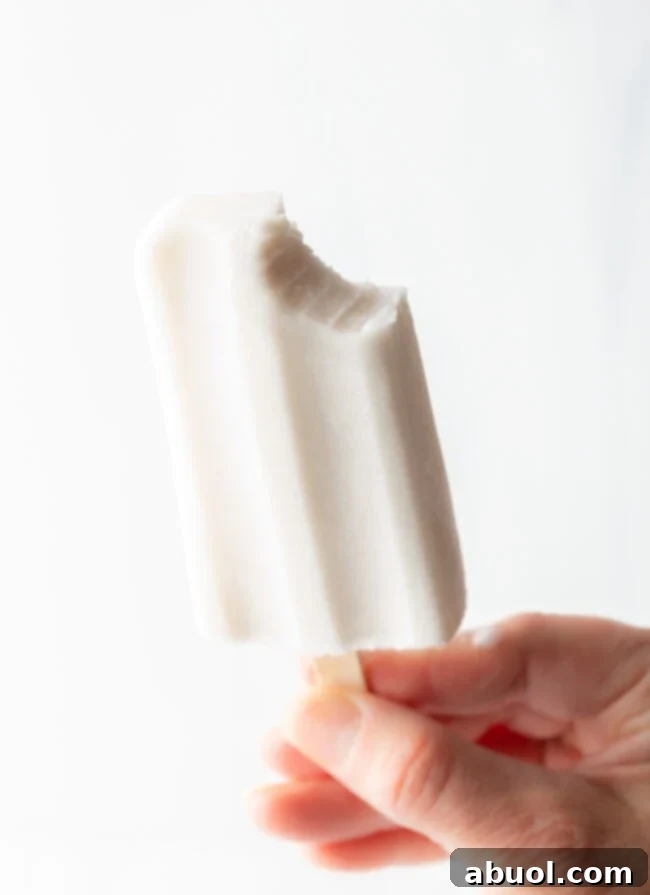
These homemade coconut ice pops are more than just a sweet escape; they are a lifestyle choice. Perfectly suited for those seeking vegan, dairy-free, and gluten-free options, they can even be made refined sugar-free with a simple substitution. Imagine sinking your teeth into a rich, frosty pop that’s bursting with natural coconut flavor, knowing exactly what went into it. With a prep time of under 10 minutes, you’ll be enjoying these frosty delights before you know it!
Why You’ll Fall in Love with This Easy Coconut Popsicle Recipe
The allure of homemade popsicles extends far beyond their delicious taste. They offer a multitude of benefits that make them a go-to summer snack for families and individuals alike.
A Healthier Indulgence for Everyone
In a world increasingly conscious of dietary choices, these coconut milk popsicles stand out. They are inherently:
- Dairy-Free and Vegan: Made entirely with plant-based ingredients, they are perfect for lactose-intolerant individuals or those following a vegan lifestyle.
- Gluten-Free: Naturally free from gluten, making them a safe and enjoyable treat for those with gluten sensitivities or celiac disease.
- Refined Sugar-Free Option: With an easy swap for natural sweeteners like maple syrup or coconut sugar, you can reduce or eliminate refined sugars, catering to specific health goals without compromising on taste.
Unlike many store-bought options loaded with artificial flavors and colors, these popsicles boast a clean ingredient list, giving you peace of mind with every lick.
Budget-Friendly and Eco-Conscious
Let’s face it, “the good popsicles” from the freezer aisle can quickly deplete your grocery budget. Crafting your own at home is significantly more cost-effective. You control the ingredients, often using pantry staples, and reduce waste by opting for reusable popsicle molds over individually wrapped store-bought versions. It’s a win-win for your wallet and the planet!
Unleash Your Inner Chef: Customization is Key
One of the greatest joys of homemade treats is the freedom to customize. While the classic coconut flavor is a delight, this recipe serves as a perfect canvas for your culinary creativity. Whether you’re experimenting with different fruits, spices, or decadent mix-ins, you can tailor each batch to suit your specific cravings or dietary needs. We’ll explore exciting variations later in this article!
Effortless Preparation for Busy Lifestyles
Despite their gourmet taste, these coconut milk popsicles are incredibly simple to make. Requiring just 5 essential ingredients and approximately 5-10 minutes of active prep time, they fit seamlessly into even the busiest schedules. The longest part is simply waiting for them to freeze, making them a perfect make-ahead treat for gatherings or daily enjoyment.
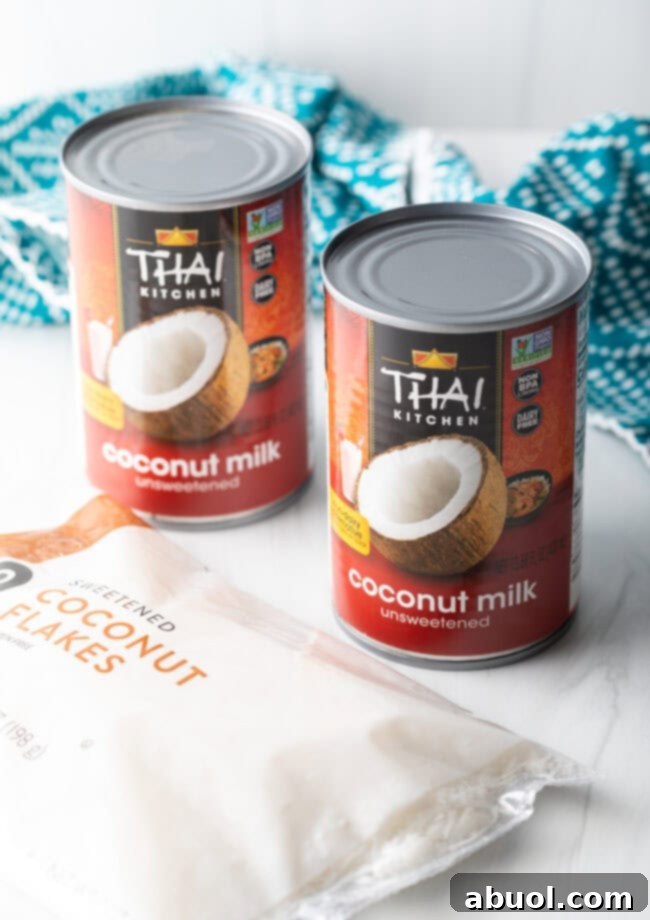
The Simple Ingredients You’ll Need for Perfect Coconut Popsicles
The magic of these dairy-free popsicles lies in their simplicity. With just five core ingredients, you can create a treat that tastes far more complex than it is. Here’s a closer look at what you’ll need and why each component is essential:
- Unsweetened Full-Fat Coconut Milk: This is the star of the show. Using full-fat coconut milk from a can is crucial for achieving that wonderfully creamy, rich texture that prevents your popsicles from becoming icy. The fat content contributes significantly to the smooth mouthfeel we all crave in a frozen dessert. Avoid “light” coconut milk or refrigerated carton coconut beverages, as they lack the necessary fat for optimal creaminess.
- Shredded Sweetened Coconut: Beyond adding an extra layer of delightful coconut flavor, sweetened shredded coconut provides a fantastic textural element. Those small flecks throughout the popsicle offer a pleasant chewiness that contrasts beautifully with the creamy base. If you prefer less sweetness or are using a sugar alternative, you can opt for unsweetened shredded coconut and adjust the sugar content accordingly.
- Granulated Sugar: Sugar serves two vital roles in this recipe. Firstly, it provides the essential sweetness that balances the rich coconut. Secondly, and perhaps more importantly for texture, sugar helps prevent the formation of large, icy crystals during freezing. This results in a smoother, softer popsicle that’s a joy to bite into. Feel free to use your preferred granulated sugar alternative, such as coconut sugar, stevia, erythritol, or maple syrup (adjusting for liquid content as needed).
- Vanilla Extract: A touch of pure vanilla extract elevates the overall flavor profile. It doesn’t necessarily make the popsicles taste like vanilla; instead, it deepens and harmonizes the sweet coconut notes, adding a subtle warmth and complexity that makes the treat truly irresistible.
- Salt: Don’t underestimate the power of a tiny pinch of salt! Just like in baking, salt in sweet recipes acts as a flavor enhancer. It brightens the sweetness and brings out the natural depth of the coconut, preventing the popsicles from tasting flat.
Crafting Your Creamy Coconut Milk Popsicles: Step-by-Step Instructions
Making these dairy-free coconut popsicles is a straightforward process, even for beginner cooks. Follow these simple steps to achieve perfect, creamy results every time.
Step 1: Preparing the Coconut Milk Base
Canned full-fat coconut milk often separates, with a thick layer of coconut cream at the top and watery liquid below. To ensure a smooth, uniform base, you’ll need to gently warm the coconut milk to dissolve any solid fat chunks. You have two convenient options:
- Stovetop Method: Pour the contents of your coconut milk cans into a small saucepot. Heat over medium-low heat for 3-5 minutes, stirring occasionally, until the fat has fully melted and the milk is smooth.
- Microwave Method: For an even quicker approach, pour the coconut milk into a microwave-safe bowl. Heat in 30-second intervals, stirring after each, until smooth. This usually takes 1-3 minutes.
Pro Tip for Creaminess: It’s crucial not to bring the coconut milk to a boil. High heat can cause the milk to separate or lose some of its creamy texture. Simply warm it enough to melt the solids.
Once smooth, remove the coconut milk from the heat and allow it to cool slightly. This prevents any ingredient from cooking prematurely when added.
Step 2: Blending for Perfection
With your warmed coconut milk ready, it’s time to combine all the delicious flavors. Carefully pour the slightly cooled, smooth coconut milk into the jar of a blender. Add the shredded coconut, granulated sugar, vanilla extract, and that essential pinch of salt.
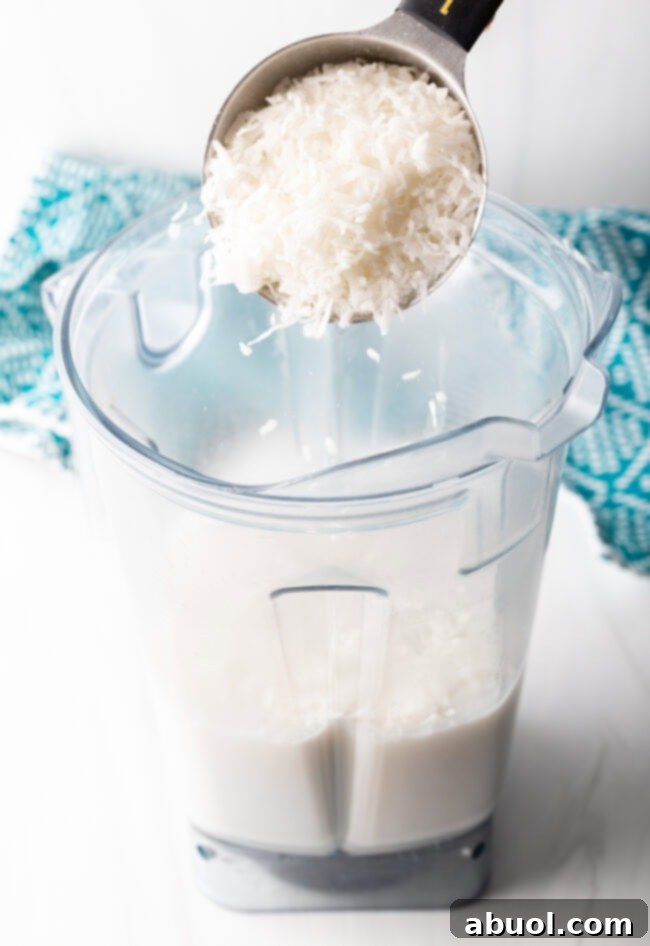
Secure the lid and blend until the mixture is mostly smooth. You’ll want to aim for a consistency where the sugar is fully dissolved, but it’s absolutely fine (and even desirable!) to have small flecks of shredded coconut remaining. These tiny pieces contribute a delightful texture once frozen, adding to the homemade charm of your popsicles.
Step 3: Filling the Popsicle Molds
Now for the fun part! Carefully pour the creamy coconut mixture into your standard popsicle molds. Most recipes yield enough to fill 10-12 molds, depending on their size. Fill each mold to just below the rim, leaving a small space for expansion during freezing.
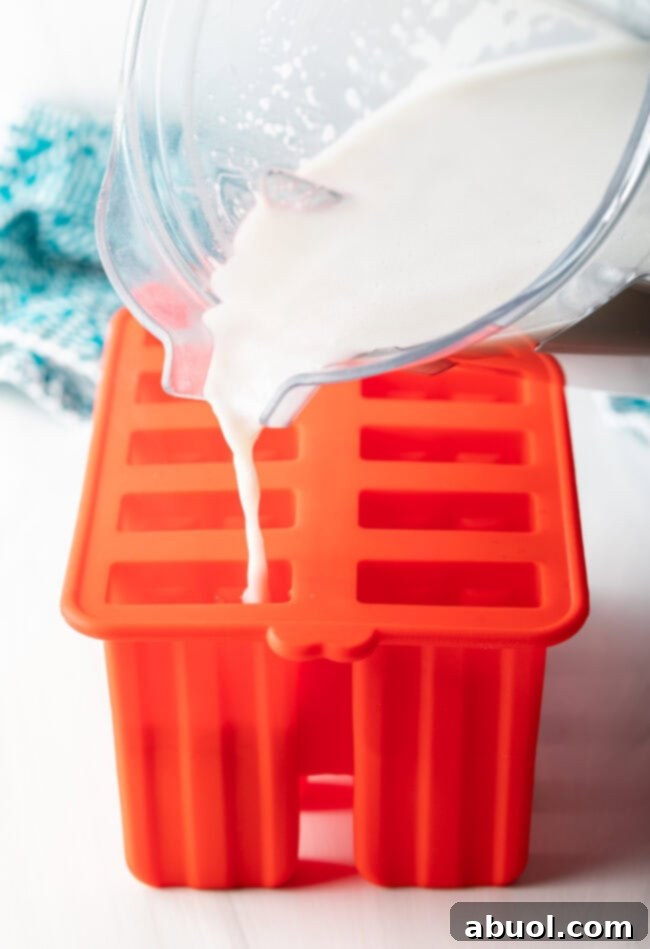
Step 4: Inserting Sticks and Freezing
Once the molds are filled, place the mold topper securely on top. Then, insert a popsicle stick down into the center of each mold, ensuring it stands upright. If your molds don’t have a topper for holding sticks, you can let them freeze for about an hour until slightly firm, then insert the sticks. This allows them to stay centered as the popsicles solidify.
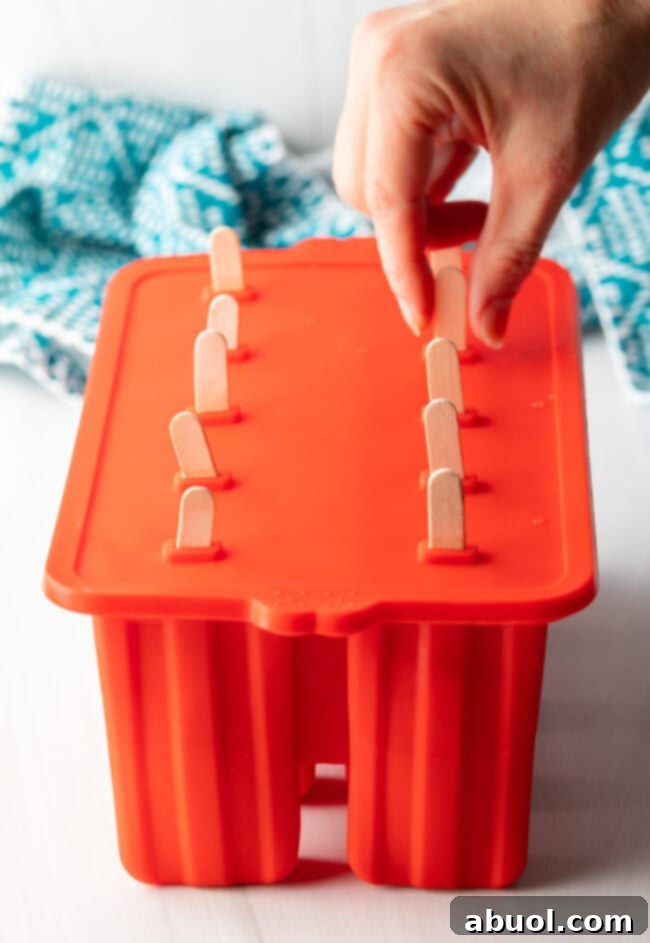
Transfer the filled molds to the freezer and allow them to freeze until completely hard. This typically takes a minimum of 3 hours, but for best results and firm popsicles, overnight freezing is ideal.
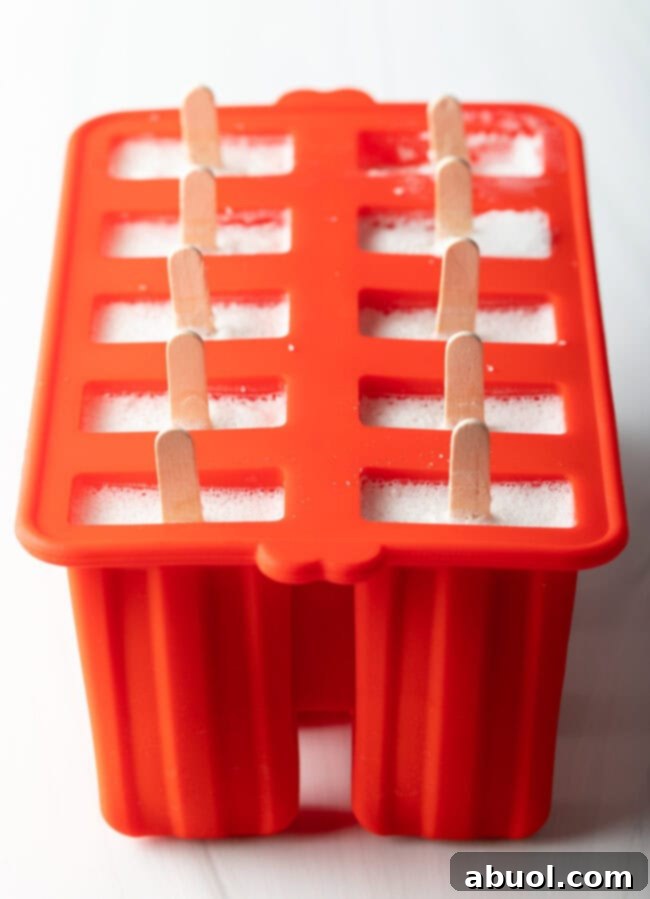
Step 5: Effortless Release and Enjoyment
When you’re ready to enjoy your homemade treats, removing them from the molds is simple. Briefly flip the popsicle mold over and run warm tap water over the bottom and sides of the mold. The warmth will slightly loosen the frozen popsicles, making them easy to extract.
Gently pull each popsicle stick to release the treat from its mold. Serve immediately and savor the creamy, tropical goodness!
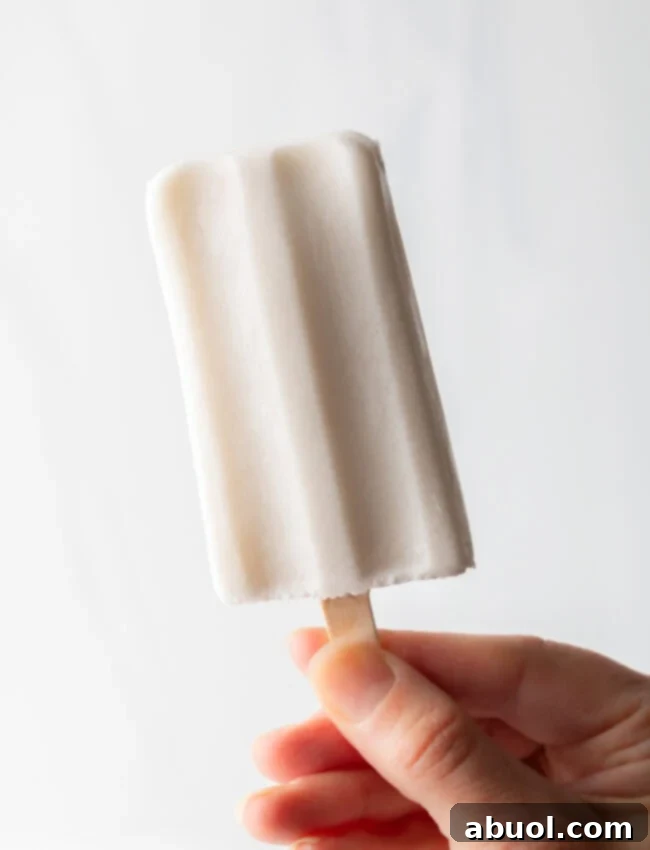
Get Creative: Exciting Recipe Variations for Your Coconut Popsicles
While the classic coconut milk popsicle is undeniably delicious, this recipe offers a fantastic foundation for endless creativity. Don’t be afraid to experiment and customize your pops to suit any craving!
- Refined Sugar-Free Options: As mentioned, these popsicles are already gluten-free and dairy-free. To make them refined sugar-free, simply swap the granulated sugar for an equal amount of coconut sugar, or use your favorite liquid sweetener like maple syrup or agave nectar (start with 1/4 cup and taste, as liquid sweeteners can be more potent). For a truly sugar-free option, use a granulated sugar substitute like erythritol or xylitol (ensure xylitol is kept away from pets).
- Boost the Creaminess: For an extra layer of decadence, consider adding a tablespoon or two of full-fat coconut cream (the thick, solid part from a chilled can of coconut milk) to the blender. This will make your pops even more luxurious.
- Decadent Chocolate Coconut Pops: Transform your pops into a rich chocolate treat. Add 1/4 cup of good quality unsweetened cocoa powder to the coconut milk while you’re warming it on the stovetop. Whisk well to ensure it dissolves completely before blending with other ingredients. For an extra treat, stir in mini chocolate chips before pouring into molds.
- Fruity and Fresh Pops: Introduce a burst of natural fruit flavor! Add about 1 cup of fresh or frozen (thawed) fruit to the blender with the coconut milk mixture. abuol.com choices include hulled strawberries, raspberries, mango chunks, pineapple, or blueberries. Blend until smooth for vibrant, naturally colored and flavored berry or tropical cream popsicles.
- Tropical Zest: For a bright, tangy twist, add 1-2 tablespoons of fresh lime or lemon juice and a teaspoon of zest to the blender. This will cut through the richness of the coconut and add a refreshing zing.
- Nutty Add-Ins: Elevate the texture and flavor with chopped nuts. Before pouring the mixture into molds, stir in 1/4 cup of finely chopped macadamia nuts, almonds, or pecans. You could also swirl in a spoonful of natural almond or cashew butter for a creamy, nutty ripple.
- Fun with Sprinkles: If you’re making these for kids (or the kid-at-heart!), a sprinkle of rainbow or chocolate sprinkles into the molds before freezing adds a touch of whimsy and fun.
- Spice It Up: A tiny pinch of ground cardamom, cinnamon, or even a dash of ginger powder can add an exotic, warm note that pairs beautifully with coconut.
- Adjusting Batch Size: This recipe typically yields 10-12 standard popsicles. If you need more or fewer, simply halve or double the ingredients proportionally.
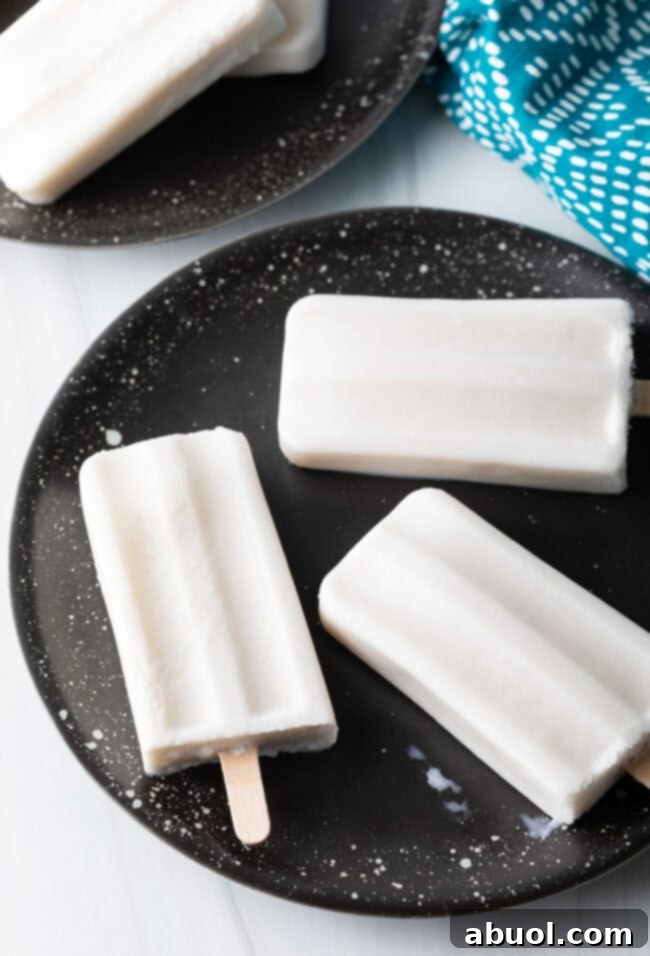
Expert Tips for the Creamiest, Most Delicious Dairy-Free Popsicles
Achieving that perfect, non-icy consistency and rich flavor in your homemade coconut popsicles is easier than you think. Here are some pro tips to ensure your treats are always a success:
- Always Use Full-Fat Coconut Milk: This cannot be stressed enough. The higher fat content is the secret to a creamy, smooth texture that melts deliciously in your mouth instead of just crunching like ice. Check the label to ensure it’s “full-fat” and typically comes in a can.
- Ensure Sugar Dissolves Completely: This is a critical step for creaminess. Sugar acts as an antifreeze agent, preventing large ice crystals. By warming the coconut milk and blending thoroughly, you ensure the sugar is fully incorporated and dissolved, leading to a softer, less icy popsicle.
- Don’t Skip the Salt: A small amount of salt doesn’t make your popsicles salty; it enhances the natural sweetness and deepens the coconut flavor, making everything taste more vibrant and balanced.
- Consider a Touch of Emulsifier (Optional): For an ultra-creamy texture, some prefer to add 1/2 teaspoon of guar gum or xanthan gum to the blender. These natural thickeners can improve mouthfeel and prevent iciness, but they are not strictly necessary for this recipe to be delicious.
- Freeze Thoroughly: Patience is key! While 3 hours is the minimum, allowing your popsicles to freeze overnight or for at least 6-8 hours ensures they are completely solid and hold their shape well, especially if you live in a warmer climate or have a less powerful freezer.
- Proper Storage for Freshness: Once frozen and removed from their molds, wrap each coconut milk popsicle individually in plastic wrap or place them in an airtight freezer bag. This prevents freezer burn and helps maintain their fresh taste and texture for up to 3 months.
- Easy Release Every Time: If a popsicle is stuck, don’t force it! A quick rinse under warm tap water for 10-20 seconds is usually all it takes to loosen the edges and allow for a gentle, easy pull.
Frequently Asked Questions About Coconut Milk Popsicles
Here are answers to some common questions you might have when making these delightful dairy-free frozen treats.
How do you make creamy popsicles, not icy?
The key to creamy popsicles lies in a few factors: First, using full-fat coconut milk provides the necessary fat content for a smooth texture. Second, ensuring the sugar is completely dissolved in the warmed coconut milk helps prevent large ice crystals from forming. Sugar acts as an antifreeze, contributing to a softer bite. Third, proper blending emulsifies the ingredients, further enhancing the creaminess.
Can I make this homemade popsicle recipe without molds?
Absolutely! No special popsicle molds? No problem! Paper or small plastic cups (like Dixie cups) work wonderfully as a substitute. Place the cups on a rimmed baking sheet for stability. Fill each cup about three-quarters of the way with the coconut mixture. Cover the top of each cup tightly with a small piece of aluminum foil or plastic wrap, then carefully poke a popsicle stick through the center. The foil or plastic wrap will help keep the stick upright as the popsicles freeze. Once frozen solid, simply tear away the cup to enjoy your homemade treat.
How can I make fruity homemade popsicles?
Adding fruit is an excellent way to introduce natural sweetness and vibrant flavors. Simply blend about 1 cup of your favorite fresh or frozen fruit (such as berries, mango, pineapple, or banana) directly into the coconut milk mixture before pouring it into the molds. For a more layered effect, you can also pour a thin layer of fruit puree (made by blending fruit with a little water or sweetener) into the molds, freeze partially, then add the coconut mixture.
How long do coconut milk popsicles take to freeze?
Coconut milk popsicles typically require a minimum of 3 hours in the freezer to set completely firm. However, for the best and most solid results, especially if your freezer isn’t super cold, it’s often recommended to freeze them for 4-6 hours, or even better, overnight.
How long do homemade ice pops keep well?
These creamy vegan popsicles will maintain their quality in the freezer for up to 3 months. To maximize their freshness and prevent freezer burn, it’s highly recommended to wrap each individual popsicle tightly in plastic wrap once they are fully frozen and removed from their molds. Store the wrapped popsicles in an airtight freezer bag or container.
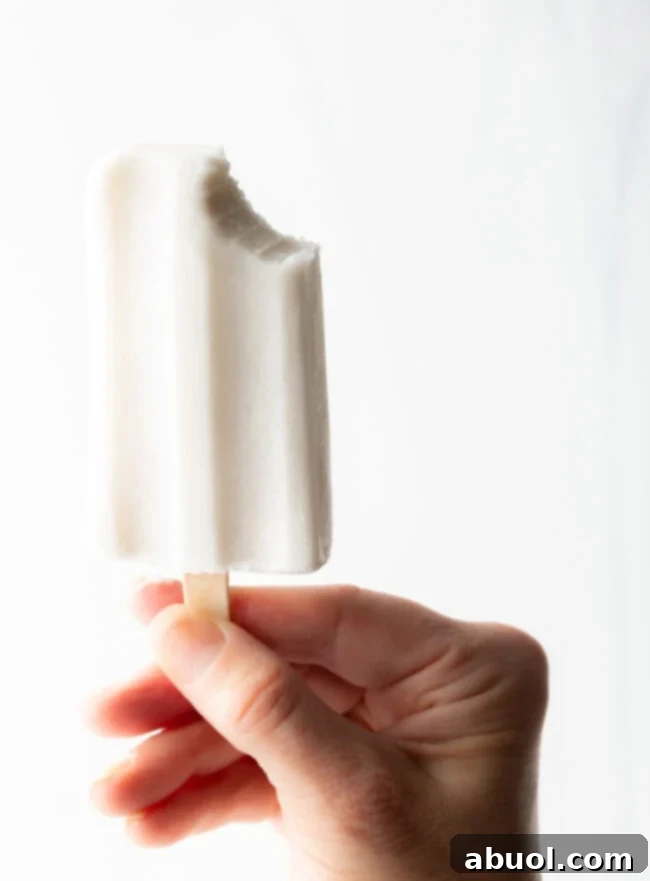
Ready to Make Your Own? Here’s the Full Recipe Card!
Don’t wait for summer to truly hit before you start enjoying these delightful, dairy-free frozen treats. With their simple ingredients and straightforward process, these Coconut Milk Popsicles are guaranteed to become a household favorite. They’re a testament that healthy can be incredibly delicious, and homemade truly is best. Gather your ingredients, get blending, and prepare to enjoy the creamiest, most refreshing popsicles you’ve ever tasted!
Coconut Popsicles (Dairy Free) Recipe
These dairy-free and vegan coconut milk popsicles are made with just 5 simple ingredients! Homemade coconut ice pops are perfect for a refreshingly sweet (and healthier) summer treat.
Prep Time: 5 minutes
Cook Time: 5 minutes
Freeze Time: 3 hours
Total Time: 3 hours 10 minutes
Servings: 12 servings
Ingredients
- 2 – 13.5 ounce cans unsweetened full-fat coconut milk
- 1 cup shredded sweetened coconut
- 1/3 cup granulated sugar (or preferred sugar alternative)
- 1 teaspoon vanilla extract
- 1/4 teaspoon salt
Instructions
- Warm the coconut milk to dissolve all the fat chunks. You can do this by placing it in a saucepot and setting over medium heat for 3-5 minutes, stirring occasionally. Alternatively, pour the coconut milk into a microwave-safe bowl and cook until smooth, 1-3 minutes, stirring every 30 seconds. Do not bring the coconut milk to a boil – only heat as high as necessary to melt the coconut fat. Let cool slightly.
- Pour the warm, smooth coconut milk into the jar of a blender. Add the shredded coconut, sugar, vanilla, and salt. Puree until mostly smooth. (It’s perfectly fine to have little flecks of shredded coconut in the mix; they create a good texture after freezing.)
- Pour the coconut mixture into standard popsicle molds. You should be able to fill 10-12 molds. Then, cover with the mold topper and place a popsicle stick down in each mold.
- Freeze until hard, for at least 3 hours. When ready to serve, flip the popsicle mold over and run warm tap water over the bottom to help release the popsicles. Gently pull them out of the mold and serve immediately.
Notes
- This recipe is naturally gluten-free and dairy-free. You can use a sugar substitute to make them refined sugar-free as well!
- These homemade coconut milk popsicles will last for up to 3 months in the freezer. For maximum freshness, it is recommended to wrap each popsicle individually in plastic wrap once fully frozen.
Nutrition (per serving, estimated)
- Calories: 144 kcal
- Carbohydrates: 11 g
- Protein: 1 g
- Fat: 11 g
- Saturated Fat: 10 g
- Polyunsaturated Fat: 0.1 g
- Monounsaturated Fat: 0.5 g
- Sodium: 74 mg
- Potassium: 122 mg
- Fiber: 1 g
- Sugar: 10 g
- Vitamin C: 1 mg
- Calcium: 7 mg
- Iron: 1 mg
Course: Dessert
Cuisine: American
Author: Sommer Collier
Looking for More Dairy-Free Frozen Dessert Recipes?
If you’ve enjoyed these delightful coconut milk popsicles and are eager to explore more dairy-free frozen treats, you’re in luck! There’s a whole world of refreshing desserts waiting to be discovered. Expand your repertoire with these fantastic recipes:
- 4-Ingredient Avocado Ice Cream
- Grapefruit Basil Sorbet
- Mango Italian Ice
- Best Coconut Milk Ice Cream
- Vodka Gummy Bears Popsicles
- No-Churn Mocha Mint Chip Vegan Ice Cream
- Easy Jello Popsicles