
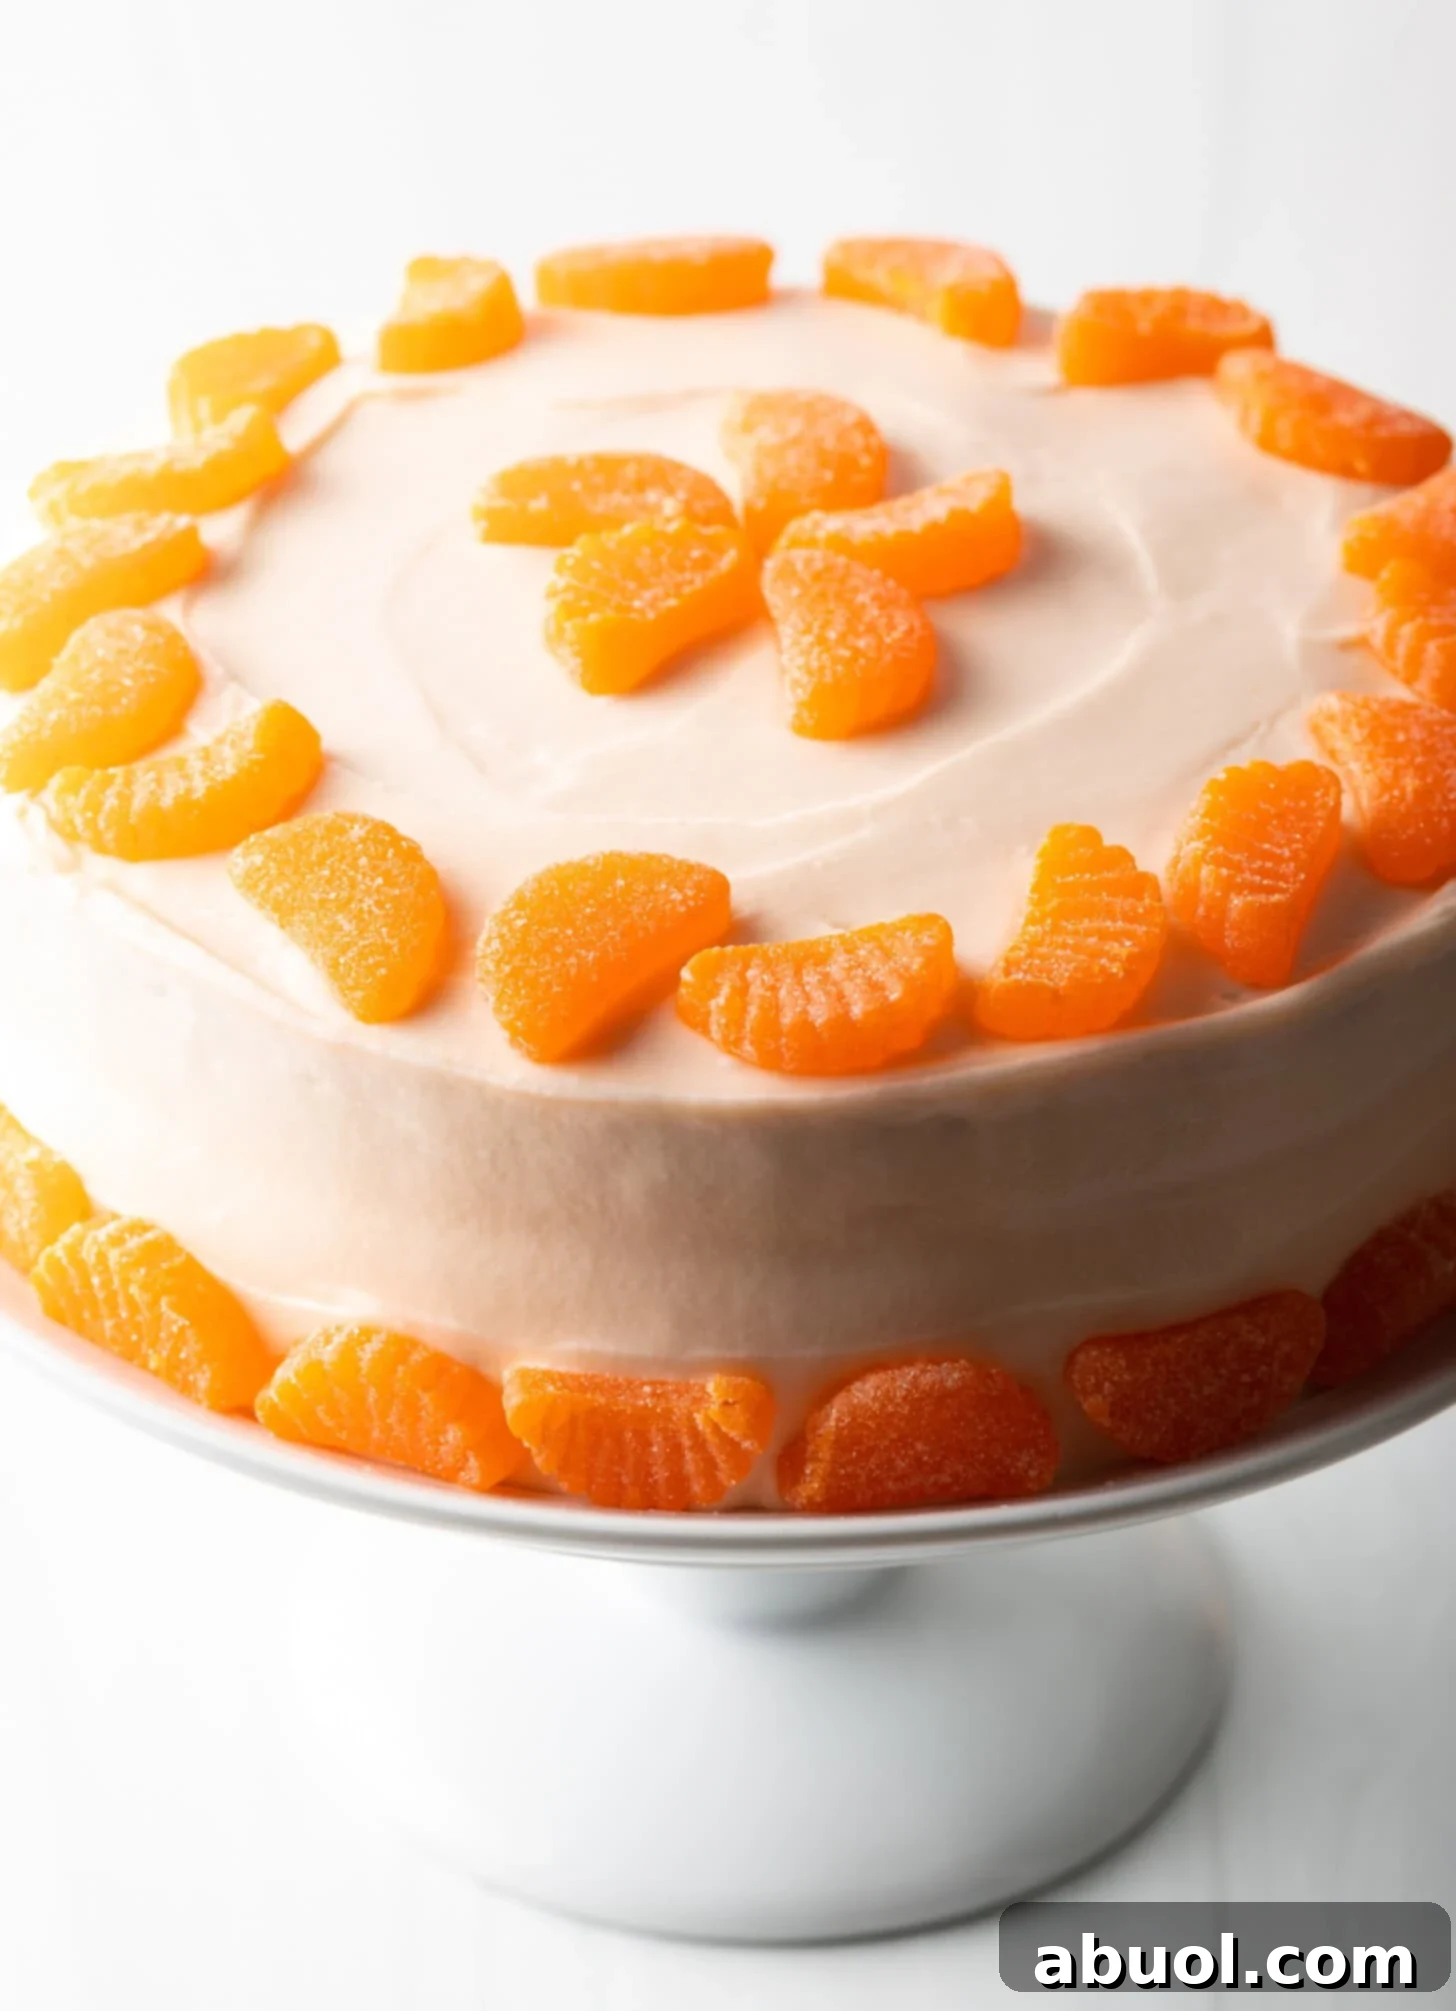
Indulge in the vibrant flavors of summer with this spectacular Orange Crush Cake recipe! Featuring the beloved citrus soda infused into both the tender cake layers and the fluffy buttercream frosting, this dessert promises a sweet, bright, and utterly irresistible experience that will captivate everyone.
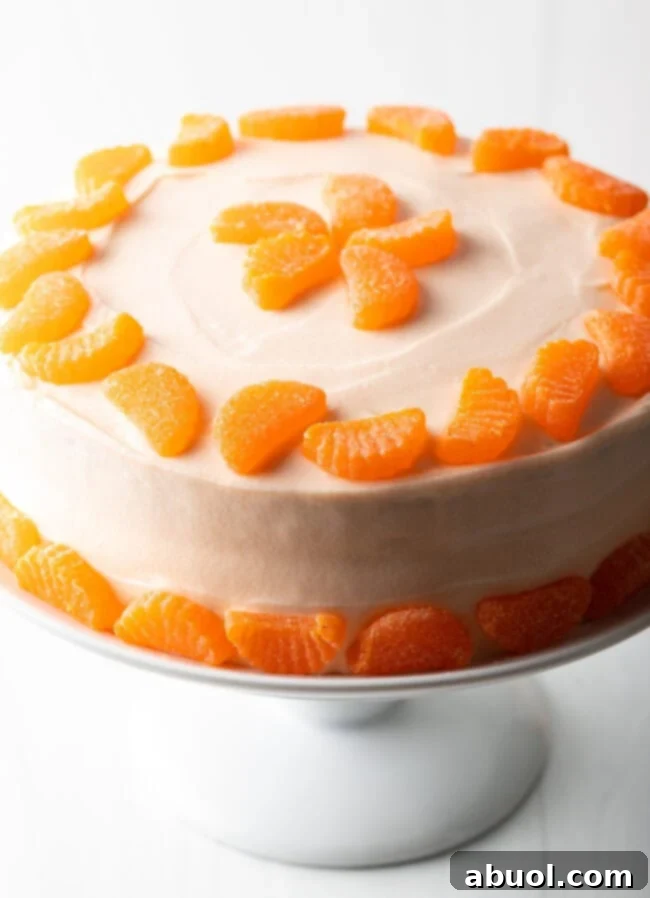
Orange Crush Cake: The Ultimate Citrus Dream Dessert
While a rich chocolate cake holds a special place in my heart year-round, the arrival of warmer weather invariably calls for refreshing, fruit-forward delights. As temperatures rise, my baking passion shifts towards creations bursting with fruity goodness. From comforting Peach Cobbler to delightful Blueberry Cookie Bars, you can bet that fruit takes center stage in my kitchen during the spring and summer months.
This exquisite Orange Soda Pop Cake stands out as a true warm-weather sensation. Its secret lies in the infusion of Orange Crush soda into both the light, airy cake batter and the creamy, dreamy frosting. The result is a dessert that offers a vibrant citrus kick, reminiscent of our popular Lemon Buttermilk Cake, but with an amplified sweetness and a playful, nostalgic charm that makes it incredibly appealing, especially to younger palettes. Prepare for a dessert experience that you and your loved ones won’t be able to resist.

From My Kitchen: Tips for Your Orange Crush Cake
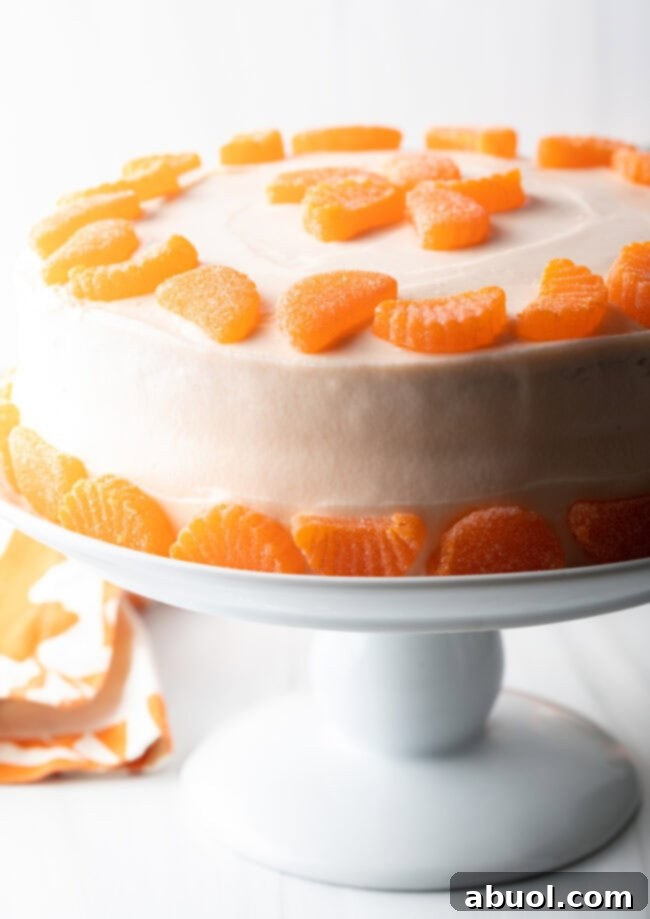
The Orange Crush Cake is an undeniable crowd-pleaser, perfect for celebrating spring holidays, graduations, and those lively summertime pool parties. For an extra touch of fun and visual appeal, I highly recommend adorning the cake with vibrant, sugary orange slice candies. Watch in amazement as slices vanish almost as quickly as you can say “POP!” This cake doesn’t just taste amazing; it’s a conversation starter and a feast for the eyes.
Why This Orange Crush Cake Will Be Your New Favorite
- A Taste of Childhood Nostalgia: Orange soda is a quintessential treat that instantly transports you back to simpler times. This cake captures that joyful essence, offering a delicious and memorable throwback experience. It’s not just a cake; it’s a sweet memory waiting to be savored.
- The Star of Any Gathering: Prepare for compliments! Every guest, especially soda enthusiasts, will be utterly captivated by this incredibly moist and intensely citrus-flavored dessert. Its unique profile ensures it stands out on any dessert table.
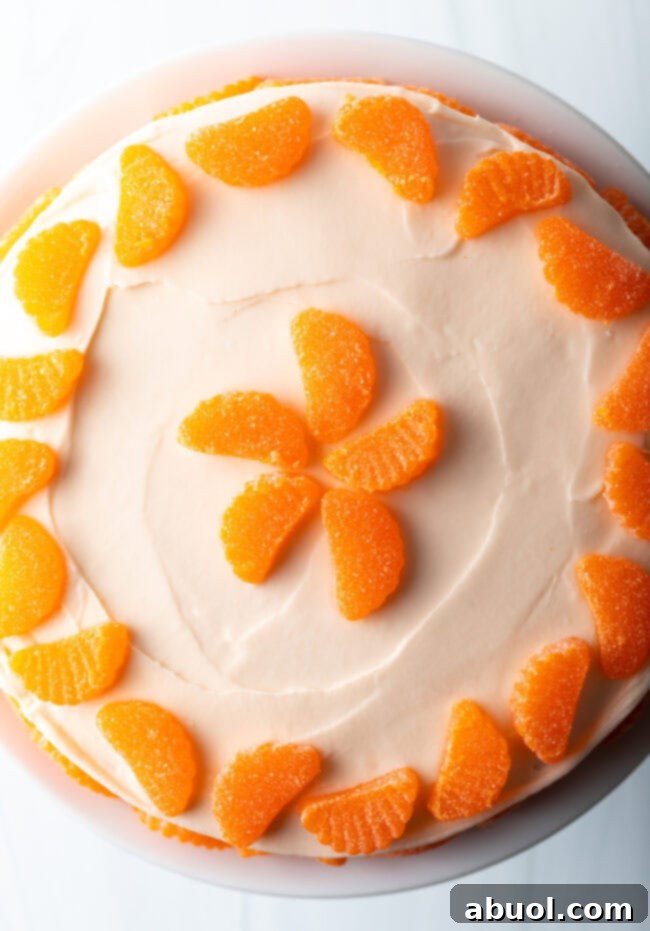
- Visually Stunning & Easy to Decorate: Made with authentic orange soda, which lends a beautiful, subtle hue, this cake provides the perfect canvas for creative decoration. Go wild with gummy orange slices, fresh orange segments, or even elegant candied orange peels to make it truly magnificent.
- Effortlessly Delicious: Despite its impressive appearance and complex flavor, this Orange Crush Cake is surprisingly straightforward to prepare, making it accessible for bakers of all skill levels.
- Bursting with Bubbly Flavor: The carbonation from the soda adds an incredible lightness and unique flavor depth to the cake, making it truly distinctive from traditional citrus cakes.
Don’t miss out on the chance to bake this bright, bubbly, and citrus-bursting Orange Crush Cake. It’s more than just a recipe; it’s an invitation to experience pure joy!
Essential Ingredients & Expert Tips for Success
Creating this show-stopping Orange Crush Cake requires a blend of standard baking staples and one very special ingredient. Here’s a detailed look at what you’ll need and how to make the most of each component:
- Orange Soda: The star of the show! For the most authentic flavor and a fun name, I highly recommend using Orange Crush. The specific brand can slightly influence the final taste, so choose your favorite for the best results. The carbonation also contributes to the cake’s tender crumb.
- Dry Ingredients: A foundational mix of all-purpose flour, baking powder, and granulated sugar forms the base of this incredibly moist and tender cake. Ensure your baking powder is fresh for optimal lift and texture.
- Fresh Orange Zest: This is crucial for boosting the natural citrus aroma and flavor. Don’t skip it! Use a fine grater or microplane to zest only the bright orange outer layer, avoiding the bitter white pith. This simple addition elevates the cake from merely sweet to wonderfully fragrant.
- Eggs: Large eggs at room temperature are key. Room temperature eggs emulsify better with other ingredients, creating a smoother, more uniform batter and a finer crumb.
- Vanilla Extract: A good quality pure vanilla extract adds a layer of aromatic warmth and complexity that beautifully balances the bright orange notes. It’s a subtle yet important flavor enhancer.
- Unsalted Butter: Use softened, unsalted butter for both the cake batter and the frosting. Softened butter creams well with sugar, incorporating air for a light texture. Using unsalted butter allows you to control the overall salt content of the recipe.
- Heavy Whipping Cream: This is the secret to a truly light, airy, and stable buttercream frosting. Whip it to firm peaks before folding into the butter and sugar mixture for that cloud-like consistency.
- Vegetable Oil: Alongside butter, vegetable oil contributes to the cake’s exceptional moisture and ensures it stays tender for longer.
- Decorations (Optional but Recommended!): I absolutely adore topping this cake with vibrant orange slice gummy candies for a playful look. For a more sophisticated touch, consider making homemade Candied Orange Peel pieces. Fresh orange segments or a sprinkle of extra orange zest also work beautifully.
- Pro Tip: Do Not Over-mix the Batter: Once you’ve added the wet and dry ingredients, mix them only until just combined. Over-mixing develops the gluten in the flour, which can lead to a tough, dense cake. We want fluffy and moist, so mix gently and stop as soon as it’s uniform.
- Baking Pans: Properly preparing your cake pans is vital. Grease and flour them thoroughly, or line the bottoms with parchment paper, to prevent sticking and ensure your beautiful cake layers release perfectly.
Creative Variations & Dietary Adaptations
This Orange Crush Cake recipe is wonderfully versatile, allowing you to customize it to your taste preferences or dietary needs. Here are some fantastic ways to switch things up:
- Gluten-Free: Easily convert this recipe by substituting the all-purpose flour with a high-quality gluten-free flour blend. Ensure your blend contains xanthan gum or add ½ teaspoon per cup of flour for best results, as this helps with structure.
- Dairy-Free: For a dairy-free version, swap the unsalted butter with a plant-based butter alternative (ensure it’s suitable for baking and frosting). For the heavy whipping cream, opt for whipped coconut cream (chill a can of full-fat coconut milk overnight, then scoop out the thick cream and whip it) or a dairy-free whipping cream substitute.
- Orange Juice Alternative: If you prefer to avoid soda, you can replace the orange soda with freshly squeezed orange juice. This will result in a less sweet cake with a more natural, tangy orange flavor. You might want to slightly increase the sugar in the cake batter to compensate for the soda’s sweetness.
- Explore Other Soda Flavors: Not “crushing” on orange today? This recipe is a fantastic base for a variety of soda pop cakes! Experiment with other soda flavors like grape soda, strawberry soda, watermelon, pineapple, or even cherry soda to create a rainbow of delicious and unique desserts. Each flavor will bring its own exciting twist!
- Cupcakes or Sheet Cake: This versatile batter can be easily adapted. Instead of traditional round cake layers, use the recipe to make individual cupcakes (bake for 18-22 minutes) or a convenient sheet cake in a 9×13 inch pan (bake for 25-30 minutes). Adjust baking times accordingly and check for doneness with a toothpick.
- White Chocolate Chip Surprise: For an extra layer of sweetness and texture, gently fold mini white chocolate chips into the flour mixture before combining with the wet ingredients. The subtle creaminess of white chocolate pairs beautifully with the tangy orange.
- Add a Citrus Liqueur: For an adult-friendly version, consider adding a tablespoon or two of orange liqueur (like Grand Marnier or Cointreau) to the cake batter or brushing it over the cooled cake layers before frosting for an enhanced citrus punch.
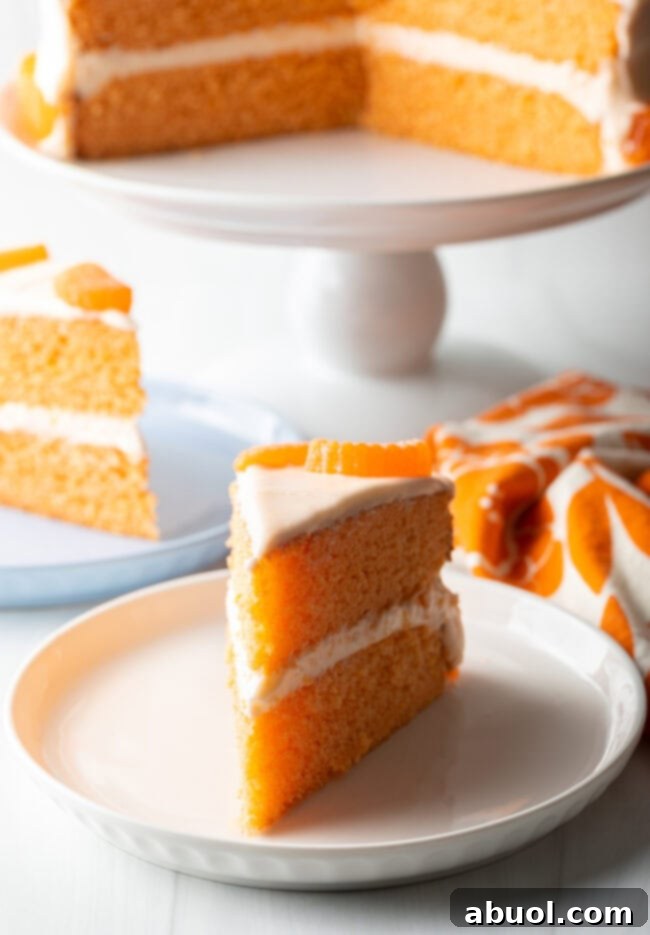
Step-by-Step Guide: How to Bake the Perfect Orange Crush Cake
Creating this impressive Orange Crush Cake is a delightful process that’s far simpler and more enjoyable than you might imagine. Follow these detailed steps to achieve a beautifully moist cake with a vibrant, flavorful frosting.
Find the full Orange Crush Cake recipe with detailed instructions, precise measurements, and handy storage tips in the printable recipe card below!
Optimal Storage for Freshness
- Storing Leftovers: To maintain its delicious flavor and moist texture, store any leftover Orange Crush Cake in an airtight container or loosely covered with plastic wrap in the refrigerator for up to 5 days. For the best eating experience, allow the cake to sit out at room temperature for 15-30 minutes before serving. This softens the frosting and cake layers, enhancing their tender qualities.
- Freezing Entire Cake: Yes, you can freeze the entire decorated cake! First, flash freeze it uncovered for about 1 hour until the frosting is firm. Then, wrap the cake tightly in several layers of plastic wrap, followed by a layer of aluminum foil. This double protection helps prevent freezer burn. It can be stored in the freezer for up to 2 months. Thaw overnight in the refrigerator, or on the countertop for an hour or two before serving.
- Freezing Cake Layers Only: For longer storage or to bake ahead, freeze the cooled, unfrosted cake layers. Wrap each layer individually in plastic wrap and then in aluminum foil, or place them in a freezer-safe bag. They will keep well for up to 3 months. Thaw in the refrigerator before frosting.
Delightful Serving Suggestions
While this Orange Crush Cake with its luscious orange frosting is undeniably decadent on its own, there are always wonderful ways to elevate and brighten your serving experience. Consider these pairings to make your dessert truly unforgettable:
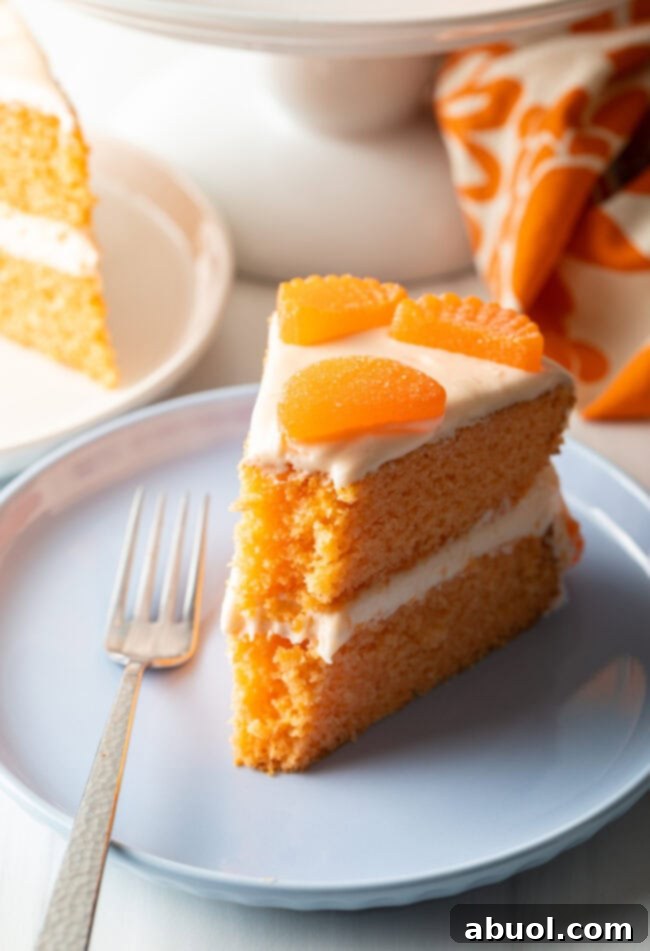
Serve each vibrant slice with a generous dollop of freshly whipped cream. For an extra touch of elegance and intensified citrus flavor, garnish with a beautifully made candied orange peel or a few thin, fresh orange slices. The contrasting textures and flavors will create a symphony on your palate.
For a truly indulgent dessert pairing, enjoy a slice alongside a scoop of creamy homemade Vanilla Ice Cream. The cool, smooth ice cream is a perfect complement to the bright and bubbly cake. Alternatively, for an adult gathering, a glass of chilled Prosecco or a sparkling mimosa can beautifully highlight the cake’s citrus notes, making for a sophisticated and celebratory treat.
Frequently Asked Questions About Orange Crush Cake
You’ll be pleased to know that traditional Orange Crush soda does not contain any caffeine, making this cake a great treat for all ages, any time of day. However, if you are looking for that extra ‘kick,’ you could substitute Orange Crush with a caffeinated orange soda like Sunkist, if preferred.
To flash freeze the entire decorated cake, first place it uncovered in the freezer for approximately 1 hour. This initial chill helps to set the frosting firmly. Once the icing is hard to the touch, carefully wrap the soda cake in several layers of plastic wrap, followed by a layer of aluminum foil for maximum protection against freezer burn. Stored this way, it will keep beautifully in the freezer for up to 2 months. When you’re ready to enjoy, thaw the frozen cake overnight in the refrigerator, or let it sit on the countertop for an hour or so until it reaches your desired softness.
Absolutely, yes! This cake truly delivers on its promise of tasting just like a refreshing orange soda. The distinct flavor of Orange Crush is infused throughout both the tender cake layers and the rich buttercream frosting. Furthermore, the addition of fresh orange zest intensely enhances and brightens the natural orange notes, creating a delightfully authentic and vibrant citrus experience.
While you can use diet orange soda, be aware that it might slightly alter the texture and sweetness of the cake. Diet sodas tend to have a different flavor profile and lack the sugar content that contributes to moisture and browning. For the best results, especially in terms of texture and overall sweetness, regular orange soda is recommended.
If you forget to take your eggs out ahead of time, simply place them in a bowl of warm (not hot!) water for 5-10 minutes. This will quickly bring them to room temperature, ensuring they incorporate smoothly into your batter.
More Zesty Orange & Summer Recipes to Explore
Print Recipe
5 stars (4 reviews)
Leave a Review »
Orange Crush Cake Recipe
Prep Time: 30 minutes
Cook Time: 25 minutes
Total Time: 55 minutes
This outstanding Orange Crush Cake recipe uses citrus soda throughout, even in the buttercream frosting for a sweet, bright, and summery dessert that everyone loves!
Servings: 12 slices
Video
Watch the step-by-step video for making Orange Crush Cake:
Play Video: Orange Crush Cake
Ingredients
US Customary – Metric
For the Orange Cake –
- 1 cup granulated sugar
- ½ cup unsalted butter, softened
- ¼ cup vegetable oil
- Zest of 1 orange
- 3 large eggs
- 1 tablespoon vanilla extract
- 2 ¾ cups all-purpose flour
- 4 teaspoons baking powder
- 1 teaspoon salt
- 2 cups orange soda (like Orange Crush!)
- Optional: orange food coloring
For the Orange Frosting –
- 1 cup heavy whipping cream
- 1 cup unsalted butter, softened
- 6+ cups powdered sugar
- ¼ cup orange soda
- Optional: orange slice gummy candies for decorating
Instructions
- Preheat your oven to 350°F (175°C). Prepare three 8-inch circular cake pans, or two 9-inch circular cake pans. For a simpler option, this cake can also be made in a 9 x 13 inch sheet pan.
- To prepare the pans, place one cake pan on a sheet of parchment paper and trace its bottom. Cut out 2-3 circles of parchment paper to fit neatly into the bottom of each pan. Place the parchment paper circles in the pans, then grease the sides of each pan thoroughly to prevent sticking.
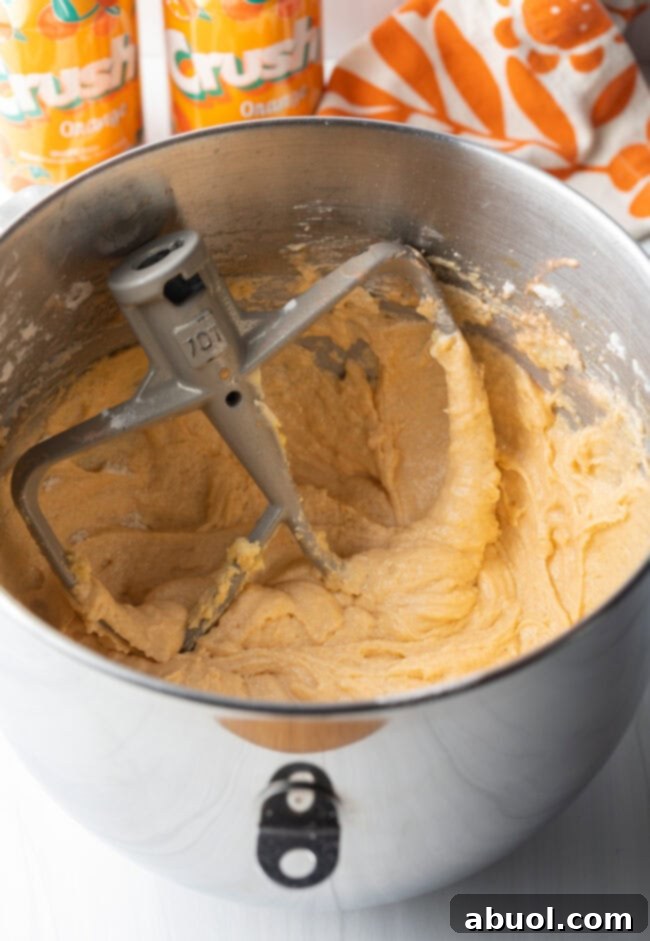
- For the orange cake batter: In the bowl of an electric stand mixer, combine the granulated sugar and softened unsalted butter. Beat on high speed for about 3 minutes until the mixture is light, fluffy, and well-creamed. Scrape down the sides of the bowl with a rubber spatula. Add the vegetable oil, fresh orange zest, large eggs, and vanilla extract. Beat on low speed until all ingredients are just combined.
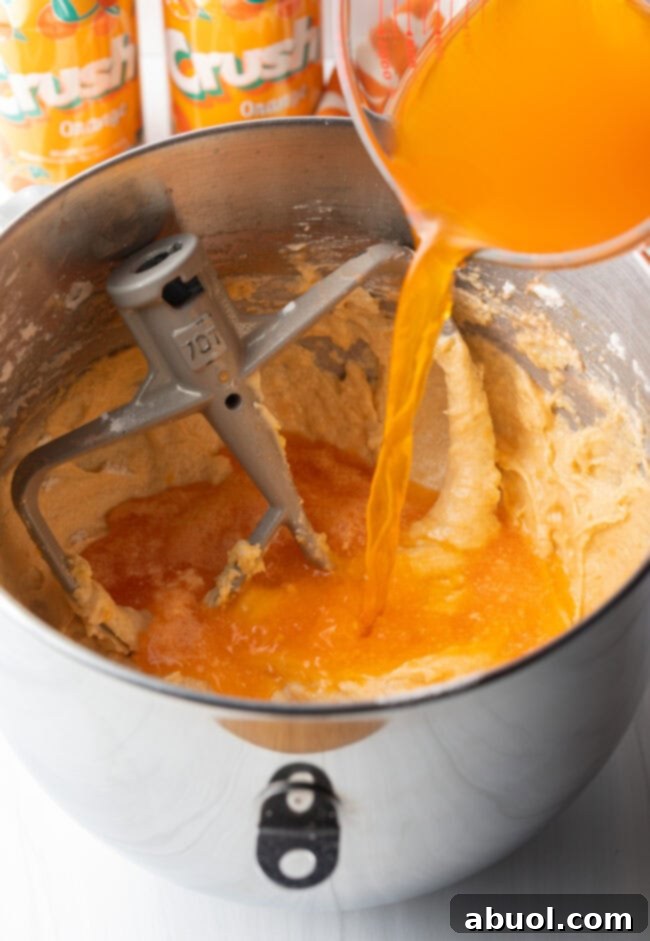
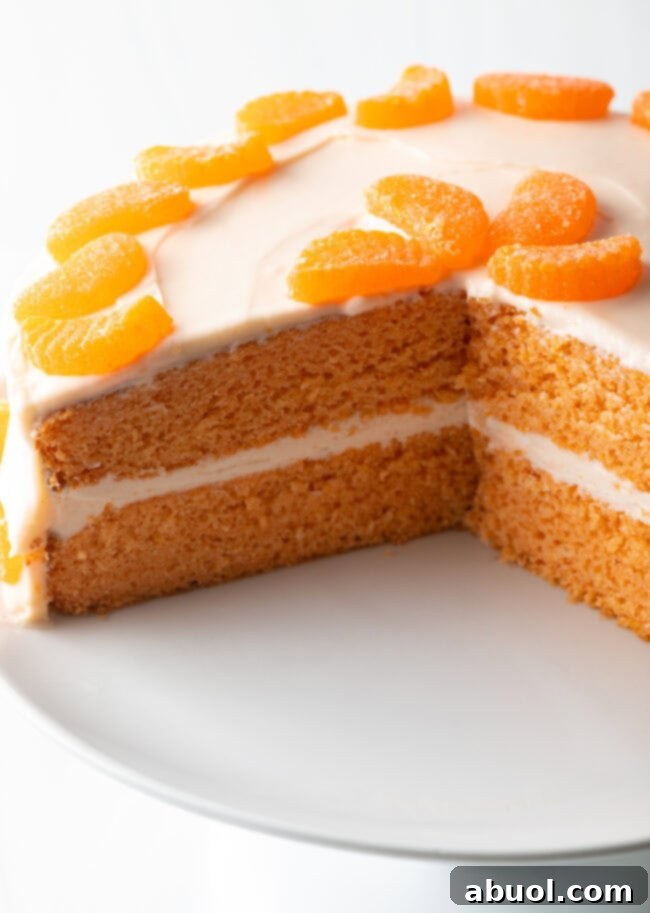
- With the mixer still on low, gradually add the baking powder and salt. Alternate adding the orange soda and all-purpose flour, mixing until the batter is just combined and smooth. Be careful not to overmix. Turn off the mixer, scrape the bowl, then mix again for only about 20 seconds to ensure there are no lumps. The batter will have a natural light orange hue. If you desire a brighter orange color, incorporate 6 to 10 drops of orange food coloring, or combine 2 drops of red food coloring with 4-8 drops of yellow food coloring until your preferred shade is achieved.
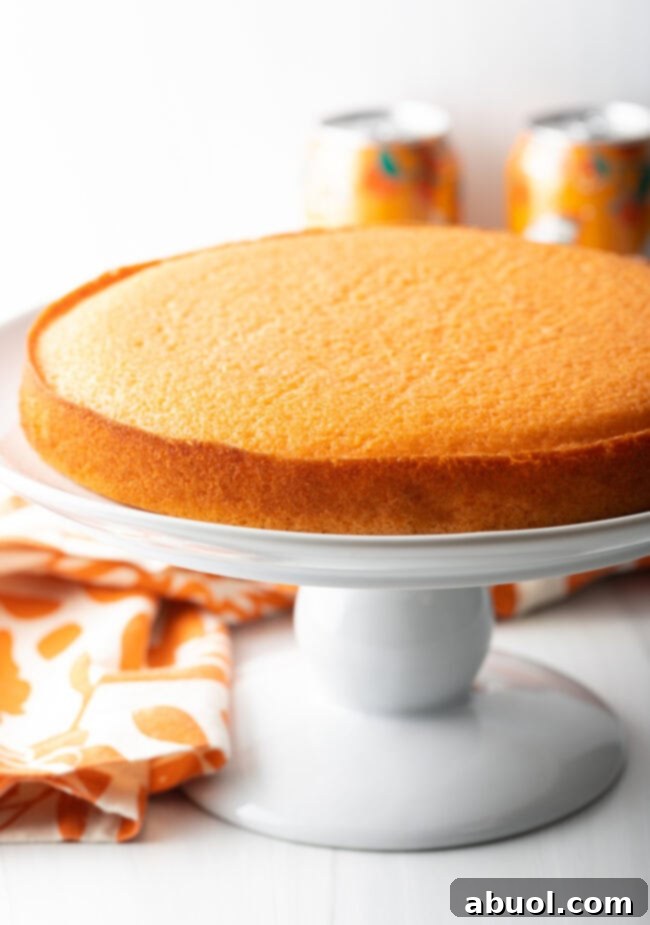
- Evenly scoop the prepared batter into your greased and floured (or parchment-lined) baking pans. If baking 8-inch cakes, bake for 20 to 25 minutes. If using 9-inch cakes or a 9 x 13 inch sheet cake pan, bake for 25 to 30 minutes. The cake is done when a toothpick inserted into the center comes out clean.
- Once baked, transfer the cakes in their pans to a wire cooling rack and allow them to cool for at least 15 minutes. After this initial cooling, carefully invert the cakes out of the pans onto the cooling rack to cool completely to room temperature. This step is crucial for preventing crumbly cakes when frosting.
- Flash freeze (optional but recommended): For easier leveling and frosting, once the cakes are completely cool, place them on a parchment paper-lined baking sheet and freeze for one hour. This firming process makes handling the delicate layers much simpler. The cake layers will thaw as you decorate and serve.
- For the frosting: Using a clean bowl for your electric stand mixer and fitted with a whip attachment, add the heavy whipping cream. Whip the cream on high speed until it forms very firm peaks. Gently scoop the whipped cream into a separate bowl and set aside for later use.
- Next, add the softened unsalted butter to the mixer bowl. Beat on high speed to further soften it. Then, add 3 cups of powdered sugar and the ¼ cup of orange soda. Beat on low speed until combined, then increase to high speed and mix well. Gradually add the remaining 3+ cups of powdered sugar, one cup at a time, until the frosting becomes firm, smooth, and spreadable.
- Using a rubber spatula, gently fold the reserved whipped cream into the prepared frosting. This creates a wonderfully light, airy, and fluffy texture for your buttercream.
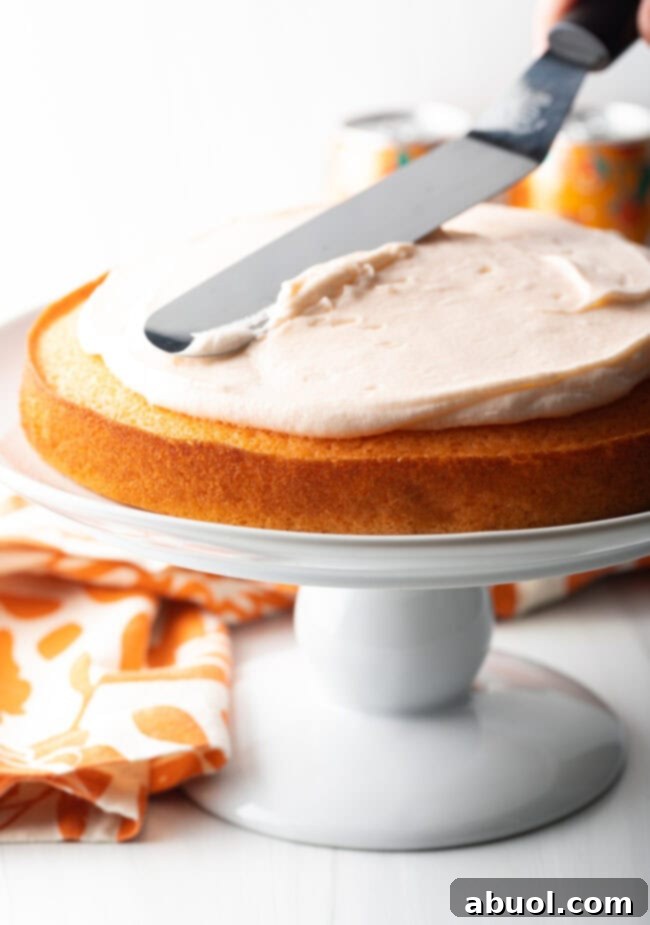
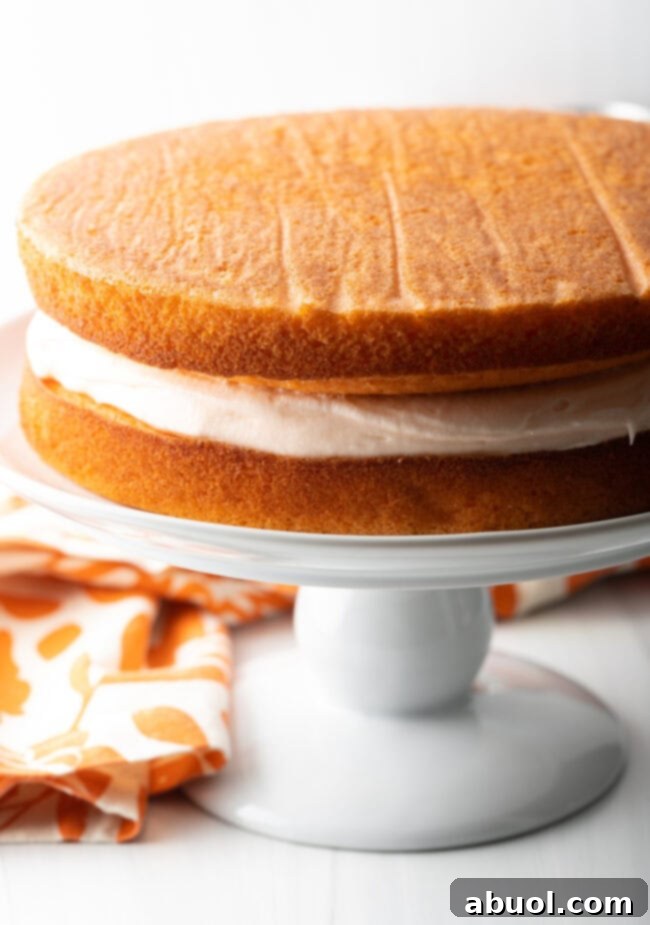
- To frost the cake: Place one cooled cake layer onto your desired cake plate or stand. Apply a ¾ cup dollop of frosting to this layer and spread it out evenly with an offset spatula. Carefully center the second cake layer on top of the first, pressing down gently to level it and spread the frosting to the edges. If you’re making a three-layer cake, repeat this process with additional frosting and the third cake layer. Next, use a long, flat spatula to spread the remaining frosting evenly around the sides of the cake. Dollop the rest of the frosting on top and spread it into an even layer. Continue to smooth out the sides and top until you are satisfied with the finished appearance.
- If desired, decorate the edges of the cake with vibrant orange slice gummy candies. In my photos, I found it helpful to cut the gummy candies in half lengthwise as they were quite thick, making them easier to arrange. Fresh orange segments or candied orange peels also make excellent garnishes.
- Refrigerate the cake until you are ready to serve. For the best flavor and texture, take the cake out of the refrigerator approximately one hour before serving to allow it to soften slightly at room temperature. Even with whipped cream in the frosting (which requires refrigeration), cakes are generally most tender and flavorful when served at room temperature.
Notes
Storage: Loosely cover any leftover cake and store it in the refrigerator for up to 5 days. Remember to let it sit at room temperature for about 15 minutes to soften slightly before slicing and serving, which enhances its tender texture.
Freezing Cake Layers: If you plan to freeze, I recommend freezing just the unfrosted cake sponges. Once the cakes are completely cool, wrap each layer individually in a layer of plastic wrap, followed by a layer of aluminum foil. For added protection, you can also place them in a plastic zipper bag. These unfrosted layers will keep well for up to 3 months in the freezer.
Freezing a Fully Decorated Cake: You can also freeze the entire cake, frosting and all! First, flash freeze the cake uncovered for 1 hour until the icing is firm. Then, wrap the soda cake tightly in layers of plastic wrap and aluminum foil. It will keep in the freezer for up to 2 months.
Thawing: Thaw any frozen cakes overnight in the fridge, or on the countertop for an hour or two, before serving or continuing with decoration.
Nutrition
Serving: 1 slice
Calories: 480 kcal
Carbohydrates: 45g
Protein: 5g
Fat: 32g
Saturated Fat: 20g
Polyunsaturated Fat: 2g
Monounsaturated Fat: 8g
Trans Fat: 1g
Cholesterol: 124mg
Sodium: 224mg
Potassium: 209mg
Fiber: 1g
Sugar: 22g
Vitamin A: 1060IU
Vitamin C: 0.1mg
Calcium: 89mg
Iron: 2mg
Course: Dessert
Cuisine: American, Southern
Author: Sommer Collier
Cook It? Love It? Rate It!
YOU can help this recipe RANK on Google – TAP 5 STARS so other hungry people can find it. Thank you!