
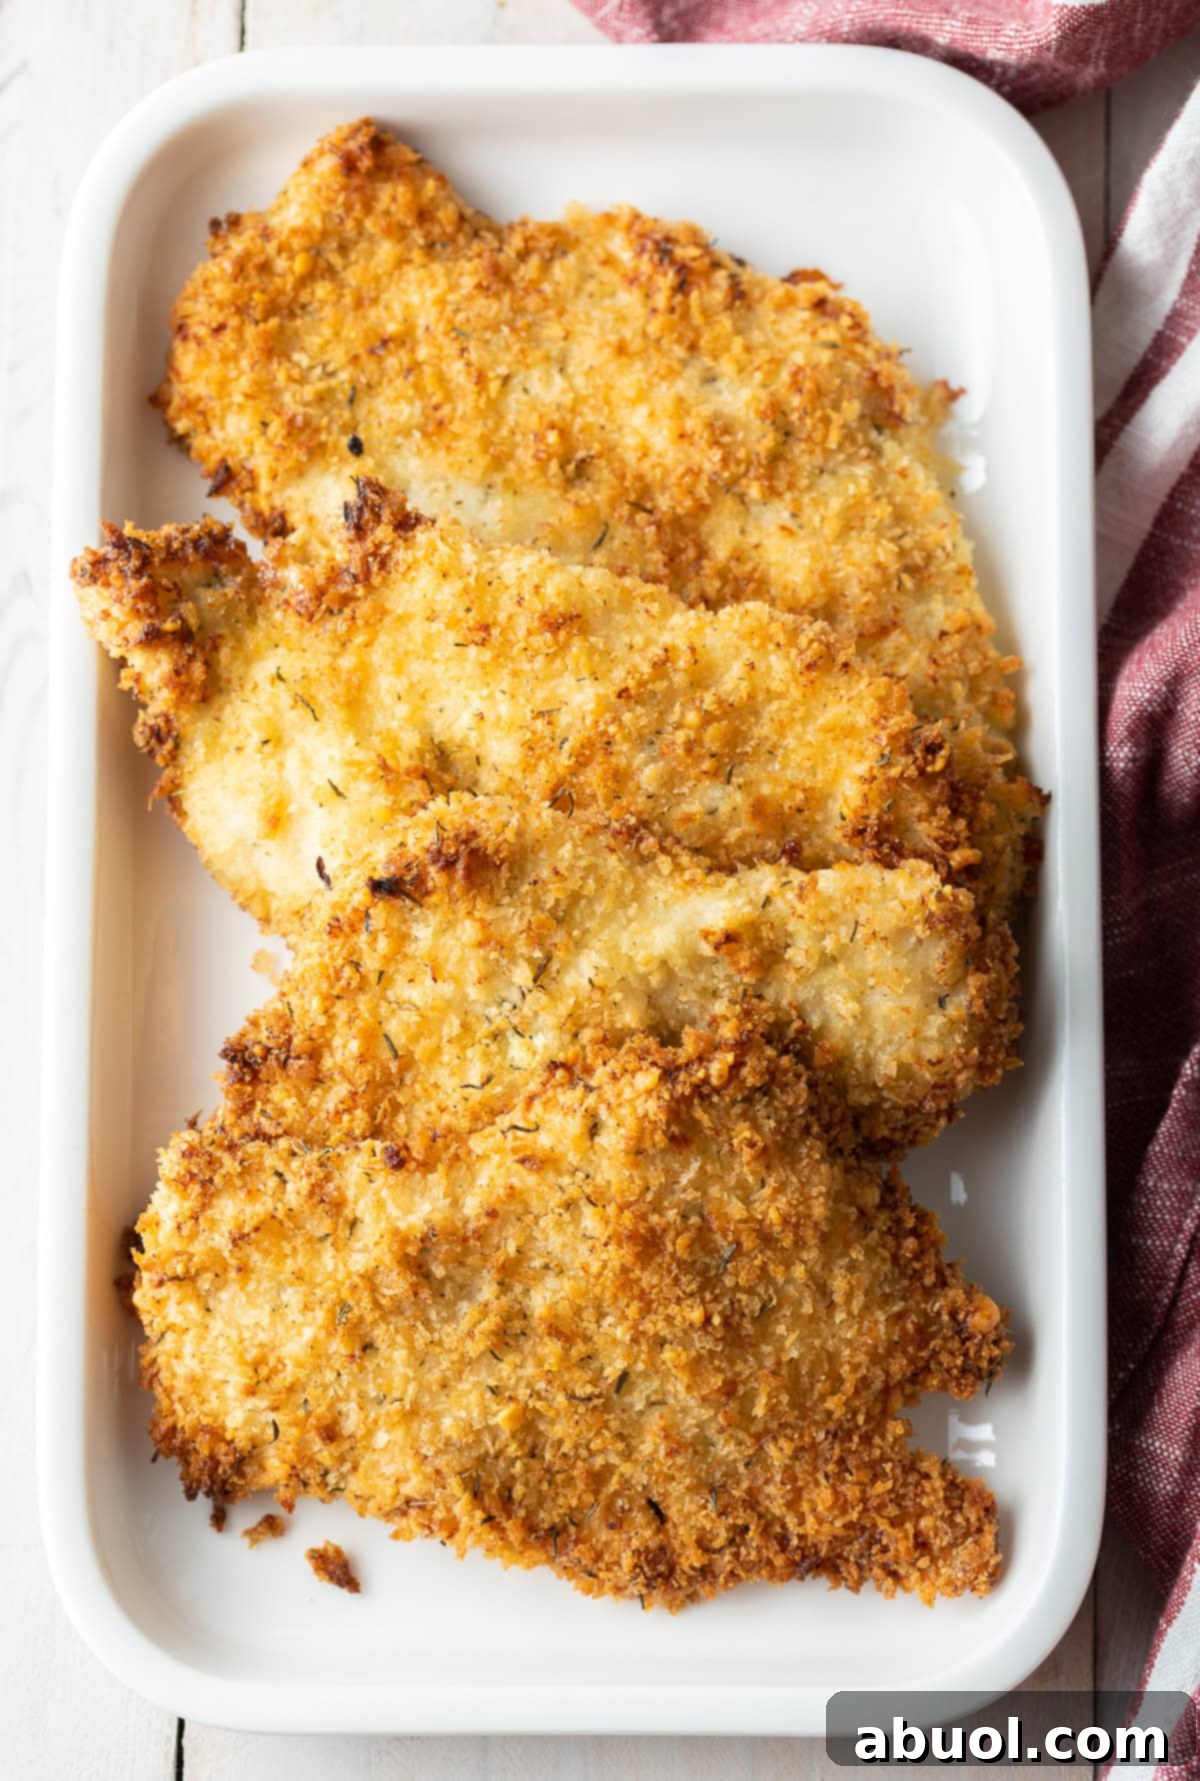
Unlock the secret to perfectly crisp, golden, and incredibly juicy Baked Chicken Cutlets – your ultimate healthy weeknight dinner solution that’s easy on the waistline!
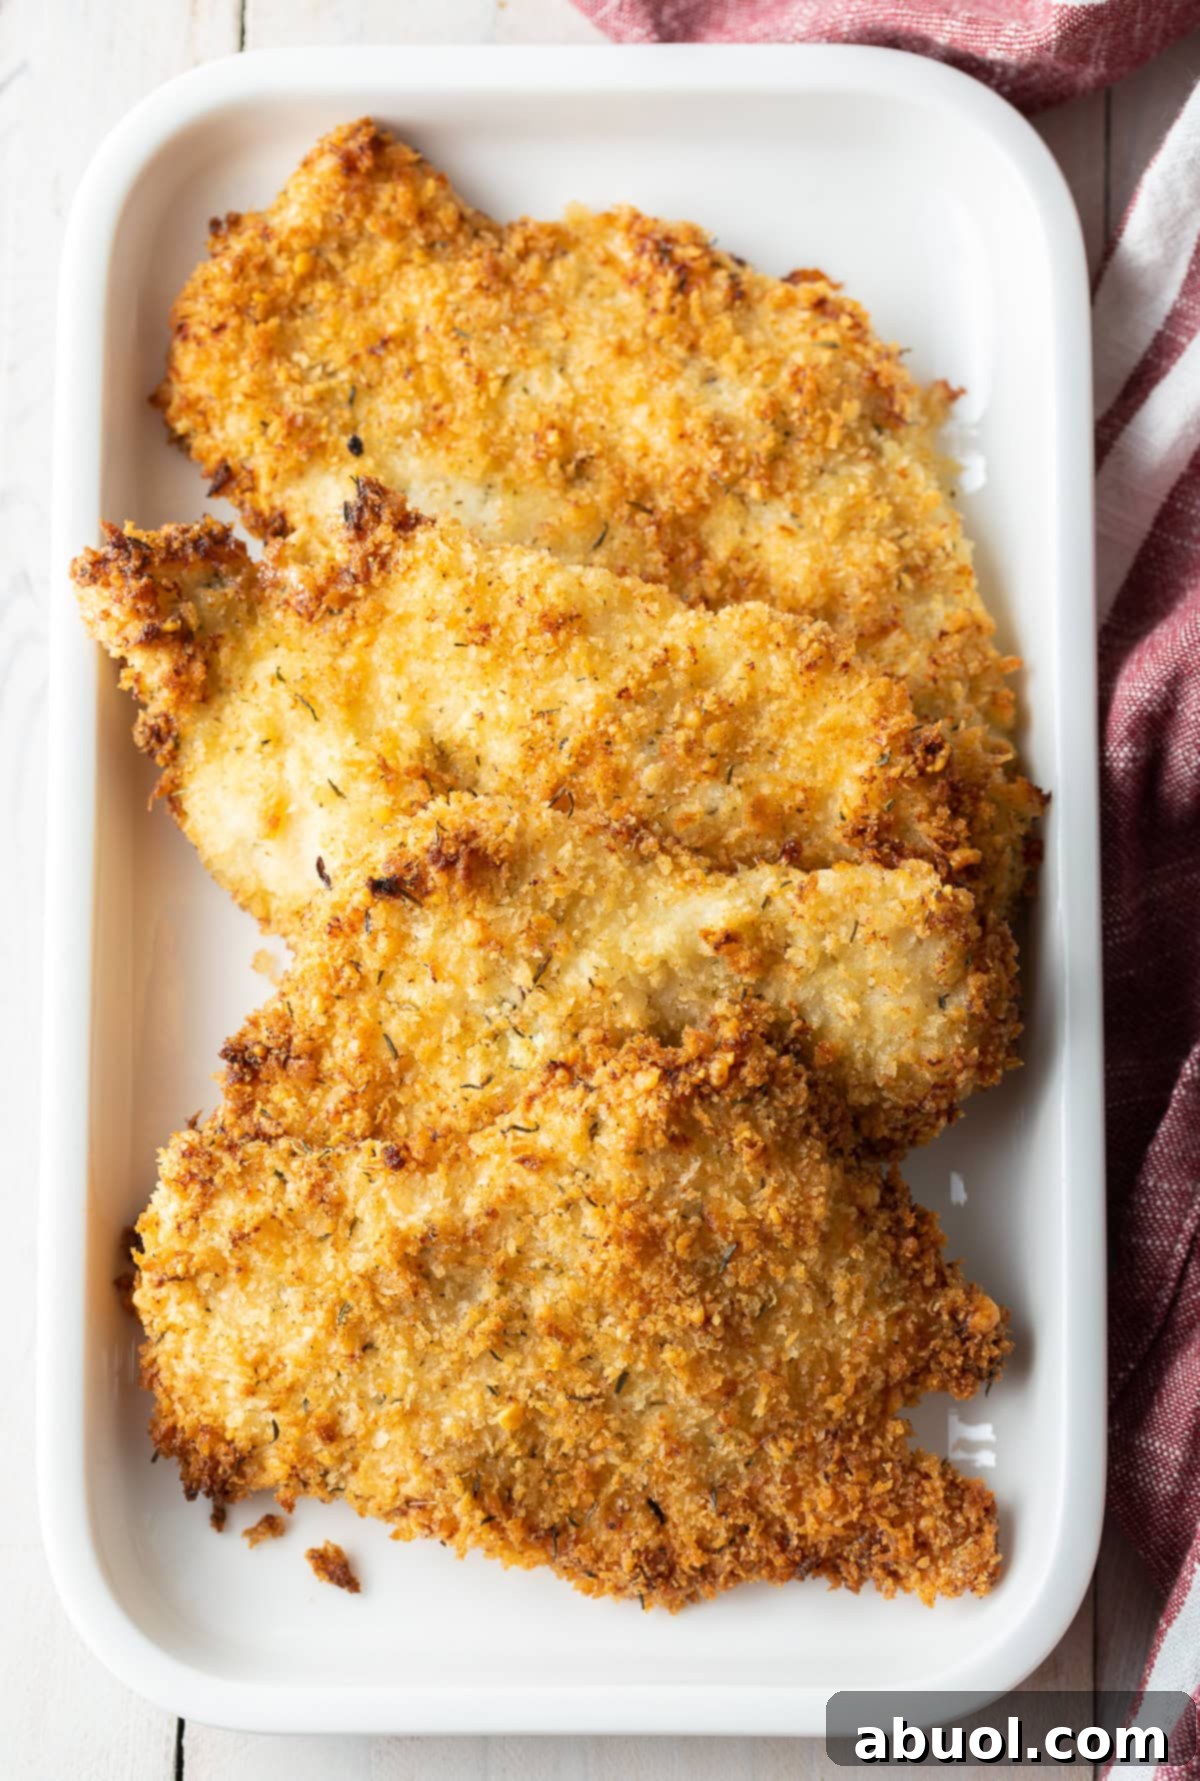

From Sommer’s Kitchen: Your New Favorite Baked Chicken Cutlets!
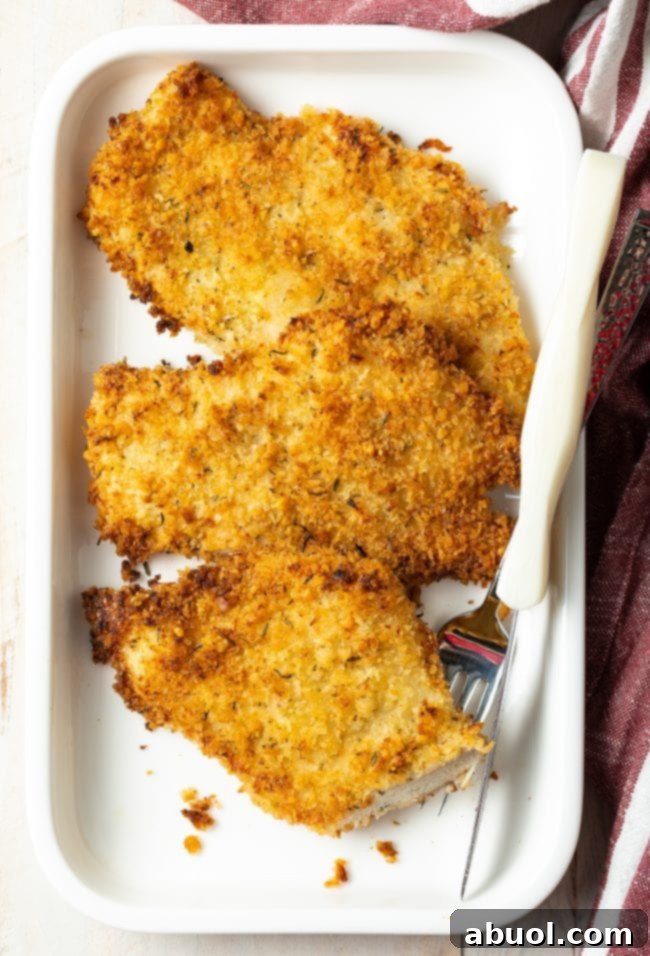
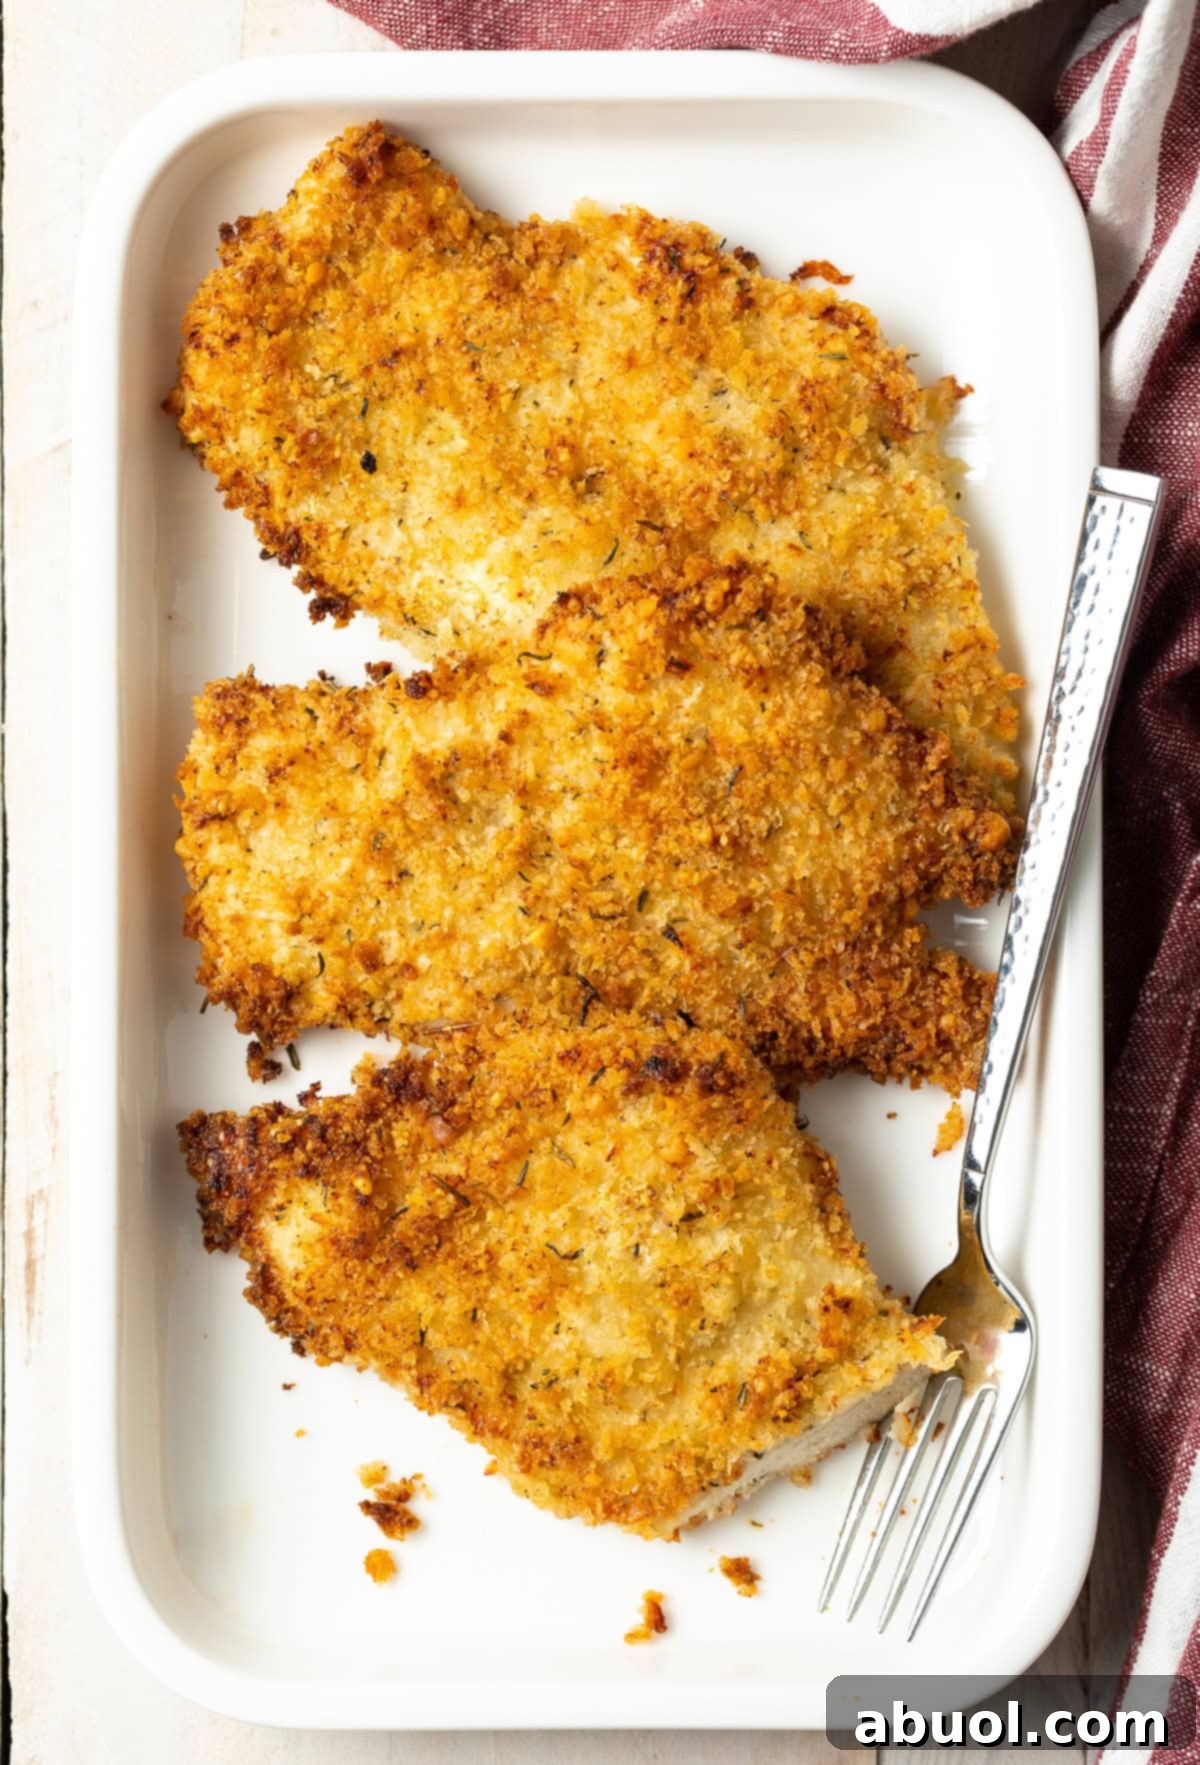
As a passionate home cook, I’m always on the hunt for dishes that combine maximum flavor with minimal effort and a healthier profile. These baked chicken cutlets perfectly hit that sweet spot! Imagine all the delicious crunch and savory satisfaction of classic fried chicken, but without the hassle of deep-frying, the excess oil, or the subsequent cleanup. This recipe is truly a revelation, transforming ordinary chicken breasts into an extraordinary meal that everyone will love.
The beauty of these crispy baked chicken cutlets lies in their sheer simplicity and incredible versatility. They come together in a flash, making them the ultimate solution for those busy weeknights when you need a quick yet wholesome meal. Beyond their ease, their adaptability shines through: they are magnificent as a protein-packed addition to salads, a flavorful filling for sandwiches and wraps, or the ideal base for a mouthwatering chicken parmesan. Once you experience the golden, juicy perfection of this recipe, you’ll understand why it’s become a cherished staple in my kitchen and will quickly become one in yours too!
Why These Baked Chicken Cutlets Will Become Your Go-To Recipe
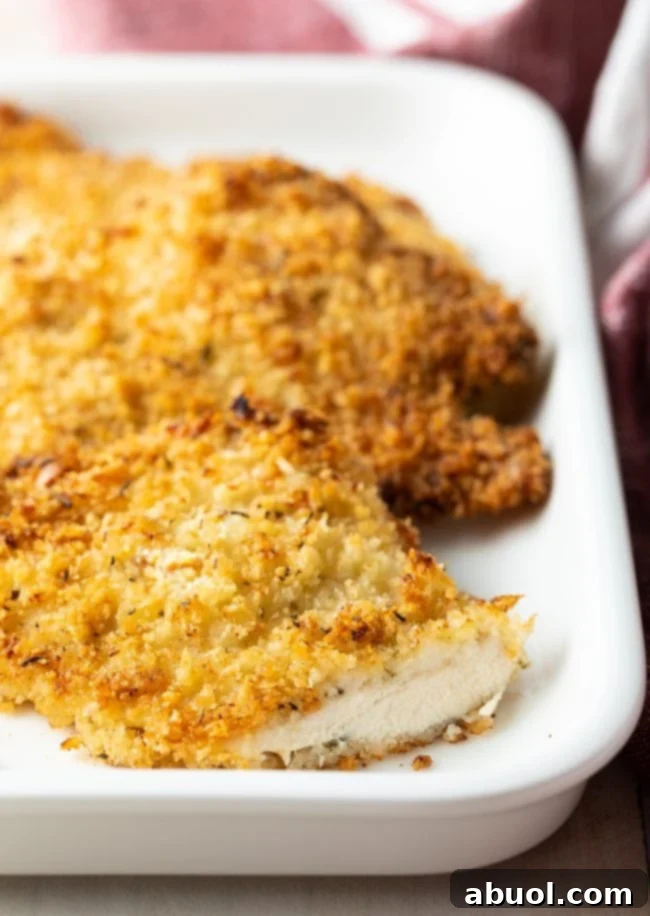
- Unbelievable Crispy Texture, No Frying Required: Prepare to be amazed! These chicken cutlets achieve an irresistibly golden and satisfyingly crispy exterior, while remaining incredibly tender and juicy on the inside. The best part? It’s all accomplished in the oven, completely eliminating the need for oil-heavy deep frying. It’s a truly healthier way to enjoy that beloved crunchy coating.
- Effortless and Quick Preparation: Life is busy, and your meals shouldn’t add to the stress. This recipe is designed for maximum ease. With just a simple two-step coating process and a quick bake, you’ll have perfectly cooked chicken cutlets ready to serve in under 30 minutes from start to finish.
- Remarkably Versatile for Any Meal: Whether you’re planning for weeknight dinners or preparing for meal prep, these cutlets are a dream. Make a generous batch and enjoy them in countless ways throughout the week: sliced over fresh salads, tucked into wholesome sandwiches, folded into wraps, or as a delectable protein alongside your favorite side dishes. Their adaptability ensures dinner never feels dull.
- A Healthier Alternative: By baking instead of frying, you significantly reduce the fat and calorie content without compromising on flavor or texture. This recipe is a smart choice for those seeking delicious, waistline-friendly options without sacrificing satisfaction.
- Crowd-Pleasing Flavor: The combination of Panko breadcrumbs, Parmesan, and fresh herbs creates a universally appealing flavor profile that even picky eaters will adore. It’s a guaranteed hit with both kids and adults!
This crispy baked chicken recipe has been a lifesaver on countless occasions. It’s a simple meal that comes together rapidly, and its potential serving methods are truly endless, guaranteeing a fresh and exciting meal every time.
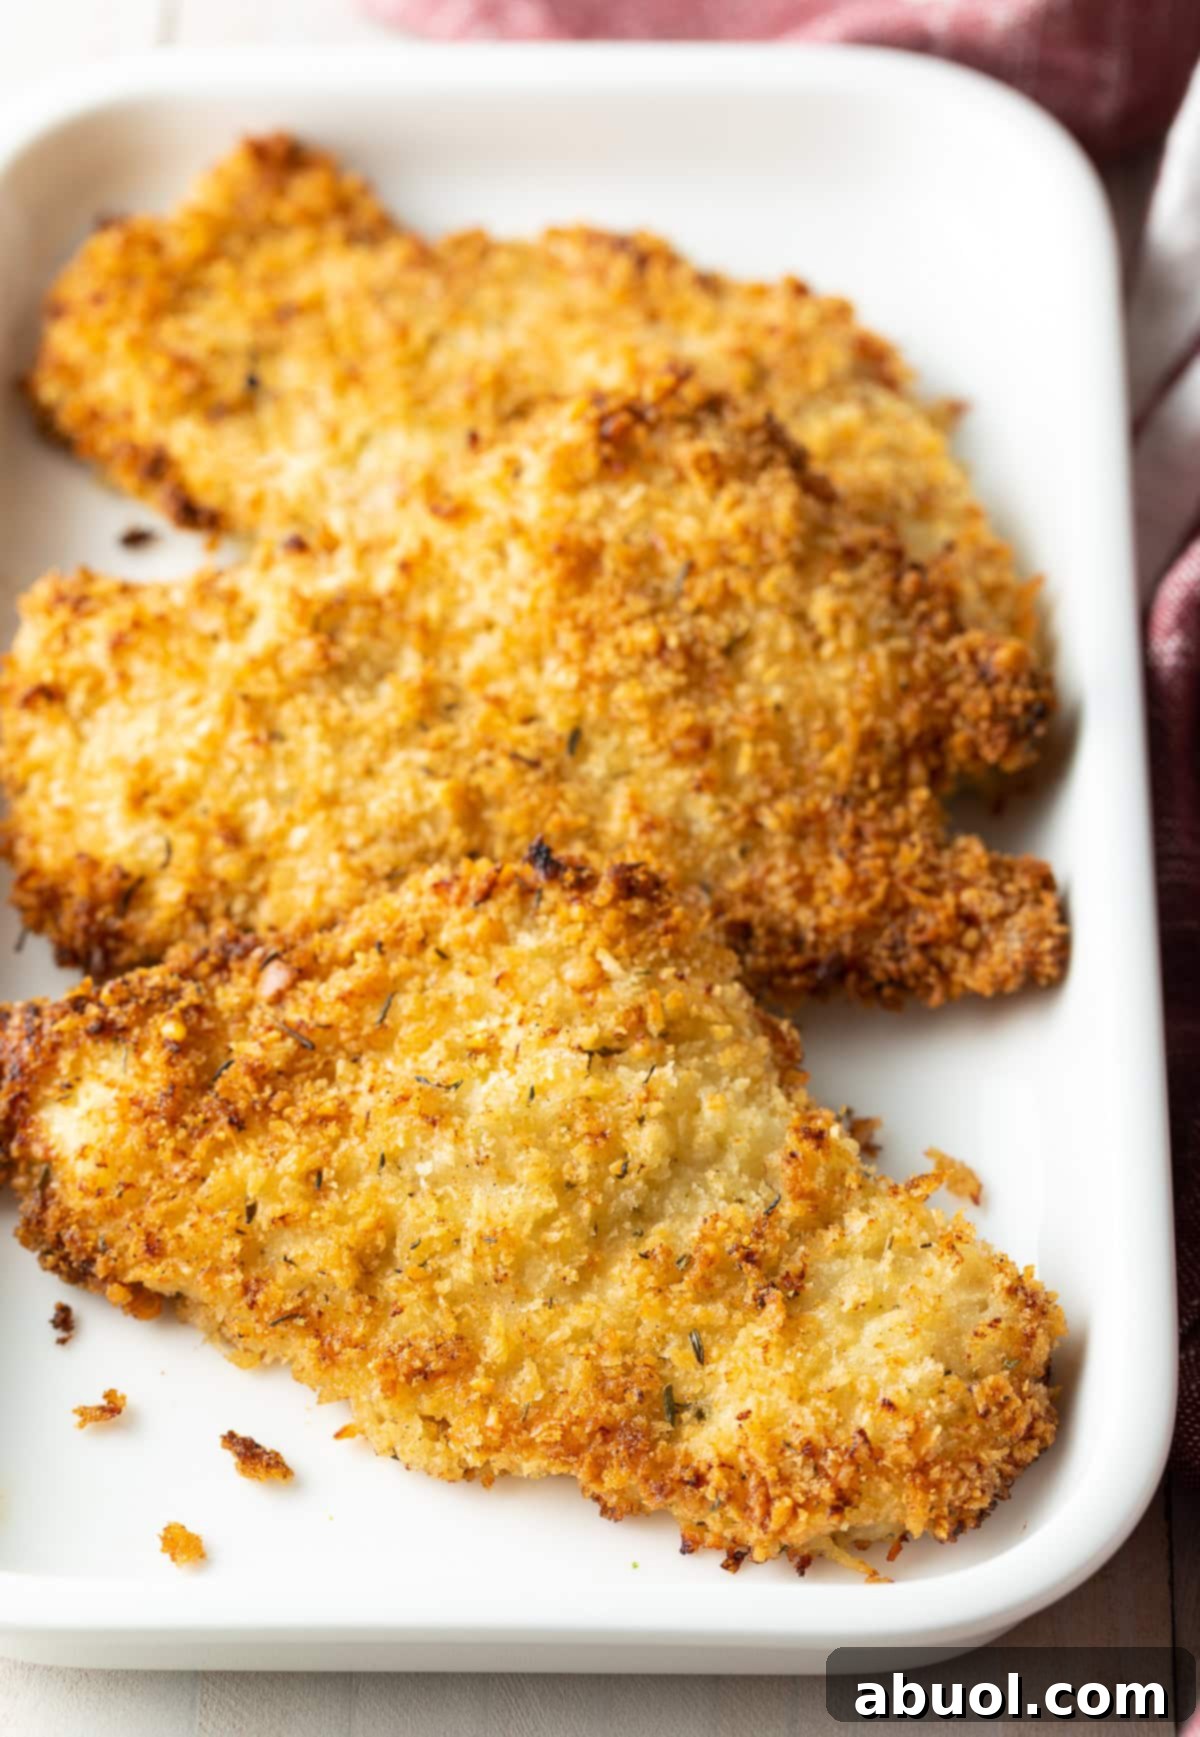
Essential Ingredients & Smart Tips for Success
Creating these perfectly crisp and tender chicken cutlets begins with a few straightforward, high-quality ingredients. Here’s a deeper dive into what you’ll need and how each component contributes to the delicious outcome:
- Chicken Cutlets: The foundation of our dish! Always opt for boneless, skinless chicken breasts that are thinly sliced. If you can only find thicker chicken breasts, it’s incredibly easy to make your own cutlets: simply slice each breast horizontally through the middle to create two thinner pieces, or pound them gently with a meat mallet between two sheets of plastic wrap until they reach a uniform 1/2-inch thickness. This ensures quick and even cooking, preventing any dry spots.
- Panko Breadcrumbs: This is arguably the most crucial ingredient for achieving that signature crunch! Panko breadcrumbs are a Japanese-style breadcrumb, distinctive for their larger, flakier, and lighter texture compared to traditional breadcrumbs. They absorb less oil and become incredibly crispy and airy when baked, giving you that satisfying “fried” texture without the actual frying. Do not substitute with standard breadcrumbs if you want maximum crispiness.
- Shredded Parmesan Cheese: Beyond its delightful savory flavor, Parmesan cheese adds a wonderful richness to the breading and helps create a beautiful golden-brown crust. While shredded Parmesan works perfectly, finely grated Parmesan will integrate more seamlessly into the panko mixture for an even coating.
- Fresh Thyme Leaves: Fresh herbs truly elevate the aroma and taste profile of this dish. Thyme offers a subtle, earthy, and slightly peppery flavor that complements chicken beautifully. If fresh thyme isn’t available, you can substitute with 1 teaspoon of dried thyme, but keep in mind that dried herbs are more concentrated, so use a lighter hand. Other fresh or dried herbs like rosemary, oregano, or a quality Italian seasoning blend can also be used for a different flavor.
- Light Mayonnaise: This might seem like an unusual ingredient for breading, but it’s a genius hack! Mayonnaise acts as an excellent adhesive, effectively replacing eggs to bind the breadcrumbs to the chicken. Crucially, it also infuses moisture and a subtle richness into the chicken, ensuring it remains juicy. Using light or low-fat mayonnaise keeps the dish lighter without compromising on flavor or binding power. For those with specific dietary needs, a paleo-friendly or plant-based mayonnaise can also be used.
- Dijon Mustard: A tablespoon of high-quality Dijon mustard provides a crucial tangy kick and a layer of sophisticated flavor that cuts through the richness of the chicken and breading. Its bright, slightly spicy notes ensure each bite is vibrant and exciting, preventing the dish from tasting flat.
- Salt and Pepper: These fundamental seasonings are essential for bringing out the natural deliciousness of the chicken and enhancing the overall flavor of the coating. Always season generously to your personal taste.
Exciting Recipe Variations & Simple Dietary Swaps
One of the many wonderful aspects of these baked chicken cutlets is how easily they can be customized. Feel free to unleash your culinary creativity and adapt the recipe to suit your preferences or specific dietary requirements:
- Go Gluten-Free: Making this recipe gluten-free is a breeze! Simply replace standard Panko breadcrumbs with a certified gluten-free Panko variety. Always check the labels on your mayonnaise and Dijon mustard to ensure they are also gluten-free, as some brands may contain hidden gluten ingredients.
- Spice It Up: If you’re a fan of heat, a pinch or two of cayenne pepper, smoked paprika, or red pepper flakes stirred into the breadcrumb mixture will add a delightful warmth and depth of flavor. Adjust the amount to your desired level of spiciness.
- Dairy-Free Option: For those avoiding dairy, you can easily make this recipe dairy-free. Simply omit the Parmesan cheese or substitute it with a plant-based, dairy-free Parmesan alternative. Ensure your mayonnaise is also dairy-free or plant-based for a fully compliant meal.
- Herb and Spice Experimentation: Don’t feel limited to thyme! Experiment with different herbs and spices to create new flavor profiles. Try dried oregano for an Italian twist, rosemary for a more robust, earthy note, or even a blend of garlic powder and onion powder for an aromatic boost. A dash of lemon pepper seasoning can also add a bright, zesty touch.
- Herb Crusted Cutlets: For an intensely herbaceous flavor, increase the amount of fresh herbs or add a mix of finely chopped parsley, chives, and basil to your breadcrumb coating.
- Nut-Crusted Alternative: For a unique texture and flavor, consider replacing a portion of the Panko with finely ground nuts like almonds or walnuts. This adds a different kind of crunch and a rich, nutty taste.
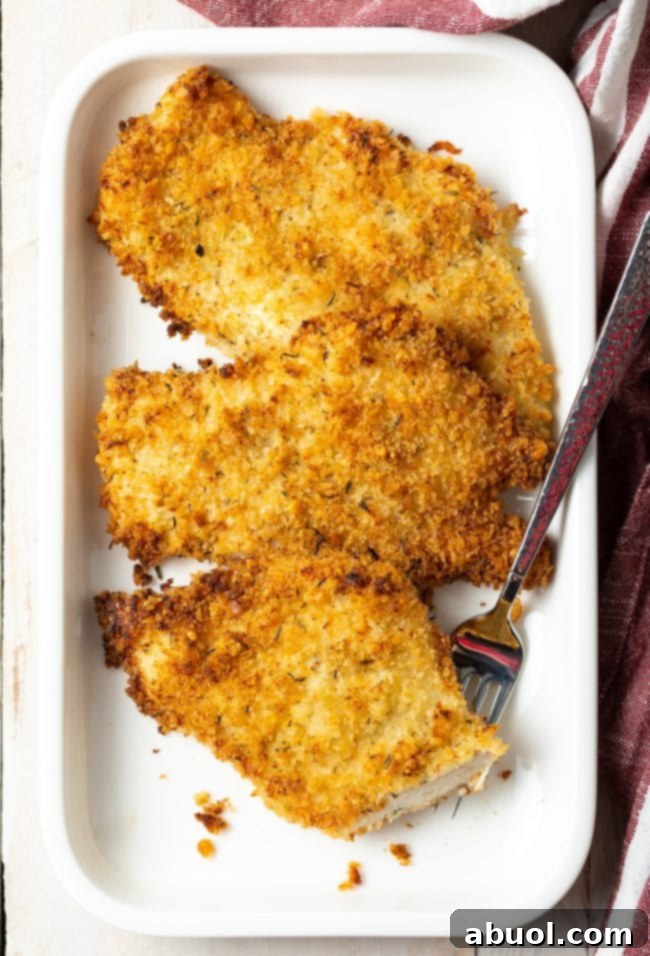
How To Make Crispy Baked Chicken Cutlets: Your Step-by-Step Guide
Achieving perfectly golden, gloriously crispy, and wonderfully juicy baked chicken cutlets is much easier than you might think! This fuss-free method requires only a handful of ingredients and just a few simple steps, making it ideal for home cooks of all skill levels.
For the complete Baked Chicken Cutlets recipe with precise measurements, detailed instructions, and comprehensive nutritional information, please refer to the easy-to-follow recipe card located at the bottom of this post.
Detailed Preparation Steps:
- Preheat Oven & Prepare Baking Sheet: Begin by moving one of your oven racks to a low position. This is a clever trick to help the underside of your chicken cutlets achieve maximum crispiness. Preheat your oven to a steady 400°F (200°C). Next, line a sturdy baking sheet with aluminum foil; this step is a lifesaver for easy cleanup! Generously spray the foil with a non-stick cooking spray, ensuring every corner is coated. This crucial layer helps prevent sticking and promotes a beautiful golden crust. Set the prepared baking sheet aside.
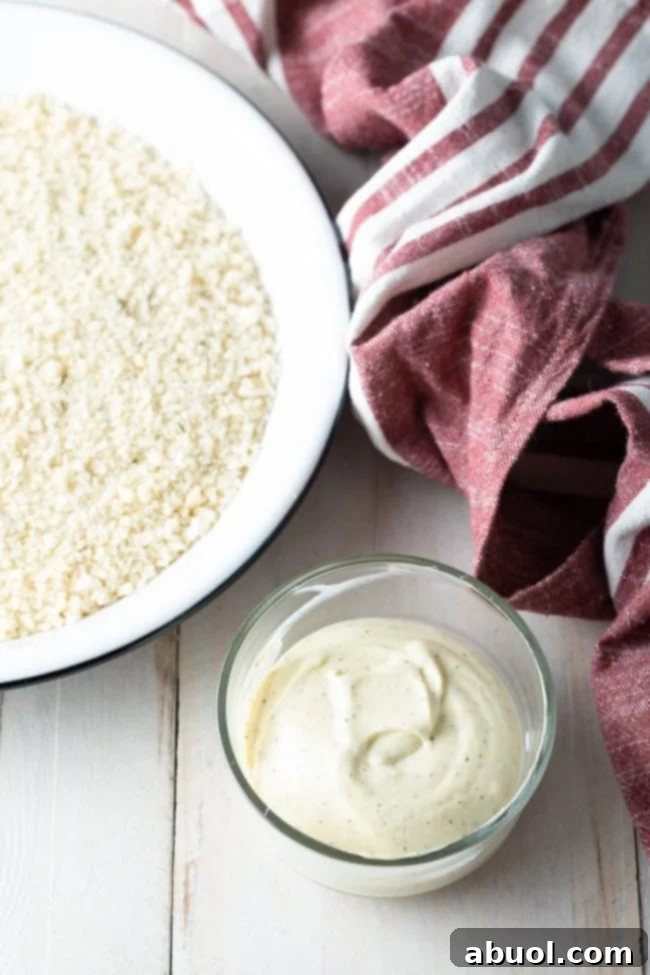
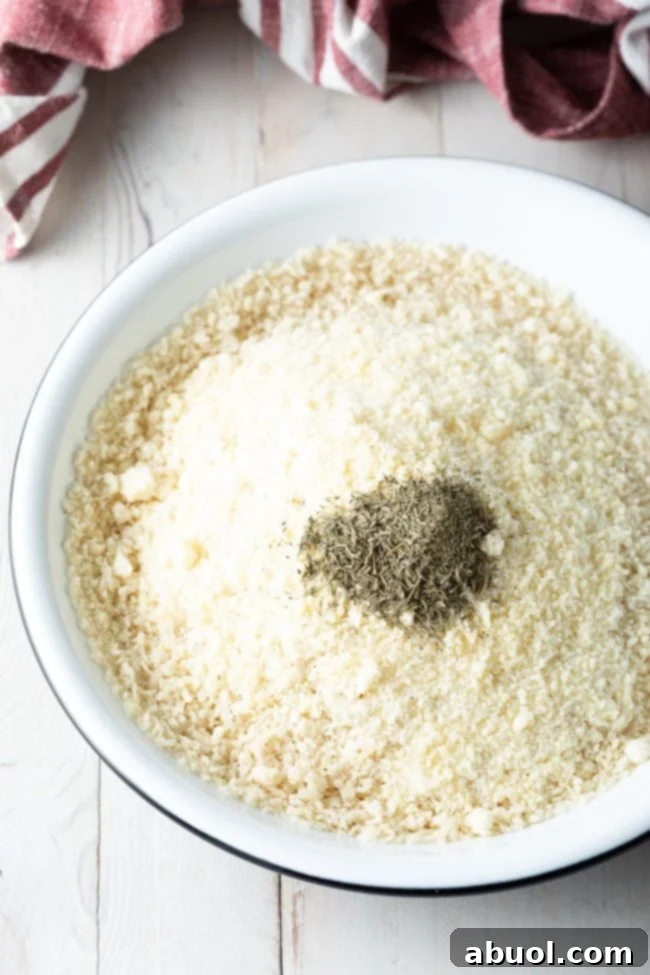
- Set Up Your Coating Stations: Grab two separate, medium-sized, shallow bowls. In the first bowl, combine the light mayonnaise, Dijon mustard, 1/2 teaspoon of salt, and 1/4 teaspoon of black pepper. Whisk these ingredients together thoroughly until you have a smooth, well-combined mixture. In the second bowl, combine the Panko breadcrumbs, shredded Parmesan cheese, and fresh thyme leaves. Use a fork or spoon to mix these dry ingredients until they are evenly distributed.
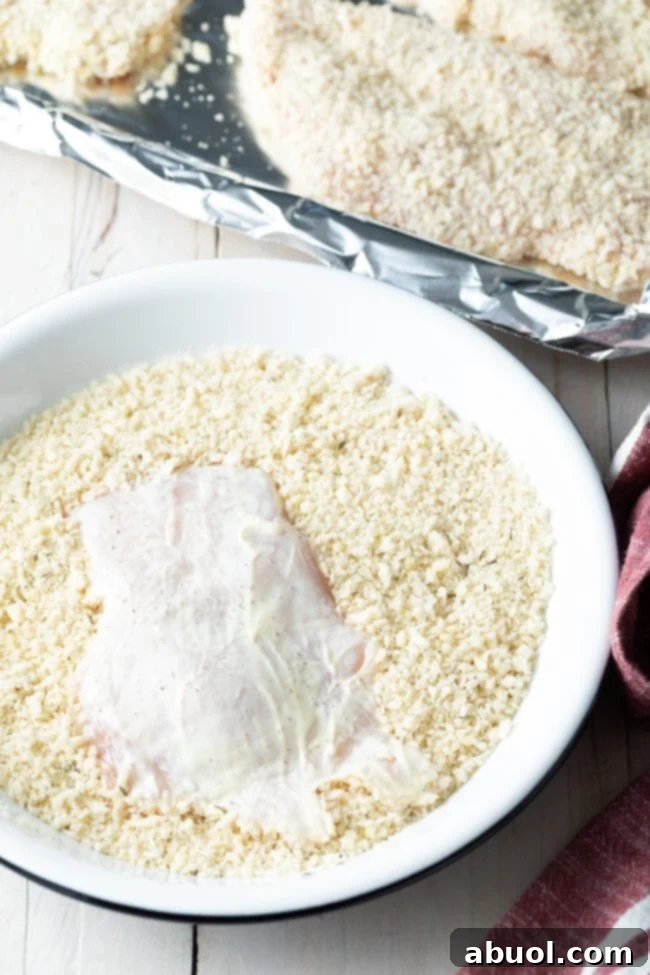
- Coat Each Chicken Cutlet: Take one chicken cutlet at a time and completely immerse it in the mayonnaise mixture, turning to ensure both sides are fully coated. Allow any excess mayonnaise to drip off briefly. Immediately transfer the mayonnaise-coated cutlet to the Panko breadcrumb mixture. Press the chicken firmly into the breadcrumbs on both sides, ensuring a thick, even, and complete layer of breading adheres. This robust coating is vital for that ultimate crispy texture. Place each breaded cutlet onto your prepared baking sheet, making sure they are in a single layer and have a little space between them to allow air to circulate.
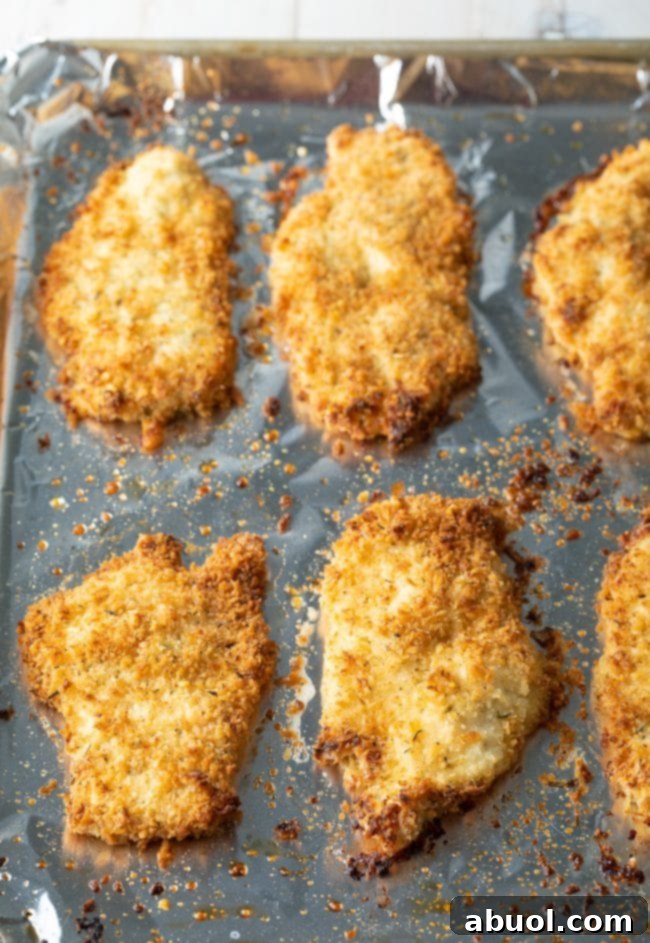
- Bake to Golden Perfection: Carefully place the baking sheet on the lower oven rack. Bake for approximately 15 minutes. The lower position helps the bottoms of the chicken cutlets crisp up beautifully and brown evenly, mimicking a pan-fried result.
- Broil for an Extra Golden Finish (Optional): After 15 minutes, if the tops of your chicken cutlets haven’t quite reached your desired level of golden-brown crispiness, move the baking sheet to a higher oven rack. Turn on your oven’s broiler and broil for just 1 minute. It is absolutely essential to watch them continuously during this step, as broilers can brown and burn food very quickly. Remove them as soon as they achieve that perfect golden hue.
- Serve Warm and Enjoy: Once cooked through and perfectly golden, remove the crispy baked chicken cutlets from the oven. For optimal juiciness, allow them to rest on the baking sheet or a cutting board for 3-5 minutes before slicing or serving. This allows the internal juices to redistribute, ensuring every bite is moist and flavorful. Serve warm with your favorite accompaniments.
Pro Tips for Ultimate Success
To ensure your baked chicken cutlets turn out flawless every single time – perfectly crispy on the outside and wonderfully juicy on the inside – keep these expert tips in mind:
- Achieve Uniform Thickness: Consistency is key for even cooking. If your chicken breasts are thicker than 1/2 inch, slice them horizontally or pound them gently until they are uniformly thin. This ensures all cutlets cook at the same rate and prevents some from drying out while others are still cooking.
- Pat Your Chicken Dry: Before you even think about coating, thoroughly pat your chicken cutlets dry with paper towels. Any excess moisture will prevent the mayonnaise and breading from adhering properly, leading to a less crispy and potentially soggy crust.
- Don’t Be Shy with the Spray: The generous layer of non-stick cooking spray on your foil-lined baking sheet is not just for preventing sticking. It significantly contributes to the beautiful golden-brown color and crispiness of the bottom of the cutlets, simulating the effect of oil without deep-frying.
- Avoid Overcrowding the Pan: Give your chicken cutlets space! Arrange them in a single layer on the baking sheet, ensuring there’s at least an inch of space between each piece. Overcrowding traps steam, which will make your breading soggy instead of crispy. If necessary, use two baking sheets.
- Always Rest the Chicken: After baking, remove the cutlets from the oven and let them rest for 3 to 5 minutes before slicing or serving. This crucial step allows the meat fibers to relax and reabsorb their juices, resulting in incredibly tender and moist chicken.
- Trust Your Meat Thermometer: The most reliable way to guarantee your chicken is safely cooked (and not overcooked!) is to use an instant-read meat thermometer. Insert it into the thickest part of the cutlet; the internal temperature should register at least 165°F (74°C).
- Pre-Toast Panko for Extra Crisp: For an even crispier coating, you can lightly toast the Panko breadcrumbs in a dry skillet over medium heat for a few minutes until golden brown, before mixing with Parmesan and herbs. This adds another layer of texture and flavor.
Meal Prep & Smart Storage Solutions
These baked chicken cutlets are not only delicious fresh from the oven but also make fantastic leftovers and are excellent for meal prepping. Here’s how to properly store and reheat them to maintain their quality:
- Storing Cooked Leftovers: Allow any cooked chicken cutlets to cool completely to room temperature before storing. This prevents condensation which can lead to sogginess. Place them in an airtight container and refrigerate for up to 3 days. While the crust won’t be as crispy as freshly baked, the flavor will remain excellent.
- Freezing Uncooked, Breaded Cutlets: This is a fantastic meal prep hack! To freeze breaded, uncooked chicken cutlets, arrange them in a single layer on a parchment-lined baking sheet and freeze until they are solid (this usually takes about 1-2 hours). Once frozen, transfer the solid cutlets to a freezer-safe airtight container or a heavy-duty freezer bag, using parchment paper between layers to prevent sticking. They will keep well for up to 2 months. When you’re ready to cook, you can bake them directly from frozen, simply add an additional 5-10 minutes to the baking time, ensuring they reach 165°F (74°C) internal temperature.
- Reheating Cooked Leftovers: To revive some of that glorious crispiness, avoid reheating in the microwave, which tends to make breaded items soggy. Instead, place your cooked and chilled chicken cutlets on a baking sheet and reheat in a preheated oven at 350°F (175°C) for about 10-15 minutes, or until they are heated through and the crust is crisp again. An air fryer is also an excellent option for quick and crispy reheating!
Delicious & Versatile Serving Suggestions
The delightful versatility of these crispy baked chicken cutlets means they can be effortlessly paired with a myriad of dishes, making them suitable for almost any occasion. Get inspired with these serving ideas:
- The Ultimate Salad Topper: Elevate your greens! These cutlets are phenomenal sliced and added to a simple fresh green salad. For a more substantial and flavorful meal, try them over a vibrant Crispy Buffalo Chicken Salad, a fun Crispy Baked Chicken Taco Salad, or a refreshing and tangy Southern Slaw.
- Classic Chicken Parmesan Reimagined: These cutlets are the perfect, lighter alternative for creating a healthier yet equally satisfying Chicken Parmesan. Layer them with your favorite marinara sauce and a generous blanket of mozzarella cheese, then bake until bubbly and golden. Serve alongside pasta for a truly comforting meal.
- Hearty Sandwiches & Wraps: Transform your cutlets into a quick and satisfying lunch or dinner. Slice them thinly and pile into your favorite bread or wraps with fresh lettuce, juicy tomatoes, a slice of cheese, and a drizzle of your preferred sauce (like ranch, honey mustard, or a spicy mayo). They’re perfect for an Ultimate Chicken Wrap.
- Comforting Side Dish Pairings: For a complete and wholesome meal, serve these crispy cutlets with a variety of classic side dishes. Think creamy mashed potatoes, fluffy quinoa, vibrant roasted asparagus, steamed green beans, a sweet potato mash, or even a side of roasted root vegetables.
- Global Flavor Adventures: Don’t limit yourself! These versatile cutlets can easily adapt to different culinary themes. Pair them with a spicy peanut sauce and rice for an Asian-inspired meal, or serve with fresh avocado slices and a zesty pico de gallo for a Mexican twist.
Baked Chicken Cutlets Recipe Card
This recipe delivers the most perfectly crisp, golden, and juicy Baked Chicken Cutlets, providing an ideal, healthy solution for your weeknight meals without the mess of deep-frying!
Prep Time: 10 minutes
Cook Time: 15 minutes
Total Time: 25 minutes
Yields: 8 servings
Ingredients
- 2 pounds chicken cutlets (approximately 8 thinly sliced cutlets)
- 1 1/2 cups Panko breadcrumbs
- 3/4 cup shredded Parmesan cheese
- 1 tablespoon fresh thyme leaves (or 1 teaspoon dried thyme)
- 1/3 cup light mayonnaise
- 1 tablespoon Dijon mustard
- Salt and freshly ground black pepper, to taste
Instructions
- Prepare Oven and Baking Sheet: Move one oven rack to a low position. Preheat your oven to 400°F (200°C). Line a baking sheet with aluminum foil and spray liberally with non-stick cooking spray. Set aside.
- Prepare Coating Mixtures: In one medium bowl, whisk together the light mayonnaise, Dijon mustard, 1/2 teaspoon salt, and 1/4 teaspoon pepper until smooth. In a second medium bowl, combine the Panko breadcrumbs, shredded Parmesan cheese, and fresh thyme leaves; stir well to mix.
- Coat Chicken Cutlets: Place the chicken cutlets into the mayonnaise mixture and toss to ensure they are fully coated. Then, one at a time, transfer each mayonnaise-coated cutlet to the Panko mixture. Press firmly on both sides to create a thick, even coating of breadcrumbs. Lay the breaded cutlets in a single layer on the prepared baking sheet, ensuring they are not overcrowded.
- Bake: Bake the chicken cutlets on the lower oven rack for 15 minutes. Baking low helps the bottoms achieve extra crispiness.
- Broil for Golden Tops (Optional): If the tops of the cutlets have not browned sufficiently after 15 minutes, carefully move the baking sheet to a higher oven rack. Turn on the broiler and broil for approximately 1 minute, watching constantly to prevent burning. Serve warm immediately.
Notes
- Storing Cooked Leftovers: Store cooled, cooked chicken cutlets in an airtight container in the refrigerator for up to 3 days.
- Freezing Uncooked Cutlets: You can freeze breaded, uncooked chicken cutlets for up to 2 months. Freeze them flat on a baking sheet until solid, then transfer to a freezer-safe bag or container.
- Reheating Leftovers: Reheat cooked breaded chicken cutlets in a preheated oven or air fryer at 350°F (175°C) for 10-15 minutes until hot and re-crisped.
Nutrition Information (per serving)
- Serving: 1 serving
- Calories: 235 kcal
- Carbohydrates: 10g
- Protein: 29g
- Fat: 8g
- Saturated Fat: 3g
- Cholesterol: 80mg
- Sodium: 455mg
- Potassium: 456mg
- Fiber: 1g
- Sugar: 1g
- Vitamin A: 155 IU
- Vitamin C: 2.7mg
- Calcium: 141mg
- Iron: 1.2mg
Course: Main Course
Cuisine: American
Author: Sommer Collier
Frequently Asked Questions (FAQs) About Baked Chicken Cutlets
I highly recommend using chicken cutlets over full chicken breasts for two primary reasons. Firstly, their uniform thinness ensures they cook much faster and more evenly, resulting in consistently tender and juicy chicken without any dry spots. This is a huge time-saver for weeknight meals! Secondly, cutlets offer excellent built-in portion control. Typically, one cutlet is essentially half (or sometimes even a third) of a larger chicken breast, allowing you to enjoy a satisfying portion of delicious crispy chicken while effortlessly managing calorie intake. This makes it a perfect choice for a lighter, healthier meal option.
While chicken cutlets are ideal for this recipe due to their consistent thickness and quicker cooking time, you can certainly use regular boneless, skinless chicken breasts. If you opt for whole breasts, it is strongly recommended that you either slice them horizontally into thinner cutlets (about 1/2 inch thick) or pound them gently with a meat mallet to an even thickness. This ensures they cook thoroughly and evenly throughout. If you choose to cook them thicker, be sure to increase the baking time to approximately 25 minutes, or until an internal temperature of 165°F (74°C) is reached. Always use a reliable meat thermometer for accuracy.
Absolutely! This baked chicken recipe is fantastic for make-ahead meal prep. The chicken will maintain its satisfying crunch for several hours after baking. However, it’s natural for the crust to soften slightly over time due to the moisture from the tender chicken inside. To reheat the chicken and restore its maximum crispiness, avoid using the microwave, as it will make them soggy. Instead, place any leftover cooked chicken cutlets on a baking sheet in a preheated 350°F (175°C) oven for about 10-15 minutes, or pop them into an air fryer until they are heated through and delightfully crispy again.
The magic lies in a few key techniques working in harmony! First, using Panko breadcrumbs is non-negotiable; their light, airy, and flaky texture crisps up beautifully in the oven. Second, coating the chicken first with mayonnaise provides a robust adhesive layer that ensures the breadcrumbs stick firmly and creates an incredibly crunchy crust. Third, baking the chicken on a lower oven rack helps the bottom side get beautifully golden and crisp. Finally, a quick 1-minute stint under the broiler at the very end can give the tops an irresistible golden-brown finish. Remember not to overcrowd your baking sheet, as proper air circulation is essential for ultimate crispness!
Yes, you can! You can bread the chicken cutlets up to 1-2 hours in advance and store them uncovered in the refrigerator. This allows the breading to adhere even better. Alternatively, you can freeze them uncooked and breaded for up to 2 months, as detailed in the storage notes. Just be sure to bake them from frozen if freezing, adding a few extra minutes to the cooking time.
Similar Recipes You’ll Love to Try
If you thoroughly enjoyed these perfectly crispy baked chicken cutlets, you’re in for a treat! Explore these other delightful and easy chicken recipes from my kitchen that are sure to become new family favorites: